
If you’ve ever wanted to get started woodworking, but are overwhelmed with what tools you REALLY need, this is the post for you.
Today, we are talking tools–the five basic tools you need to get you started with woodworking.
I’m going to share with you the exact tools I used to get started, the pros and cons, and what I’m using now.
Before I give you my list, I am assuming that you already have a tape measure, screwdriver and a hammer–those kind of basic tools everyone should have lying around the house.
If you don’t have these, they are a few bucks each and WELL worth the investment. Definitely grab those first, then proceed with the following 🙂
RELATED: Ten Tools Every Homeowner Should Have
In order of (in my own opinion) importance, here are the five basic tools that will give you the most bang for your buck when you are starting out.
*This post contains affiliate links for your convenience. See disclosure policy for more details.
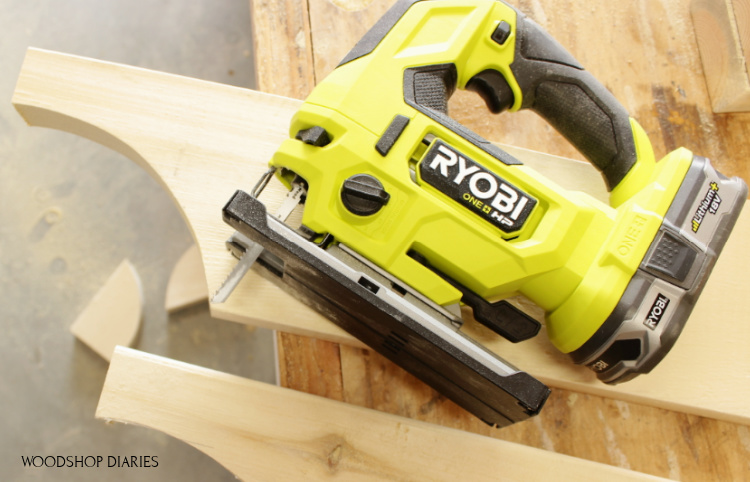
1. Jigsaw
A jig saw is a cutting tool that allows you to cut shapes, curves, and straight lines. It’s a versatile and usually pretty inexpensive saw compared to other options.
The first power tool I ever purchased was a jigsaw. I have no regrets about that.
If anyone ever asks what tool they should get first, I always recommend a jig saw.
It’s cheap, versatile, and you’d be surprised what you can make with a hammer, nails, and a jig saw.
I bought the cheapest one that I could find and it had good reviews. This is the one I started out on and it served me well for many years.
It’s not quite as efficient as using a miter saw for straight line cuts, but it got me by for a while with sufficient results on a limited budget.
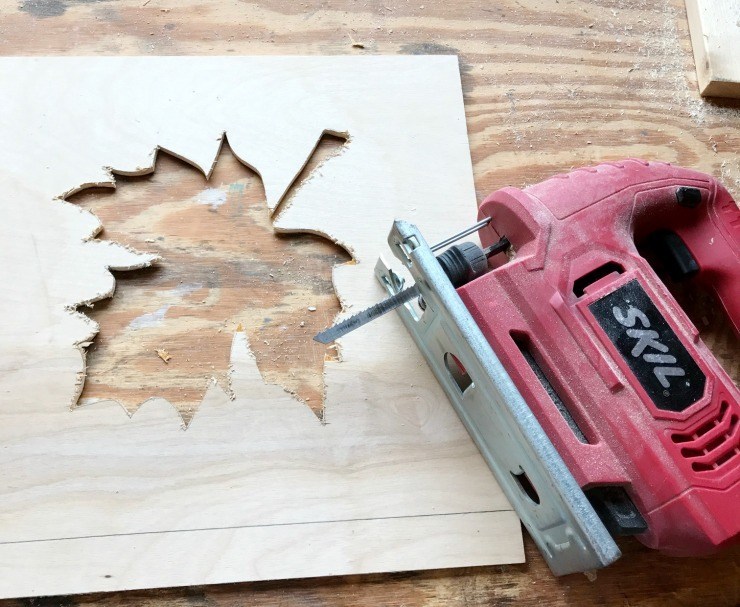
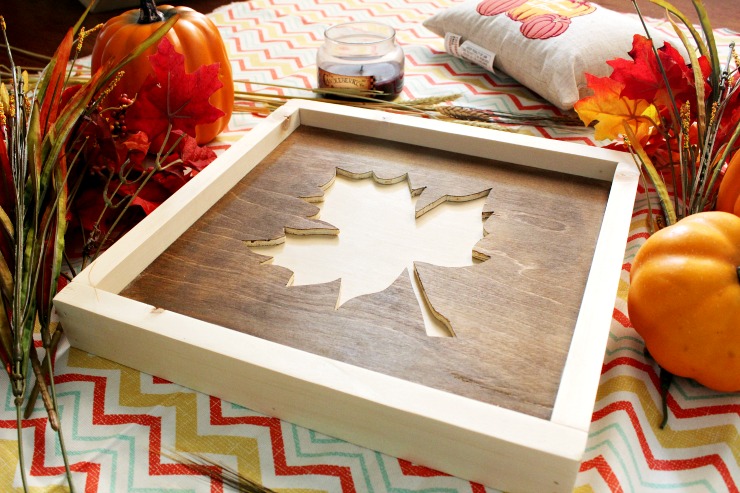
Even now that I have a miter saw, I still use my jig saw A LOT to make notches, or to cut fun designs.
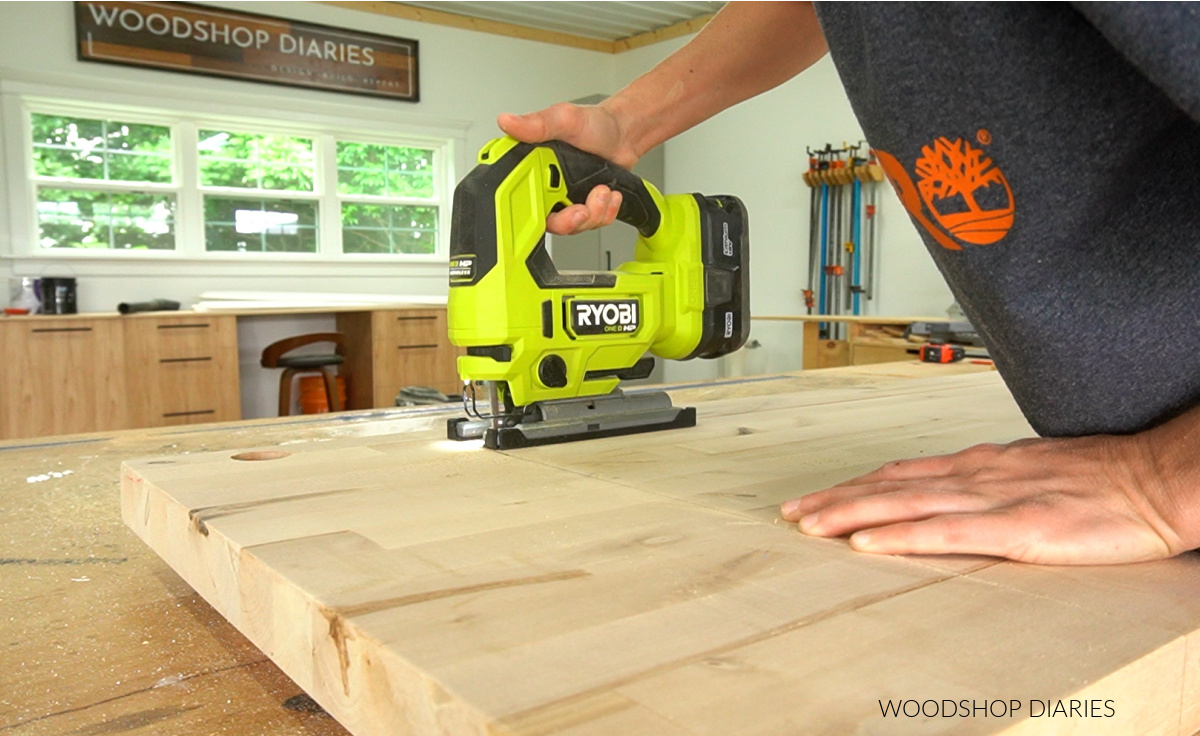
Any cuts that seem a little too dangerous for making on my miter saw, I will use my jigsaw. It’s an EXCELLENT beginner tool and much safer than larger power saws.
Although I my first jig saw was great, I’ve since upgraded to a battery powered version and highly recommend it if you’re looking to upgrade or ditch the corded tools.
I’m currently using the Ryobi HP 18V HP Cordless Jig saw and it’s really nice to not worry with a cord and it feels more powerful cutting through hardwoods and thicker material than my old one.
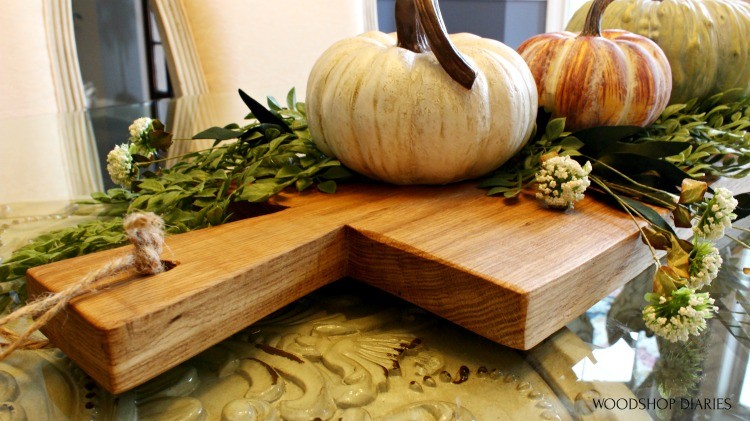
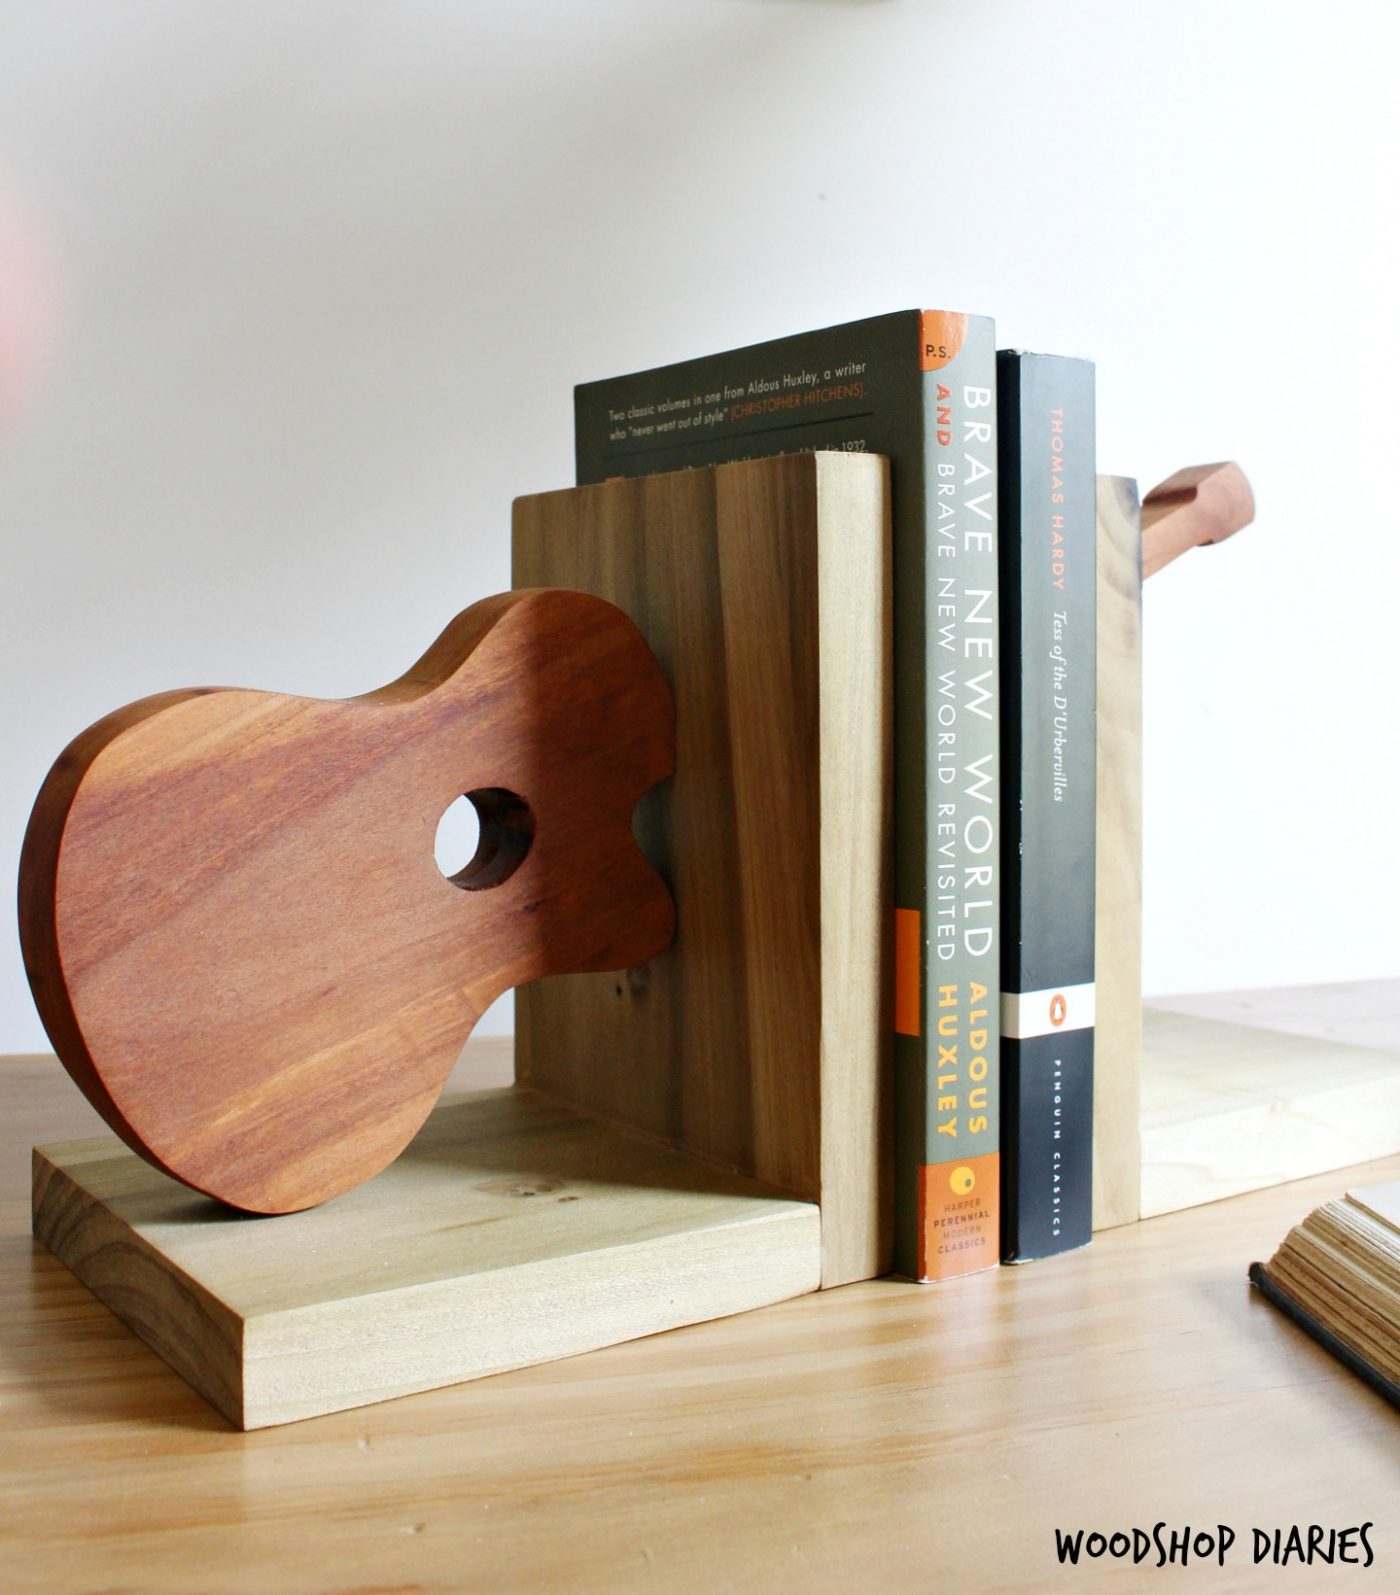
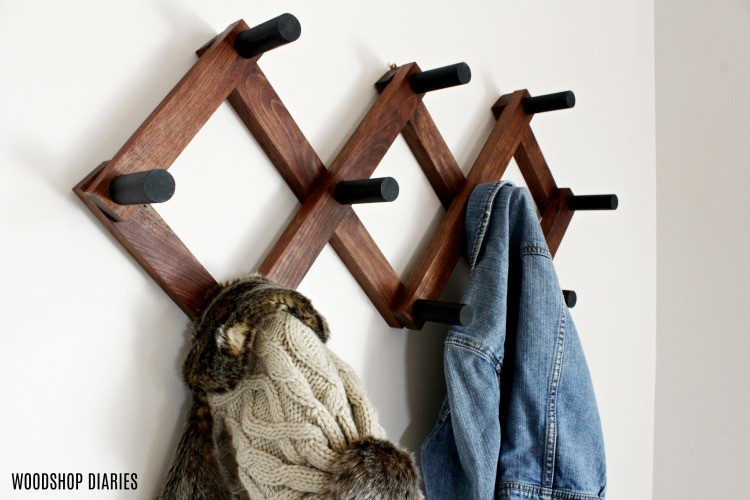
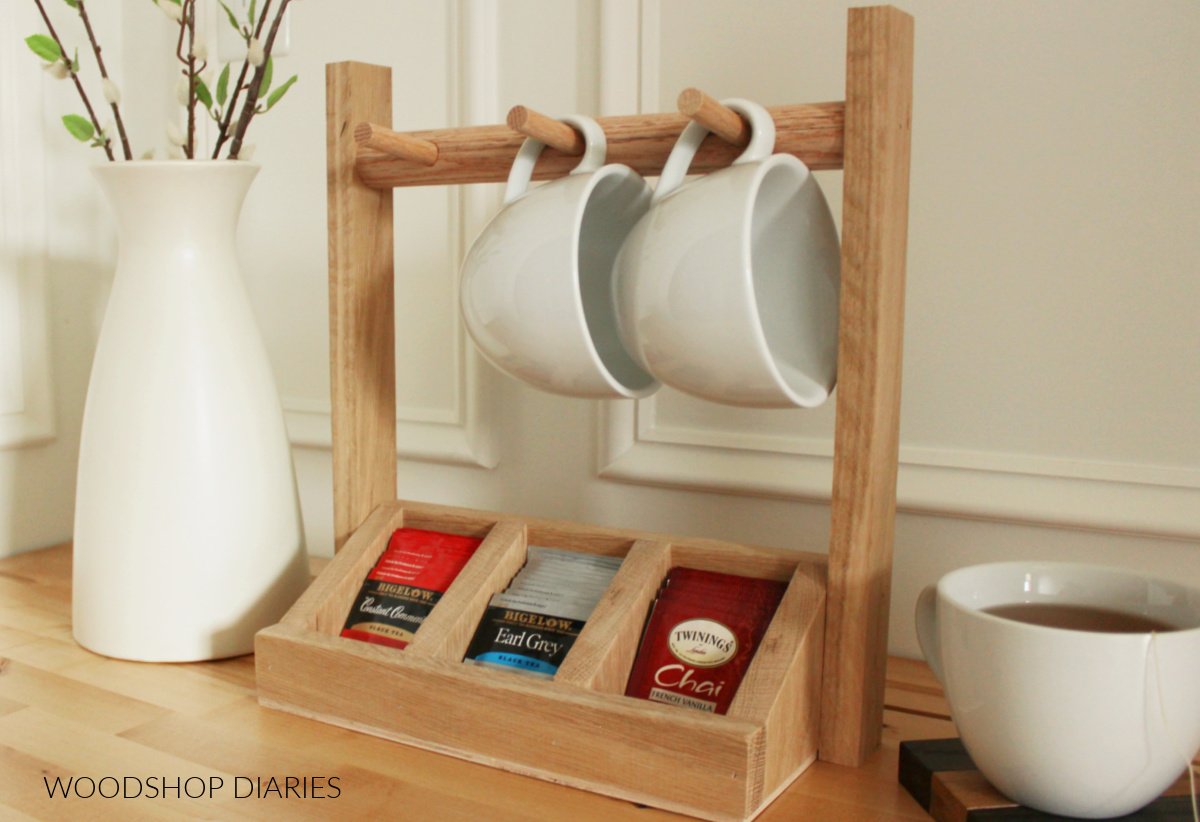
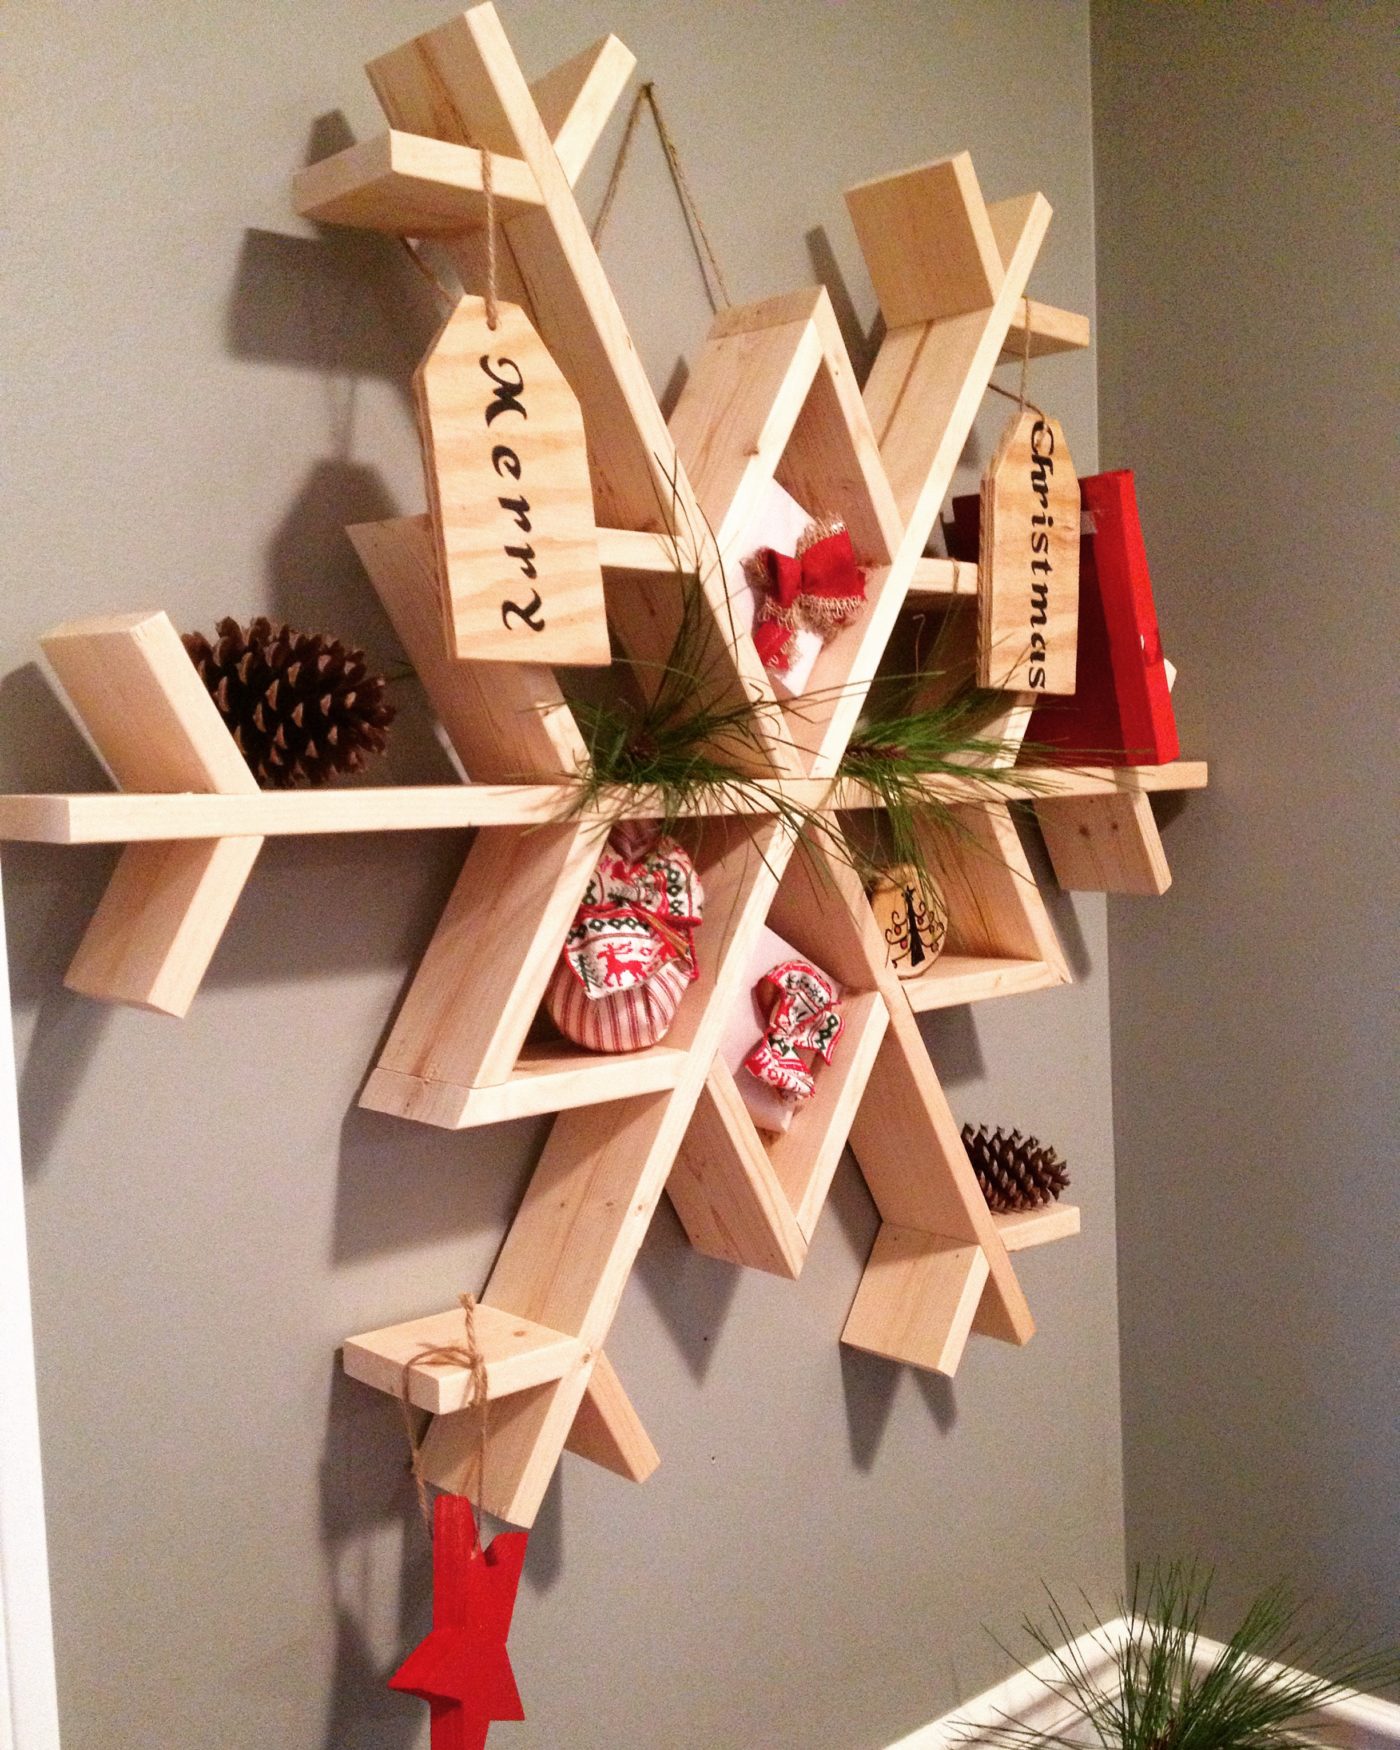
Here are a few fun projects using a jig saw:
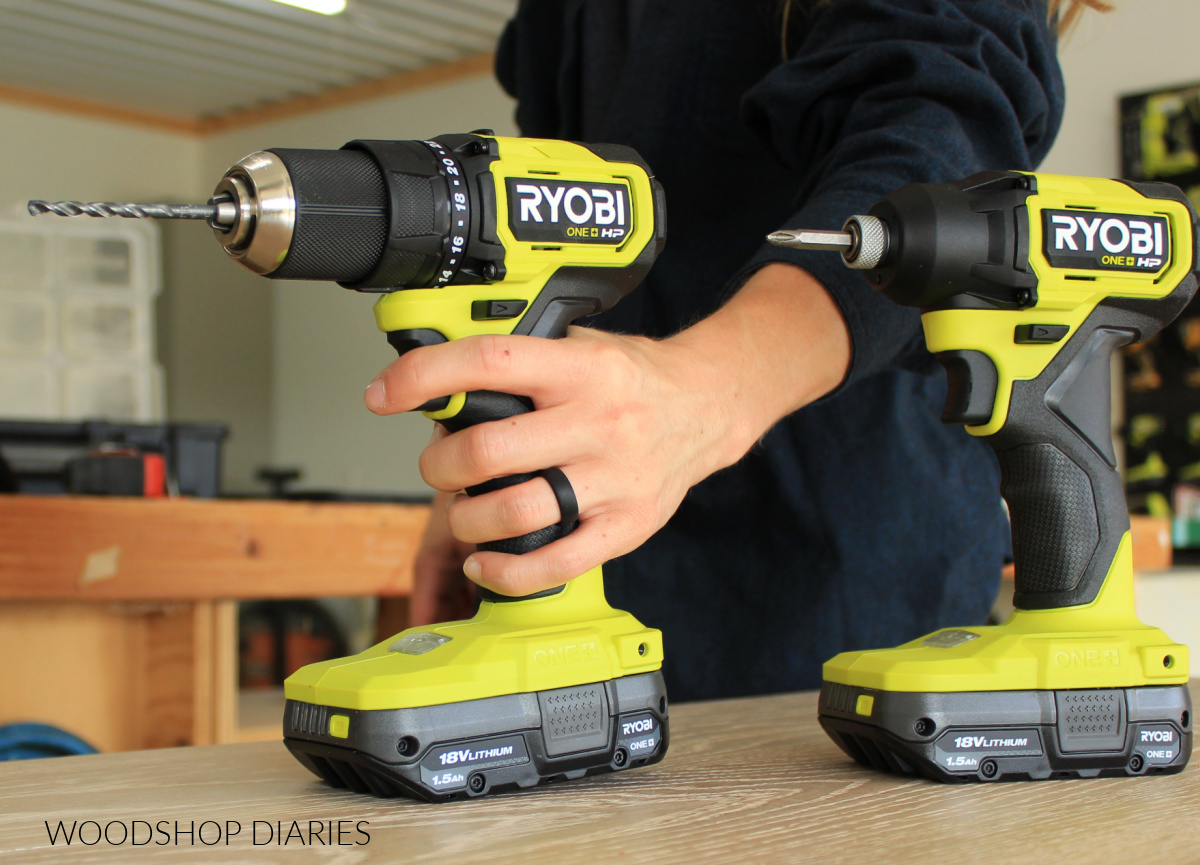
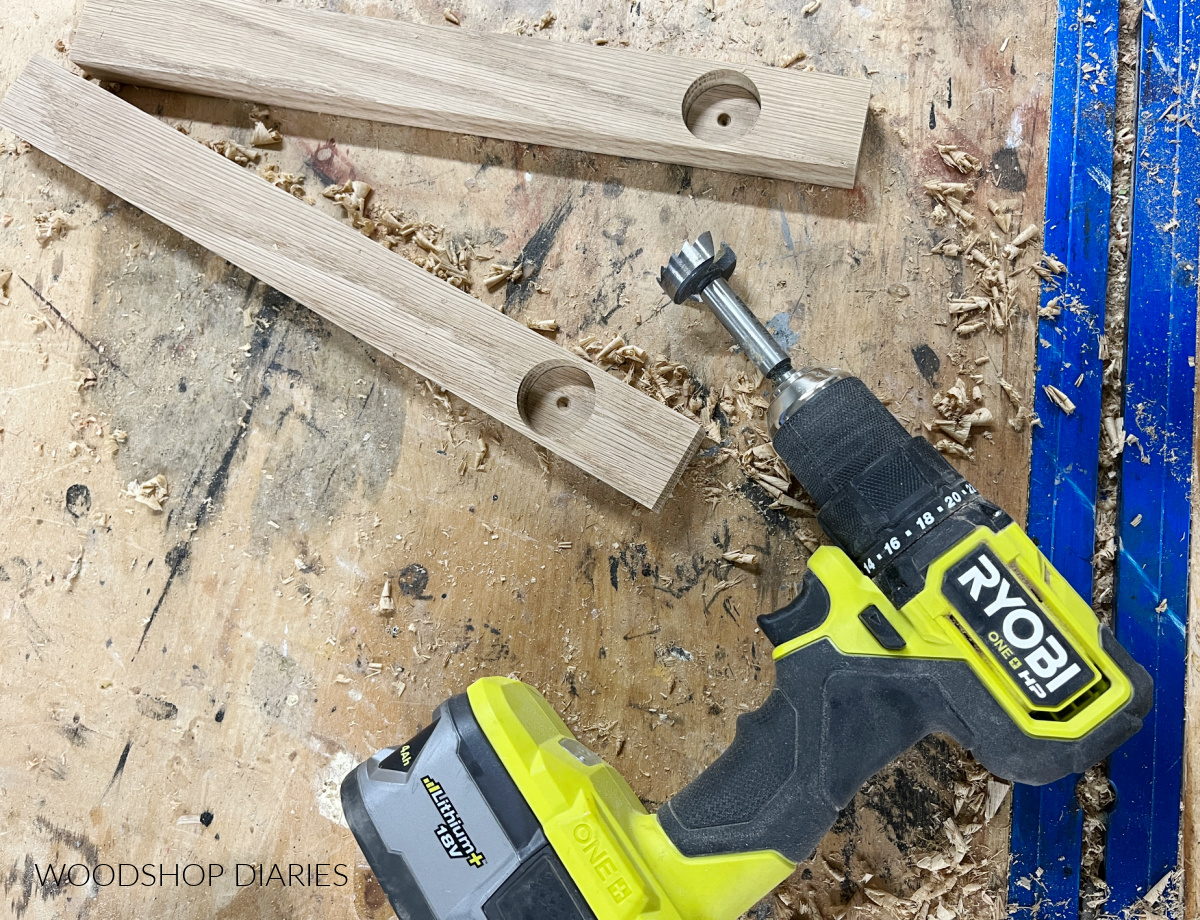
2. A Good Drill/Driver Combo
If you aren’t familiar with the difference in a drill and a driver, a drill is intended for use in drilling out holes. And a driver is intended for use in driving hardware like screws and bolts.
Now, anymore, most “drills” come marketed as a “drill/driver” and drivers have settings that allow you to use them as a drill if necessary. So they’re interchangeable–kind of.
However, I recommend picking up a combo kit (where you get a drill and a driver with a couple batteries) and using them for their originally designed purpose–a drill for drilling and a driver for driving.
This is easier on your tools, is more efficient, and you won’t regret having both once you start using them more and more.
I started out on a SUPER cheap drill and quickly learned that this was not something to cheap out on.
If you plan to do much woodworking, invest in a quality drill and/or driver. It doesn’t have to be the best of the best, but at least get a mid-grade drill.
I’m currently loving this Ryobi HP 18V Drill/Driver Combo. Now, I’ll warn you, I’ve used other Ryobi drills in the past and there is a HUGE difference between those and the newer “HP” (which stands for High Performance) tools.
If you’re shopping for one, make sure to grab the “HP” kit.
And while you’re picking up a drill and driver, don’t forget to grab a good set of drill bits and driving bits to use with them.
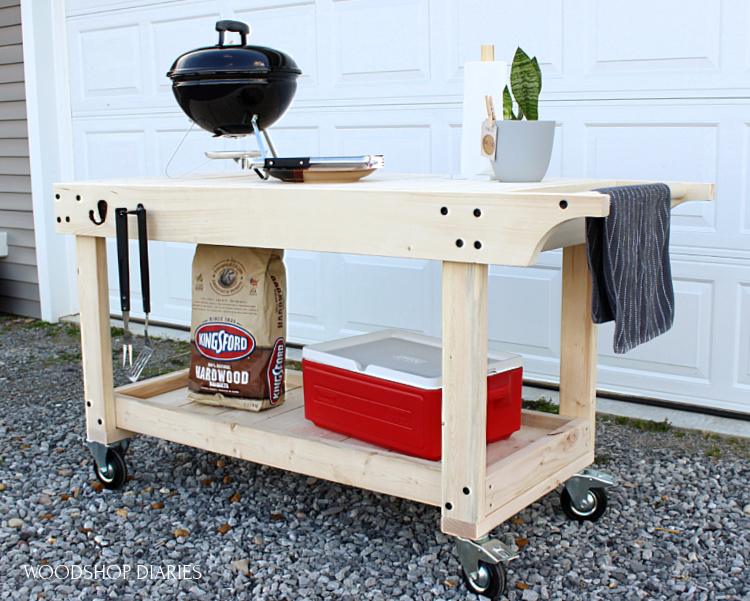
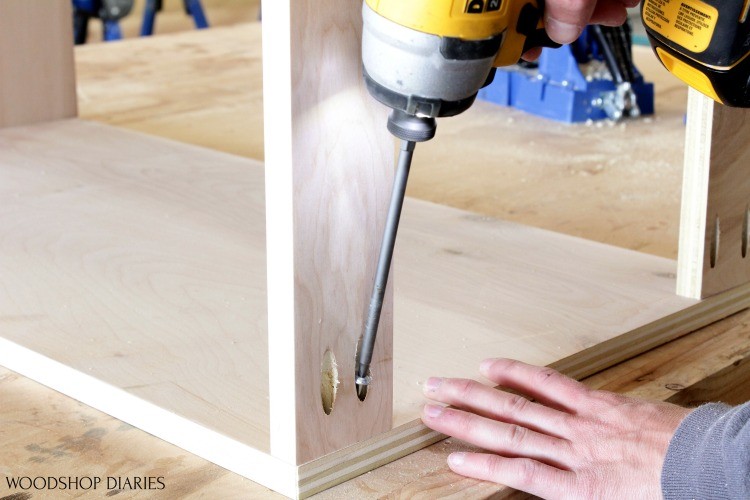
Projects that Use a Drill:

3. Kreg Jig for Pocket Holes
A pocket hole jig is a jig that allows you to drill what’s called a “pocket hole” at a precise angle into a board in order to join it to another board using screws.
This was actually not one of my first tools, but looking back, I wish it had been.
Once I got a Kreg Pocket Hole Jig and figured out how to use it, I was able to make a whole lot more projects than I was able to before.

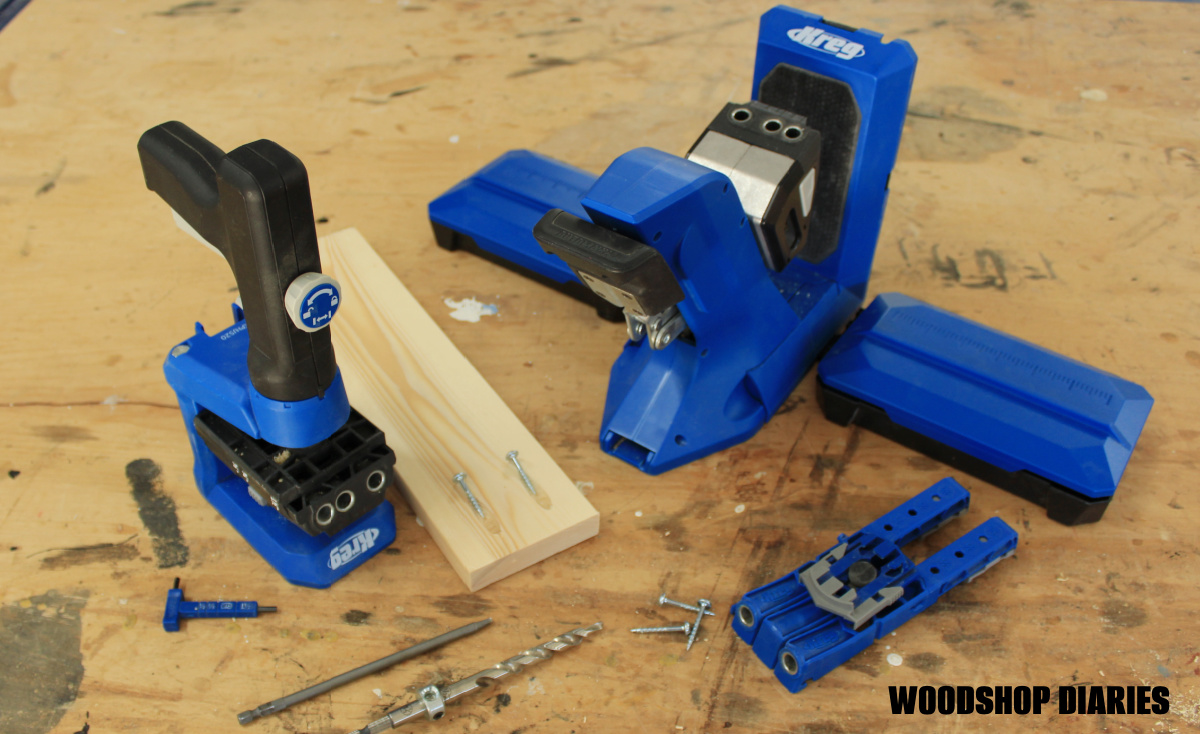
There are a lot of options for Kreg Pocket Hole Jigs—from little bitty to large benchtop mounted jigs. The Kreg 720 is shown above.
I break down each option and the differences between them in this post about how to decide which Kreg Jig is best for you.
Kreg pocket hole jigs open up a ton of new building possibilities and allow you to dive into some larger, furniture type projects easily without a lot of fancy tools.
I use mine now on almost every project!
If you’re curious how pocket hole jigs work, check out this guide for how to use a pocket hole jig.
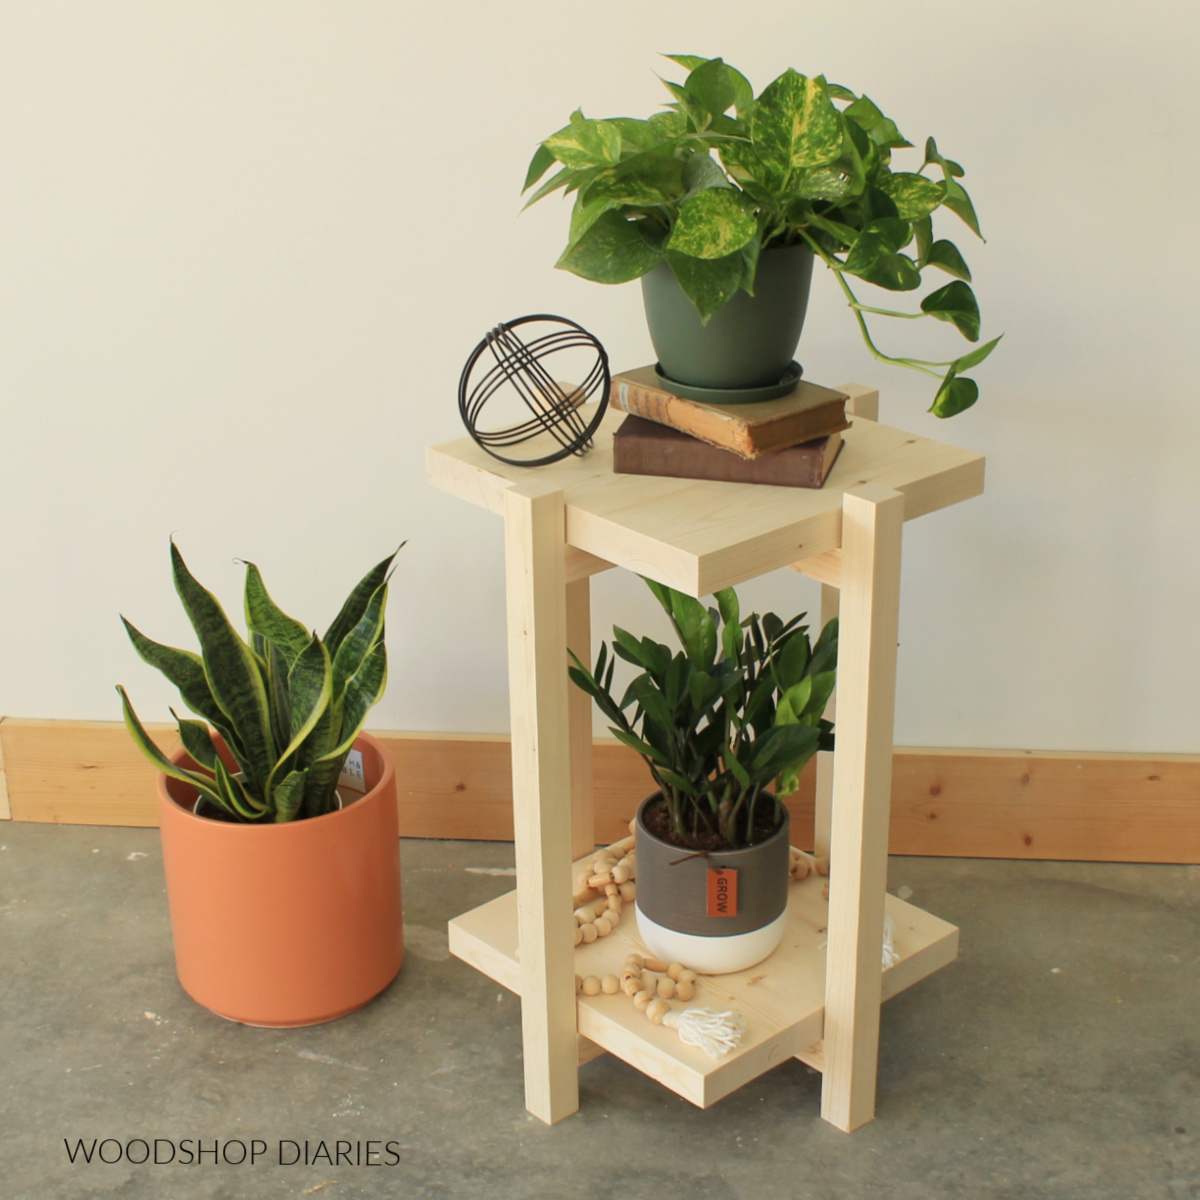
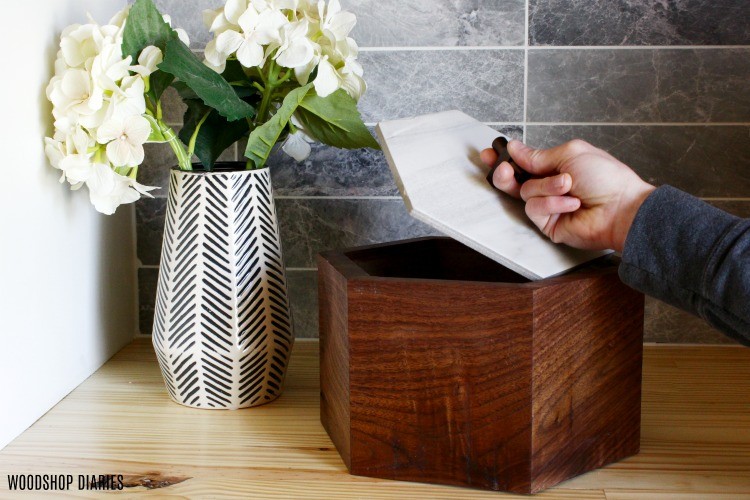
Projects To Build With a Pocket Hole Jig:

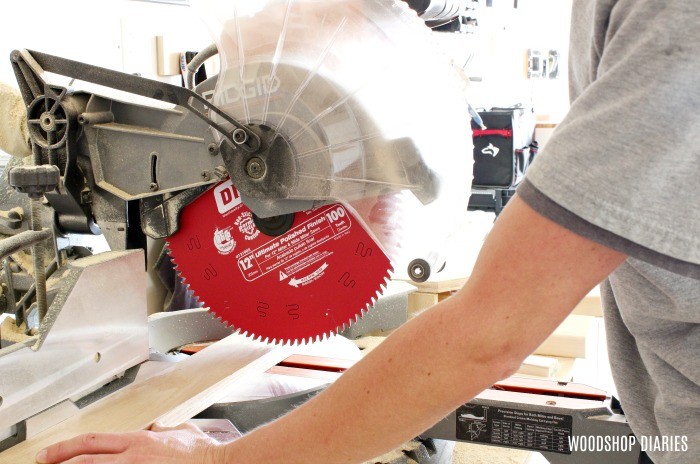
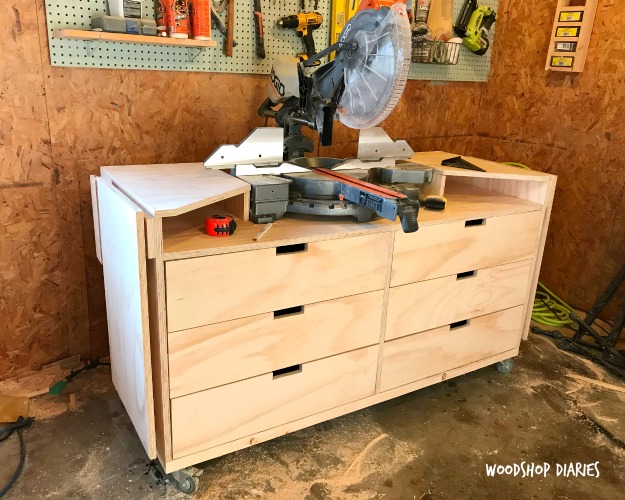
4. Miter Saw
Miter saws allow you to make quick, simple and accurate cross cuts–both square or at an angle.
You’ll likely be cutting mostly square cuts, but the option to accurately cut angles is always handy to have–especially when cutting crown molding and other trim.
Miter saws come in different sizes and types. Some miter saws are sliding–meaning the saw runs on a type of rail so that it slides front to back.
This allows the saw to have a larger cutting capacity to cut wider boards.
Most (but not all) miter saws also come as “compound” miter saws. This means that the saw head both rotates and tilts, allowing it to cut both miter and bevel cuts–like shown below.
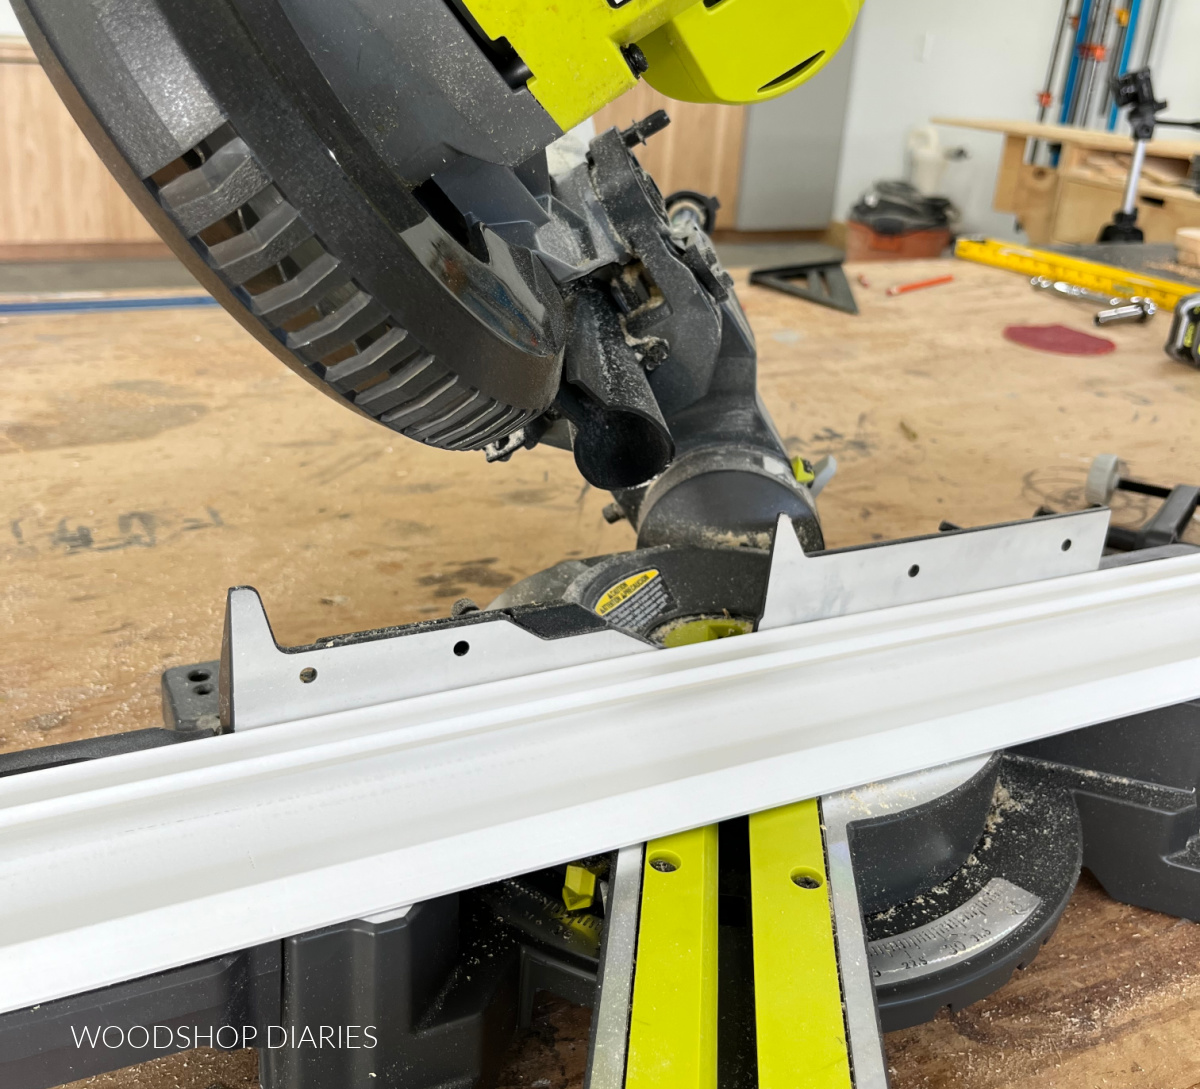
I highly recommend making sure you’re getting a compound miter saw. You may not use these features often, but they’re really handy to have when you need them.
Miter saws also come in different blade sizes. The most common sizes are 10″ and 12″ blades.
The thing about miter saws is that size matters. My original saw did not slide and had a 10″ blade and it could only cut 1×6 boards in one pass.
Any larger than that, and I had to flip the board over and cut again from the other side. That means if I was making something from 1x8s or wider, I had to make twice as many cuts.
So, I personally recommend buying a sliding OR a 12″ (or both) miter saw if possible. This will allow you to cut wider boards in just one cut.
I currently have a 12″ sliding saw and while I do like it, the 12″ blades are quite pricey. So if you can get away with a 10″ sliding saw for what you need, that will save you some money on blades.
RELATED: Check out the miter saw stand I built for this larger miter saw
Each saw is different, so be sure to check the max cut capacity before purchasing to make sure it can handle what you plan to use it for.
Projects Using Miter Saw:
5. Nailer
Last but definitely not least is the nailer. As far as “fun factor” goes, this is probably my favorite.
You may not use it on every project, but the ones you do use it on, you will be SUPER glad you have it.
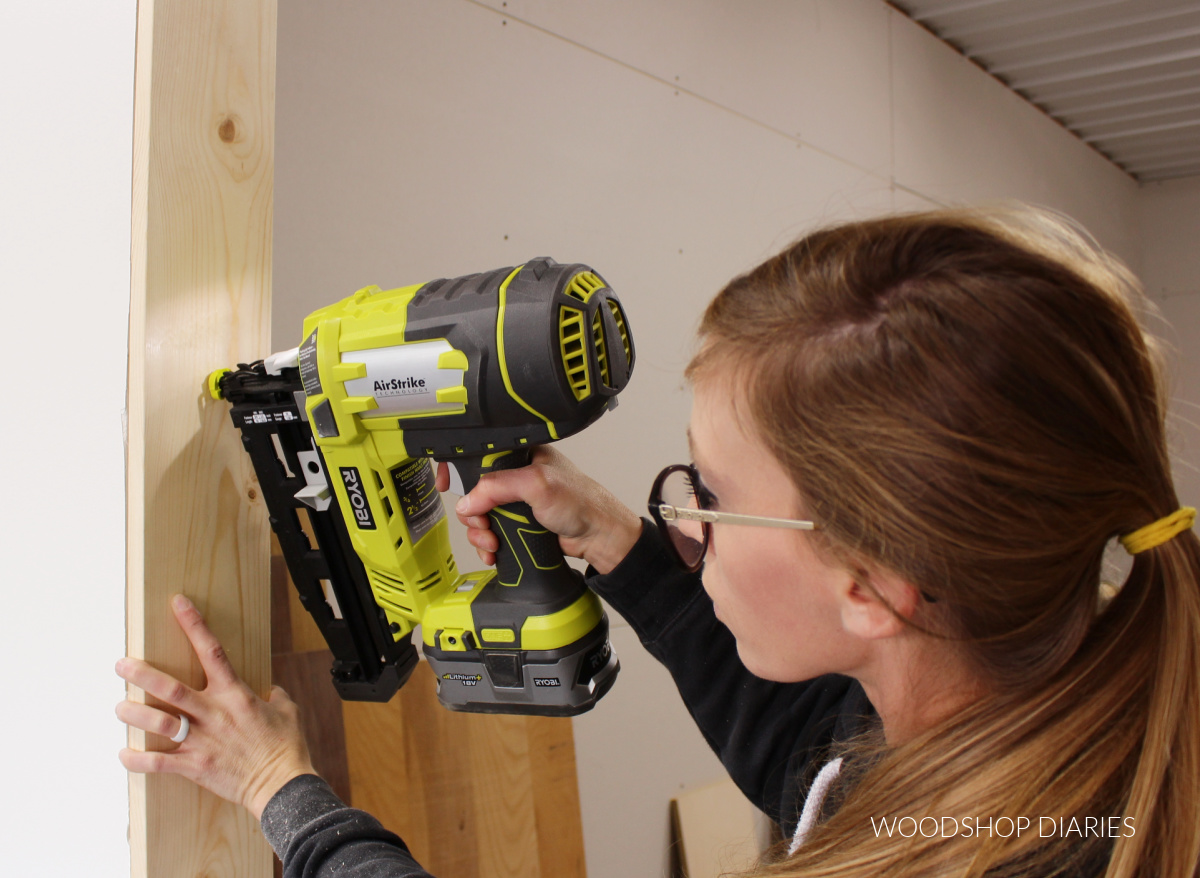
I started out using a Bostitch combo kit with an air compressor, stapler, and 16 & 18 gauge nailers.
It served me well for a while, but the compressor and cord and air hose were SUPER annoying to have to drag around all the time.
So I upgraded to this Ryobi air strike and never looked back. I HIGHLY recommend skipping the cord with this one and going straight to a battery nailer. But, that’s just my two cents 🙂
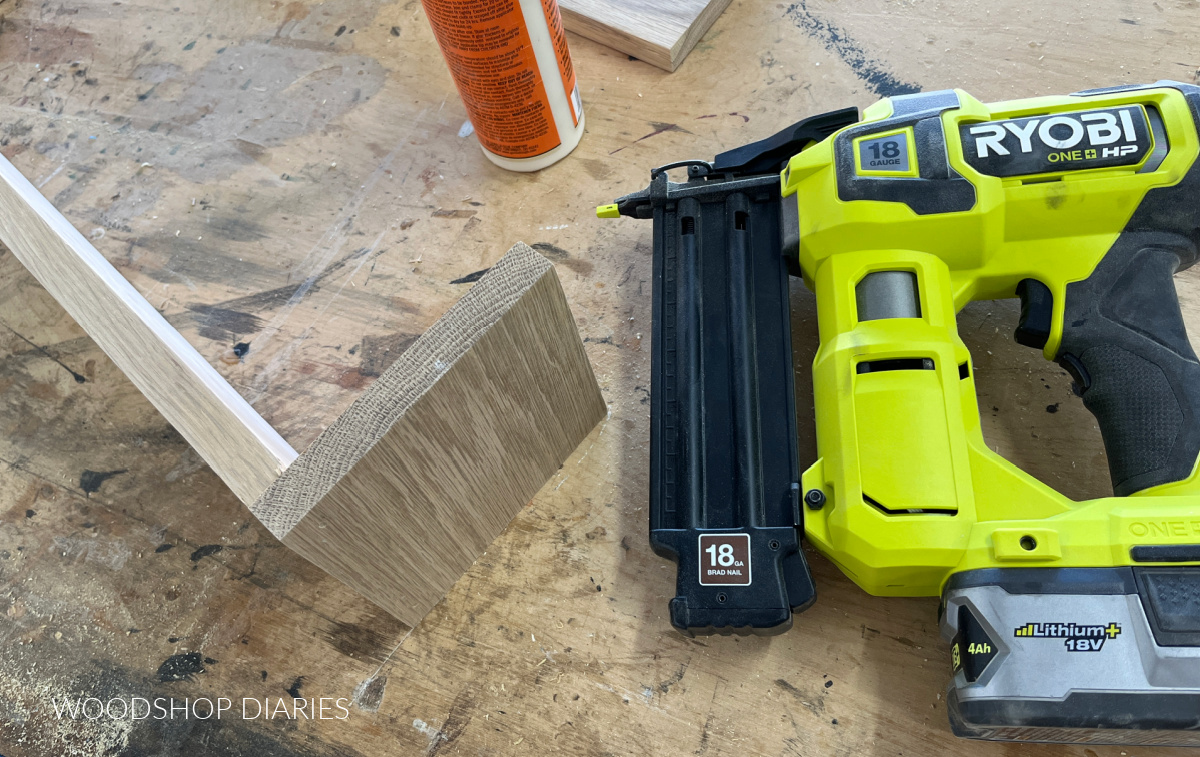
I’ve collected a 16 gauge, 18 gauge and a stapler from the Ryobi Cordless AirStrike line and I use them often. I wouldn’t trade them for the world.
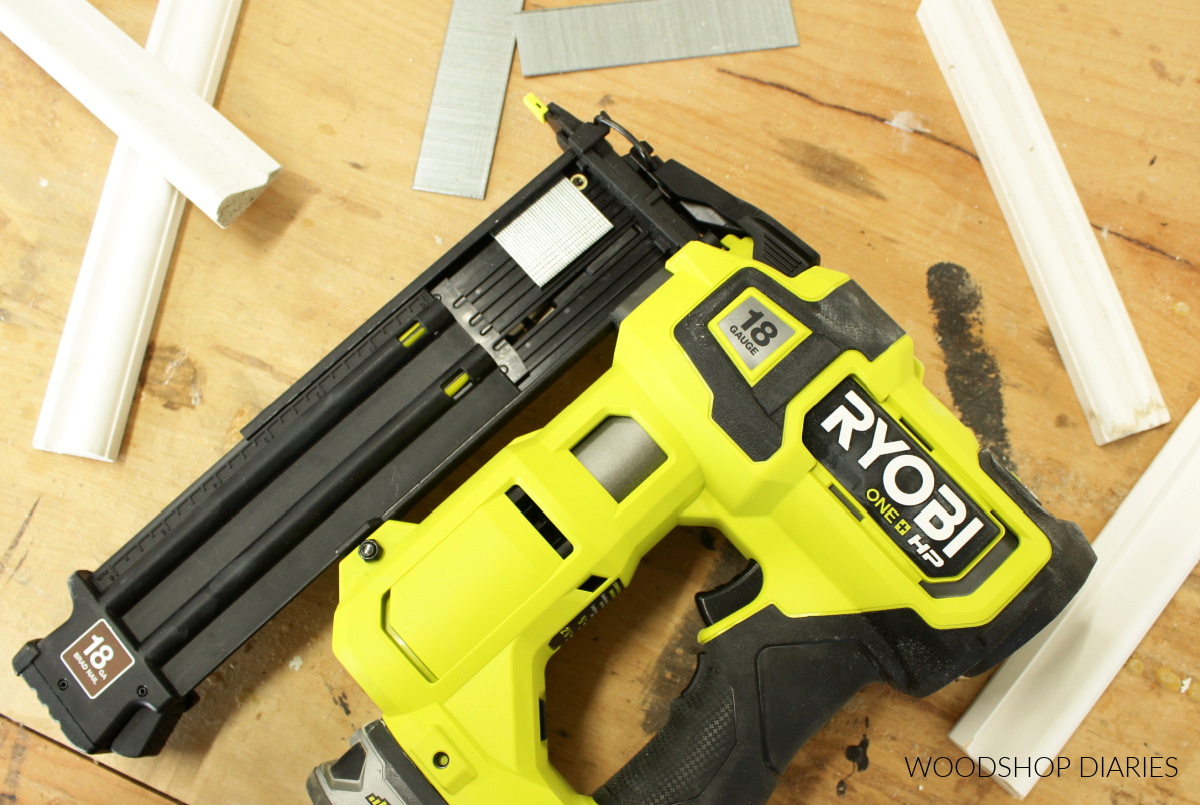
If you aren’t sure what the difference between the different types of nailers are, check out this post that breaks down the differences between brad, finish, and pin nailers.
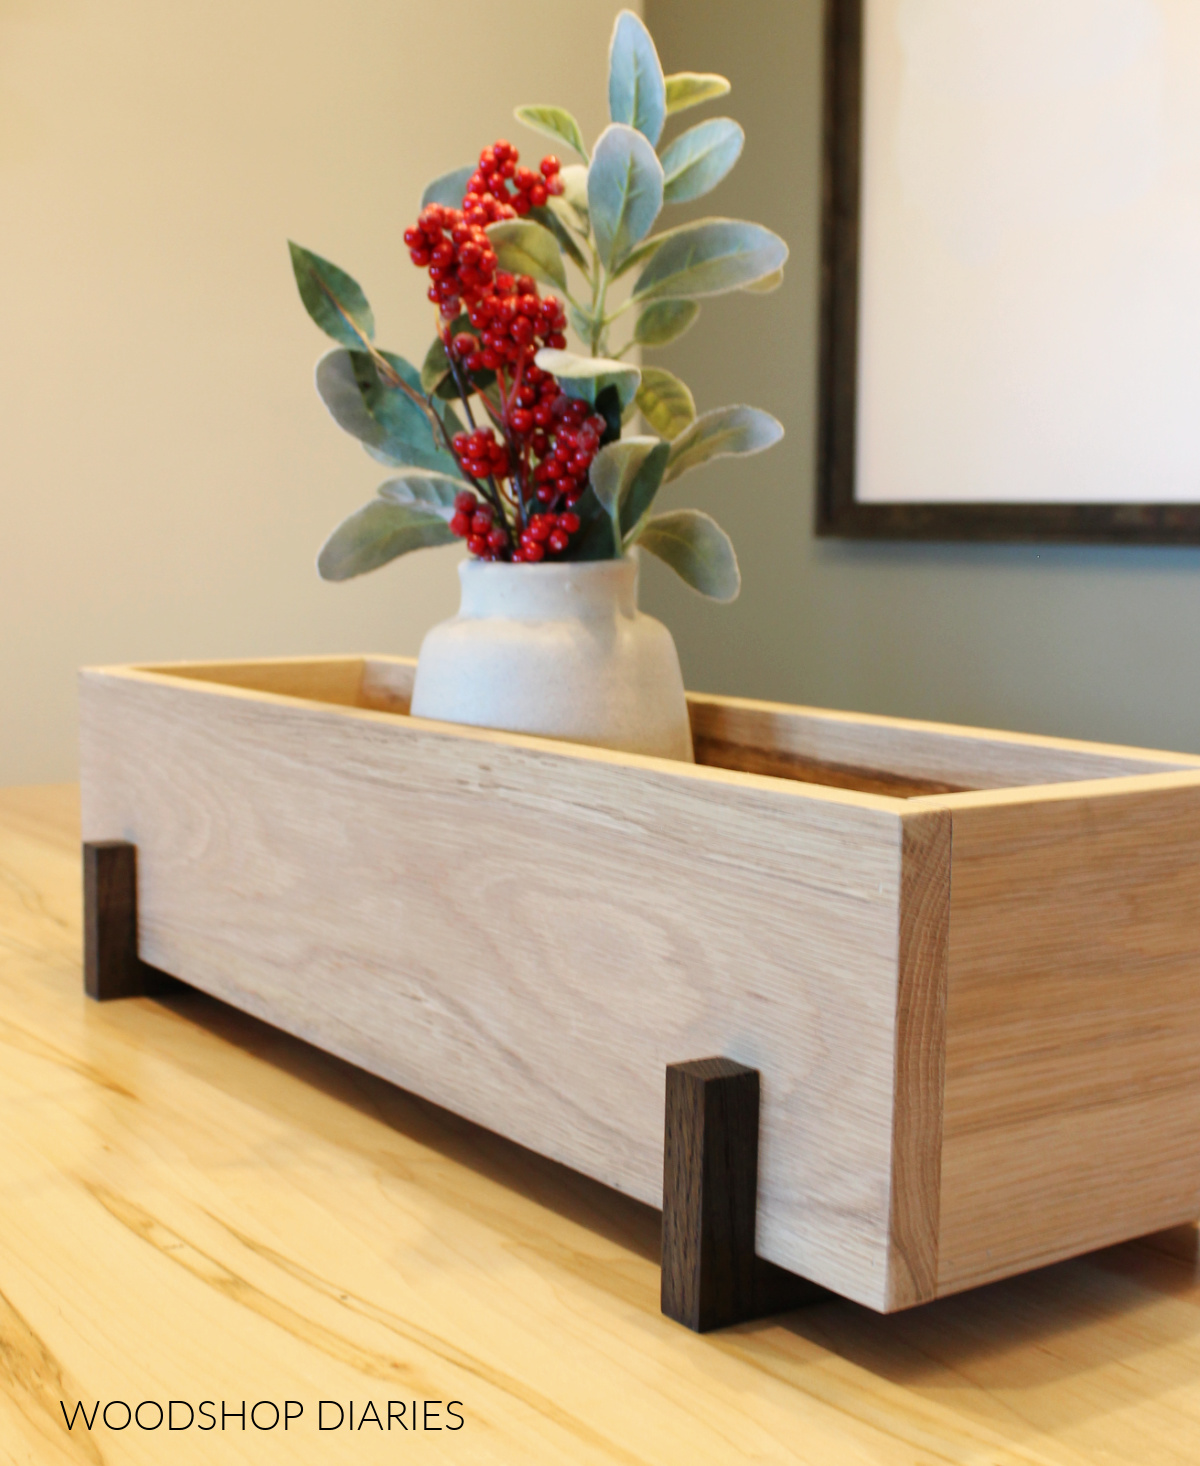
Projects Using Nailers:

So, let’s add up those costs:
Tools I’m Using Now: (prices valid as of Dec. 2022)
- Jig Saw ($139–batteries not included)
- Drill/Driver ($130)
- Pocket Hole Jig ($129)
- Miter Saw ($399)
- Nailer ($189)
- Total: $986
Exact Tools I Started On: (prices valid as of Dec. 2022)
- Jig Saw ($90)
- Drill ($99)
- Pocket Hole Jig ($34)
- Miter Saw ($99)
- Nailer Kit ($249)
- Total: $571
So, the tools I used to get started total around $570 today. And the tools I’m currently using total around $990.
Everyone’s budget is going to vary and you don’t have to buy everything to get started.
I highly recommend grabbing one tool at a time and getting comfortable with it and adding to your collection as you learn, grow, and figure out what types of things you like to do most.
You may figure out that you don’t need one of the tools on this list and you’d rather try something else instead…and that’s totally fine!
But the most important step is starting. So I encourage you to dive in and try SOMETHING 🙂 You’ll figure it out as you go.
Honestly, you’ll be surprised how much you can make with just a jigsaw, hammer, nails and a screwdriver. All you have to do is get started…where there is a will, there is a way. 🙂
These are just the basics and are definitely my most used tools. If you already have all of the above tools, check out some of my tool reviews to see what you might want to pick up next.
Until next time, friends, happy building! 🙂

HVAC contractors says
Thanks for the great recommendations! I have long wanted to start working on wood, but tools are usually always expensive and many people recommend tools that I can’t afford. I can’t afford to spend thousands of dollars. Thanks to your experience, I now know where I can start, I really like your blog and I would like to try myself as a woodworker. Have a nice day!
Shara, Woodshop Diaries says
So glad I was able to help! You don’t need the biggest, most expensive tools to get started. You just need to GET STARTED…I want to encourage people with that. I always recommend starting small and building up. Good luck!
Mark Lipton says
Hi, As a woodworker, I totally agree with you. I would like to say that first of all you should choose the right quality tools for your work. Because If your tools work smoothly, then you can efficiently doing your job. Thanks for the sharing this essential woodworking tools list. Keep up with good work.
Micheal R. Sanchez says
Hello Shara, I received more information reading your article without asking any local hardware store. I can’t wait to get started. Thank you very much.
Shara, Woodshop Diaries says
That’s great to hear! I’m glad it was helpful 🙂 Good luck getting started!
Malou says
<3 <3 <3 Thank you for this! I'm so excited to do woodwork!
haroun says
only short of the kreg pockethole jig.but will get it shortly.your projects are amazing,entertaining and lotsa fun.tku
Krafty Fix says
Hi Shara, thanks for this, by far the most entertaining introduction to woodworking power tools I’ve read. Good clear pictures too.
Shara, Woodshop Diaries says
Thank you!! 🙂 Glad you enjoyed!