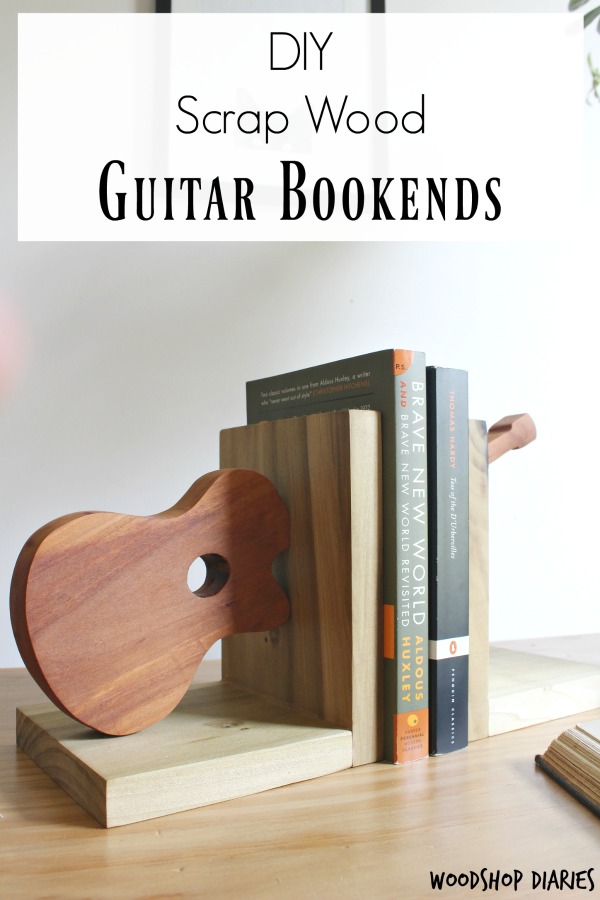
In this post, I’m sharing how to make a set of guitar themed scrap wood bookends!
But even if guitars aren’t your vibe, that’s okay! You can take this same concept and apply it to any shape (think animals, instruments, monograms, etc) to make your own custom bookends.
I love a good practical scrap wood project. Sometimes larger projects, while fun, can be overwhelming and expensive.
So changing pace to something that’s quick and (basically) free to make is like a quick win to keep me motivated. It’s also nice to get rid of some of these ever growing piles of scraps!
So if you’re ready to build some of your own, I’ve got the how to below.
*This post contains affiliate links. See website policies.
**This post was originally published in May 2018, but was updated in July 2025.
How to Make Scrap Wood Bookends
These bookends are SO easy and fun to build. It’s a great weekend or quick weeknight woodworking project that should only take about an hour or two to finish.
The only reason it even takes over an hour is because the glue has to dry. If you opt for a quick dry wood glue, you could likely get this finished in under an hour.
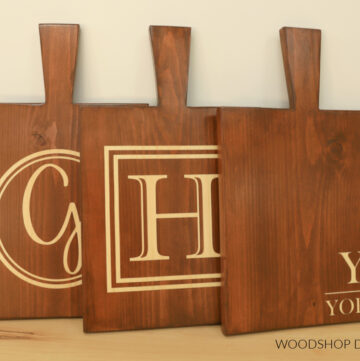
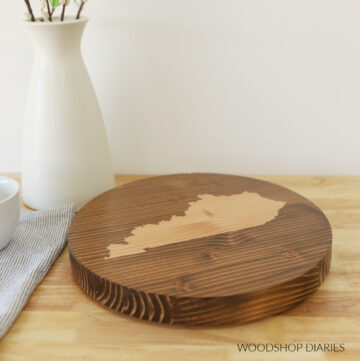
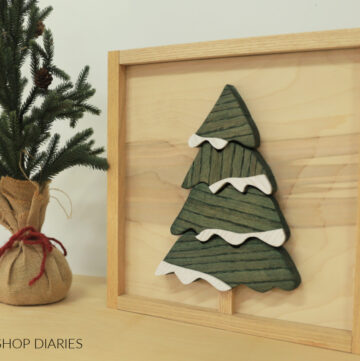
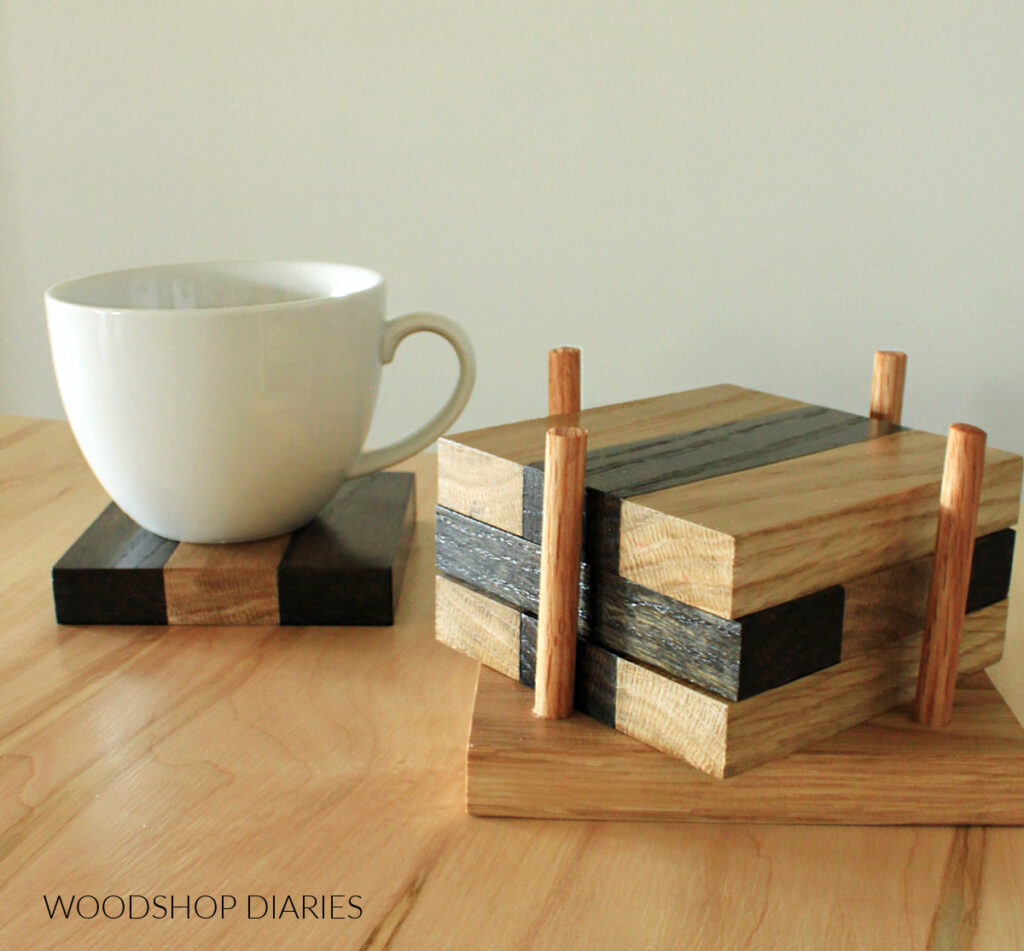
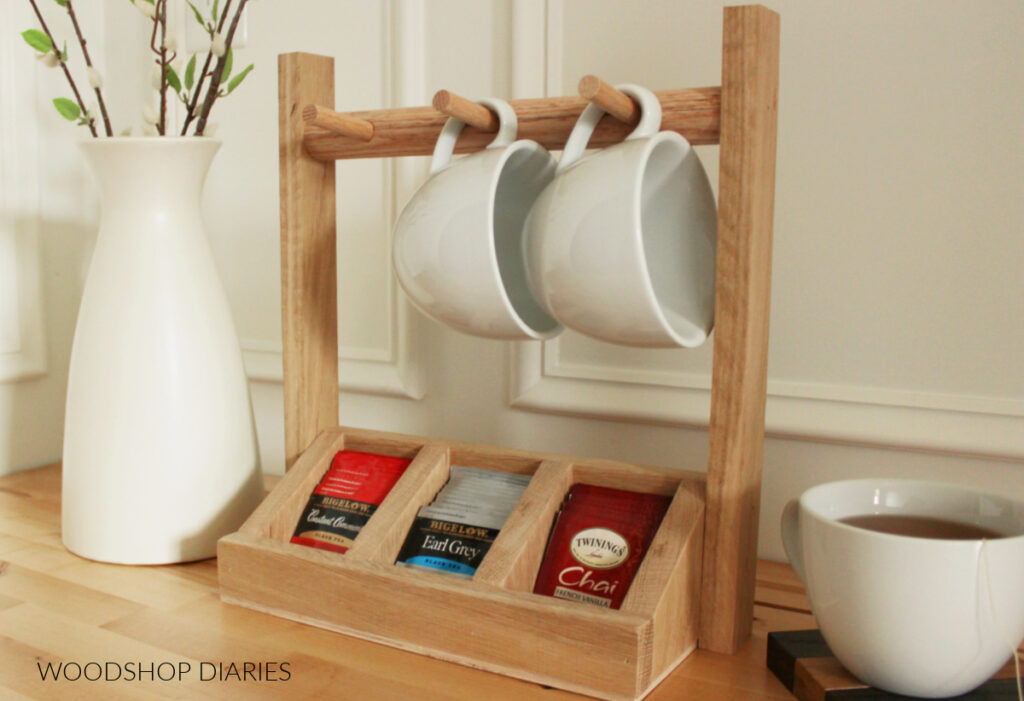
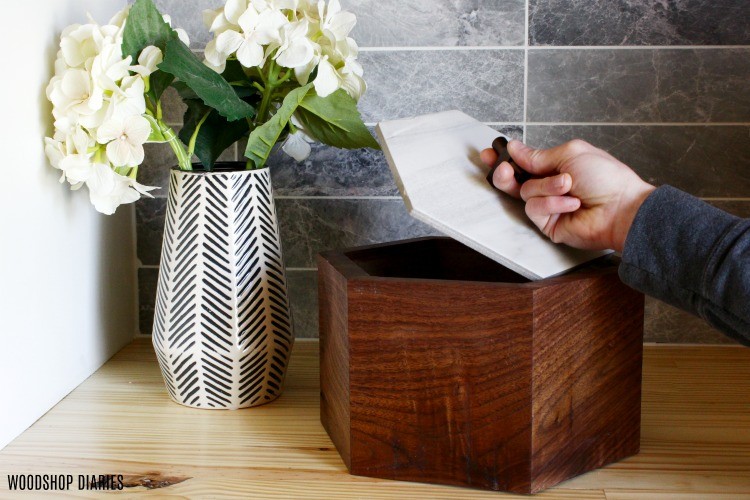
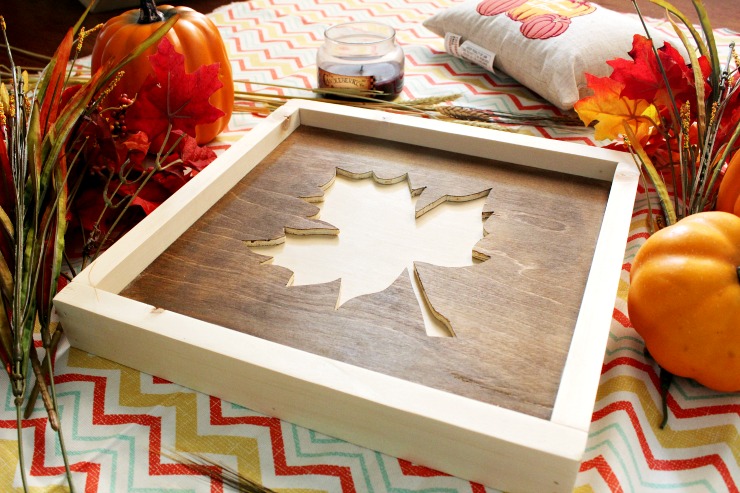
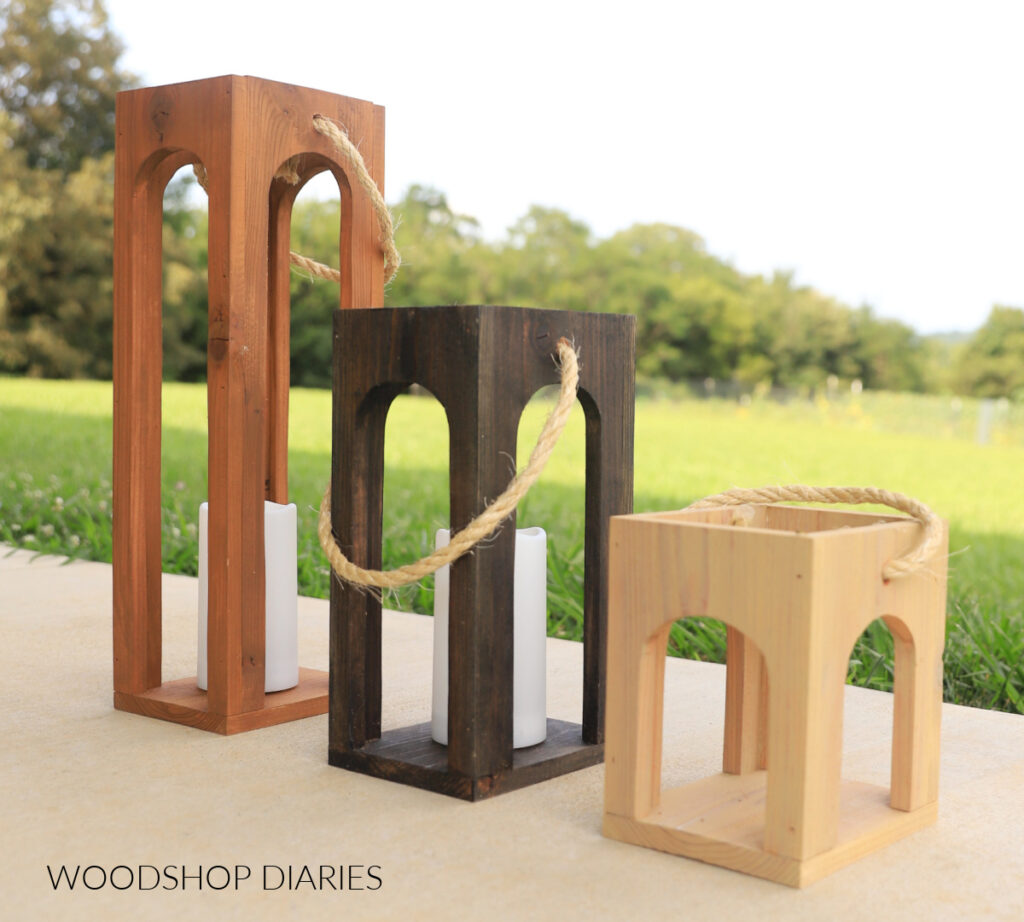
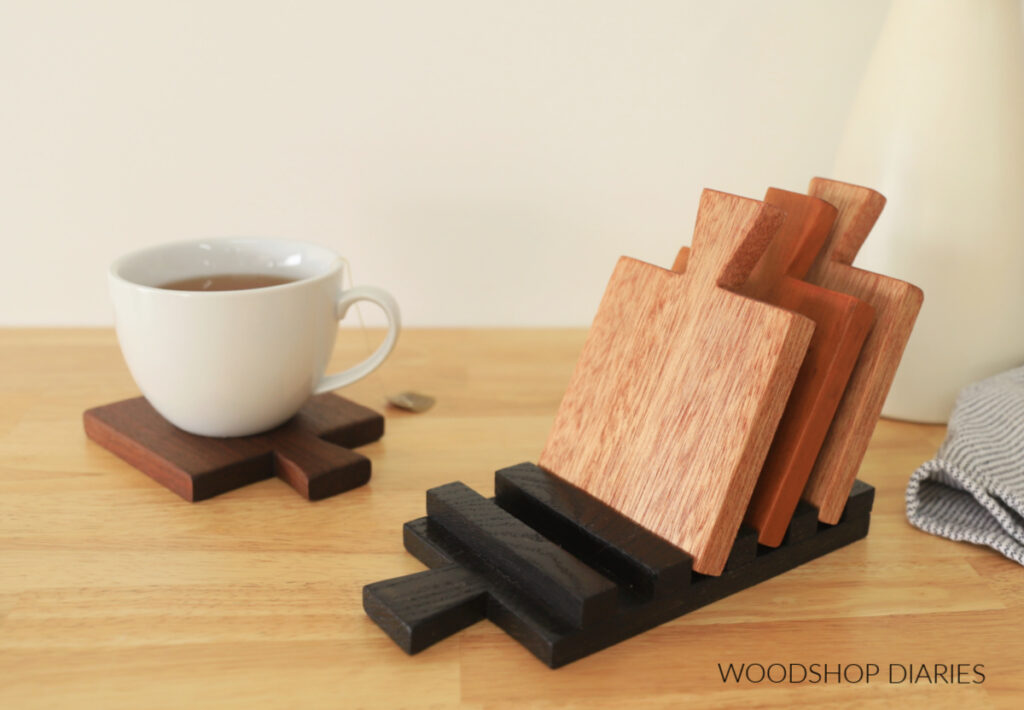
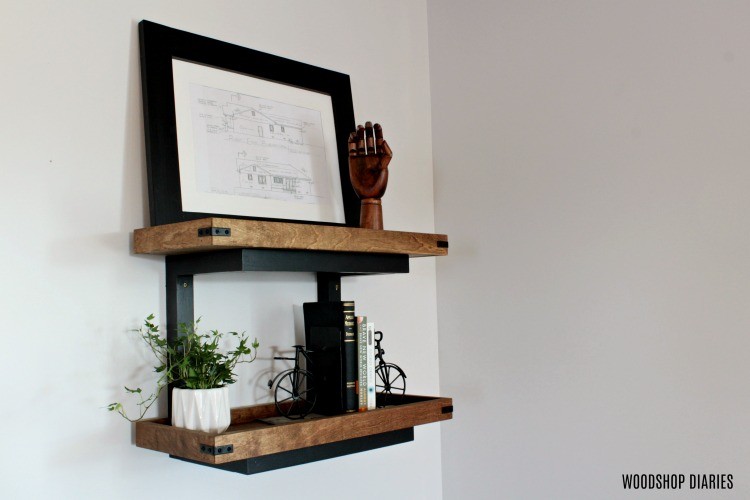
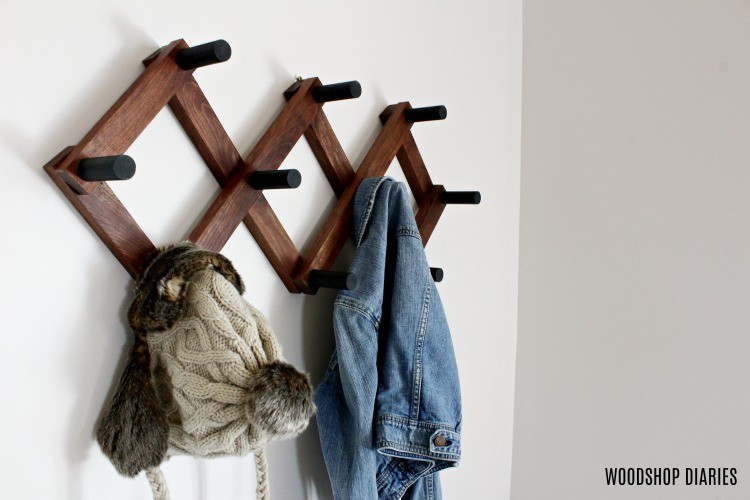
Looking for more scrap wood project ideas?? Click any of the images below for the tutorial to make them!

Are DIY projects your thing? Sign up for our newsletter for priority access to the latest projects and build plans!
Tools & Materials
- Scrap wood (1×6 or 1×8 boards will work best)*
- Jig saw
- Wood Glue
- Miter Saw (optional)
- Clamps
- Drill
- Speed Square
*NOTE: I used poplar wood for the bookend parts and cherry wood for the guitar. If you like the two tone look, but you don’t have different wood types in your scrap pile, you could stain whatever wood you’re using two different colors for the same effect.
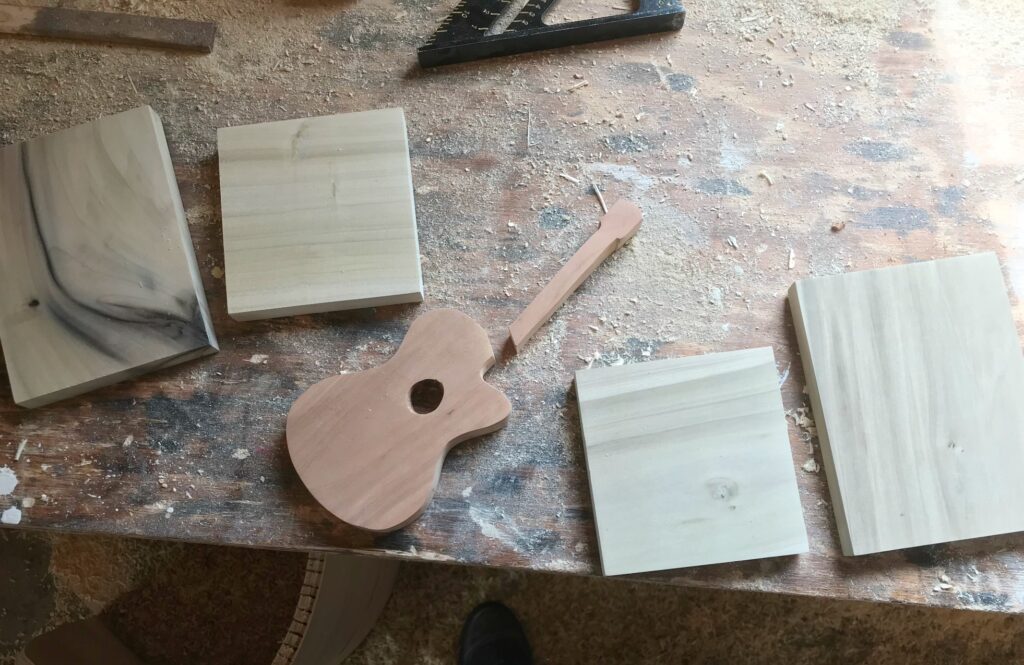
Step 1: Cut Out Scrap Wood Guitar
First, I cut down a piece of my scrap cherry wood to cut out my guitar shape from. This piece was roughly 5″ x 11″, but you can make your shape larger or smaller as desired.
If you are good at free hand drawing feel free to draw your own guitar–or any design you prefer.
I’m terrible at free hand drawing, so I did a quick Google search for “guitar clip art” and printed off a pattern to cut out and trace onto my board. (I also used it to cut a practice guitar out of plywood before I cut my real one from the cherry wood.)
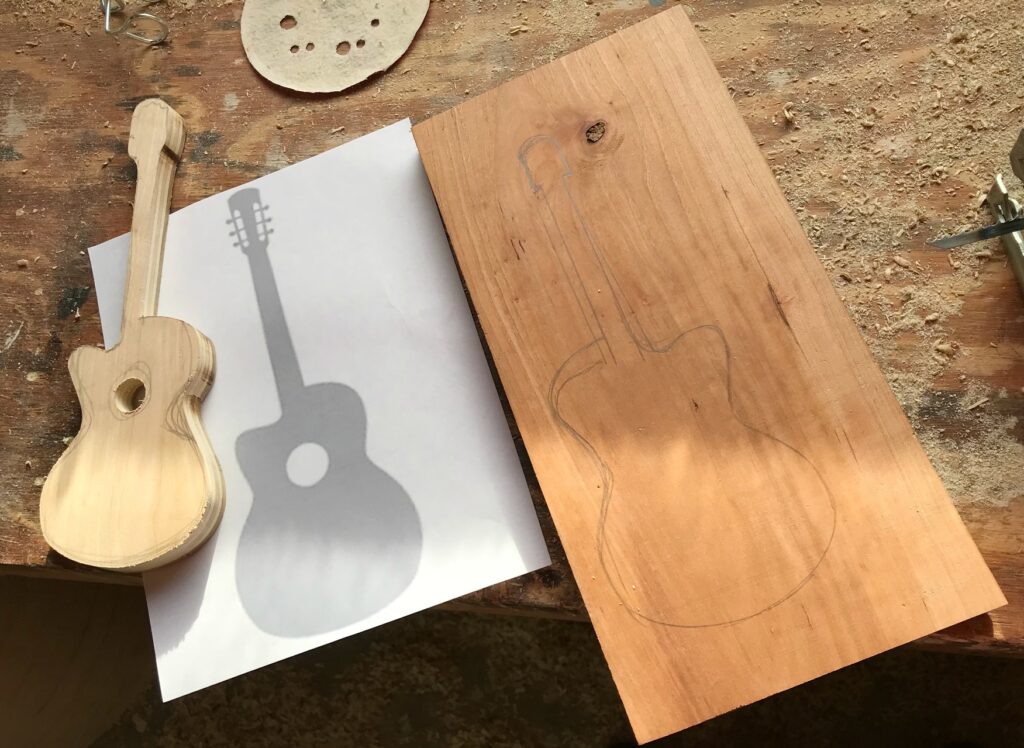
TIP: If you aren’t familiar on how to do this, simply find an image shape you like and copy paste it into a Word document. I like Word because it allows me to resize the image to the size I want with the rulers along the top and side of the page. Then you can print it out and use it as a template.
On that note, this doesn’t even have to be a guitar at all. You can make these bookends be anything you want them to be. Get creative 🙂
Once I had my template, I traced it onto my cherry board and cut it out with a jig saw.
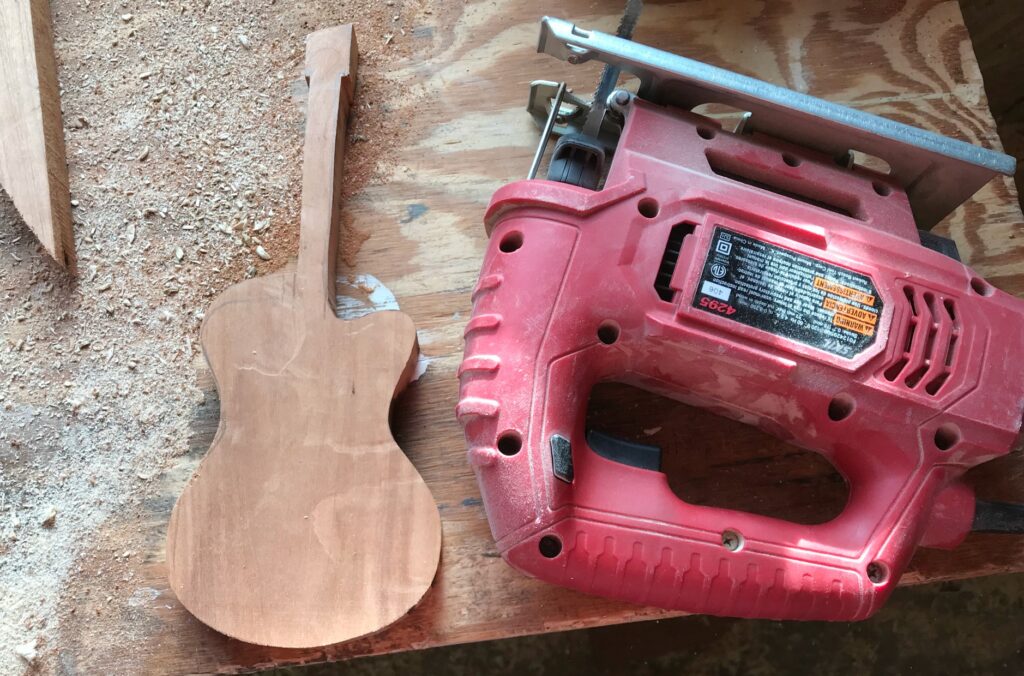
I then, sanded it and used a drill with a large bit to drill a hole in the middle of the guitar.
Step 2: Divide Guitar Between Bookends
Now, since there is a left and right bookend, this guitar has to be divided. I used a speed square and placed my guitar on top like shown.
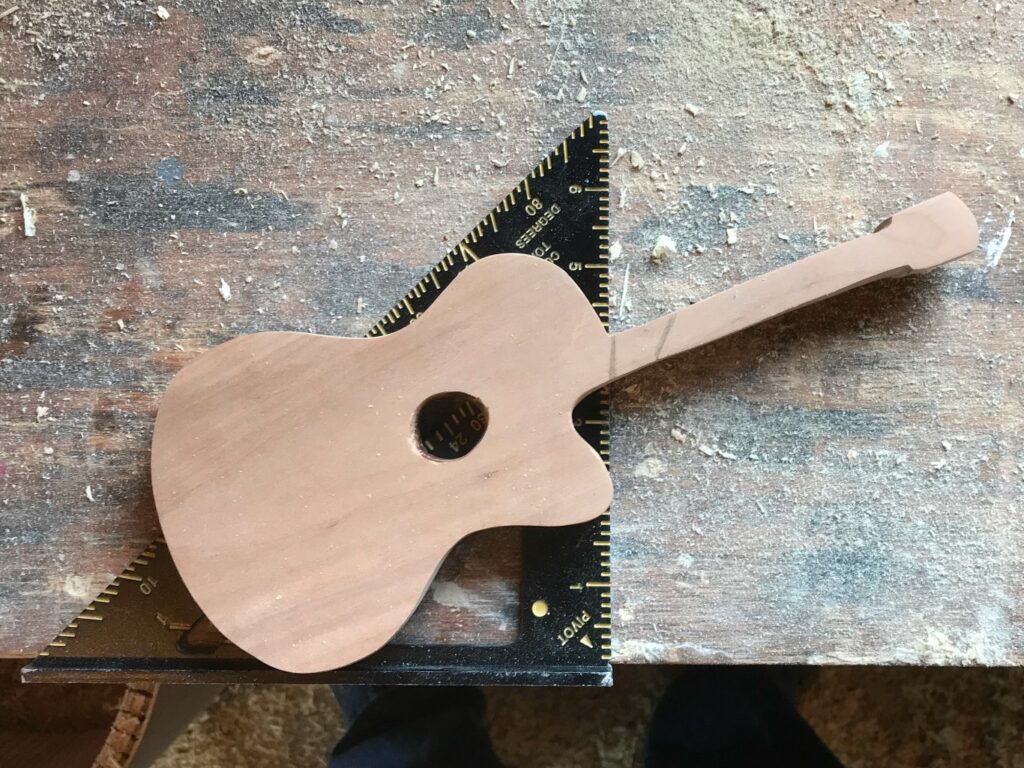
Then I used a pencil to draw a line across the neck of the guitar where it stuck off the right side of the square.
Everything on the left will be on one bookend and everything on the right will be on the other bookend. (Also that mark on the far right was a mistake…ignore that haha)
Basically, whether you’re working with a scrap wood guitar or something else, you just need to kind of divide it how you want between the two bookends.
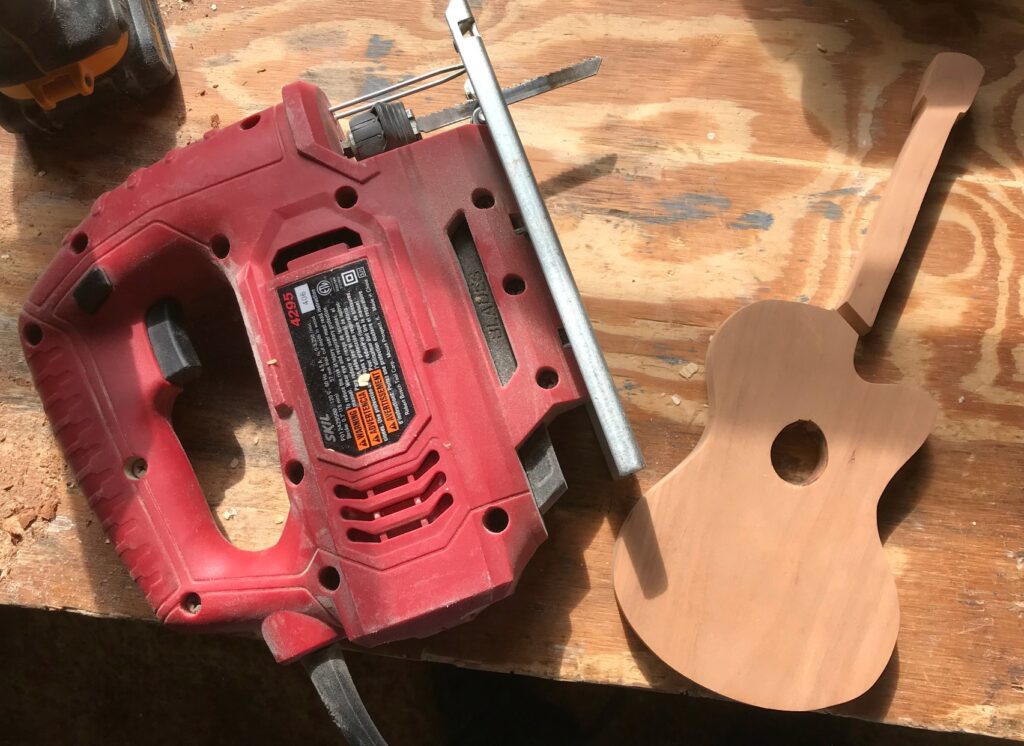
Then, I used my jig saw again to cut along this line.
Step 3: Assemble Bookends
Next, I cut four pieces of the 1×6 poplar scrap board to make the bookends–two pieces 5″ long and two pieces 6″ long.
I glued the 5″ boards onto the bottom edge of the 6″ boards to make two identical L shapes like shown.
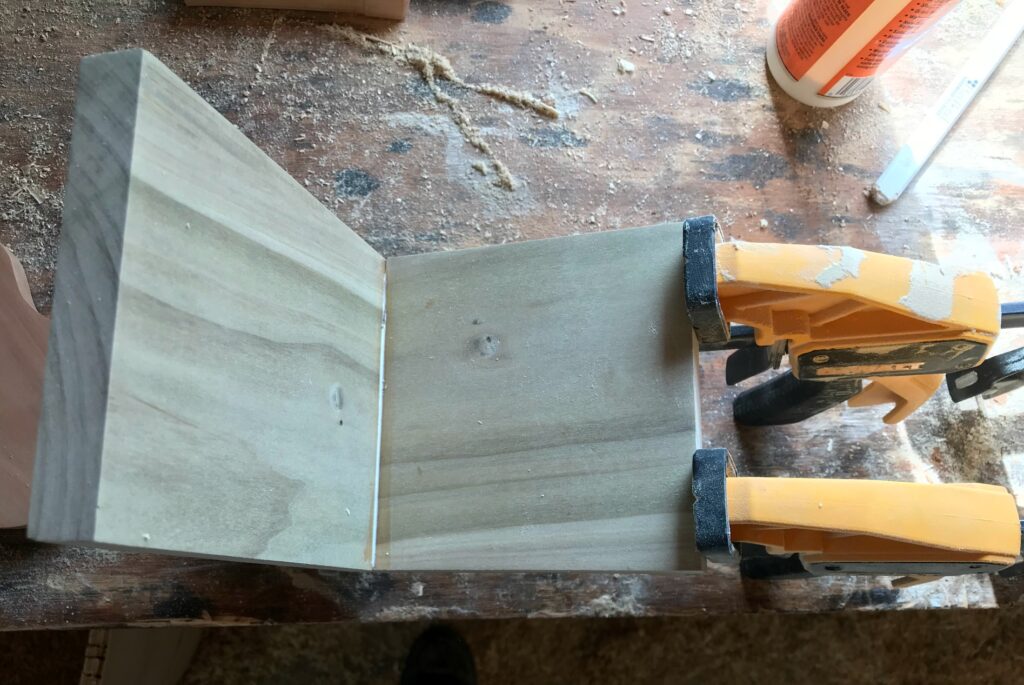
Once the glue was dry, I sealed the pieces separately with a light coat of clear poly. You can paint, stain, finish as desired.
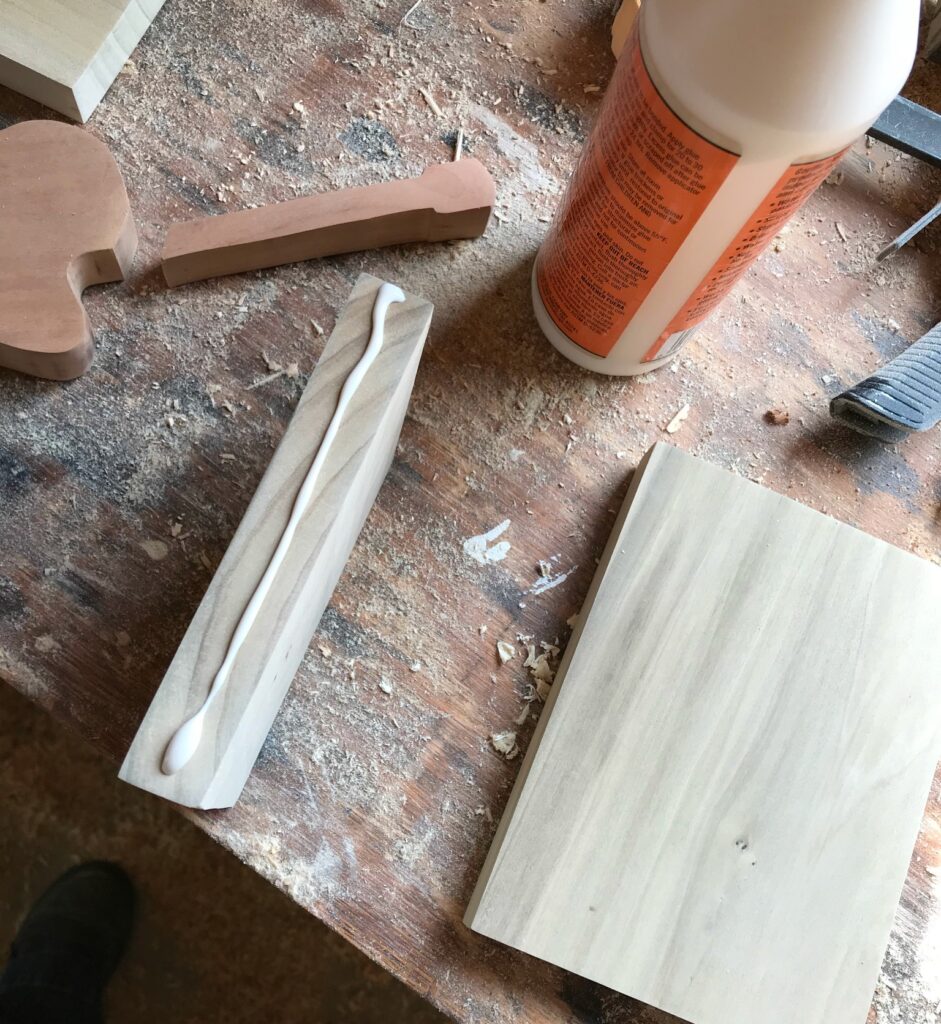
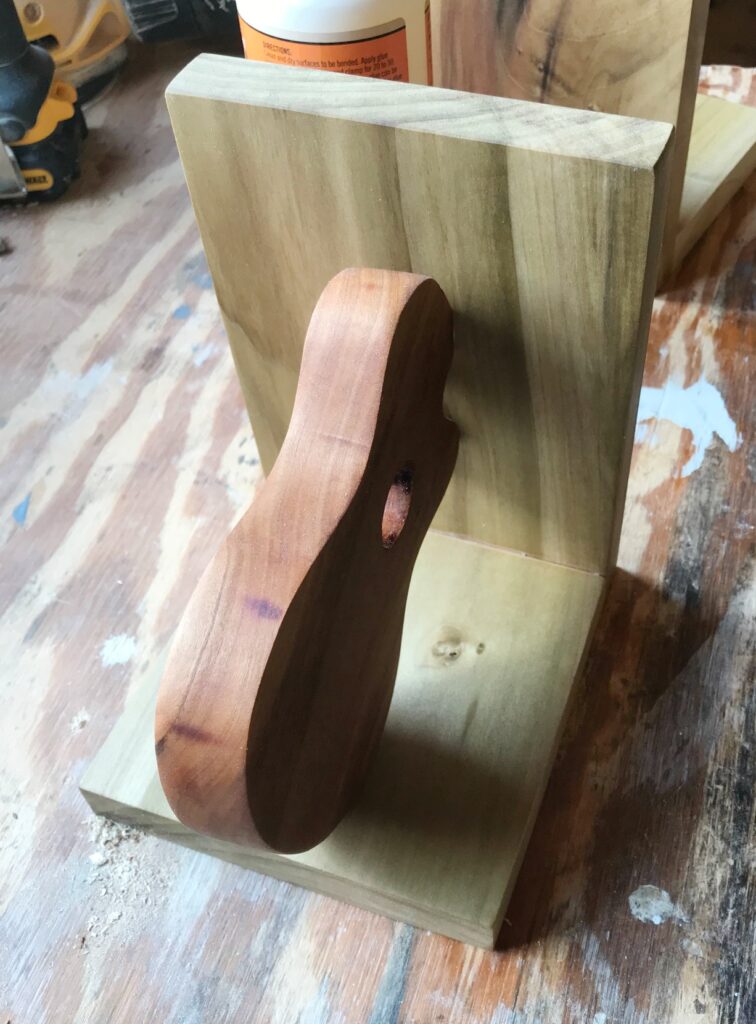
Step 4: Glue Guitar Shape onto Scrap Wood Bookends
Then, I added a small drop of wood glue to the parts of the guitar that will touch the bookend and set it in place.

I used regular wood glue (Gorilla wood glue to be exact), but if you wanted to opt for a quick dry wood glue (like Krazy Glue Wood Glue), you can give that a try insteadl. I feel like regular wood glue takes longer to dry, but is a bit stronger.
Because the glue surface is small and these are hard to clamp in place. So I found it easiest to set it in place so that it kind of stayed on it’s own and didn’t touch it again until the glue dried.
Since the guitar neck piece was leaning, it kept falling over, so I flipped it over and leaned it against the other bookend so it would stay in place until the glue dried.
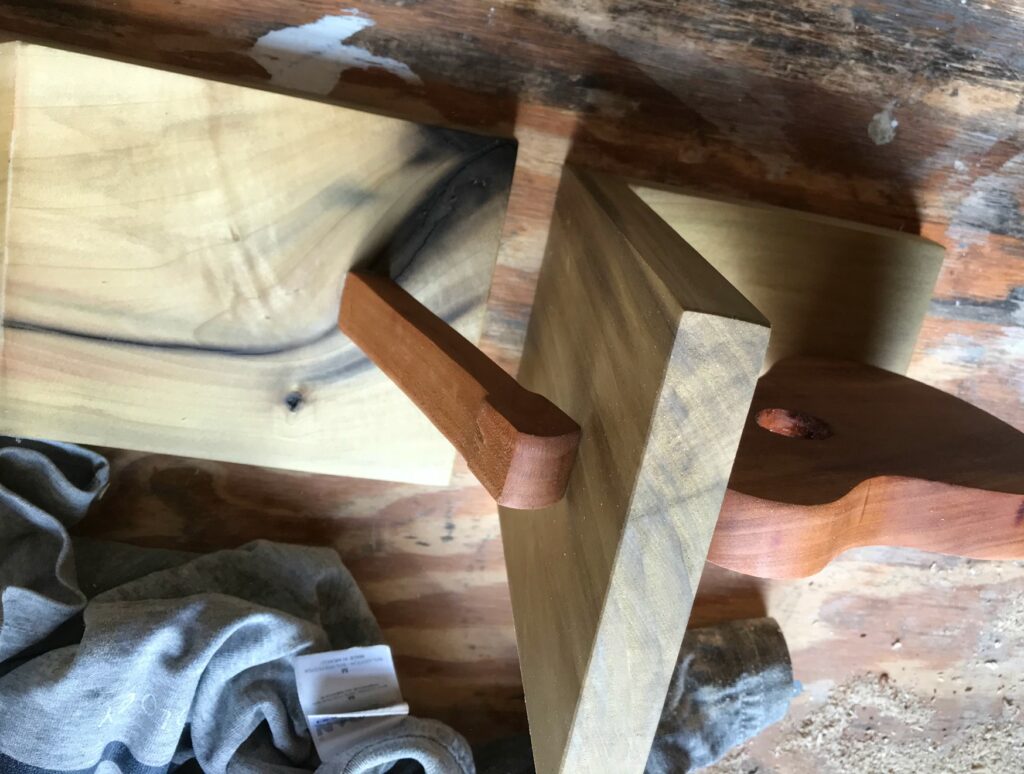
Some painters tape can also help to kind of “clamp” these pieces in place until the glue dries as well.
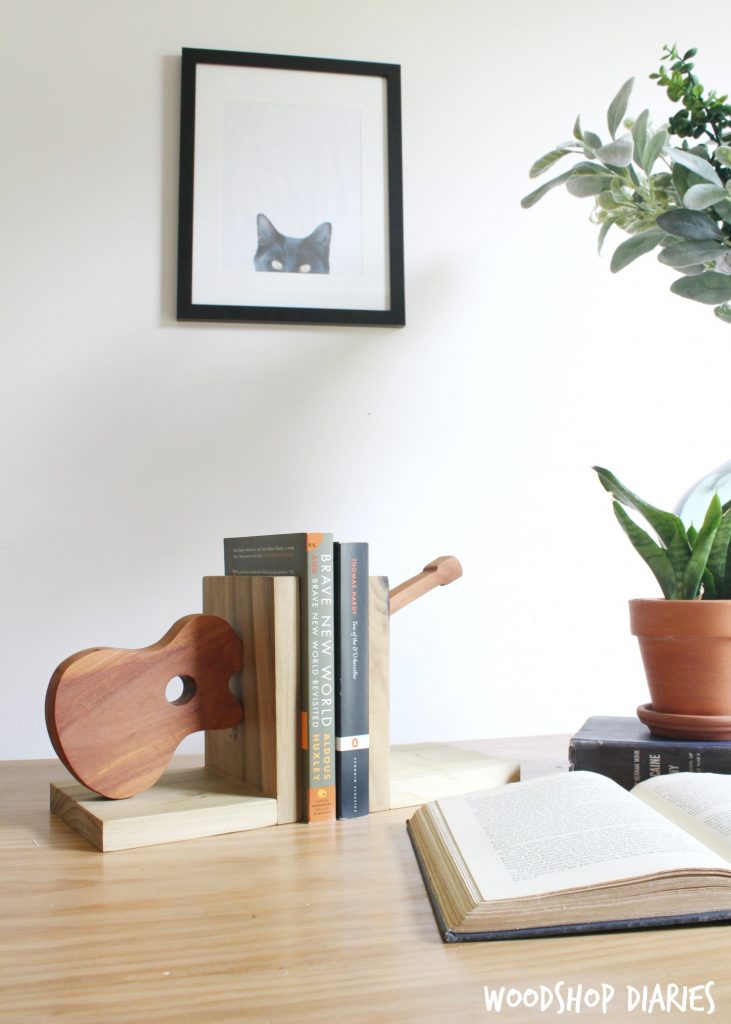
And once the glue had dried, they were ready to use!
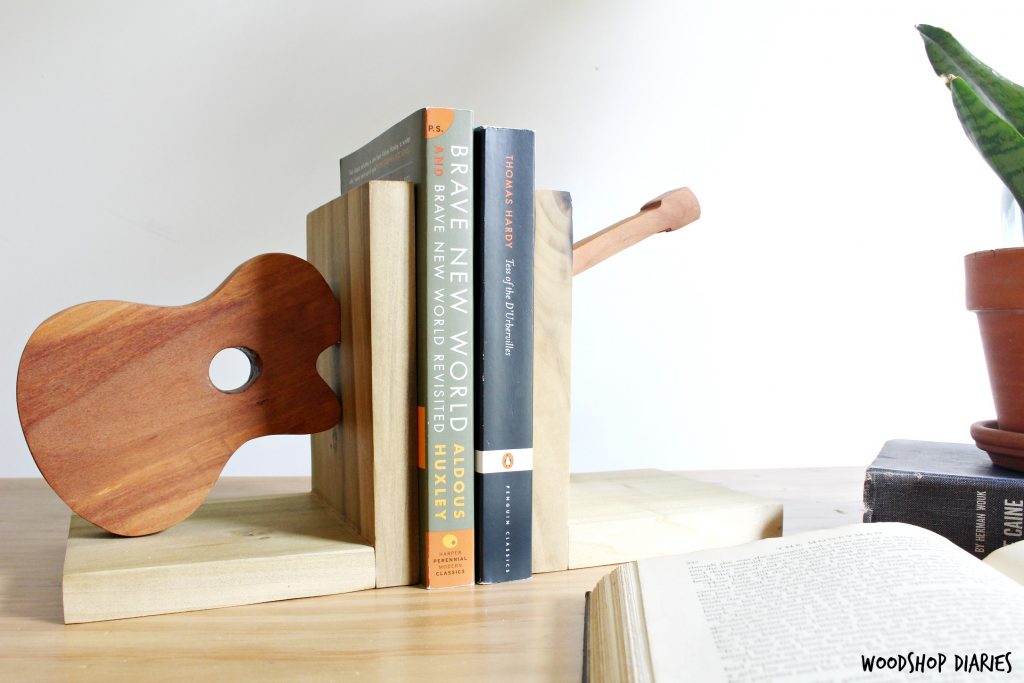
I LOVED how these turned out and I love how simple this project is. You could make these any shape you wanted–letters, names, shapes, animals, whatever.
I’ve played guitar for SEVERAL years, so I thought the guitar was a cute idea for my every growing book collection 😉
I hope you guys enjoyed this quick little scrap wood project and if you want more scrap wood ideas, check out a few of my favorites below 🙂

Until next time, happy building 🙂