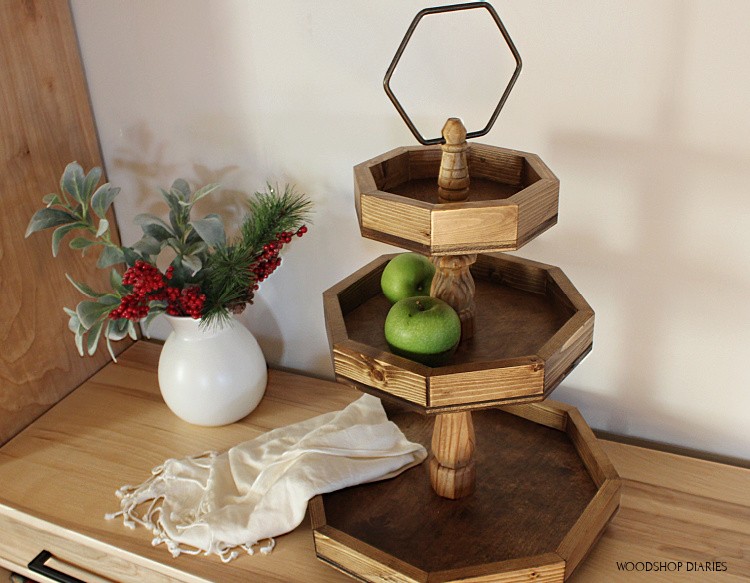
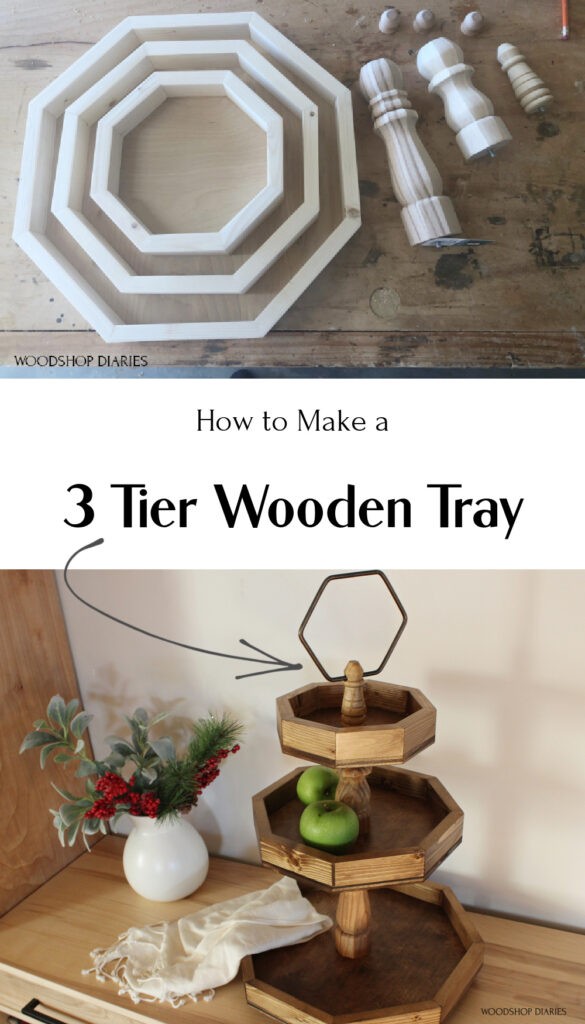
In this post, I’m sharing how to make a 3 tier wooden tray!
The 3 tier tray–A staple in seasonal kitchen decor. You see them all over Pinterest and in the magazine decorated for every season.
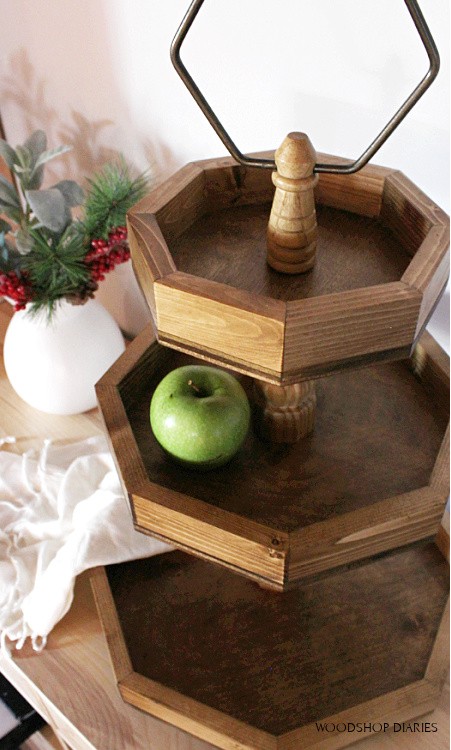
But, you could also just be super practical and use it as a fruit tray, too haha. Either way, every kitchen needs one of these and this one is really easy to make yourself!
.
So, let’s get building 🙂
This post contains affiliate links. See policies page.
For this DIY 3 Tier Wooden Tray, You Will Need:
- (2) 1×2 boards
- ¼ sheet ¼″ OR ½″ plywood
- (1) 6″ Furniture Leg
- (1) 9″ Furniture Leg
- (1) 3 ¾″ Furniture Leg
- Finial caps
- Wood Glue
- Drill
- Miter saw
Step 1: Build Tier Tray Edges
To get started, I set my miter saw up to cut a 22.5 degree miter. Since the tray sides make an octagon (8 sides of equal length), the pieces need to be cut at 22.5 degrees.
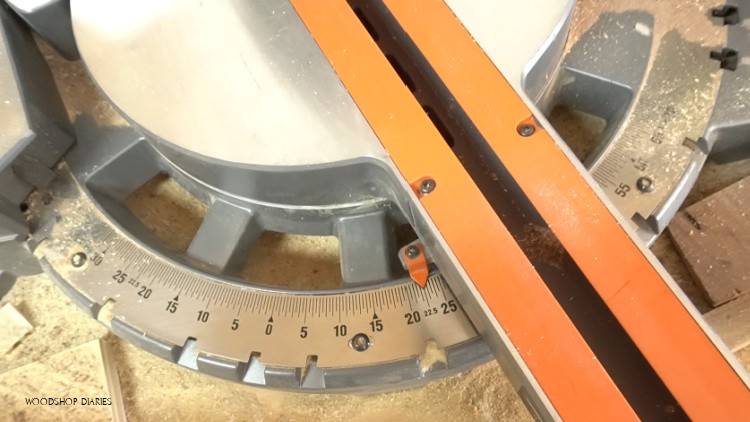
Then, I began cutting the pieces for the tray edges. To figure out the length the sides needed to be, I took the diameter I wanted each tray and multiplied by 0.383.
.
My bottom diameter needed to be ABOUT 17″ (I wasn’t picky about being EXACT here…just kind of close). So, 17″ x 0.383 = about 6 ½″. So I cut 8 pieces of 1×2 at 6 ½″ long with mitered ends 22.5 degrees not parallel to each other.
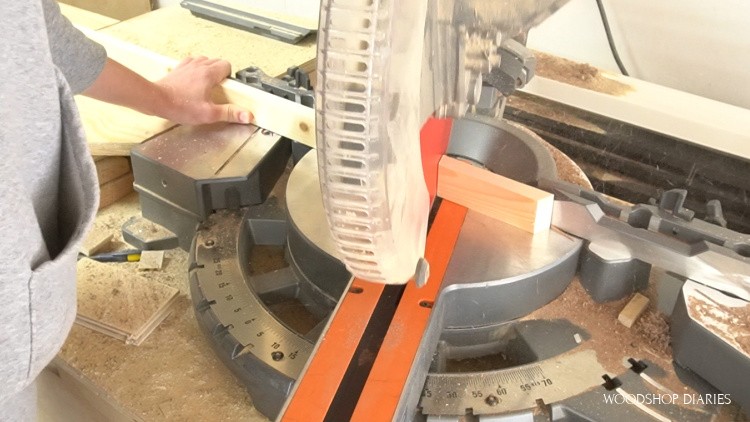
Then, I did the same for a 13″ and a 9″ diameter octagon. So I cut 8 more pieces 5″ long for the 13″ middle tray and 8 pieces 3 ½″ long for the 9″ top tray.
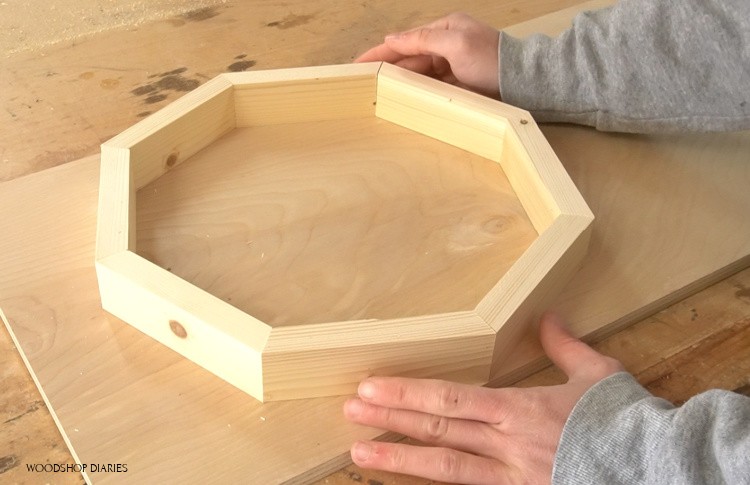
If you want different size trays than mine, it’s EASY to modify. Just multiply the size you want by 0.383 to figure out the length to cut your pieces.
.
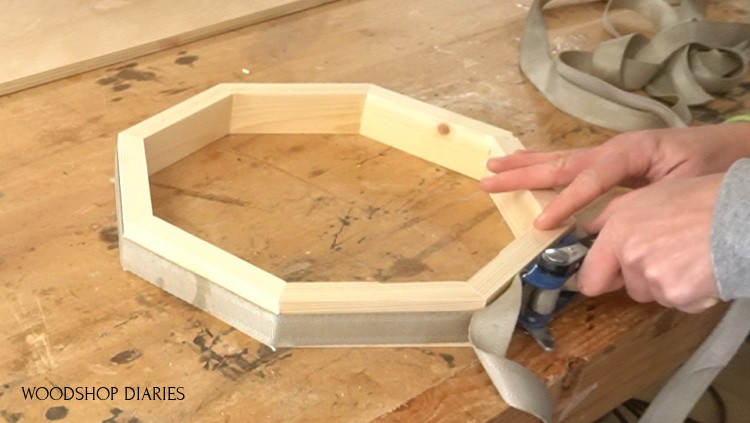
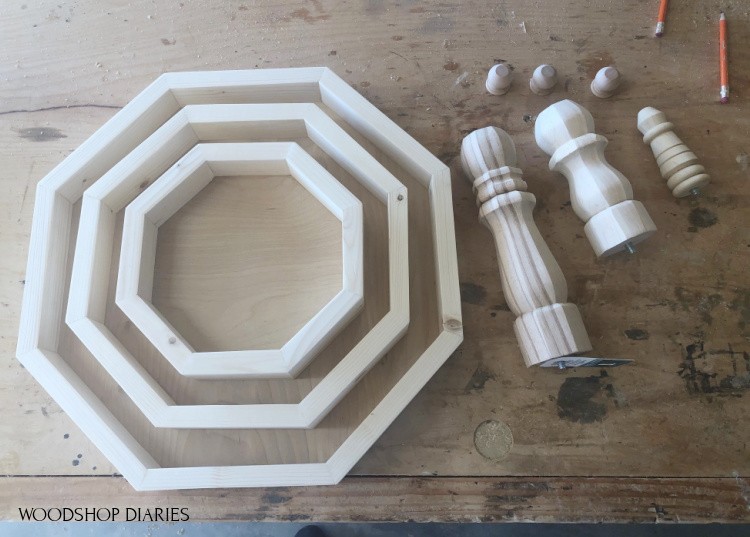
Once I had my pieces cut, I glued the edges together to make 3 octagons.
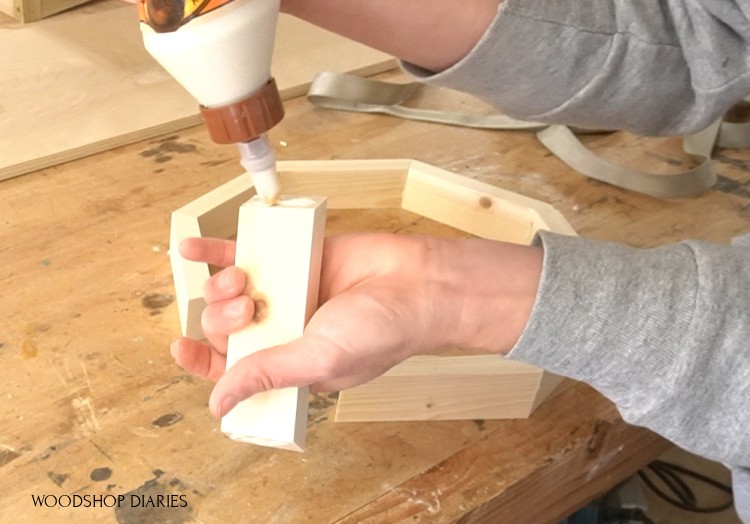
To glue, just add a little glue on the ends of each piece and either clamp together with a ratchet strap clamp, OR you can also use some painters tape to hold it while the glue dries.
Step 2: Attach 3 Tier Tray Bottoms
Once the glue is dry on the octagons, it’s time to add the bottoms. Now, you could use either ¼″ or ½″ plywood for this. Quarter inch would probably look a little nicer on the edges, but I only had ½″ in the shop at the time I made these, so I just used ½″.
.
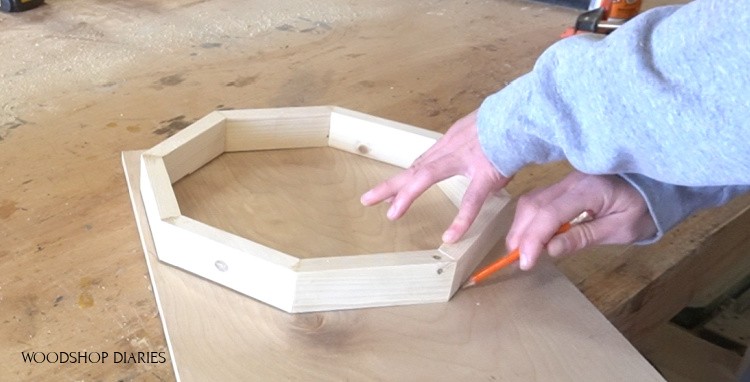
I laid the octagons out on the plywood, and traced around the edges.
Then, I took it to the miter saw and cut the sides. You can cut four of the sides with the miter saw set to 0 degrees, and cut the other 4 with the miter saw set to 45 degrees.
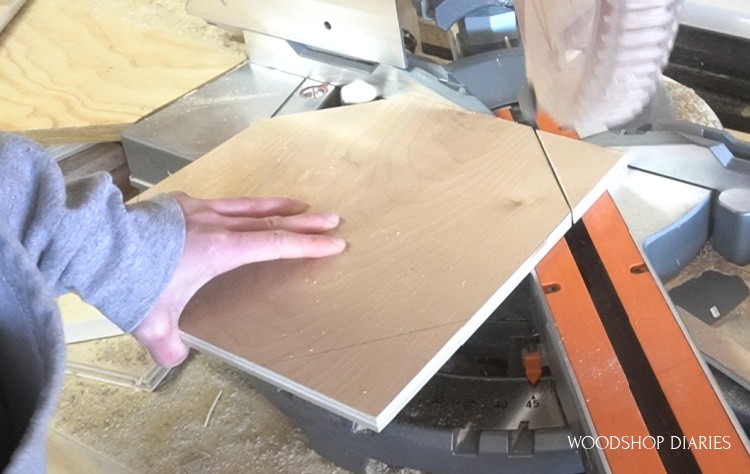
OR, you can cut this out with a jig saw instead.
.
Once the bottoms were cut, I just applied some glue around the edges and clamped the pieces from step 1 onto them.
Step 3: Install 3 Tier Posts
After the glue had dried on all three trays, I gave them a good sanding and began attaching them together.
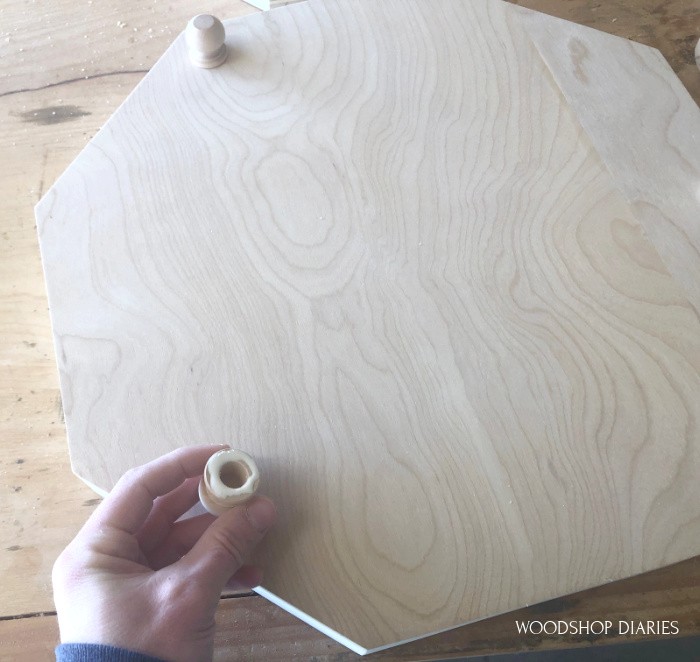
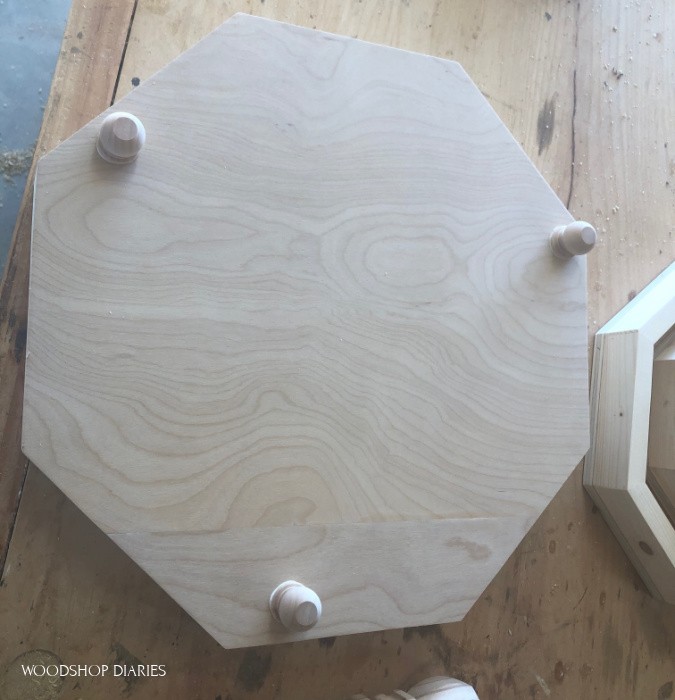
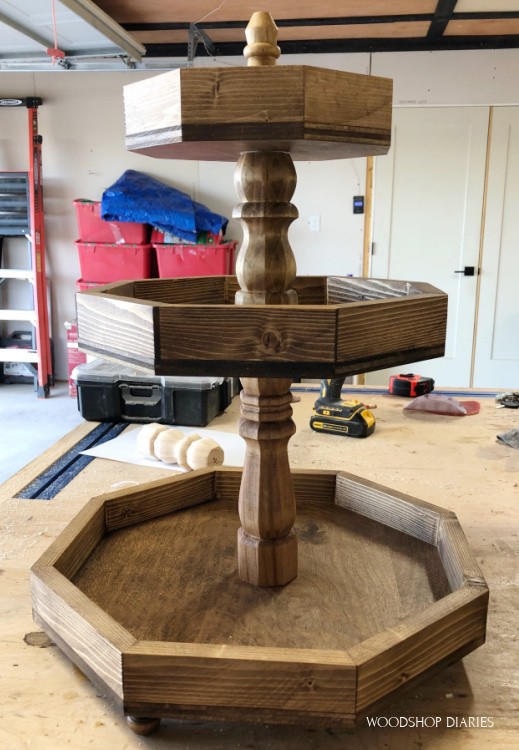
First, I glued on three small finial caps to the bottom tray like shown.
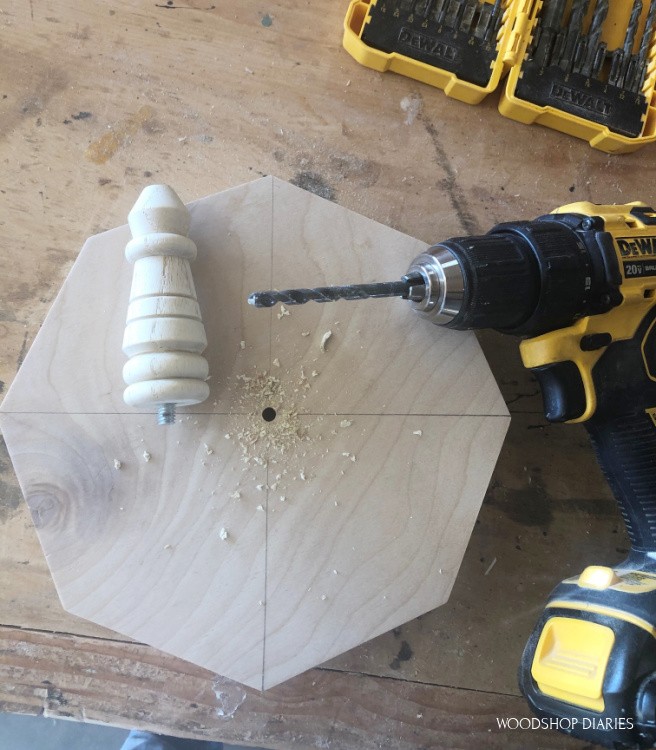
Then, I drew lines across opposite points on the bottom side of each tray to find the center. Each furniture leg has a little bolt sticking out of one end. I found a drill bit the size of the shank (NOT THE THREADS, just the solid shank in the middle) of this bolt and drilled a hole on the center point.
Then, I flipped it over, applied a little glue around the bottom of the leg, and screwed the legs in place.
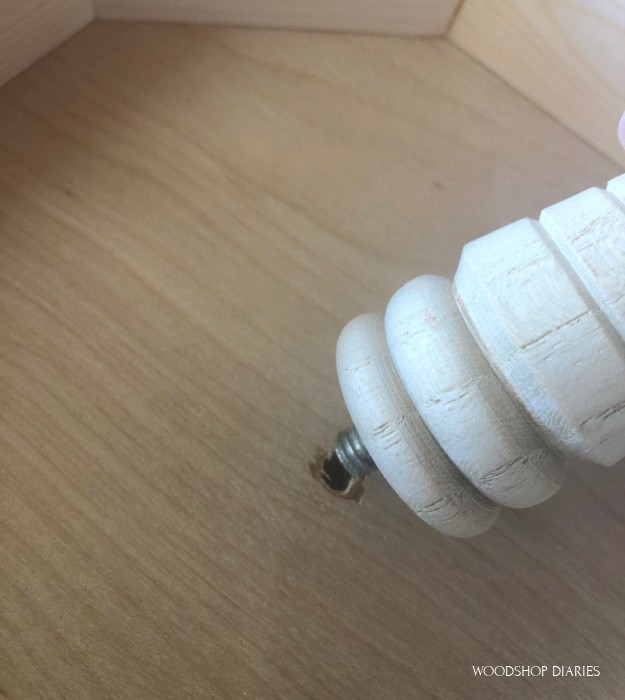
NOTE: The longer leg goes between the middle and bottom tray, the shorter leg goes between the middle and top tray, and the smallest leg goes on the top tray. Make sure you’re installing the correct leg into the correct tray.
.
I did this for all three trays.
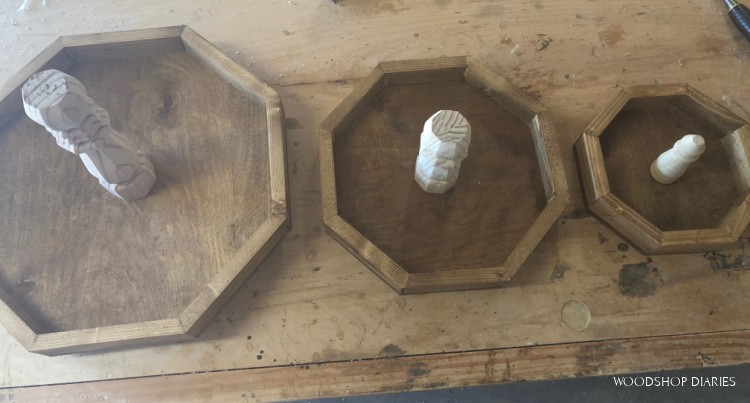
Also, ignore the fact that I stained the trays and not the posts here. I was making this for my sister and we were playing around with some ideas, but I ended up staining the entire thing later, so feel free to stain at any time in the process if you want.
Step 4: Put 3 Tier Trays Together
Once all the posts were installed, all that’s left is just to put them together.
.
I simply applied some wood glue to the top of the posts and set the tray above it on top.
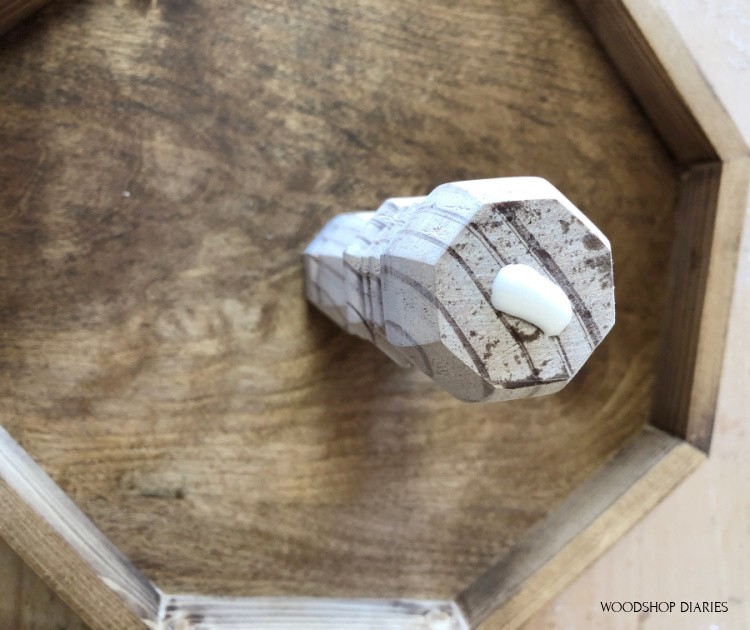
I could have also used a screw, but unless you’re weighing the tray down a ton, glue should hold it pretty well.
.
Eyeball it from multiple angles to make sure you have the tray centered on the post, press firmly, then let it dry.
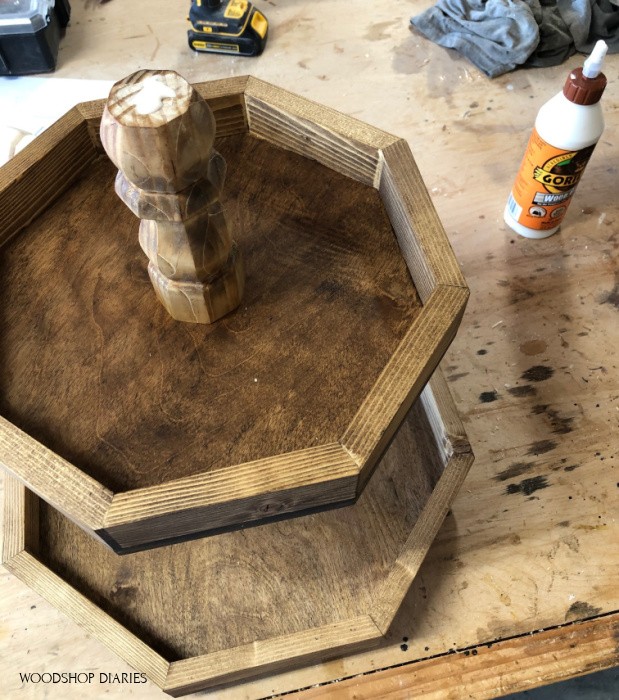
After it’s dry, repeat for the top tray.
Finish as desired–if you’re using this for food, make sure to apply a food safe finish. FYI…MOST clear coat polys are food safe once they’re fully cured, but check the label to make sure.
.
I just sprayed some Minwax Helsman Clear Coat after I stained it with Minwax Provincial. I’m not using it for food, so I wasn’t concerned whether it was food safe.
.
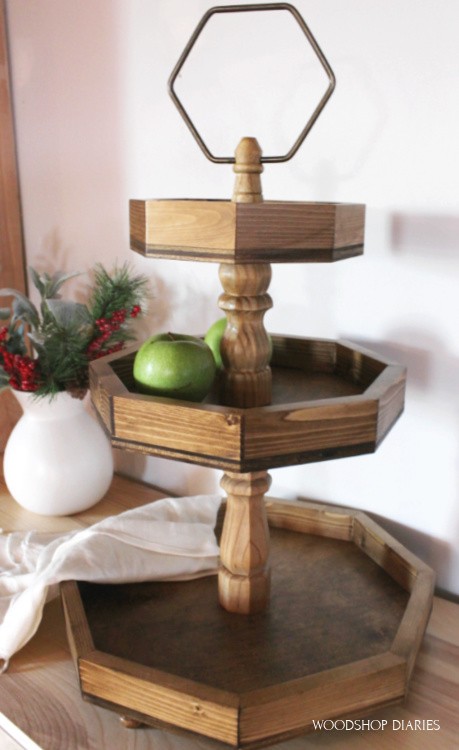
If you want, you could also install a ring through the top, or some sort of hardware. I actually used a “ring” from a towel rack.
I removed it from the piece that attaches to the wall (it wasn’t a solid ring–there was a split in it, so I just pulled each end apart to remove it), drilled a hole through the top piece of the tray and stuck it in.
.
And, now you’ve got a practical serving tray, but also a fun seasonal decor holder *wink wink*
So, I hope you’ve enjoyed this simple project on how to make a 3 tier wooden tray! If you’re looking for more seasonal inspiration OR home decor DIYs, check more simple DIY ideas here.
.
And if you want to save this DIY for later, be sure to pin it!
Until next time, friends, happy building 🙂


