In this post, I’m exposing 7 common mistakes made when using pocket holes AND how to fix them!
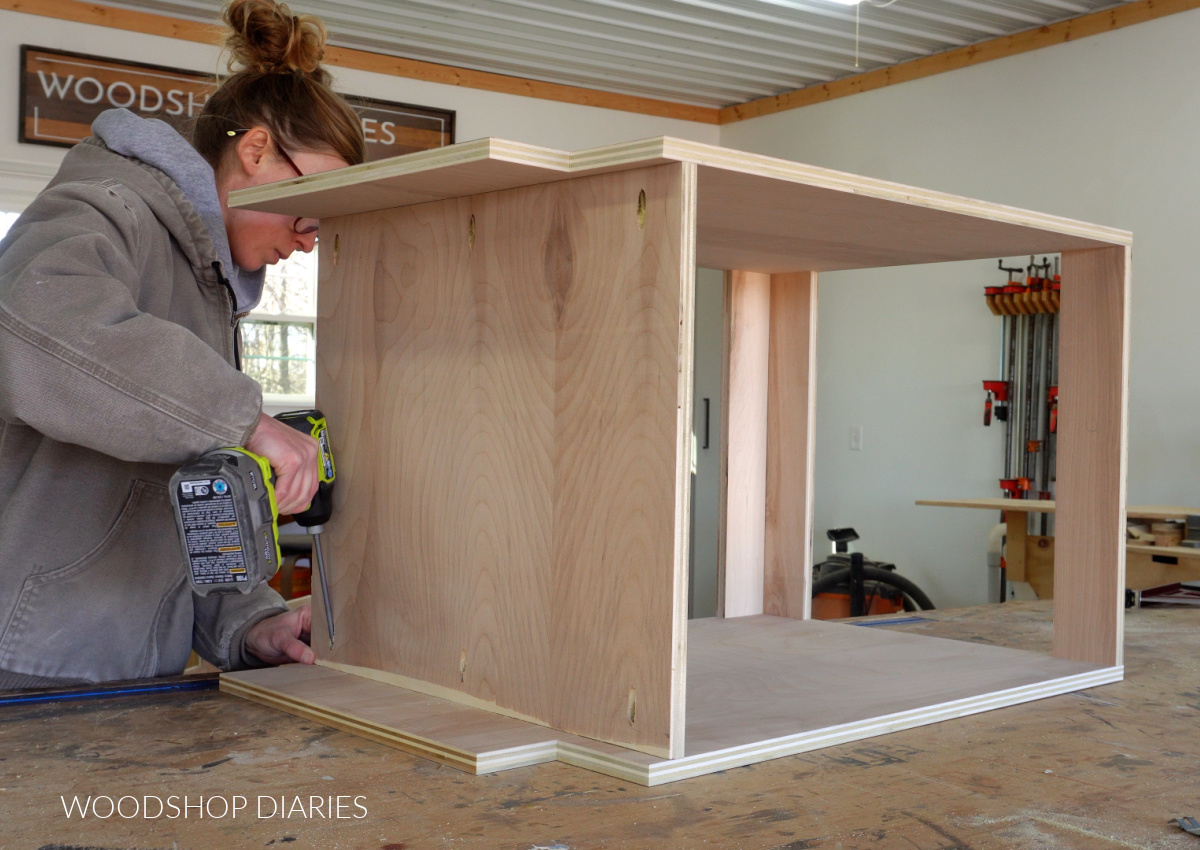
Pocket hole joinery is a simple, strong, and beginner-friendly method of joining pieces of wood to build things like cabinets, furniture, and décor.
But even though it’s a simple woodworking joinery method, when you’re first getting started with pocket holes, it can be a bit confusing.
What setting do I use on the jig? Why aren’t my pieces getting tight? How do I keep my pieces from moving while driving the screws?
If you’ve asked any of these questions, you’re definitely not alone. And–you’re also in the right place.
Below I’m sharing the most common pocket hole problems AND how to fix them so you can confidently use pocket holes in your next DIY project.
*This post contains affiliate links. See website policies.
What is a pocket hole?
Pocket hole joinery is a method of joining wood together that involves drilling a hole (called a “pocket hole”) into the end of a board at a 15 degree angle. Normally, this is drilled using a pocket hole jig.
RELATED: How to choose the best pocket hole jig
The wood is assembled by driving a screw through this hole and into the adjoining board.
One of the great things about pocket hole joinery is that it’s quick, strong, and requires minimal tools–just a drill and a pocket hole jig.
But, as great as pocket holes may be, they still have their challenges.
If you’re brand new to pocket holes, you might find these additional resources helpful to get started:
Common Problems When Using Pocket Holes
Over the years, I’ve received hundreds of messages with questions about pocket holes. And what I’ve found is that almost every question stems from one of these 7 common pocket hole mistakes.
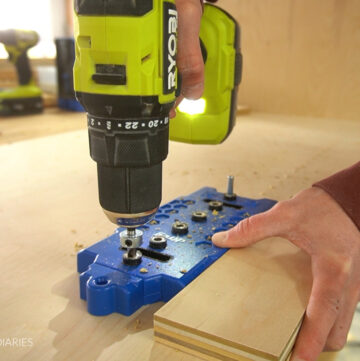
1. Incorrect or Mismatched Jig & Drill Bit Settings
A pocket hole jig is used to drill pocket holes. Both the jig and the drill bit must be set up for the correct thickness of wood before drilling–and they should match.
For example, if you’re drilling into a piece of wood that is ¾″ thick, the jig AND the drill bit should BOTH be set to the ¾″ setting.
Learn more about how to set up and use a pocket hole jig here.
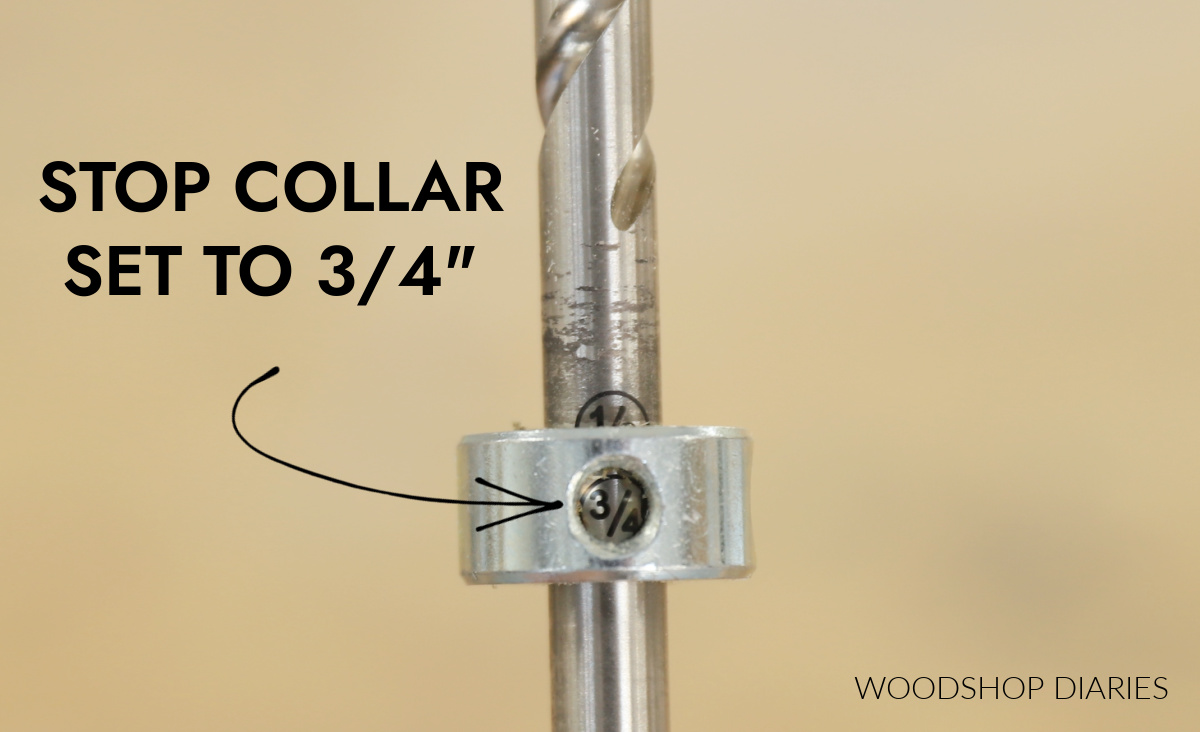
NOTE: SOME pocket hole jigs (like the Kreg 720) automatically adjust themselves for the board thickness, but in most cases, you need to manually adjust.
If either your jig and/or drill bit are set too long, you’ll drill through the end of the board making the pocket holes unusable.
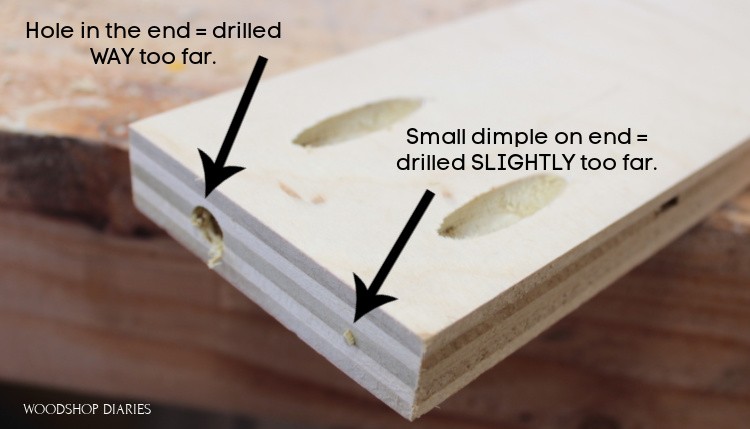
If they are set too short, you won’t drill far enough and can end up with loose or weak joints after you drive your screw.
ALWAYS double check that both your jig and your drill bit are set up correctly for the board you’re drilling into and that they match.
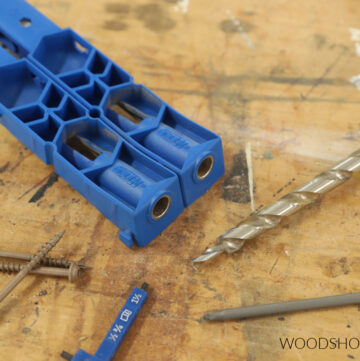
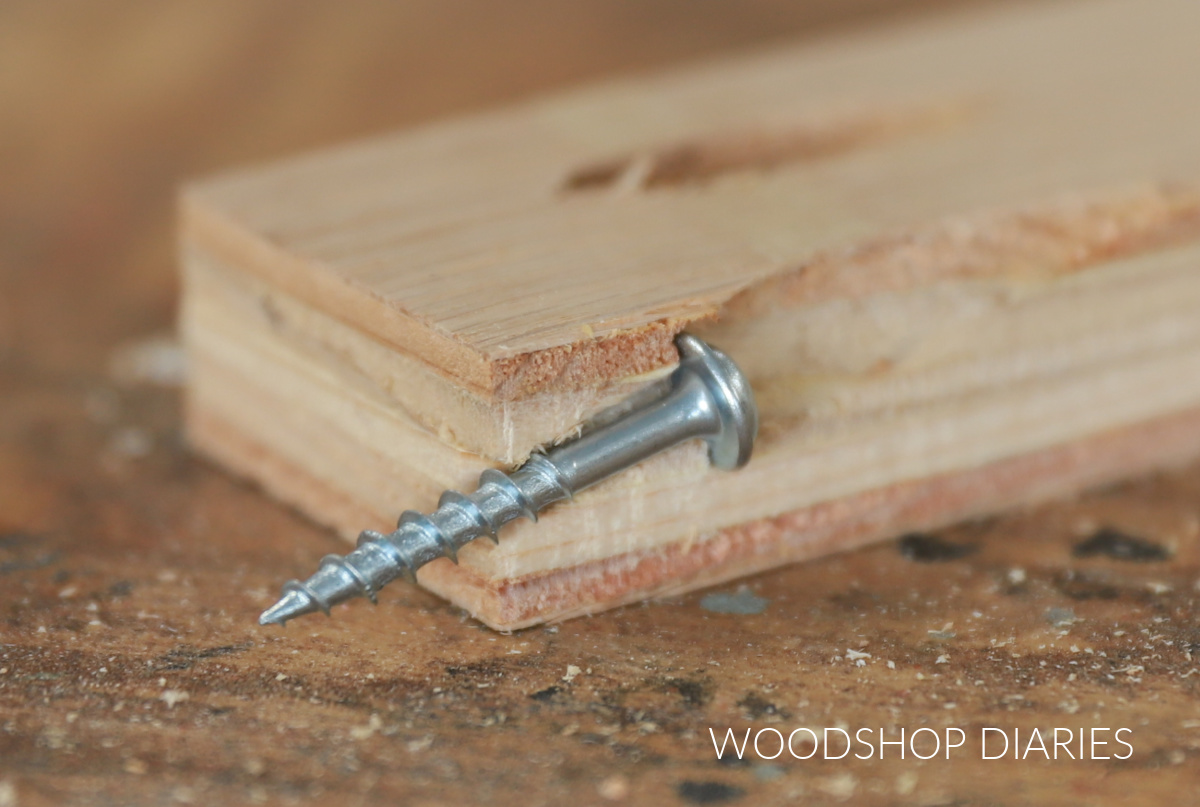
2. Using the Wrong Length Screw
When connecting boards with pocket holes, it’s important to use the right length screw. If it’s too short, the joint will be weak. If it’s too long, the screw can poke out the other end.
To choose which length to use, I first determine the thickness of the boards I’m joining.
If they’re different thicknesses, I pick the thinnest of the two. For example, if I’m attaching a piece of ¾″ plywood to a 2×2 (which is 1 ½″ square), then I’d use ¾″ because it’s thinner.
Then, I choose screw length accordingly:
- For ½″ material, use 1″ long pocket hole screws
- For ¾″ material, use 1 ¼″ long pocket hole screws
- For 1 ½″ material, use 2 ½″ long pocket hole screws
- For 3 ½″ material, use 4″ long pocket hole screws
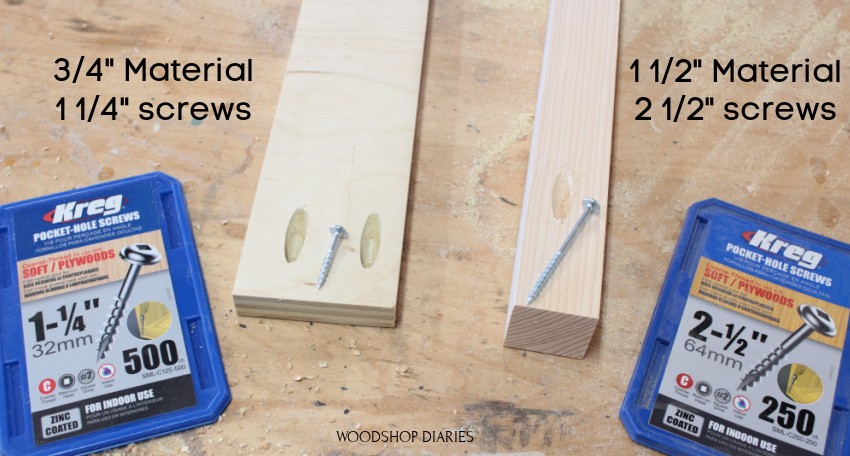
If you’re working with other thicknesses, check out the Kreg Screw Guide for guidance on screw length.
3. Using the Wrong Type of Screw
ALWAYS USE WASHER AND/OR PAN HEAD SCREWS WITH POCKET HOLES. I put that in bold and all caps because it’s critically important for a proper pocket hole joint.
Washer and pan head screws are flat on the bottom of the head. So once they’re seated in a pocket hole, they stop and do not countersink into the wood.
This is important because it allows the screw to pull the adjoining board nice and tight, but it also prevents the screw from driving too far and poking out the other end.
Using countersinking or conical head shaped screws in pocket holes can cause loose joints and often results in screw tips popping out.
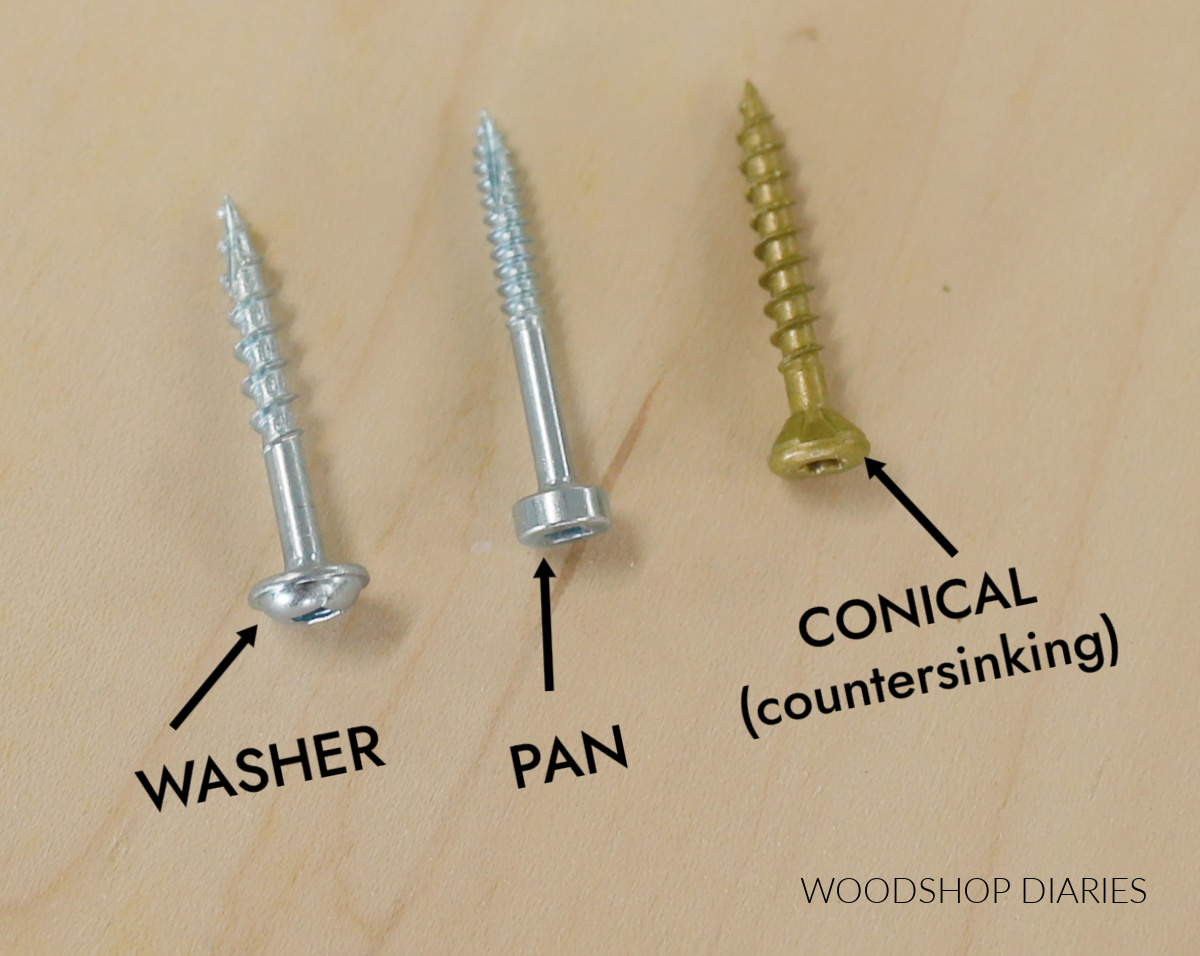
Learn more about how to choose the right screw for your DIY projects here.
NOTE: When possible, it’s recommended to use fine thread screws with hardwoods and coarse thread screws with softwoods and plywood.
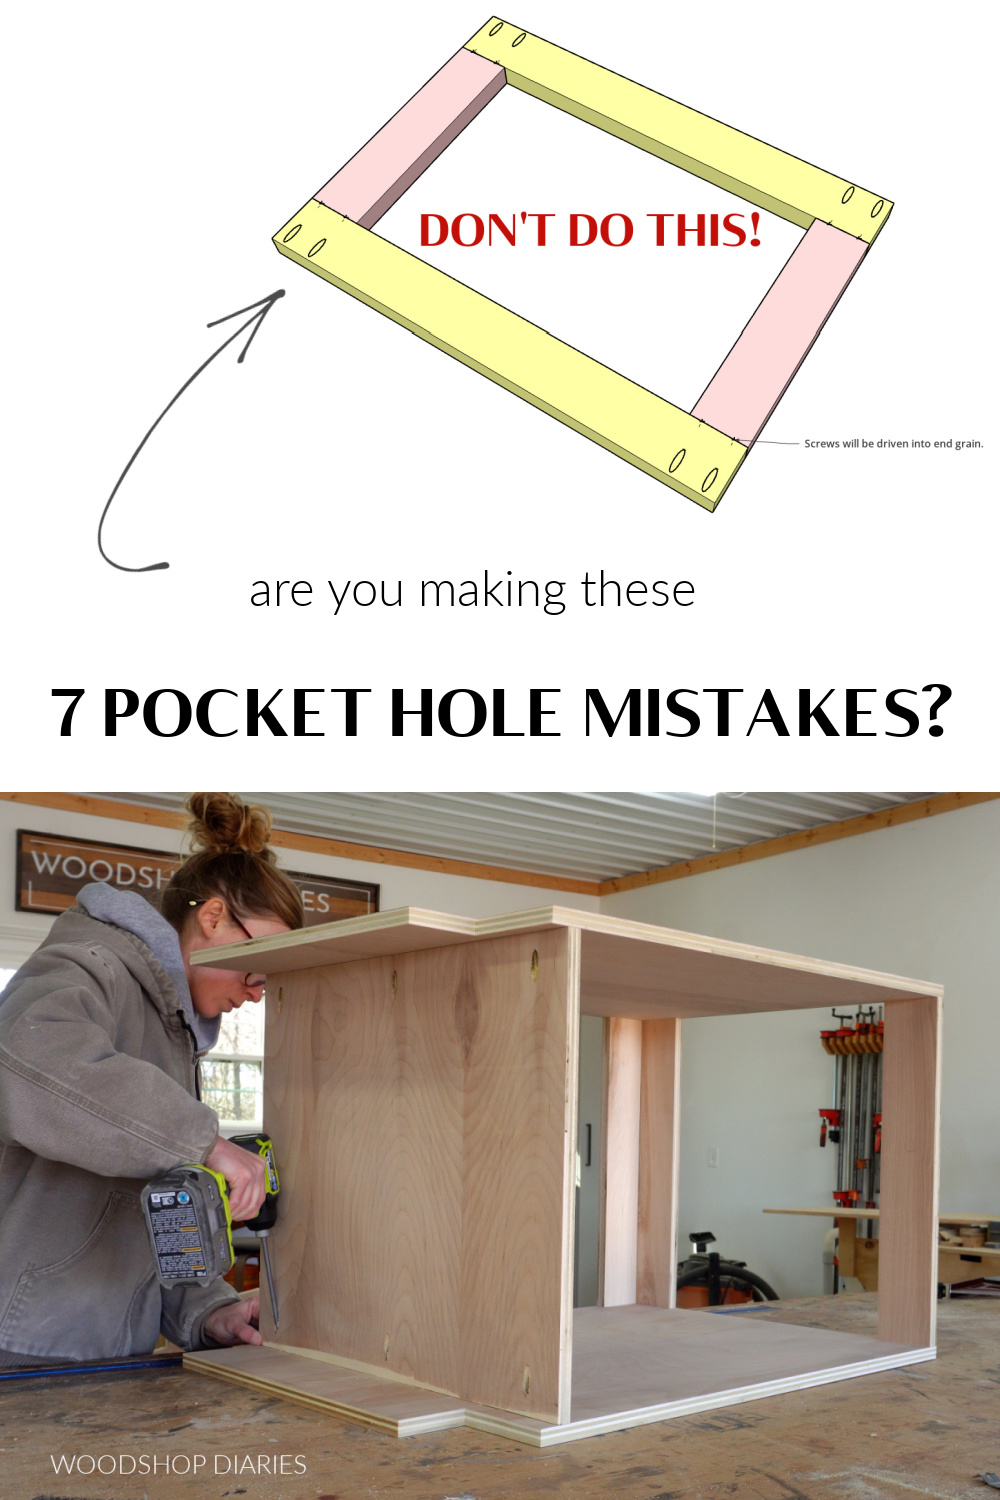
4. Drilling into the Wrong Board
There’s not always a right or wrong piece to drill a pocket hole into. Sometimes, especially when working with plywood, you can drill pocket holes into either piece depending on how you want them to fit together.
But, when you’re joining two pieces of solid wood, you never want to drill pocket holes along the edge of a board (or across the wood grain) where the screw will be driving into the end grain of the joining board–like you see in the diagram below.
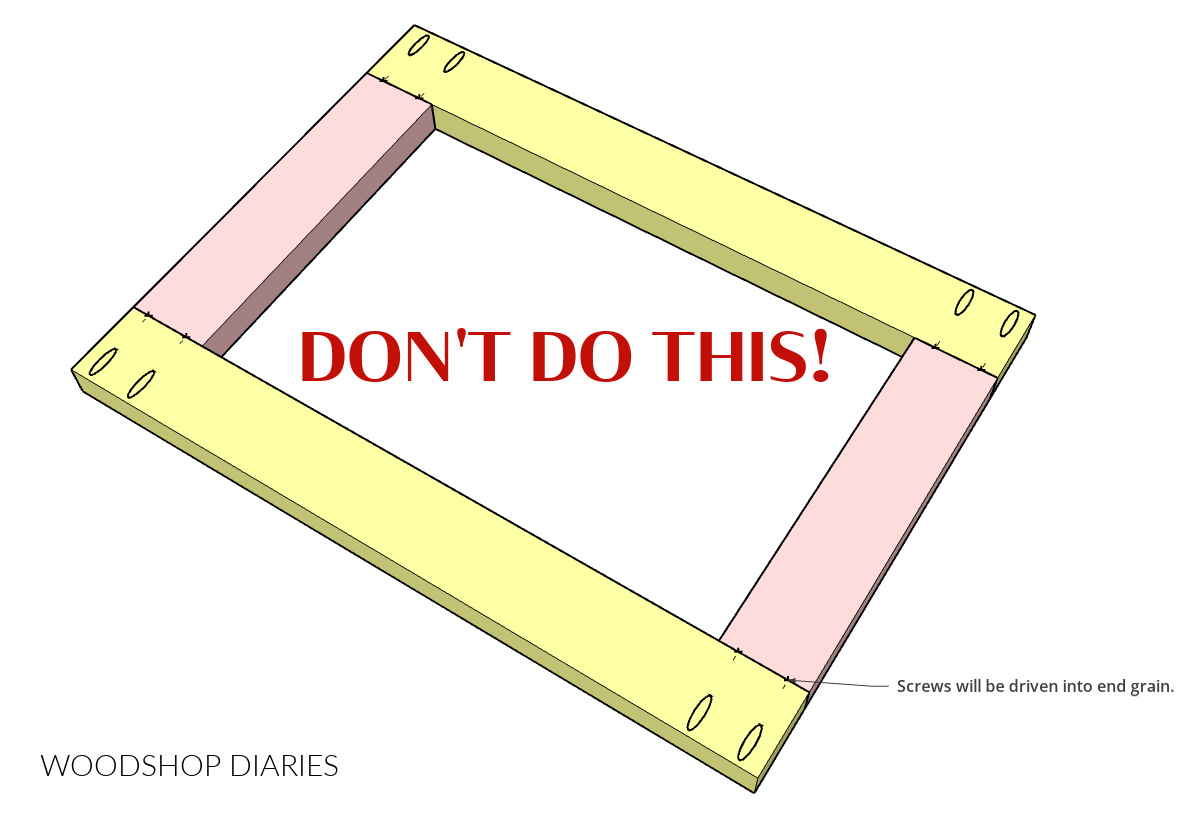
Instead, drill your pocket holes into the end of your boards (or parallel with the grain) so that when the pieces are joined, the screws drive into the edge grain of the adjacent piece–like seen below.
THE REASON: Screws don’t hold well going into end grain and attaching that way can tend to cause splits and cracks, so those joints will be weaker and more likely to come apart.
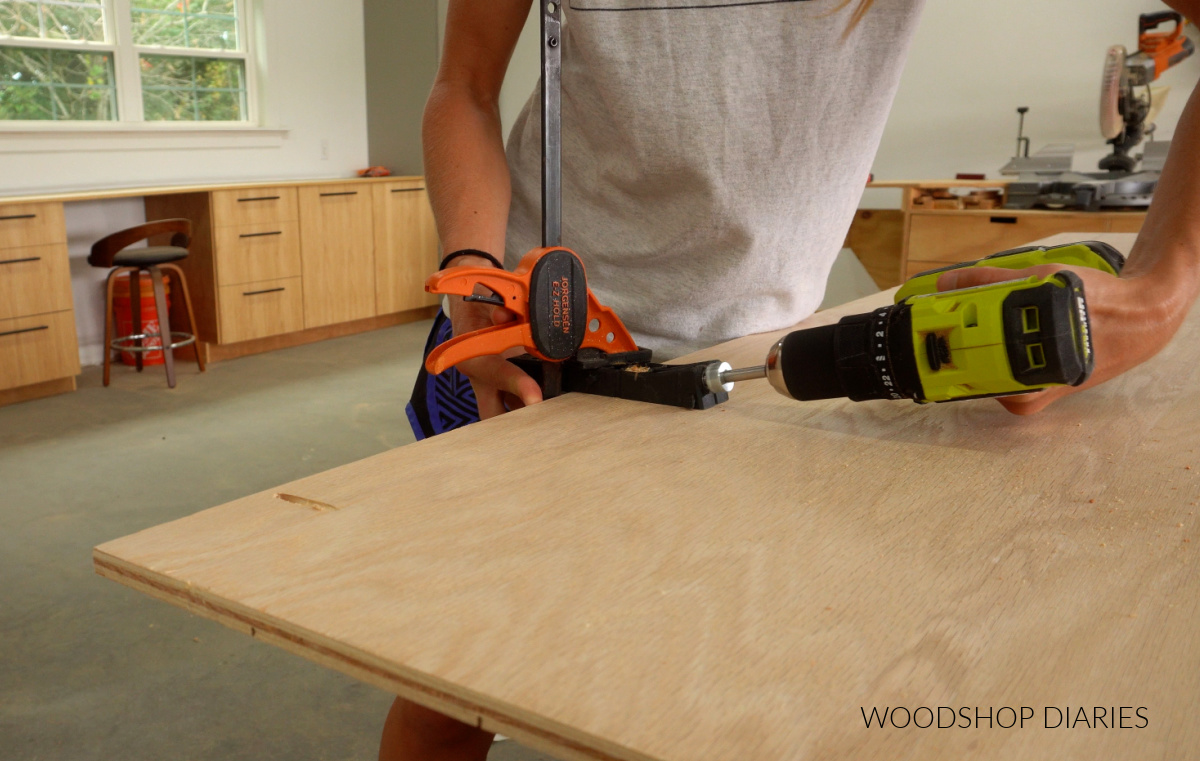
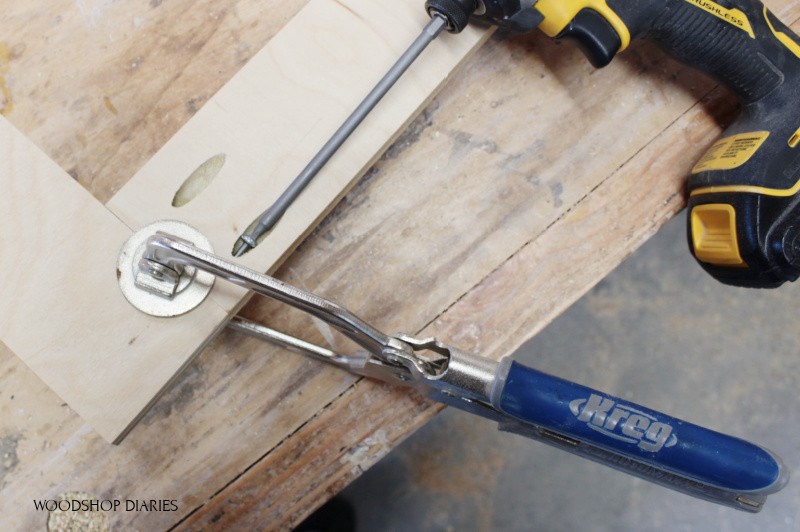
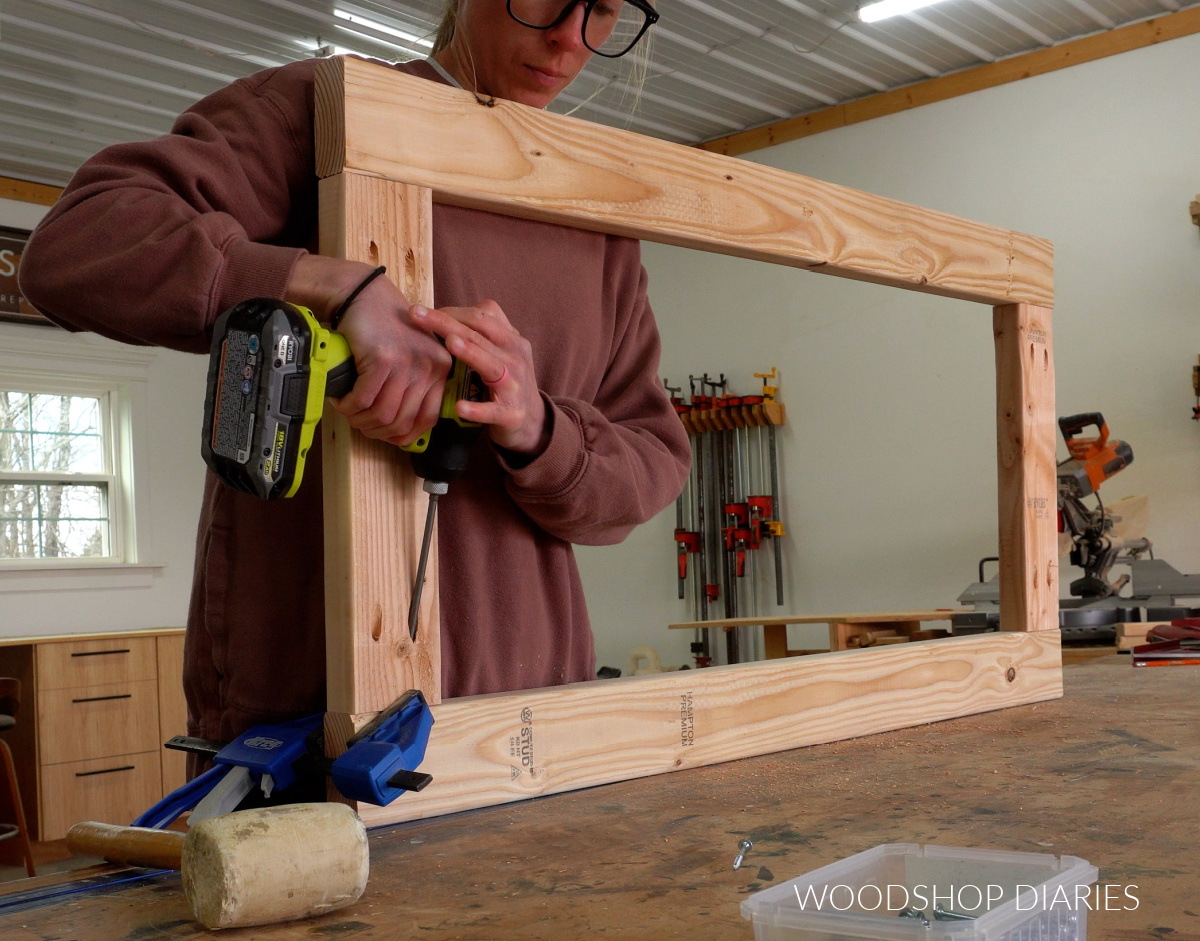
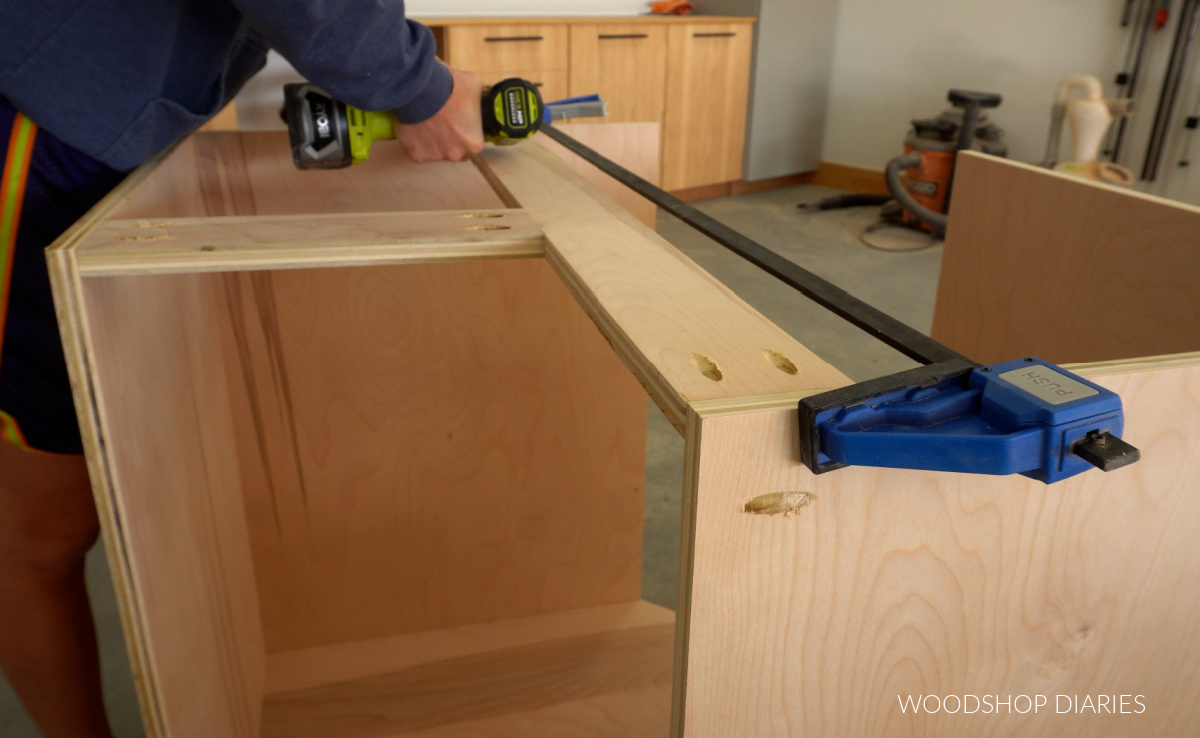
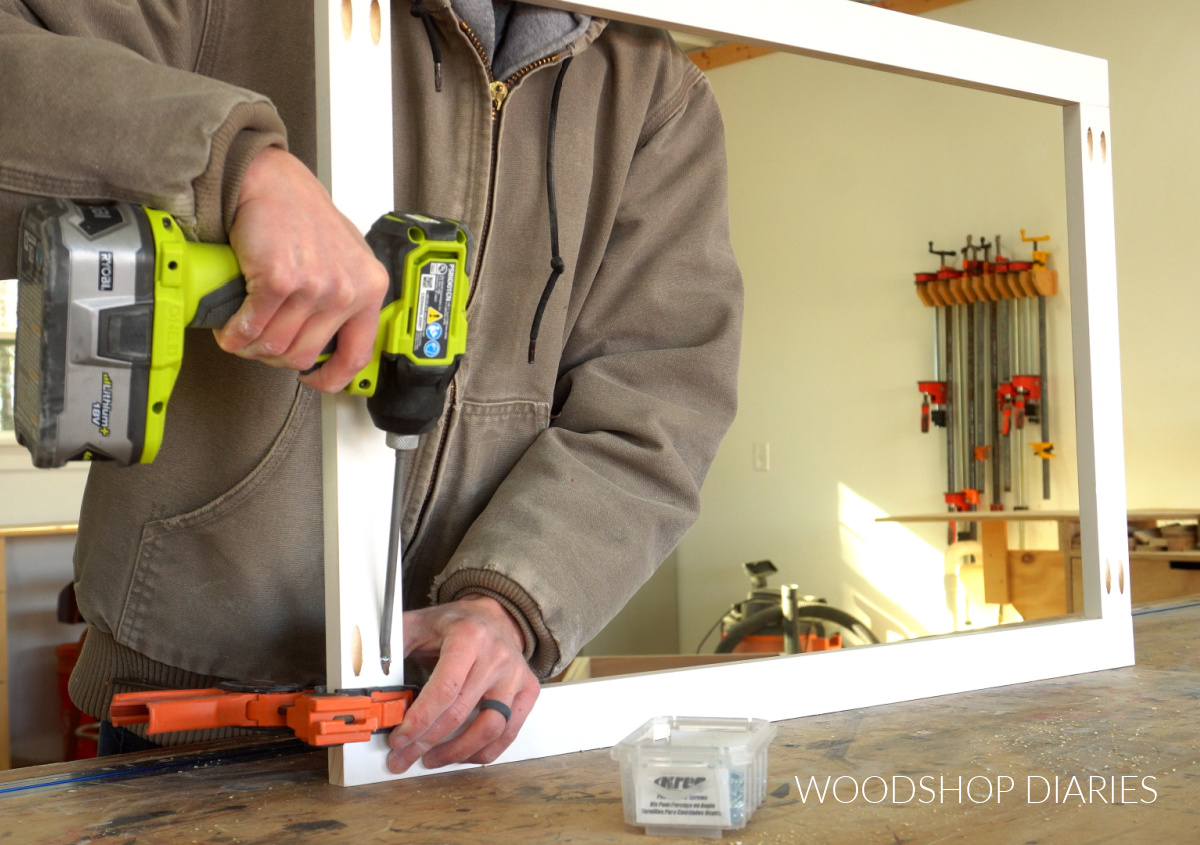
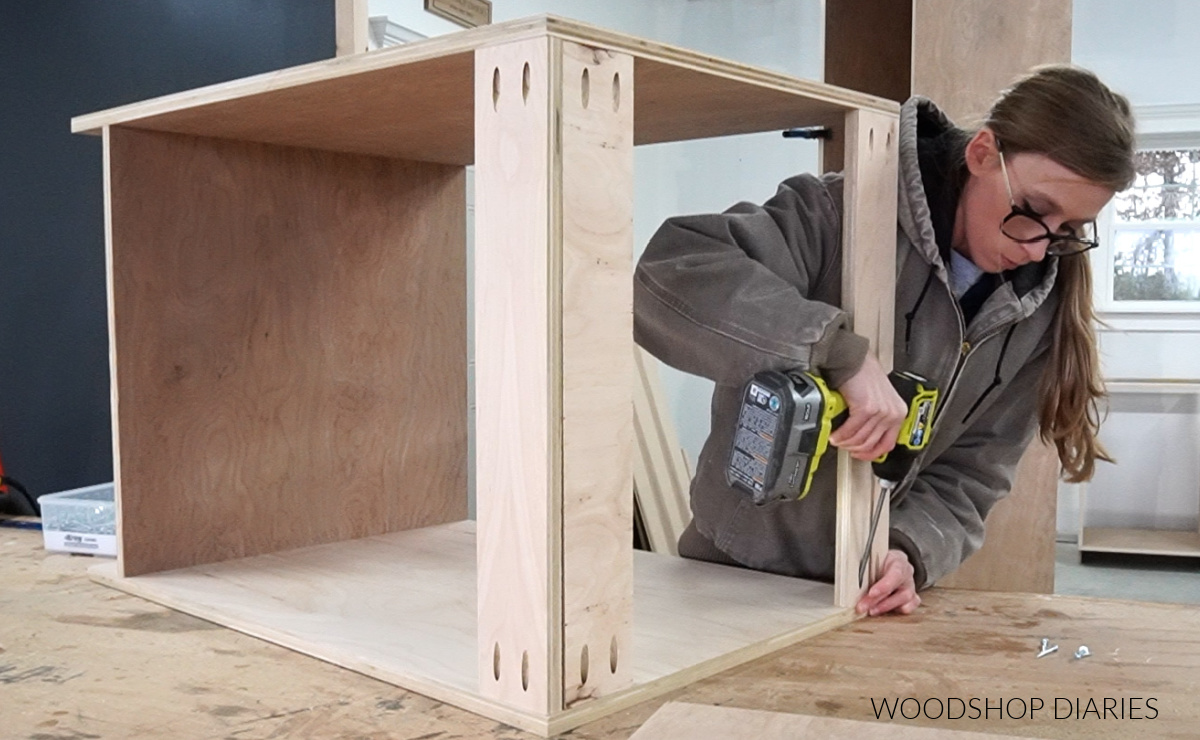
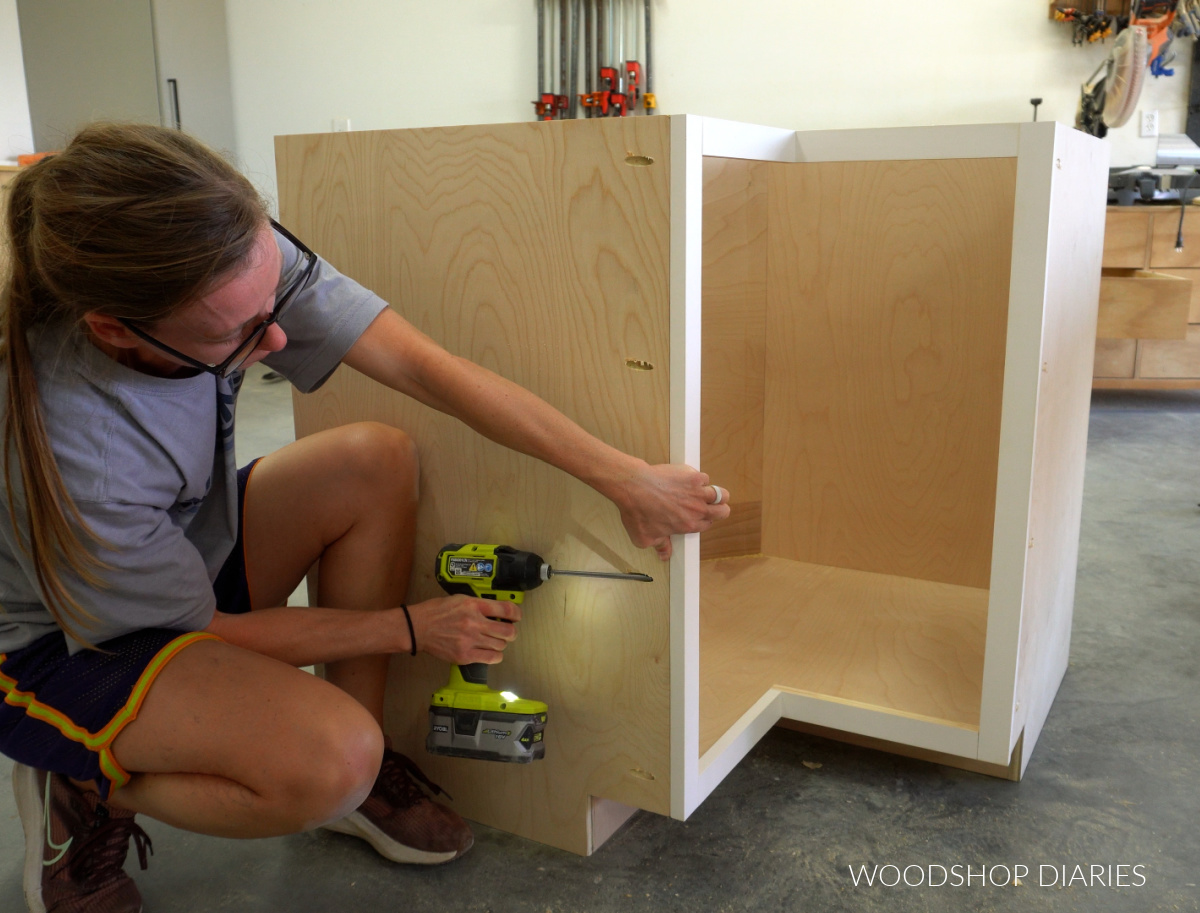
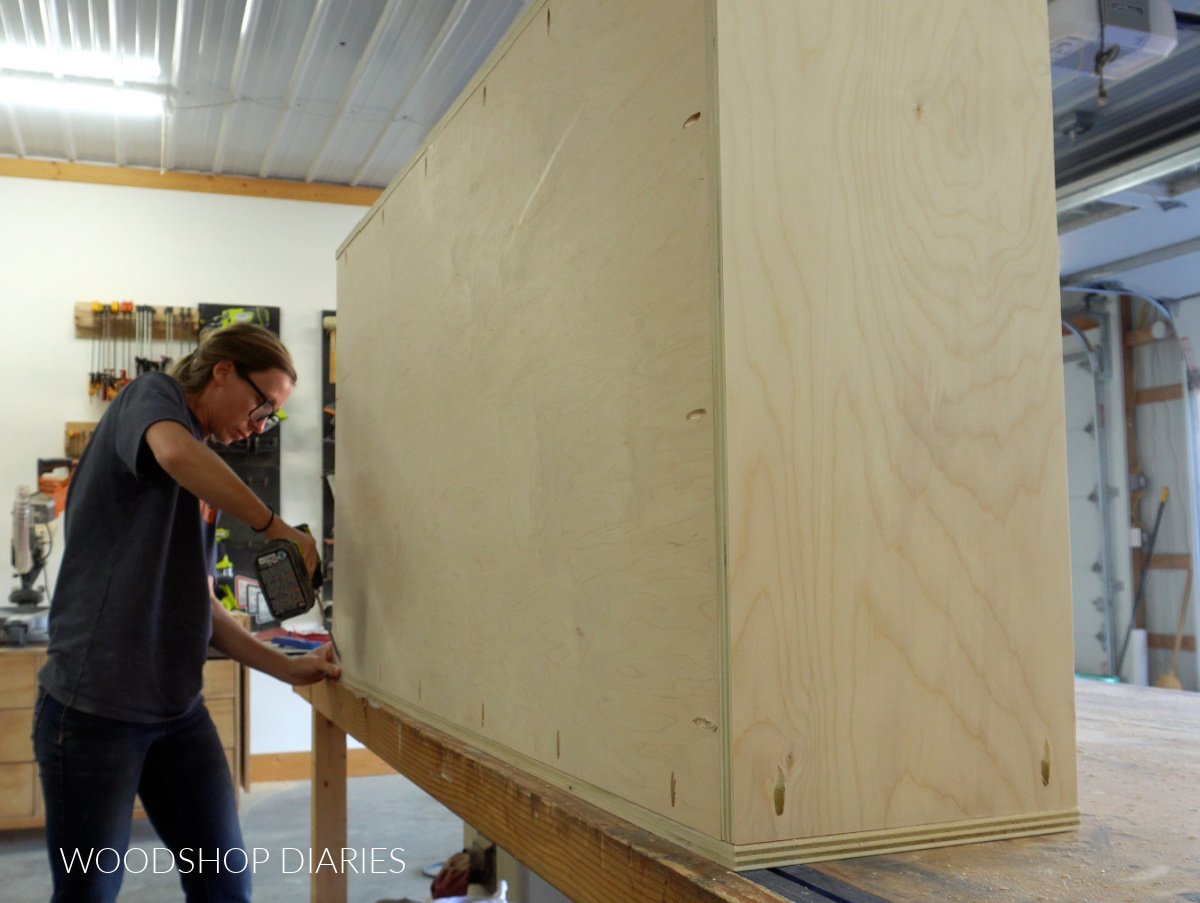
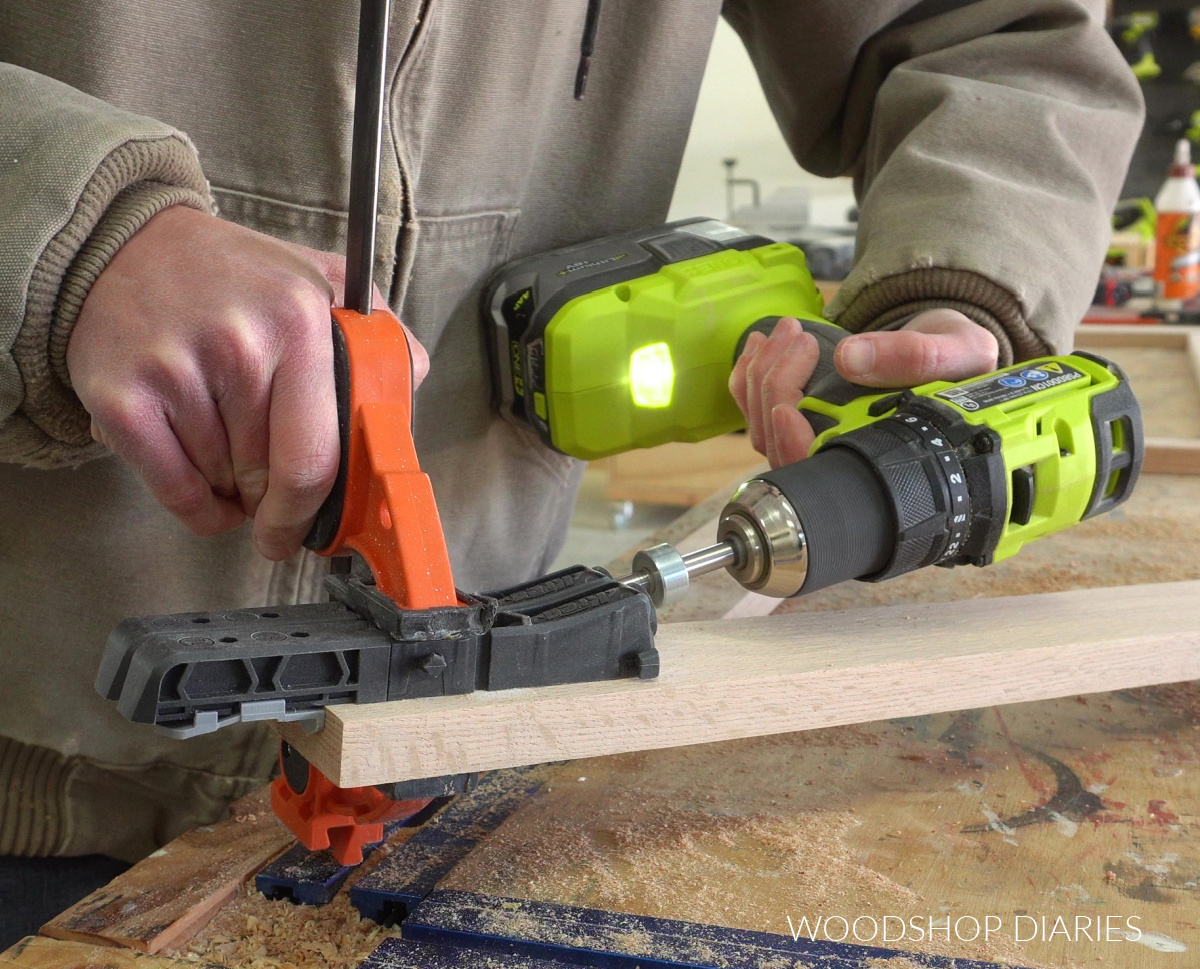
5. Pieces slip while attaching
It can be challenging to hold pieces in place while driving pocket hole screws, especially if you’ve used wood glue between the pieces (glue makes it quite slippery).
Remember that pocket holes are drilled at a 15 degree angle so it’s natural as you’re driving the screw, that the piece will tend to pull forward the same direction as the angle.
If you struggle with your pieces slipping, clamp them together tightly before driving the screw(s). You can use special pocket hole clamps if you’d like, but I prefer some basic trigger type clamps like shown below.
If possible, also consider clamping a scrap block directly behind the board to prevent it from trying to pull that direction as the screw goes in.
When attaching pieces together on the same plane–like in a face frame–clamp across the joint to keep pieces flush while attaching.
If you’ve followed my YouTube channel, you’ll notice that over the years, I’ve learned (and practiced) how to hold my pieces firmly with my hand while attaching in many cases. The key is to keep pressure against the back side of the board.
Here’s a quick video demonstration on how I drive pocket hole screws without a clamp. Keep in mind this is a general demonstration and doesn’t necessarily apply in EVERY instance.
Additionally, to prevent pieces from moving while attaching, make sure the screws are going in at the same angle as the pocket hole. Driving the screws in crooked can pull/push your piece out of position as well.
Another reason why your pieces might be slipping out of place as you attach is overdriving the screw, which we will talk about in detail in the next section.
6. Overdriving the screw
I know it’s tempting to want to drive your screws as hard and as tight as possible when joining pieces. But be careful not to overdrive a pocket hole screw.
Like I’ve already mentioned, it’s important to use washer or pan head screws with pocket holes so that they don’t countersink too far into the hole. But the drawback to these types of screws is that since they don’t sink into the wood, if you keep cranking them tighter and tighter, they’ll just keep twisting and can strip out.
Also, since these screws are used in an angled pocket hole, it will tend to pull the board forward as it’s driven. Cranking down on the screw is another main reason why pieces can become misaligned while attaching.
When driving pocket hole screws, go slow and once the pieces are snug, stop.
TIP: I personally use an impact driver to drive my pocket hole screws. BUT if you tend to have issues overdriving, try using a drill (or drill/driver) instead and adjust the torque settings (on the drill chuck) so that it stops driving once snug.
7. Incorrect pocket hole spacing
How many and how far apart to space your pocket holes on larger pieces depends greatly on the specific application. But there are some general rules of thumb to keep in mind.
Placing pocket holes too close to the edge of a board or placing them too close together can cause the wood to split, making the joint practically useless.
If drilling holes along the edge of a large piece (like a piece of plywood), try to keep the holes at least 2″ away from the outside edge. Additionally, it’s recommended to space pocket holes roughly 6″-12″ apart along a long edge.
Keep the spacing closer together for thinner material (like ½″ plywood). You can space a bit further apart for thicker material (like ¾″ plywood).
Pocket Hole Frequently Asked Questions
There’s a lot of information in this post, but just in case you can’t find what you’re looking for, I wanted to add a few FAQs about pocket holes.
Do I Need Glue with Pocket Holes?
It depends.
Adding wood glue can help strengthen your project, though pocket hole screws alone in many cases are more than enough. If adding glue gives you extra peace of mind, go for it. It won’t hurt.
On the other hand, wood glue will make your project messier to assemble and if you ever plan to redo, rework, repurpose or reuse any part later on, it may be difficult to do so without damage.
I rarely (only occasionally) use wood glue with my pocket holes, and I’ve not had a project fail because of it (for what that’s worth).
How do I Keep My Pieces From Moving When Assembling?
When driving pocket holes, due to the angle, the pieces will tend to push in the direction of the hole. To prevent that, keep FIRM pressure on the back side of the piece as you drive the screws.
You can do this with your hand or by clamping. See #5 above.
Also, make sure to drive the screws into the pocket hole at the same angle as the hole–don’t drive them crooked. And, be careful not to overdrive the screw–see #6 above.
The quickest fix to holding pieces in position is to clamp while driving the screws.
Why is the wood splitting when using pocket holes?
This could be caused by a few different things but it’s most likely that your pocket holes are too close to the board edge OR you’re using the wrong screw–see #3 above.
If you’re working with plywood, it could also be poor quality plywood (if the plies aren’t well glued, they can split apart when screws go through them).
If you’re working with solid boards that are narrow–like 1x2s, 1x3s, and/or 1x4s, try using the Kreg Micro Pocket Hole Jig instead of the standard size. This smaller jig drills smaller holes and help prevent splitting in thin and narrow boards.
Learn more about how, when, and why to use the Kreg Micro Pocket Hole Jig here.
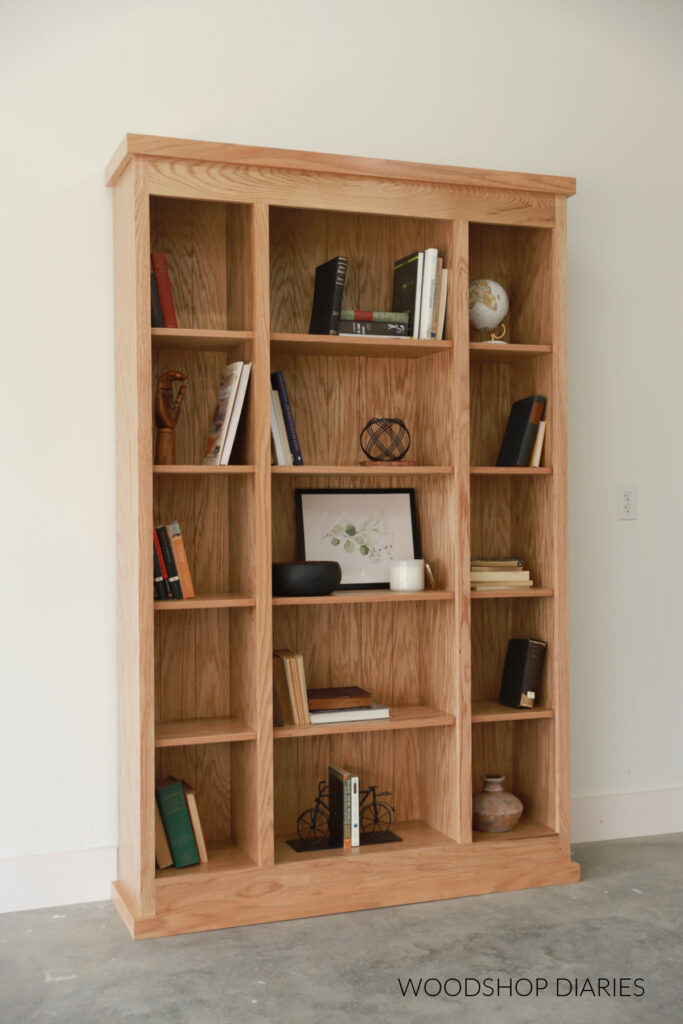
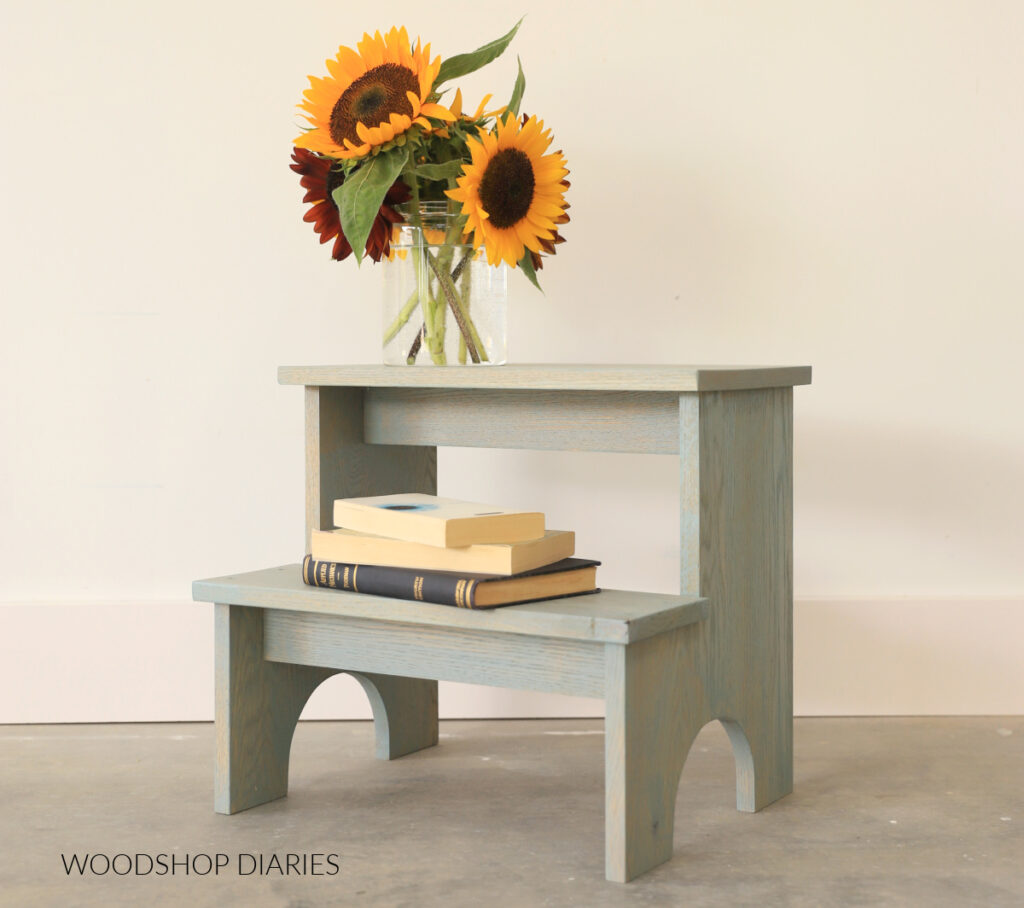
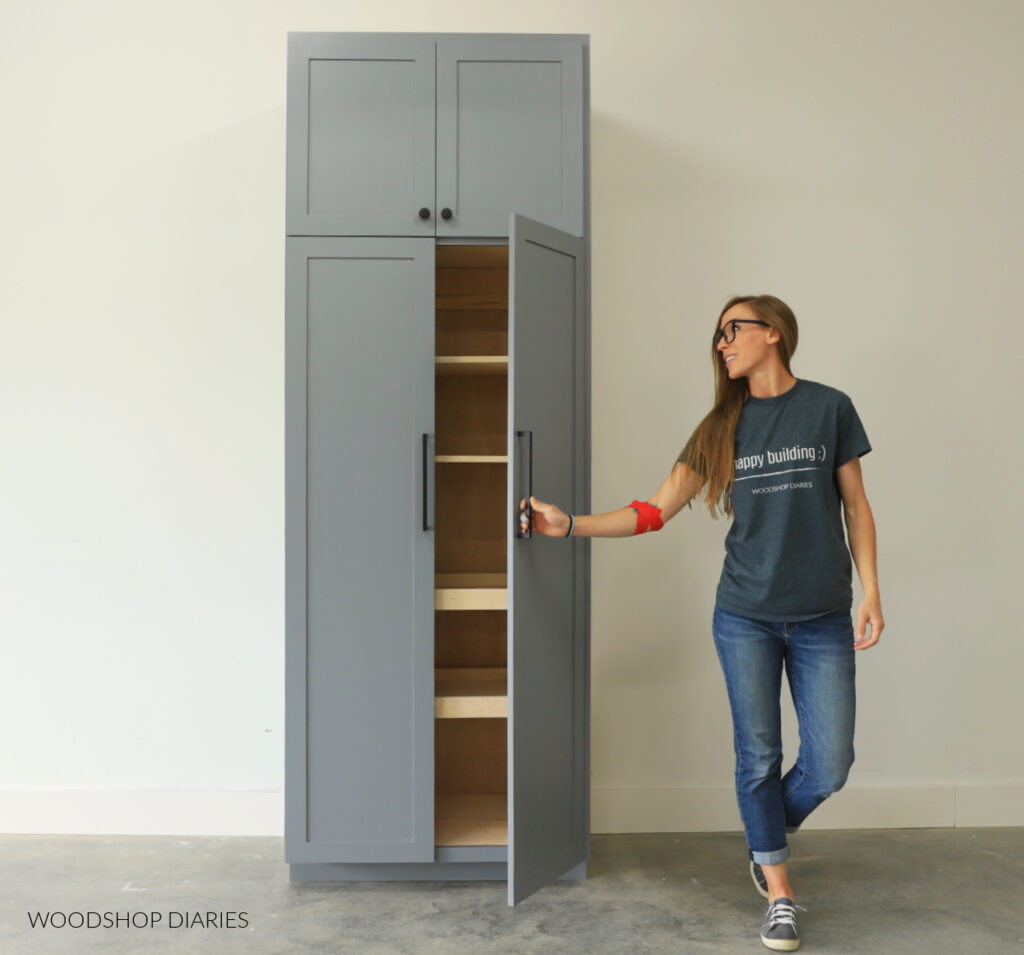
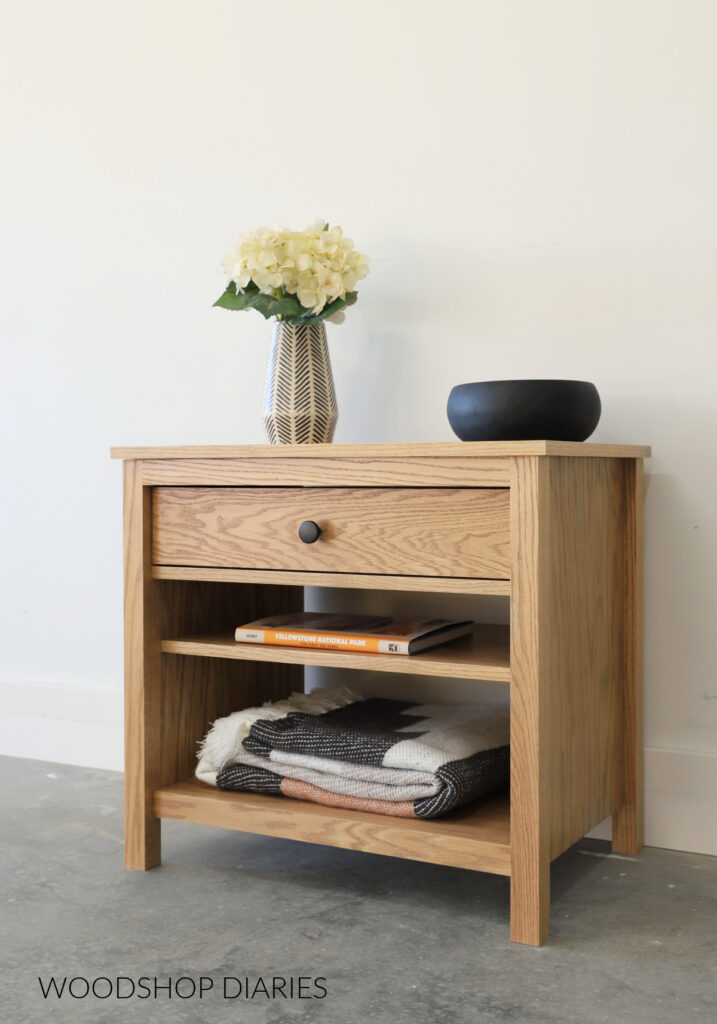
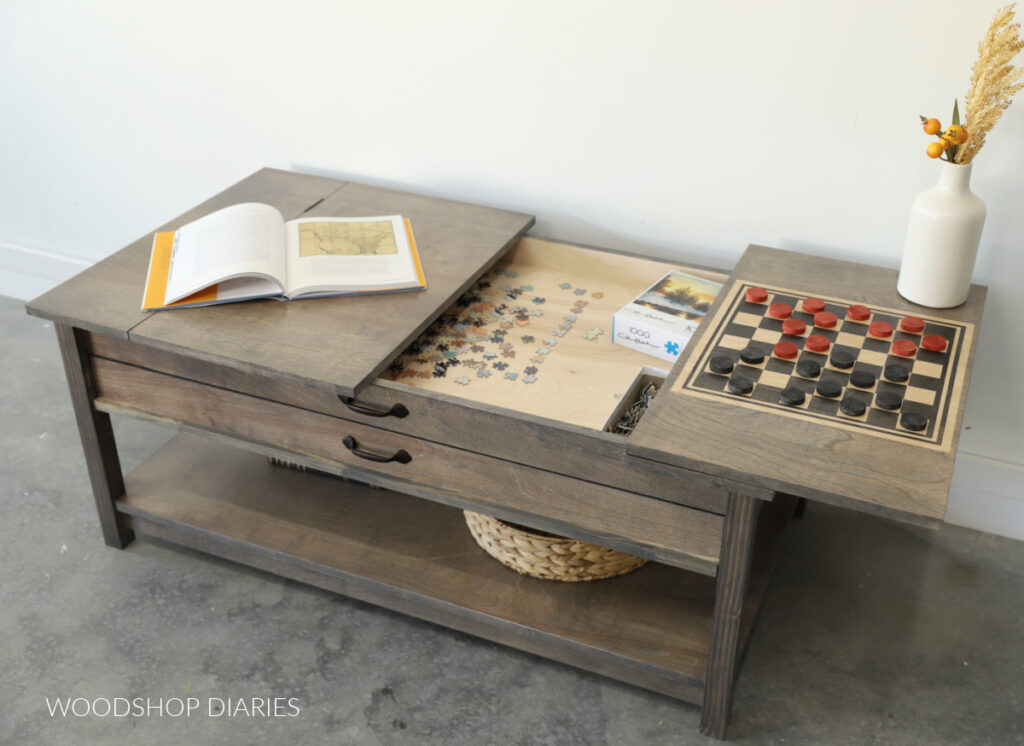
Pocket Hole Projects to Practice On
Now you that you know what mistakes to avoid, here are a few fun DIY projects you can practice perfecting your pocket holes on:
If you enjoyed this post and found it helpful, don’t forget to save it for later by pinning or sharing to your favorite social channel!
Until next time, friends, happy building!