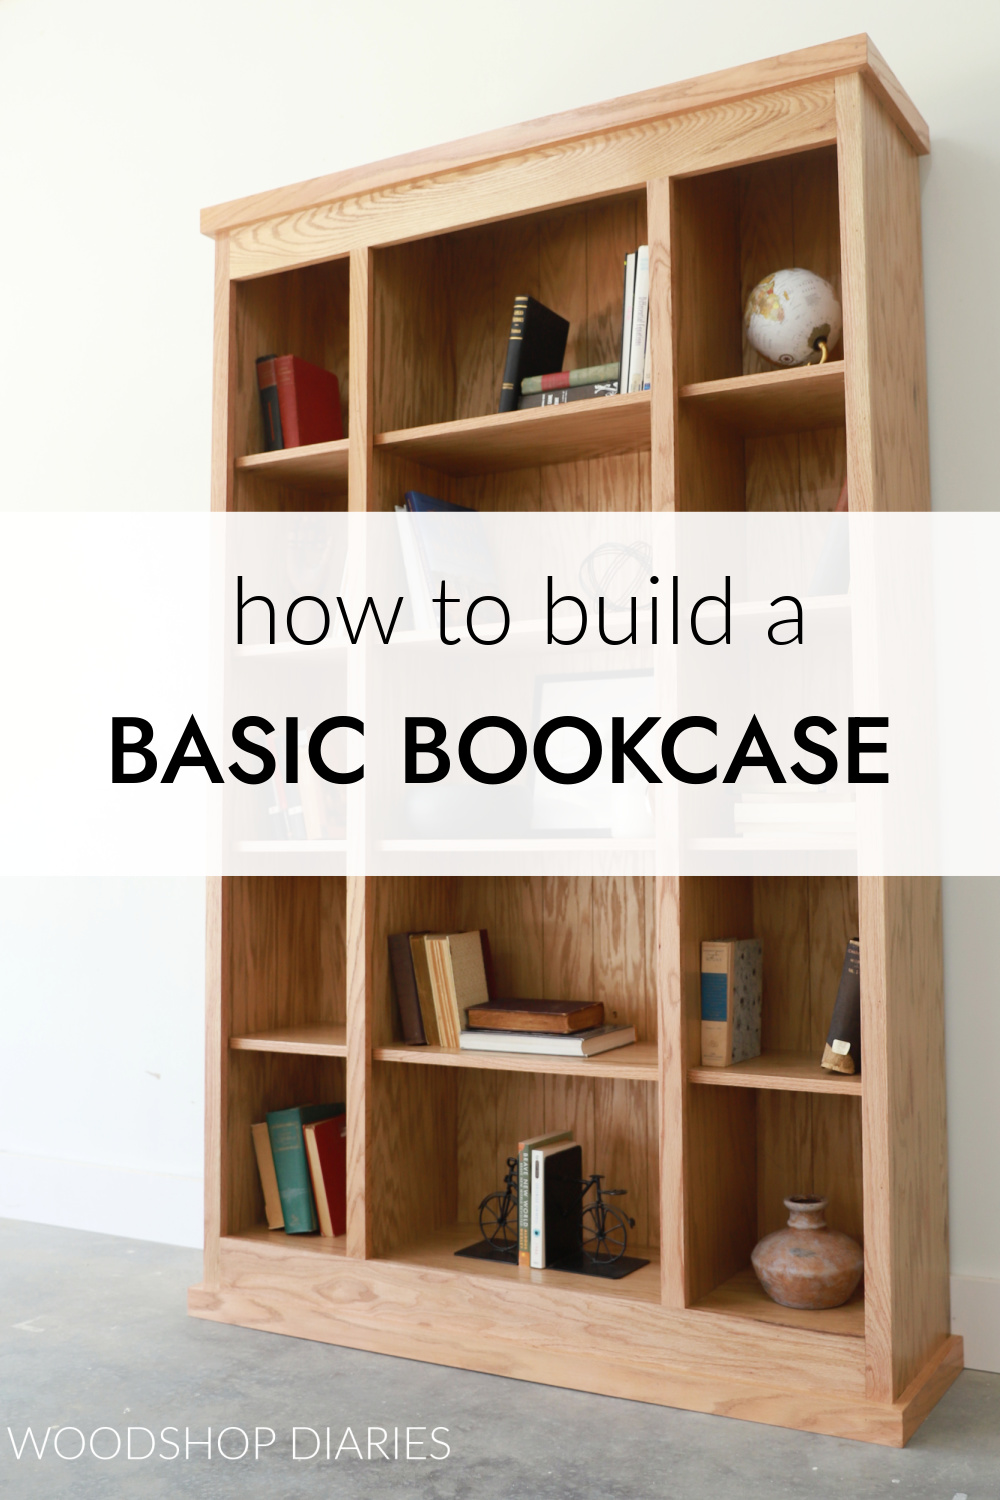
In this post, I’ll share how you can build a classic style bookcase using basic tools and materials.
This simple, modern bookshelf is the same exact style so many furniture stores are selling for thousands of dollars. You know the ones…
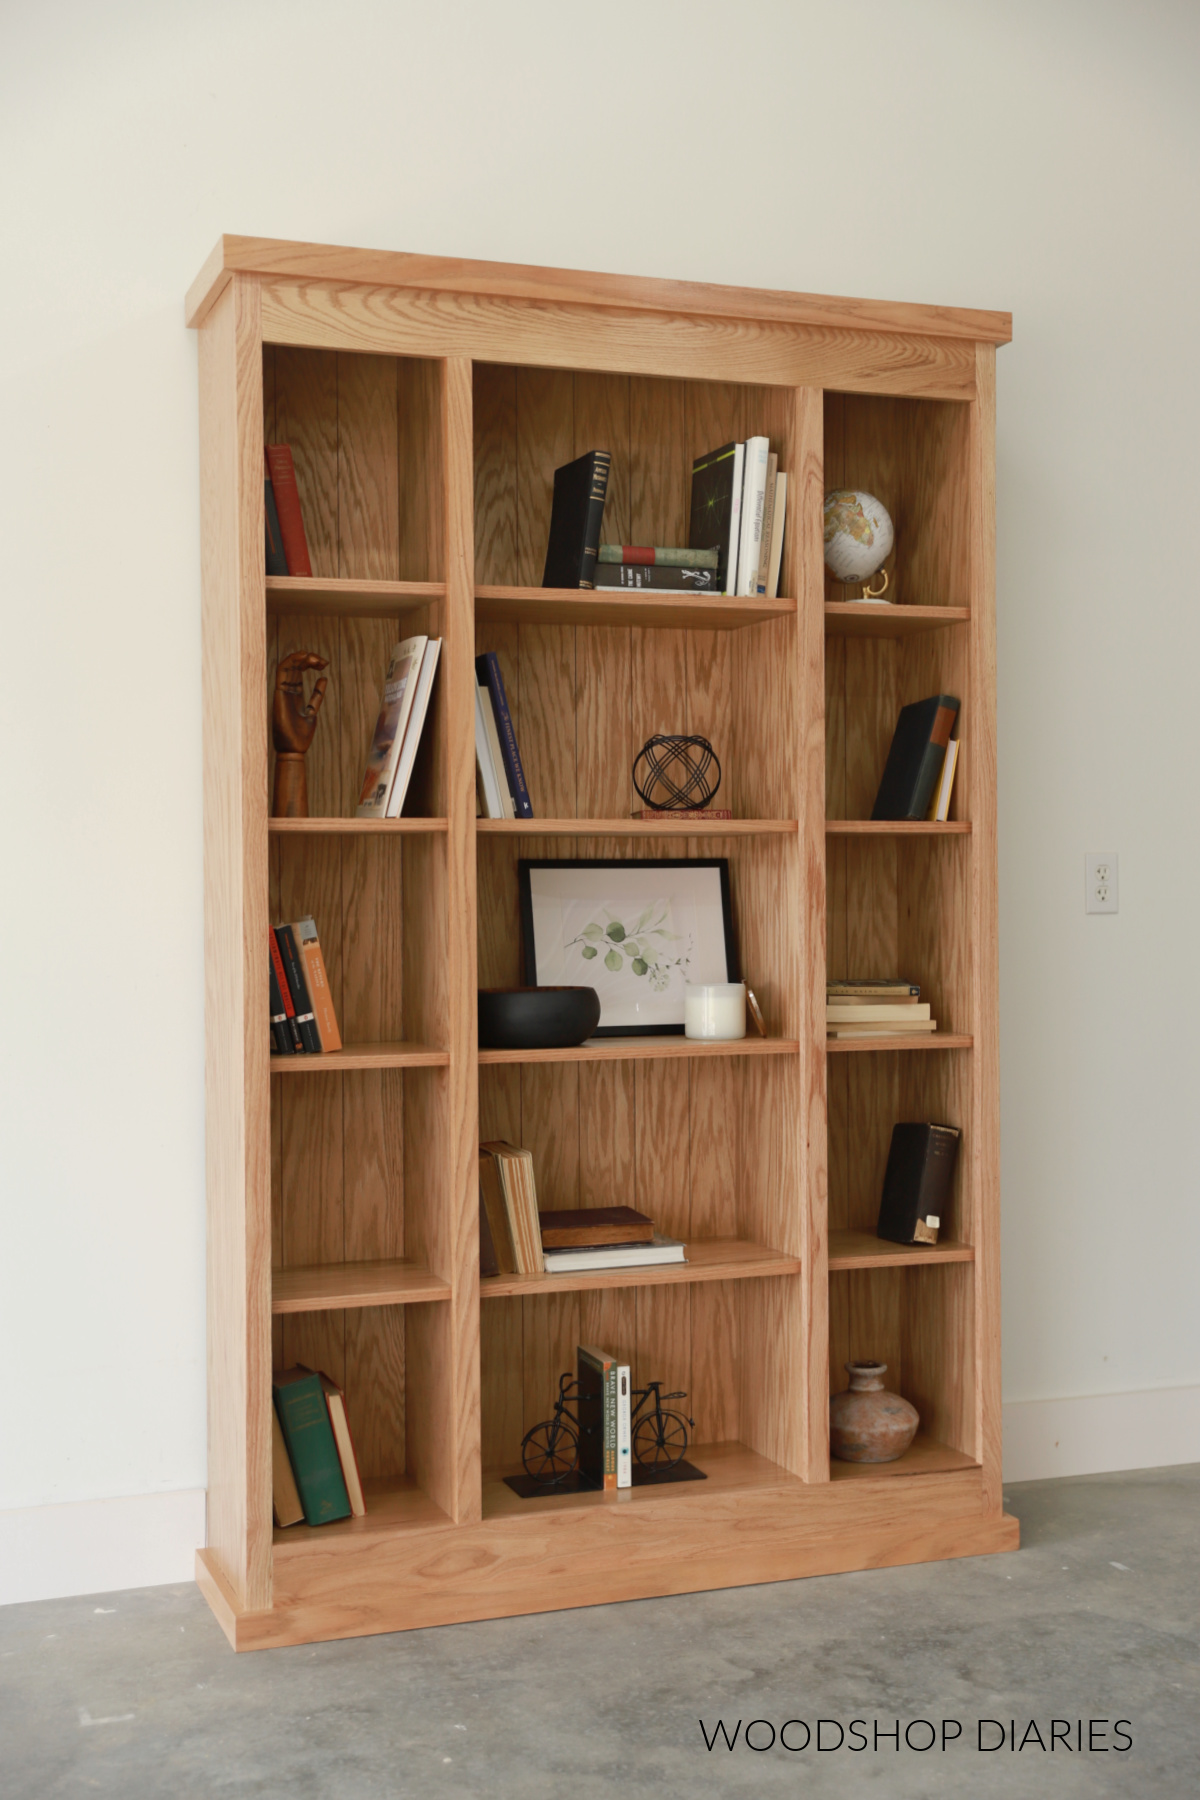
But what if I told you that you can build it for a fraction of that cost? (Seriously, like $300 vs $4000.)
How impressed will your guests be when they come over and ask where you bought that classy piece? And you tell them “oh, that old thing? I MADE it!” *wink wink*
If you’re ready to get building, let’s dive in. I’ve got all the details for you below.
*This post contains affiliate links. See website policies.
What to know before building
This easy to build DIY bookcase comes together quickly and is a great option for a weekend woodworking project.
Despite it’s simplicity, the result is a sturdy heirloom piece that is solid, strong and stylish enough for any room of the house.
Material Choices
I made this bookcase using solid red oak and red oak plywood. However, pretty much any wood type you’d like to use here would work just fine.

Oak tends to be a bit pricey depending on your location, but pine and birch plywood make a nice combination that’s a little more budget friendly.
Either way, I recommend using cabinet grade plywood for best results. Learn how to choose the best plywood for your project here.
DIY Bookcase Shelving Options
The shelves in this bookcase are stationary–as in, they are screwed in, so you can’t adjust them once they’re installed.
If you’d prefer to have adjustable shelves, this is an easy modification. Instead of screwing the shelves in using pocket holes, just drill shelf pin holes into the bookcase and cut the shelves about ¼″ smaller than the width of the openings.
Then, you can use shelf pins to install them wherever you’d like. Learn more about how to install adjustable shelves here.
Faking a Shiplap Back Panel
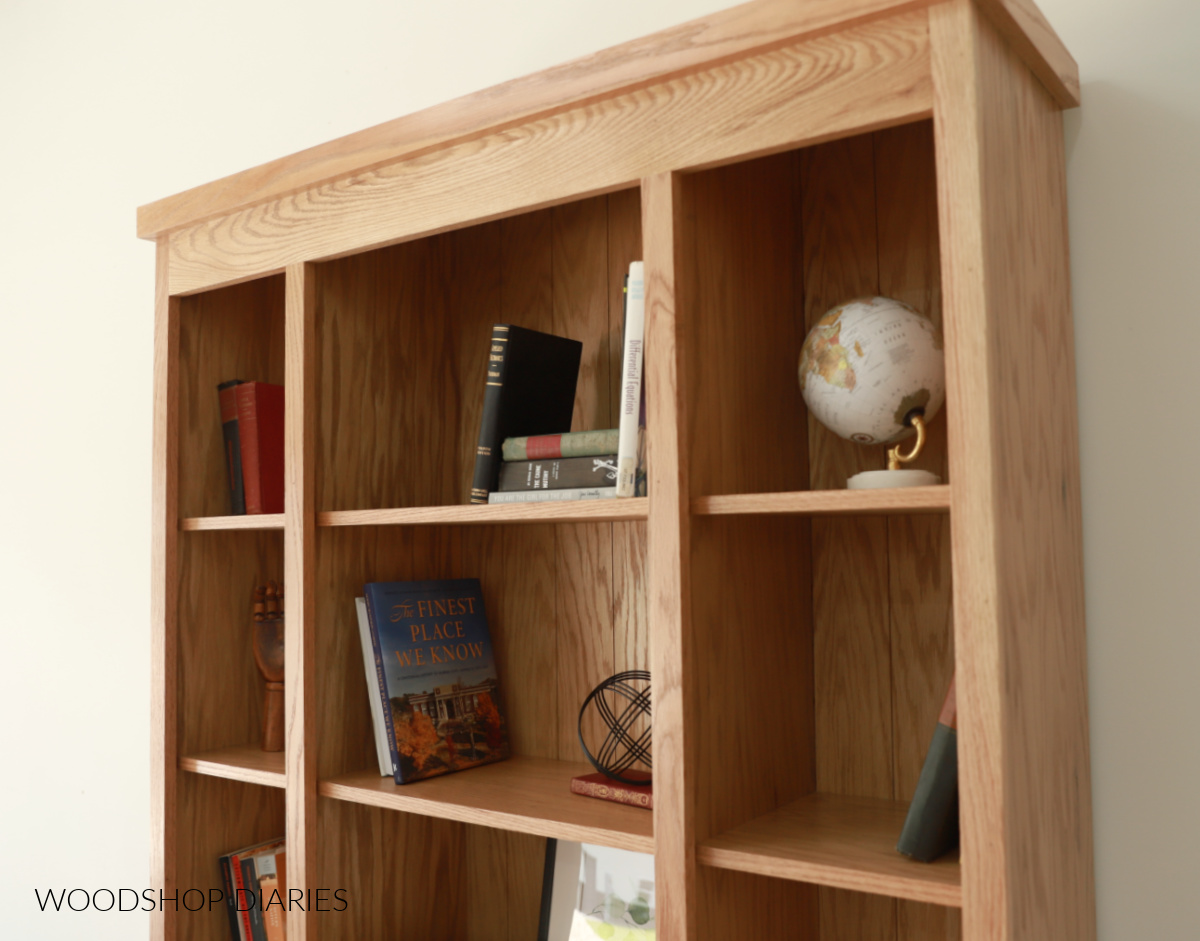
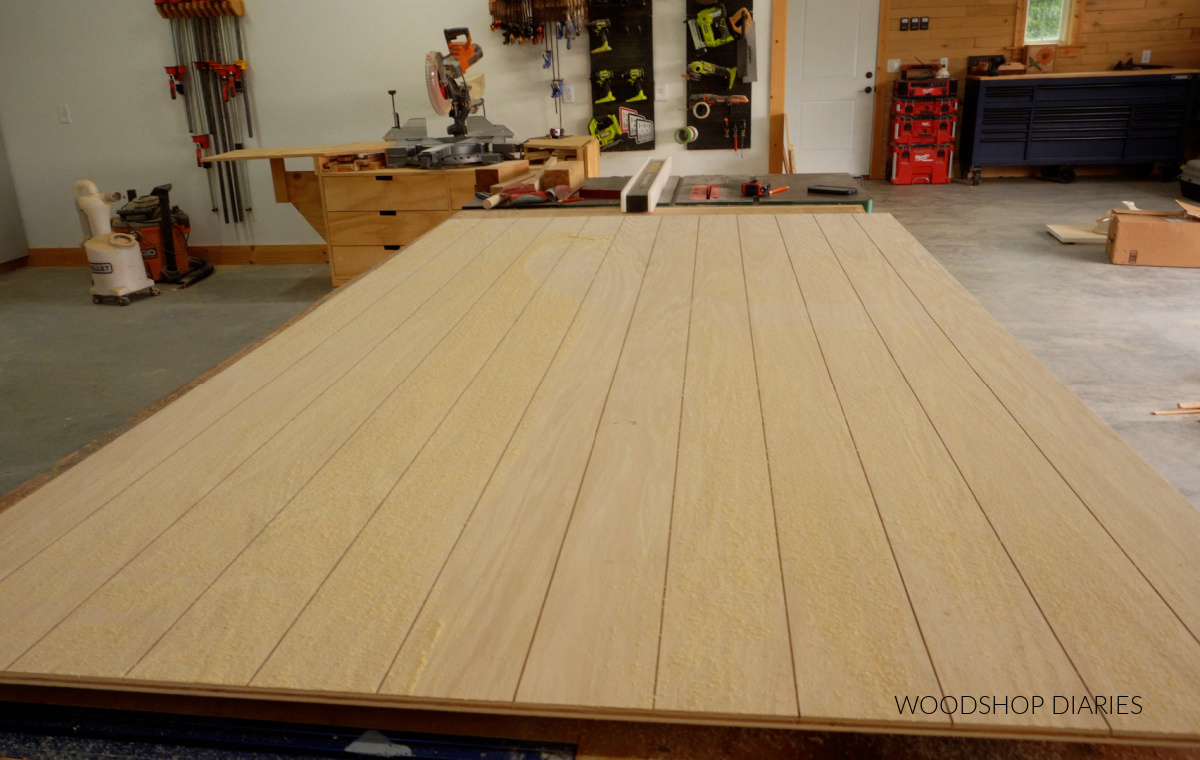
The back panel of this bookshelf is simply a piece of ½″ plywood. For some added detail, I cut shallow dadoes along the panel to “fake” a shiplap pattern.
This is totally optional, but was super easy using my circular saw and Kreg Rip Cut. Check out the build video here to see it in action.
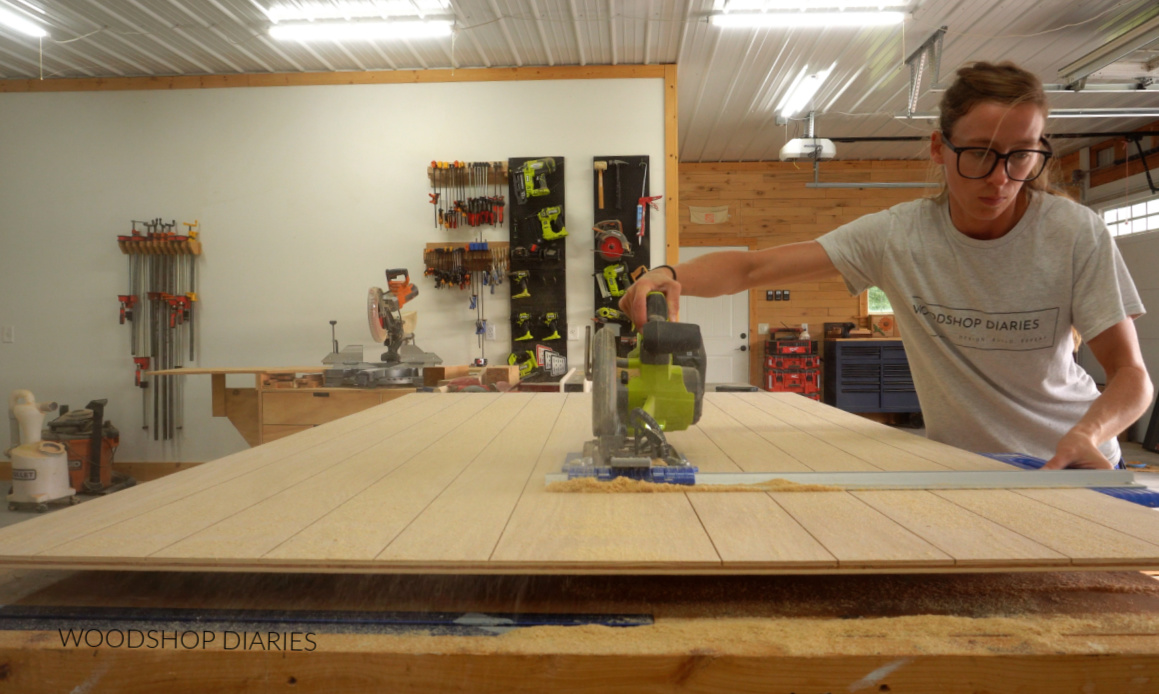
I basically set my blade depth to about ⅛″, then set my Rip Cut to 4″. I ran the saw through on both sides, then adjusted to 8″ and repeated, then 12″, then 16″, 20″ and 24″.
This gave me “slats” about 4″ wide across my panel. Learn how to set up and use the Kreg Rip Cut here.
If you don’t want to do this, you can definitely skip this step. It’s just an extra decorative detail.
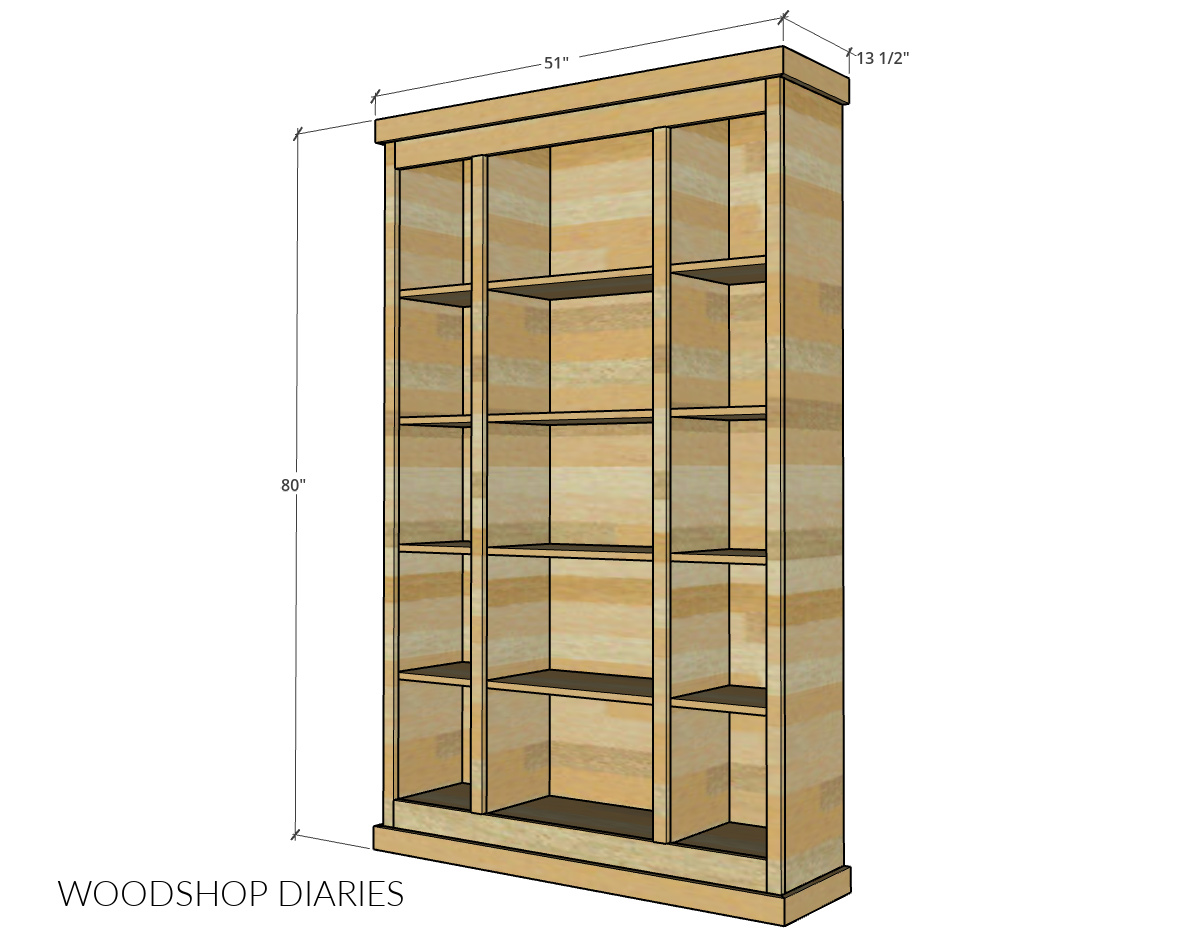
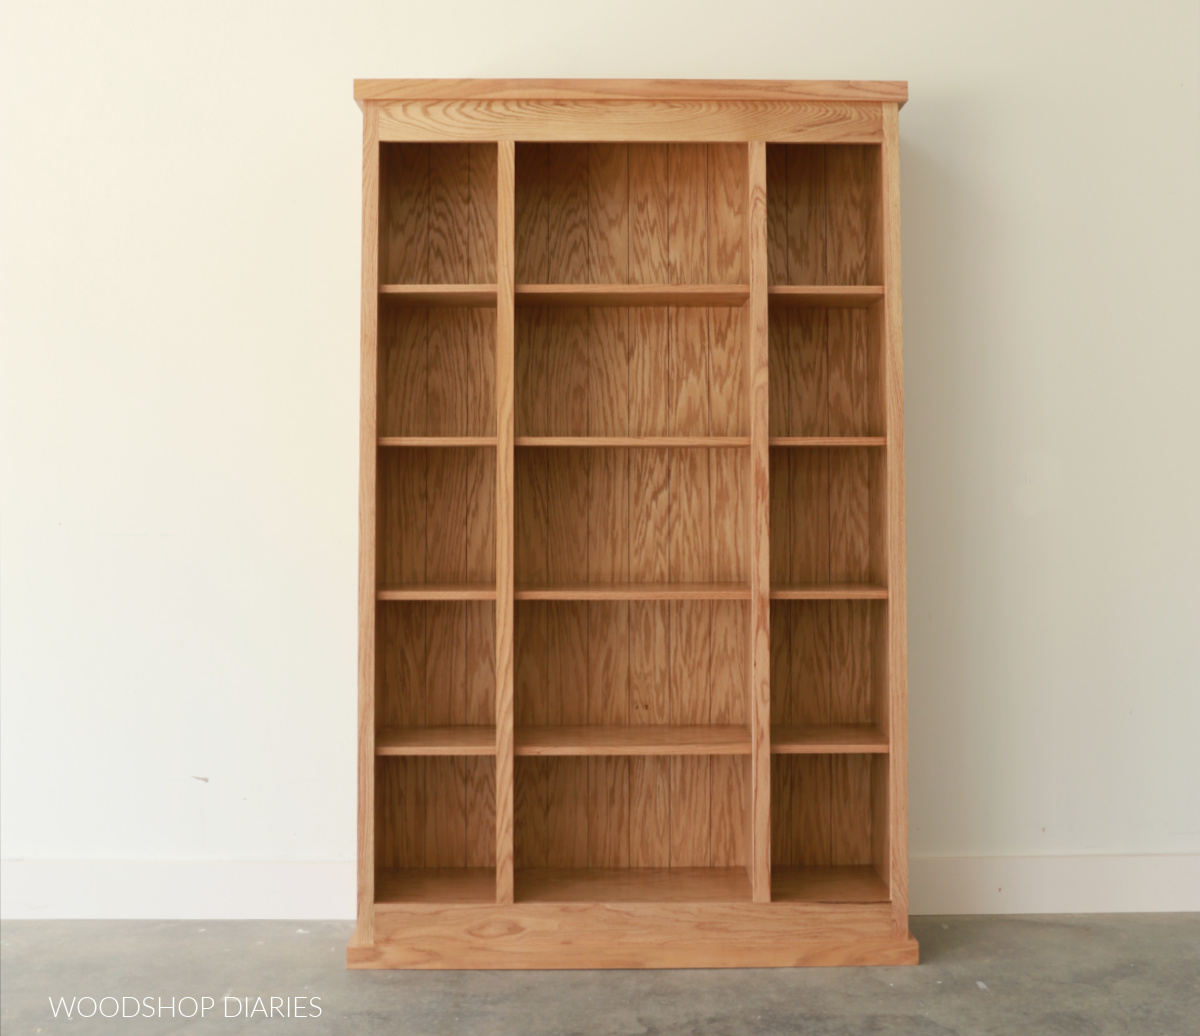
Overall Dimensions
The overall dimensions of this DIY bookcase are approximately 13 ½″ deep x 51″ wide x 80″ tall.
Enjoy DIY projects and woodworking plans? Sign up for priority access for the latest posts on Woodshop Diaries!
Helpful Resources for this Project:
You may find the following posts helpful throughout the build:
How to Build a Basic Bookcase
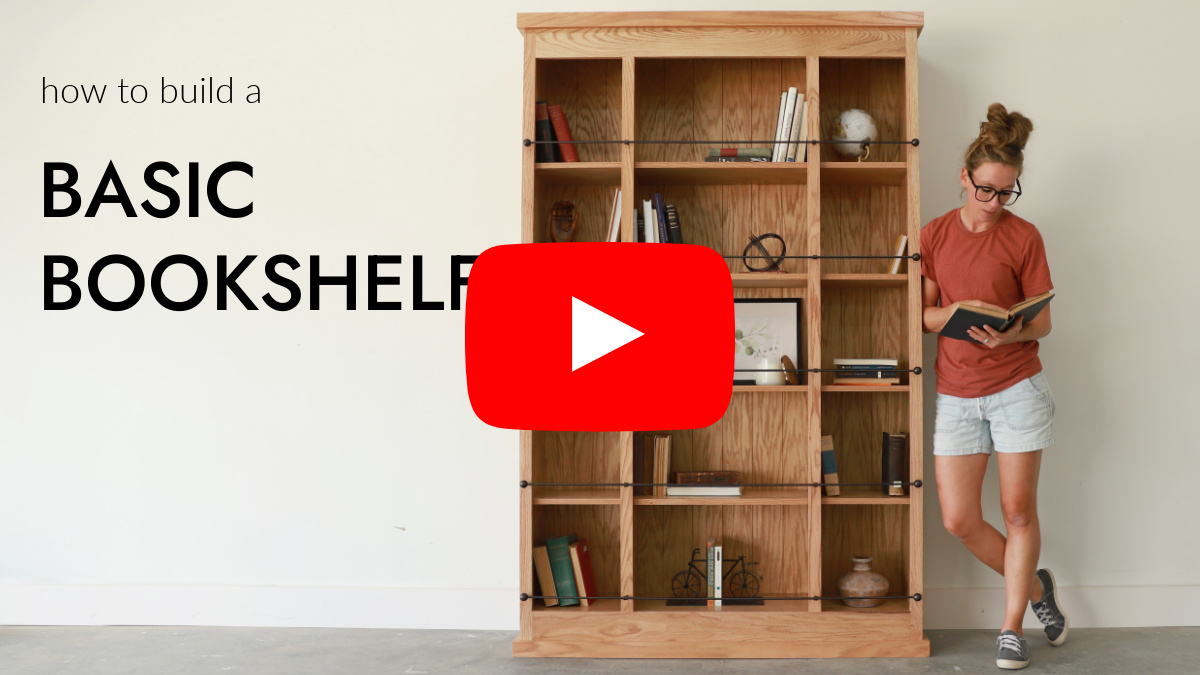
If you prefer to watch, I’ve shared the full build video with tons of tips, behind the scenes, and additional details on my YouTube Channel here.
Love watching how-to videos? Subscribe to my YouTube channel for plenty more where that came from!
Prefer to print? Grab the printable bookcase building plans available here:
Tools & Materials
Materials:
- (2) 4×8 sheets ¾″ plywood
- (1) 4×8 sheet ½″ plywood
- (4) 1x2x8 boards
- (2) 1x3x8 boards (optional for trim)
- (1) 1x6x8 board
- 1″ pocket hole screws
- 1 ¼″ pocket hole screws
- 1 ¼″ wood screws
- 1 ¼″ long brad or finish nails
- Wood Glue
- Edge banding
TIP: Struggling to pick the right screws? Check out this guide to choosing the right screw for your DIY projects.
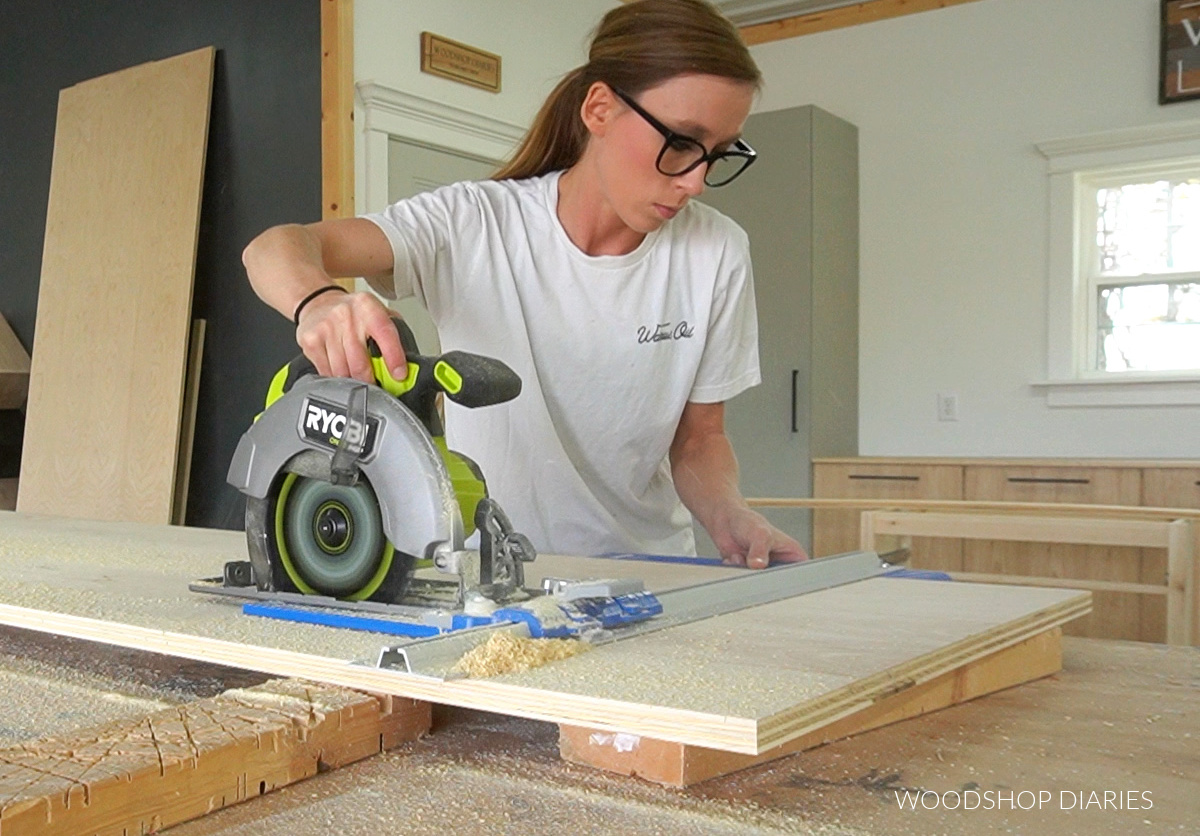
Step 1: Build the Bookcase Body
To get started, I began cutting down my plywood. You can find the full cut diagram for the plywood sheets in the printable plans.
The sides and top panels are cut from ¾″ plywood and the back panel is cut from ½″ plywood.
To save me another cut, I opted to use the full width (48″) of the ½″ plywood sheet for the back, but because I was only making the shelf 80″ tall, I needed to trim its length to 79 ¼″.
I mentioned earlier in the notes above that I cut some dadoes to “fake” a shiplap pattern, but that’s completely optional.
I drilled ¾″ pocket holes into the ends of the top panel and ½″ pocket holes along the sides and top edges of the back panel. (These should be drilled on the back side!)
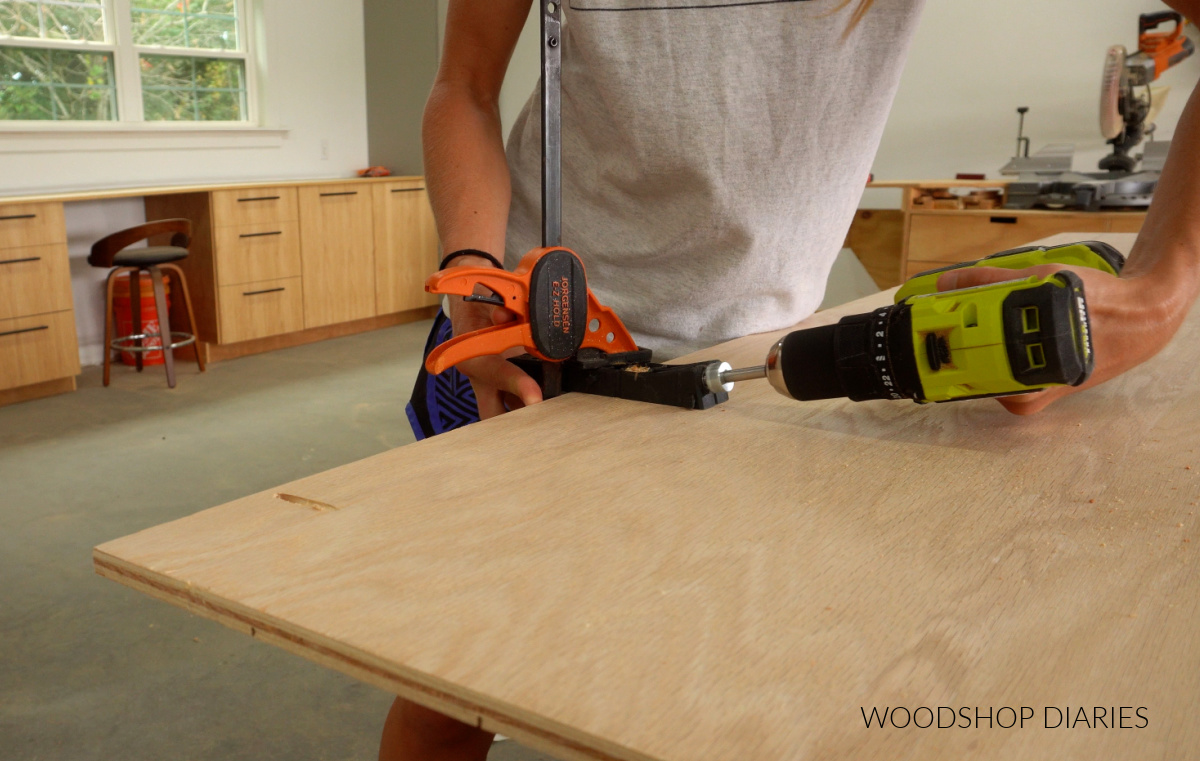
NOTE: You can use a standard size pocket hole jig to drill both ¾″ and ½″ pocket holes. But, I recommend (not require) using the Kreg Micro Pocket Hole Jig for the ½″ material.
This smaller jig is designed for use in thinner material (like ½″ plywood) and makes smaller holes.
RELATED: How, when, and why to use the Kreg Micro Pocket Hole Jig
Then, I assembled the top panel between the sides using 1 ¼″ pocket hole screws.
And I installed the back panel to the top and sides using 1″ pocket hole screws.
Step 2: Install Dividers and Bottom Bookshelves
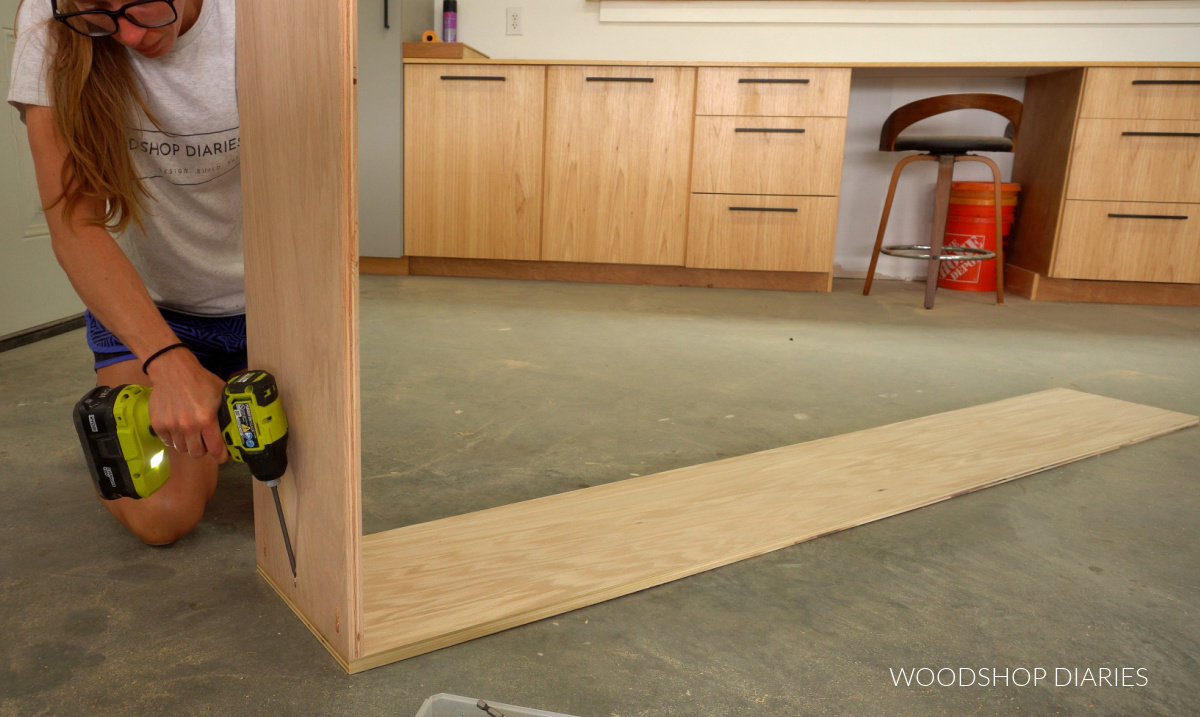
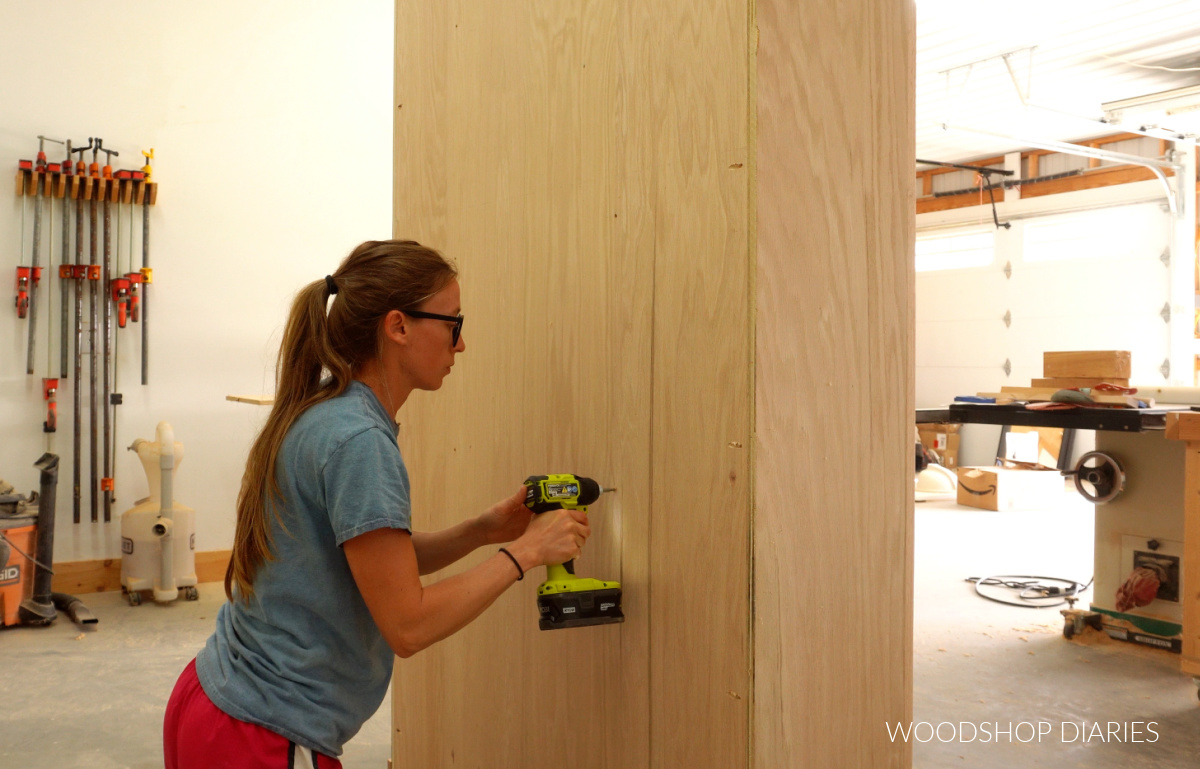
Next, I cut two pieces of ¾″ plywood for the two vertical dividers. These panels will divide the bookcase into three sections.
The left and right sections will be 12″ wide, so I cut two 12″ wide shelves and used these as spacers to help me get my dividers installed to the top with wood screws.
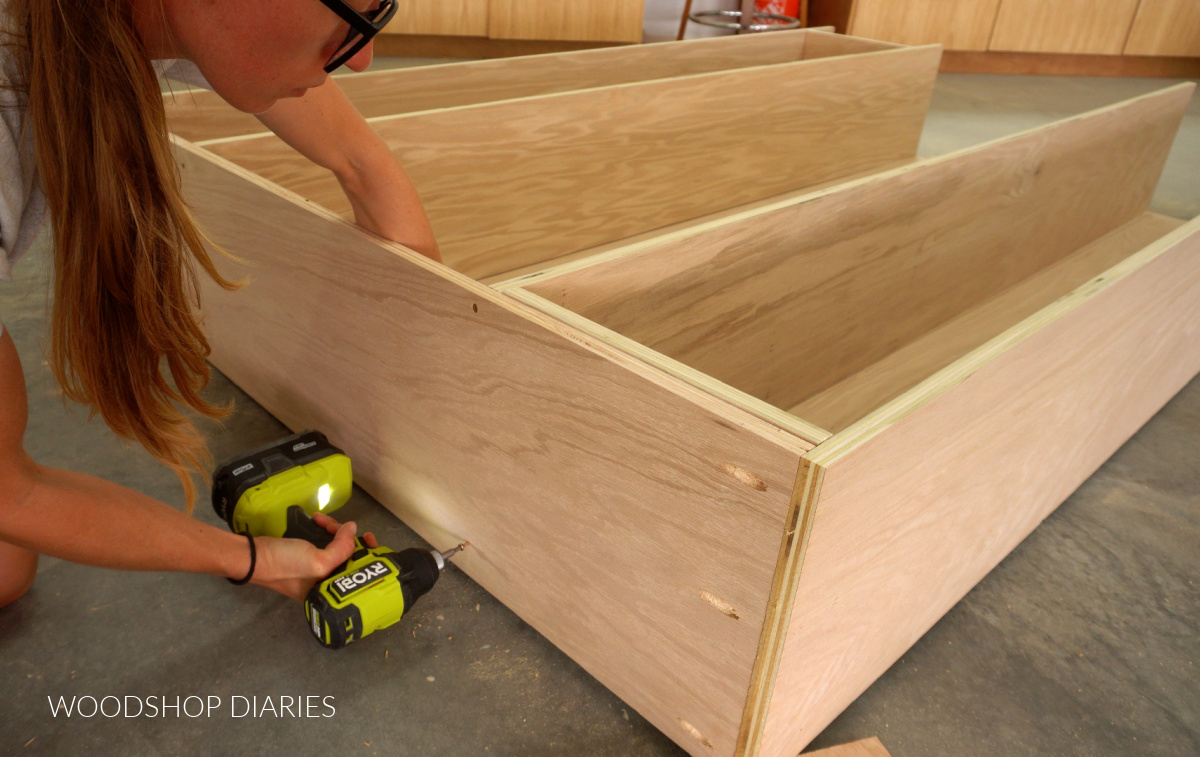
Then, I installed these on each side toward the bottom with pocket holes and screws.
TIP: Use a speed square as you install to help ensure your shelves are square front to back.
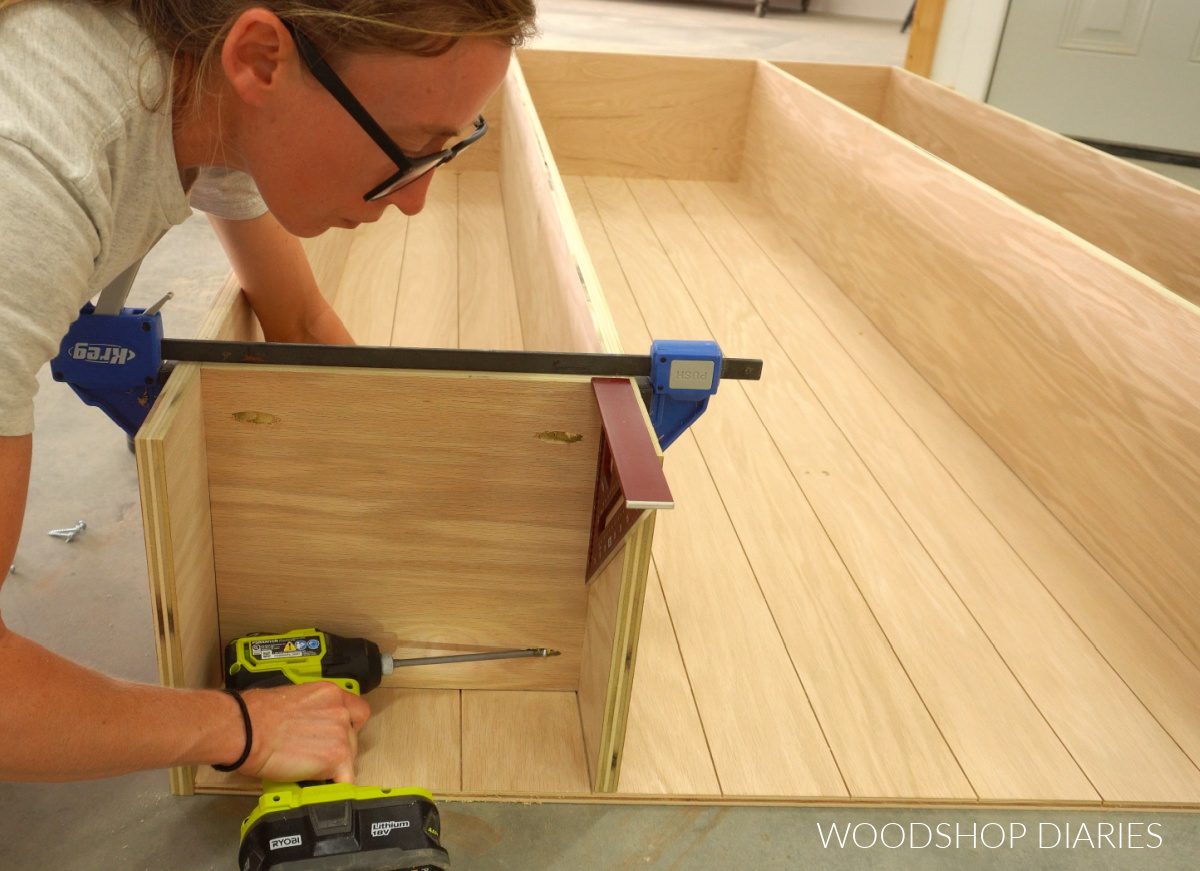
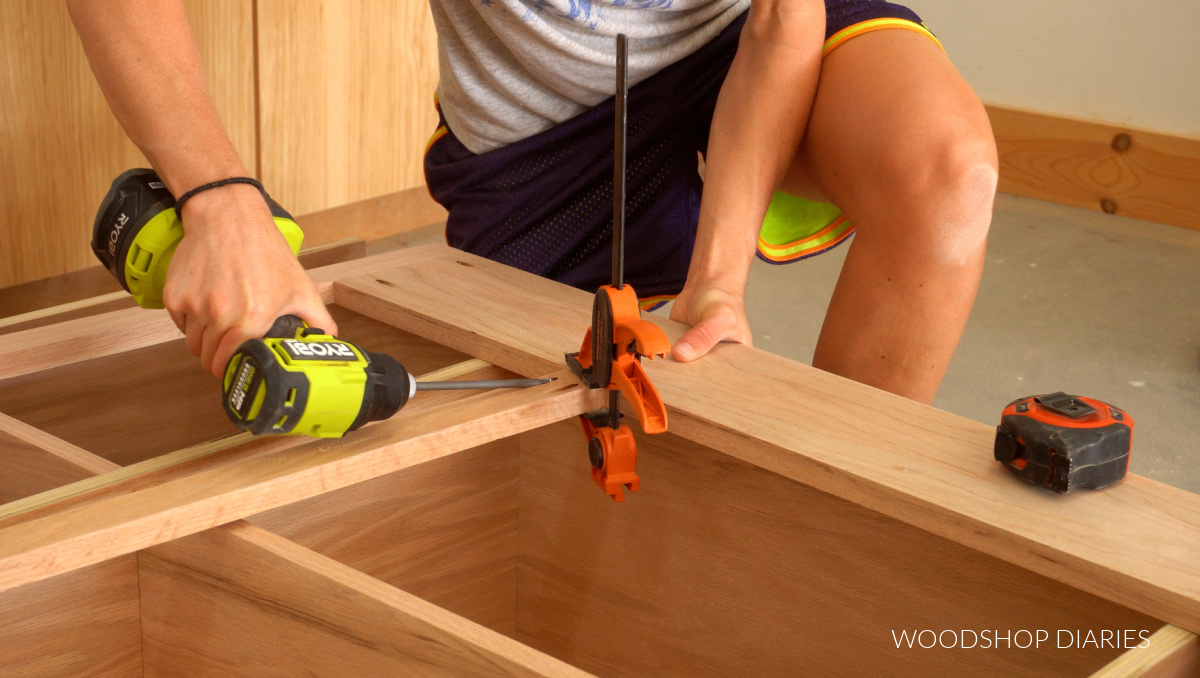
Once I had my left and right bottom shelves in, I measured to cut my middle bottom shelf to fit exactly between the dividers. It’s important here to cut these shelf lengths precisely for a tight fit.

Then, I installed it using pocket holes and screws just like the other two shelves.
NOTE: I am using a 1×6 for the bottom of the face frame in a later step. 1×6 boards are 5 ½″ wide, so I installed these bottom shelves so that the top of them was 5 ¼″ up from the bottom. That way, the 1×6 will cover it and leave a little lip on the front once installed.
RELATED: Understanding lumber sizing
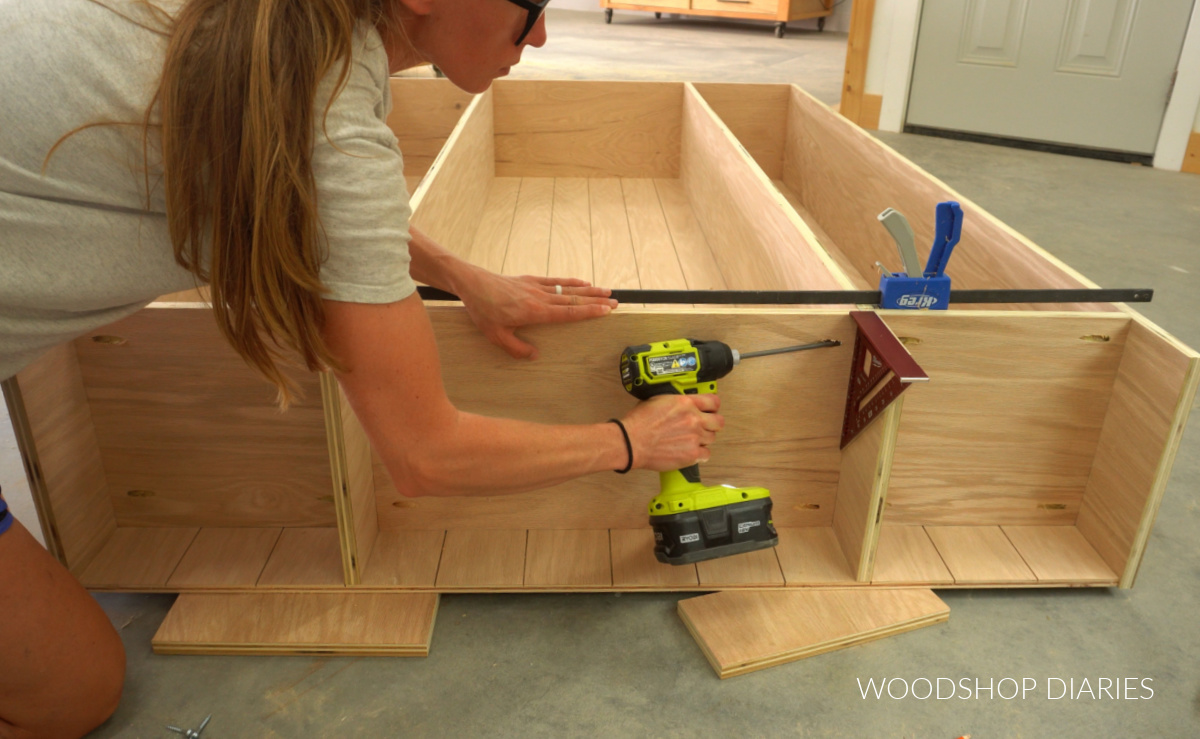
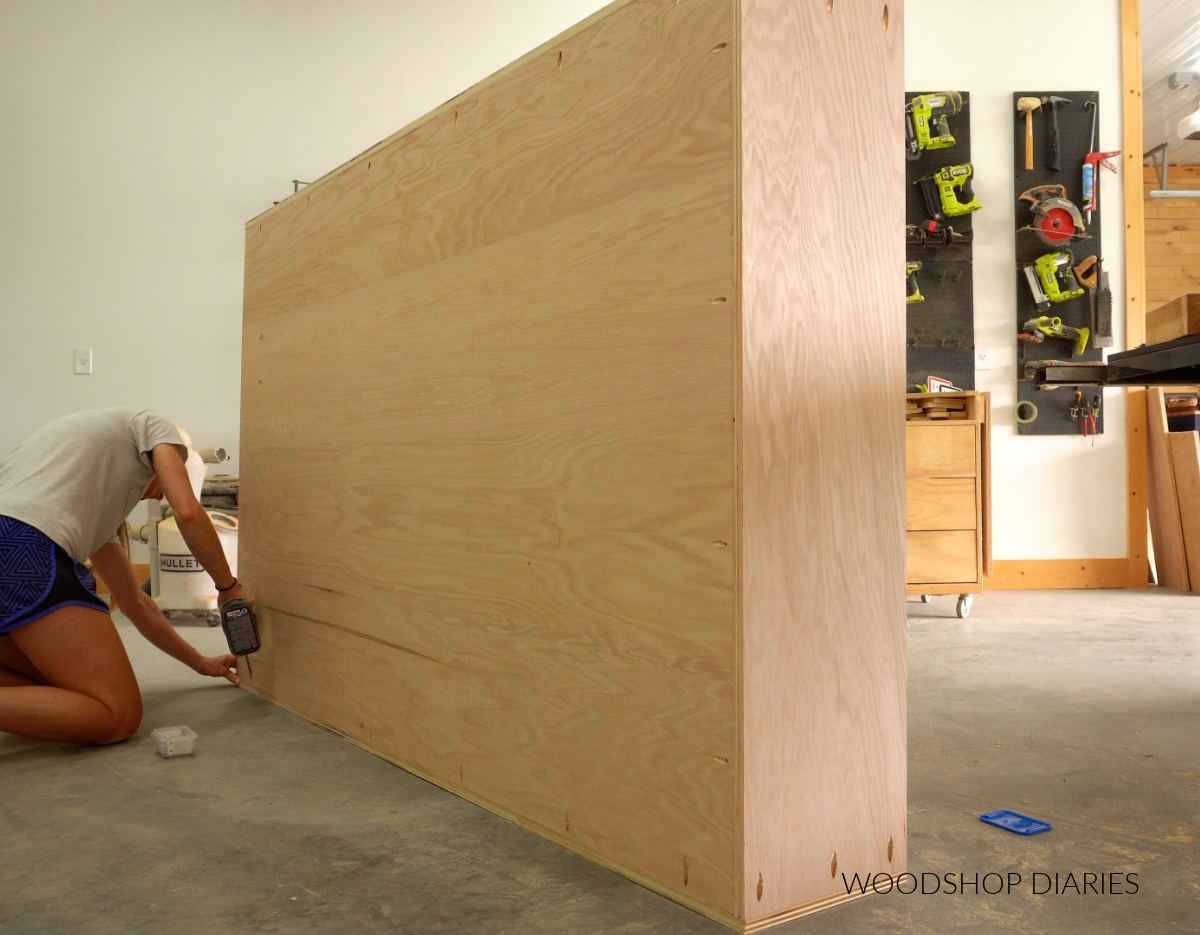
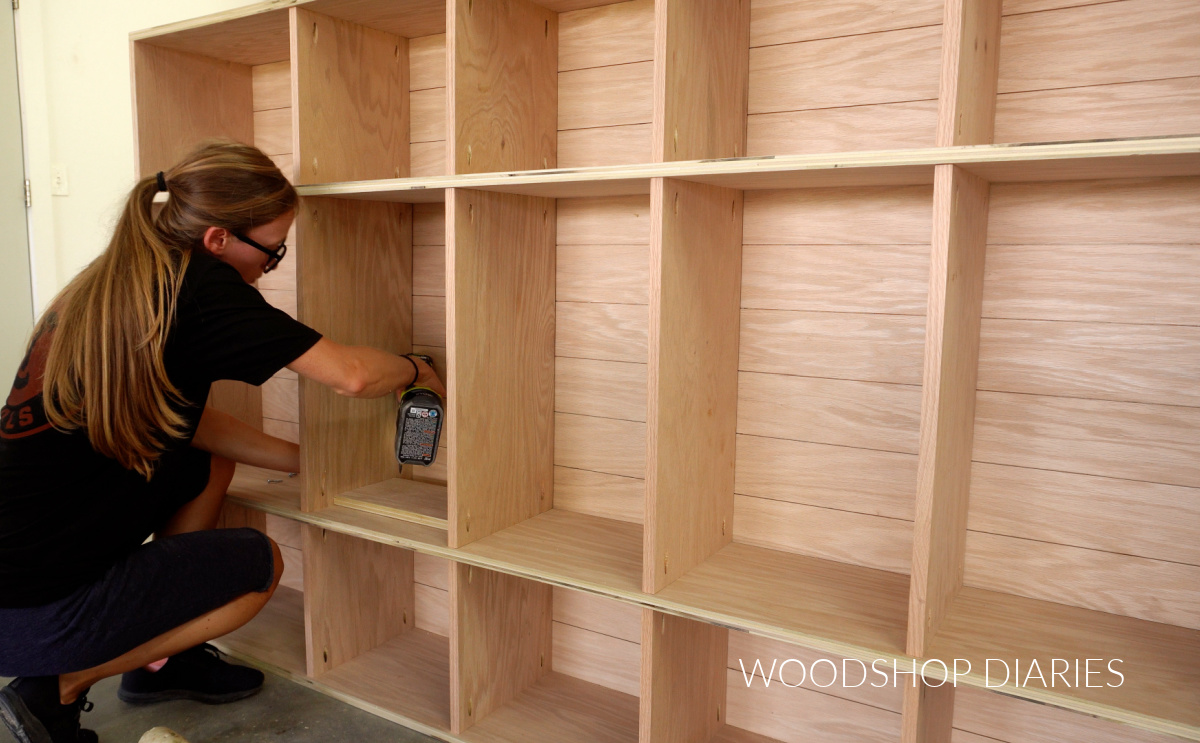
Step 3: Install Stationary Shelves
Now that the bottom shelves are in place, I worked my way up installing the remaining shelves with equal spacing.
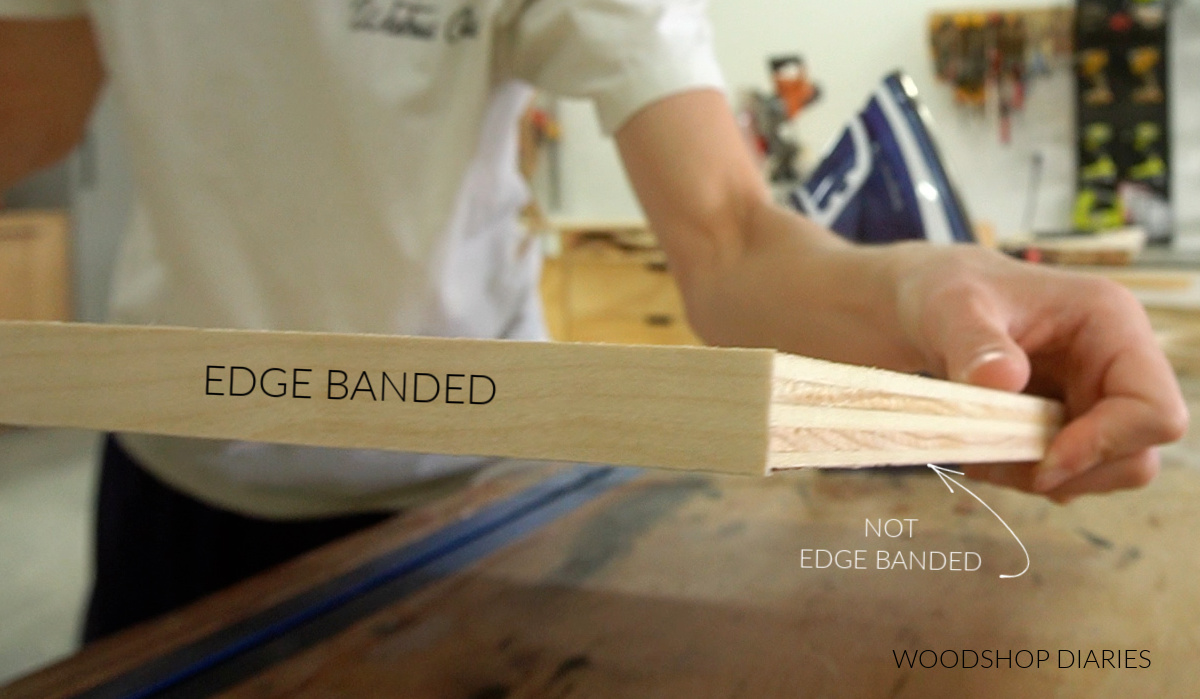
I cut these shelves the same length as the bottom shelves but before installing, I added edge banding on the front edges. These shelves will not be covered by the face frame in the next step, so edge banding will help hide the plies for a cleaner look.
To help me keep my spacing even, I cut a piece of scrap plywood the distance I wanted my shelves to be apart. This helped me quickly and easily work my way up installing each shelf in the proper location.
NOTE: If you wanted to go with adjustable shelves instead of stationary shelves that’s an easy swap! I explained how in the notes above under “Shelving Options.”
Once the shelves were in, I went back to secure the back panel to the dividers. I just drove a few screws through the back to make sure it stayed tight.
I didn’t want to do this before the shelves were in because I took a chance on accidentally securing them in a bowed position.
Step 4: Add Face Frame
I built the face frame here using 1x2s on the vertical parts and 1x6s at the top and bottom. I cut the pieces so that when assembled, they would be the exact same size as the front of the bookcase.
Prefer to print? Detailed dimensions, cut lists, diagrams and more can be found here in the printable bookcase building plans!
This frame was pretty huge, so I found it easiest to flip the bookcase on its back and assemble this frame on top of it. It was just too big for the workbench.
NOTE: This is another place I recommend (if possible) using the Kreg Micro Pocket Hole Jig. A standard size pocket hole jig will work fine, but the smaller holes with the Micro Jig are less likely to split these thin pieces.
Once the face frame was together, I applied glue to the front of the bookcase and nailed this on. I used a finish nailer, but a brad nailer would work as well.

RELATED: What’s the difference between a finish and brad nailer?
Be sure to sand away any glue squeeze out and fill the nail holes. When I’m staining, I like to mix a little wood glue with saw dust to make my own “wood filler.” But store bought fillers work great, too.
Step 5: Add Bookcase Trim
The final part of the bookcase build was adding some trim at the top and bottom. This is completely optional, but it adds a little extra detail.
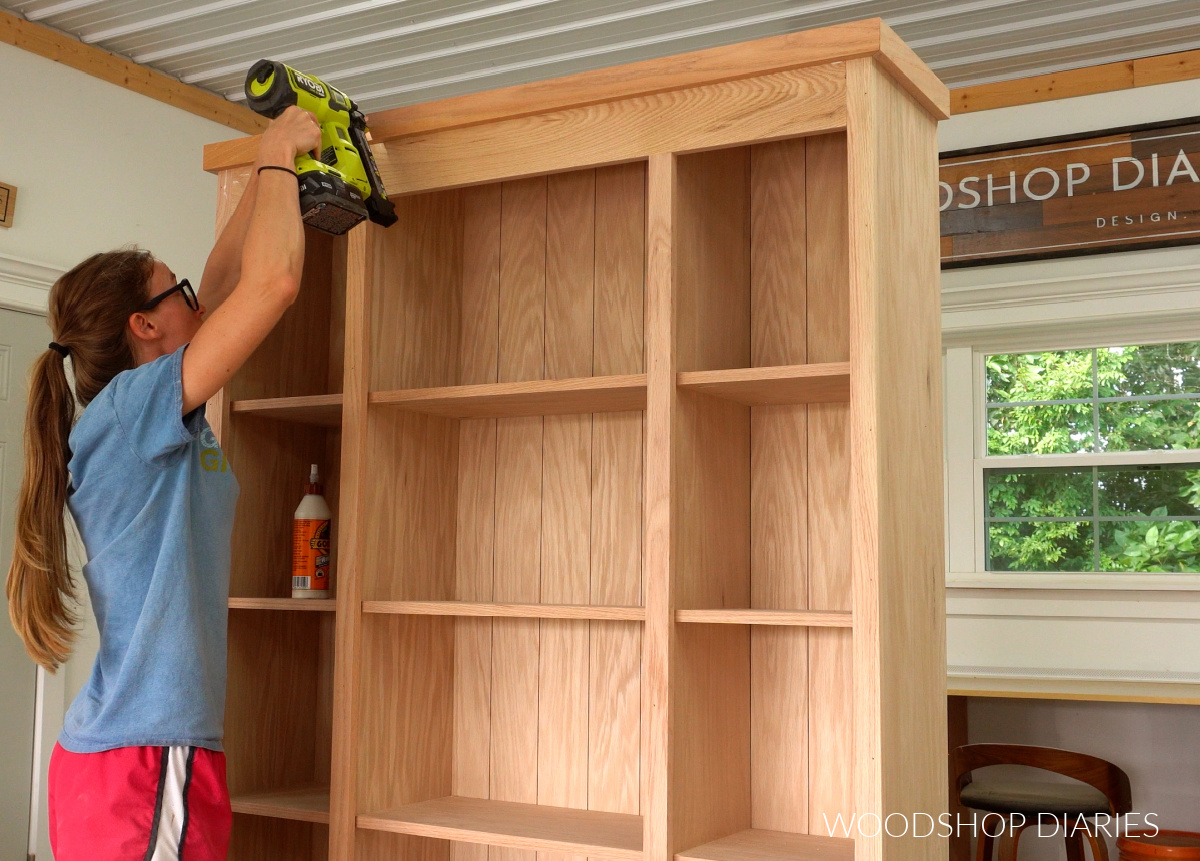
I used 1×3 trim and cut to fit it around the sides and front. But if you wanted to use base and/or crown molding for trim instead, that would look great!
I glued and nailed these pieces around the top and the bottom, allowed to dry, then filled and sanded over the nail holes.
Step 6: Finish
At this point, the shelf is ready for finish. I opted to stain it in Minwax Weathered Oak Wood Stain, but you can stain, paint, or clear coat any color you’d like.
RELATED: How to stain wood furniture
Once the stain dried, I applied a few coats of Minwax Polycrylic to seal it.
And with that, this bookcase was ready to display all my favorite knick knacks and classic reads!
Since this is such a tall piece, I recommend securing it to the wall to prevent tip over.
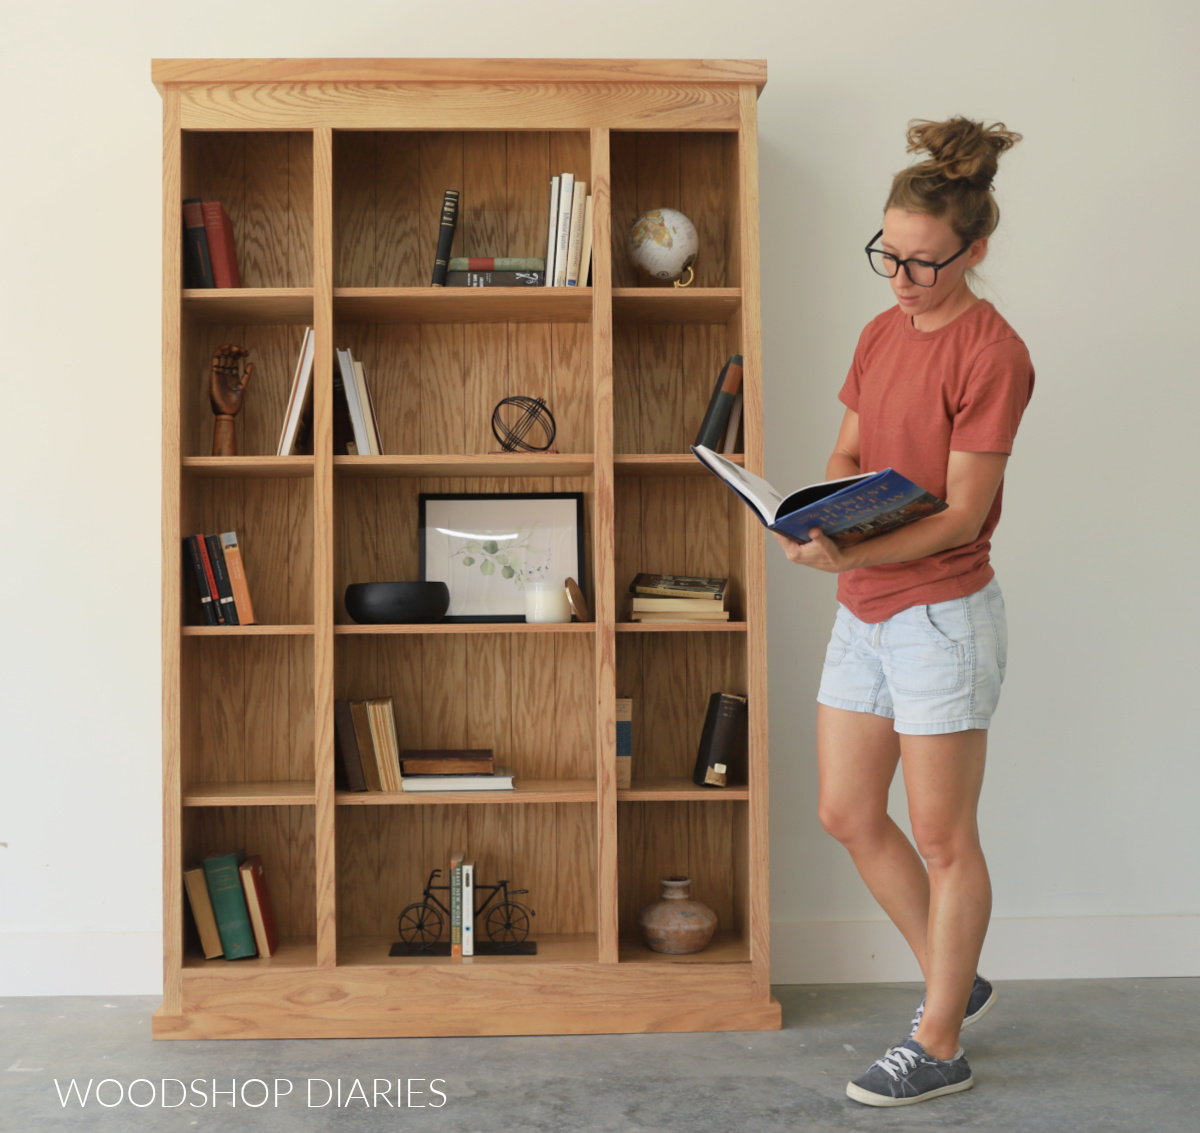
This classic piece would fit perfectly in a home office, a cozy living room, or even in a pantry. You can use it to display your favorite books, trinkets, or artwork.
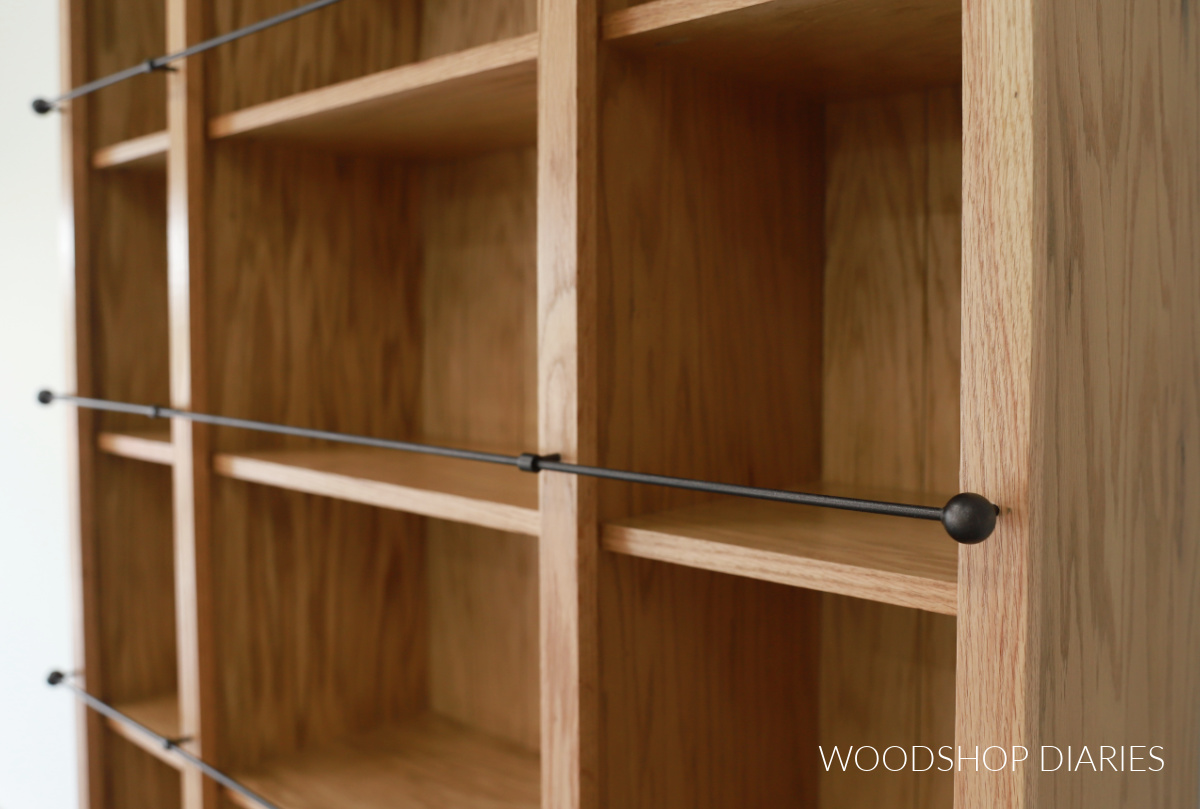
For even more detail, consider adding gallery railing to the front of the shelves. While it’s not really a necessary addition, it gives this shelf a TON of character and I’ll show you how to make and add faux metal gallery rails in this post!
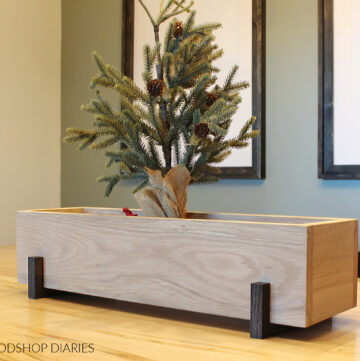
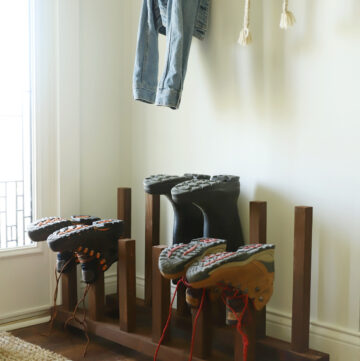
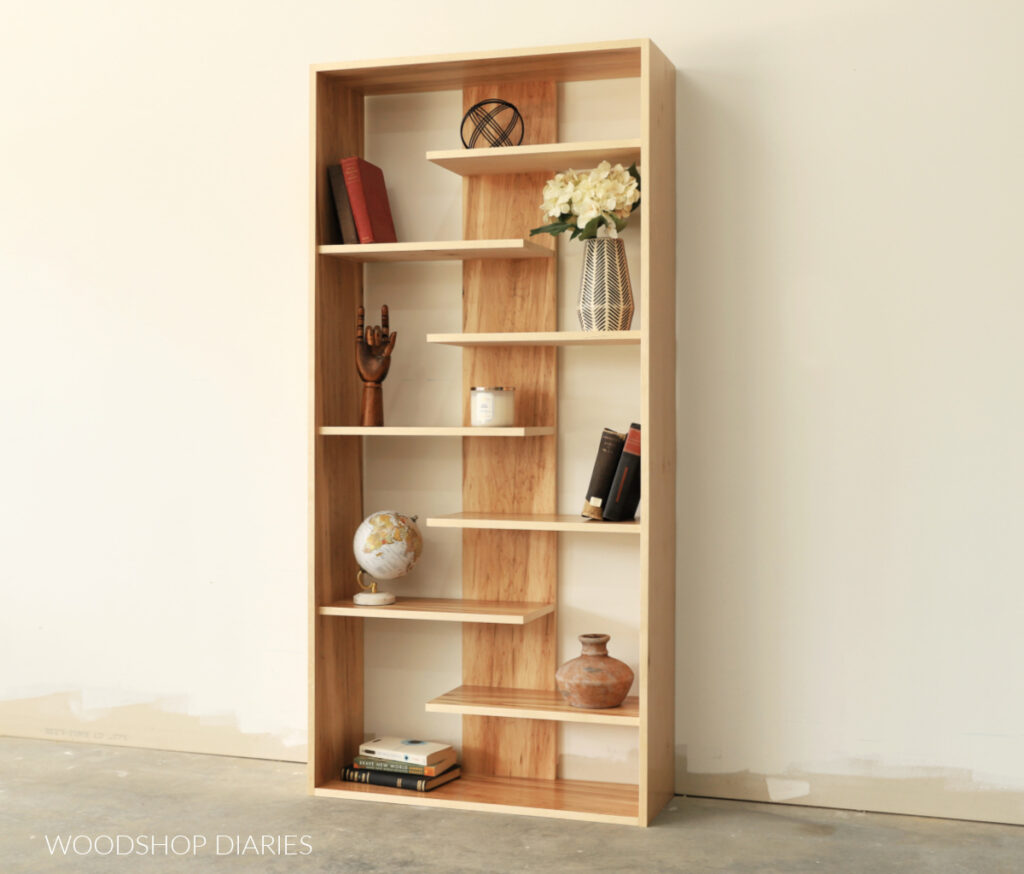
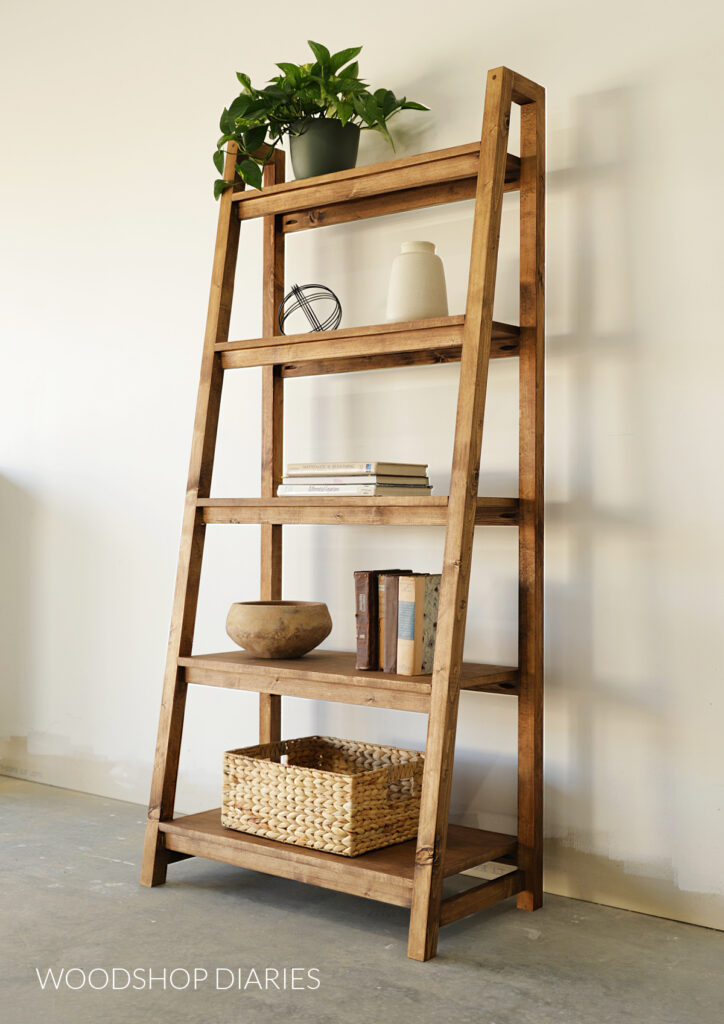
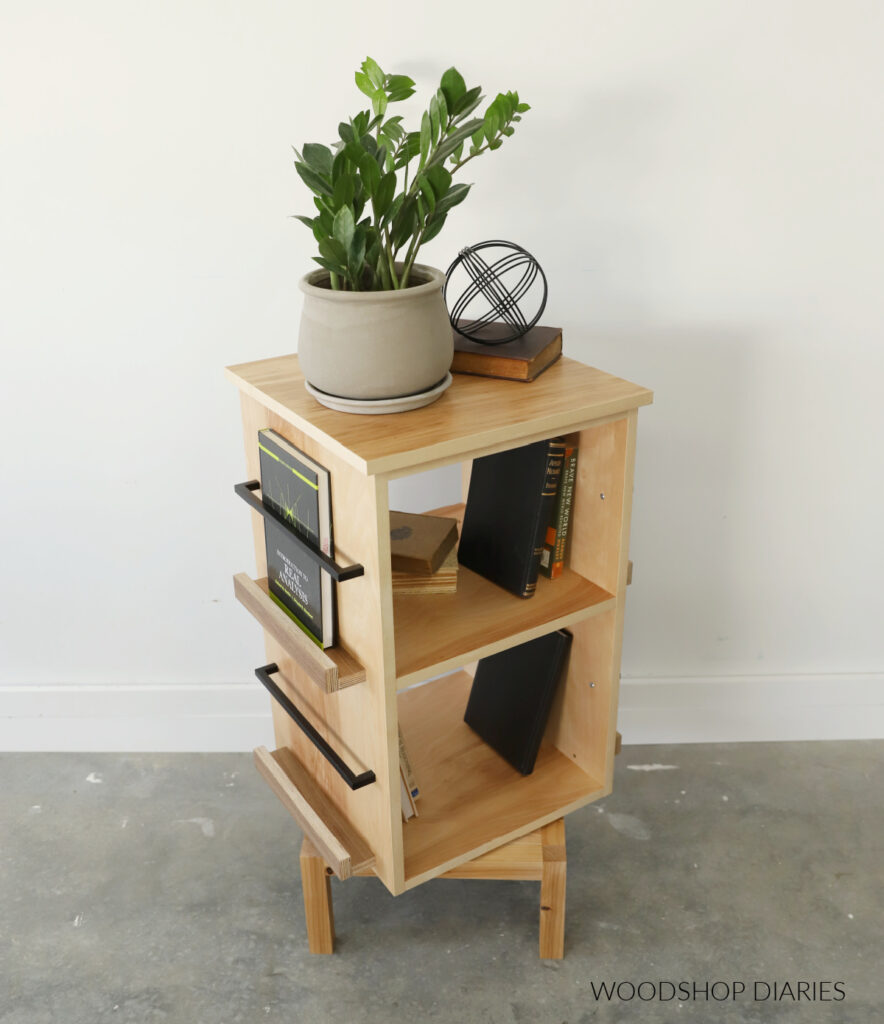
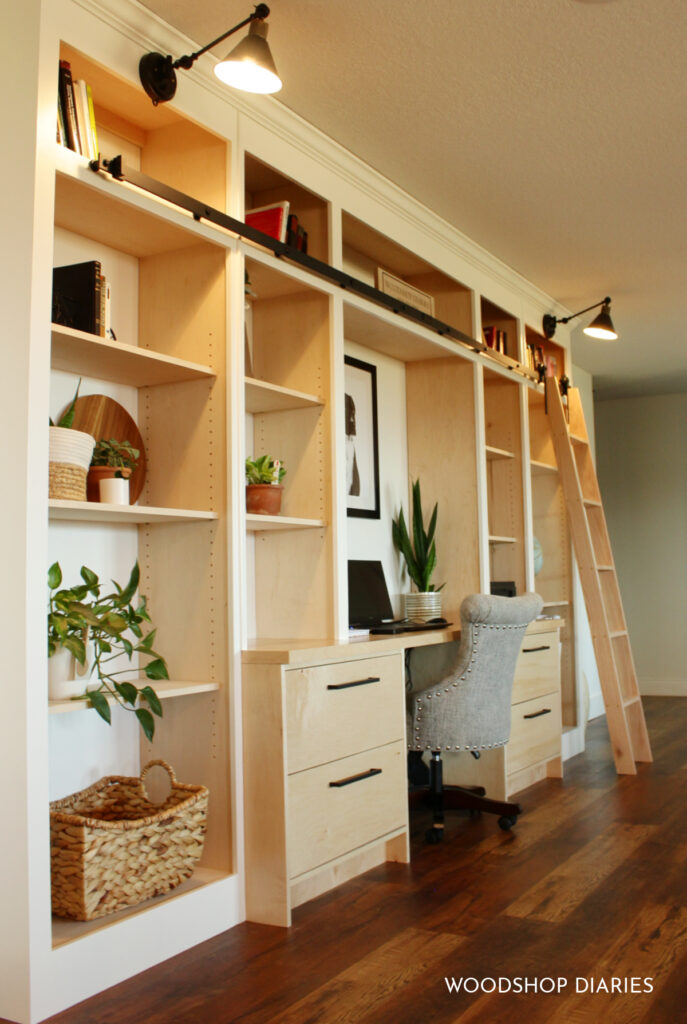
Looking for More Bookcase and Shelving Ideas?
Not quite what you had in mind? No worries! Here are a few of my favorite shelving projects you might enjoy browsing:


If you enjoyed this post and want to save it for later, don’t forget to pin it or share to your favorite social channel!
Until next time, happy building!