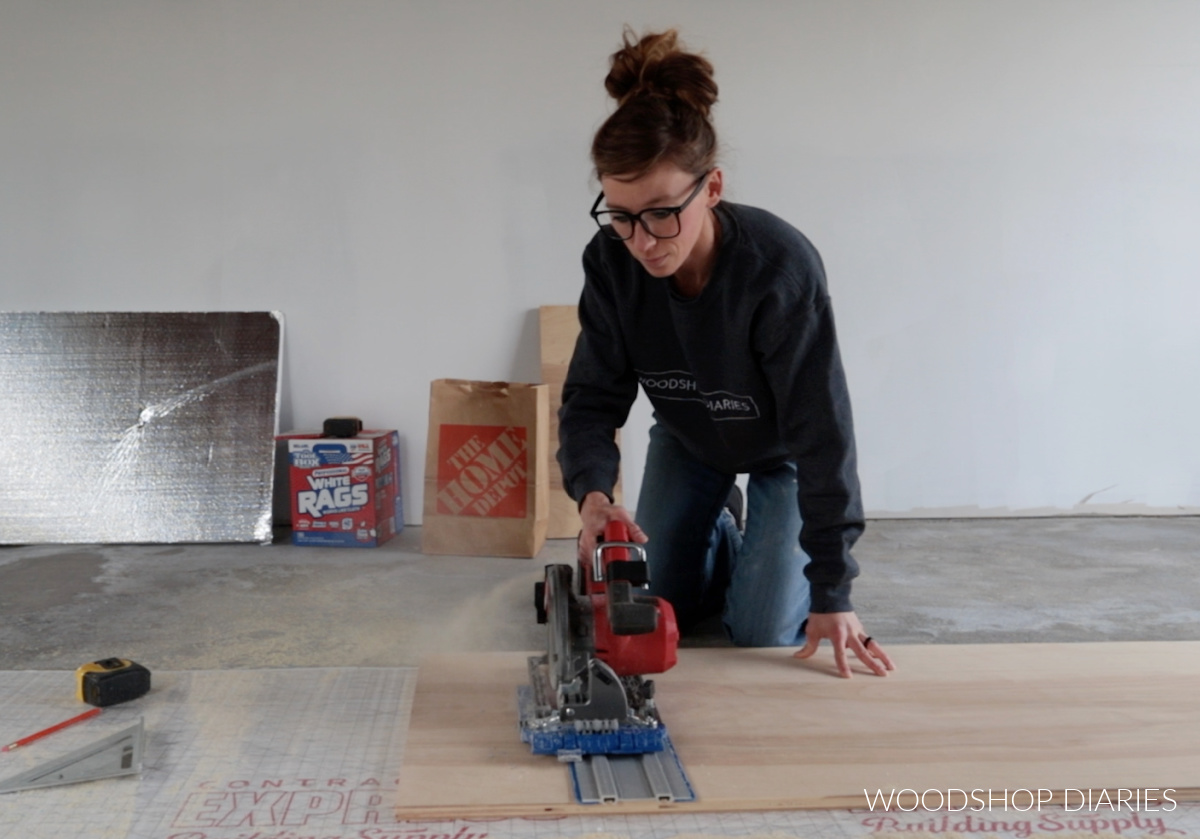
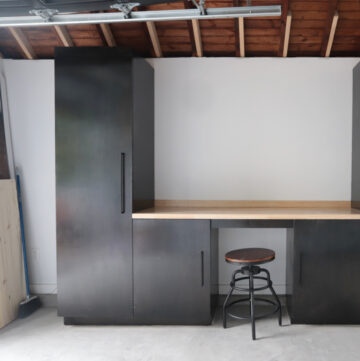
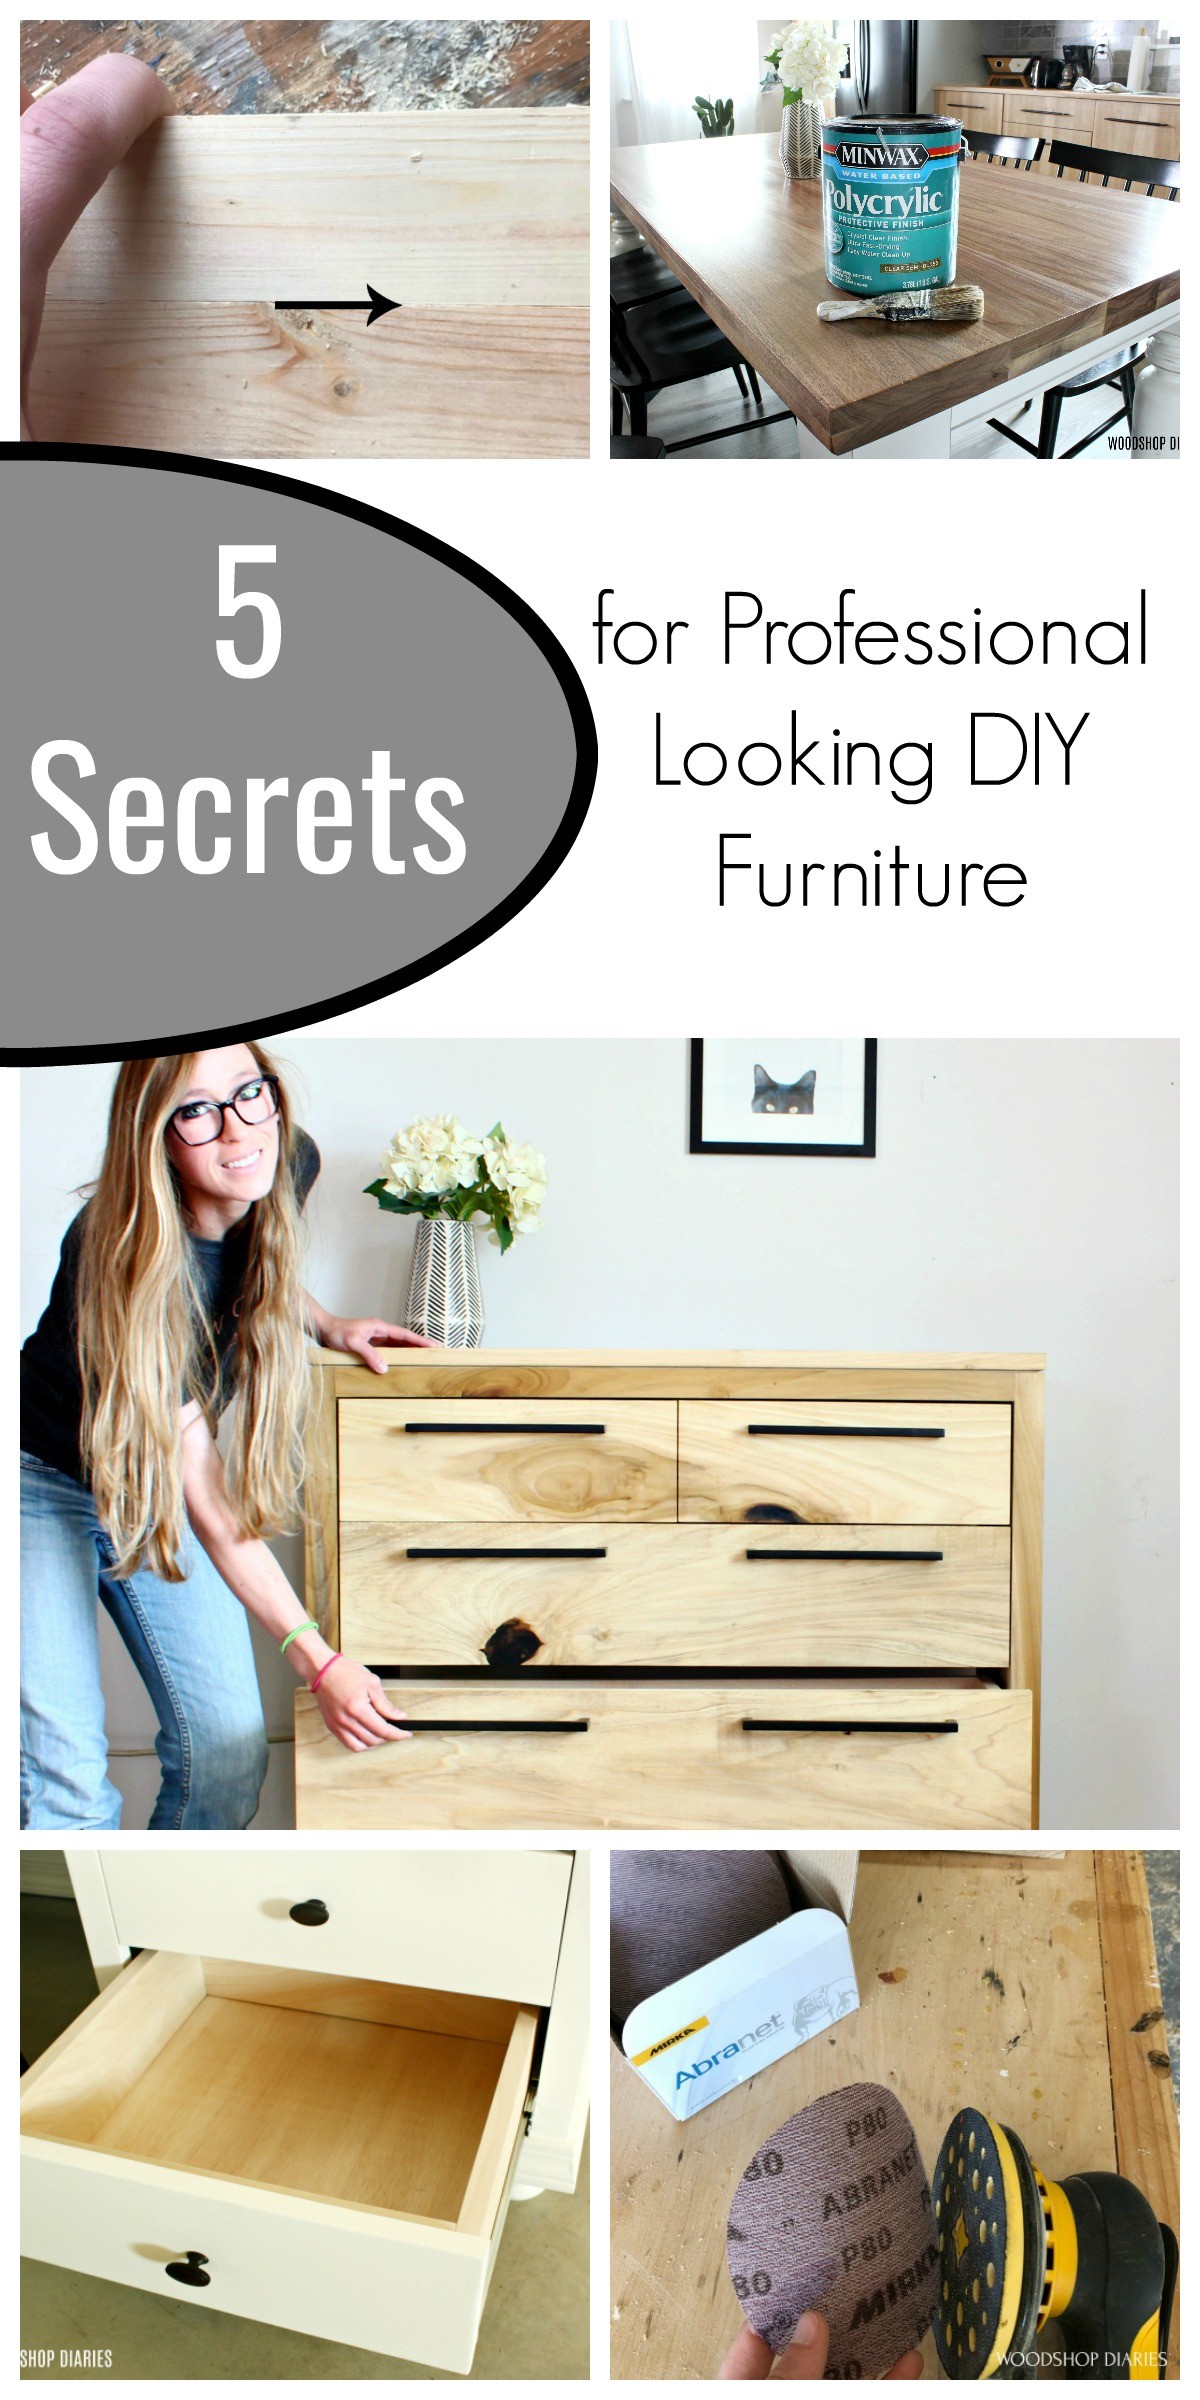
In this post, I’m sharing my 5 DIY furniture tips to make your projects look professionally made! If you want to take your furniture building to the next level, keep reading!
When you think about building a piece of furniture, you may only think about the cutting and assembly process. If you can cut the pieces and attach them together, you got it, right?
.
That’s true…but it’s not going to get you great results. If you want to take it a step further, make your pieces look nicer, and keep them around for years to come, you need to take a few extra steps.
.
The following tips are the top five things that have made the biggest difference over the years taking my builds from “that looks home made” to “that looks professional.”
.
This post contains affiliate links. See policies.
BUT FIRST, A BOnuS TIP
When I first made this list, it didn’t occur to me to add this tip, BUT I’ve been asked so many times since writing this, I thought I’d go ahead and include it.
.
Start with good lumber!! That’s my top tip–my #1 number 1.
.
Now, that doesn’t mean you have to buy super expensive, fancy hardwoods, no. I build much of my stuff from pine, spruce, and construction lumber. BUT when building with plywood, trust me when I tell you to get the good stuff.
There are a TON of plywood types and I know it’s overwhelming. But when building furniture, I ALWAYS use hardwood cabinet grade plywood–birch or oak (usually birch because I’m not a huge fan of oak).
.
It’s a little more expensive than other types, but it makes a WORLD of difference if you’re building cabinets or furniture you want to look and finish nice. And it’s significantly stronger, too.
RELATED: How to choose the right plywood for your projects
.
Sanded pine is good if you can’t find hardwood cabinet grade plywood, but I only use sanded pine for shop projects (not furniture) as it’s not as strong and doesn’t finish as nicely as birch or oak.
Pro Tip #1: Don’t Skip Sanding
If I were to only give you one of the five DIY furniture tips, THIS. IS. THE. ONE. No one likes sanding. Trust me, I know.
.
But buying an orbital sander and making a point to sand every single surface of every single piece I put into a project was the NUMBER ONE thing that helped the overall quality of my projects.
.
Read More: Check out how to make an easy DIY Charcuterie board with just a little light sanding!
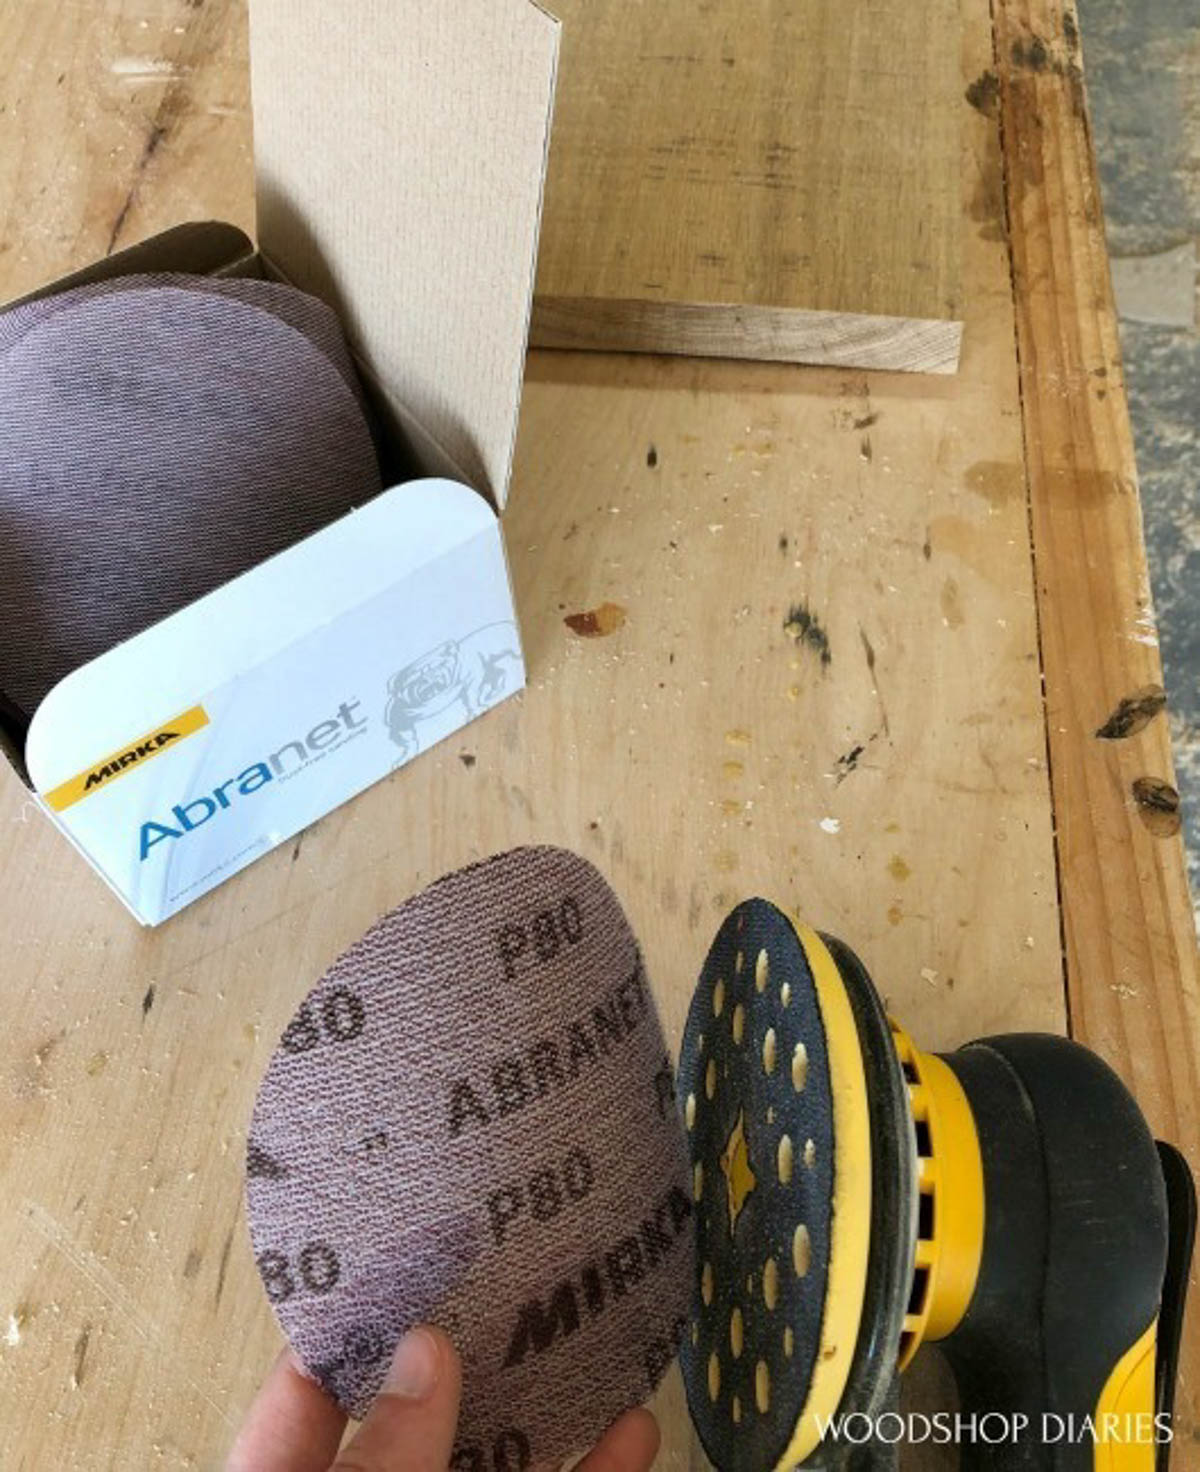
RELATED: Check out this super old post from years ago when I realized sanding was such a game changer.
Okay, so sanding is important. But when should you sand?
- After Cutting
- Before Assembling
- After Assembling
- After Puttying
- Between Coats of Finish (paint or poly)
Basically, when in doubt, sand 🙂 Now I know there is groaning, weeping, and gnashing of teeth. I understand that sanding will take you twice as long to complete a project and it’ll be boring.
.
But trust me when I say THIS is the one thing that separates the DIY from the pro-made projects.
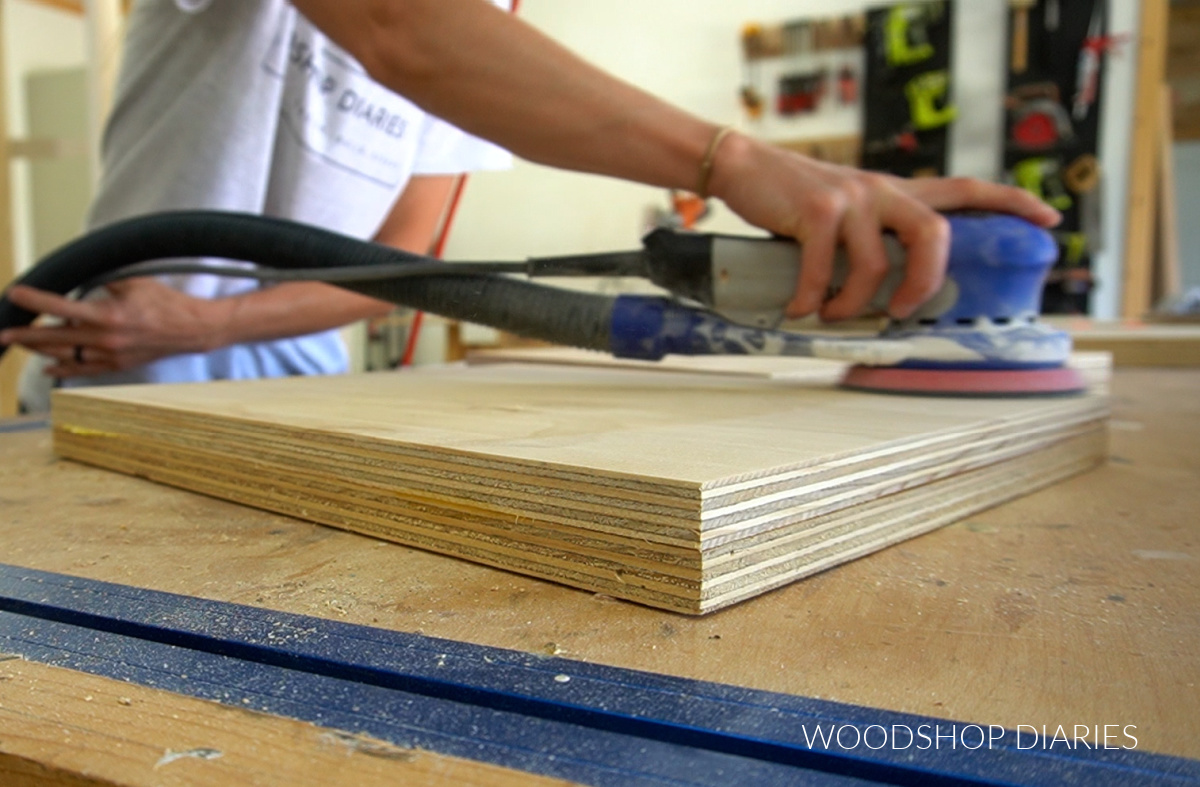
Helpful note: Sandpaper is labeled with numbers called grits–you may hear 120 grit, 400 grit, etc. The higher the number, the finer the grit. Low number grit paper (60, 80, 100, 150) will leave pieces rougher, but will remove more material faster and is usually for sanding rough surfaces or leveling uneven spots.
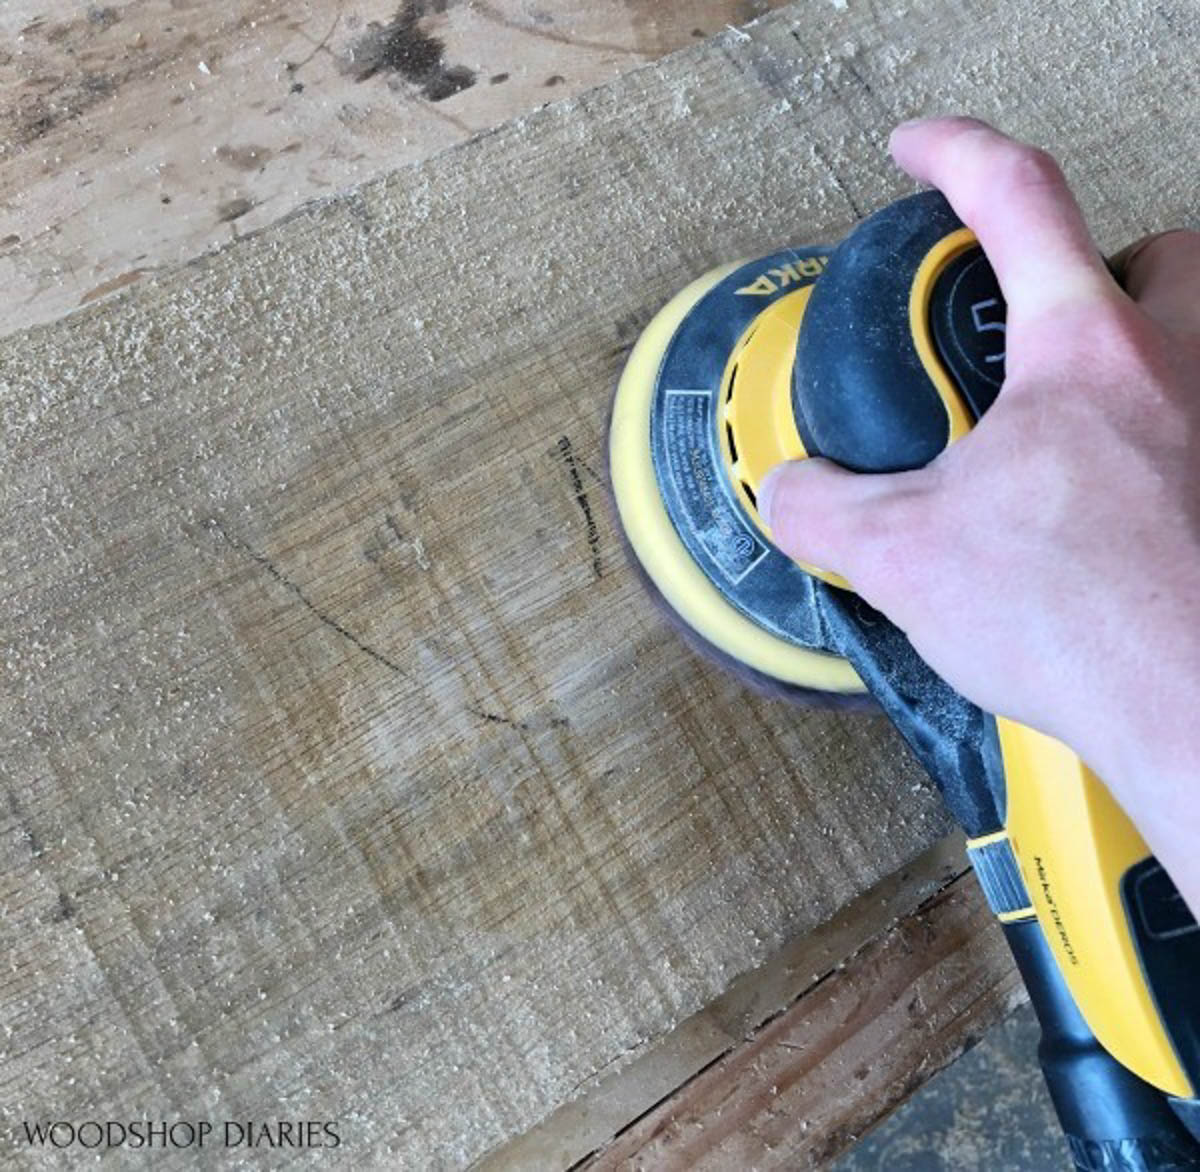
Higher number grit is for finer finishes–for use between coats of finish or before applying finish. The higher the grit number, the smoother it will feel after sanding.
The most used sandpaper grit in my shop is 220. I sand pretty much everything to 220 before assembling and before finish. If I need to remove a lot of material or I’m working with rough lumber, I’ll use 120 or 150 grit first, then follow it with 220.
And I use 400 grit between coats of finish. This really helps give you a nice smooth finish and helps keep brush strokes minimal.
Check out this video about the difference in sanding grits!
Pro Tip #2: Remove Factory Edges & Square Boards
Much like sanding, this is another process that made a pretty significant impact on the quality of my projects.
.
Now, if you follow along, you probably notice that I use construction lumber for a lot of my projects–it’s readily available, inexpensive, and when finished properly, looks great. But there are pros and cons to using it.
.
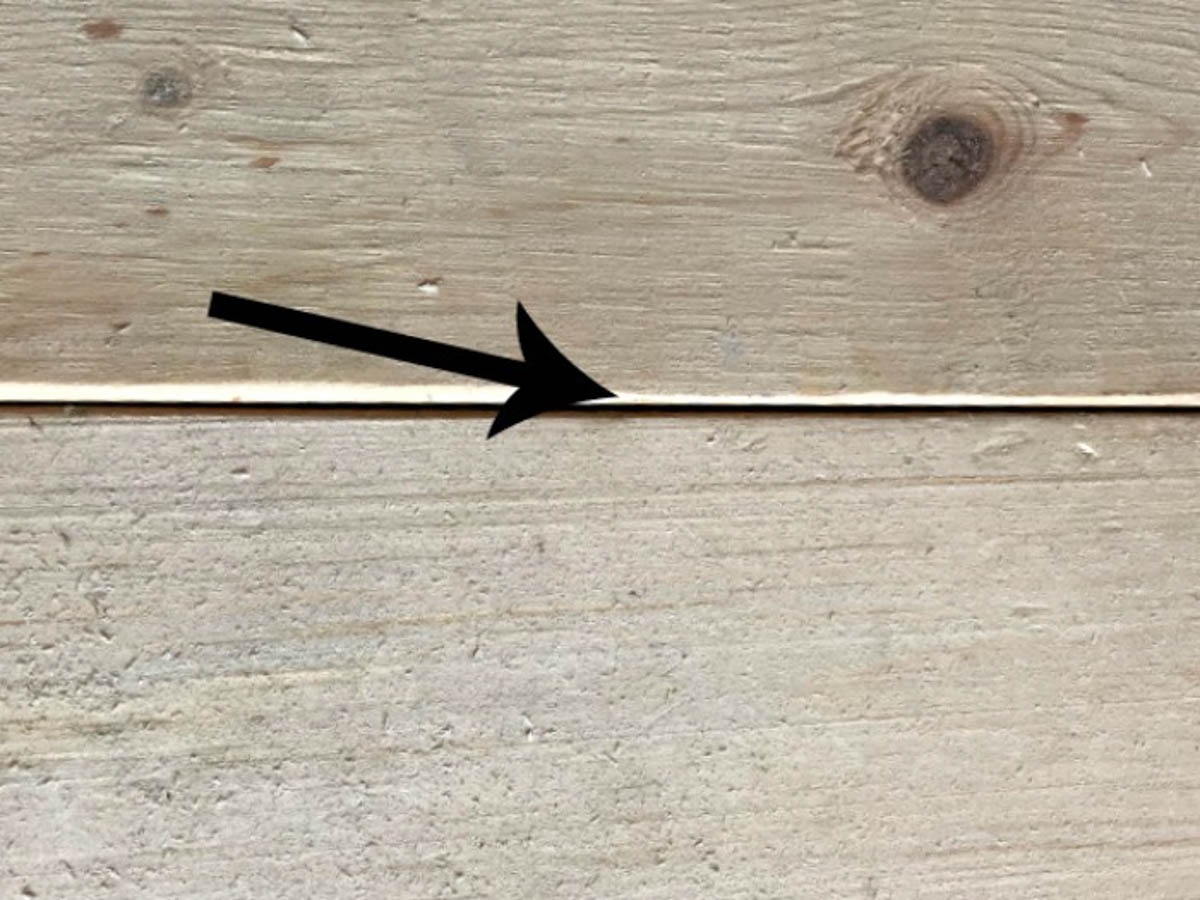
One downside to construction lumber is that they typically come with rounded corners.
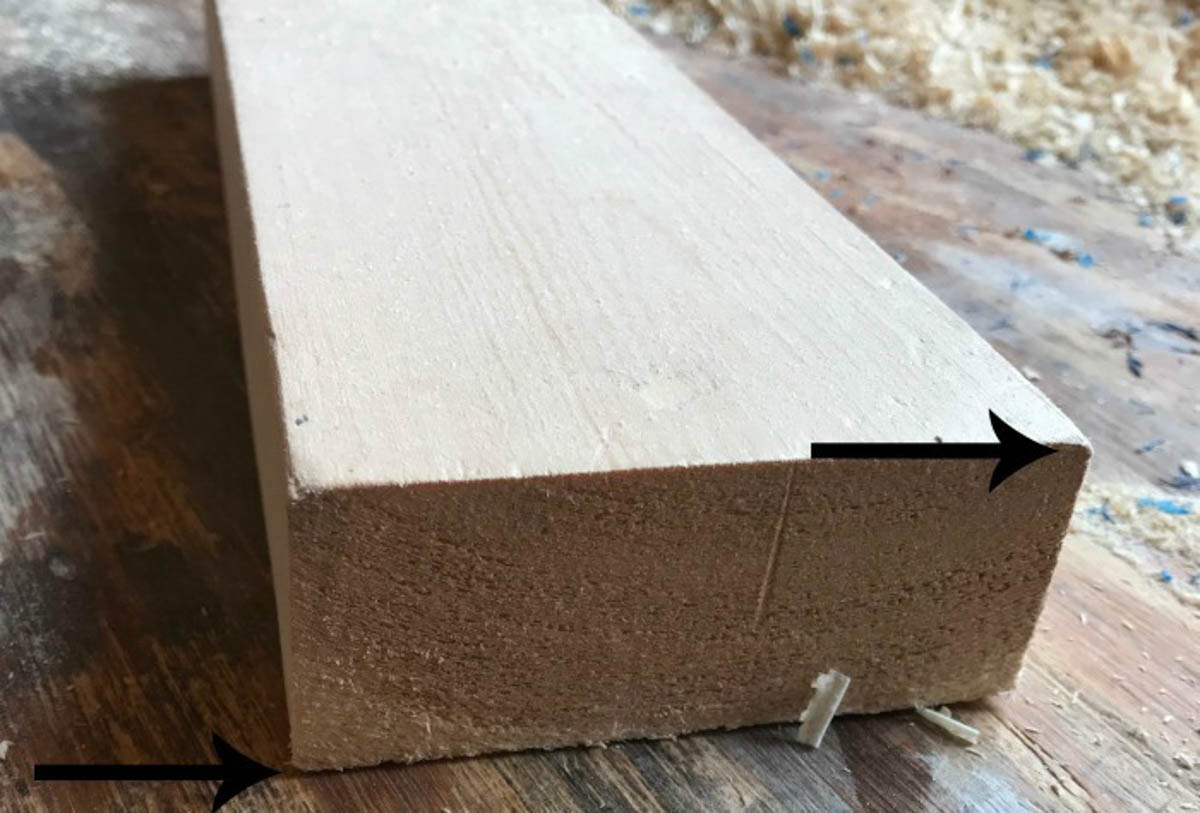
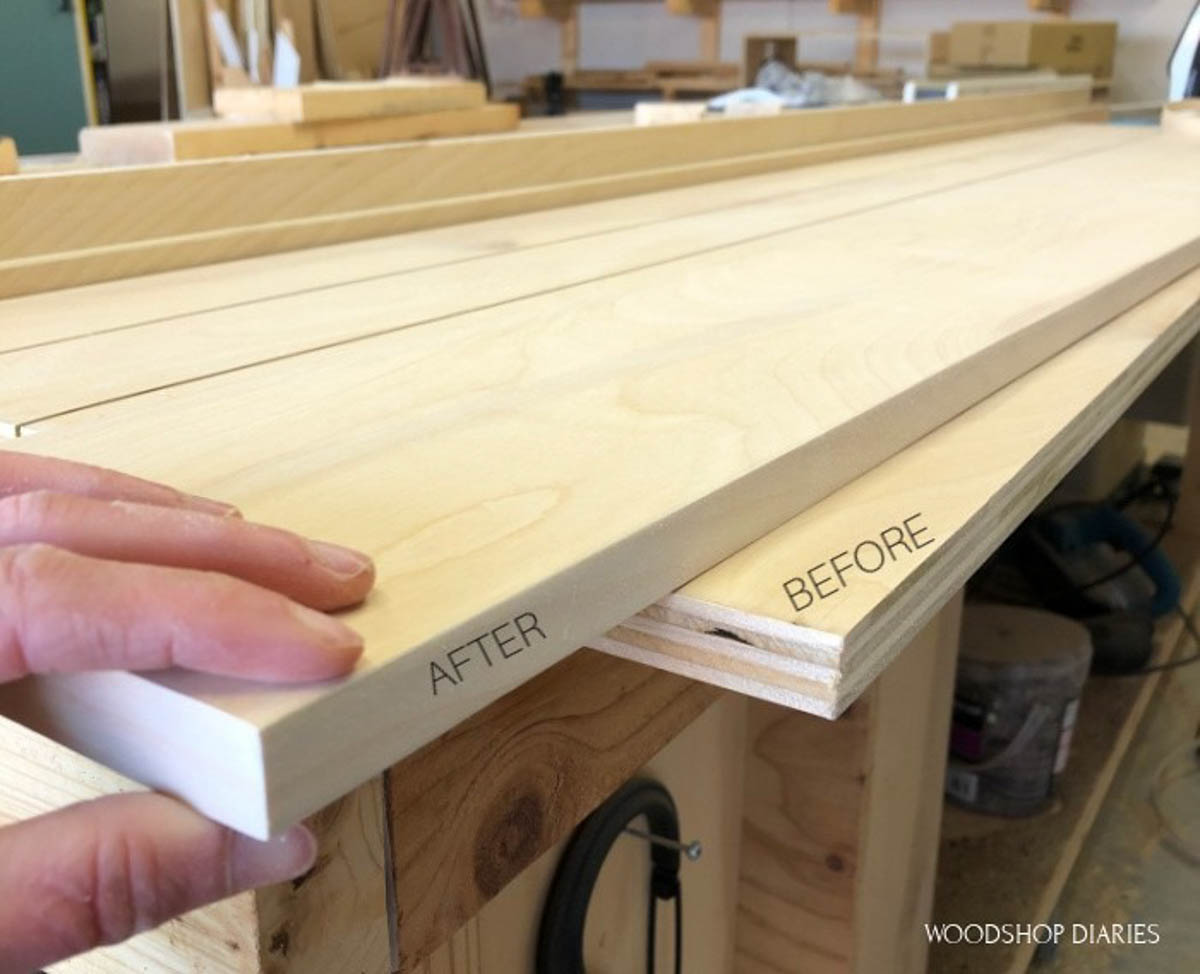
That’s fine until you start joining boards. If you butt a rounded edge up to a square edge, or (WORSE) butt a rounded edge to another rounded edge, you get an ugly gap. This does not look good.
To make much cleaner joints, you must remove the factory edge and cut off these rounded corners. See how clean this looks?
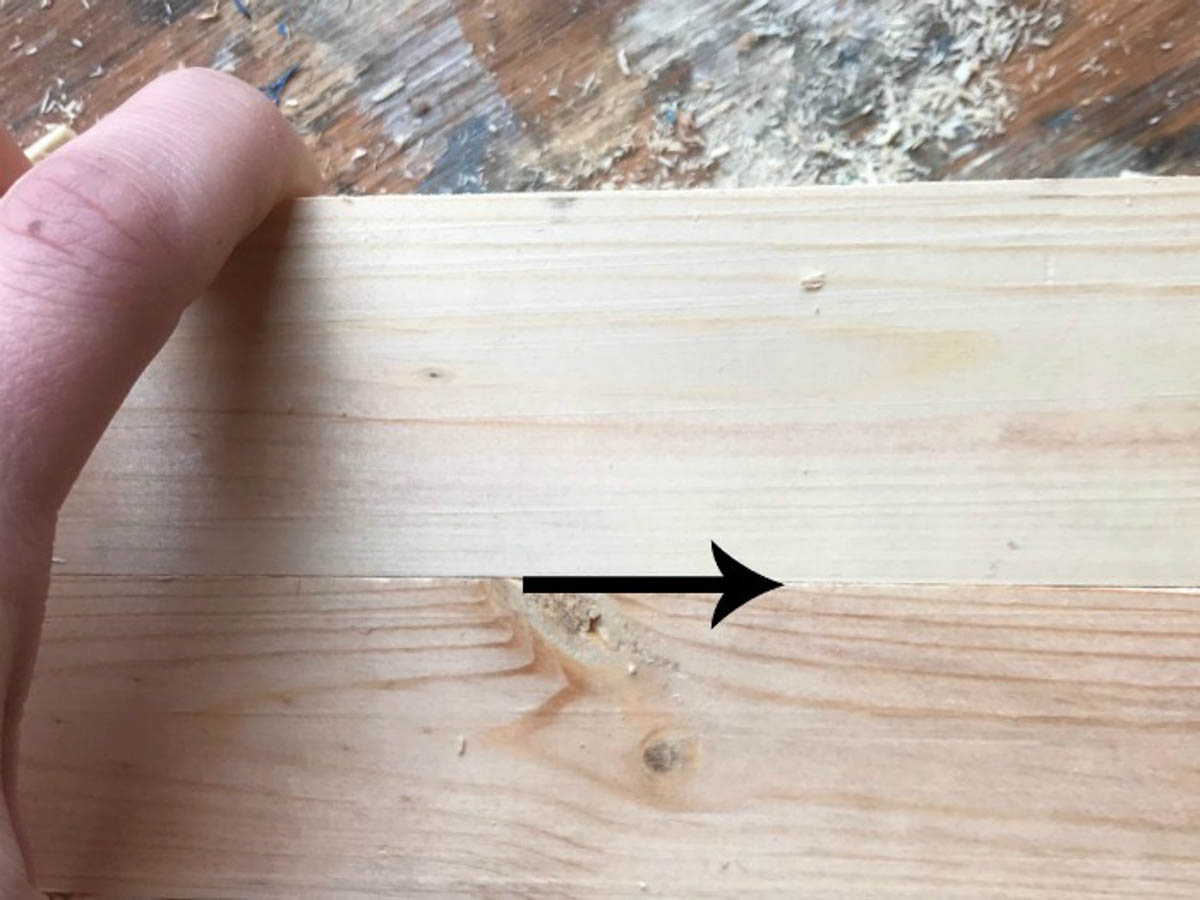
I show you how to do sqare board edges in this post. And also, in this TikTok video 🙂
Pro Tip #3: Edge Band or Trim Plywood Edges
I know you’ve noticed, I use a lot of plywood in my projects. It’s a great material to work with.
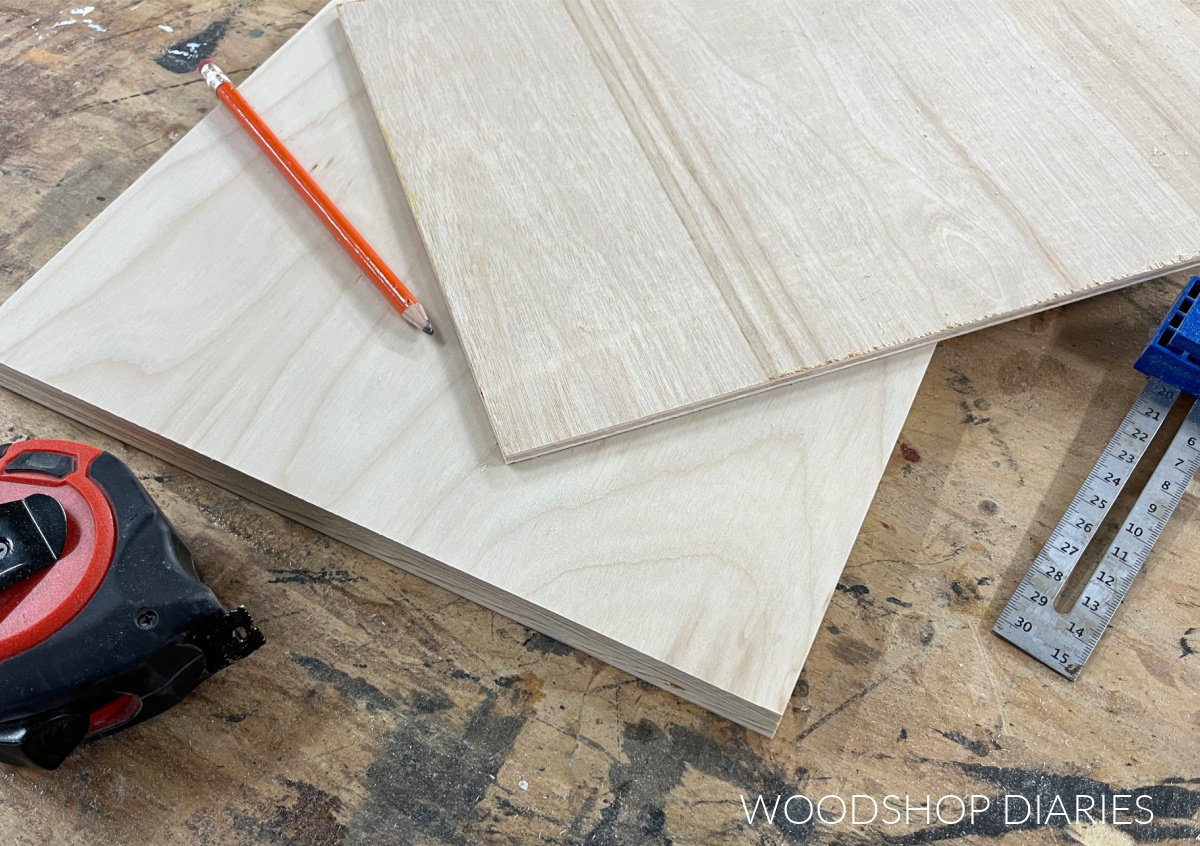
RELATED: Check out this post for the easiest way to cut down plywood sheets!
A long time ago, I didn’t bother with trimming or covering the plywood edges. And occasionally, exposed plywood edges ARE, in fact, a design element that should be displayed.
But let’s not fool ourselves–MOST OF THE TIME, exposed plywood edges just look…unfinished and unprofessional. See below?
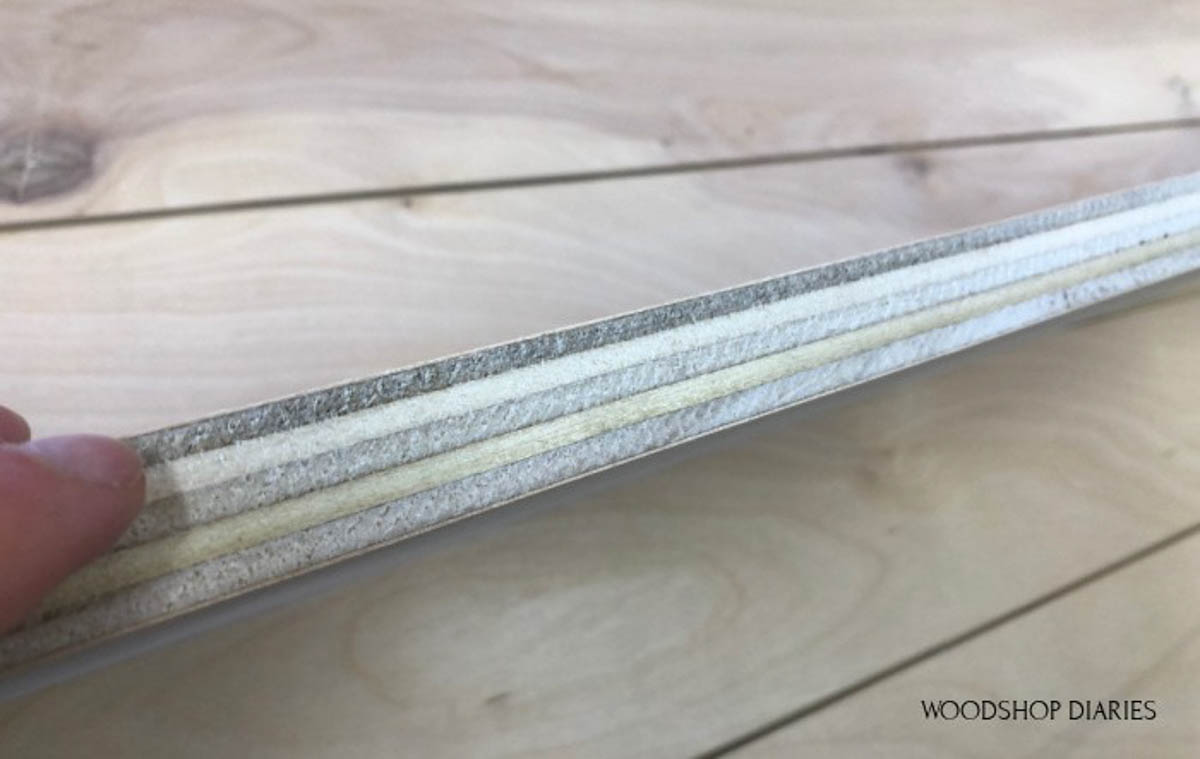
So, take the time to cover these edges with either trim–like cove molding or half round molding–or iron on edge banding. Most of the time, I use iron on edge banding–just iron it on, and sand the edges. Here’s a helpful post about how to apply iron on edge banding!
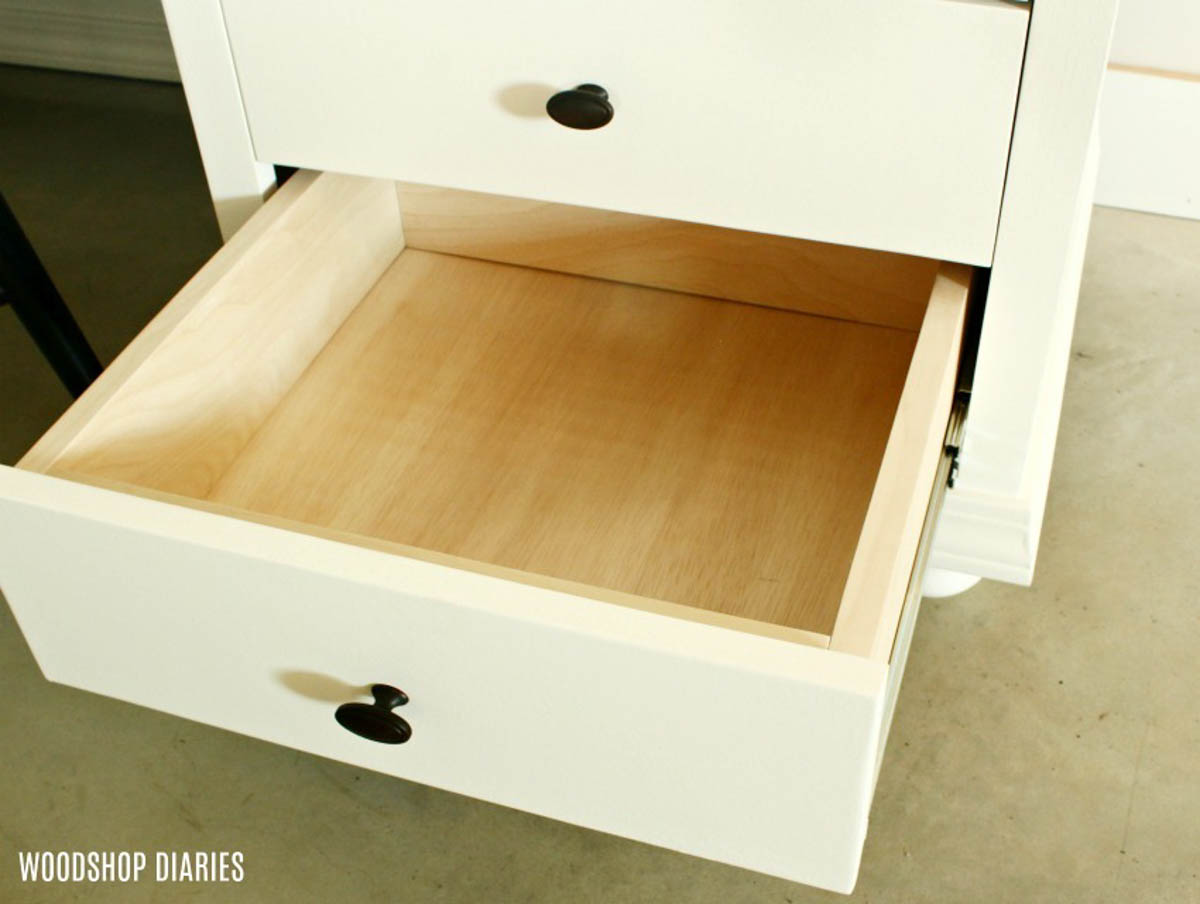
Bonus DIY furniture tips: If you want to even take it a step FURTHER, apply edge banding to the top of your plywood drawer boxes, too. Now THAT looks professional 😉
Pro Tip #4: Fill Gaps and Knots
Don’t skip filling small gaps with putty or large knots with epoxy. Not only will it smooth out the surface, but it’ll also prevent dust and debris from getting stuck in there over time.
.
For small gaps in joints or small knots, dimples, or nail holes, a high quality wood putty or filler works well–or caulk if you’re planning to paint. Make sure to cover all surface imperfections prior to painting.
.
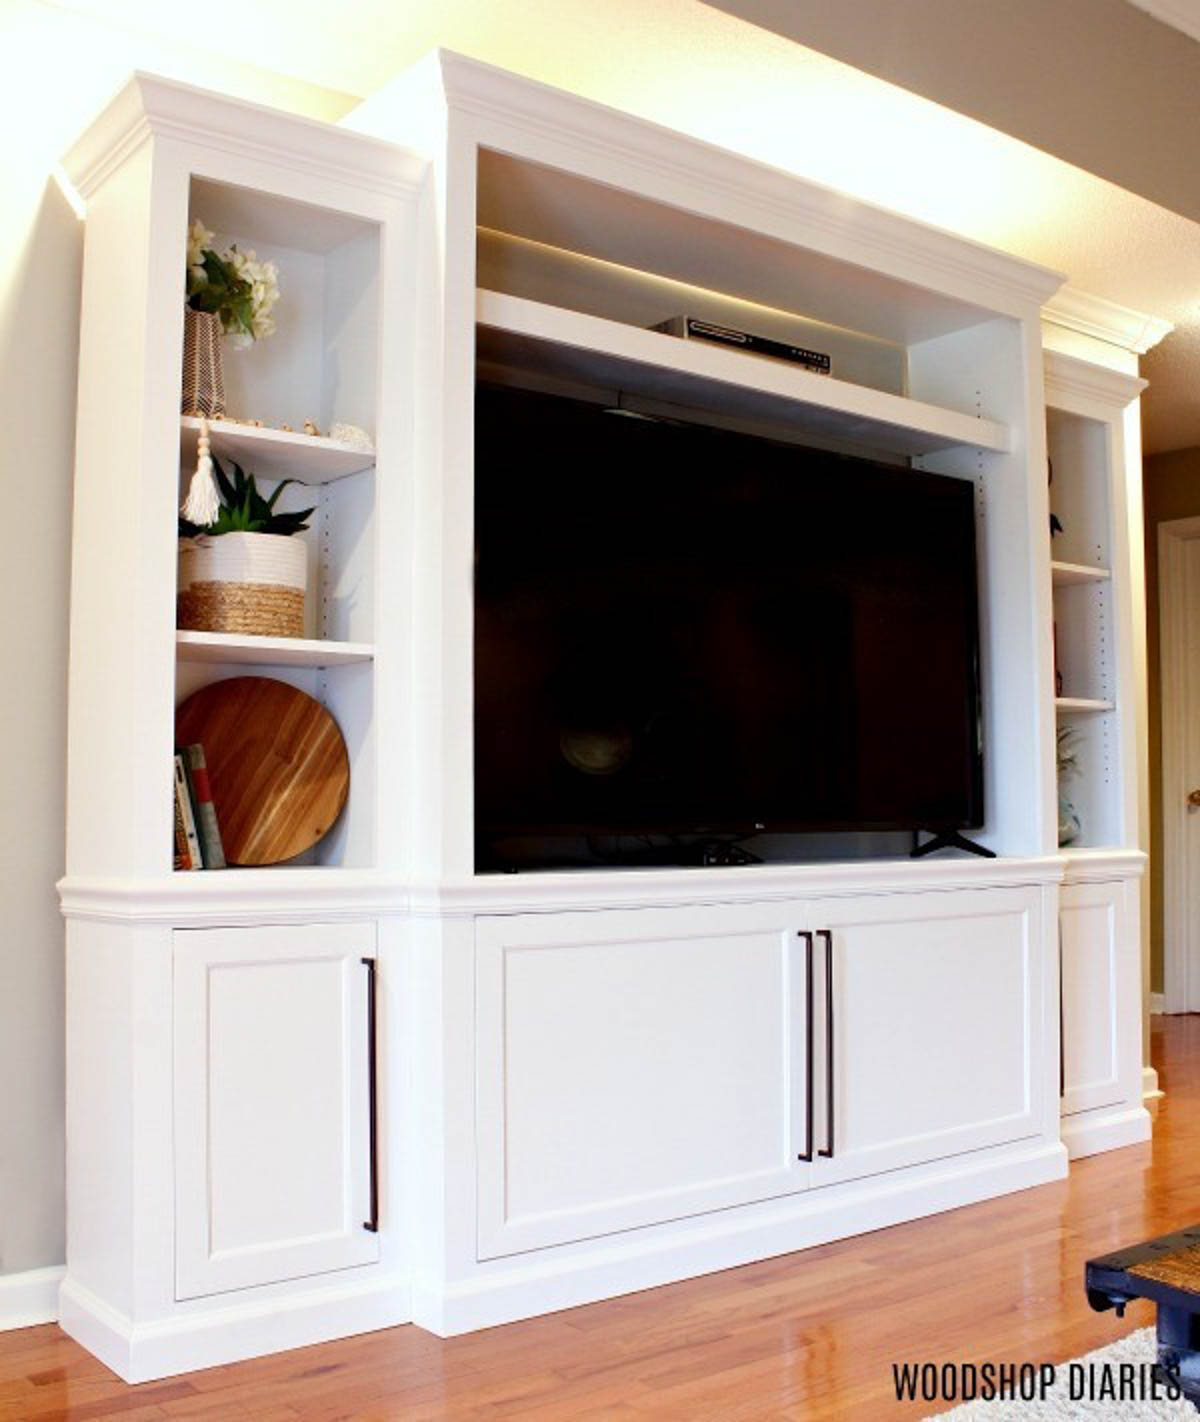
While paint covers a multitude of sins, it also exposes all the gaps after its dry–especially with light colors.
If you aren’t painting, or staining, but are leaving the wood a natural color, mix up some matching wood type sawdust and glue to make your own color matching putty. Check out this video for how to mix your own putty!
.
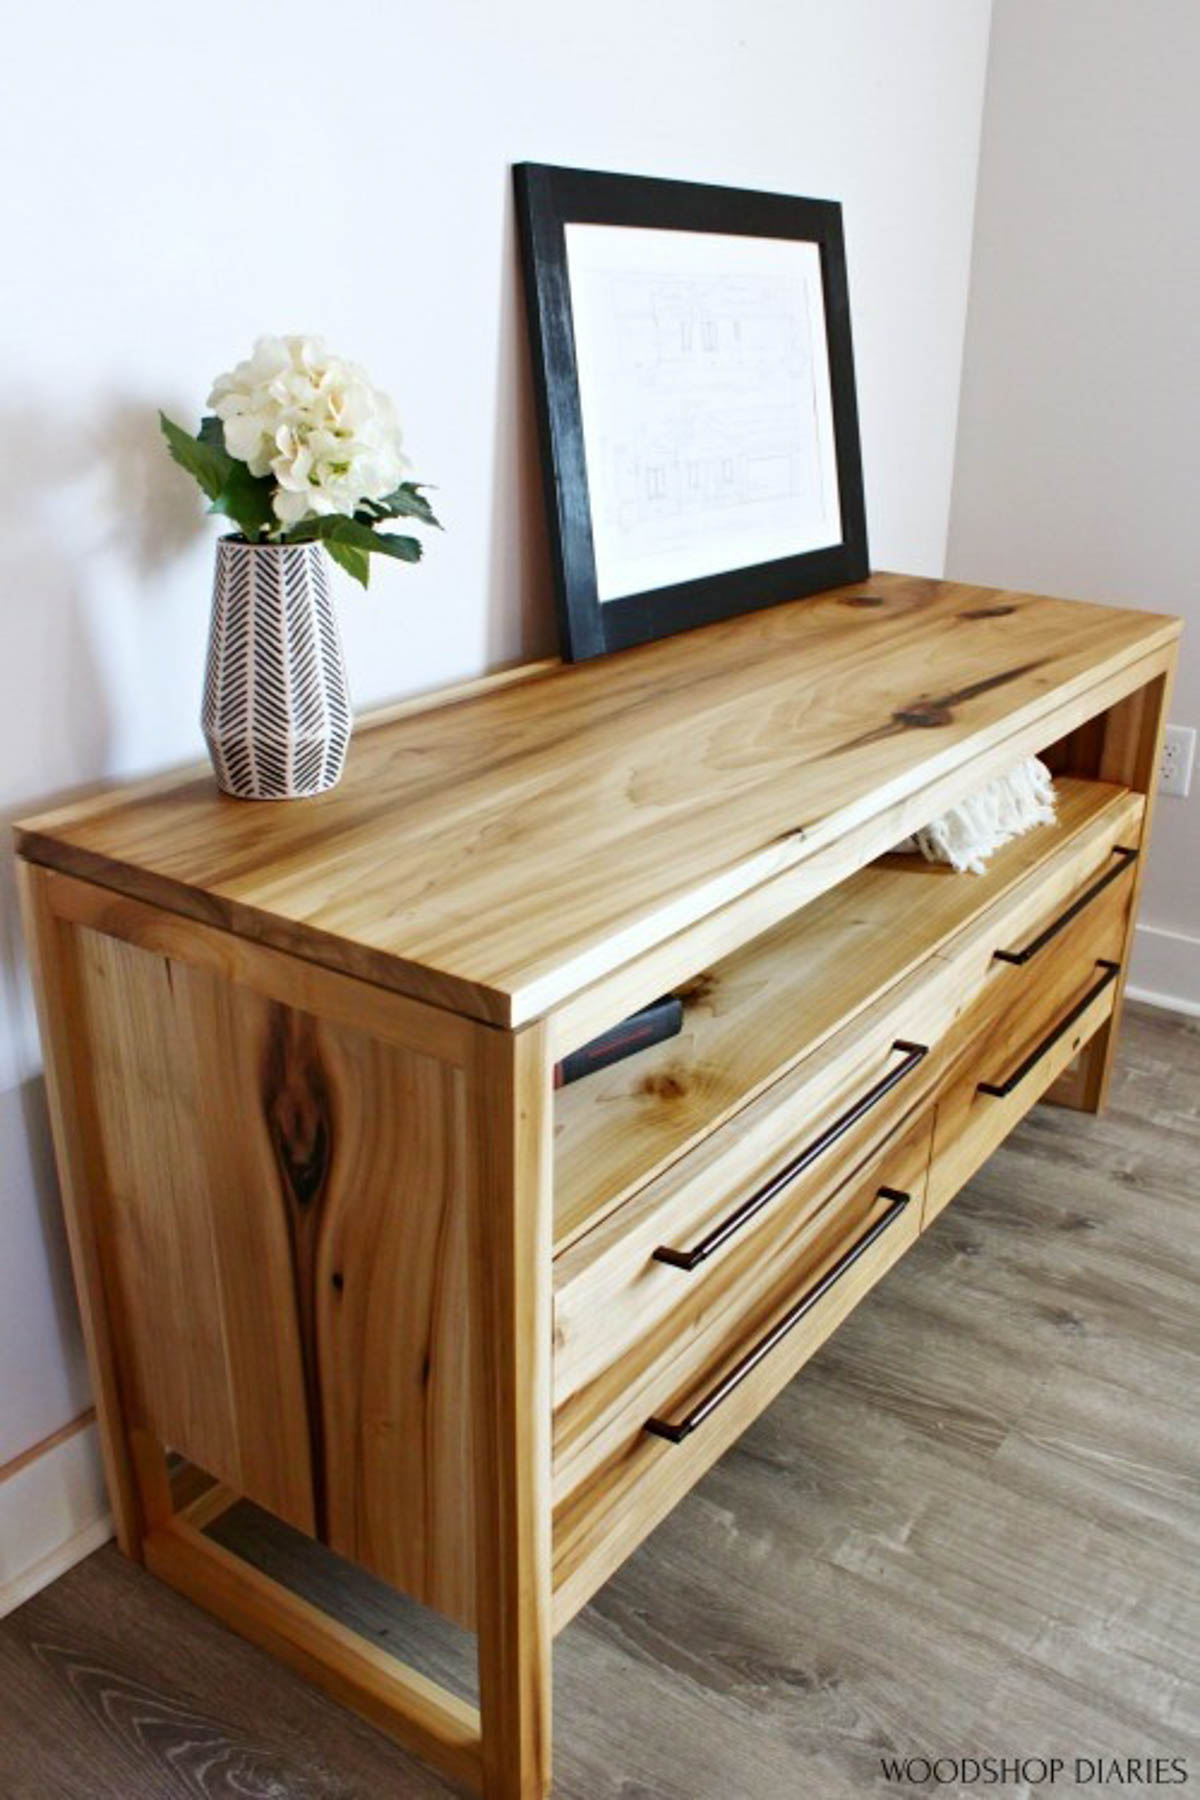
And finally, for those BIG knots or holes, opt for epoxy. A good all purpose epoxy works well and you can add coloring if you want, too. Although, I prefer clear so you can still see into the knot. I used clear epoxy to fill large knots in my DIY dresser–see at the top and sides??
Pro Tip #5: Apply Proper Finish
You didn’t spend hours building that brand new piece just to ruin it with a lousy finish job, did you?
.
Finishing raw wood is not difficult, but it is a little different than just repainting something you found at the local yard sale. Raw wood is thirsty. It will “soak in” whatever you put on it.
.
So if you are painting raw wood, do not skip the primer. Primer seals the raw wood so that it doesn’t soak in the paint when you apply it. This gives you a much smoother and less blotchy paint coat–and let’s you use a lot less of it.
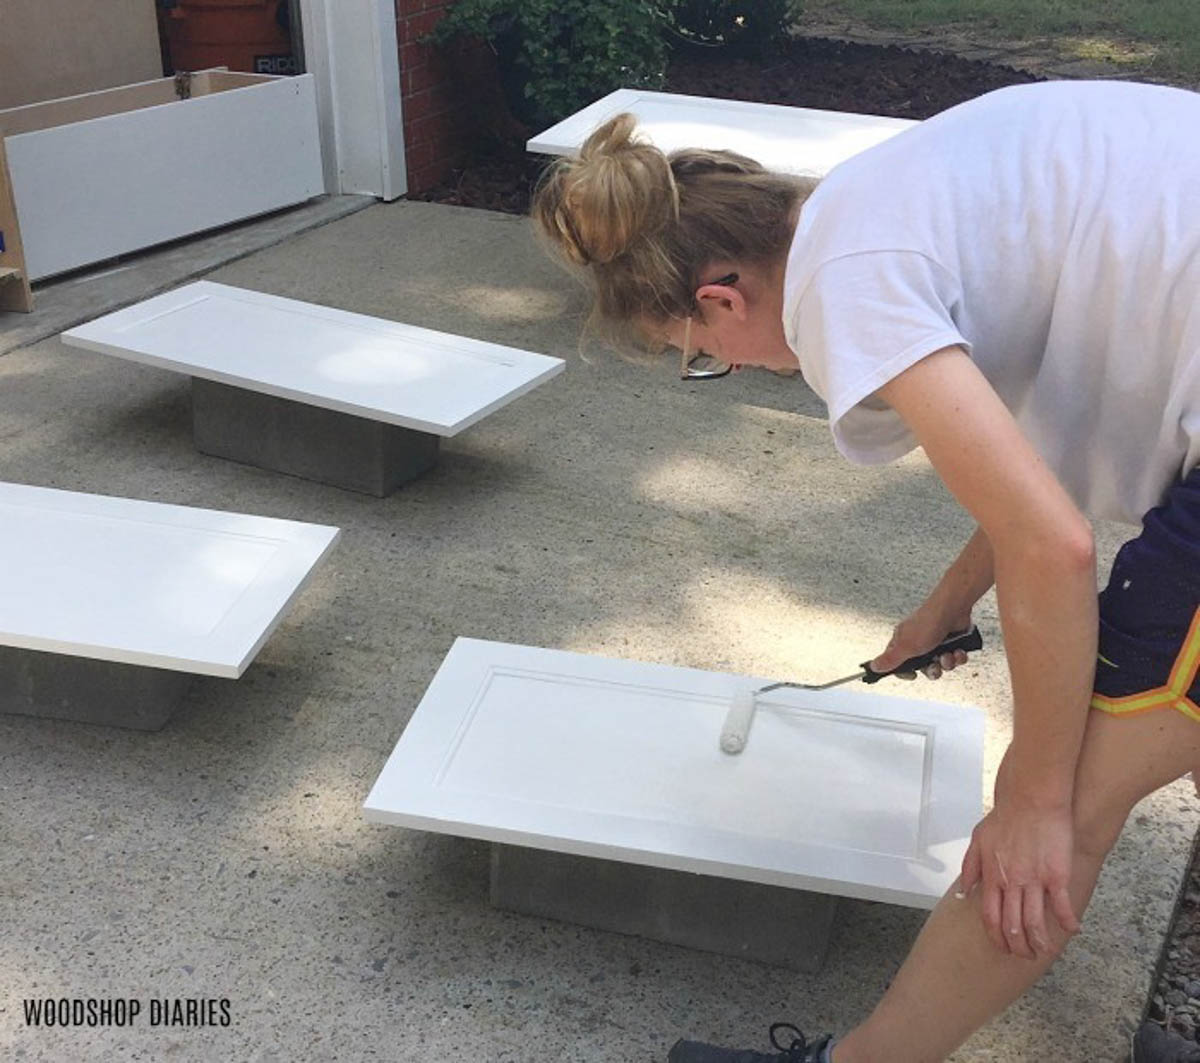
On that note, water-based finishes will soak into the wood and cause the grain to raise leaving a rough feel. So if you are using water-based primer, remember to sand down the grain with 220-400 grit sandpaper (I usually just do a quick hand sanding) before applying the paint coat.
.
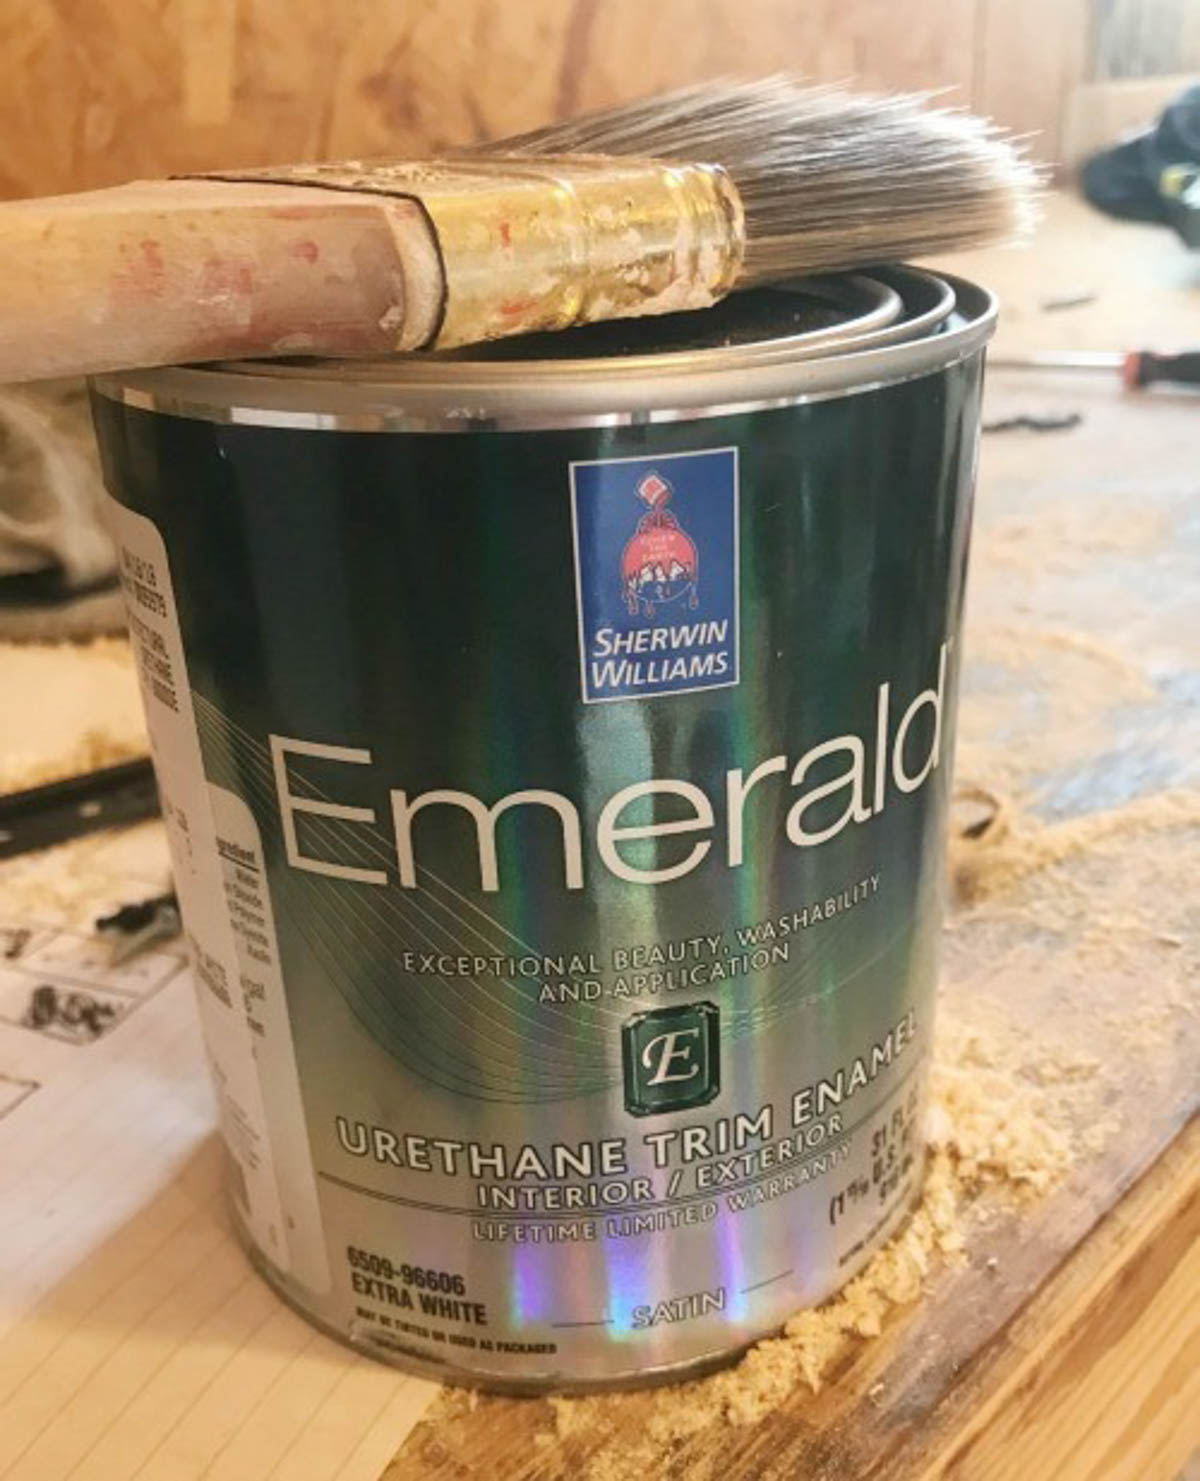
What kind of paint should you use? There are a million opinions and a million products out there. Personally, I prefer Sherwin Williams Emerald paint for my nicer furniture pieces. But, no matter what brand or line of paint you choose, just don’t cheap out this far into the project…trust me 🙂
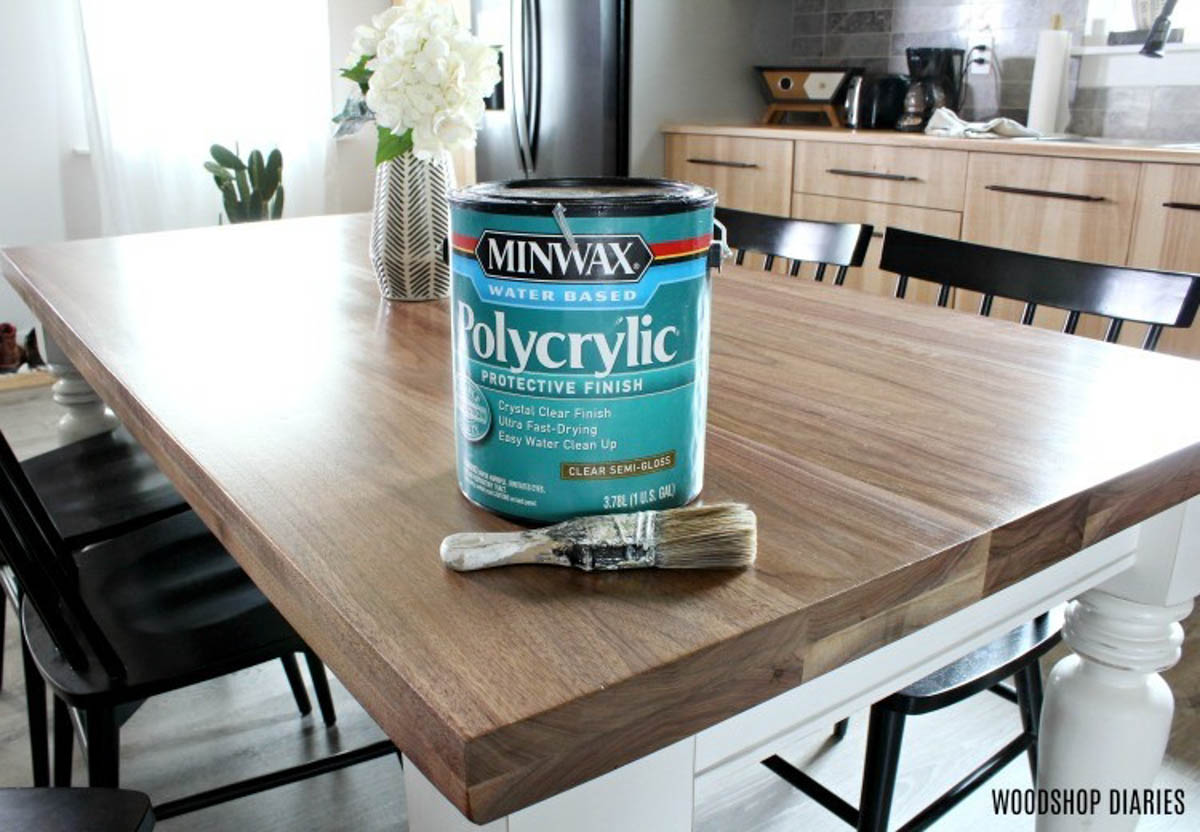
And a final note about finish–if you’re like me and prefer to stain or just clear coat your pieces, Minwax Polycrylic is a great clear coat option for indoor projects, Minwax Helmsman is a great clear coat for outdoor projects. Check out how to apply it in this post!
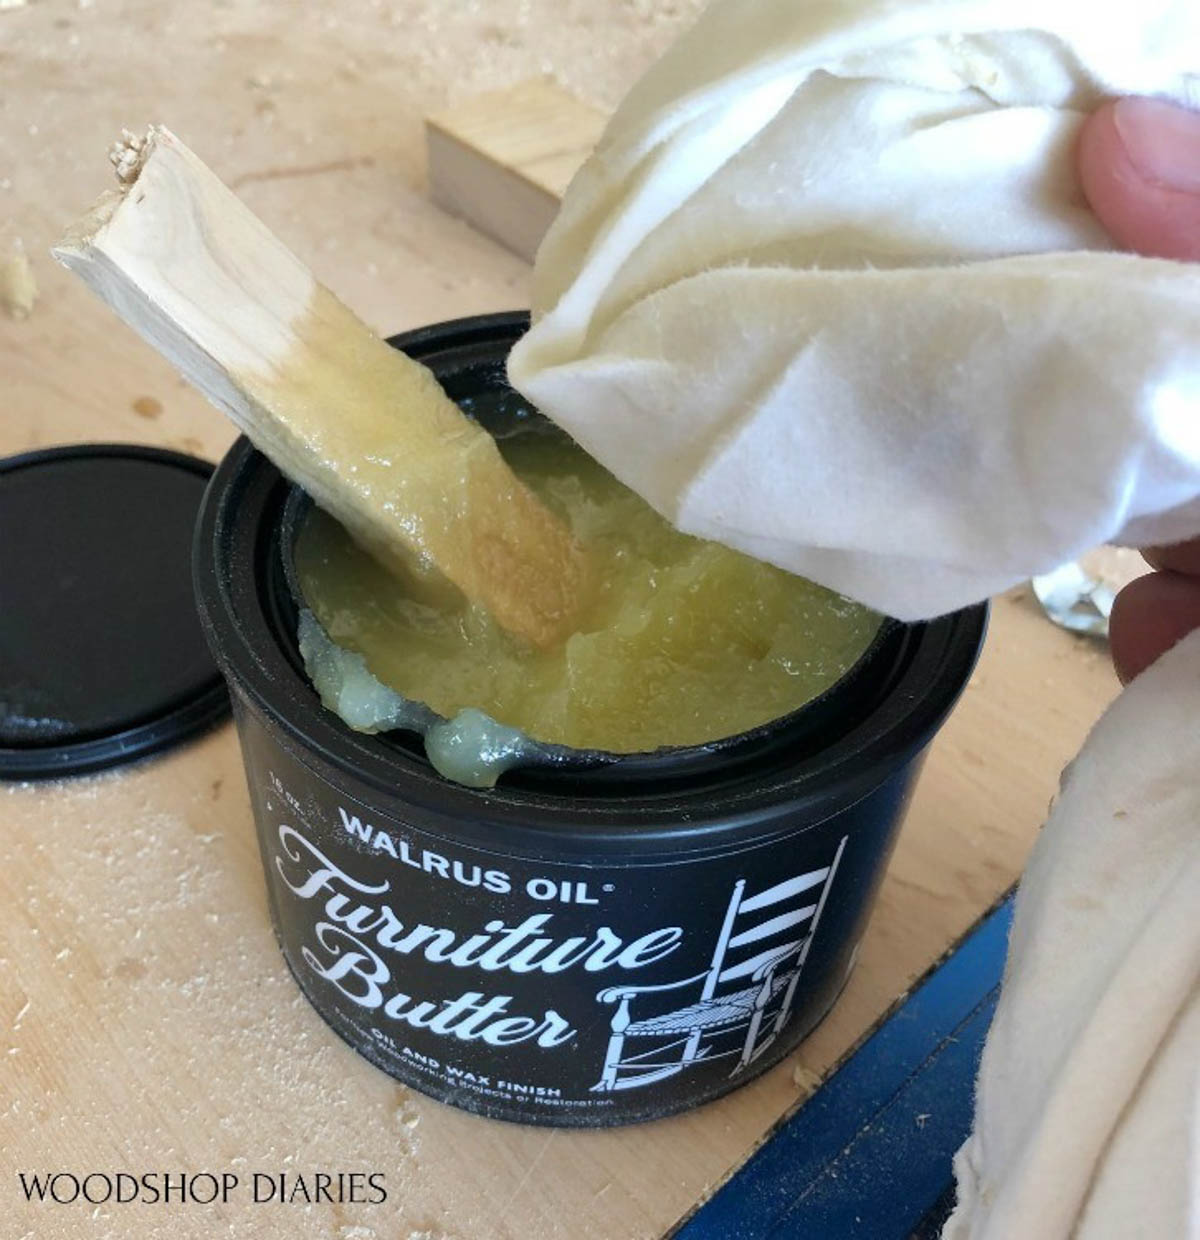
And if you want a smooth, satin, buttery oil based finish you just buff on, I use Walrus Oil Furniture Butter. Check it out on this dresser.
And those are my five DIY furniture tips to help you take your handmade furniture to the next level 🙂
.
I truly hope this has been helpful…I know that most of these tips aren’t the most exciting, but I promise if you start going the extra step, you will see a noticeable difference in the quality of your work. If you’re going to do it, do it right 🙂
.
If you’ve found this post about DIY furniture tips helpful, I’d love it if you’d pin it to save it for later!
And until next time, happy building 🙂


