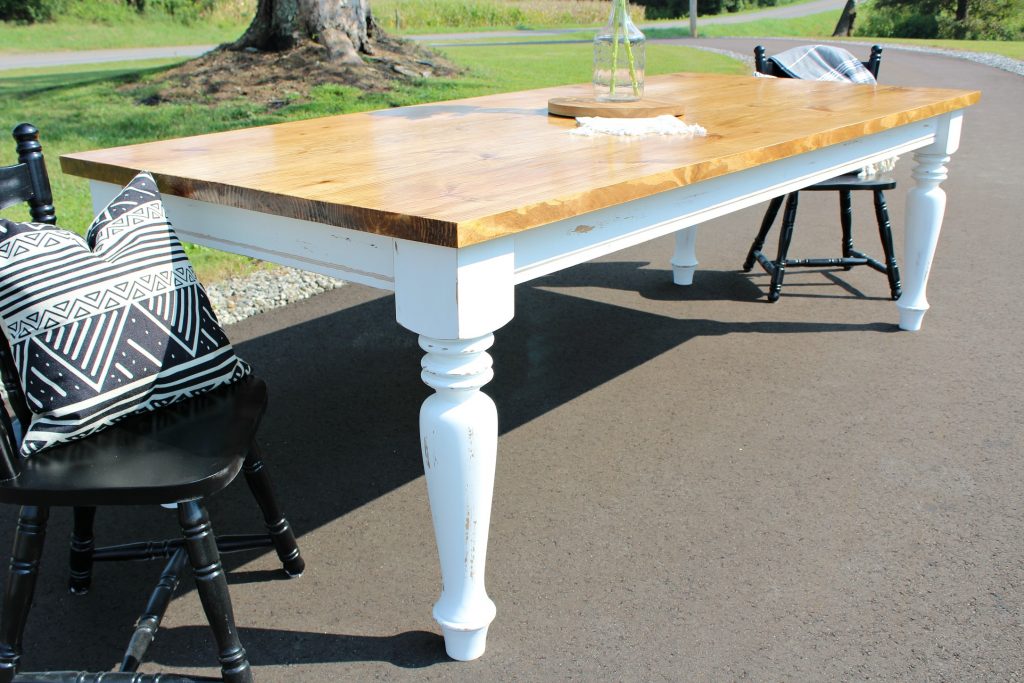
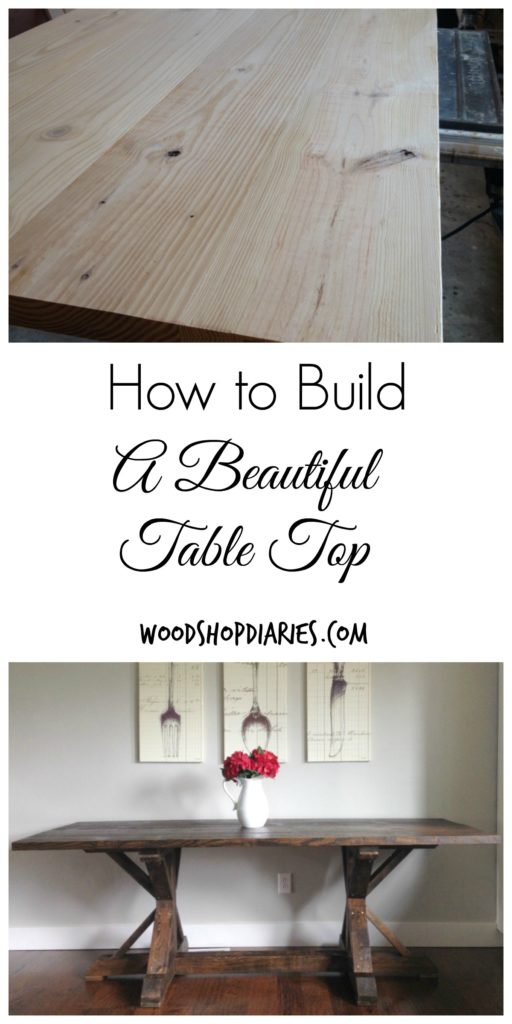
Making table tops shouldn’t be intimidating. I’ll show you how easy it is to build a table top for your DIY furniture projects in this post.
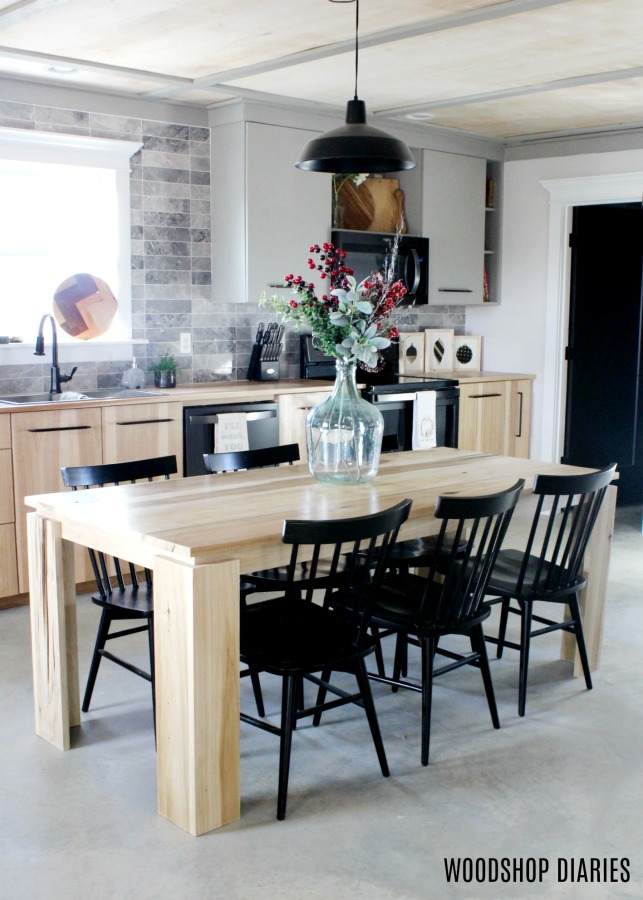
So first I have to get this off my chest. I’m far from an expert table top maker, but I typically avoid table tops made from 1xs, except when I built my own dining table…but that was part of the design element. Otherwise, they just seem flimsy, weak, and insufficient. Maybe it’s just me.
Note: This post contains affiliate links. Please see disclosure policy for more details.
And as much as I LOVE my Kreg Jig, I prefer gluing tops together vs screwing with with pocket holes. That’s just my personal preference. And 2xs are MUCH easier to glue than 1xs. (Just another reason not to make table tops with 1xs.)
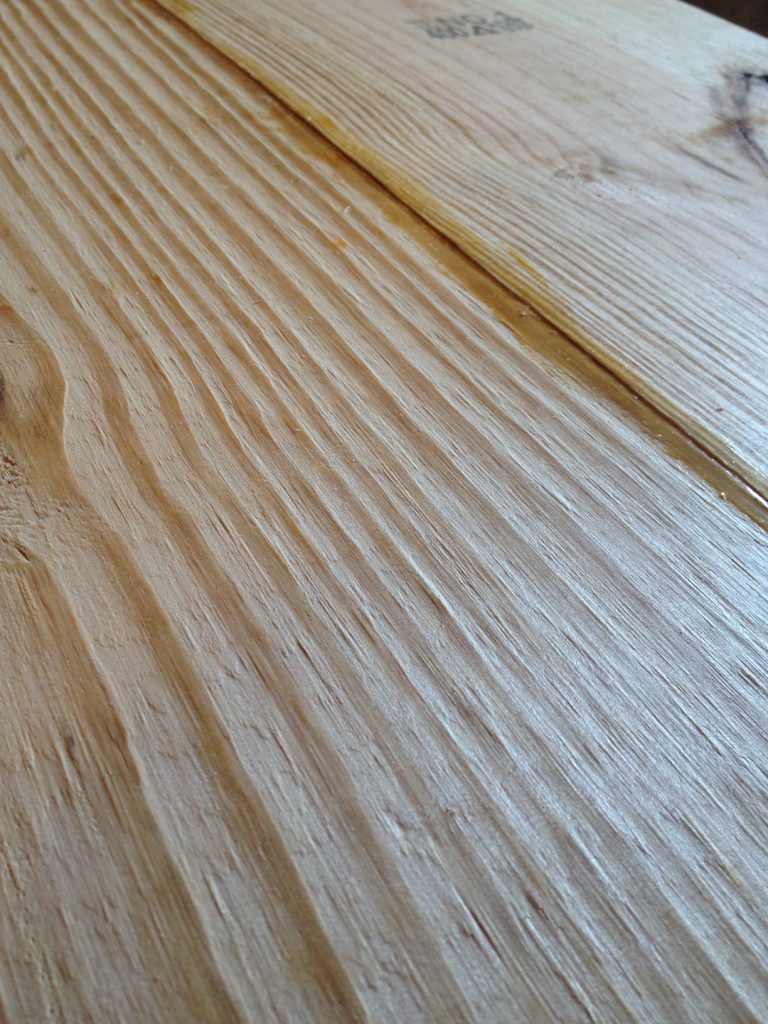
However, I recently built a dining table and used 4/4 (basically rough 1xs) walnut boards to make a 2x top. To do this, I planed all the boards smooth, then laminated (just glued) them together to make thicker boards like this.
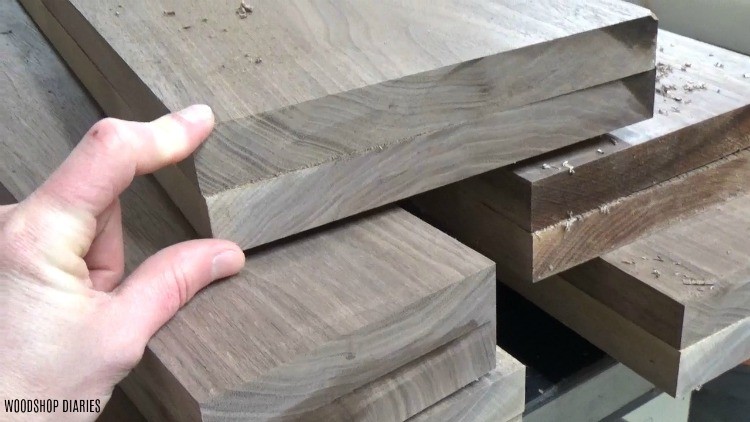
Then, I ran them through the table saw to get the sides even and smooth (which is step 1 below). You can see the process in this DIY dining table video. So, if you want to make a thicker top, you can just glue 1xs together like this to make it thicker.
I’ve made SEVERAL tops like what I’m about to show you and it is simple and by far my favorite way to make a table top. All you need are some pipe clamps and glue. A table saw is handy, and if you need to trim it, a circular saw is useful as well.
So, let’s get building. Here’s a dining table build video that shows the process with these walnut boards if you’re interested. And the step by step is below.
Step 1: Pick Out Table Top Boards
Hardwoods are fairly expensive depending on where you live and what’s readily available.
I showed walnut in the pictures above, but usually, to save quite a bit of money, I will use 2x8s, 2×10, or 2×12 construction lumber for my tops and just stain them my desired color. You can use any wood type you’d like and can afford for the top.
In this tutorial, I’m showing using 2x10s. But in the video above, I show this with walnut. The process is the same no matter what wood I use.
I’ve had a lot of questions about how to get a flat table top. There are a lot of fancy methods you can use to flatten out a board or a table top.
However, the best advice I can give, especially if you don’t have a shop full of huge, fancy tools and a WHOLE LOT OF PATIENCE, is to start with flat boards.
RELATED: How to shop for lumber
I know that seems kind of obvious, but when selecting the boards you will use for a table top whether it’s a fancy hardwood (like the walnut I showed above) or a standard 2×10 at Home Depot, eyeball down the edge of the board. If it’s bowed, put it back. If it’s twisted, DEFINITELY put it back.
A flat board will make a flat table top. A bowed board will make a bowed table top. And a twisted board will make a twisted table top.
Also, if I’m making a large table top, I prefer to use wider boards (so 2×8, 2×10, 2x12s)…that means less glue joints. But again, that’s my own personal preference.
Step 2: Square Edges of Table Top Boards
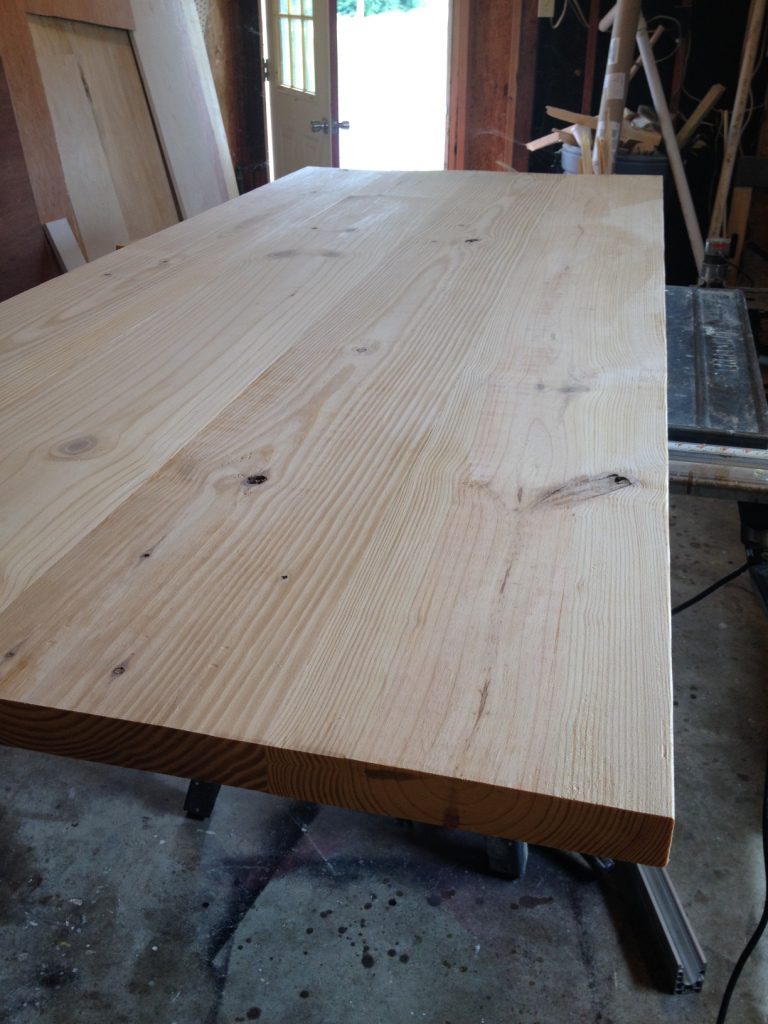
Once I’ve selected my table top boards, I like to clean up the edges. When I buy 2xs at the lumber yard or hardware store, the edges are not perfectly square. They have rounded corners. See the bottom board below? That’s a rounded corner board. The top is one where I squared off the edges.
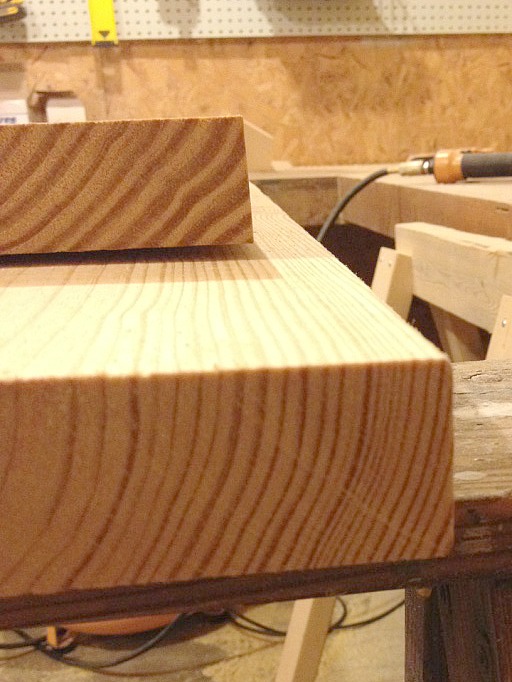
You could skip this step, but I always like to square my edges before gluing. It just makes the table top smooth across the top.
If you glue two rounded edge boards together, you have a little dip at all the joints and that’s just another place to get food, crumbs, or dust stuck.
To square off an edge, I use my table saw and I set the rip fence about an ¼″ narrower than the width of the board and run it through.
Then, I set it another ¼″ narrower and run the other side through. Here, I’m doing this with some walnut boards.

Check out this post to learn how and why to square board edges
You can use a jointer if you have one, but I do not, so I use the table saw. However, if the board isn’t straight, this can cause some issues.
If it’s crooked, the table saw will cut it crooked. You need straight joints for a clean glue up. Again, that’s why it’s so important to pick straight boards.
Step 3: Glue Up Table Top
Once my boards are squared off, I’m ready to glue. I’ve learned the hard way, that if you are gluing multiple boards together for a top, it takes longer, but it’s so much easier to glue two at a time vs all of them at the same time.
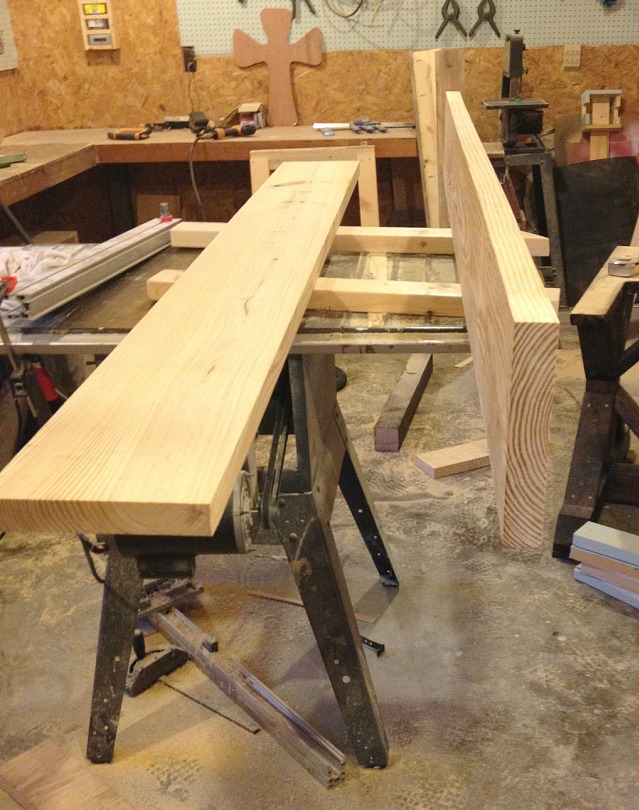
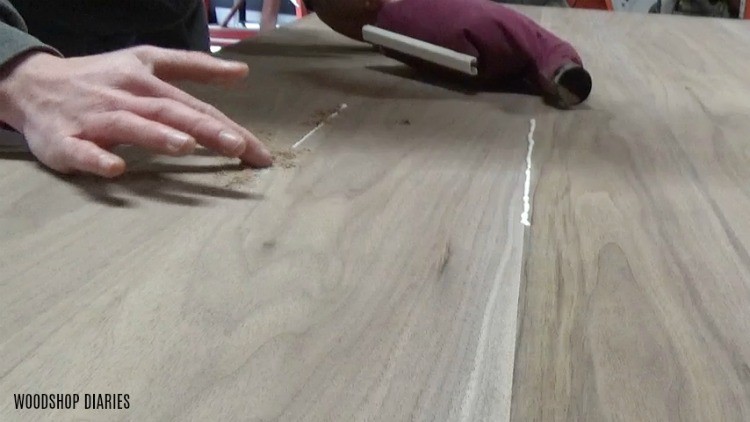
So in this case, when I was gluing up 4 boards for this dining table top, I laid them out on some scrap 2x4s and wiped any sawdust off the edges.
I want the edges smooth and clean. I flipped one up on its side and applied the glue. I usually run a squiggly line down and line back.
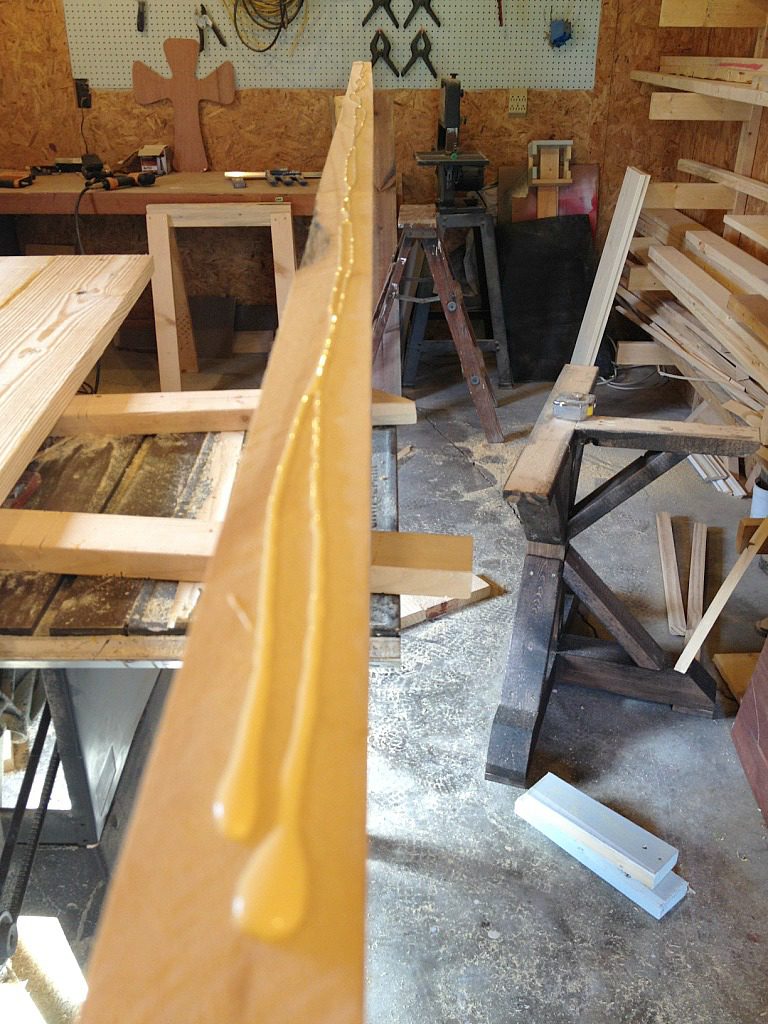
Then I flip the board over and press it against the other board.
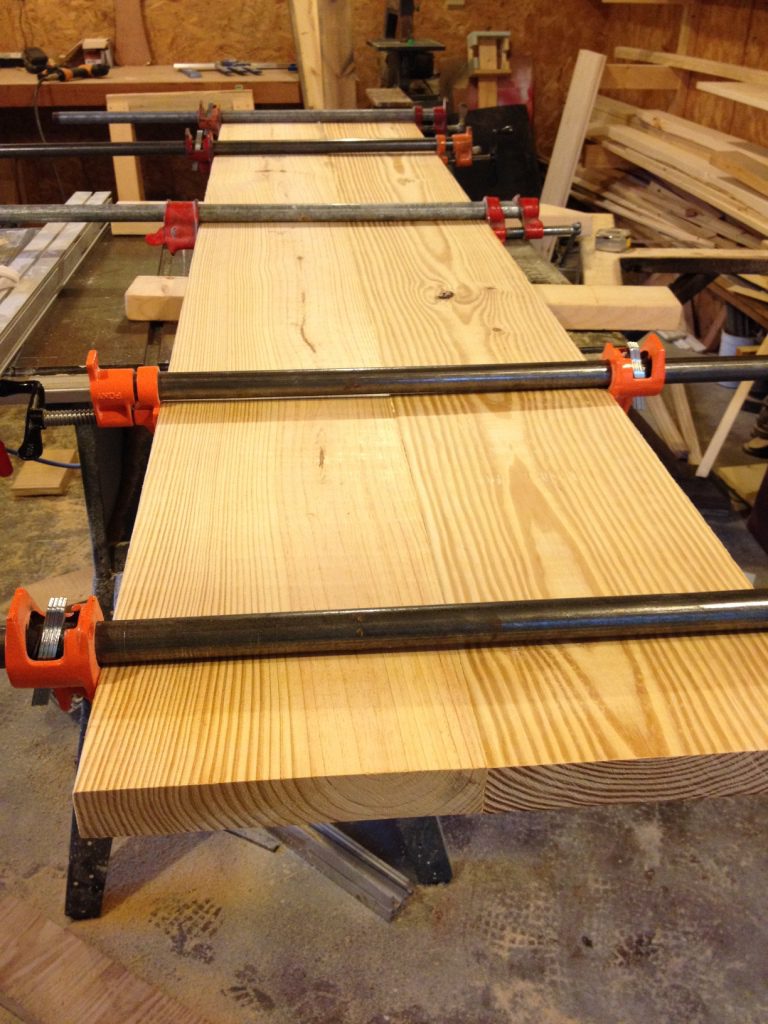
I like to use pipe clamps to tighten the boards together. If you notice your boards buckling, you can alternate and put one clamp across the bottom and the other across the top.
Mine was pretty flat, so I just left them on top. I try to adjust the boards as I tighten so the tops are flush.
Tighten each clamp a little then go back and tighten them a little more. You don’t want them so tight all the glue squeezes out, but you don’t want to see any gaps.
Adjust a little as needed. Then I let it set overnight or at least several hours to dry good.
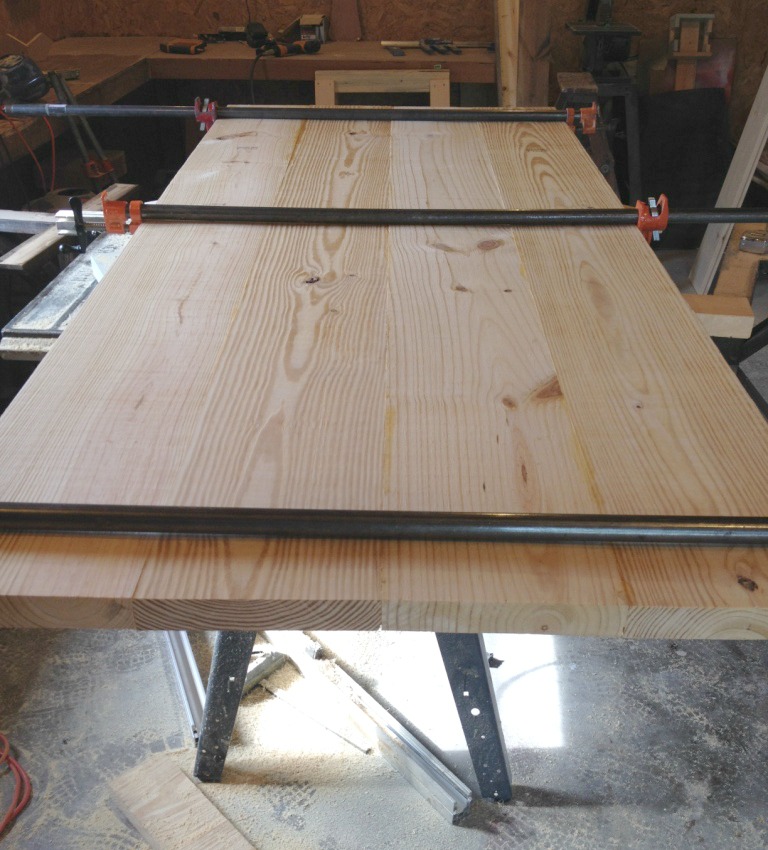
Then, I repeat with the other two boards. So, I have two large pieces to glue together for the final top.
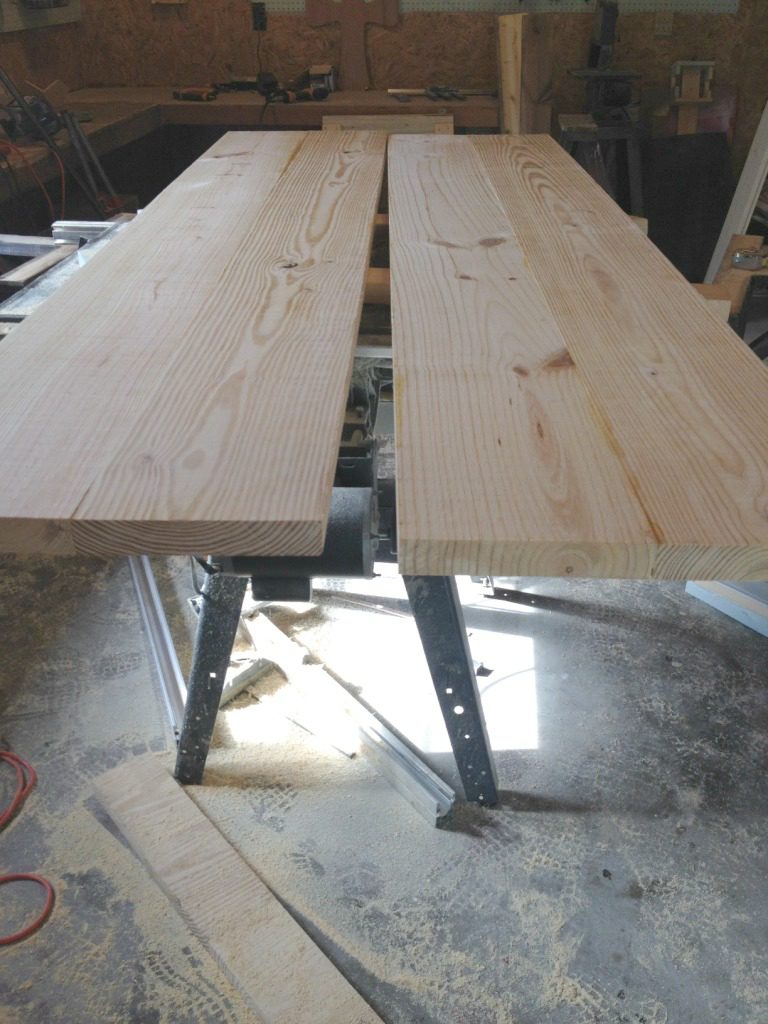
I did the same thing with this–flipped it over, applied glue, then clamped.
Don’t worry if a little glue gets on it…you can sand that off.
Mine were a little uneven, too. One board was slightly higher than the other in the middle.
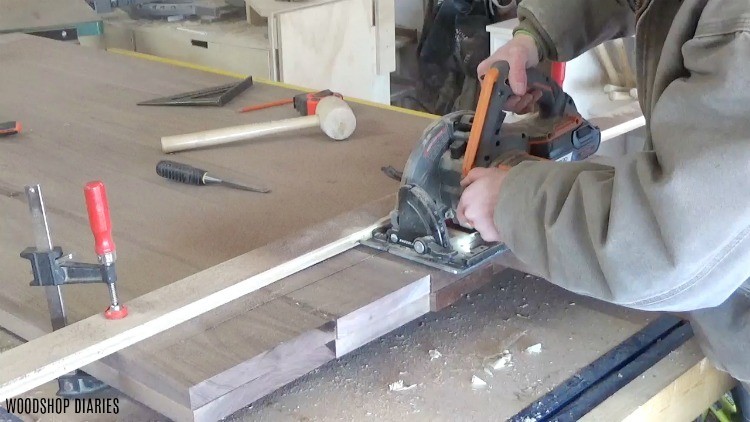
Step 4: Trim Top to Size
After glue up, sometimes the ends of the table top aren’t perfectly even. So I use my circular saw and rip cut or just a straight edge to trim along the edges so that they are nice and even.
Sometimes, I may need to trim a few inches off to get it to its final length as well.
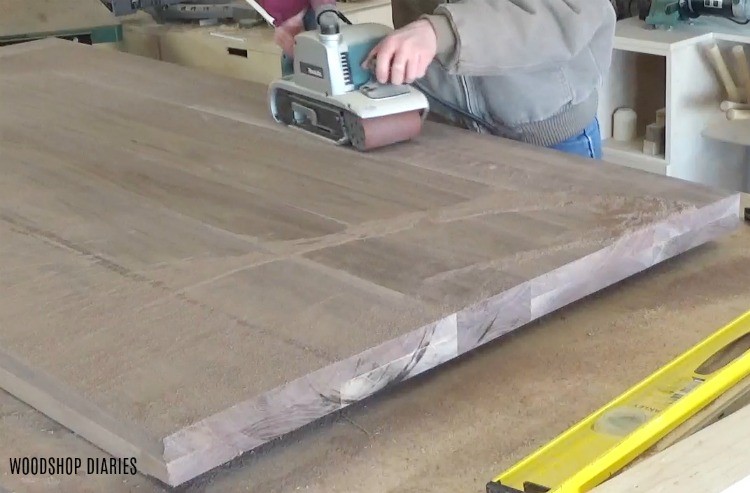
Step 5: Sand Table Top Smooth and Flat
Once the glue is dry, it’s time to sand. You can sand by hand (not recommended as it would take forever, but it’s doable), or you can power sand.
I use a belt sander to gave it a good sanding and especially in those uneven areas and to help get it nice and flat–so I sand any high spots and ridges.
Make sure if you are staining, that you get all the glue off before you stain. It’ll sand off pretty easy.
RELATED: How to sand wood
Step 6: Fill Cracks
Once the top is sanded flat with a belt sander, I like to look it over closely for any cracks in the joints.
Theoretically, there shouldn’t be any. But, no one’s perfect, and sometimes glue ups leave some small cracks.
If I plan to stain the top, I will use a stainable wood putty to fill any small gaps or cracks.
But, if I’m planning to just use only a clear coat, and I need a matching color putty, I will use some wood glue and matching color saw dust to make my own putty to fill the cracks.
Once the cracks are filled, I sand the top again with my orbital sander to remove any excess glue and putty. I usually use 80 grit sand paper on my belt sander, so with my orbital sander, I use 120, then 180, 220, and finally 400.
The higher grit you go, the smoother the top will be when you start applying finish.
Step 7: Apply Finish
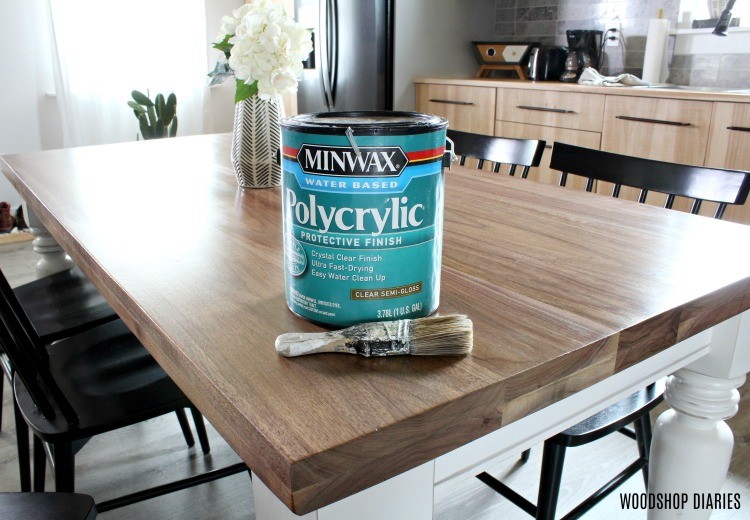
Now the top is ready for finish. Depending on what I’m making and what type of wood I’m using, I use different products when finishing my tops.
If I’m making a dining table top or something that is getting a lot of heavy use, I will finish with Minwax Polycrylic or Minwax Helmsman. These are clear coat polys that I just brush on and hand sand with 400 grit between coats.
RELATED: How to apply clear coat finish
If I’m using pine, I may stain the wood before applying the poly.
RELATED: How to stain wood
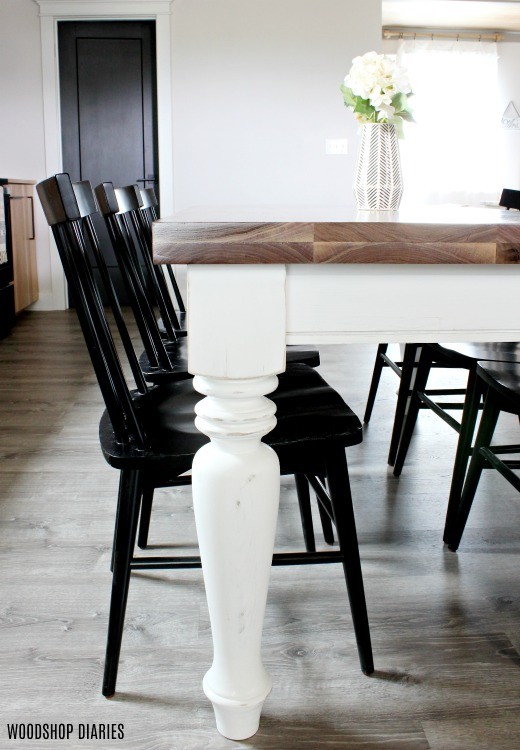
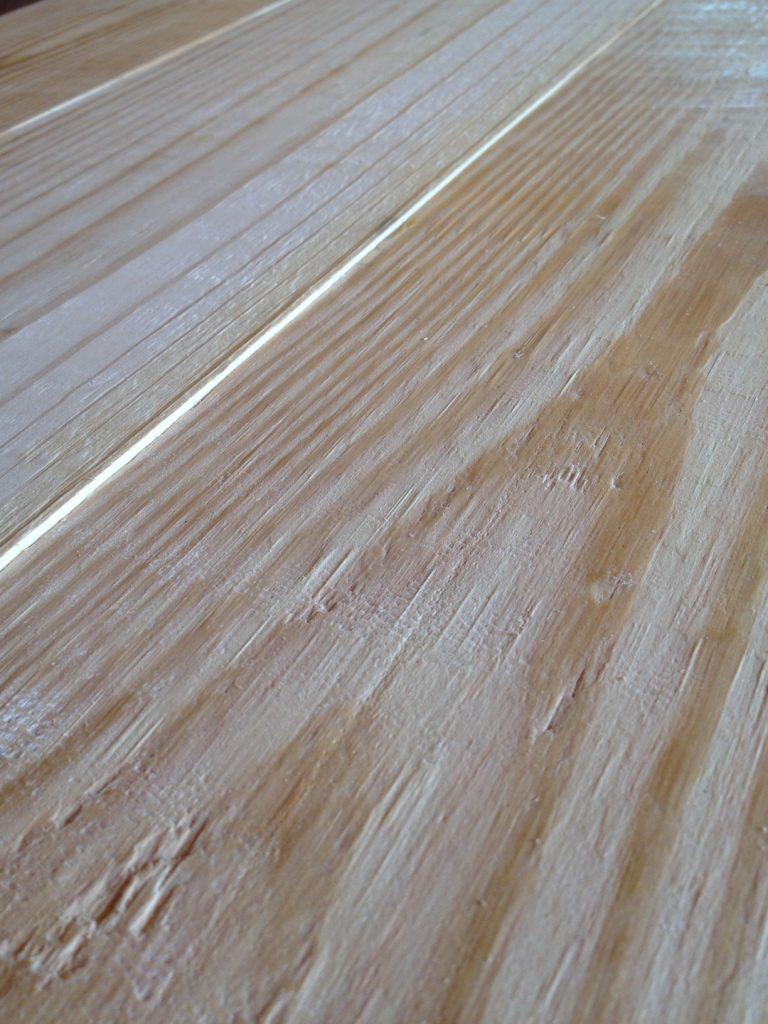
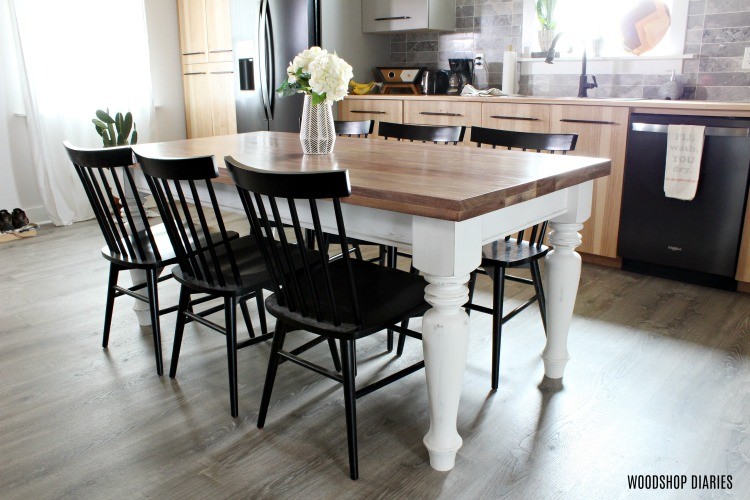
But if I’m using a hardwood, I typically like to keep the natural color and skip the stain. What’s shown above here is walnut–simply finished with four coats of Polycrylic.
You could also opt for a wax or oil sealer if you wanted. But they may need to be applied periodically as they wear.
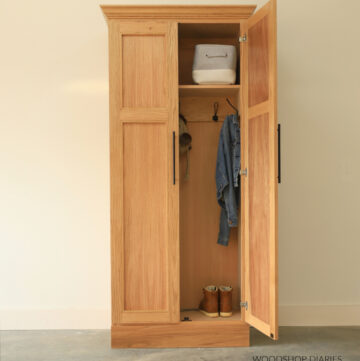
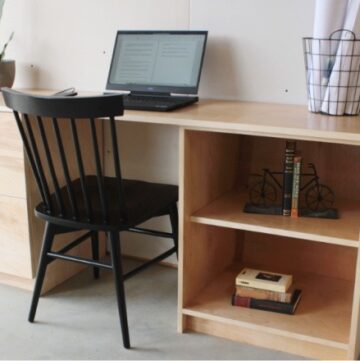
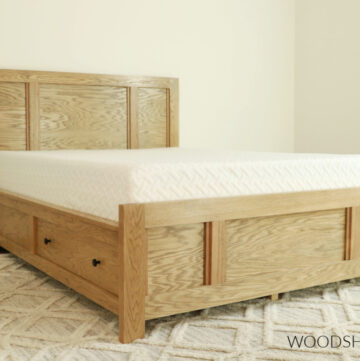
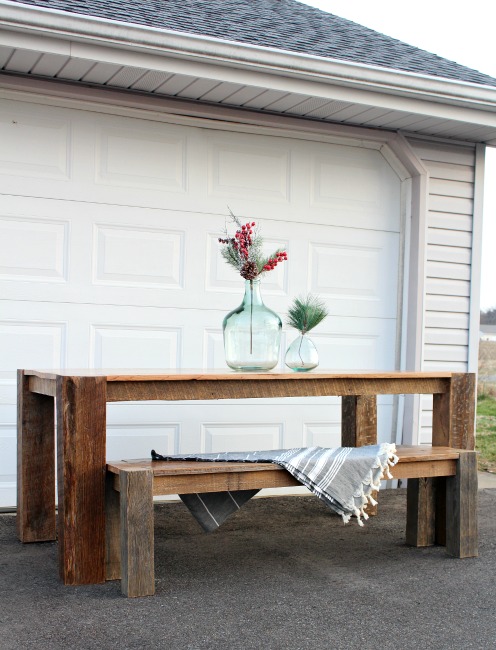
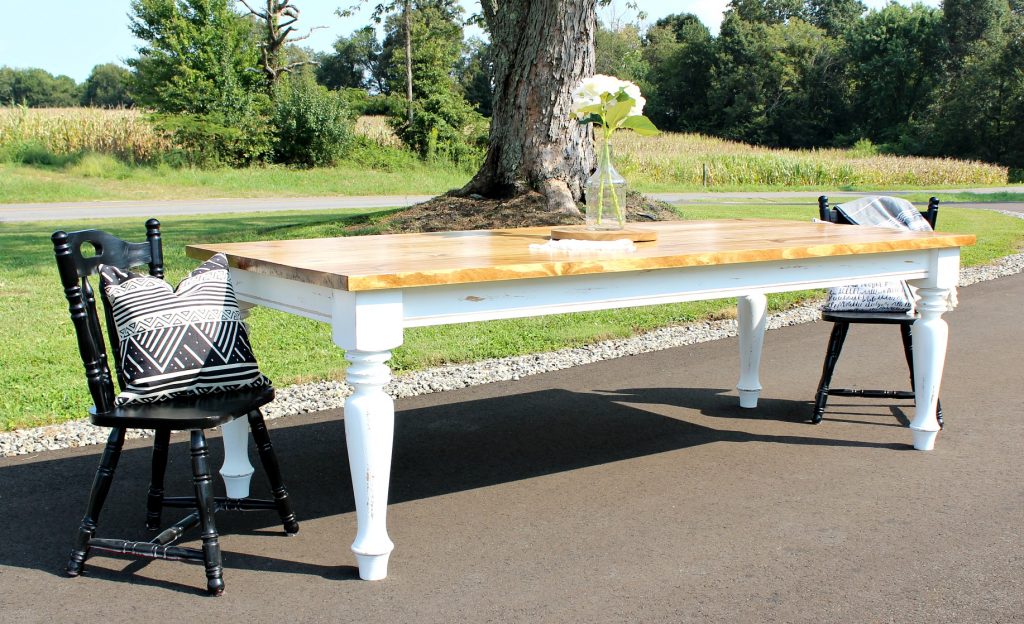
Now all you have to do is put it on a base 🙂 Here are a few of my favorite table options. Click the images for tutorials to build your own base.
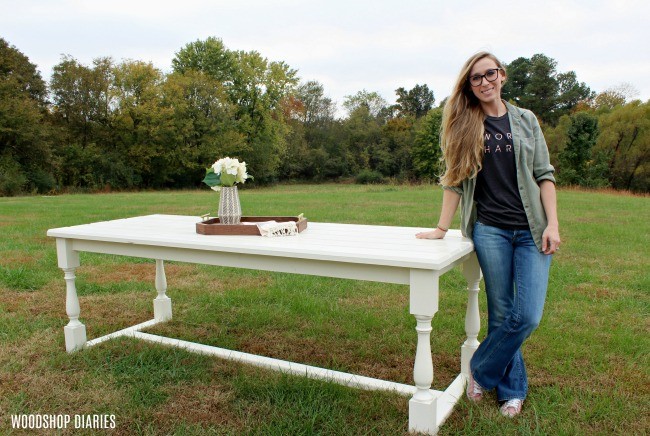
So that’s how simple it is to build a table top…basically glue, clamp, trim, sand, finish. It doesn’t have to be complicated. You can use biscuits, dowels, pocket holes, etc. But I’ve had good luck simply gluing.
FAQ About Building Table Tops
I’ve had many questions over the years about table tops so here are some of my most frequently asked questions. I’m not an expert, but I’m sharing what I’ve learned from my own personal experience.
What about wood movement?
I’m not a wood movement expert. From what I can tell, wood movement is mostly unpredictable. Things that I’ve made that theoretically should have failed, have been doing great for 5+ years…outside…in the elements.
Things I’ve made that should have been fine have split…inside…in air conditioning. So, I can’t tell you what will and will not last.
That said, wood expands and contracts most ACROSS the grain. So boards get WIDER, not longer. So most issues occur when boards are placed perpendicular to each other–like with this table I built a while back.
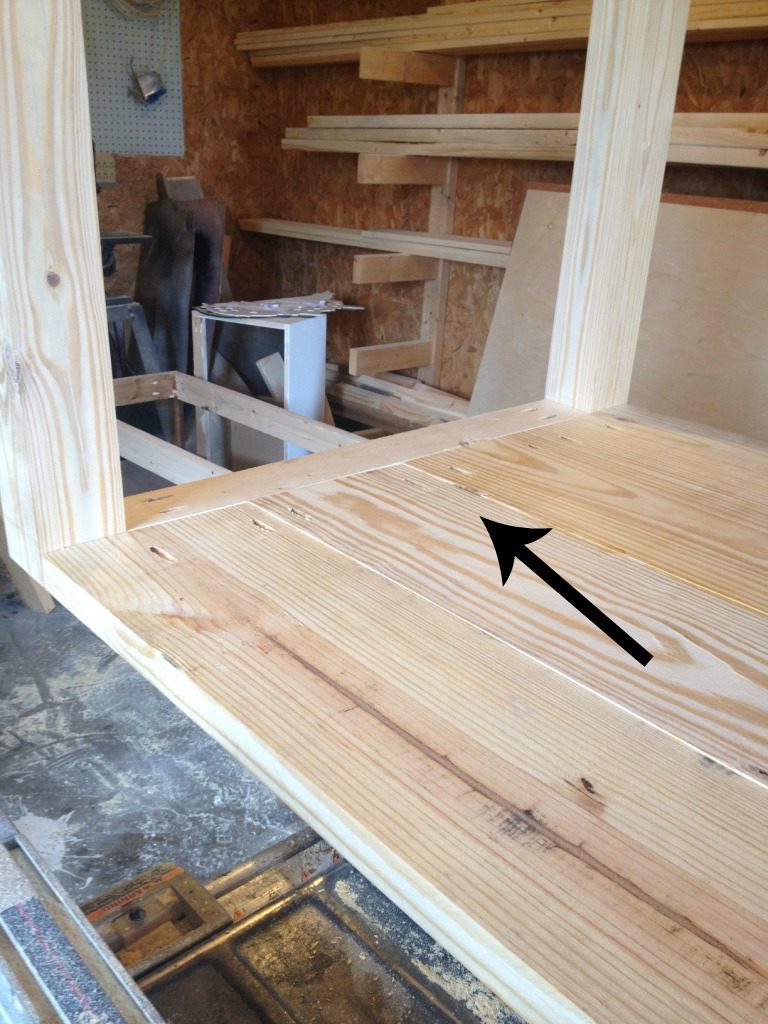
As the wood shrank and narrowed across the main body, the end board didn’t get shorter, so the boards ended up splitting along one of the glue joints. If this end board wasn’t there, that wouldn’t have happened. So, these days, I avoid putting a frame or an end board onto a table top like this so the wood can move more freely.
And that brings me to breadboards…
What about breadboards?
I don’t use breadboards on my table tops because of wood movement. Many people like them to help keep ends of the table flat and for added visual interest. However, you have to attach them in a way that allows the wood to move and I don’t like taking chances, so I just avoid them so it’s one less headache to deal with. Nothing right or wrong with adding one…I just avoid it to save extra trouble.
How do you get your table top flat?
There are lots of ways to use a planer or a router sled to flatten a bowed or twisted table top. However, if you’re like me and don’t have the equipment, patience, or desire to do all that extra work, your best bet is to START WITH FLAT BOARDS.
When picking out boards to use for your table top, eyeball the edges of the board. If it’s bowed or twisted, PUT IT BACK. Find the straightest, flattest boards you can. Flat boards will make flat tops. Twisted boards will make twisted tops, bowed boards will make bowed tops.
Also, gluing in small sections helps. I try to work out my glue ups so that I’m only worrying with one (two at the most) glue joint at a time while I’m clamping.
Once it’s glued, you can use a belt sander to sand down any ridges or high spots to help flatten it as well.
How do I install it to the base?
There are a lot of theories on this. In the past, I’ve used pocket holes and screws to attach the base. Many of my tables have been fine doing this, but theoretically, it doesn’t allow for wood movement, so there’s the possibility for splitting.
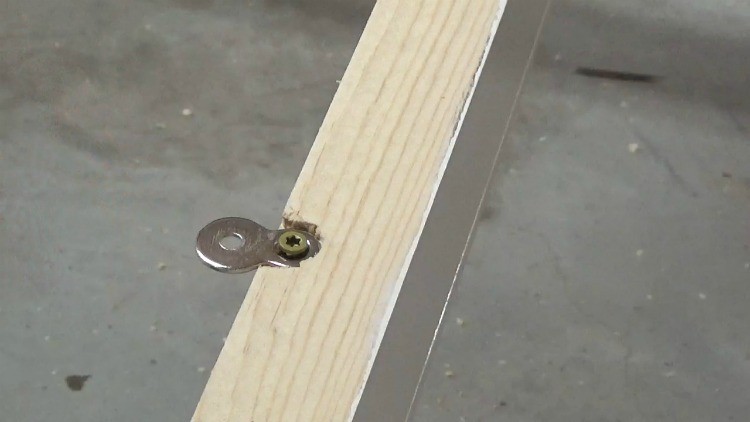
I recently learned about figure 8 metal tabs and used them in my latest table build. They pivot so they allow the wood to move across the base, but still stay securely attached. Here is an excellent tutorial for how to install them.
I hope this post has been helpful and answered your questions. Building table tops can be as simple or as complicated as you want it to be. I prefer keeping things simple 🙂 So if you’ve enjoyed this post, be sure to pin this for later!
Until next time, happy building 🙂