
Have you guys ever noticed that I have never posted a “farmhouse dining table” on here before (besides this one that doesn’t count because it was my very first build and I didn’t have a clue how to write a tutorial about it)?
.
I’ve posted my mom’s X-base kitchen table, and some coffee tables and end tables, but never a “farmhouse dining table.”
.
It’s not that I’ve never made one. I’ve actually made a few, but EVERYONE has one on their blog, so I figured I didn’t need to flood Pinterest with another identical dining table. Plus, they’re all made the same. Add an apron to some legs, add supports, add top. Ta-Da! You’re done. I had nothing to add to the already popular table design.
.
But, what do you know, here I am posting a farmhouse dining table. But this one’s different. This one’s a “modern” farmhouse dining table. “MODERN.”
PS Are you guys imagining me finger quoting all these things I’m putting “” around?? If I do one thing too much, it’s quotes…that or say the word “super.” There I go with the quotes again. PSS stay tuned THIS SATURDAY for a “super” (<–see what I did there??) exciting post that I can’t wait to show you. It’s got my first ever build video where I say “super” eleventy billion times in 4 minutes and Danny thinks the background music is hilarious. So it’s sure to be a great time 🙂 Keep your eyes out for that.
.
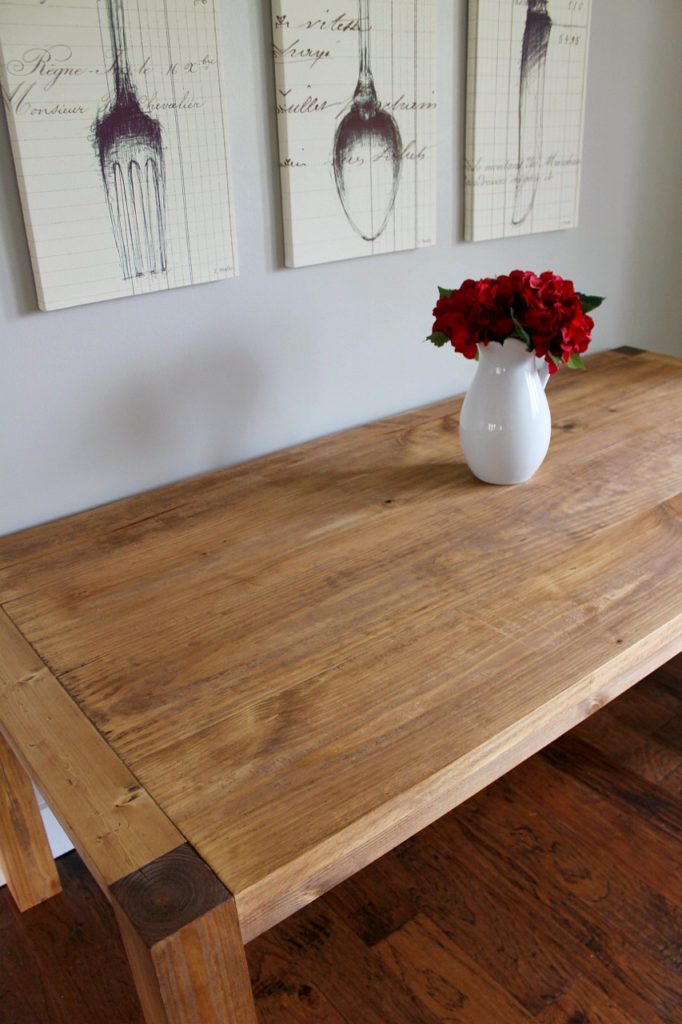
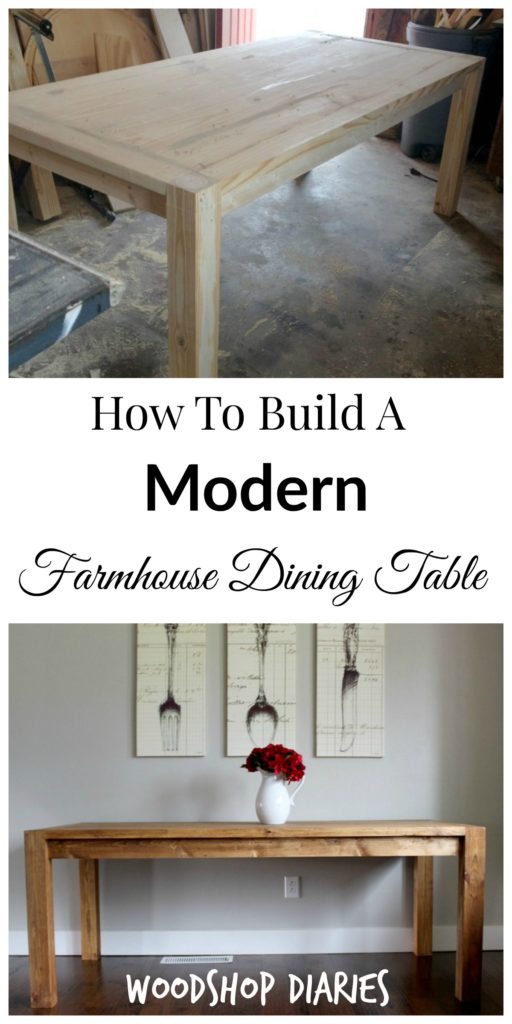
Anyway, back to the table. So here’s how to build a “modern” farmhouse dining table. And, in case you are wondering what defines a modern farmhouse table, I call it modern because it’s a little bit more straight lined, and clean than a regular farmhouse style. In other words, I don’t have a clear definition 🙂 hahaha. But here we go.
...
This post contains affiliate links. If you purchase from one of these links, I may receive a small commission at no extra cost to you. This helps keep this site’s content free. Please see disclosure policy for more details. Thank you for supporting this site!
Materials Needed:
(2) 4x4x8
(4) 2x4x8
(4) 2x10x8
4″ wood screws
Wood glue
Wood Putty/Filler
Tools Needed:
Table Saw (optional, but recommended)
Pipe Clamps
.Sander (optional, but who in their right mind wants to hand sand?!)
Husband to hold pieces while you attach them (sorry, I don’t have an Amazon link to that)
.
Side Note: Like I said before, most of the “farmhouse dining tables” are built the same way. You attach the legs together with the apron, then add supports, then the top. This table is built kind of backwards. We will build the top first, then attach the legs, then add the supports underneath. So are you ready? Let’s do the thing.
Step 1: Build the top
Okay, so we are doing this a little backwards, right? But trust me, it’s better this way. I give you the whole run down here on how I build table tops. There are countless ways to do it, but that is what I do.
.
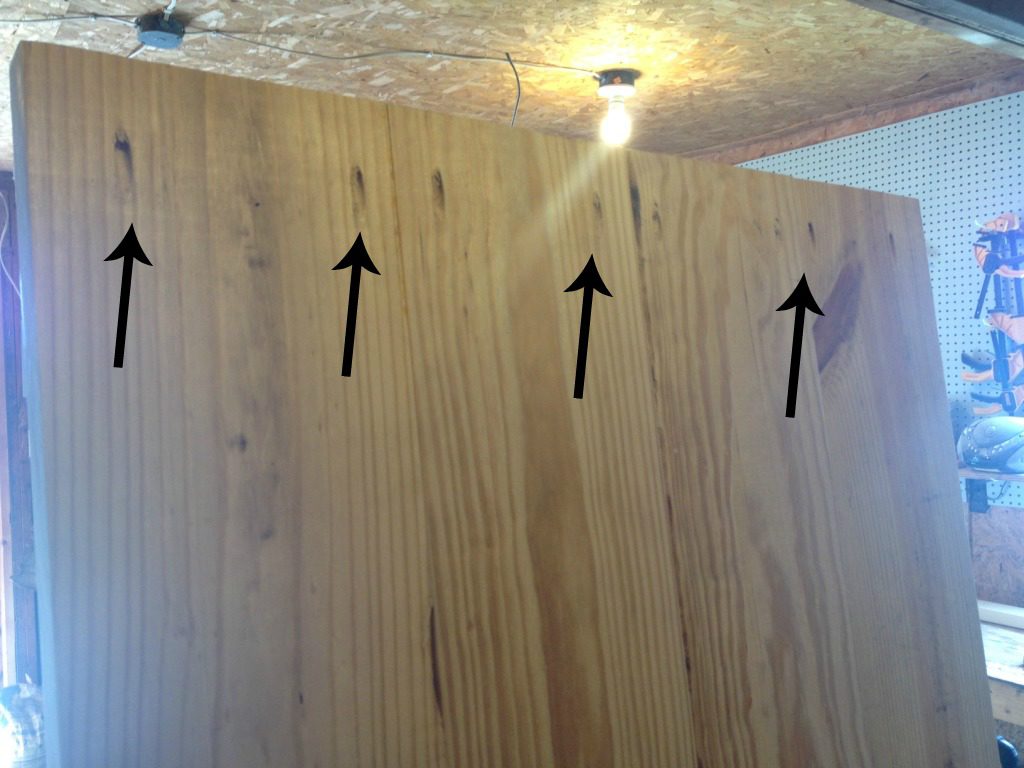
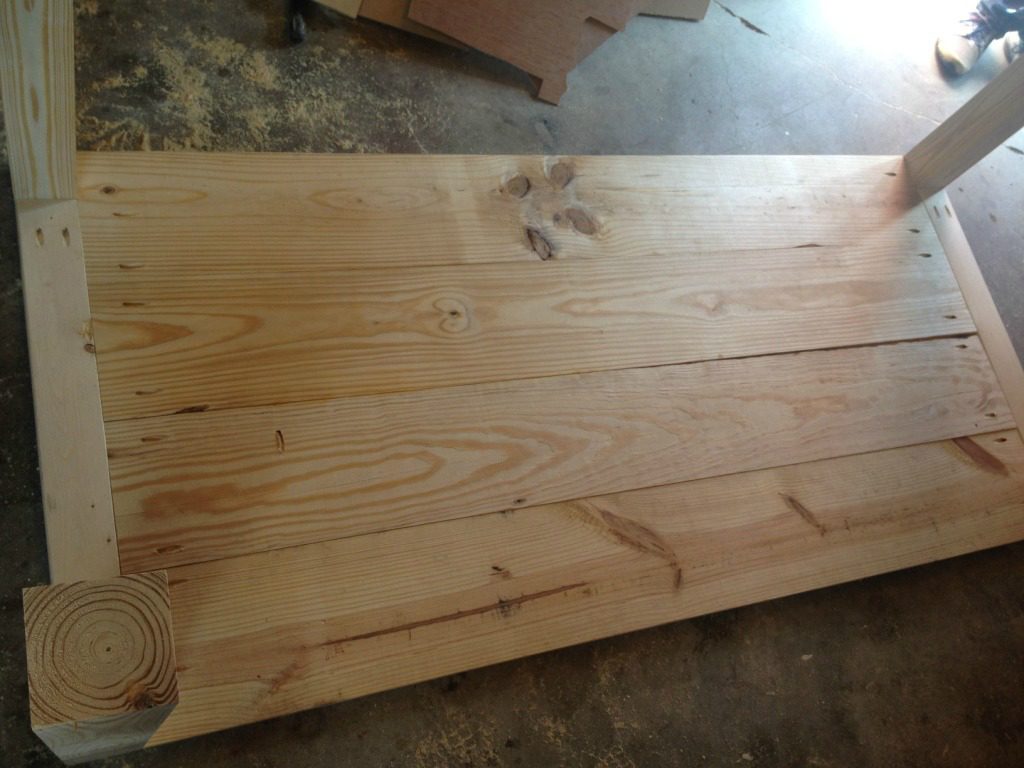
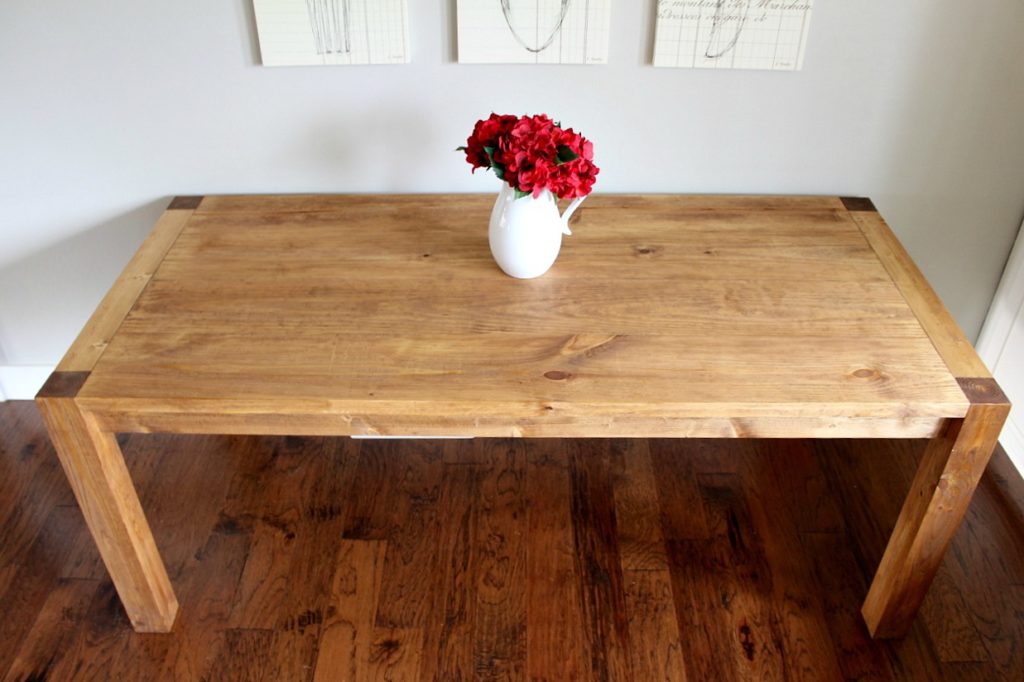
For this table, I squared off the edges of 4 pieces of 2x10x8 on the table saw and glued them together. Once the glue was dry, I trimmed the top down to 70″ long using my circular saw. The final table ended up being about 7 foot long. If you want a longer or shorter table, adjust this length. I used 70″.
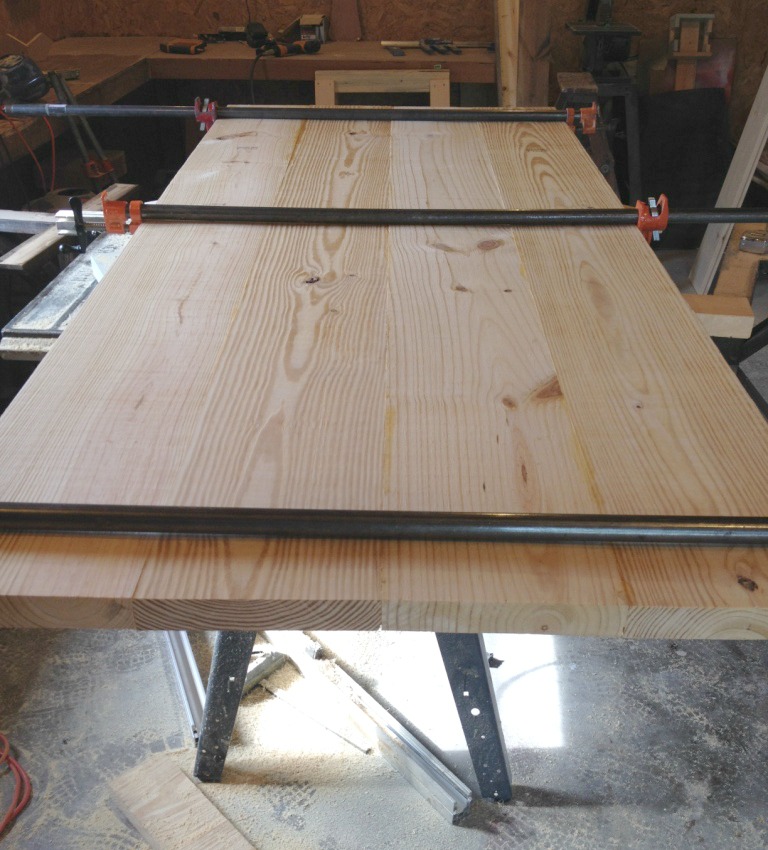
You could attach the boards using pocket holes and screws, or biscuits, whatever. Just make a top. After trimming, my top was slightly under 36″ wide and 70″ long.
.
Once it was trimmed, I sanded the snot out of it. I used my belt sander and got all the boards level and smooth. Once you have your top good to go, then we move to the legs. Pause for glamour awkward shot of me with belt sander.
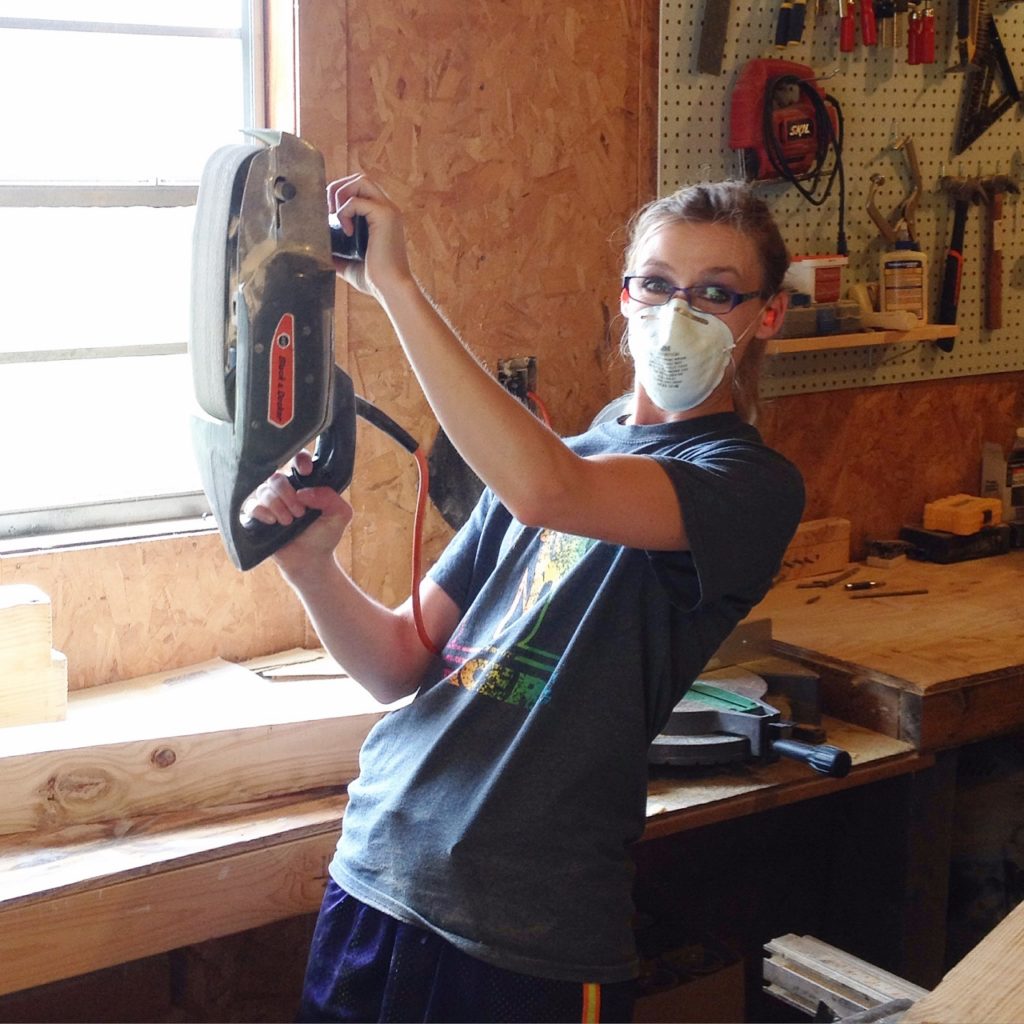
Okay, and resume.
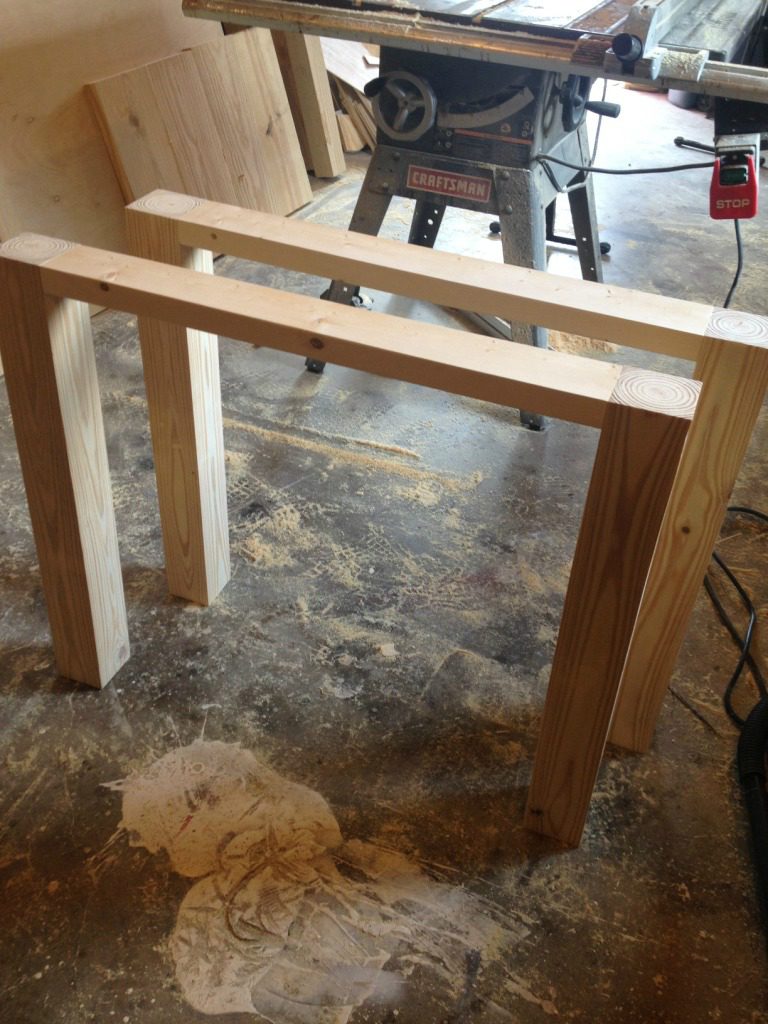
Step 2: Build the “Side Stretchers”
Anyone else out there like “what the heck’s a side stretcher?” I don’t know what to call them, but it’s the legs and end piece.
.
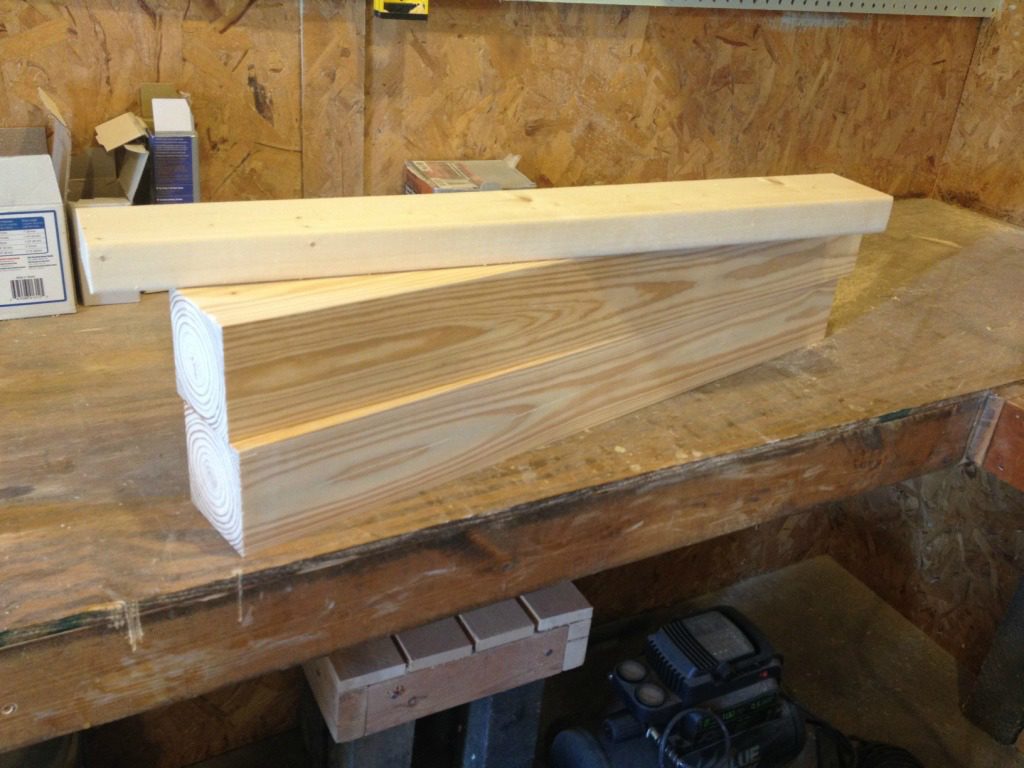
Cut four 4×4 legs to 30″ long. That’s the easy part.
.
Now, measure the width of one end of your table top. I told you mine was slightly under 36″. You want exact width…so go to the 16th or 32nd…whatever your tape measure will read. Cut a piece of 2×4 whatever length needed to get it plus two of your 4x4s to be exactly that width. For example, if your top is 36 ⅛″ wide, and two of your 4x4s together are 7″, then cut your 2×4 to 29 ⅛″. I planed my boards, so my measurements were different. But, whatever you do, when you assemble this, you want it to match the width of your table top. Do both sides separately to make sure they match each side of the top perfectly.
Once you cut your 2×4, drill 1 ½″ pocket holes in each end.
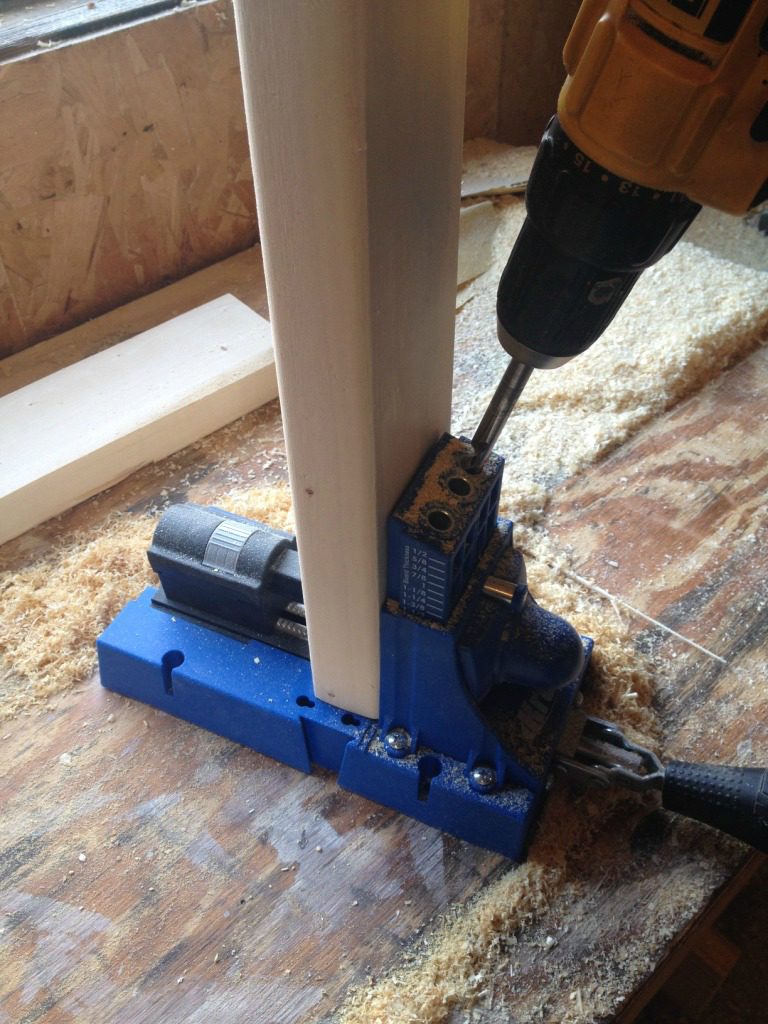

Attach the 2×4 to the legs using 2 ½″ pocket hole screws.
Step 3: Attach the legs to the top
This is where it helps to have the husband, or wife, or anyone willing to help that has a little strength and two hands.
.
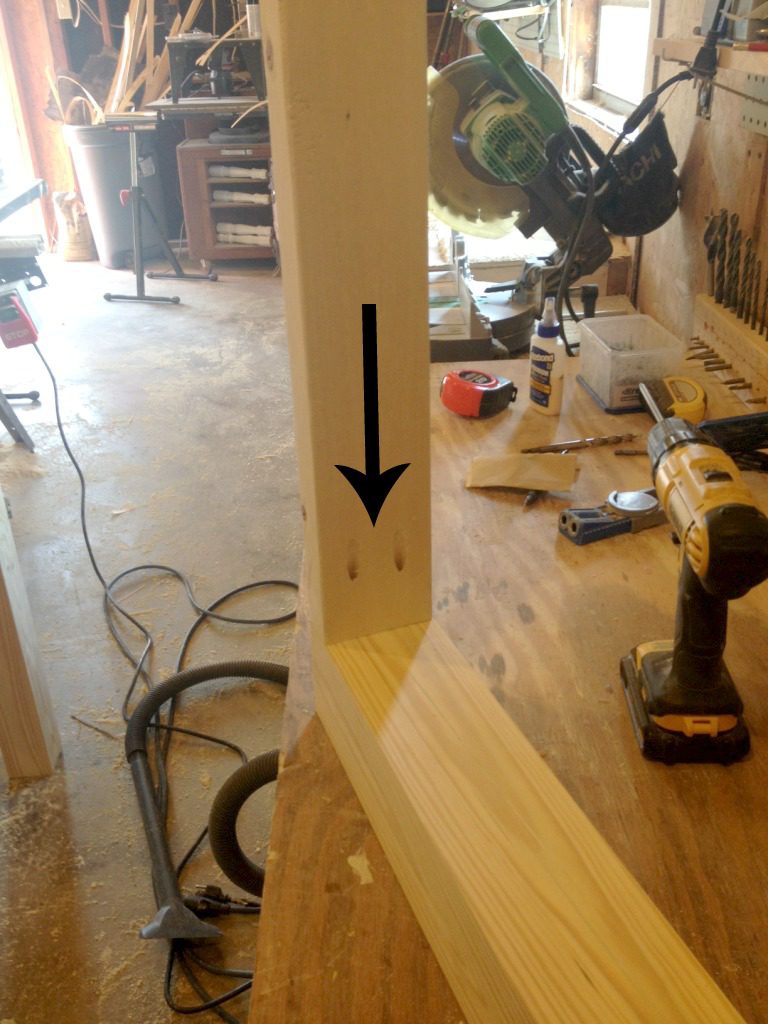
Drill 1 ½″ pocket holes into the ends of the top like shown below. I did two per board. These are basically just to hold everything together until the glue dries, so one or two, whatever you want to do.
Then, add glue along the end of the top and screw it into the side stretchers using 2 ½″ pocket hole screws.
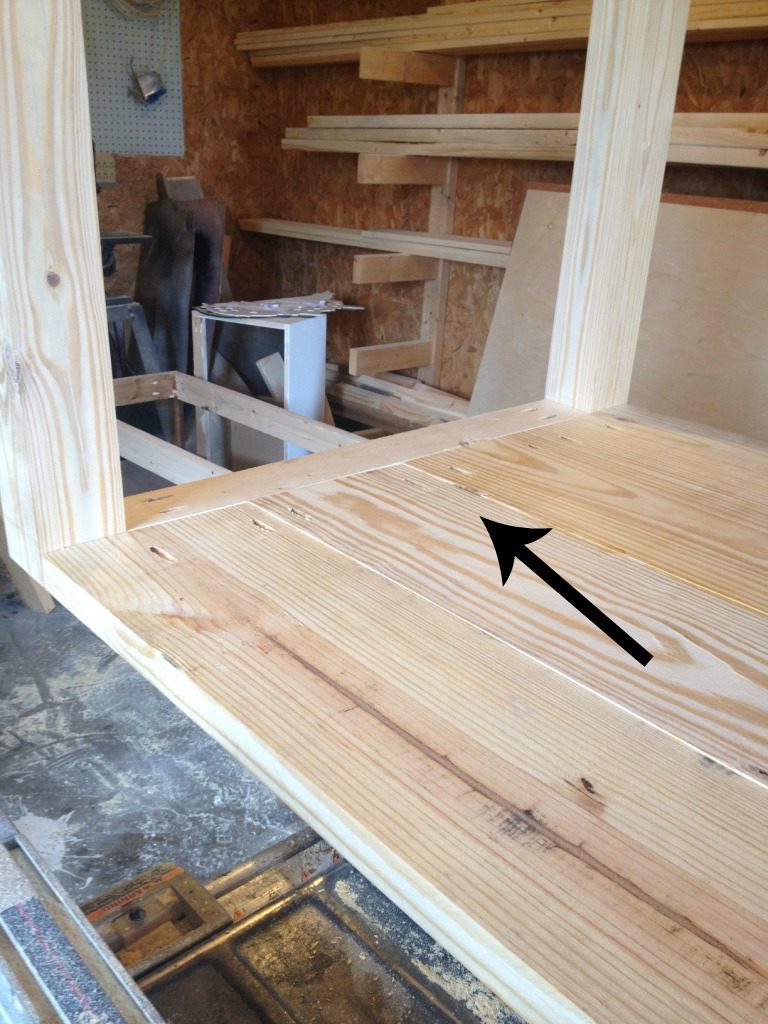
It was easiest when placed on the ground sideways and one person held the top vertical and the other one drilled into the side stretcher making sure everything was flush on the top.
.
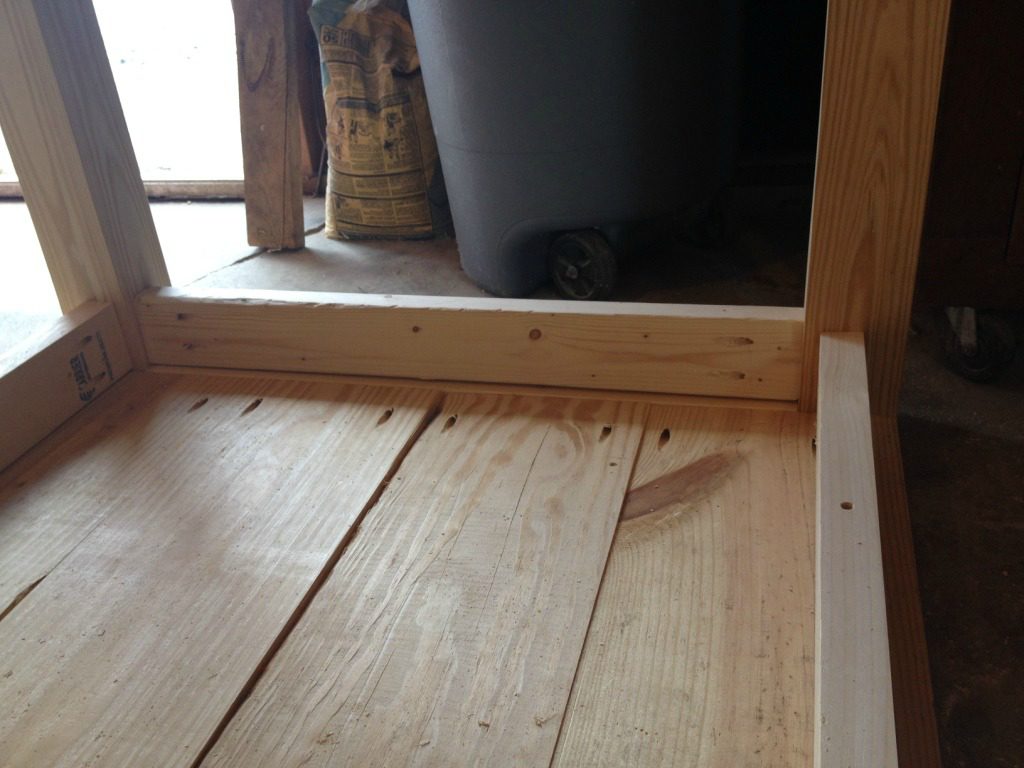
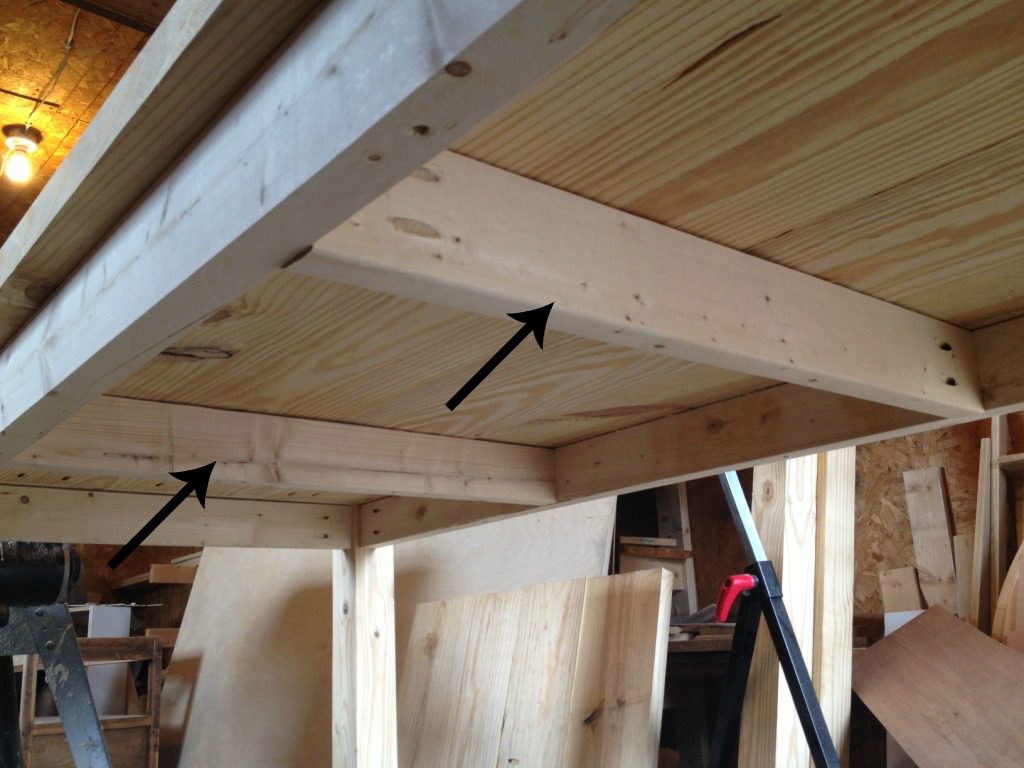
Do both sides. Here’s the view from underneath.
Step 4: Add the supports
This is the part that usually goes first, but because I like to be difficult, I’m doing it last 🙂
.
With the table upside down, cut four pieces of 2×4 to fit between the legs. You’ll have two long and two short. Cut to fit these so they are snug and the legs are square to the top.
.
Drill 1 ½″ pocket holes in each end of these pieces and screw them into the legs using 2 ½″ pocket hole screws like shown. I attached mine 1 ½″ from the table top edge, but you could do closer or further from the edge. As long as it’s consistent, it doesn’t matter.
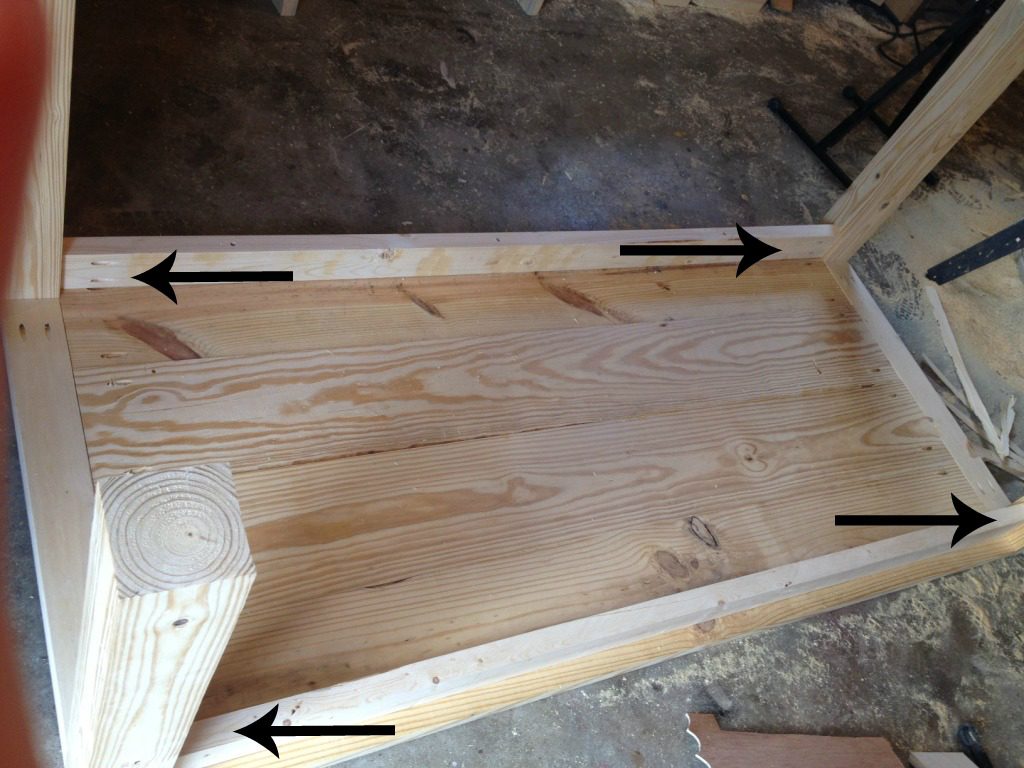
After the supports were in, I used long wood screws (4″) to screw the supports to the top. You could do pocket holes and screws if you wanted.
.
Lastly, once the supports along the sides were installed, I added two more support pieces between the two long side supports and screwed them in with pocket holes and screws, then screwed them to the top using 4″ screws as well. I flipped the table over before I got the pictures.
Step 5: Finish
I recruited Danny again to help me flip the table over and puttied any cracks and sanded down any high spots.
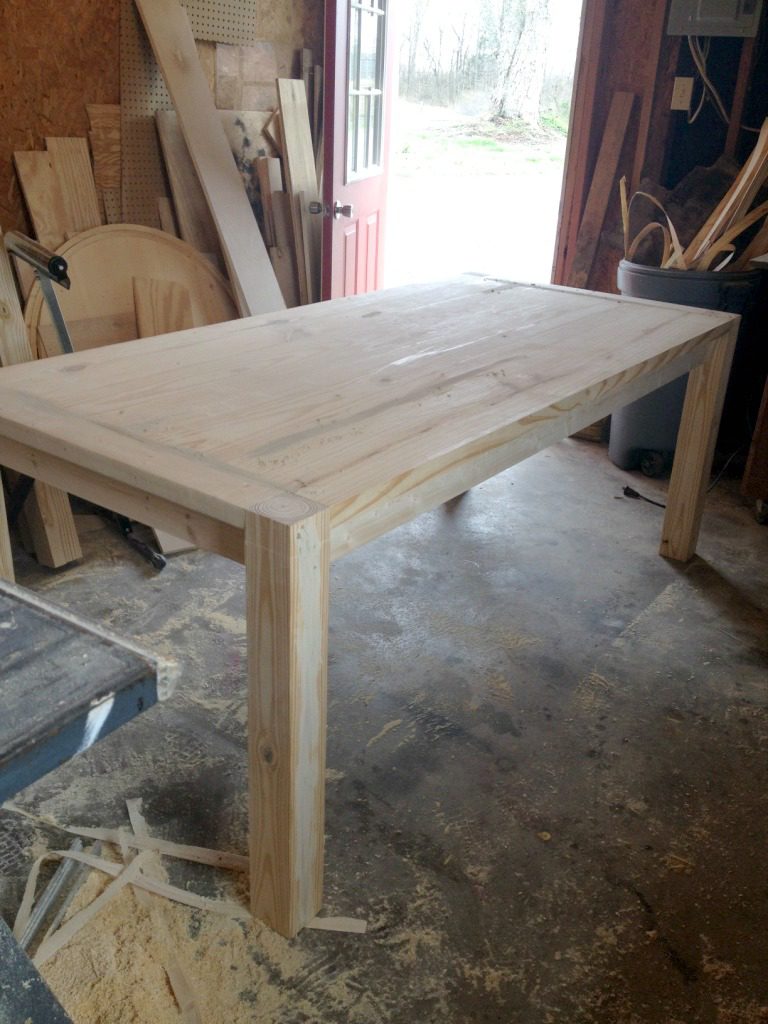
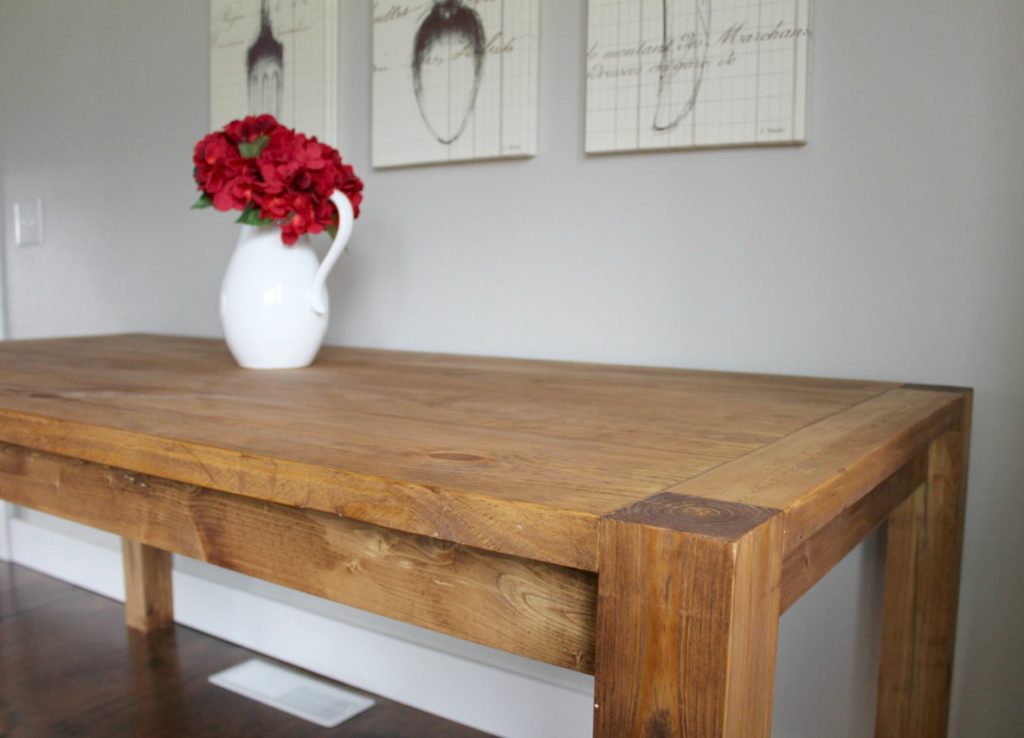
Once the sanding was finished, I stained it in Minwax Early American and finished it off with Minwax Polycrylic.
.
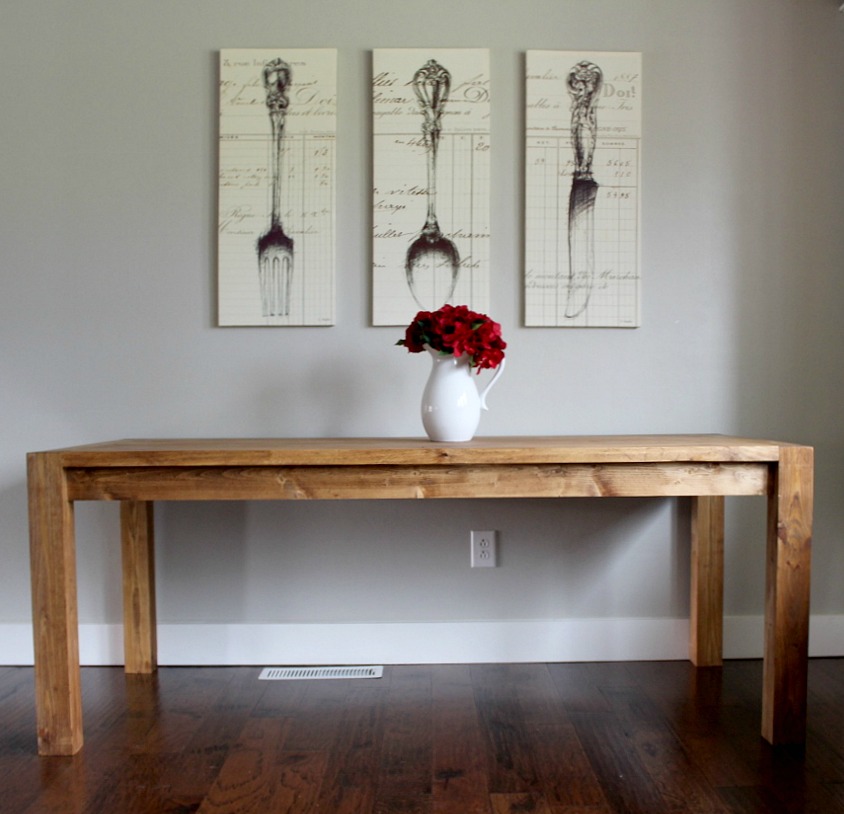
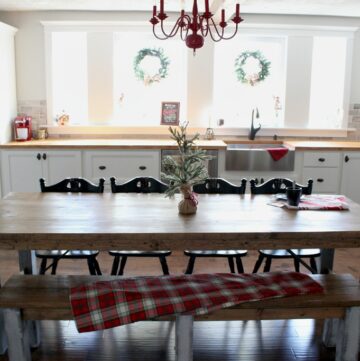
This is actually built for a friend of a friend, so it’s not mine, but I had to get some pictures, so I staged it in the only place in the house I could fit another seven foot table haha. So just imagine it’s in the middle of a beautiful kitchen, not shoved on the only blank wall I can find in my house 🙂
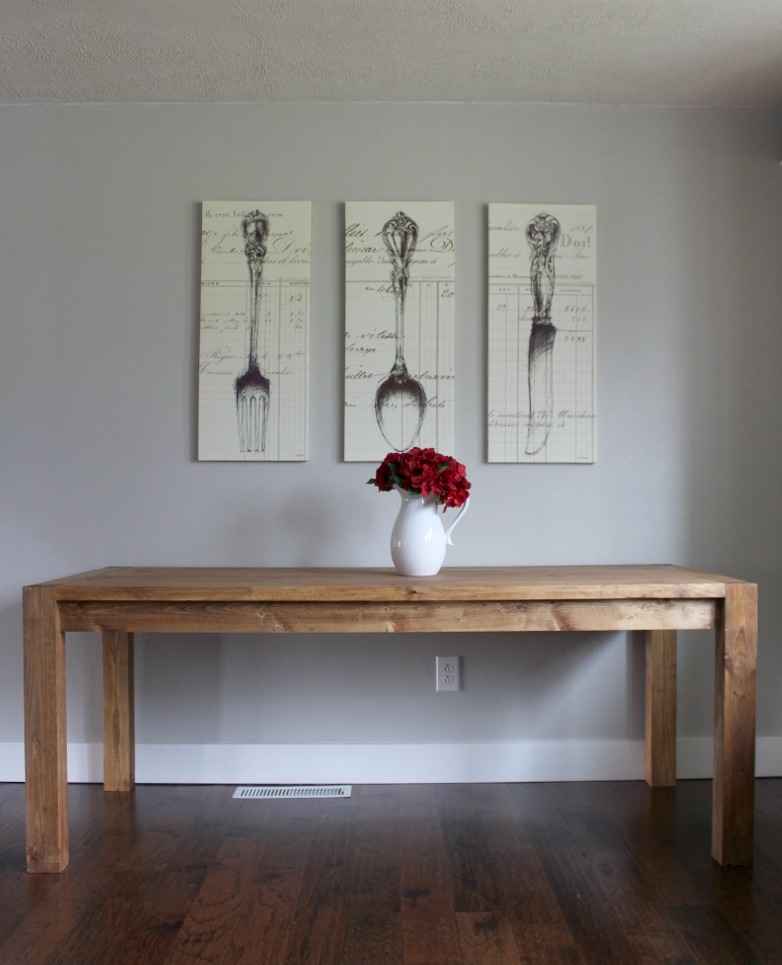
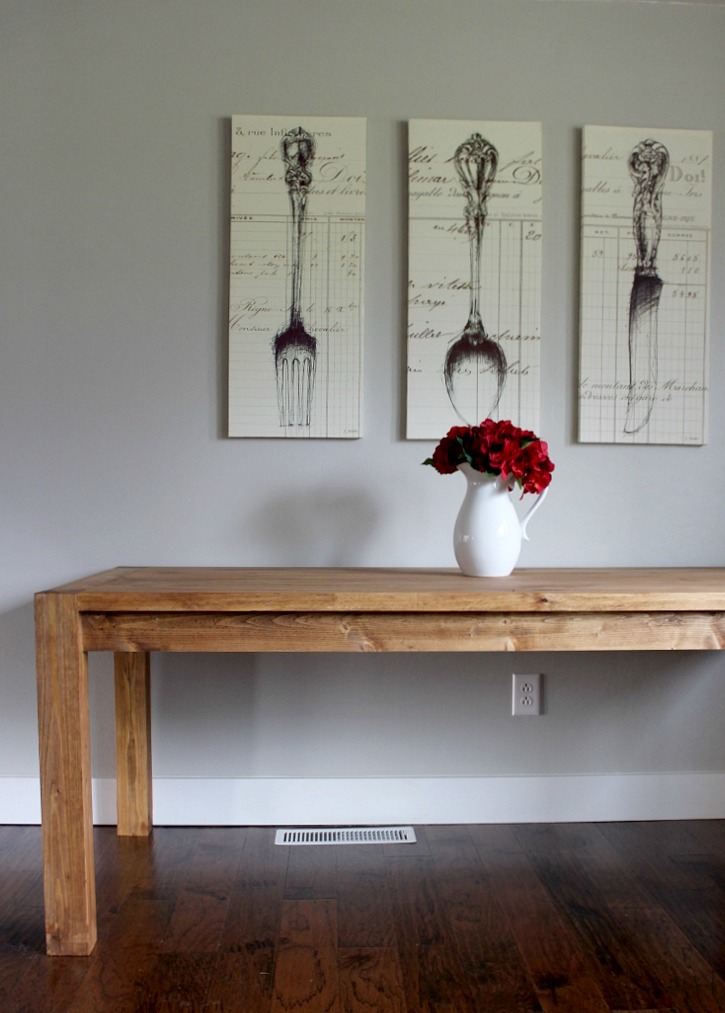
So what do you guys think of the “modern” farmhouse dining table? I guess it’s about time I finally posted one, huh?? Do you guys like this style and design?
.
So, I’m really excited about the video that will be posted on Saturday, so be sure to stay tuned for it. Plus the build on it is spectacular! You won’t want to miss it!
.
But, in the mean time, don’t forget to pin this build for later, because it’s pretty spectacular, too! 🙂
Until next time, happy building!! 🙂

mike says
how sturdy was this thing? from what I can tell the whole tabletop is held up by 4 pocket screws per leg. I like the design but i’m thinking I might do a 1/2″ dowel tenon system for the joint from the 2×4 supports into the 4×4 legs and maybe also from the tabletop boards themselves into the 4x4s
Shara, Woodshop Diaries says
This table was VERY sturdy once it was finished. It had supports underneath that were holding the top up and it was also resting on the aprons on the side. It did have pocket holes and screws to attach it to the table ends, but there were also several other supports. If you wanted to skip the pocket holes and use dowels, that should also work fine 🙂
Justin says
In the process of building this as a 9 footer. Going to minimize the plans and make a matching bench as well for my sister-in-law.
Shara, Woodshop Diaries says
Awesome! I’ve actually got a matching bench plan coming out on the blog tomorrow if you want to check it out!! 🙂
Briana Kim says
I love the rustic, yet minimalistic feel of this dining table! Great job! I’m getting the jig system soon for a project I’m doing so seeing how you used it for this project was very helpful. Thanks!
Shara, Woodshop Diaries says
Thank you!! The jig is a life saver 🙂