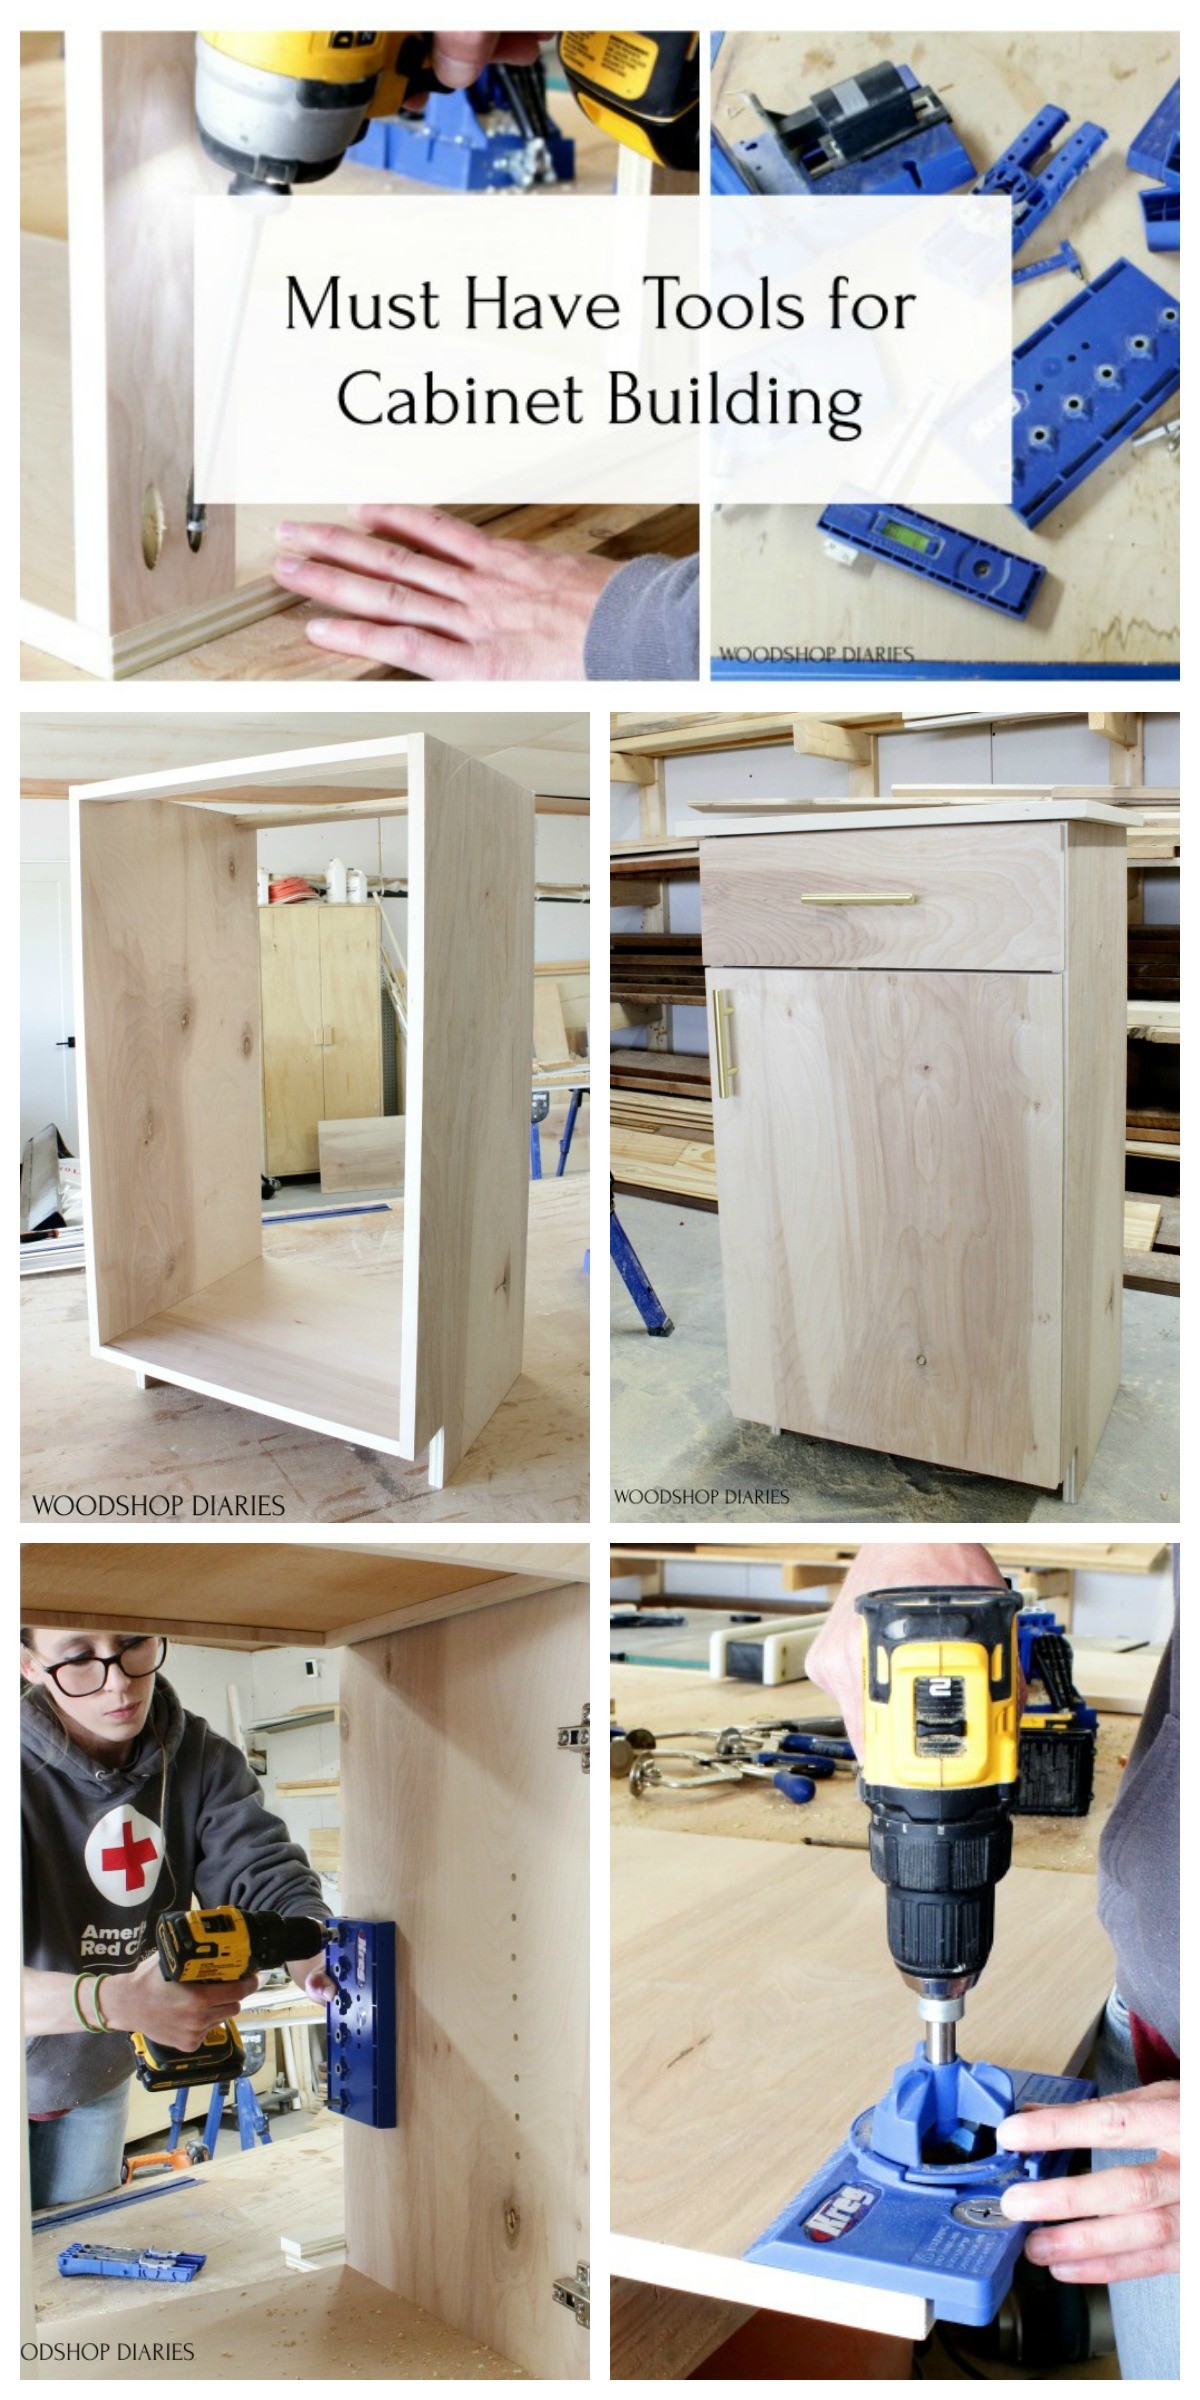
In this post, I’ll sharing what must have tools you need for cabinet making (and furniture building)–for skill levels of any kind.
One of the common misconceptions of cabinet building is that you have to have thousands of dollars worth of fancy tools to do it. That is 100% NOT true.
I’ve built several sets of cabinets over the years and I’m telling you–you really only need a few common, inexpensive tools, and a couple of jigs. And, of course, a little bit of patience always helps, too.
In this post, I’ll share what simple tools you really need to build your own cabinets.
And I’ll break it down into which tools to use for cutting, which tools to use for joining, and which tools will help when adding doors, drawers, and shelves.
*This post contains affiliate links. See policies.
First, what exactly is a cabinet?
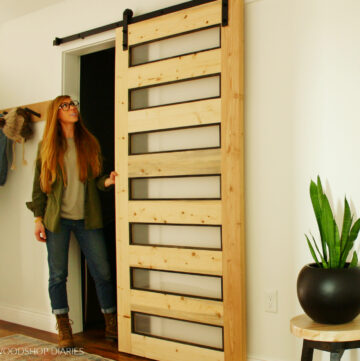
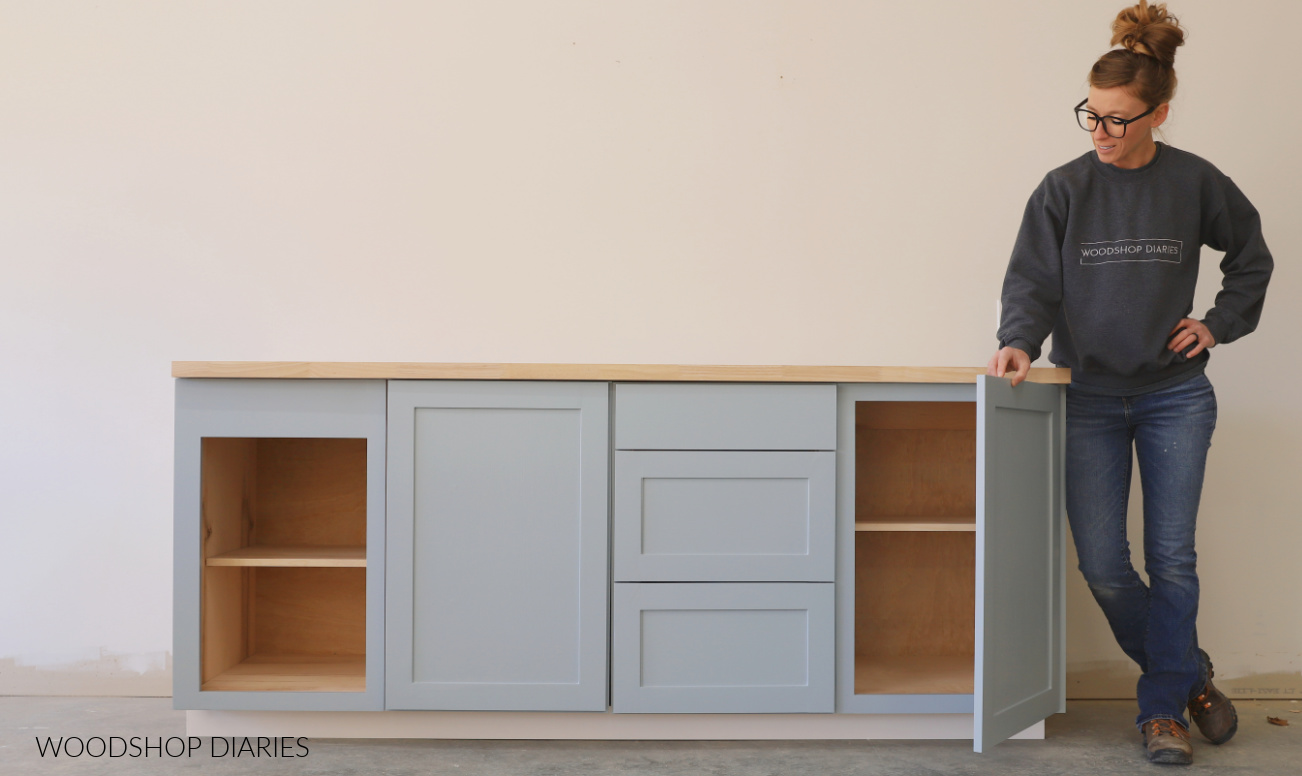
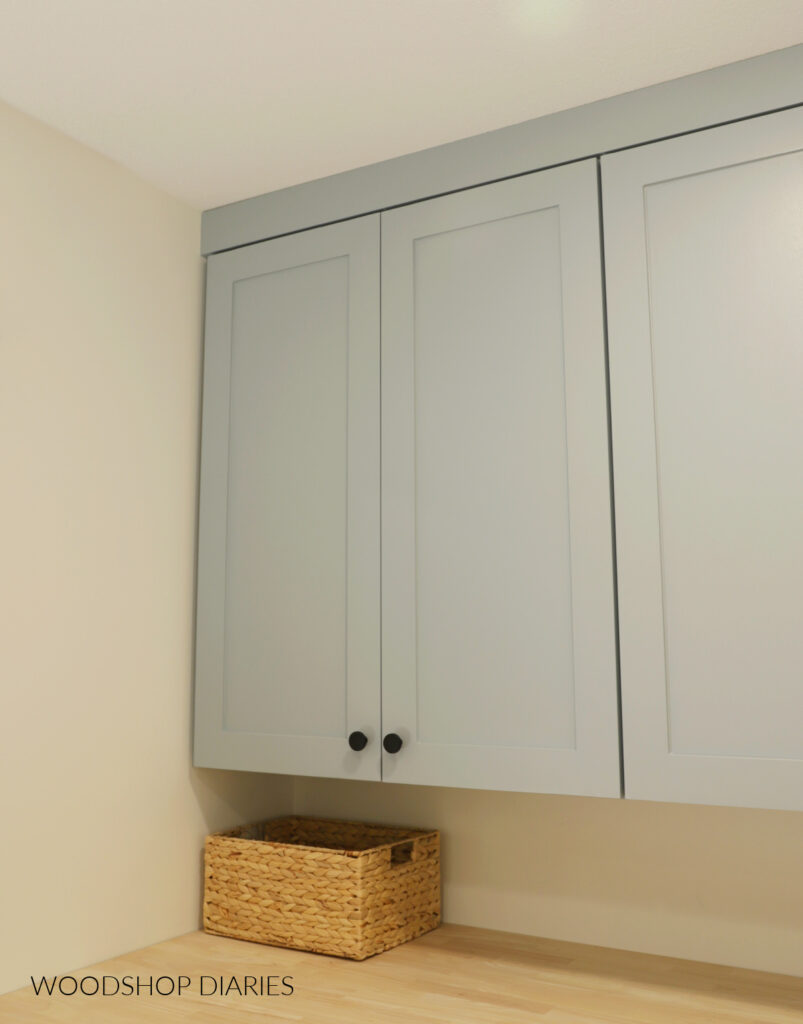
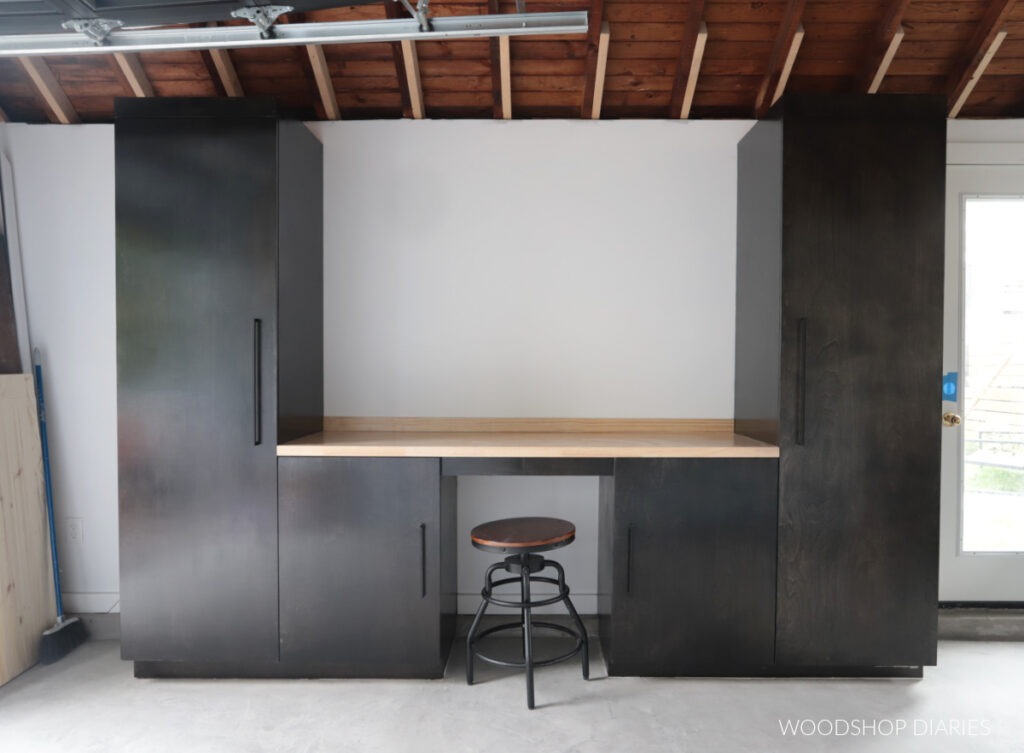
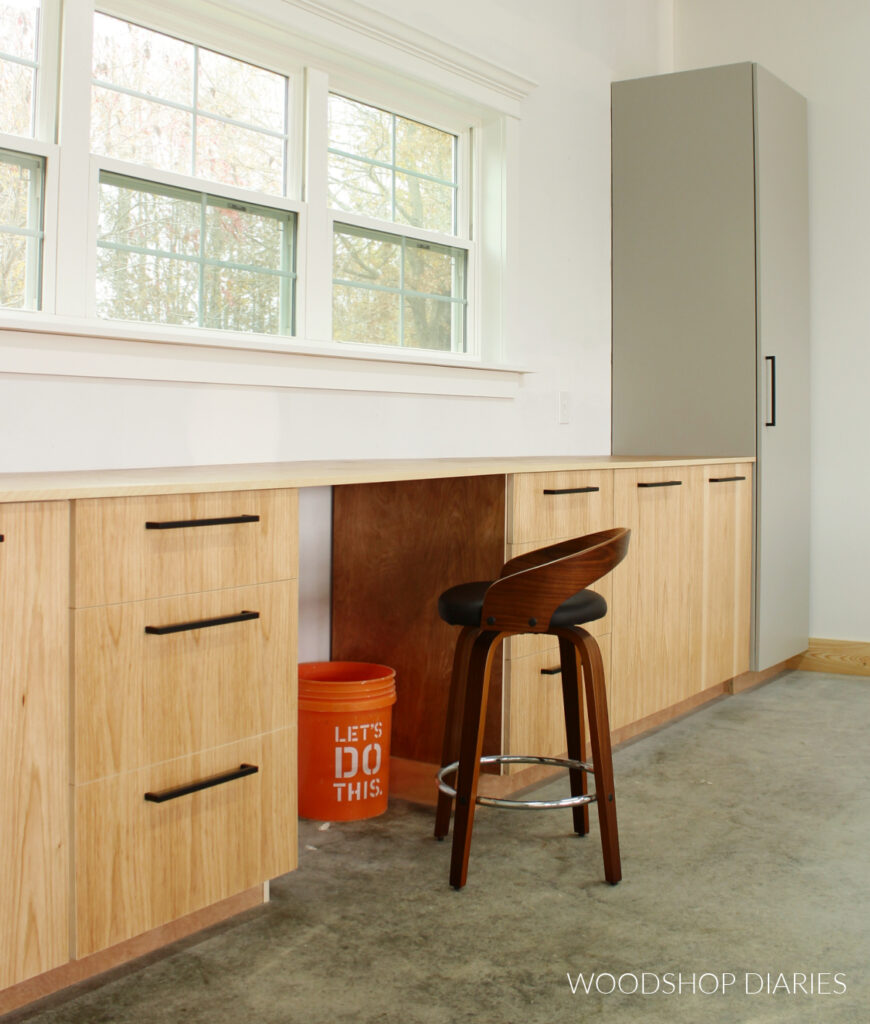
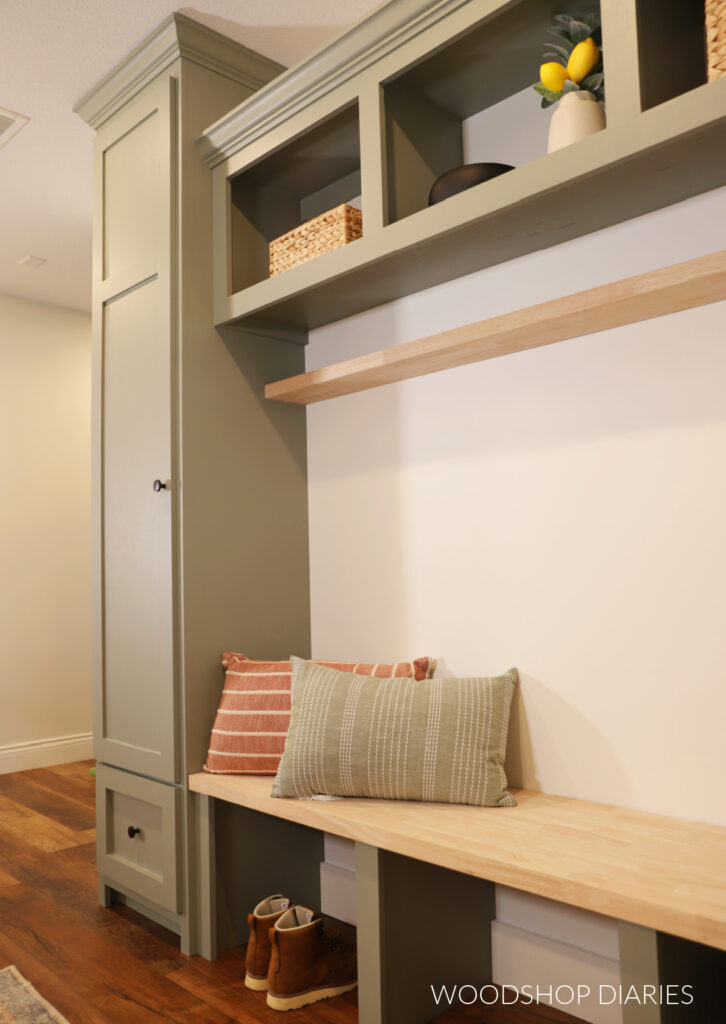
Cabinets are not just the boxes you store your dishes in the kitchen. Cabinets can come in all shapes and sizes and are made for all rooms of the house–kitchens, bathrooms, laundry rooms, home offices, pantries, garages, etc.
Check out these various cabinet projects for example:
If we are defining a cabinet as “a storage box made of wood,” then cabinets can also be considered furniture pieces like vanities, dressers, consoles, end tables, and bookshelves.
So for this post, let’s think “outside the box” a little (see what I did there??) to encompass what tools are helpful in building both basic cabinets and furniture of all shapes and sizes.
Let’s discuss what and why these various tools are essential and how you can use each of them.
What tools do you need to build cabinets?
You can make good, solid cabinets and furniture with just a few key items. I’ve listed my recommended tools and guides below.
RELATED: Check out the 5 Tools You Need to Get Started Woodworking here.
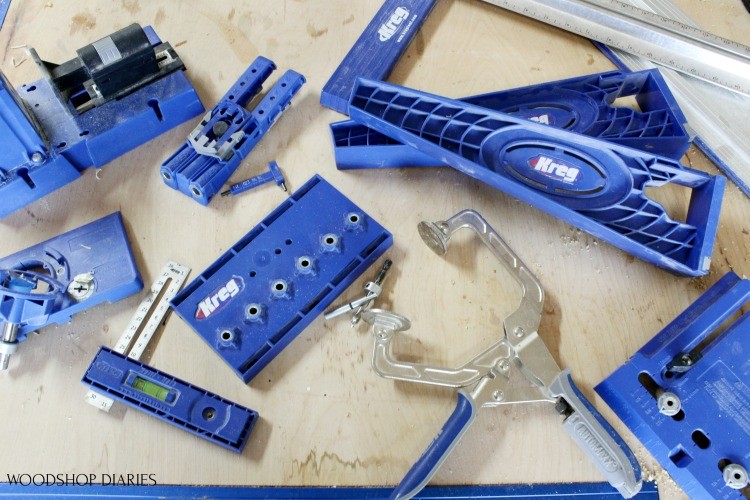
Must Have Tools & Jigs:
- Circular Saw
- Miter Saw
- Drill/Driver
- Plywood Cutting Guides (Kreg Rip Cut and Kreg AccuCut)
- Kreg Pocket Hole Jig (Check out this post about which Kreg Jig is best for you!)
- Concealed Hinge Jig
- Shelf Pin Jig
NOTE: If you want to cut all your pieces with a circular saw, a miter saw isn’t necessary. However, a miter saw is much more efficient when cutting boards and smaller pieces, so it’s highly recommended.
These additional tools and jigs can be helpful, but aren’t must haves:
But why do you need these particular tools and what are they used for?? Let’s break it down.
Are DIY projects your thing? Sign up for our newsletter for priority access to the latest projects and build plans!
Tools for Cutting Wood
The first part of any cabinet (or furniture) build is typically cutting down the plywood. Not all cabinets and furniture are made from plywood. You can build your cabinets from solid wood as well.
But, plywood is a common choice for most cabinets and a large portion of furniture builds—mostly because it saves time, money, is readily available and has very minimal wood movement throughout the seasons to worry about.
RELATED: How to choose the right plywood for your cabinet and furniture builds
So how do you cut down plywood?
Circular Saw & Cutting Guides
I prefer to cut my plywood sheets down with a circular saw, a Kreg Rip Cut, and Kreg Accu-Cut.
NOTE: You can certainly use a table saw to cut plywood sheets, but if you’re like me and have a hard time maneuvering an 80 lb sheet of plywood through a saw, these cutting guides are life savers!
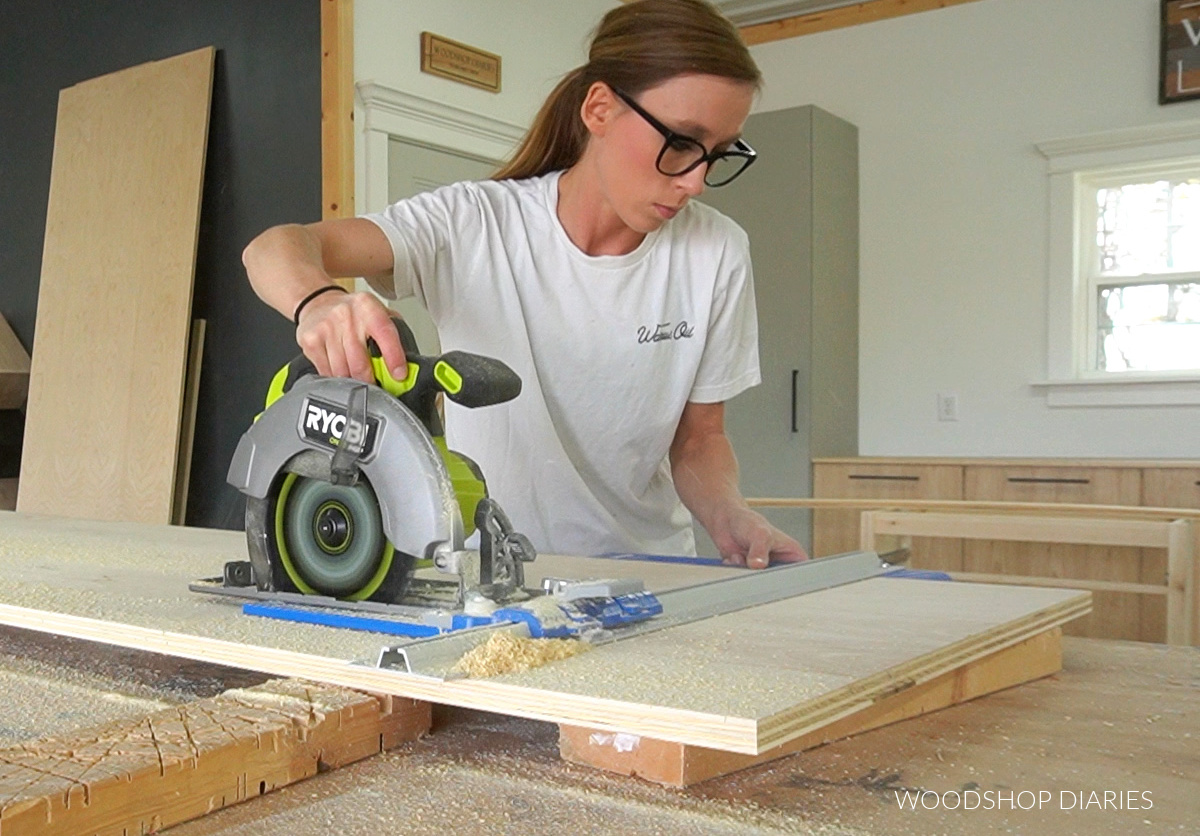
The Kreg Rip Cut is a cutting guide that you use with your circular saw to “rip” your plywood sheet (or board—it’s not ONLY for plywood) into strips. It’s capable of cuts up to 24” wide–so you can rip a full sheet of plywood in half.
Despite the name, you can also make cross cuts with the Rip Cut up to 24″ as well. If you need to cut a piece longer than 24″, that’s where the AccuCut comes in.
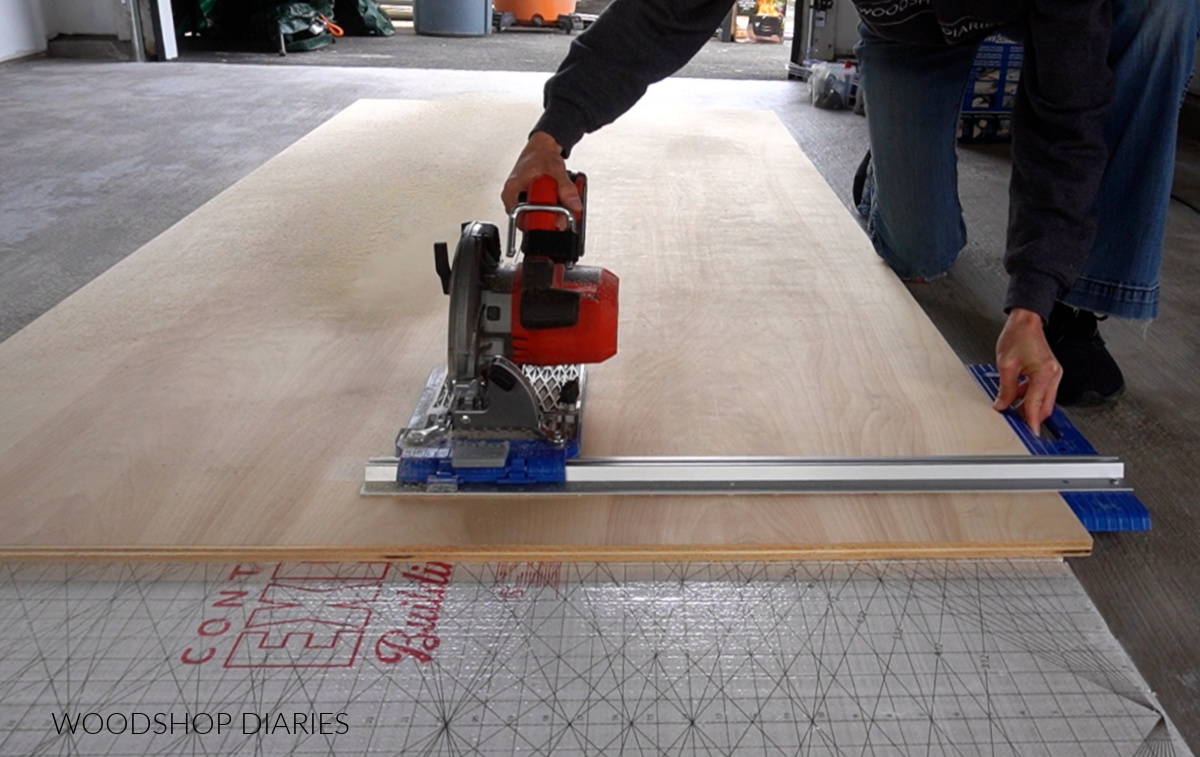
The Kreg AccuCut is a gutting guide that acts kind of like a track saw. It’s great for cross cutting long pieces to the correct length.
You use it with your circular saw to cut straight lines across your plywood panel. I also use it often to cut down large table tops as well.
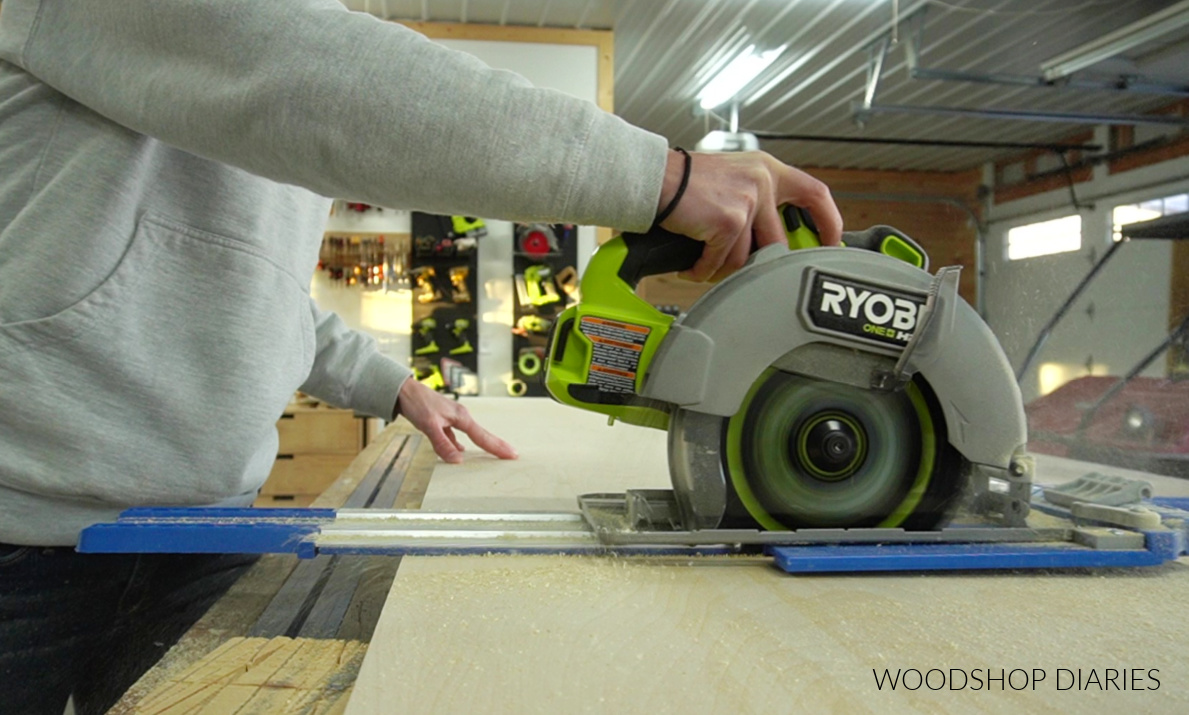
The great thing about these cutting guides is that the blue sled that attaches to the circular saw plate is interchangeable between the two. So you can slide your saw right off the Rip Cut and right onto the Accu-Cut with no adjustments or having to swap anything out.
And since the sled simply tightens on to the saw plate, they work with almost any type, style and brand of circular saw.
I’ve shared a very detailed post over here on how I cut down plywood sheets using the Kreg Rip Cut and the Kreg AccuCut for more information.
Tools for Assembling Cabinets
Once the plywood is cut down, it’s time to join the boards together to create a box.
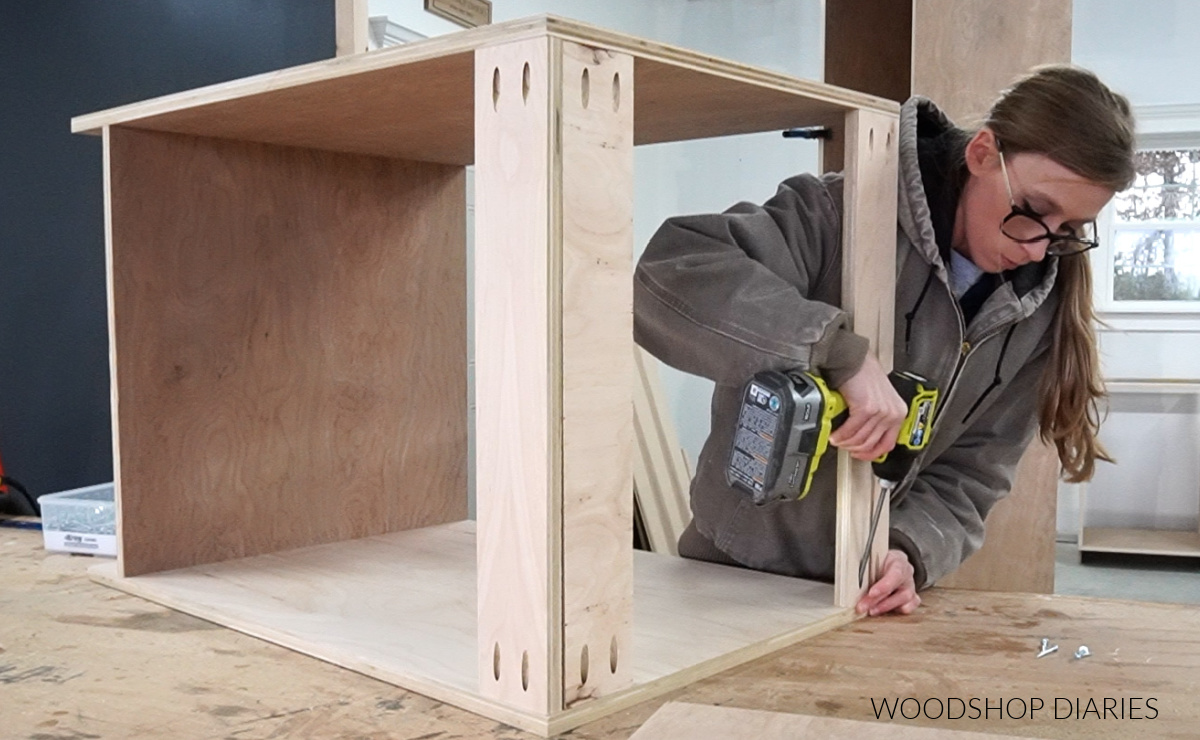
I like to use pocket hole joinery in cabinet and furniture building because it’s quick, simple, and doesn’t require fancy tools or patience waiting for glue to dry. This simple joinery method works really well for basic cabinet construction.
Drill/Driver & Pocket Hole Jig
To assemble cabinets and furniture with pocket holes, you’ll need a basic drill and a pocket hole jig. A driver is also handy to drive the screws, but if you don’t have one, you can use the drill to drive as well.
A pocket hole jig is a drilling guide that allows you to drill a hole on the ends of a board so that you can drive a screw through to join it to another board.

Pocket hole jigs come in many shapes and sizes. Check out this post to decide which is best for your shop! Personally, I love the Kreg 720.
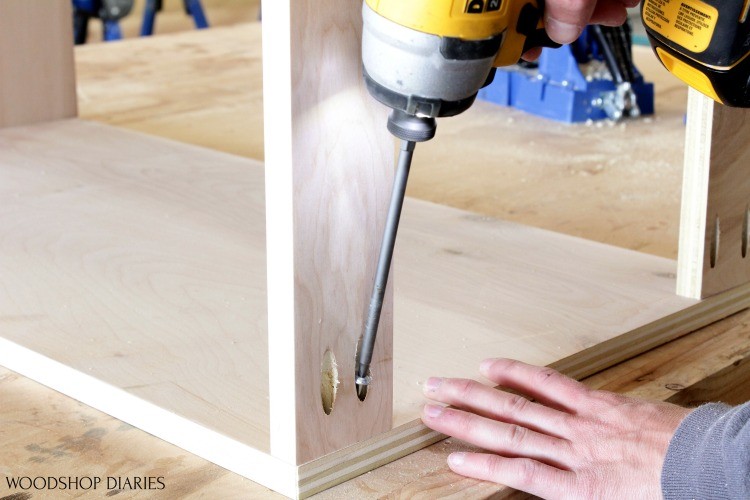
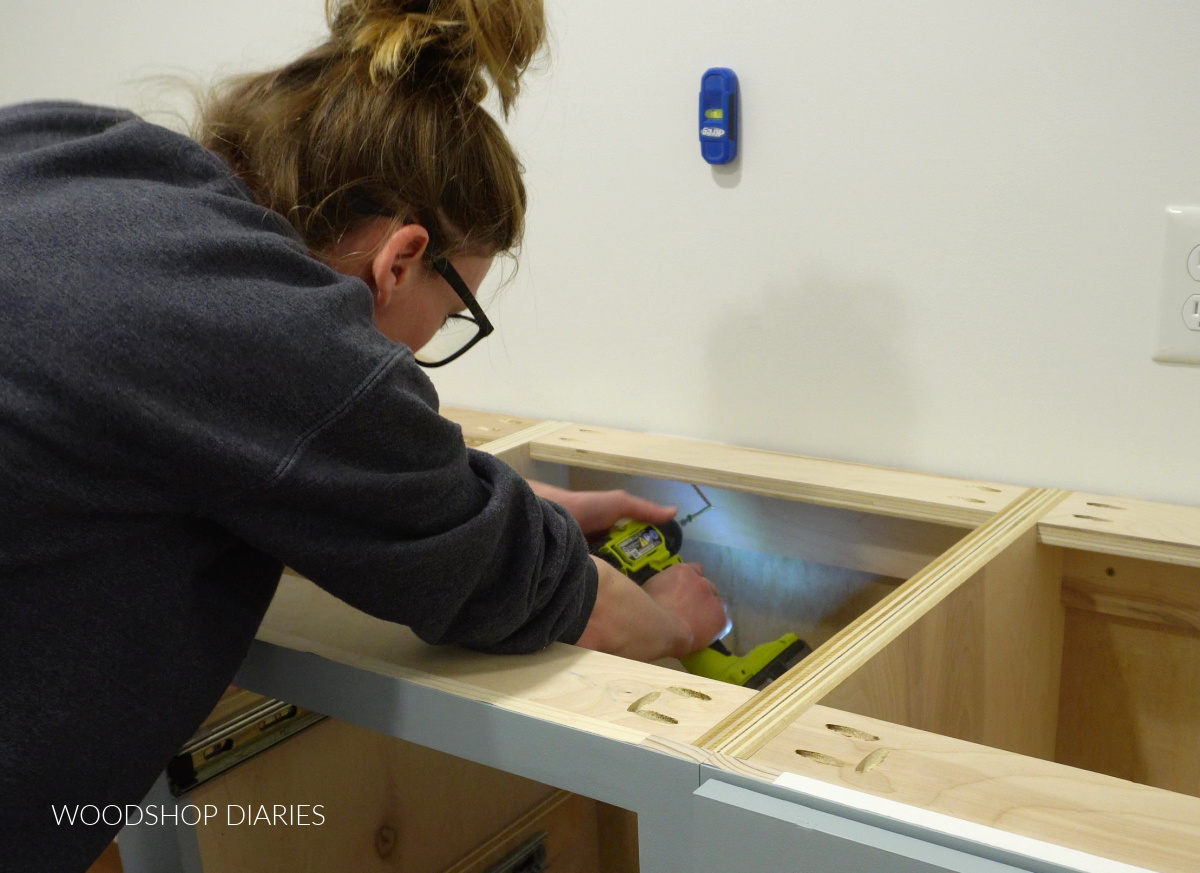
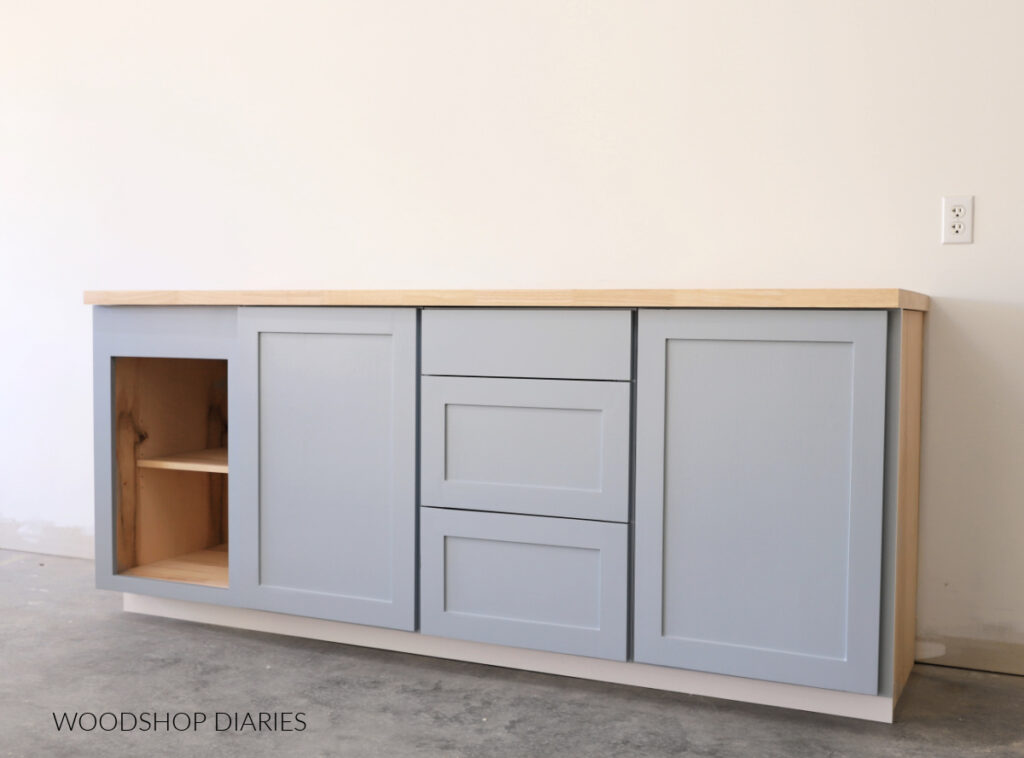
Pocket holes can be used to join boards together in a panel (like a table top) OR on perpendicular surfaces. Here you see where I am using pocket holes to build my workshop cabinets.
Once you use the jig to drill a pocket hole, you drive pocket hole screws through it to assemble the boards together.
RELATED: How to use a pocket hole jig
In most cases, you can place the pocket holes so that they are covered in the finished project so you don’t see them. But if or when they’re not covered, you can plug them!
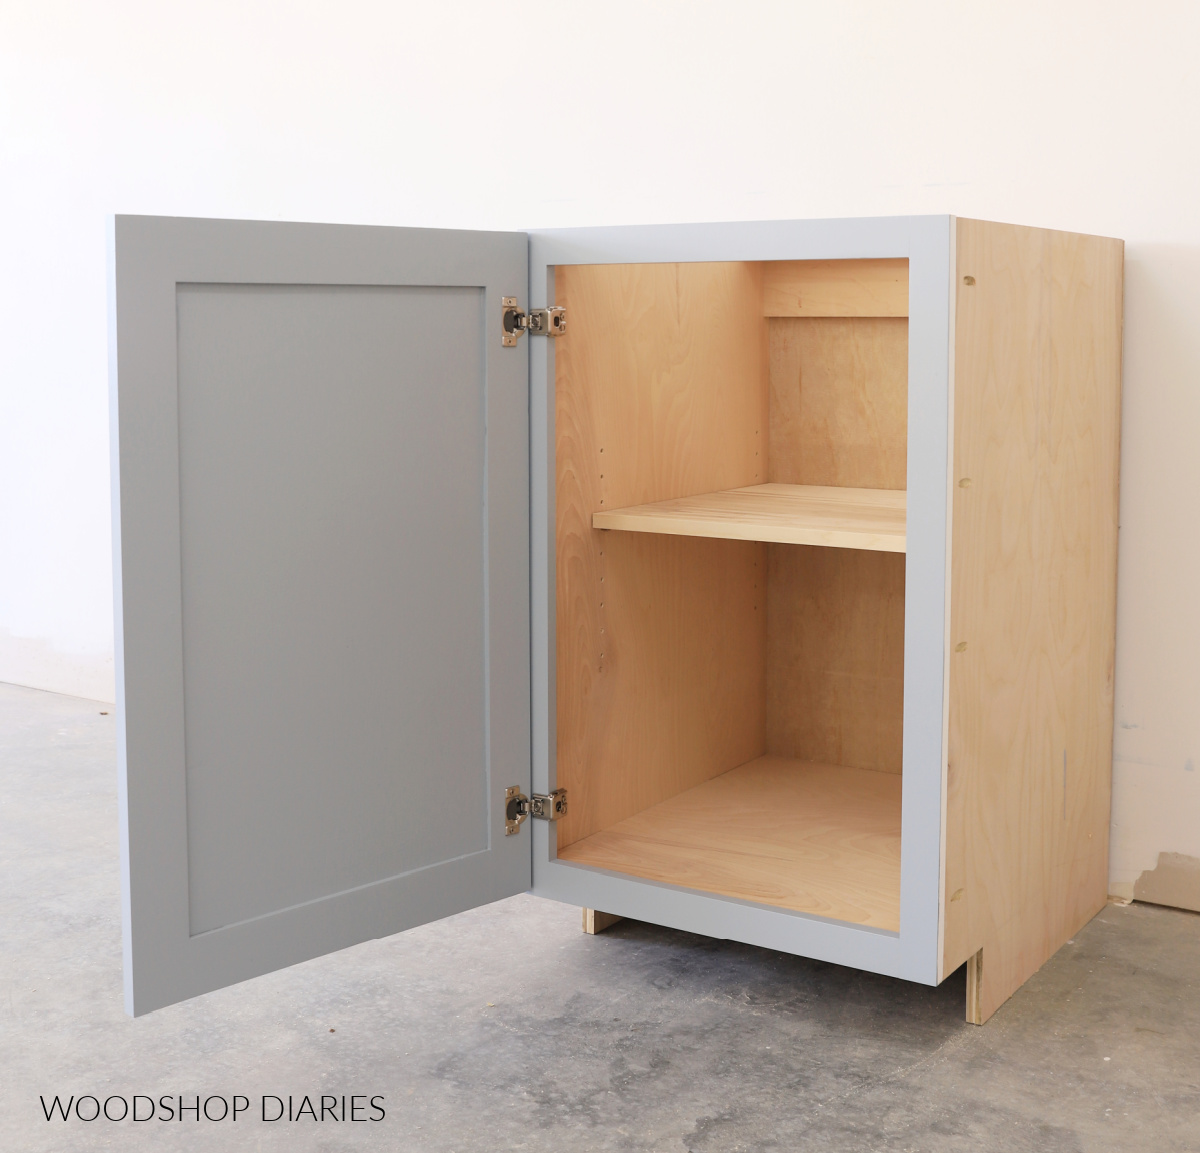
Tools for Installing Cabinet Doors
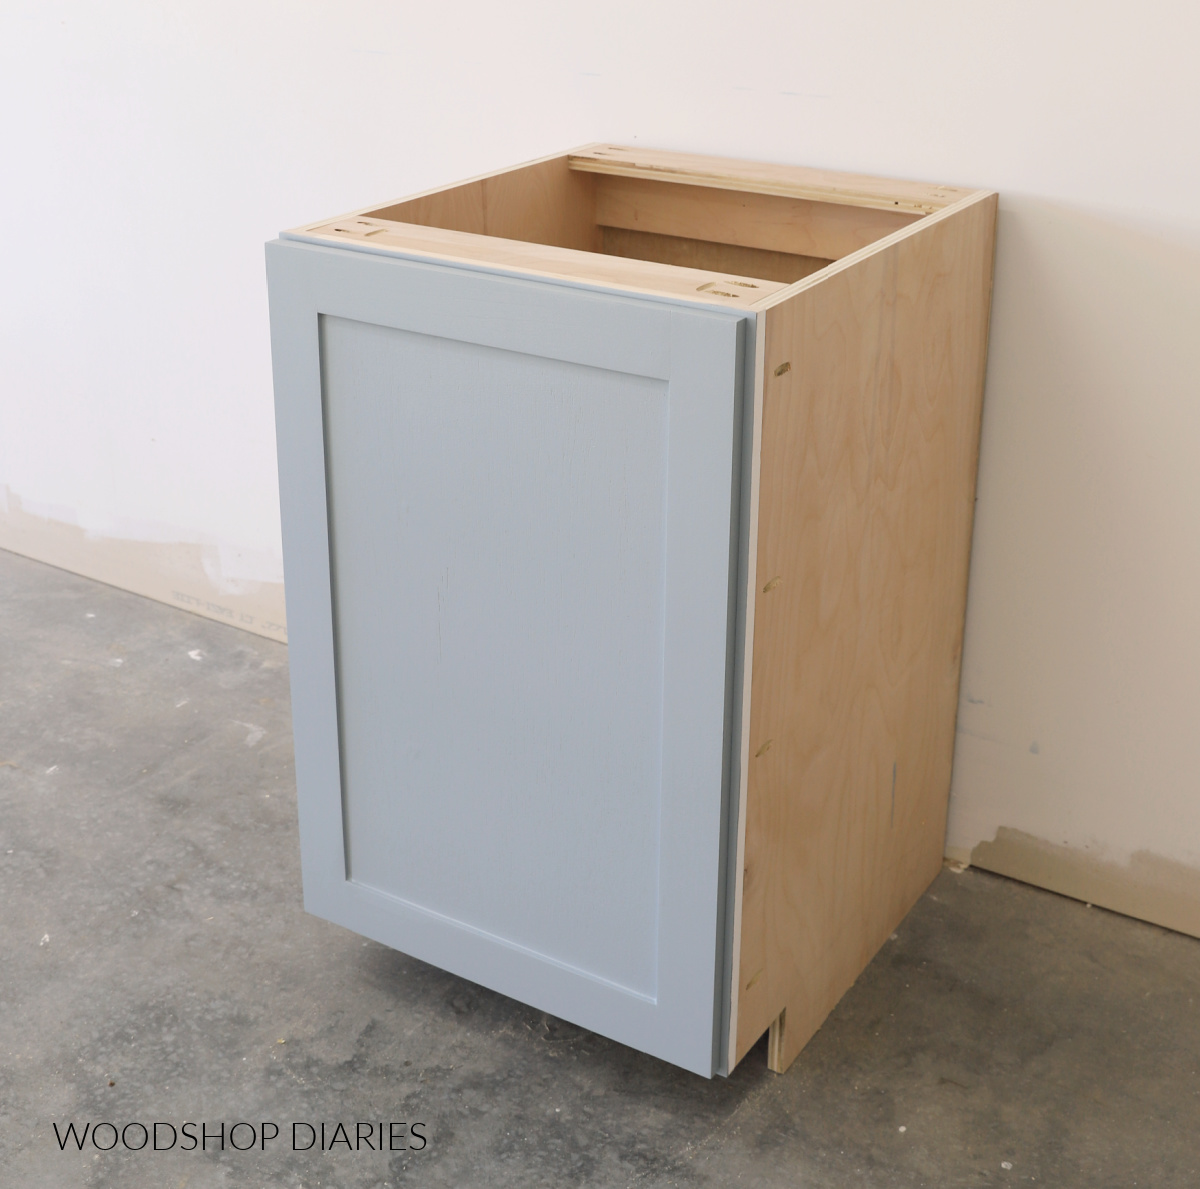
Once the cabinet or furniture piece is assembled, you may choose to add doors on the front. First, you’ll need to determine what size to make your cabinet doors.
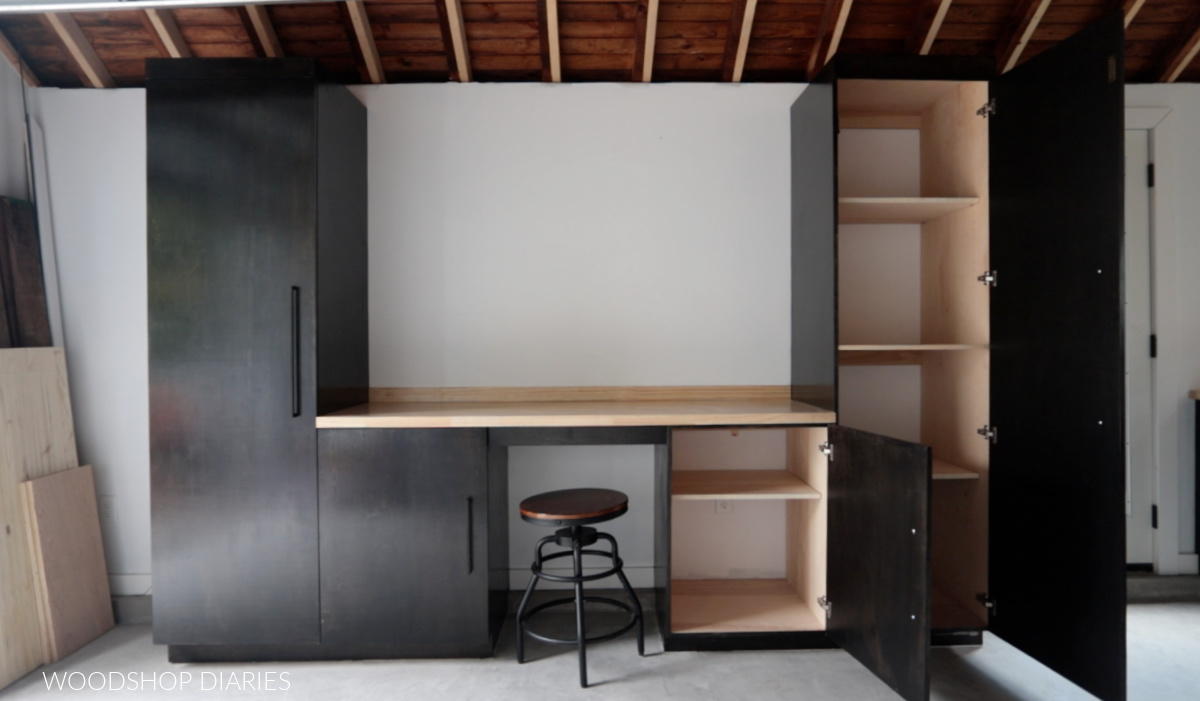
Once you know what size to make them, you can simply cut a piece of ¾″ plywood to use as a slab door (like I did for these garage cabinets). Or you could build shaker style cabinet doors.
But once the doors are assembled, a concealed hinge jig and a drill make them easy to install.
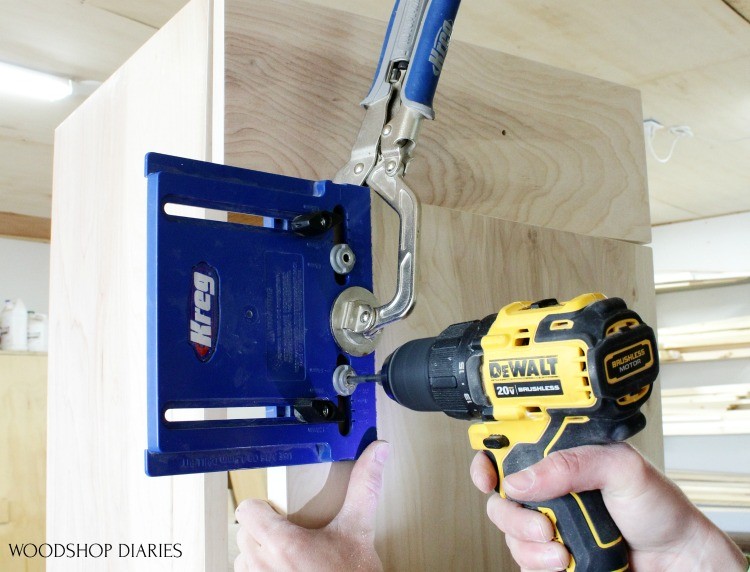
Drill & Concealed Hinge Jig
The Kreg Concealed Hinge Jig is probably my most used shop jig after the pocket hole jig. I use it all the time when adding doors to projects.
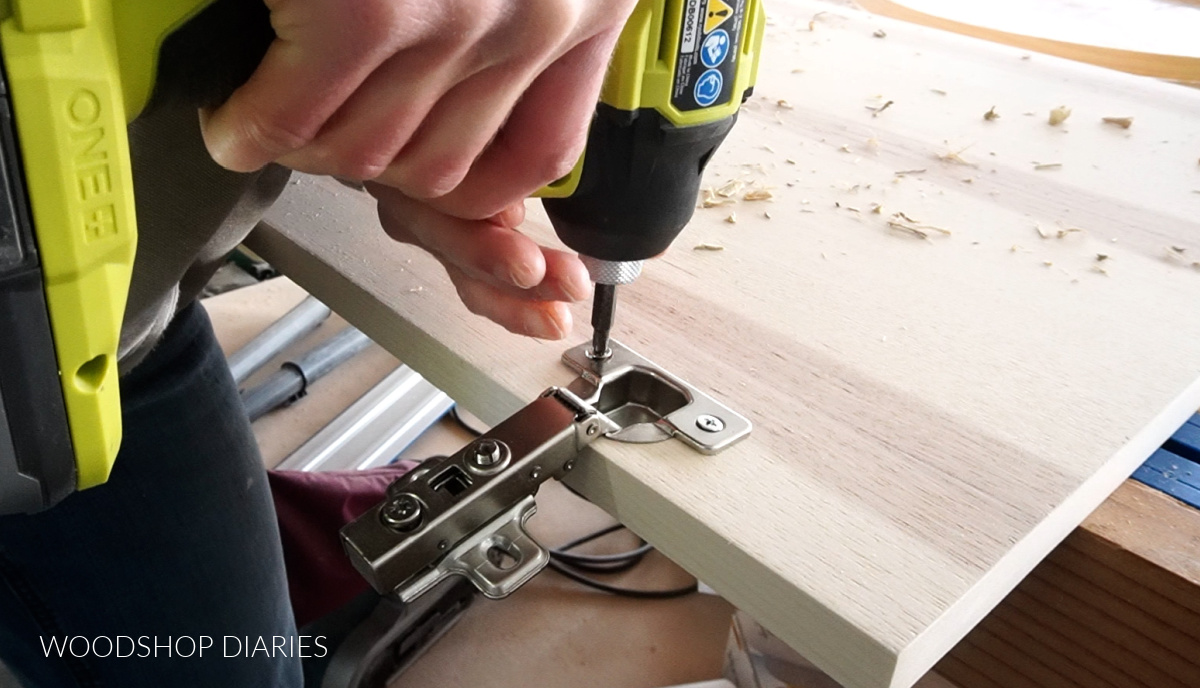
Concealed hinges have a “cup” that is supposed to be recessed into the door–see image below.
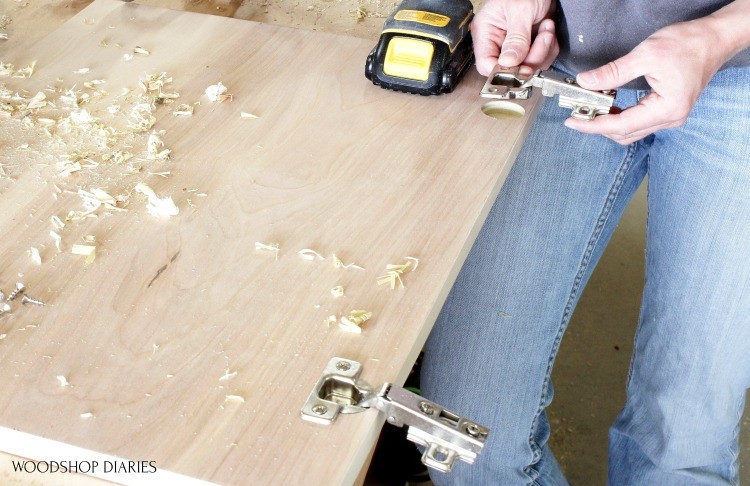
This jig allows you to quickly and accurately drill out the hole for the hinge in the correct location. Simply clamp it, and drill your holes–one for each hinge.
Then, install the hinges into these holes. Once the hinges are secure to the door, they’re ready to install onto the cabinet.
RELATED: How to use a concealed hinge jig
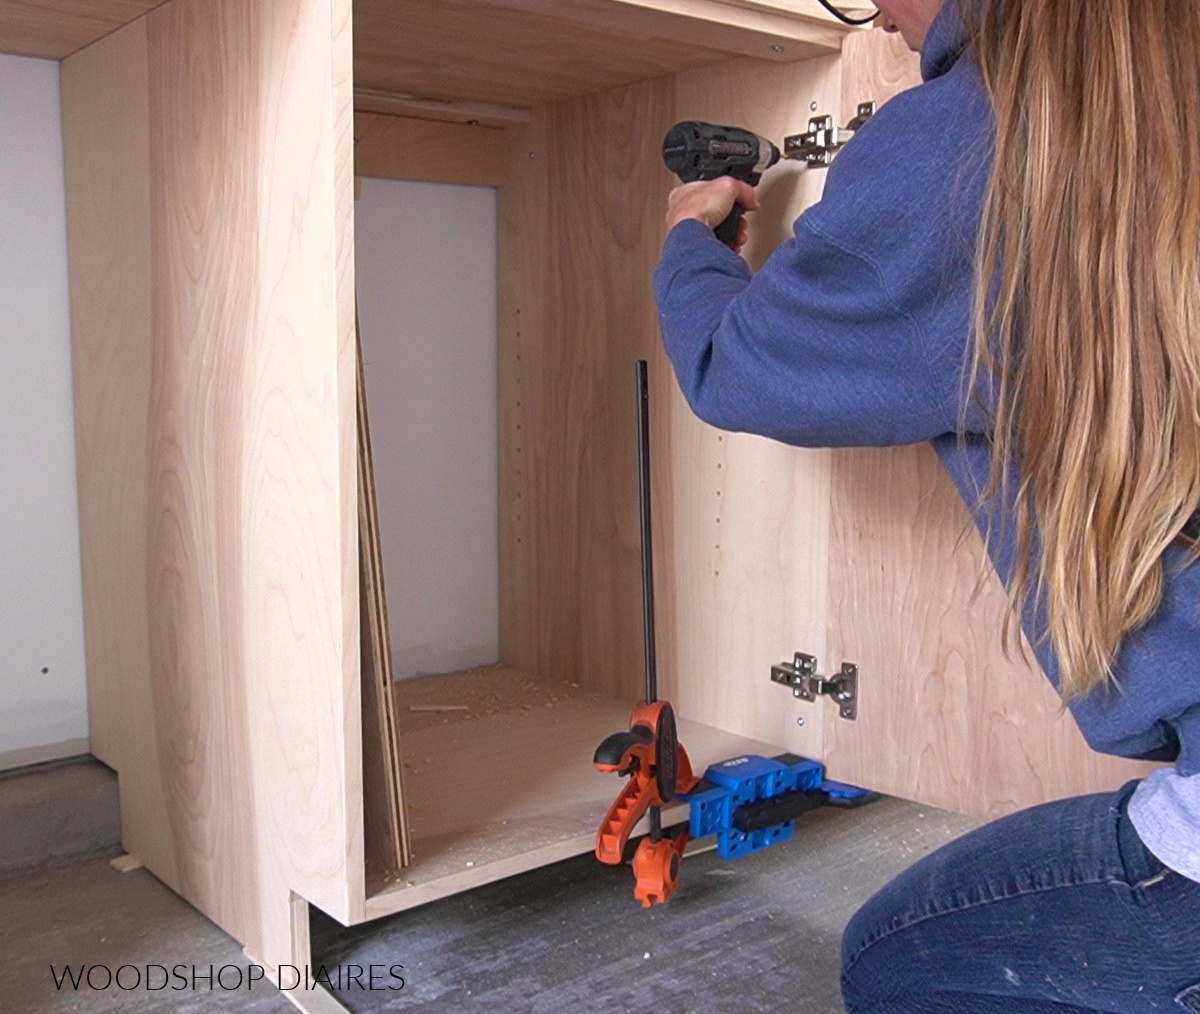
Cabinet Door Mounting Jig
The Kreg Cabinet Door Mounting Jig is not a MUST HAVE, but comes in very handy when trying to hang large or heavy cabinet doors by yourself.
It basically clamps onto the bottom of the cabinet to hold your door in position for you while you screw the hinge in place.
Tools to Add Cabinet Shelving
Adjustable shelves in cabinets and furniture is a really nice touch and feels kind of like an upgrade. I’m pretty indecisive, so I like options to adjust the shelves as things change, I rearrange, etc.
Adding adjustable shelves in cabinets a furniture is easy with a simple jig and a drill.
Drill & Shelf Pin Jig
The EASIEST way to install adjustable shelves (or, I would argue ANY shelves for that matter) is by using shelf pins.
Basically, you just place the pin in a hole drilled into the cabinet sides and set your shelf on top of the pins.
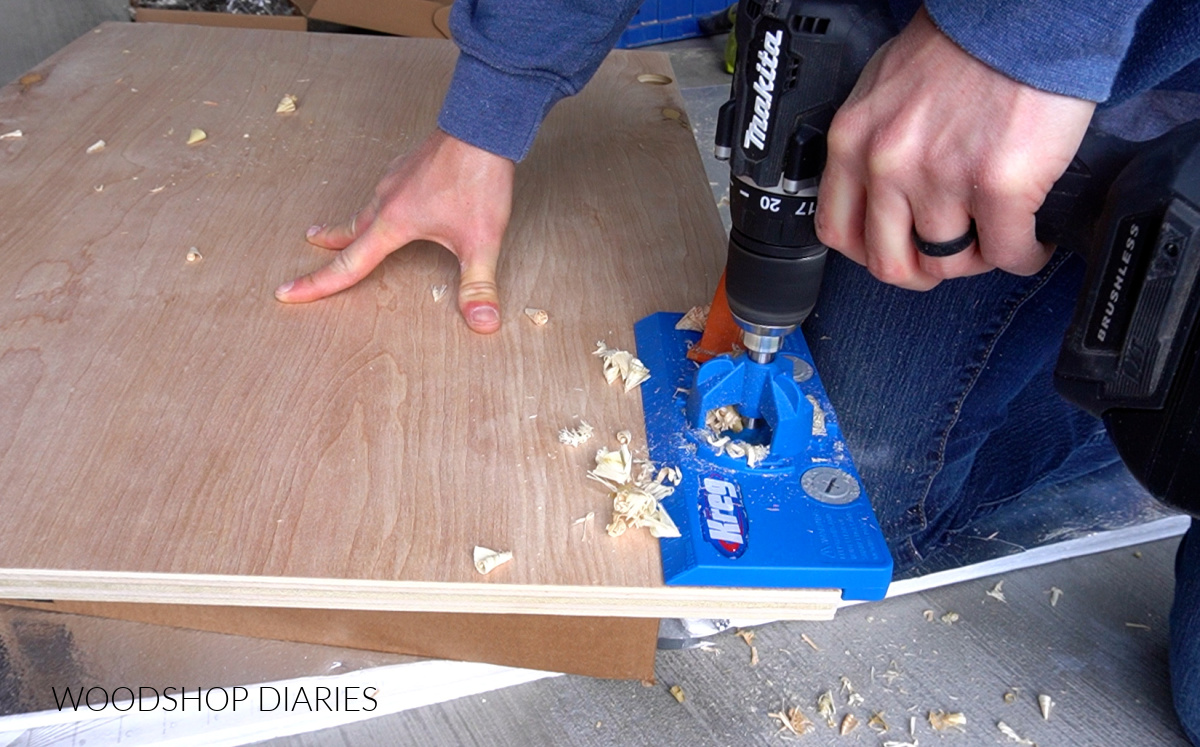
BUT, first, you have to drill the holes. The Kreg Shelf Pin Jig allows you to drill equally spaced holes for this without any set up or measuring.
You literally just hold or clamp the jig, and drill into the slots. Learn how to use a shelf pin jig here.
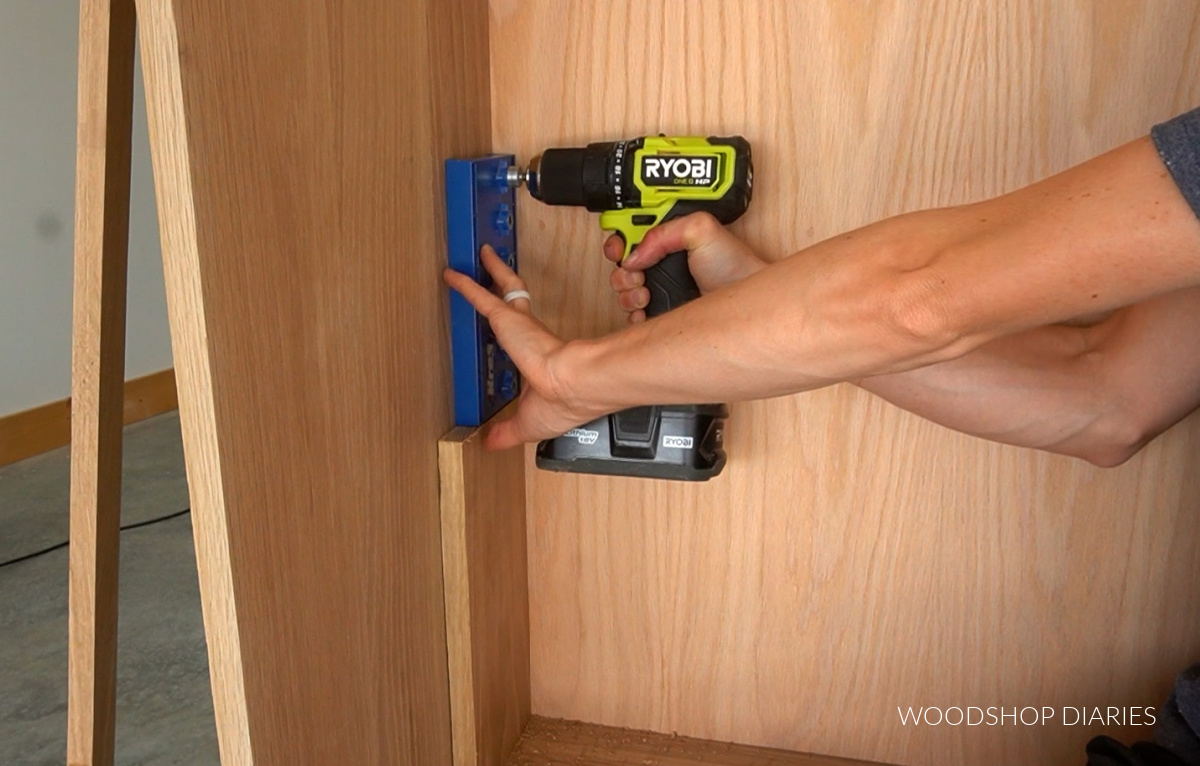
Run these holes up both sides of the back and both sides of the front. Insert the pins, install the shelves, and you’re done.
QUICK TIP: When installing shelves, cut them about ¼” shorter than the inside width of the cabinet to allow for some wiggle room to install them.
Note that Kreg sells two sizes of shelf pin jigs—a 5mm and a ¼”. These measurements are the diameters of the pin holes.
Keep in mind that 5mm is slightly smaller than ¼” and you need to know which jig you have so you know what size pins to use. See below the difference between 5mm shelf pins and ¼” shelf pins.
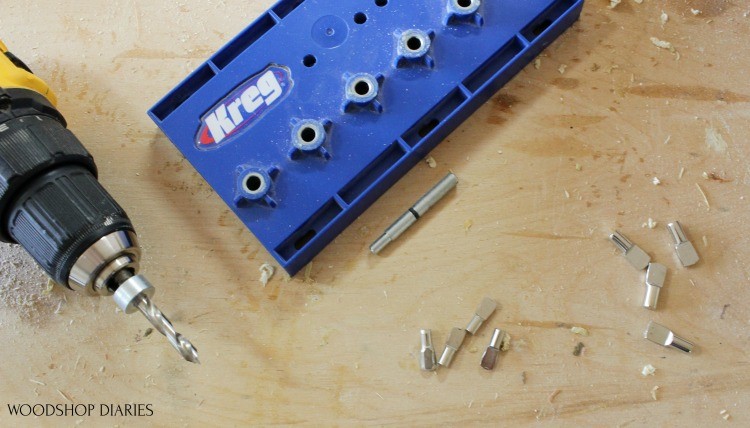
If you try to use ¼” shelf pins in a 5mm hole, they won’t fit. And if you try to use 5mm pins in a ¼” hole, it’ll be very loose and fall out. So be sure to order the correct pin size to fit your jig.
Tools for Adding Drawers to Cabinets
If you’re new to building drawers, check out this beginners guide to measuring, building and installing drawers.
Drill/Driver & Drawer Slide Jig
A drawer slide jig isn’t a must have. My preferred method for installing drawer slides is to turn the piece on its side to install them. This allows gravity to help hold things in place.
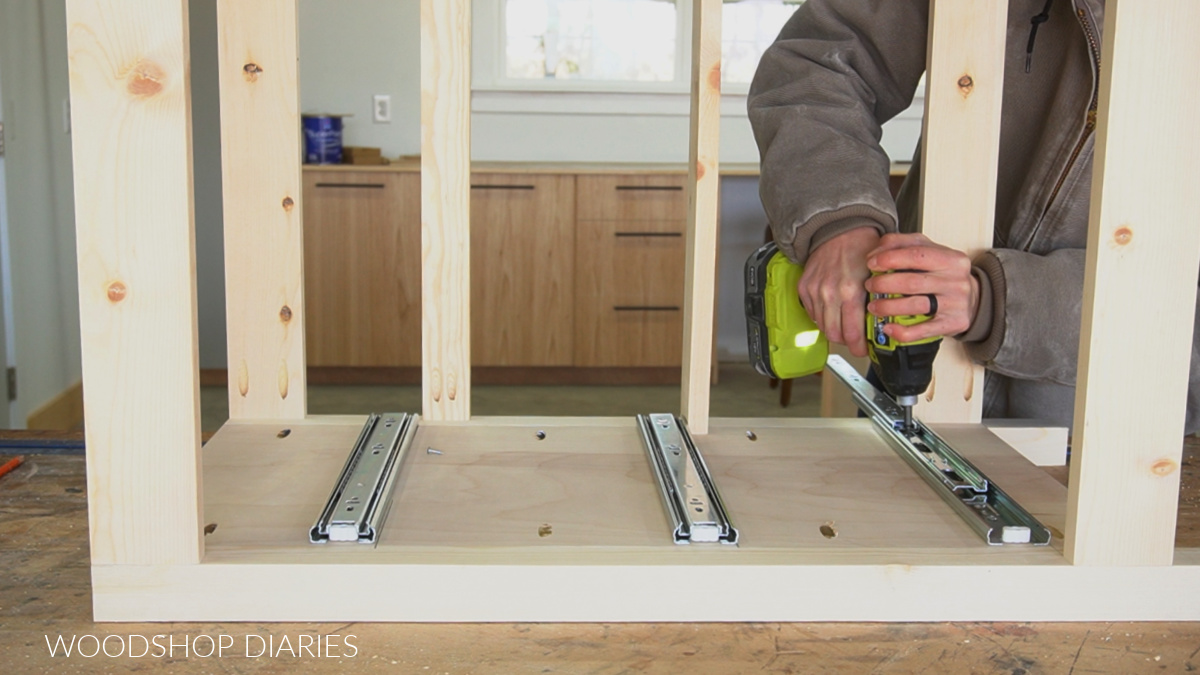
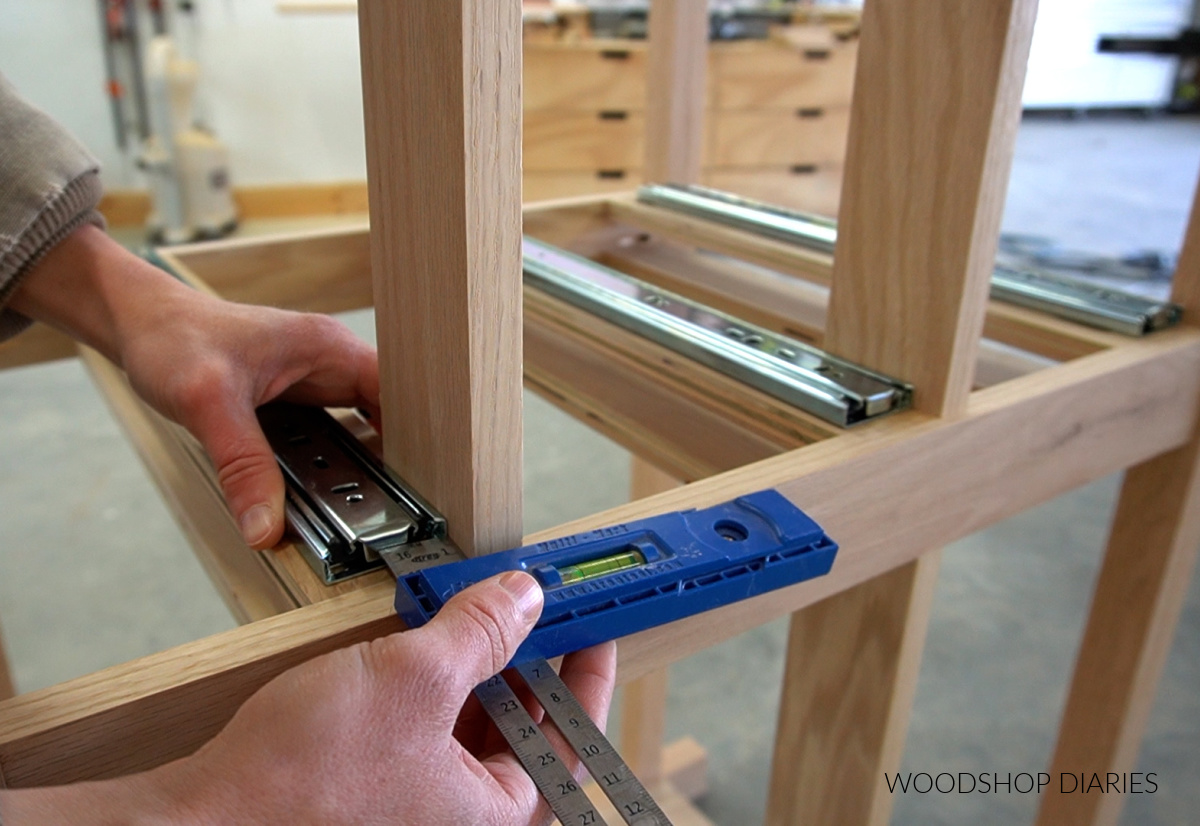
But, when the piece cannot be easily flipped on its side (if it’s already installed on the wall, OR it’s too big to flip over), the drawer slide jig does come in handy to hold your slides in place while you install them.
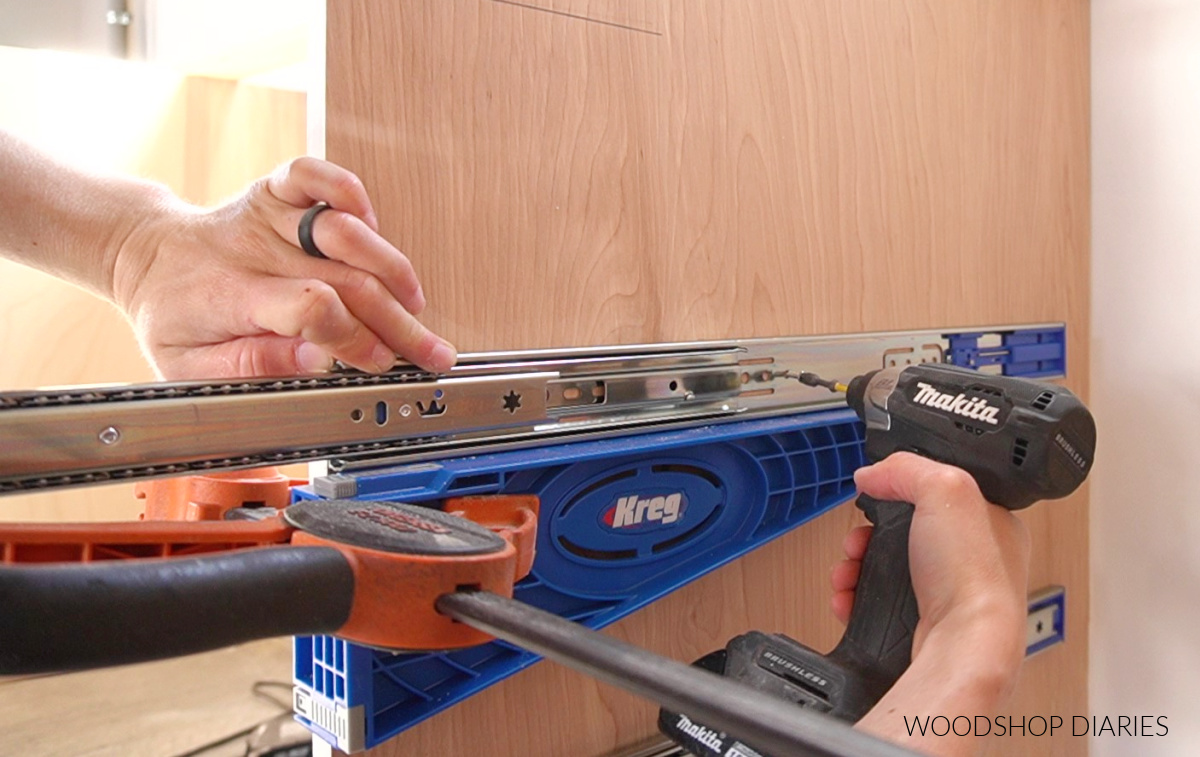
First, determine where your slide should go. Learn how to determine where to mount your drawer slides here. Then, clamp the drawer slide jig onto the cabinet at that location and secure the slide.
Once the slides are in place, I can turn these around and clamp the opposite direction to hold my drawers still while I install them onto the slides.

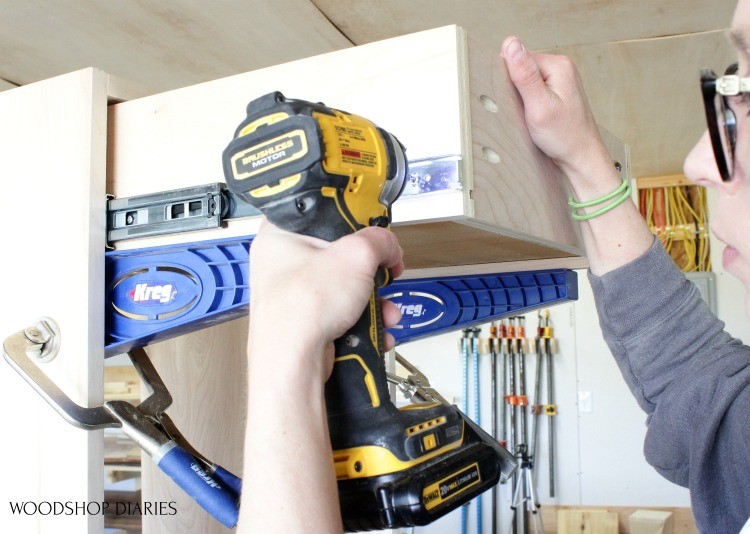
It’s like having an extra set of hands.
Tools for Installing Cabinet Hardware
Installing hardware is tedious and time consuming if you have to individually mark each and every hole for each and every handle or knob.
A simple cabinet hardware jig isn’t a must have tool, but it makes this task much quicker, especially if you’re installing several at a time.
Drill & Cabinet Hardware Jig
If you are installing new knobs and pulls onto your projects, the cabinet hardware jig can save a lot of time and headache.
It’s made for installing drawer pulls or knobs and allows you to set it up once, then simply clamp, and drill without having to measure over and over.
The only downside to this jig is that it’s not made for really long drawer/door pulls. But, if you’re using pulls 5” center to center or smaller, this will save you a ton of time.
To set up, simply adjust the jig for the width of the handles you’re using, then, adjust the distance you want the pulls to be from the door edge, clamp in place and drill.
If you’re just installing a few pulls, this may not save a ton of time, but it will give you consistent results (like, not crooked door pulls haha).
But if you are doing several, this jig is really helpful to save time and prevent crooked knob and drawer pull installations.
Tools for Measuring and Marking
Some of the most handy tools for cabinet making are also of the smallest. These optional tools aren’t necessary for building cabinets, but are practical additions to any toolbox.
Kreg MultiMark
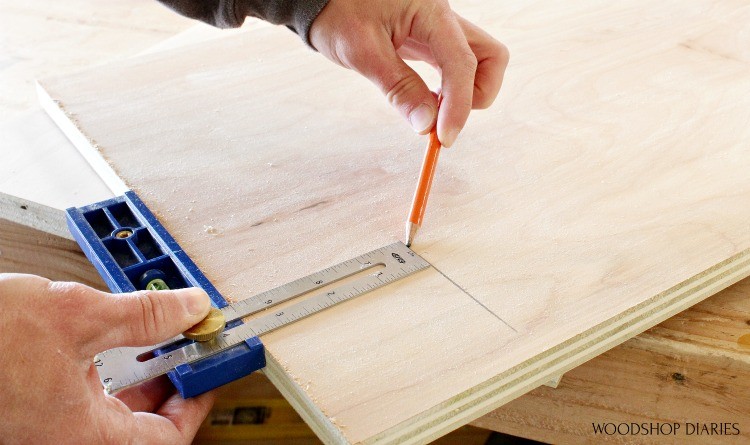
The Kreg Multimark tool is useful for lots of things like adjusting the blade depths on various tools, checking offsets, marking consistent spacing and using as a square.
When I’m building cabinets and marking for toe kicks or bottom shelf height locations, this is a great little tool to keep my marks consistent.
You loosen the knob and adjust the measuring piece where you want it…in this case it’s 3 ½″.
And you can run this along the edge of a piece to make a smooth mark all the way across. This is also helpful for lining up the bottom panel during assembly.
You can remove the knob and place the metal piece on the opposite side to adjust for various angles, too.
It’s a really handy measuring tool, but I use it often to make consistent and square marks on my pieces.
Magnetic Stud Finder
One of my biggest pet peeves about most of the stud finders I’ve used in the past is that they run on batteries–and every time I got to use it, the batteries are low.
This inexpensive magnetic stud finder doesn’t need any batteries and finds and locates studs in seconds. Simply swipe it over the wall in a zig zag motion until it “sticks” to a stud.
This makes finding and marking studs for cabinet installation a breeze–no batteries required!
Looking for more cabinet building basics?
We’ve covered tools for cutting, assembling, installing doors, drawers, shelves, and hardware. Plus, I added a few “bonus tools” for measuring and marking. And that’s pretty much all you need to build a basic cabinet.
Is it fewer tools than you originally thought? I hope this makes it a little less overwhelming!
If you’re looking to put these tools to use, here are a few basic cabinet projects to tackle:
And, if you’re just getting started, check out the tutorials on my Getting Started page to learn some basic concepts and check out my tool guides.
Be sure to pin this post so you can save it for reference!
Until next time, friends, happy building 🙂