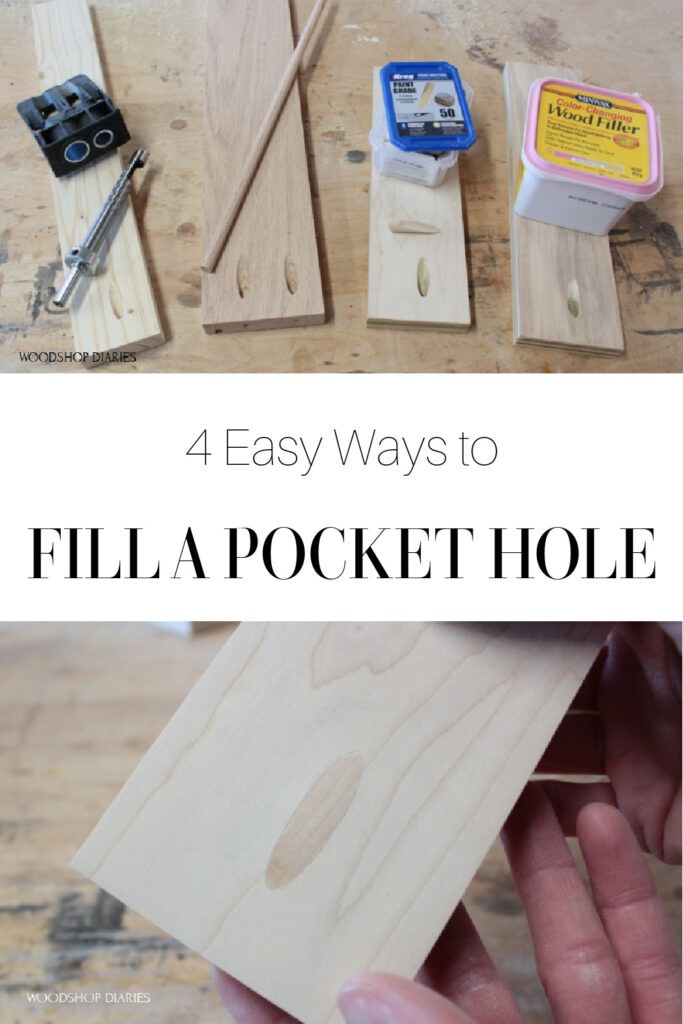
In this post, I’ll show you four ways to fill in a pocket hole in your woodworking projects!
This post contains affiliate links. See policies for details.
Pocket holes are a really popular joinery method for both beginners and advanced woodworkers alike. But, if your pocket holes are showing in your finished project, they can pose a bit of an eye sore.
.
RELATED: If you want to learn more about pocket hole joinery, check out these posts on how to use a pocket hole jig and which pocket hole jig is best for you!
.
Hidden pocket holes don’t need to be filled (unless you’re really picky about it haha). So, if you get creative on your pocket hole placement, you may not need to fill them as hopefully, they are hidden already.
.
However, if you end up with some exposed pocket holes in your finished project, there are four easy ways to fill them!
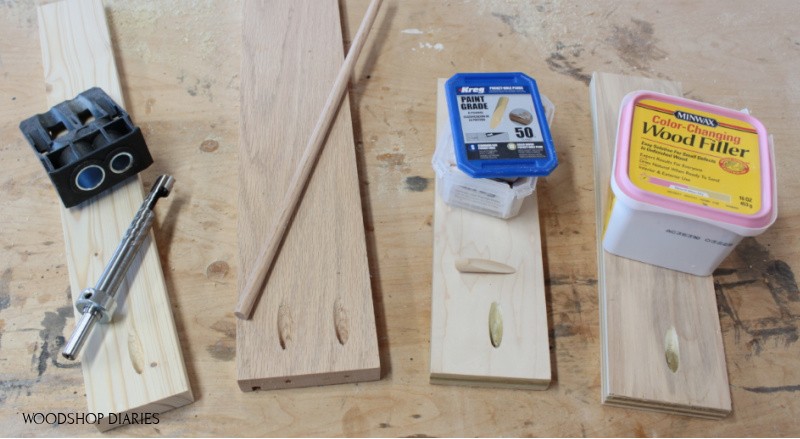
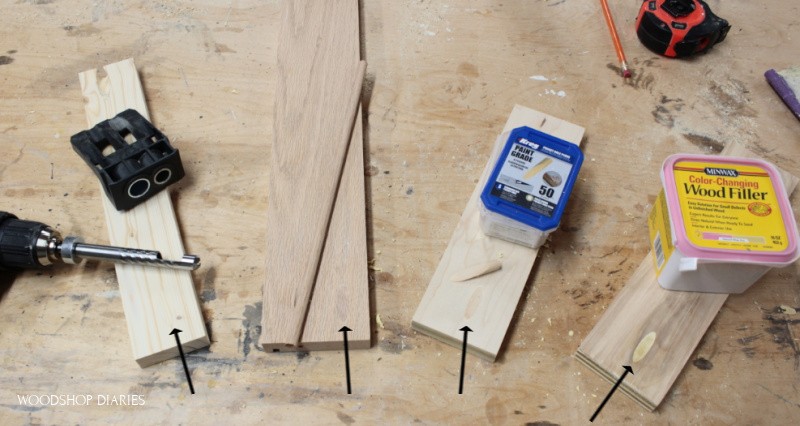
4 Easy Ways to Fill Pocket Holes
- Putty
- PreMade Plugs
- Dowel Rod
- Cut Your Own Plugs!
There are pros and cons to each method, but I’ll discuss them each in detail below and make suggestions about when to use each one!
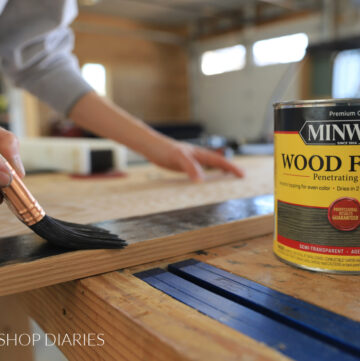
Method #1: Fill Pocket Holes with Putty
This is probably the cheapest and simplest option as it doesn’t require any special tools or materials besides regular ole wood putty.
Now, this method is fairly time consuming as it usually requires multiple coats of putty since these are fairly big holes to fill. And, even with stainable wood filler, it will be pretty noticeable when stained.
.
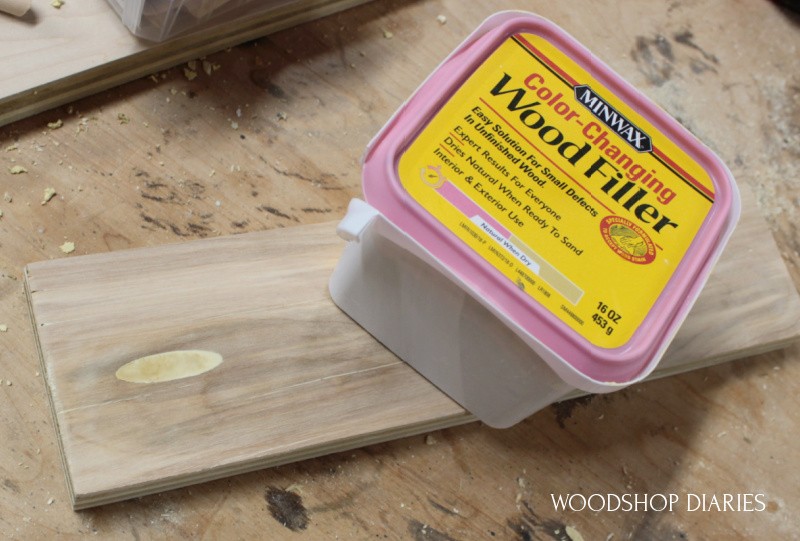
For that reason, I recommend this method mainly for painted projects. BUT, definitely test out different stains or finishes with different types of putties–you might find one that matches well…but I haven’t yet.
How to Fill a Pocket Hole with Wood Putty
To fill a pocket hole with putty (any wood putty is fine, but I like this stuff), simply use your finger or a putty knife to press putty down into the hole. Fill the hole until the putty is slightly under surface level.
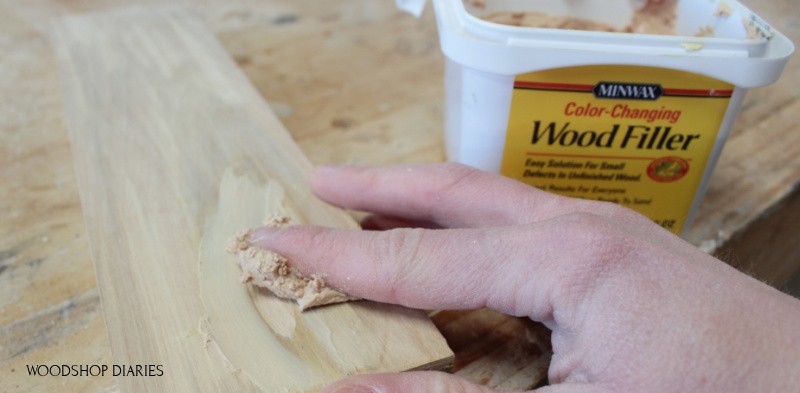
Let it dry completely, then come back and sand lightly to smooth out the surface.
.
Apply a second coat, this time making sure the putty is slightly over surface level.
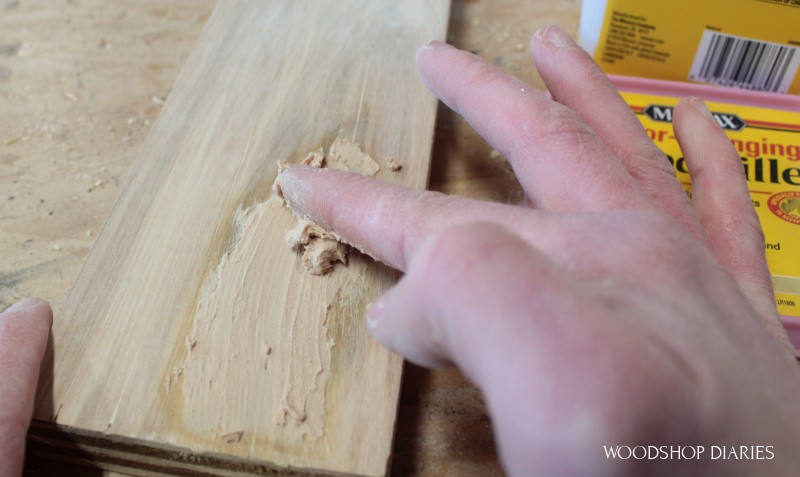
Once that’s completely dry, sand smooth with 120-220 grit sandpaper. You can sand by hand or use an orbital sander.
.
If there are dimples or voids left, you may need to apply another coat to smooth it out completely.
Pros & Cons to Filling Pocket Holes with Putty
Pros:
- Requires no special tools or materials
- Easy to apply
Cons:
- Time consuming (multiple coats)
- Doesn’t look great on stained projects
Method #2: Plug Pocket Holes with Pre Made Plugs
Kreg makes pre cut pocket hole plugs you can purchase to plug your pocket holes.
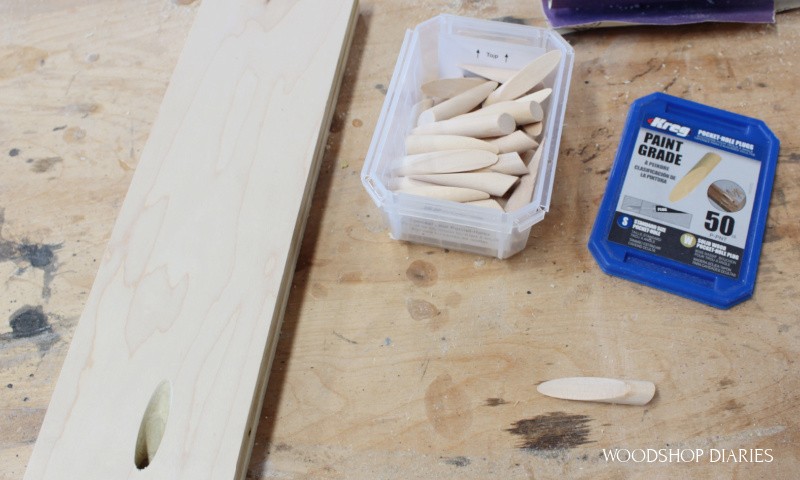
They come in various wood types so you can buy them to match the wood type you’re using if you plan to stain or leave natural.
.
But if you plan to paint, you can save money by using the paint plugs and not trying to match your wood type. That’s what I did here.
They can be a little pricey if you’re going to need a lot of them, but they are really convenient since they are precut.
.
Since you can buy matching wood types of these, they are more likely to stain and finish nicer than putty. Although, do keep in mind that since they may be the same wood type, it’s not from the same board, so the grain patterns won’t match EXACTLY.
How to Fill a Pocket Hole with Pre-Cut Plugs
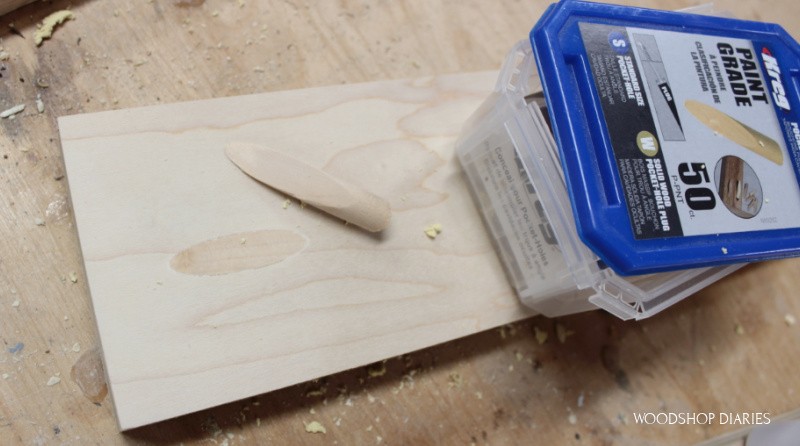
Roll a small piece of sandpaper and sand out the pocket hole a little to make sure it’s clean.
.
Apply wood glue around the pocket hole plug and slide it into the pocket hole with the flat side facing up.
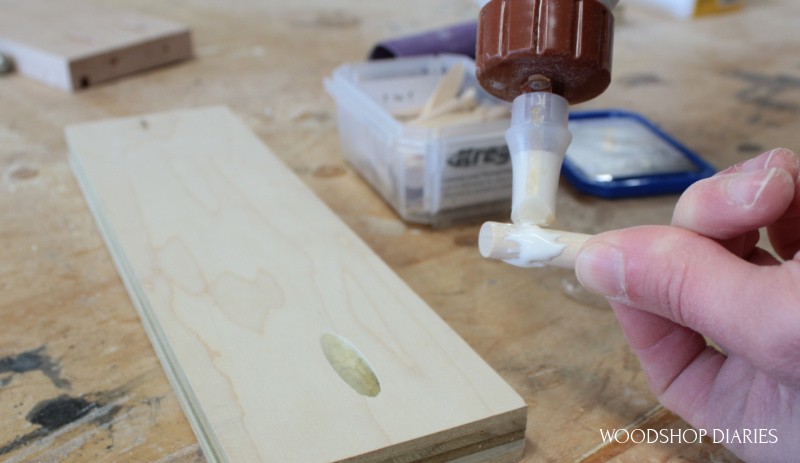
If it’s difficult to slide in with your hands, use a hammer and a scrap block OR a rubber mallet to tap it in as far as you can or until the flat part is flush with the surface of the board.

NOTE: These are the perfect size for 1 ½″ pocket holes, but will stick out a little with ¾″ pocket holes (in my experience). If it’s sticking out a little, that’s okay.
.
Wipe away any glue squeeze out and let dry. Once the glue is dry, if it’s sticking up past the surface, you can either sand it flush, OR use a flush cut hand saw or a flush cut bit in an oscillating saw to trim it down.
.
Sand off any remaining glue residue and if there are any small gaps or voids, you can fill with putty, then sand smooth.
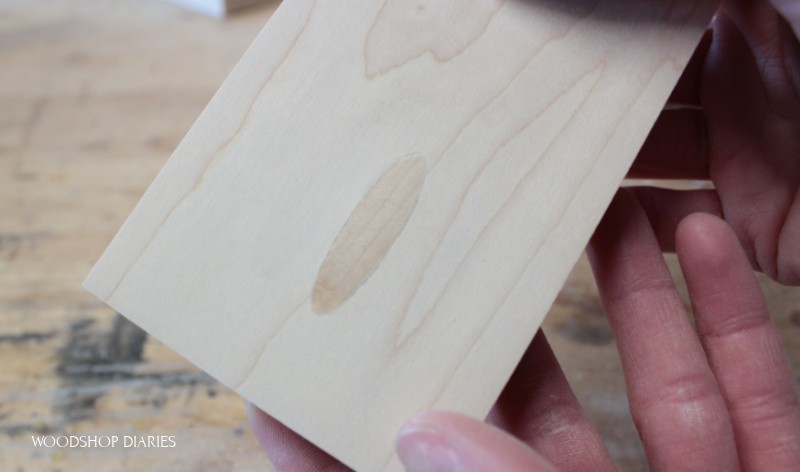
Now it’s ready for whatever finish you want to apply.
Pros & Cons to Using Pre Cut Plugs to Fill Pocket Holes
Pros:
- Comes in various wood types to match your project
- Great for both painted AND stained projects
- Easy to apply
- Quick
Cons:
- Can be a little pricey
- May require a flush cut saw (depending on the thickness of wood you’re using)
Method #3: Plug Pocket Holes with Dowel Rod
Standard pocket holes are ⅜″ diameter. So instead of purchasing precut plugs, you can use ⅜″ dowel rods instead.
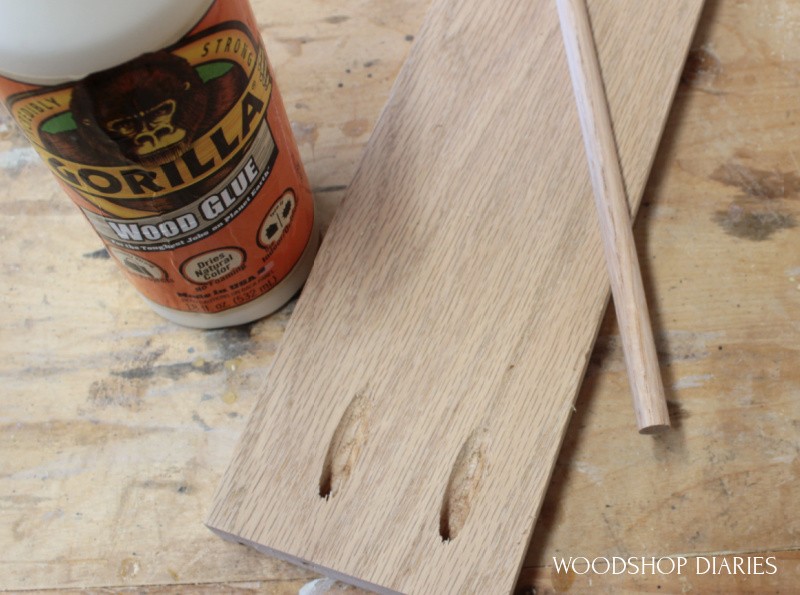
This is usually cheaper than buying pre cut plugs, BUT does require a flush cut hand saw or an oscillating saw with a flush cut blade.
.
Just like with plugs, if you plan to stain or leave natural, you need to use the same wood type dowel as you are using in your project. Use poplar dowels with poplar wood, oak dowel with oak wood, etc.
.
The downside to this is that not all wood types are readily available or easy to find as a dowel rod. Oak and poplar are usually kept in stock at the big box store, but walnut or maple may not be quite as easy to find.
How to Fill Pocket Holes with a Dowel Rod
Roll your sandpaper and sand out the hole to make sure it’s clean and smooth.
.
Apply glue into the hole.
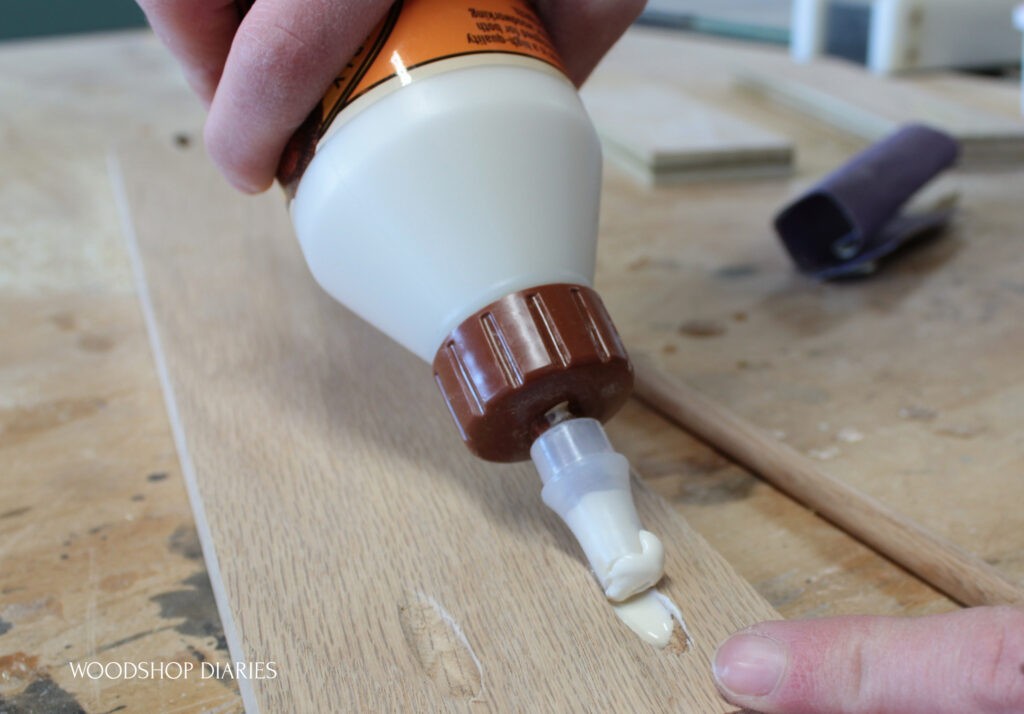
Slide the dowel rod into the pocket hole. This will be a tight fit. You may have to twist or wiggle it a little to work it down to the bottom of the hole.
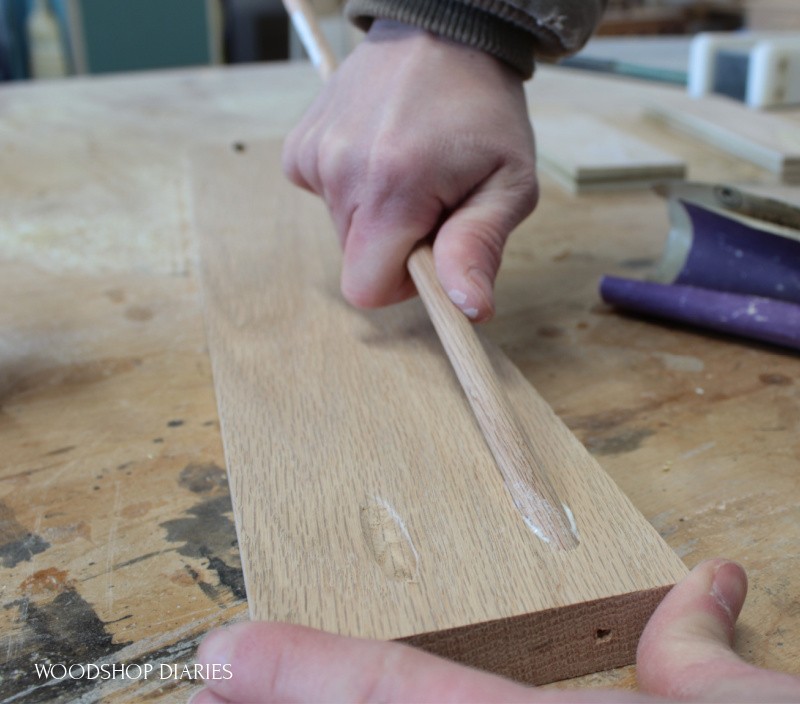
Leave until the glue is dry. Then, use a flush cut hand saw or oscillating saw with a flush cut blade and trim the dowel rod off flush.
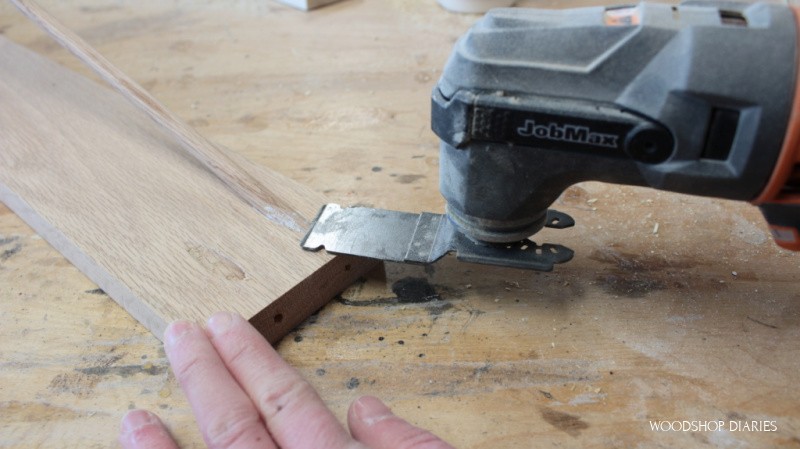
Sand smooth and fill any small gaps or voids with wood putty if needed.
Pros & Cons to Using a Dowel Rod to Fill Pocket Holes
Pros:
- Dowel rods are inexpensive
- Quick and Easy
- You can match the wood well
Cons:
- Requires a flush cut saw of some kind
- May be difficult to find dowel rods in some wood types
This method is great for stained projects as the color usually blends pretty well.
Method #4: Make Your Own Pocket Hole Plugs
This method is just like using precut pocket holes EXCEPT, this time, you cut your own plugs from your own lumber.
.
Now, this method involves some upfront investment to purchase a plug cutting kit, BUT if you use a lot of pocket hole plugs, it will pay for itself in the long run since you wont be buying plugs anymore.
.
Plus, it’s kind of fun to drill these out and since you’re cutting plugs from the same wood you’re using in your project, it should theoretically match really well.
.
Kreg makes plug cutting kits that can be used with the K4, K5, and new 720. Make sure the one you purchase will work with the jig you have. They come with a drill bit for plugs that fit standard pocket holes.

If you want micro or HD sized plugs, you need to buy that specific drill bit. You can find the HD plug cutting bit here and the micro plug cutting bit here.
.
Learn more about the new 720 Kreg Pocket Hole Jig and other great pocket hole jig options for your workshop in this post!
.
When you purchase the plug cutting kit, you get the drill guide (that fits on your existing K4, K5 or 720 pocket hole jigs), the plug cutting bit and a stop collar.
How to Make Your Own Pocket Hole Plugs
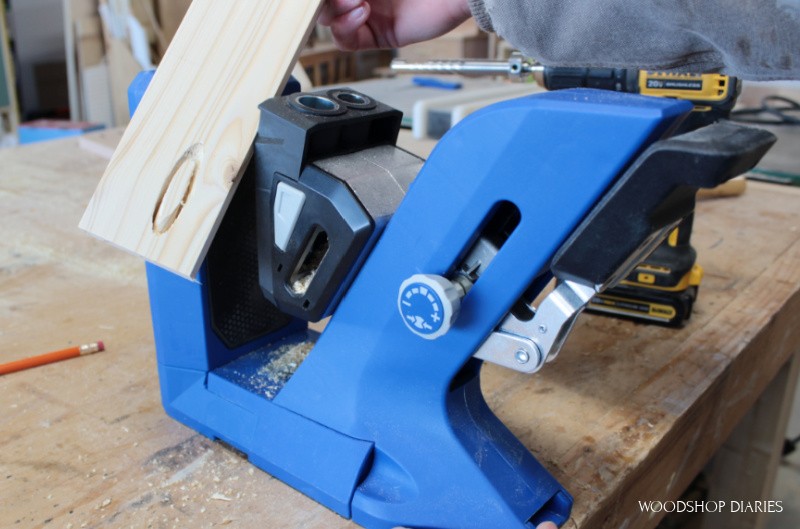
Simply remove the pocket hole drilling guide from your existing jig, and replace with the plug cutting drill guide. Shown here on the 720 Kreg Jig.
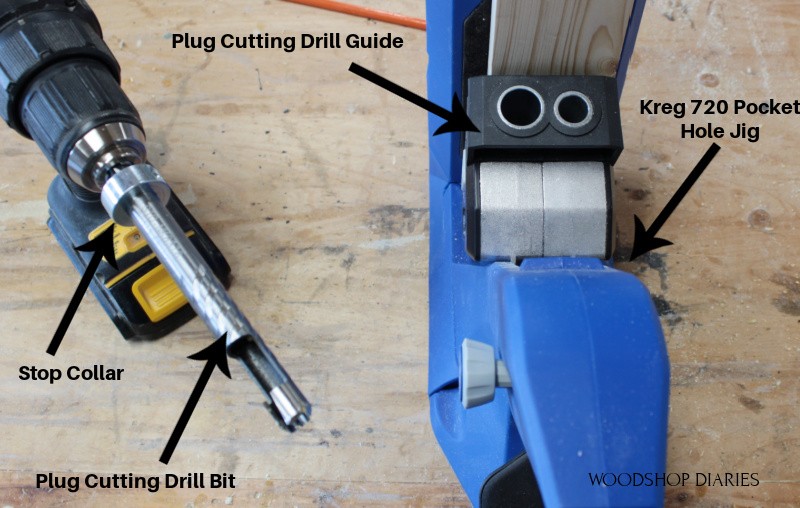
Install the stop collar on the bit as per the instructions included with the kit.
.
Clamp your wood into the jig and drill. Insert the bit into the correct hole (for standard and micro size, use the smaller hole and for HD size, use the larger hole) and bring it to full speed BEFORE contacting the wood. This will help prevent chipping and tear out.
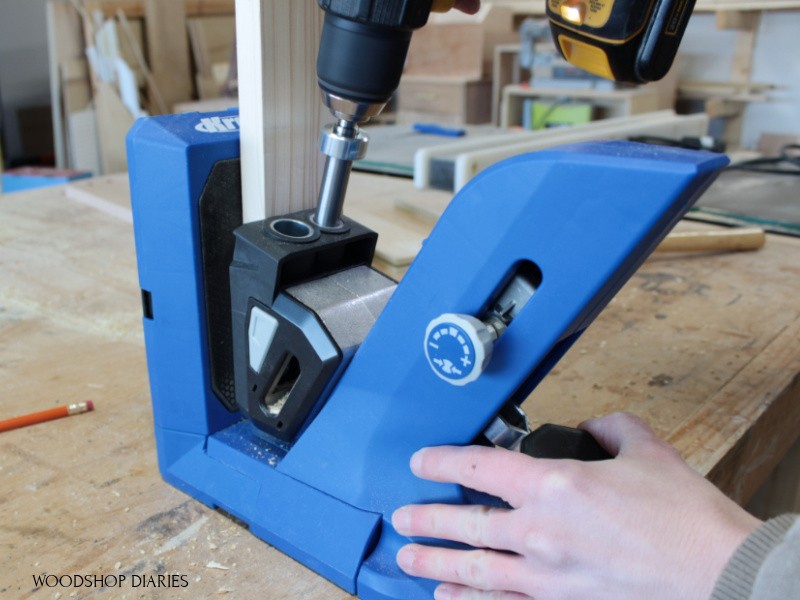
I recommend using ¾″ material for this.
.
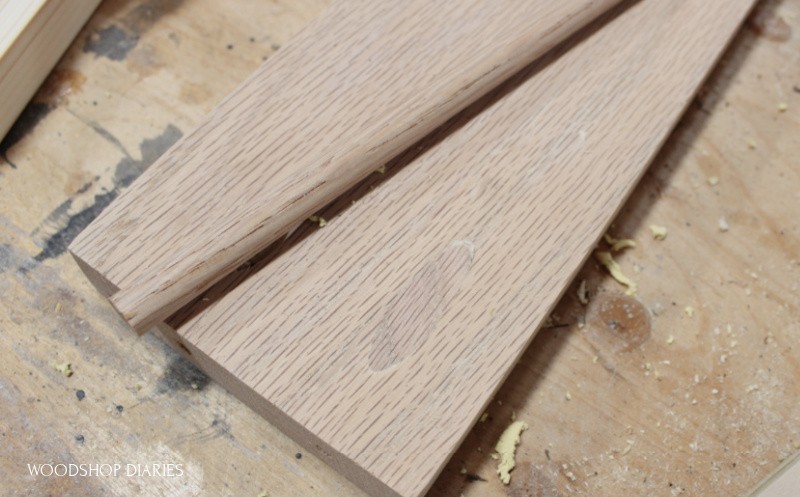
It’s best to cut a piece from the same board you’re plugging (if possible) to use for this as it’s most likely to have the most similar grain patterns and match better. But, if that’s not possible, at least match the wood type.
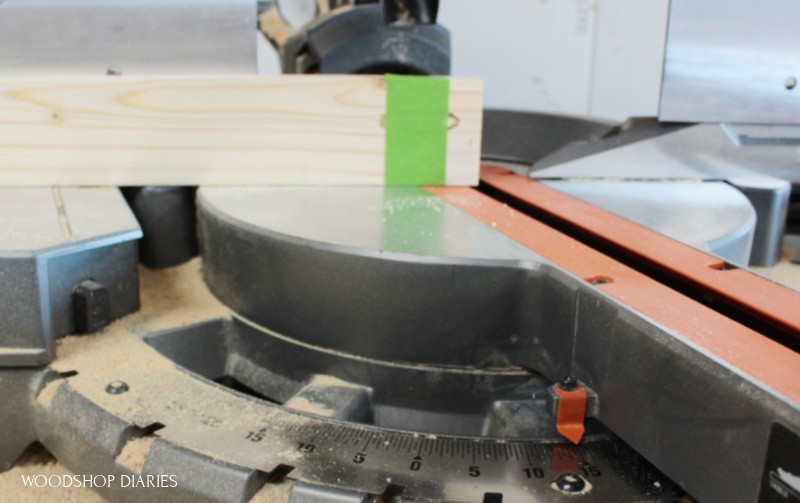
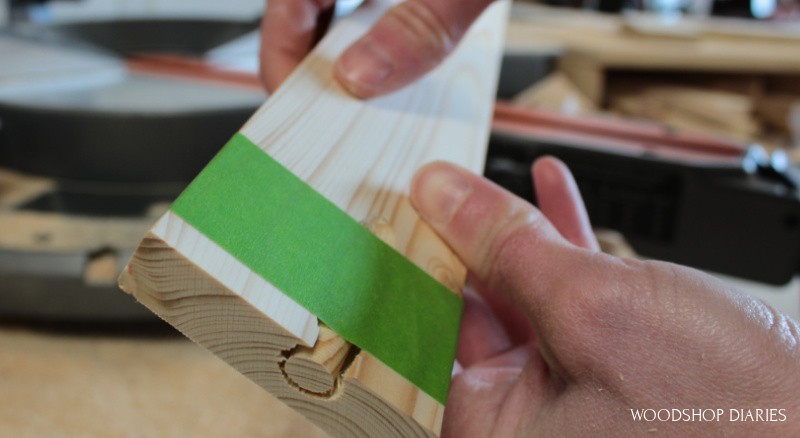
Once the plug(s) are cut, you need to cut them free at a 15 degree angle. Use painters tape to hold the plugs in place while you cut them free.
.
You can either cut these on a miter saw, table saw, band saw, or even a jig saw, but you need to angle the blade 15 degrees. Here, I used my miter saw set to miter 15 degrees.
Cut the end of the board off to free the plugs. I like to cut a little at a time until they are free so as not to cut off too much.
Now, simply glue and plug just like Method #2 above.
Pros & Cons to Making Your Own Pocket Hole Plugs
Pros:
- Can match wood type and grain patterns by cutting plugs from same board
- Pays for itself if you use a lot of pocket hole plugs
- Plug cutting kit attaches to existing pocket hole jigs (K4, K5, 720 jigs)
- Can cut plugs as needed–no need to keep plugs or dowel rods on hand
Cons:
- Requires upfront investment to purchase the plug cutting kit
- Requires use of an existing pocket hole jig (if you don’t already have the K4, K5, or 720, that would be an additional investment you’d have to make to use the plug cutting kit)
- Requires a saw to cut plugs free after they’re drilled out

I’d recommend making your own plugs for workshops that already have a pocket hole jig compatible with a plug cutting kit and that use a lot of pocket hole plugs.
.
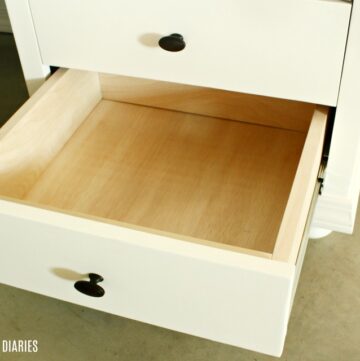
This is probably the best method for stained or natural wood finish projects as it will usually provide the closest match and blend in the best (see image above).
Final Thoughts on Plugging and Filling Pocket Holes
Plugging exposed pocket holes in your projects is one of those tasks that isn’t really exciting to do, but it will make a huge difference in your finished product.
RELATED: Check out these 5 secrets to more professional looking DIY furniture!
.
For stained or natural finish projects, it’s best to use methods 1-3 (find pre cut matching plugs, matching wood type dowels, or cut your own plugs) as these will provide the best visual results.
.
But for painted projects, putty or paint grade plugs will save you a few bucks and give you a great result.
.
I hope you found this guide to filling pocket holes helpful and if you’re looking for more info on pocket holes, check out these posts:
- How to use a pocket hole jig
- Which pocket hole jig is best for your shop?
- 7 common pocket hole mistakes you may be making
If you’d like to save this guide for later, don’t forget to pin it! And if you want to stay up to date on the latest projects and posts from Woodshop Diaries, be sure to sign up for our newsletter below!
Until next time, friends, happy building 🙂