I recently showed you all the beginning of my laundry room remodel. But, I still had to make shaker cabinet doors for the big cabinet that I built. And while I was at it, I needed to make two doors for a cabinet I have been working on for a friend.
.
These are simple “shaker style” cabinet doors and are not very expensive to make, but I warn you–they are a little time consuming. BUT, they are simple and I’ve got you covered with the how-to 🙂 (PSSST! This post shows how I USED to make cabinet doors. I recently started using a different technique to make doors and you can check that out here.)
.
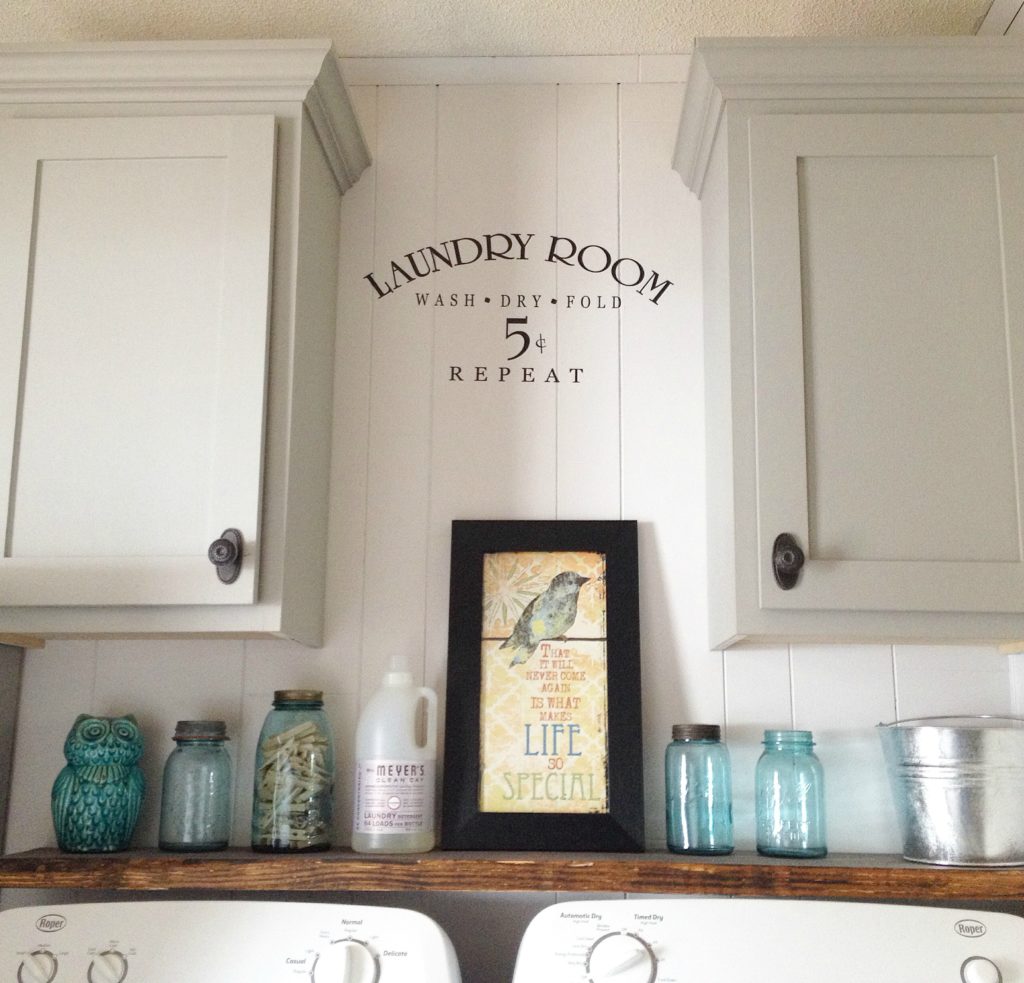
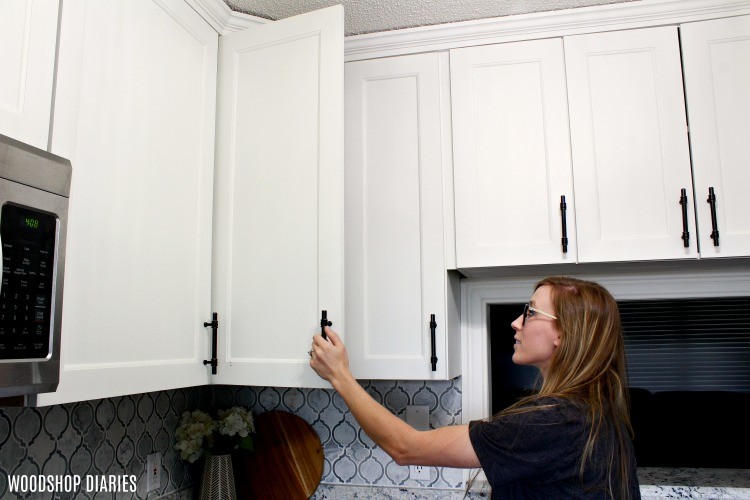
But first, take a look at them on my laundry cabinets I made. Cute, right? I LOVE shaker cabinet doors–they’re simple and elegant and cheap to make. Saving some $$$ is always a good thing 🙂
This post contains affiliate links. If you purchase from one of these links, I may receive a small commission at no extra cost to you. Thank you for supporting this site so I can continue to provide free content. See disclosure policy for more details.
First, you will need:
1×3 boards for the frames
¼″ plywood for the panel
Kreg Jig & 1 ¼″ pocket hole screws (optional)
Sand paper
Table saw
Miter or chop saw
Clamps
.
Because I was painting, I used spruce (or whiteboard) planks for the frames and luan for the panel (it’s like the cheap of the cheap ¼″ plywood). If you want to stain, I recommend getting a hardwood or a very smooth pine plywood and matching wood type 1x3s.
.
I ripped 1x6s on my table saw to make the 1x3s, but you can buy 1x3s at the local home improvement stores already cut.
.
Okay, now to the how to…
Step 1: Cut shaker cabinet doors frames
I’ve got a detailed explanation of how to determine your door size in this post. For this particular tutorial, take the total width the door needs to be and subtract 5″. (NOTE: Make sure your 1x3s are actually 2 ½″ wide. This is standard, but make sure you double check. If it isn’t, then subtract 2 x the width of your 1×3 instead of the 5″ I said earlier.) Cut two 1x3s this length.
.
Next, take the total height the door needs to be and cut two 1x3s this length.
.
Cut these frame boards for all the doors you need to make so you can do the next step with all the boards at one time.
Step 2: Cut dadoes in the frames
Now, I usually set up my table saw to cut dadoes for the inside panel. You could also use a router for this step, but I figured the table saw was easier to set up for this.
.
If you have a dado blade, it will save you time, but you can also do it this way without one.
.
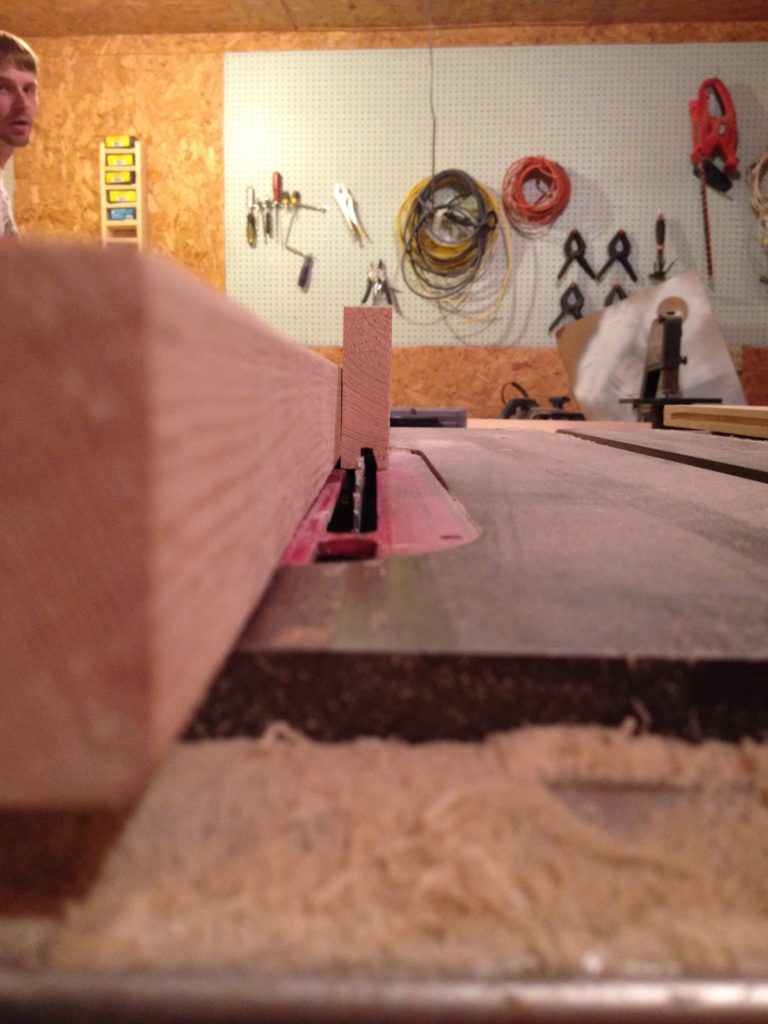
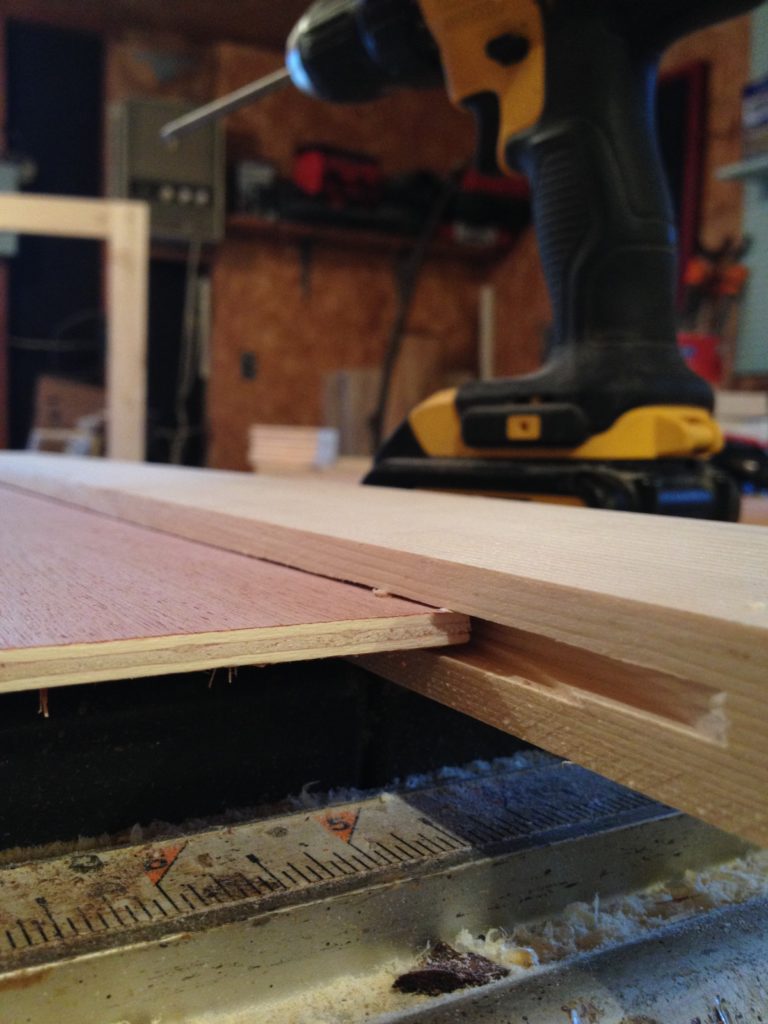
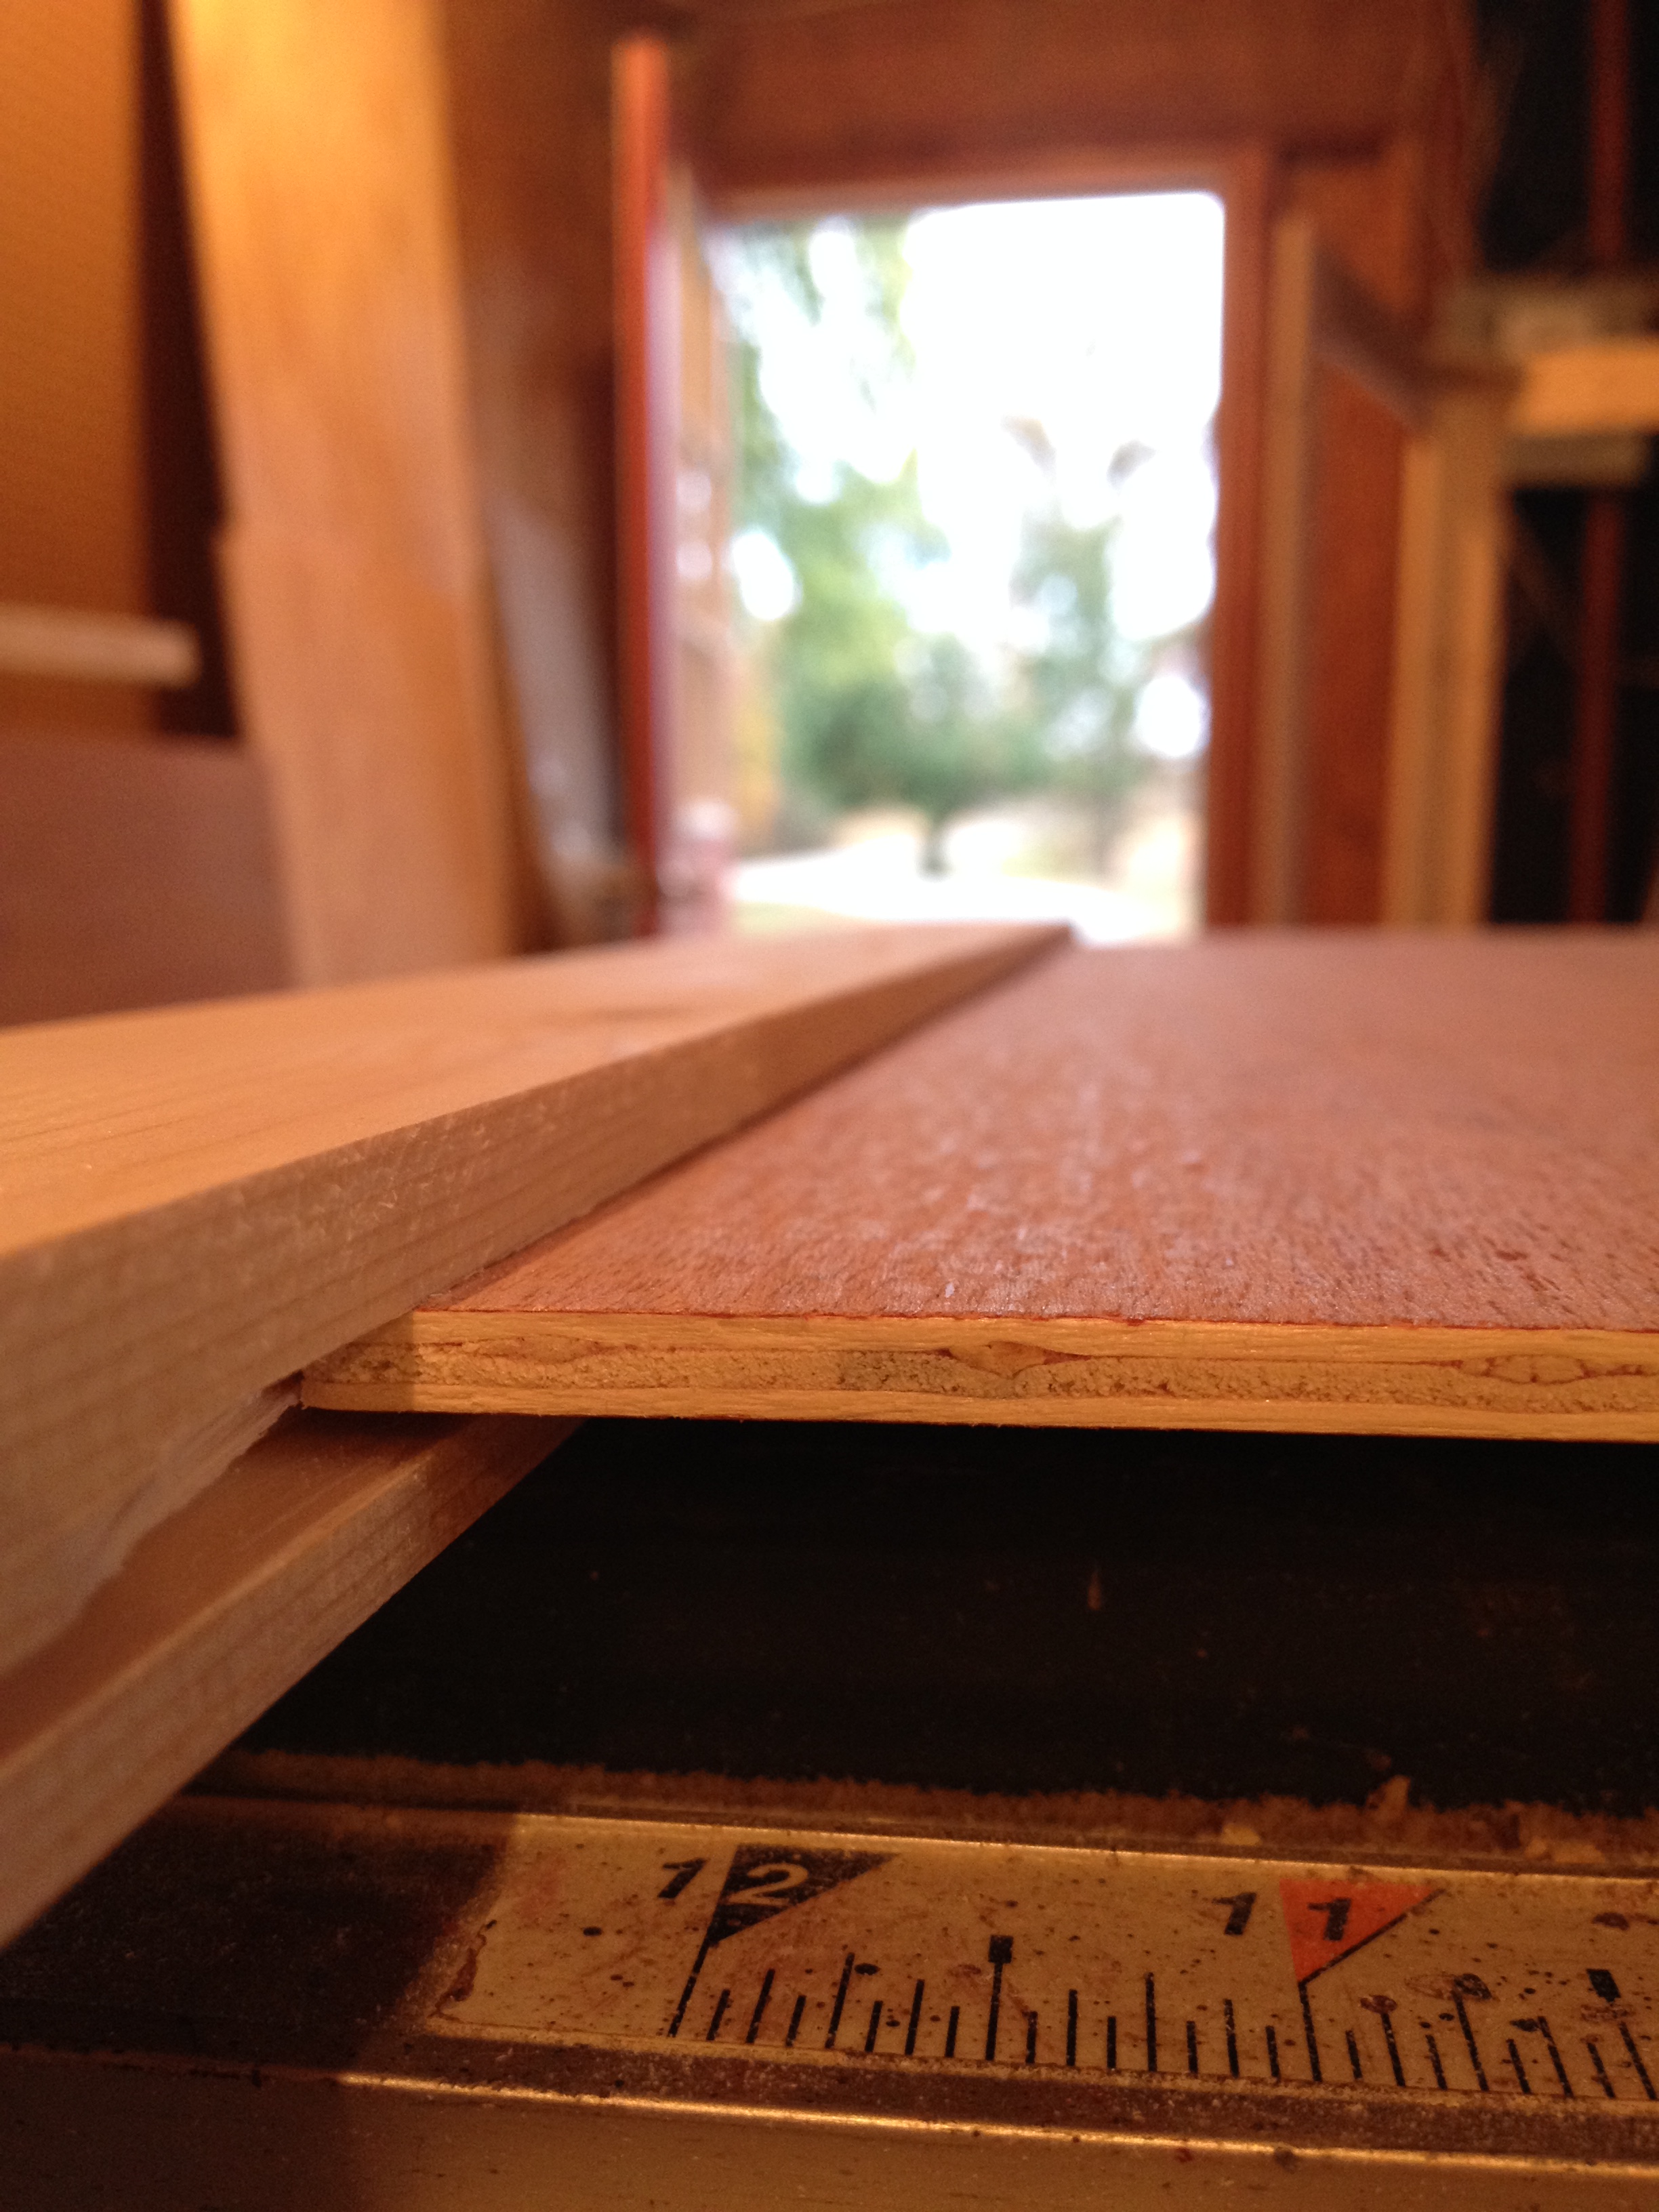
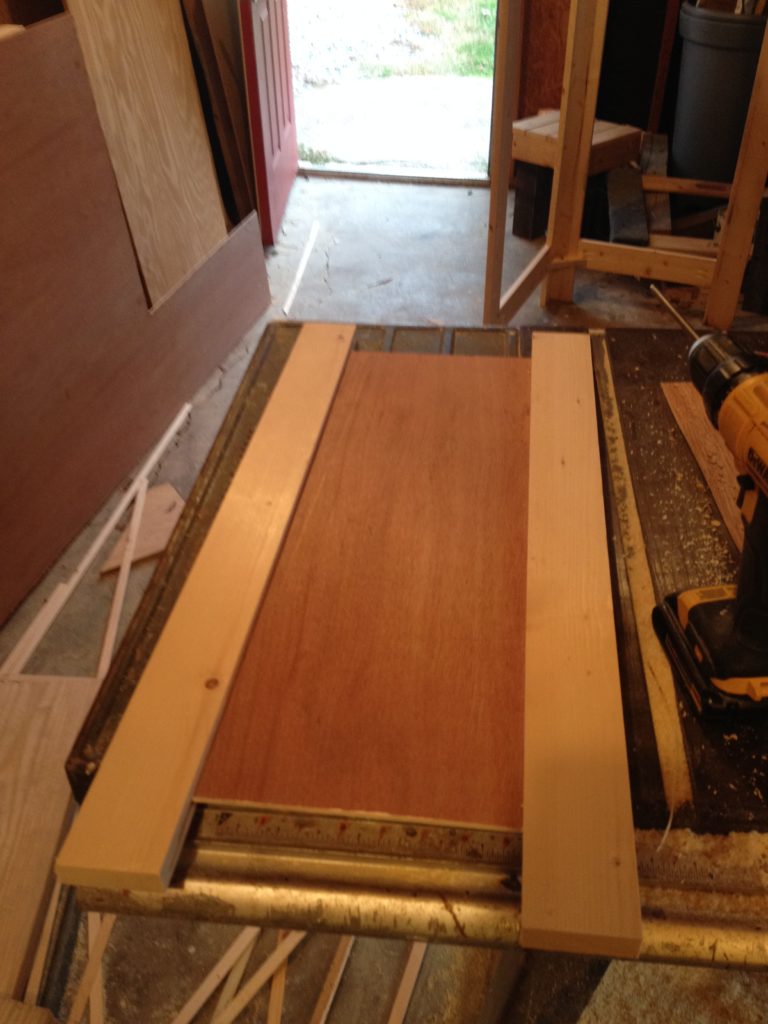
I like to place a piece of ¼″ plywood flat next to the blade and adjust the height until it is BARELY above the top of the plywood. I want the blade to stick up only about ¼″. I adjust the rip fence to about ¼″ to 5/16″ from the blade. My rip fence is broke, so we clamped a 2×4. You gotta do what you gotta do, right?
.
Look at Danny in this picture…I was going to crop him out, but I left him because he’s so funny. I’m sure he’s telling me to be careful taking pictures so close to the table saw even though it is off and the switch is on the other side of the table. He’s the safety manager around our house.
Anyway, I run all the short boards through the saw like the picture above–cutting all the way from one end to the other. Then I turn it around and run it through again so that when you are done, both sides of the board will have run along the rip fence.
.
Big picture: Basically, I need to cut a groove big enough to slide the ¼″ plywood in. The blade is ABOUT ⅛″ wide. I’m just trying to cut ⅛″ from the center on each side. Does that make sense?
.
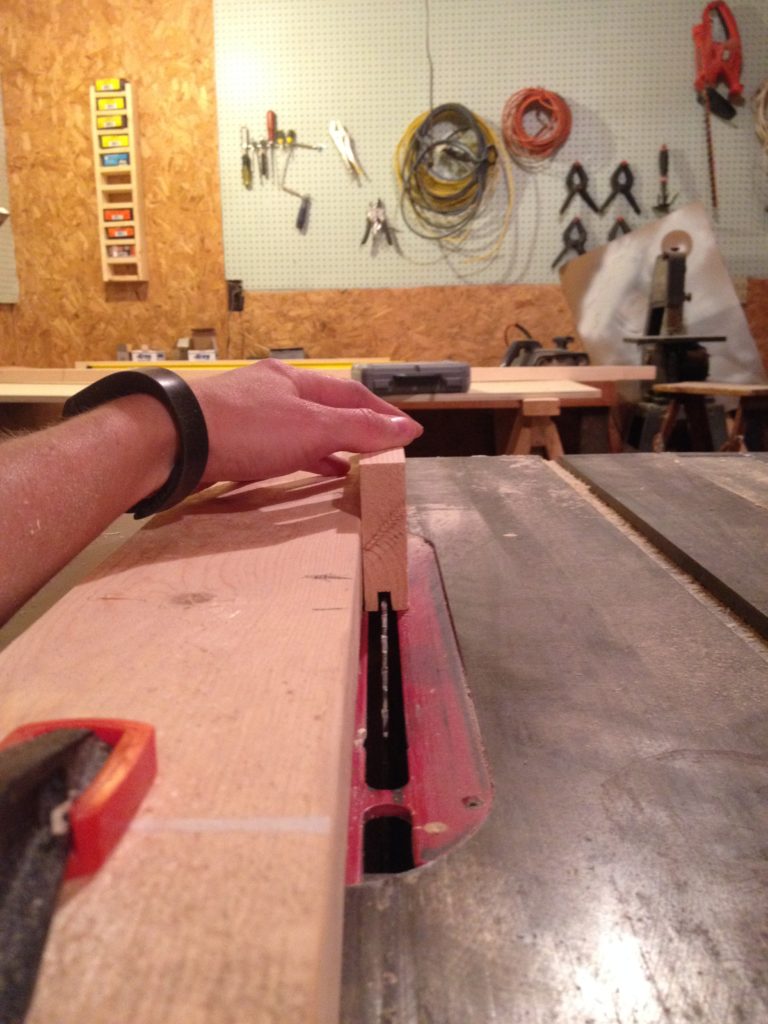
On the longer boards (the vertical sides of the doors), I don’t want to run them through all the way. I only want to cut the groove to an inch or two from each end. See picture below. We did this “trial and error style” until we found a good starting and stopping point. I say we because the safety manager was supervising 🙂
We made a mark on the 2×4 rip fence we were using to show us where to start and where to stop cutting. So I just carefully pushed the board down onto the blade and run through until I needed to stop, then lifted the board away from the blade.
.
I do this the same as the short boards…run one side, then flip and do the other. You can see the marks we made in the picture below.
I usually end up having to run the boards through on each side THEN adjust my blade again slightly to cut out a small section left in the middle. Just adjust and cut until your groove is large enough to fit the plywood.
.
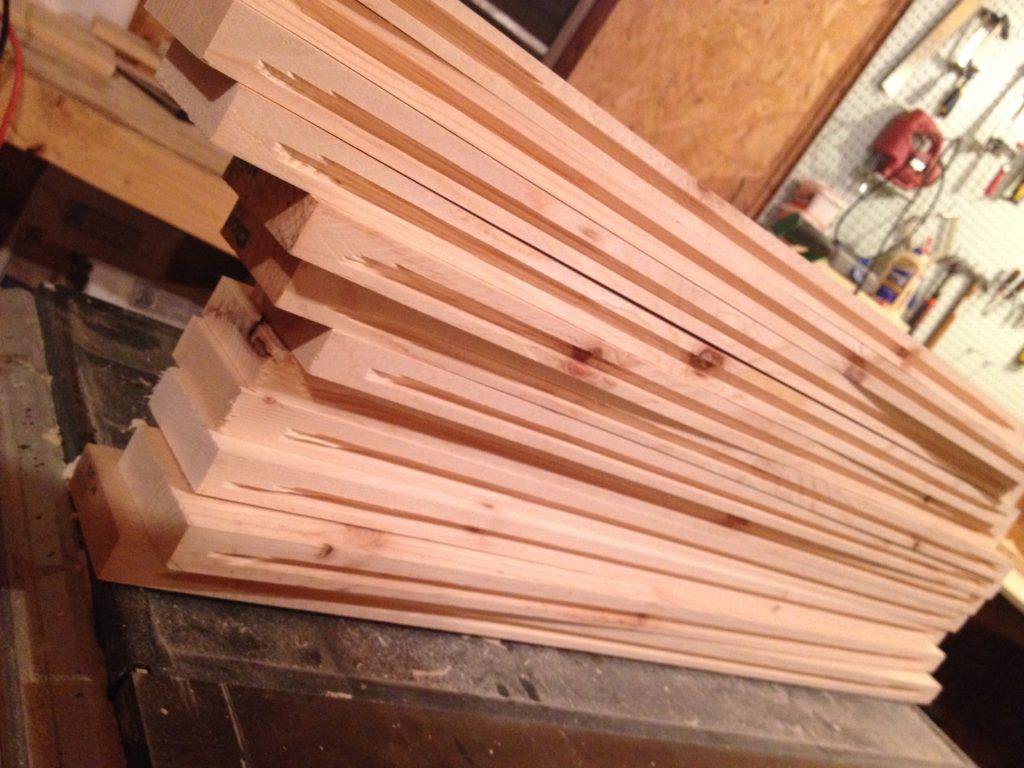
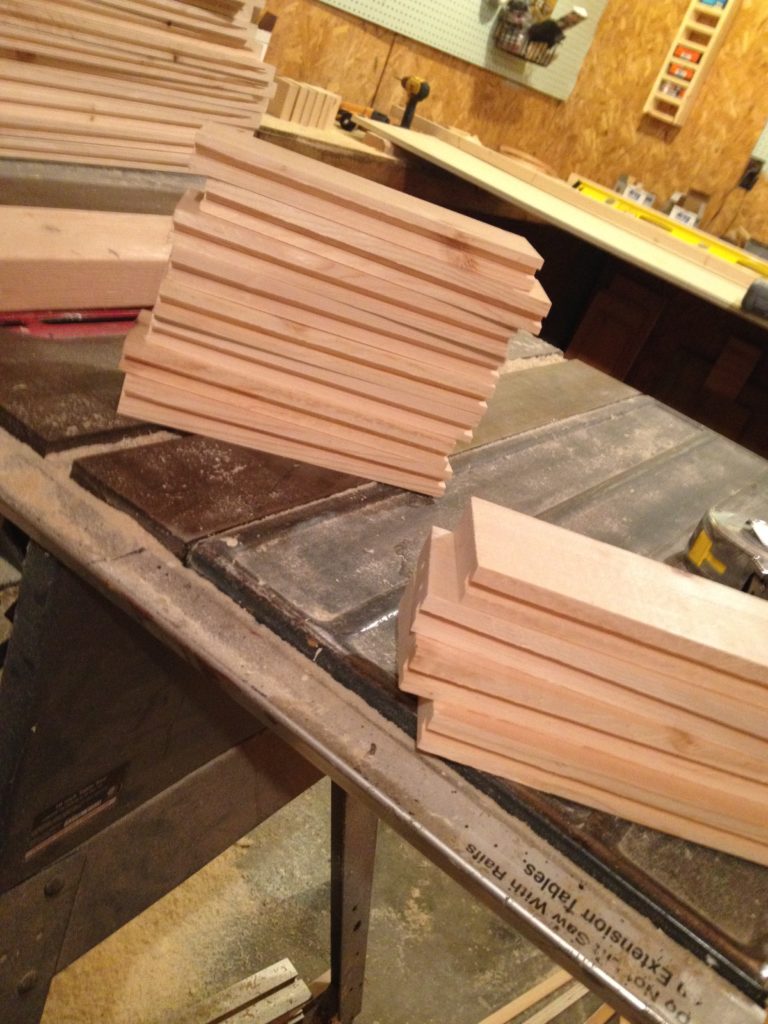
Then I have a ton of pieces that look like this:
Step 3: Cut panels for the shaker cabinet doors
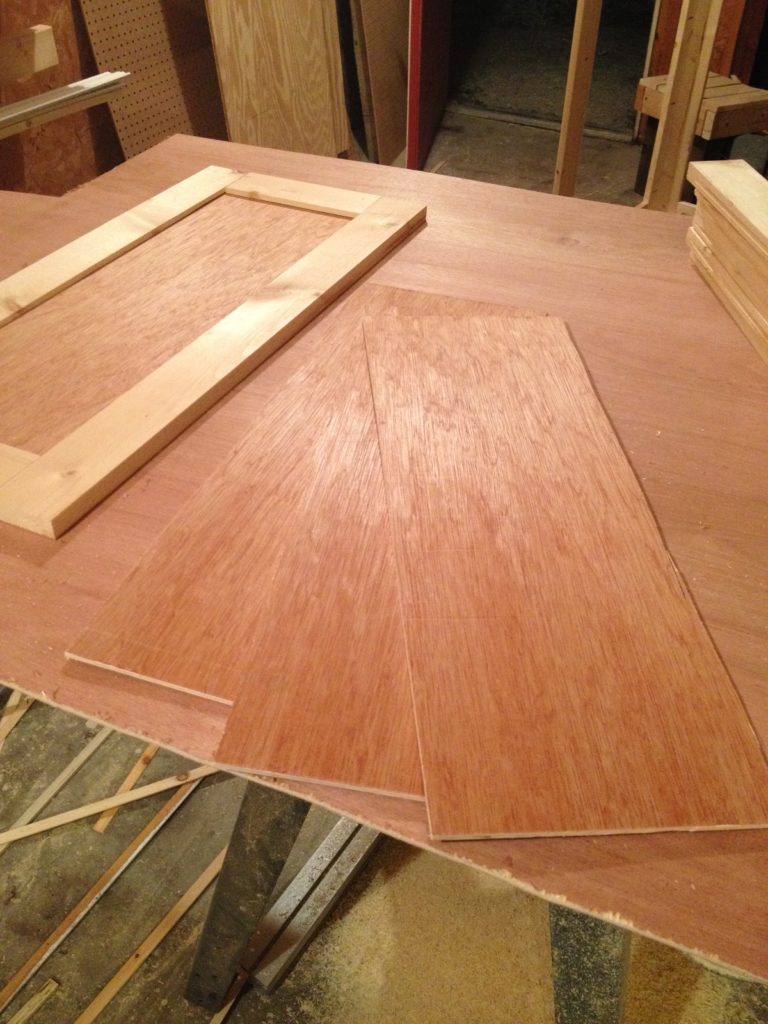
I cut the inside plywood panels as follows:
.
Width= (length of the top and bottom 1×3) +½″
.
Length: (length of the side 1×3) – (5″ OR 2 x 1×3 width if they are not 2 ½″ wide) + ½″
.
When I cut it, I make sure the grain in the plywood is going to run up and down on the door panel. It will look better this way. Before assembling, I dry fit it together to make sure everything will work.
Step 4: Glue Up Shaker Cabinet Door
Here I have two options: glue or screw. That is the question. You could also use dowels if you’d rather–that’s typically what I do lately.
.
To glue, place the plywood in the grooves of the sides and liberally squirt glue along the inside of the top and bottom (where the top and bottom 1x3s will go). Then slide the top and bottom 1x3s in place and clamp. Clamp tight, but not so tight that the door bows. Wipe excess glue off.
.
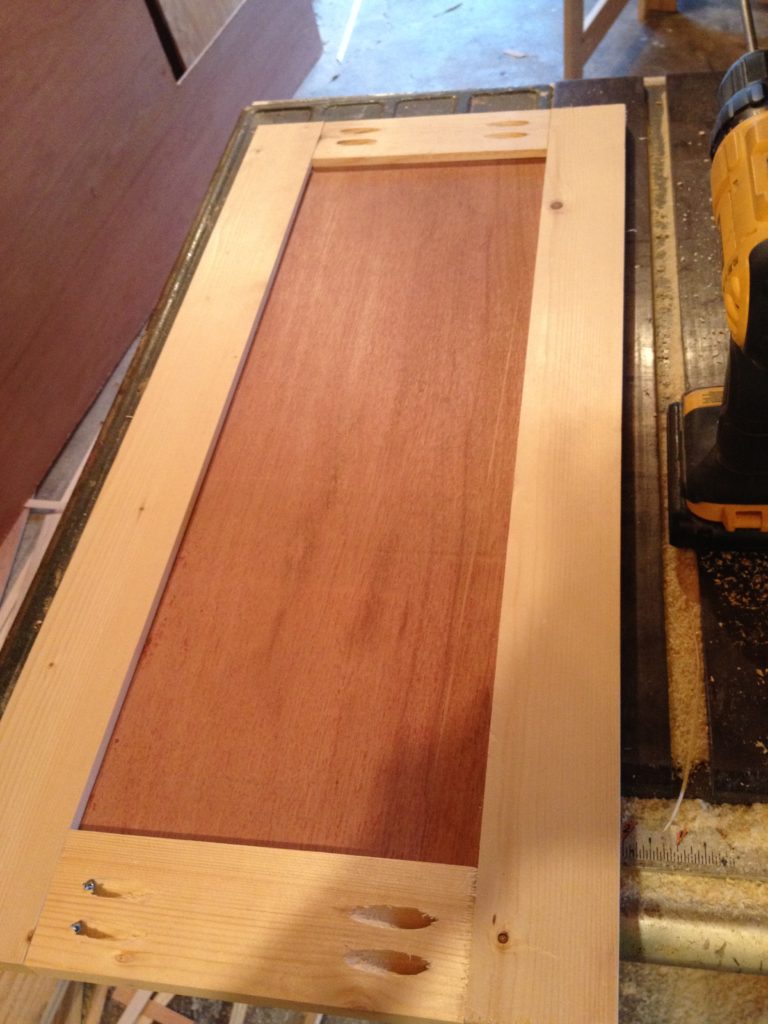
OR, to screw, you can drill pocket holes in the top and bottom pieces and screw in like the picture shows.
Allow the glue to dry (if you used it) and sand and putty (and sand again once the putty is dry) all the joints and the pocket holes (if you used pocket holes).
.
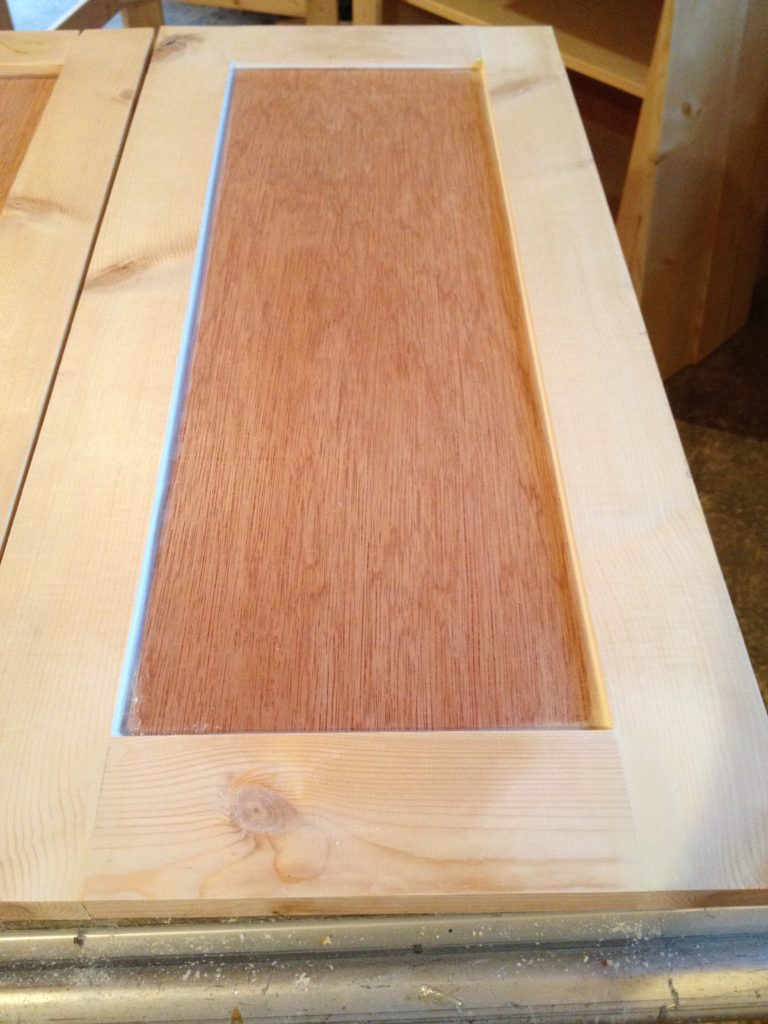
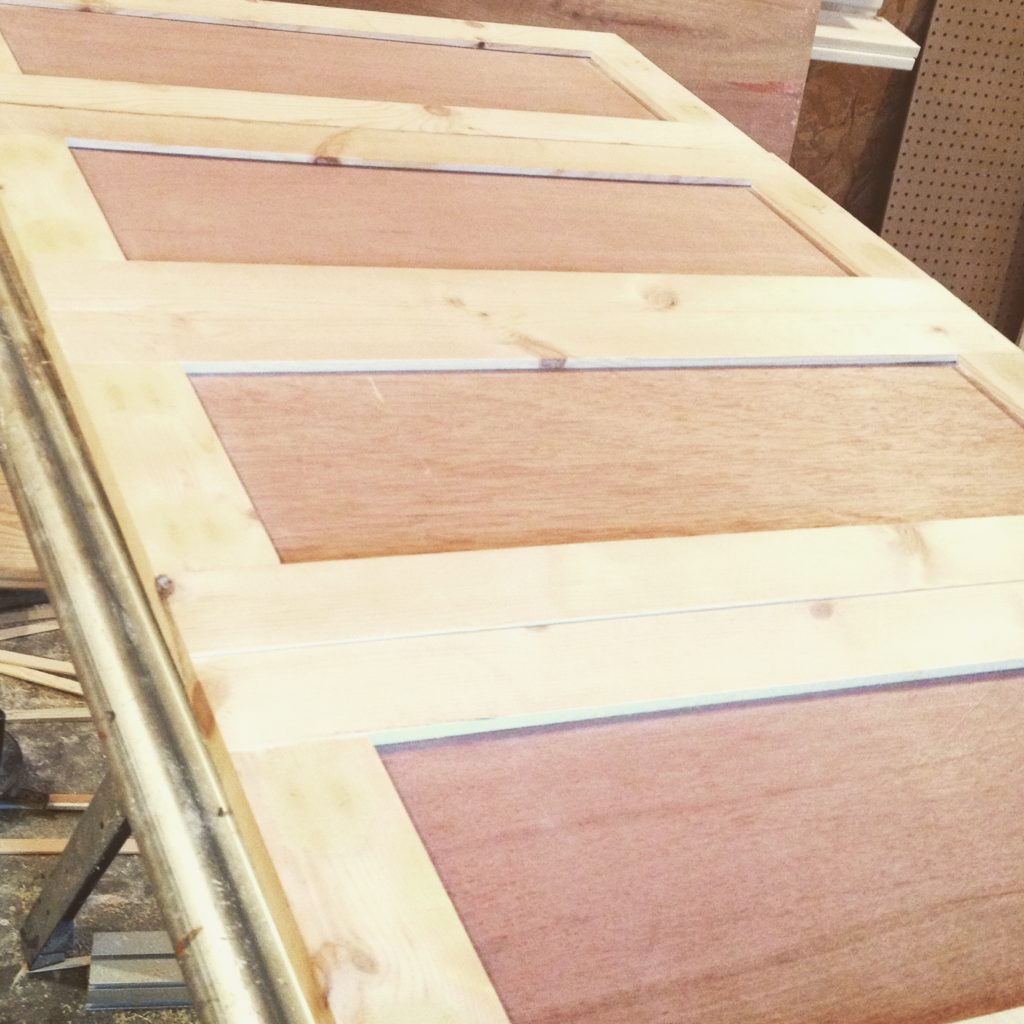
Also, if I am painting, I run a small bead of caulk along the inside corners of the front of the door where the plywood goes in the grooves. This serves two purposes–keeps the panel in place so it doesn’t slide around, and conceals any gaps and makes for cleaner painting.
It takes forever for the putty in the pocket holes to dry–be patient! Like the pot calling the kettle black–I’m the worst at patience!
Once the putty has dried, sand everything smooth and prime. I recommend two coats of primer (on both sides). I also recommend sanding after priming and before painting. Everything gets so much smoother and feels so much nicer.
.
Just a quick light sanding is all it takes. I wish I had taken my own advice when I redid my trim in my house. Trust me…I learn from my own experience.
.
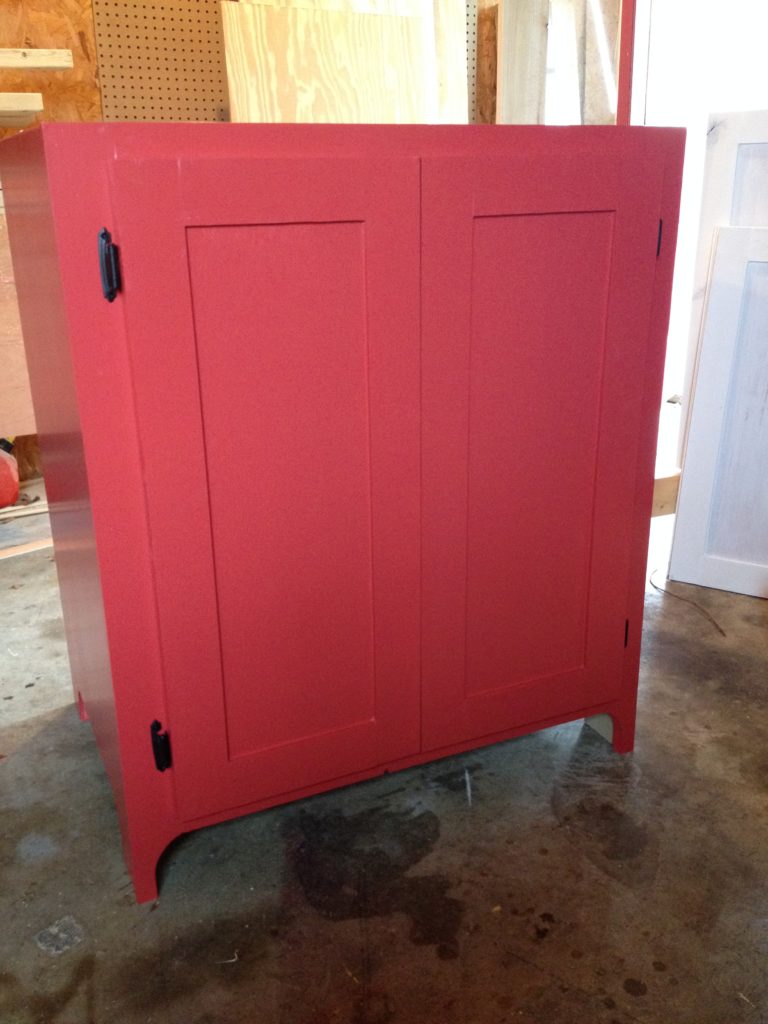
You can install using several different types of hinges, but I like to use concealed hinges lately because they have so many adjustment options. You can see how to install them in this post. Here are the finished doors for my friend’s cabinet. Looking good, right?
And here they are in my laundry room:
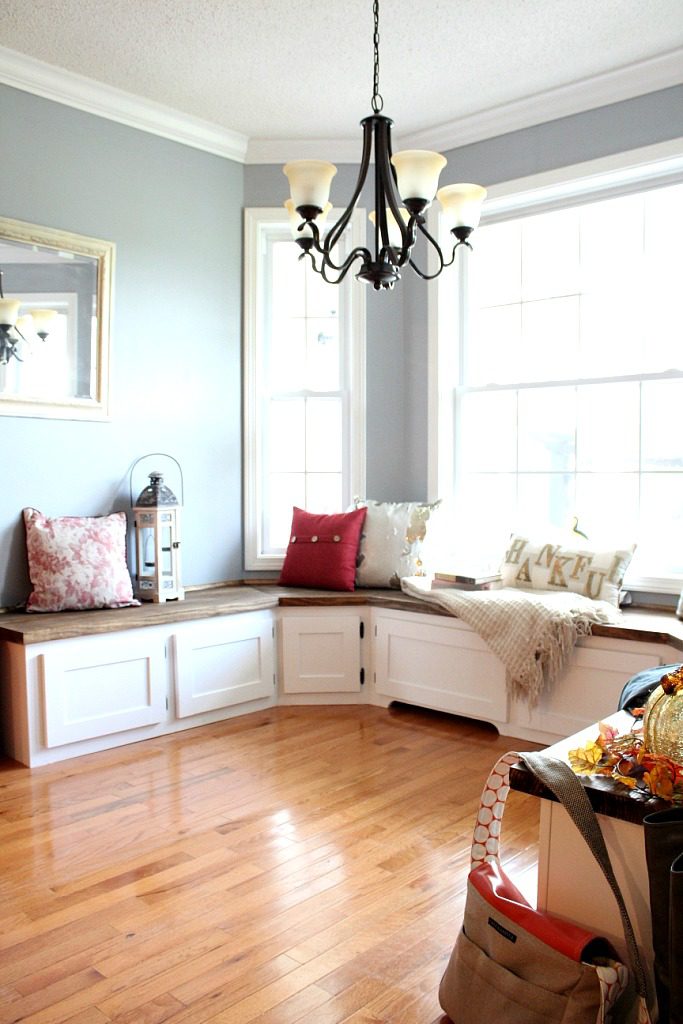
And on my mom’s built ins:
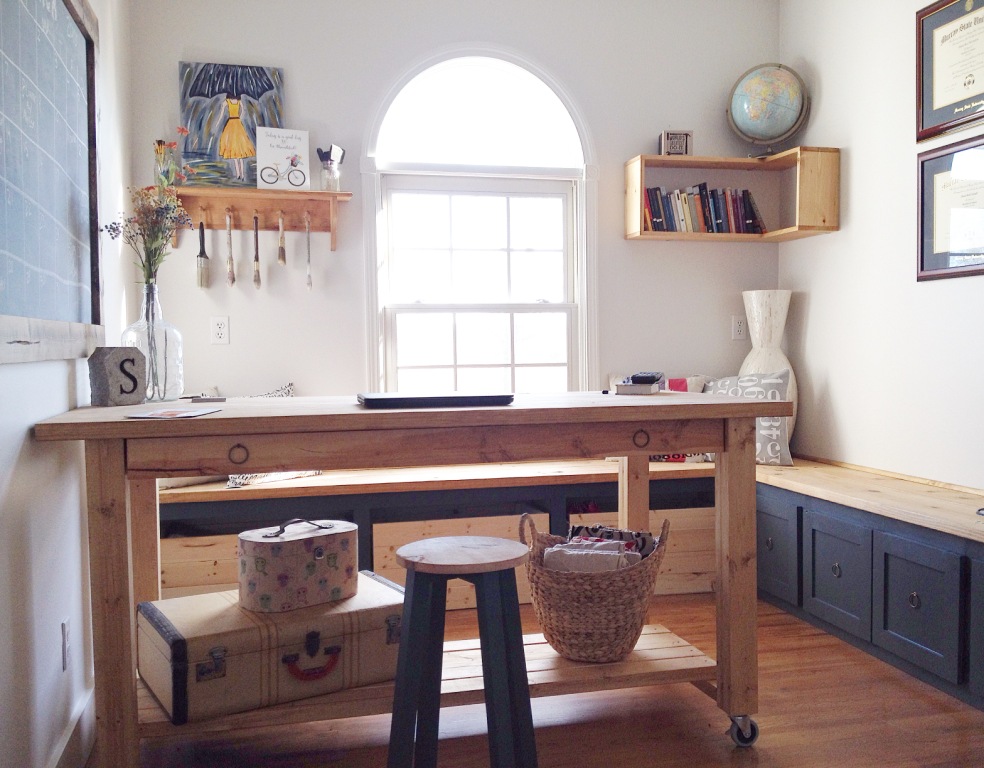
And in my office:
And I used the same technique for the drawer faces on this desk:
And on my friend’s side table:
I obviously make these doors all the time. Simple, stylish, and quick.
.
I know this is super long and detailed. I wanted to make sure I was clear on instructions. It’s a little time consuming, but it’s a rewarding project. Because now you can hide the mess in your cabinets with super cute doors that you made yourself for a few bucks 🙂
.
If you want to see a different way of making shaker cabinet doors, check out this post where I built new cabinet doors for my sisters kitchen.
Until next time, happy building! 🙂





How did you make and fit the hinges on the shaker doors.
That I think is also hard
Thanks
There are a million types of hinges you could use with these. You would install each a little differently. Usually they come with instructions for installation. But for the hinges I used in my laundry room cabinets, I just screwed them onto the back side of the door, lined it up on my cabinet opening and attached the hinges making sure I had even spacing around the door to the edge of the cabinet face frame.
I found your page today and I am so excited. I have always wanted to make drawers and cabinet doors but whenever I try I mess them up big time and get frustrated. I cannot find a good site with directions that are simple but turn out good. I have just about all the same tools as you so, kinda middle of the road. No huge shop but have a good little collection and understanding. I had just finished a outdoor propane fire pit for my patio here in California and so excited about it and easy to make. First time doing a concrete counter top 🙂 I will be on your site lots! Thank you
Awesome! I hope this post was helpful. I wrote it a long time ago and I need to go back and update it with better pictures. I feel like that with a lot of my older posts haha. I hope you find some other helpful posts on here and I hope you keep following along 🙂
Awed by your ability and gumption! One comment — may cabinet making neighbor told me to not use glue in the slots for the luann sheets, to allow the panels to shift as the frame wood expands and contracts.
Thank you! That is a good point. I do not glue my panels into the slots, either. I only glue the frame together and allow the panel on the inside to “float.” I try to cut the slots so that the fit is snug, so the panel will not move easily, but can move as the wood expands and contracts.