Sometimes you live with something for a while because it is convenient, but it’s not exactly what you wanted. And NO I AM NOT REFERRING TO SPOUSES! Although, when the shoe fits…..I’m kidding, I’m kidding. I love my hubs.
Speaking of shoes, I have a friend who has a lot of shoes. But, this is not the story of her shoes. Although, that may be a story worth telling….and it may be a story I will eventually tell. But not today. This is the story of her new ruby red slipper cabinet. I know, I said this isn’t about shoes. Ruby red slippers is the color I painted the cabinet I made for her. See how I tied all that in? I know, I need practice. But she’s actually using the cabinet to store a microwave. Totally not the same thing as shoes.
So back to the introduction…she had a cabinet for her microwave for several years, but it wasn’t really what she wanted. However, it was convenient and buying something new wasn’t.
She asked me to make her something to replace this old cabinet with. First, she wanted a pantry. Then maybe some type of hutch, then we settled on a small cabinet with floating shelves. So before her mind changed again, I started building haha. Just like my sister and her faux fireplace.
I made the overall dimensions 30″ wide, about 35″ tall and about 21″ deep. It just fit perfectly in her space.
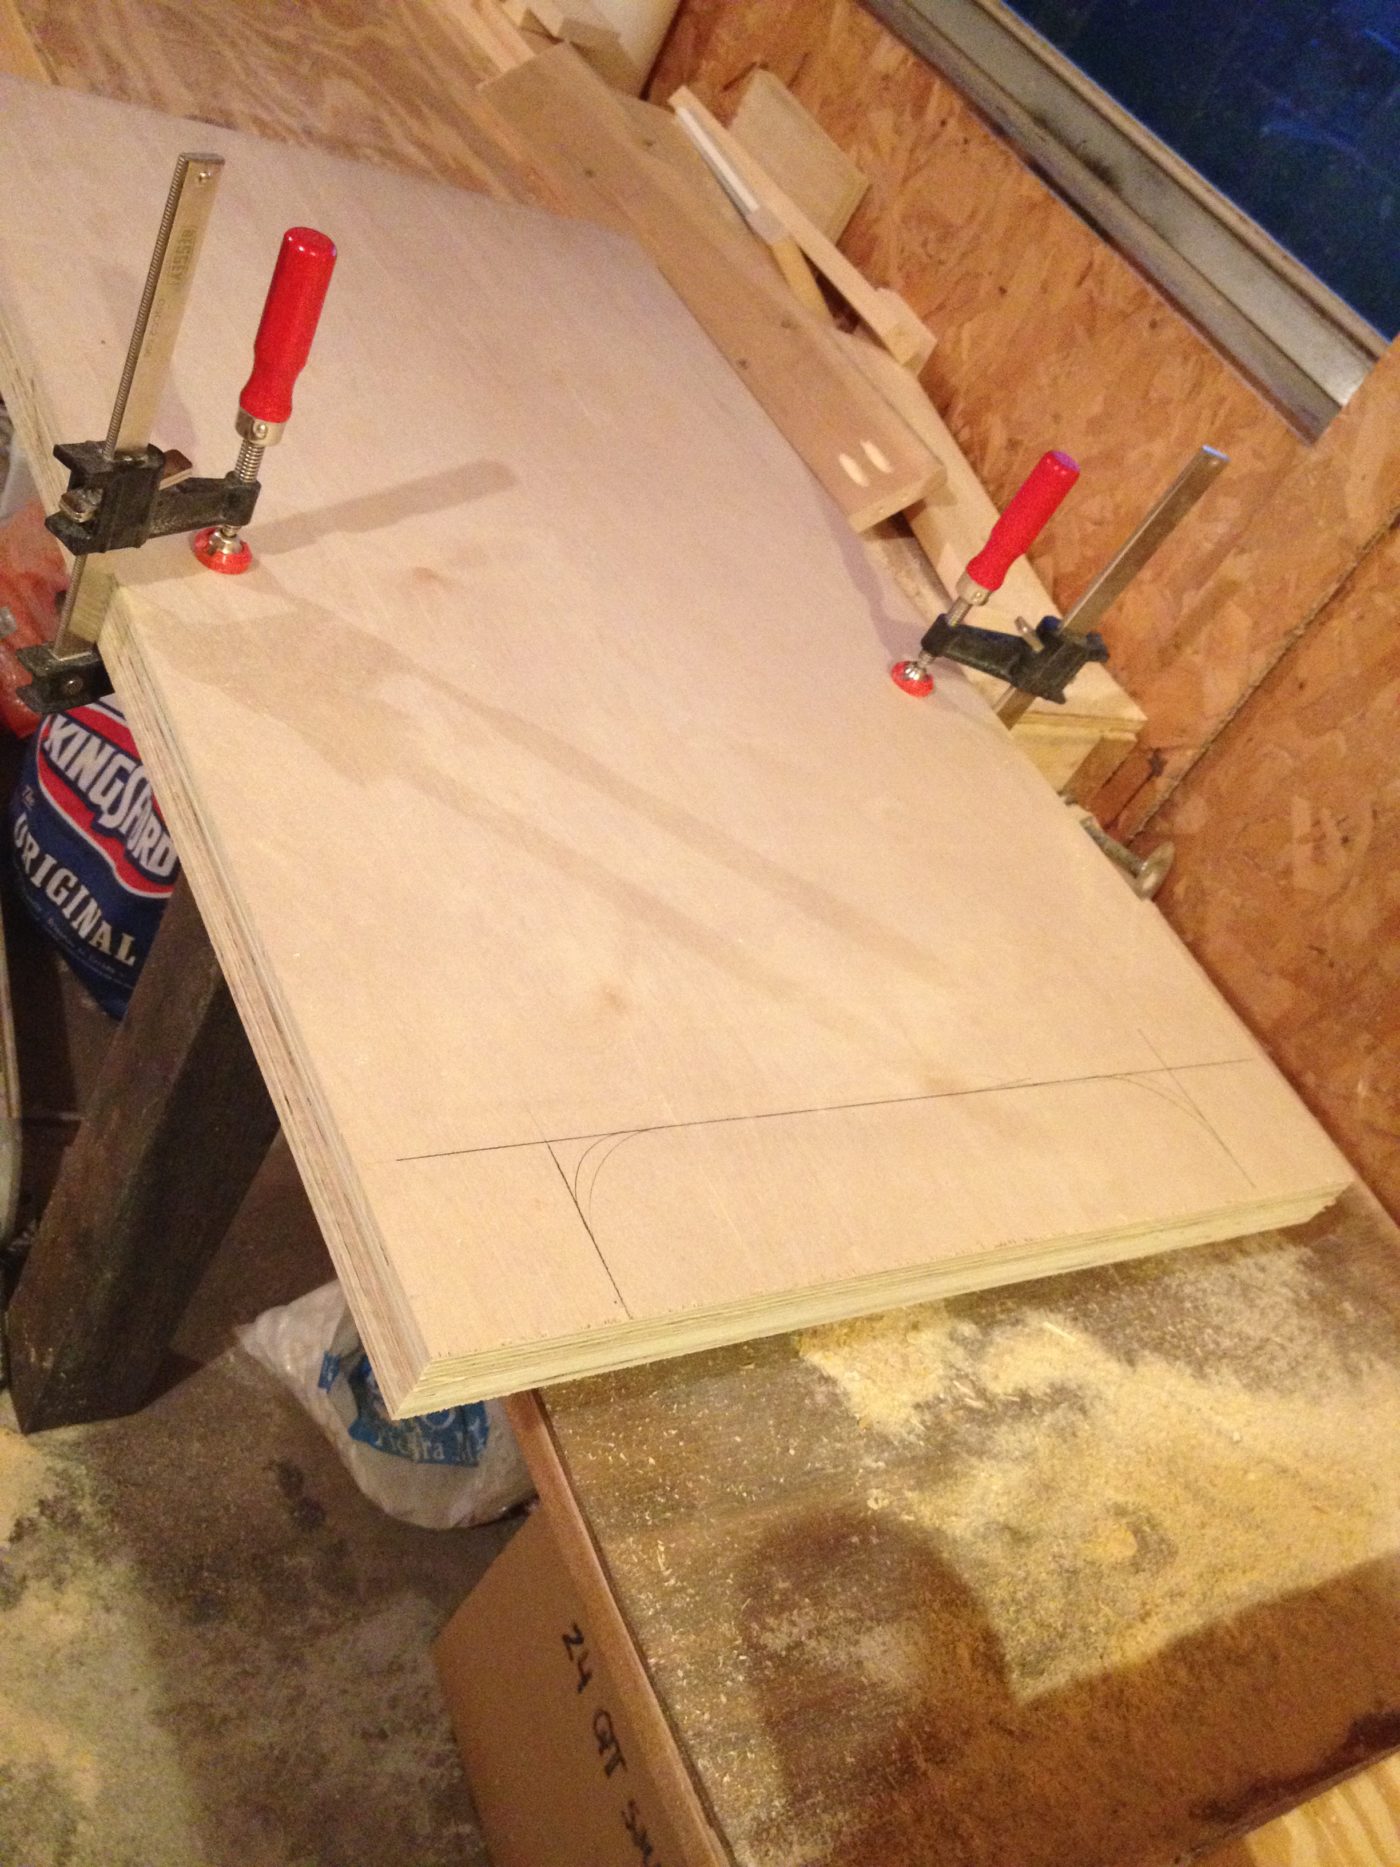
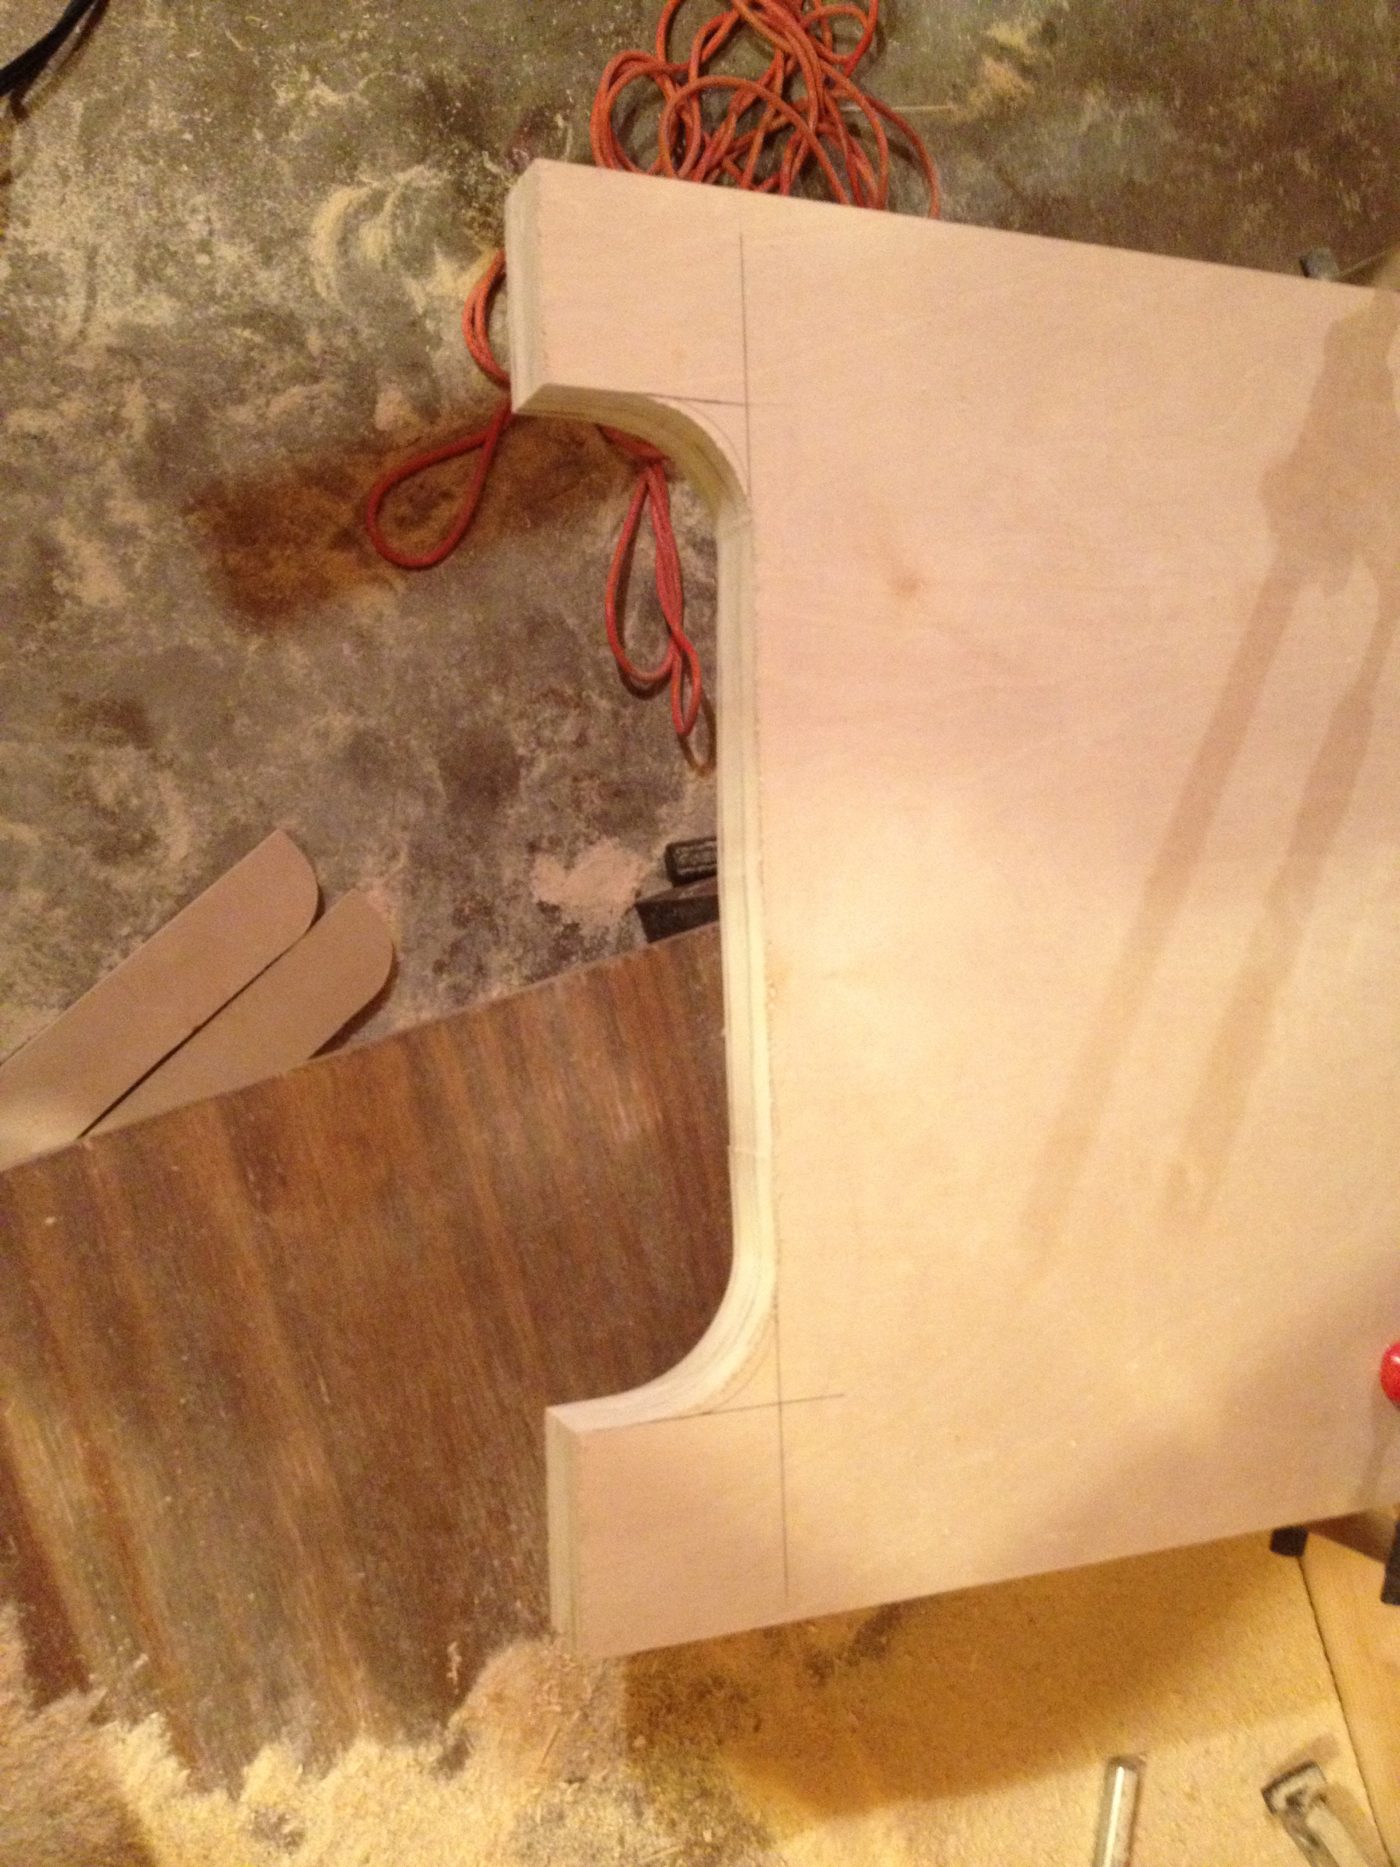
Instead of doing traditional legs, I made the sides curvy at the bottom.
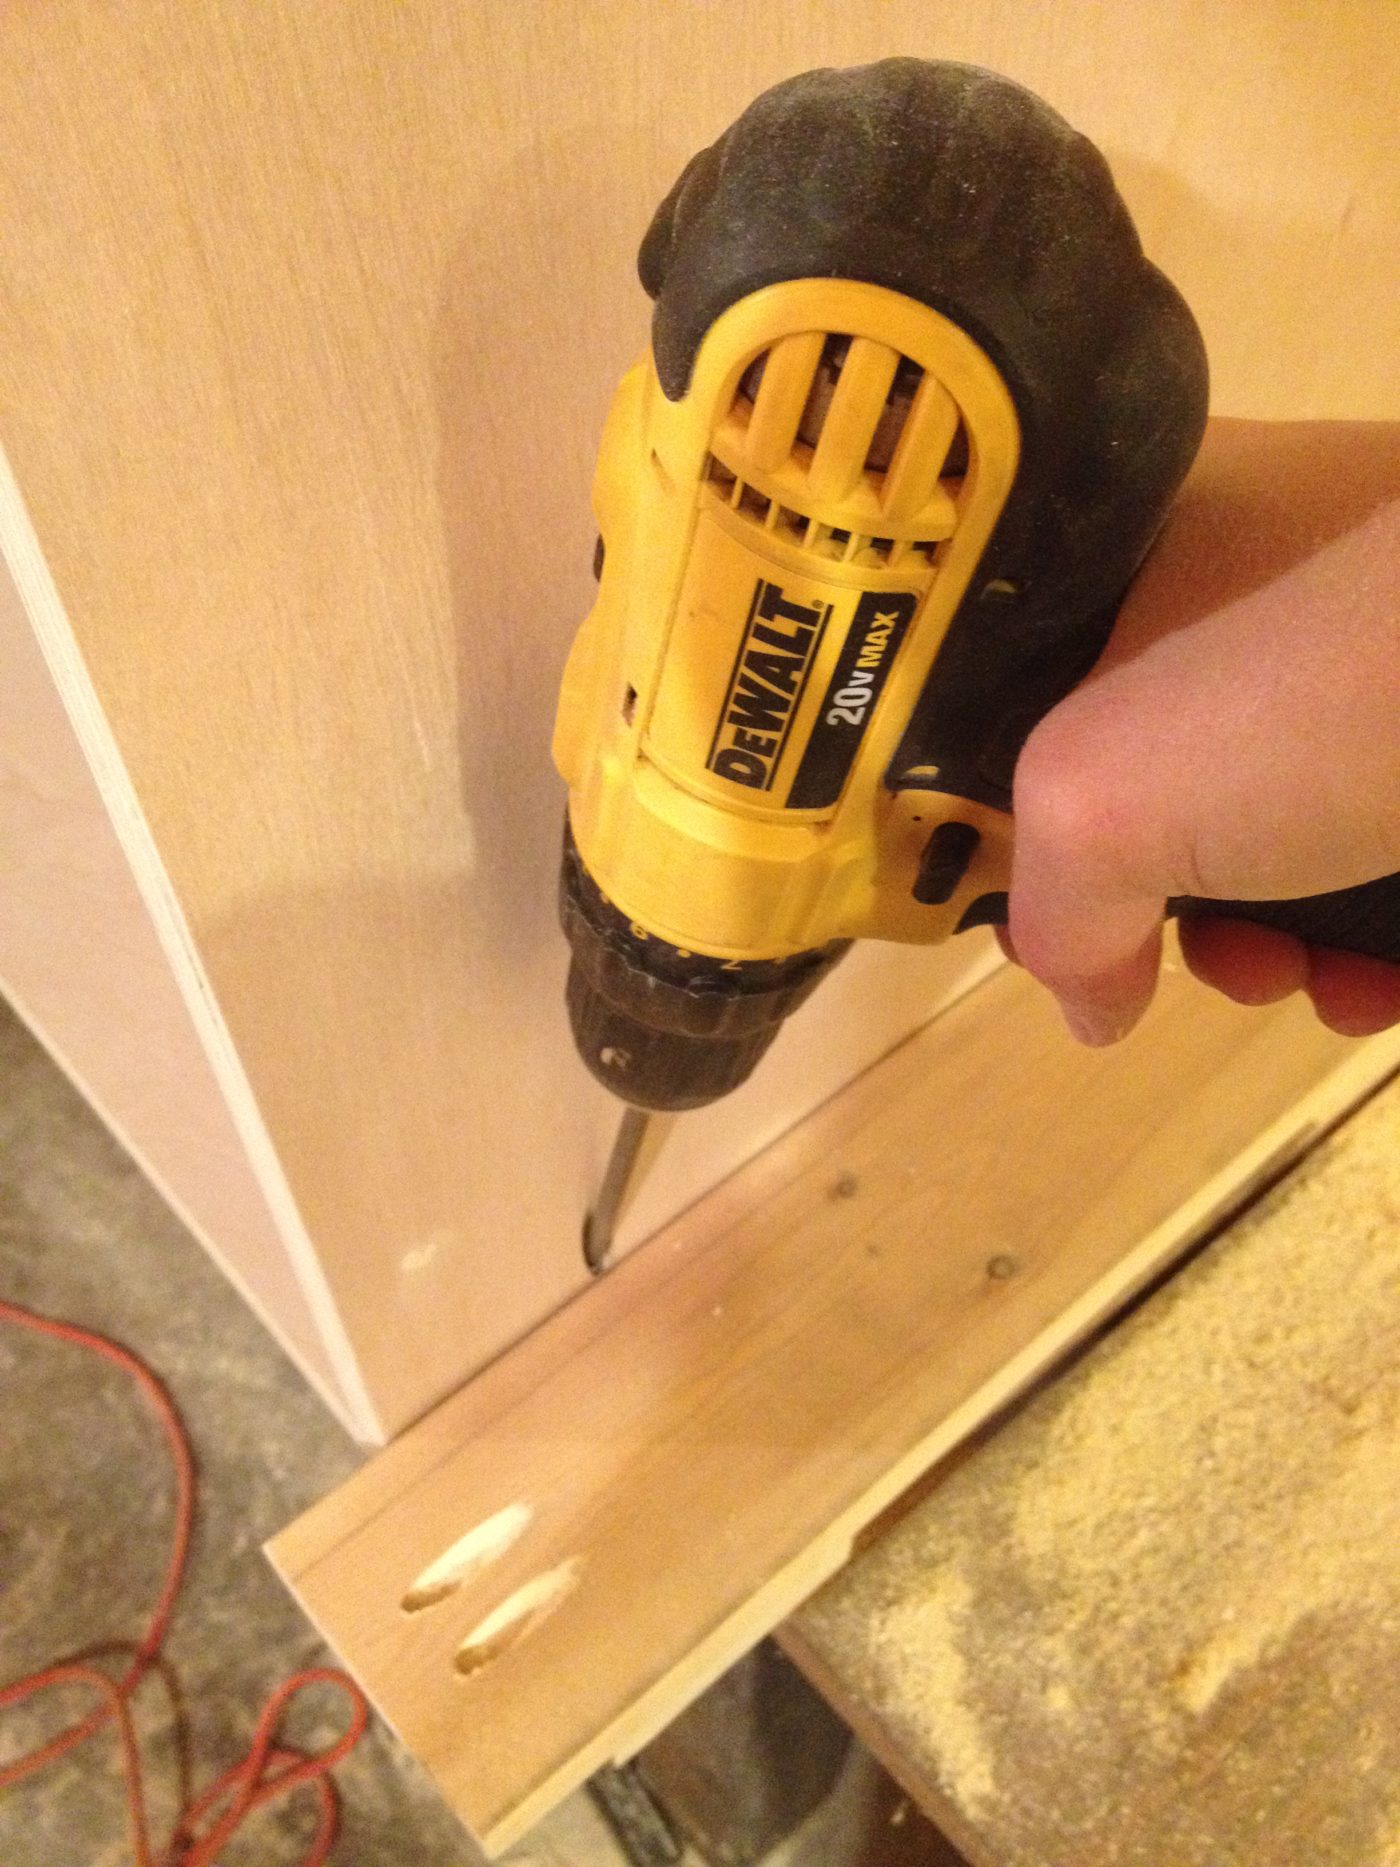
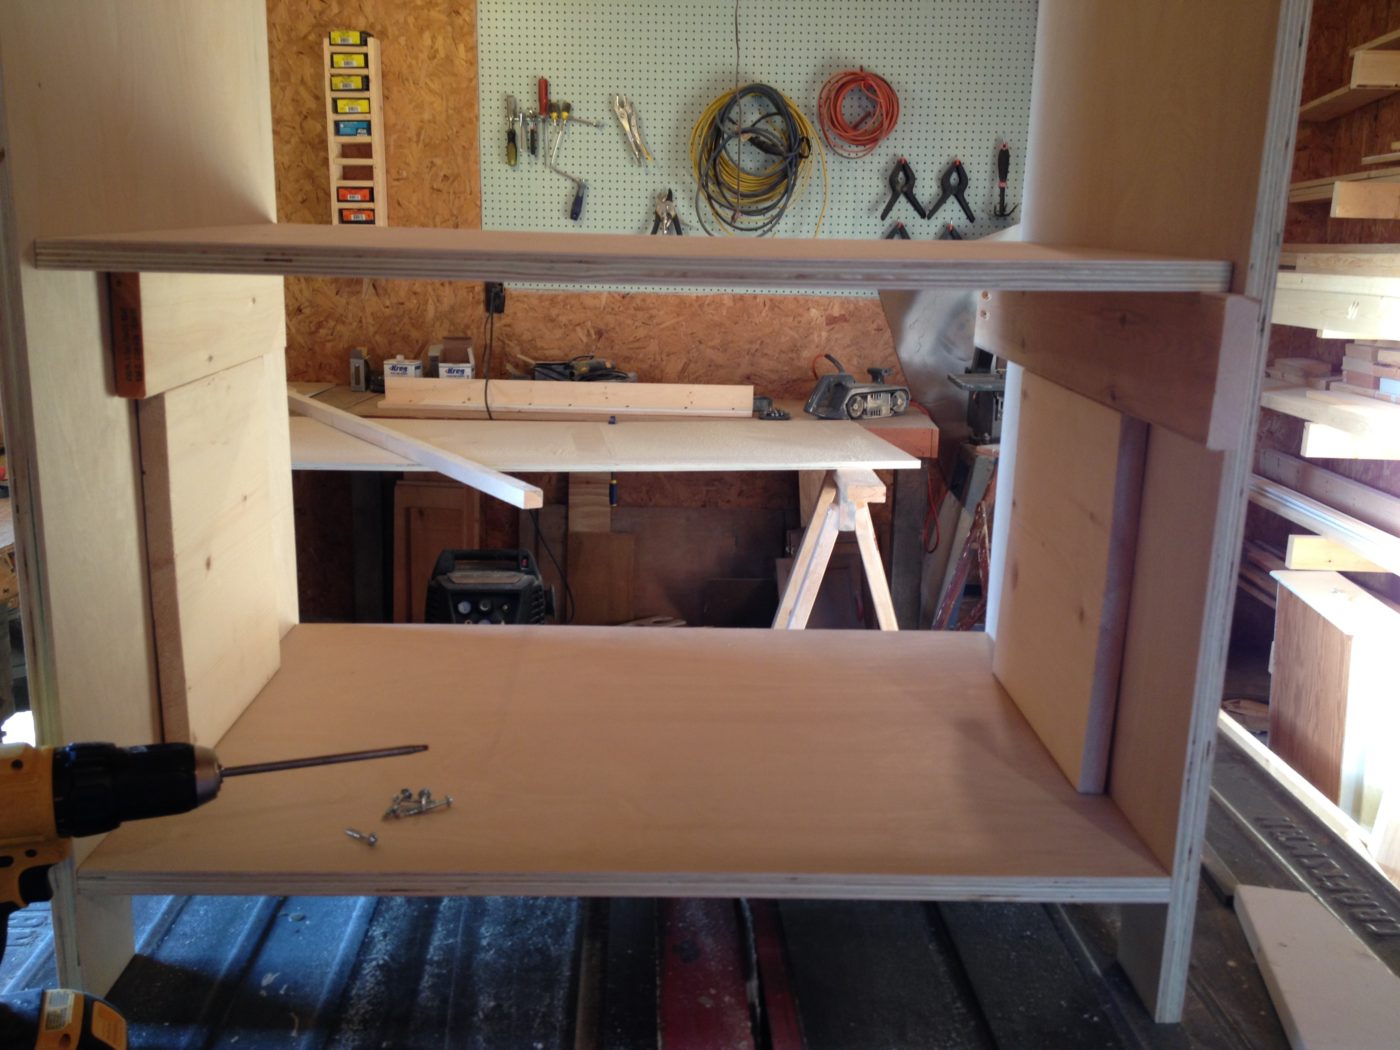
I used pocket holes and screws to attach the shelves.
I used scraps for the front and back support and attached the ¼″ backing (I used luan…the cheap stuff because it’s just the back side) with finishing nails. Before attaching the back I made sure everything was square. Then I attached the face frames.
Next, I made two doors. You can learn how I make simple shaker style cabinet doors here.
I glued some 1xs together for the top. While that was gluing, I painted the cabinet and the doors. Two coats of primer and a million (literally maybe like 5 or 6) coats of paint–Ruby Red Slippers by Valspar. (I’ve said a million times before that I always recommend Sherwin Williams paint when possible. It saves you so much time. It could totally be operator error, but I always have to use twice as much Valspar paint as I ever do Sherwin Williams. Wish I got paid to say that, but I don’t. So take my word for it…I’m not getting paid to tell you that.)
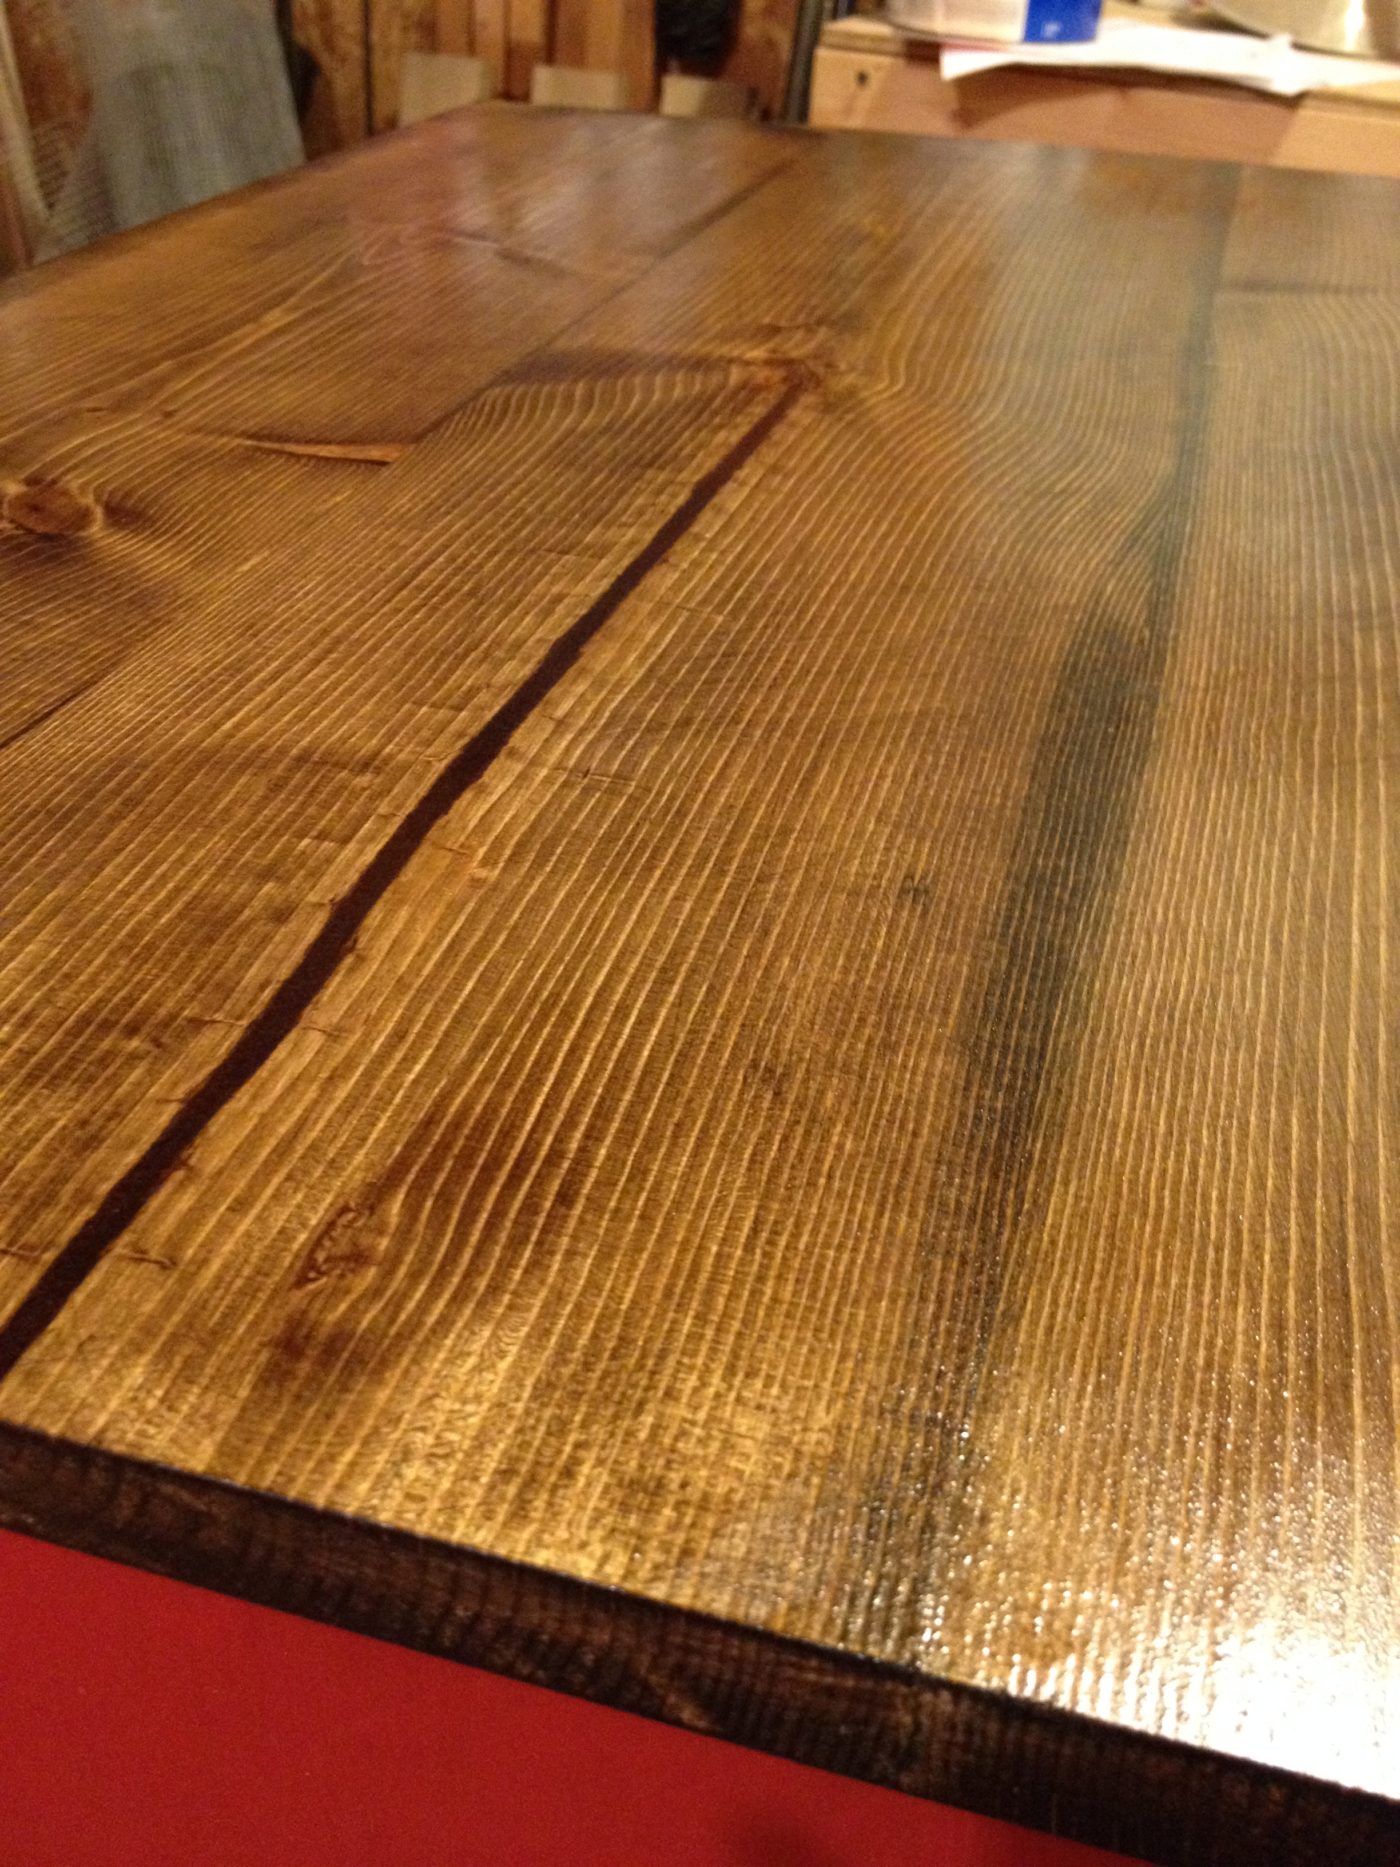
The next day, I sanded the countertop completely smooth and stained it my favorite color–Minwax Dark Walnut. A couple coats of Polycrylic made it really shiny 🙂
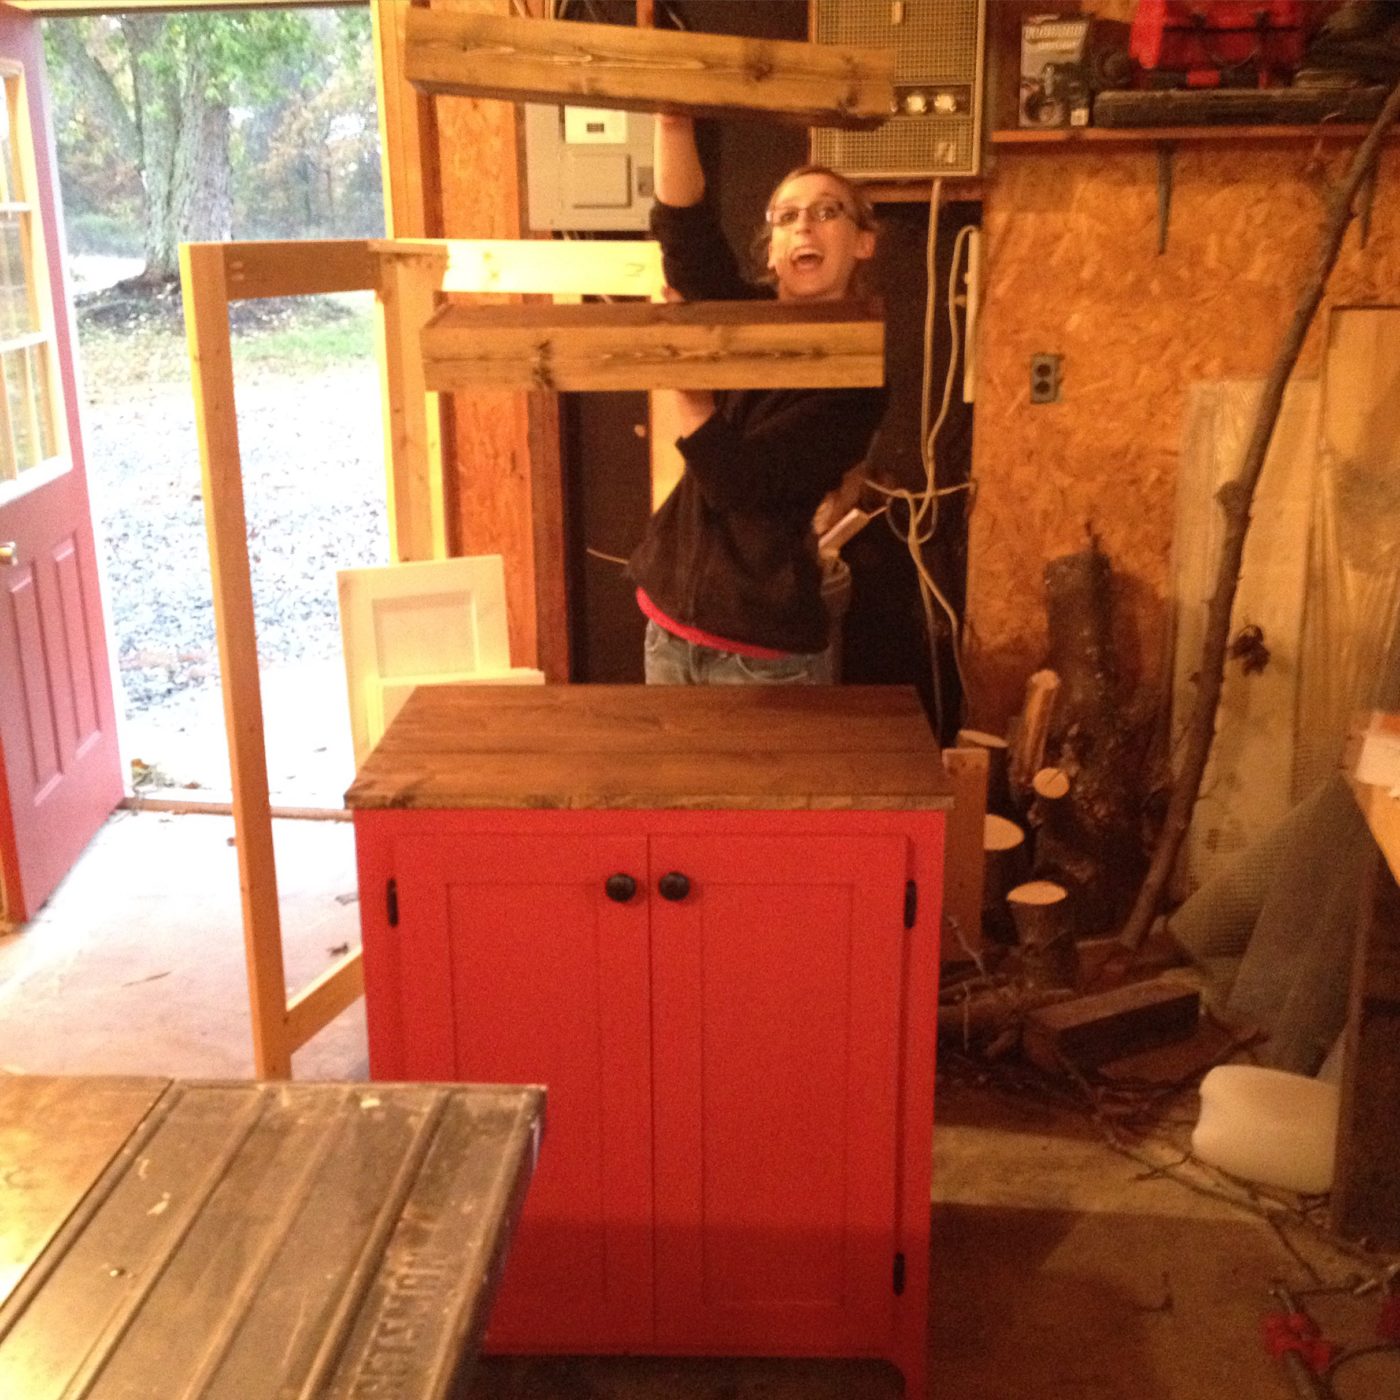
I also made some floating shelves. I think I will write a separate post on those later. (AKA I forgot to take any pics of how I did it to show you.) I was so excited when I got done, I modeled it for her so I could send her a pic of it. See how good a big framed picture of me would look on that first shelf? I can make that happen 🙂 Christmas is coming up and that gives me a good idea!!! #bestgiftever
But then she sent me a pic of it after she decorated it at her house. And I have to admit….maybe it does look pretty good without my big head on it. I guess we will see after Christmas 😉
She wanted to be able to put her microwave INSIDE the cabinet instead of on top of the cabinet, so I cut a hole in the back for the cord to go through. And it fits well with plenty of room around it for ventilation. That worked out well.
My shelf decorating skills are terrible. So I’m going to hire her out to come decorate mine because hers look so good.
And now I’m kind of jealous and want my own cabinet like this in my kitchen….
So I said all that to say this: we all live in our houses. They are our homes. If you don’t like something, change it. Even if it’s a little change like replacing a cabinet you aren’t in love with for one that you are in love with. Life is short. Come home after a long day at work to a place you love, not one you just live in. And while you are filling your home with things you love, don’t forget to also fill it with the people (and pets) you love, too.
Okay, okay…Enough mushy stuff…Now get to building 🙂
NOTE: As with any tutorial and how to on the site, I am happy to provide you with the instructions for free in the post. I enjoy inspiring others to make their own furniture and crafts. However, since I receive no compensation for these “plans,” I ask that you respect the time that was put into writing these instructions and please ask permission before using them to make and sell for profit.






I love the microwave stand! The shelves are AMAZING! Is it possible to add the shelf plans and photos to your site to follow and download? The are so beautiful! Thx!!!
Hi Kimberly! Thank you! And yes I plan to add the how to for the shelves, I just haven’t gotten around to it yet. Hopefully I will be able to soon! Follow the blog so you get emails when I post new projects, or keep checking back so you don’t miss it!
i wish i had your talent and your tools ha ha xx
Thank you! I started my small tool collection with birthday money and Christmas money and taking grandpas hand me downs haha.