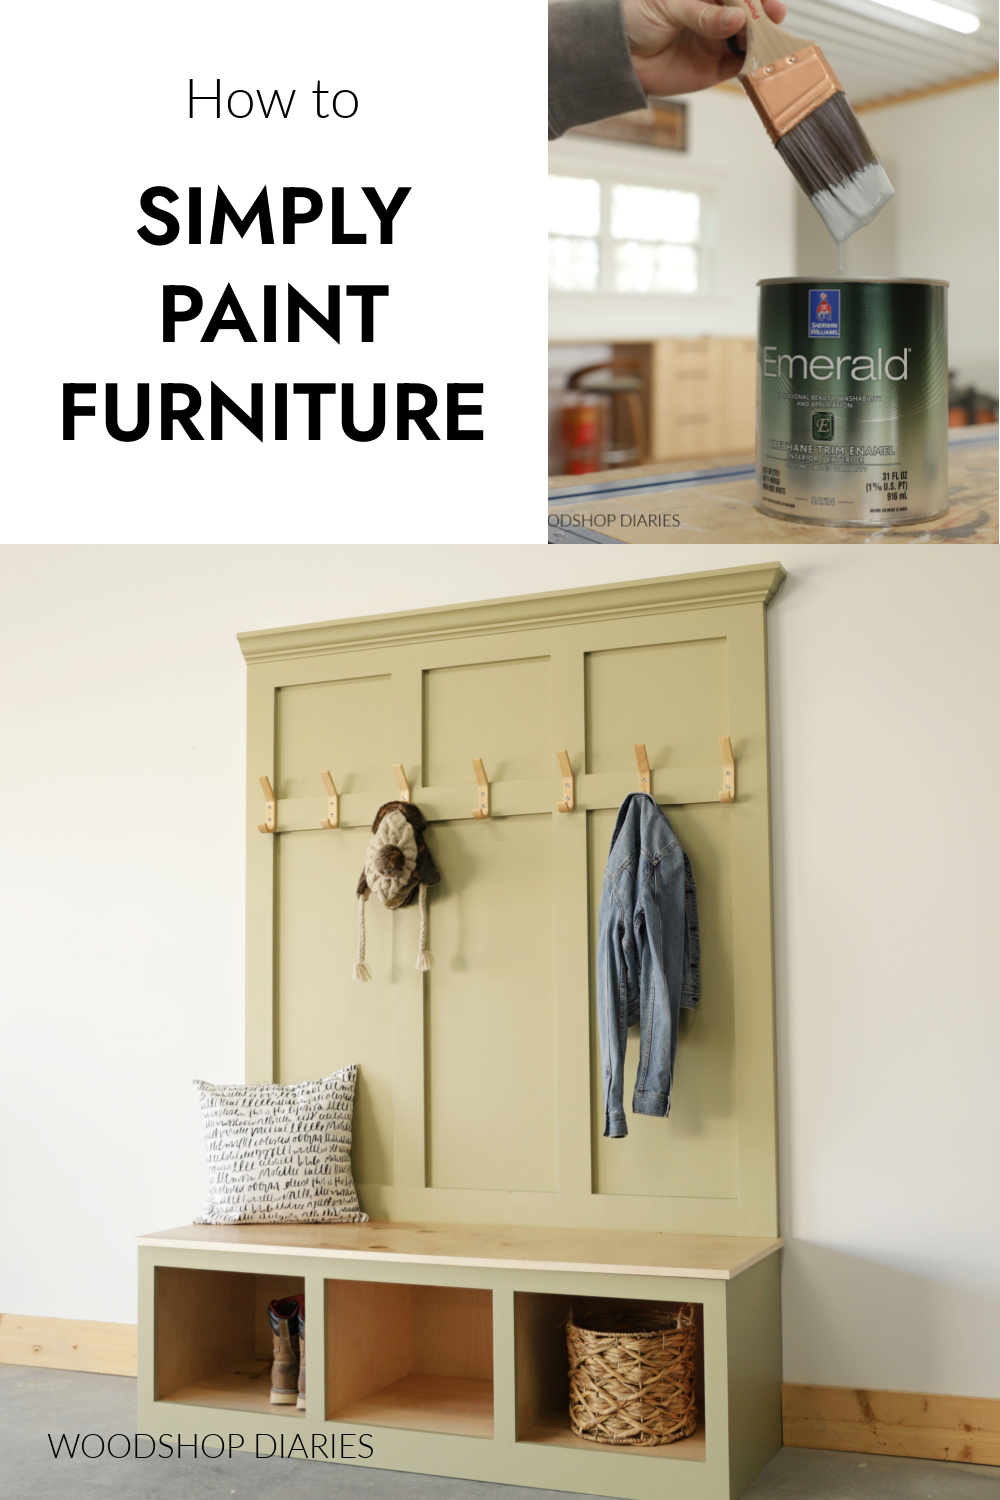
In this post, I’m sharing how to paint your new DIY furniture projects WITHOUT a fancy sprayer!
Picture this: you just added the last piece to your brand new, beautifully built DIY project. You step back to admire it and are filled with joy! But now, it’s time for finish.
A good finish job will enhance your build to make it even better. But a bad finish job can make an amazing piece, well…less than amazing.
I’ll be honest, painting, staining and finish are my least favorite parts of any project. That’s why I do it once, do it right, and keep it as simple as possible to get the best results.
Thankfully, achieving a nice paint finish doesn’t have to be complicated or difficult. I promise–I’ll show you below.
*This post contains affiliate links. See policies.
Do You Need a Sprayer to Paint Furniture?
Short answer: no. You definitely don’t need a paint sprayer to achieve a nice paint finish. I don’t use one.
Sprayers have their pros and cons just like anything else. Some people love them and they work great for finishing and make the process much quicker.
But they are pricey, require a lot of prep work, and are tedious to clean up. I used one a few times in the past and personally preferred to just brush and roll instead.
Types of Finish for Raw Wood Furniture
I mentioned already that I don’t necessarily enjoy the finishing process, so I keep it pretty simple. The three main types of finish I use on my projects are:
- Paint
- Stain
- Clear Coat
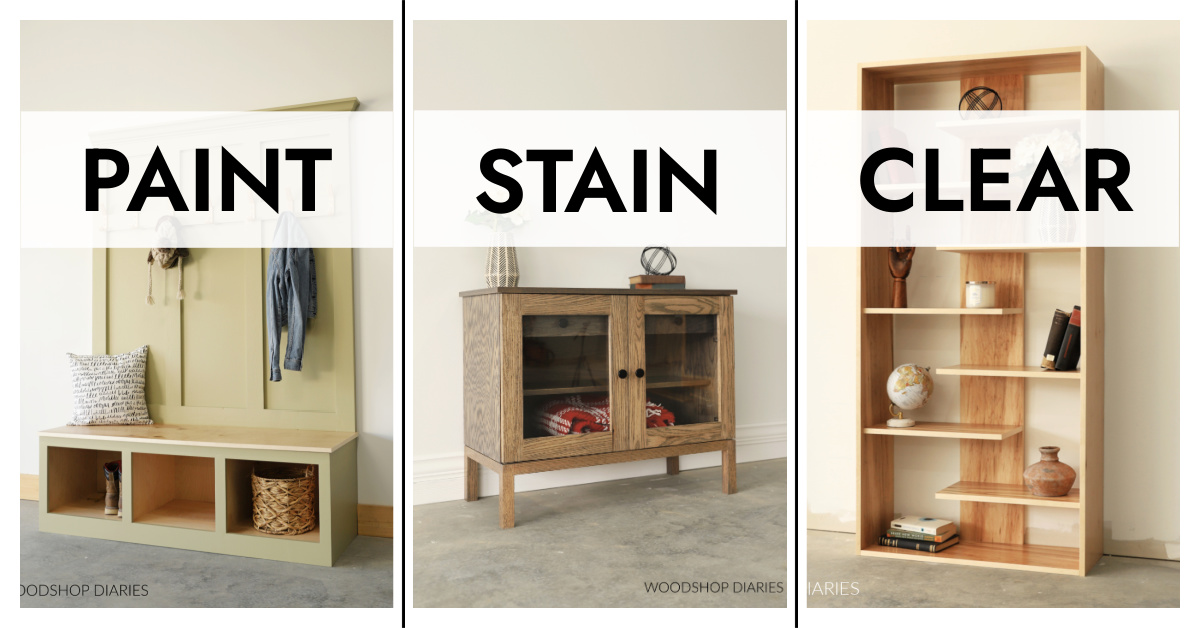
There are a TON of finishing products out there, glazes and top coats, complicated mixtures. You can get as fancy as you want. But in this post, I’m going to focus on how to achieve a simple, clean, basic paint finish.
If you’re interested in learning more about staining, check out this post on how to stain wood.
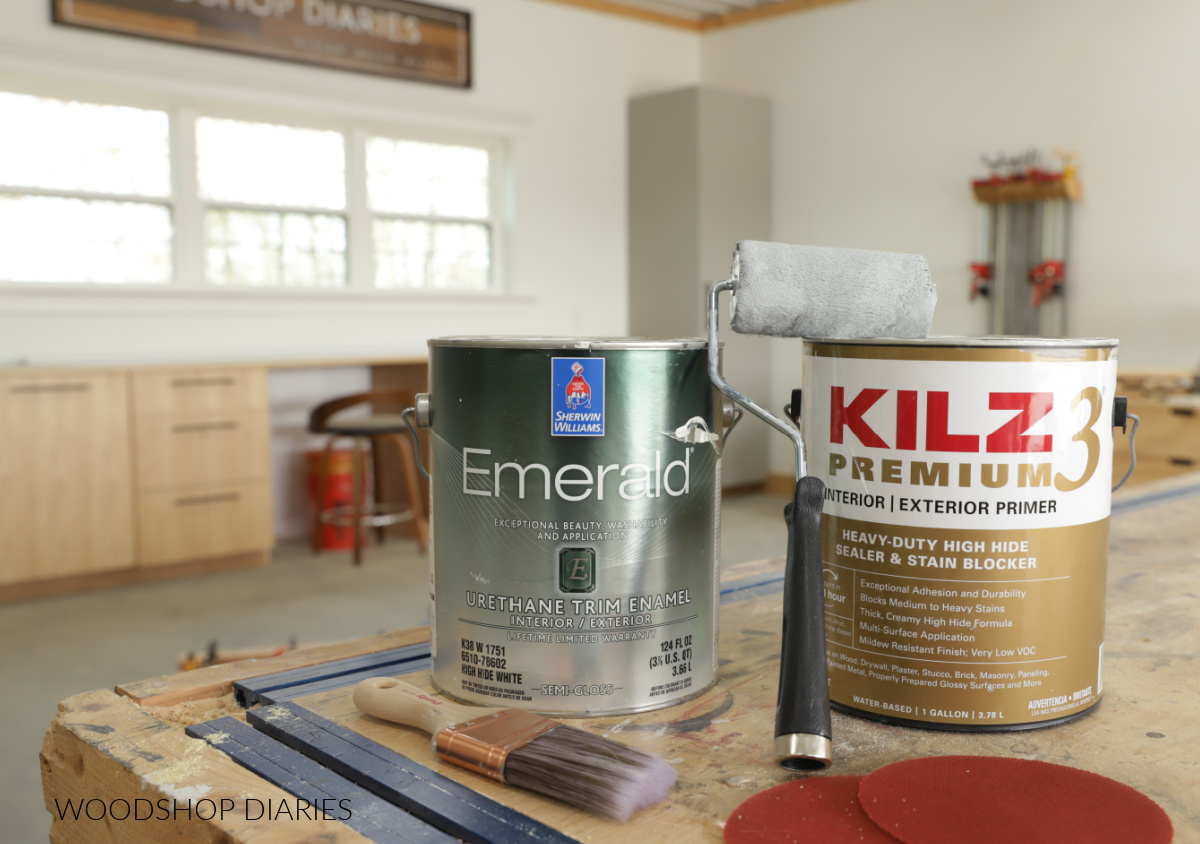
What You Need to Paint Furniture
Here is a basic list of the tools and materials I recommend when painting your DIY projects.
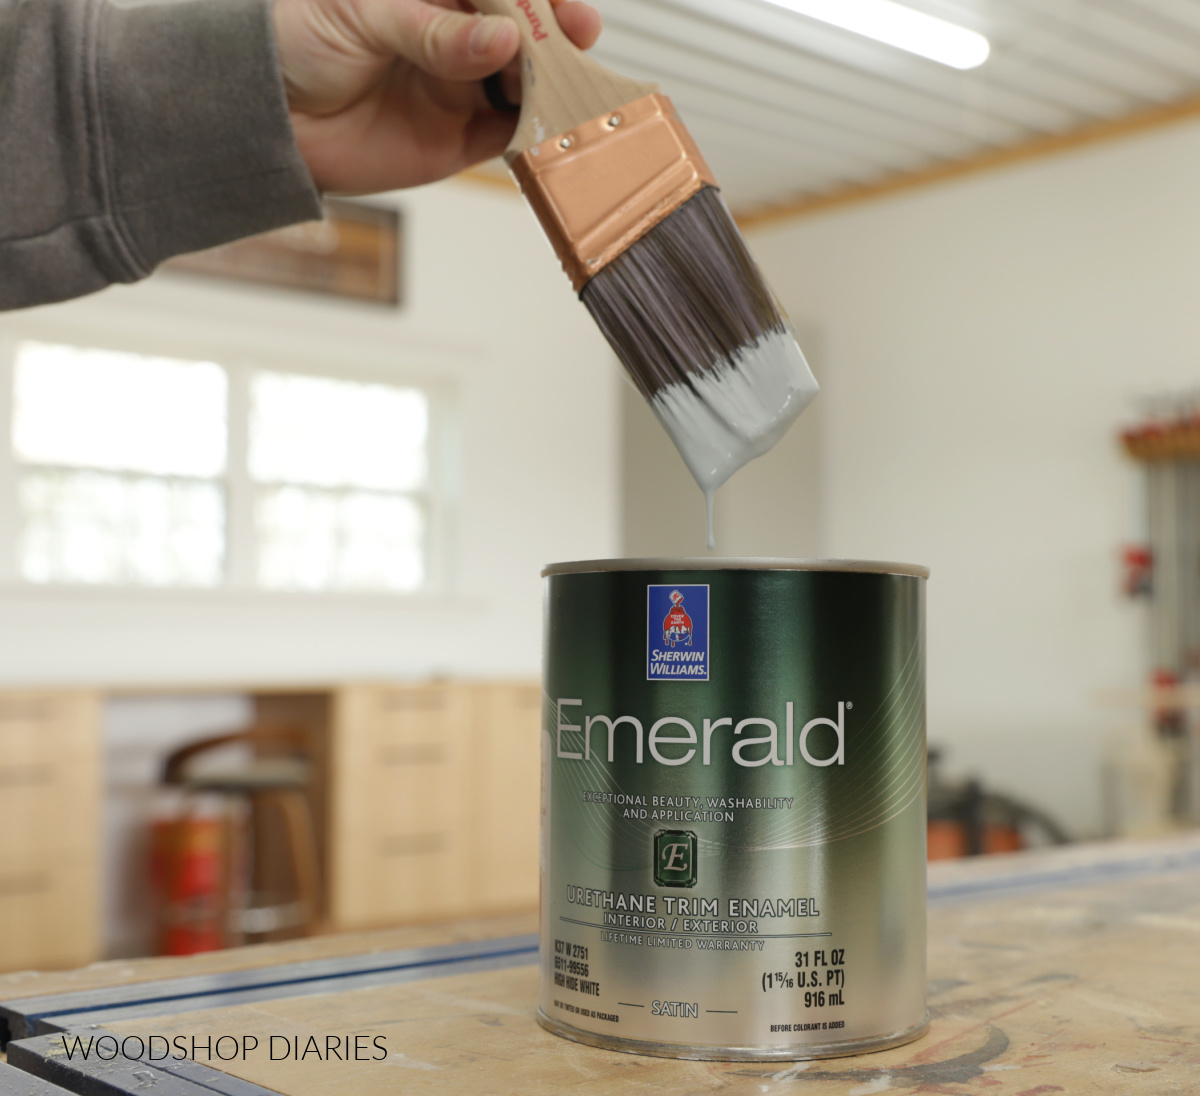
You don’t need anything “fancy,” but make sure you’re using high quality brushes, rollers, and paint. I personally recommend Wooster or Purdy brushes and Sherwin Williams Emerald Enamel Paint.
- 220 & 400 grit sandpaper
- Latex Primer
- Paint
- Paint trays
- Trim Roller Frame
- ⅜″ nap roller
- Paint Brush
- Paintable Trim Caulk
NOTE: The process for finishing interior vs. exterior furniture pieces is the same. However, the products are different.
If you’re painting an outdoor project, make sure to use an EXTERIOR primer, paint, putty and caulk. If it’s okay for use outdoors, the container will specify “exterior.”
How to Paint Raw Wood Furniture
Painting furniture and cabinets is really very simple. BUT, you need to be patient–which I know can be challenging sometimes.
My process for painting raw wood furniture can be summed up in three basic steps:
- Sand
- Prime
- Paint
I’ll go into detail about each part below.
Step 1: Sand
The number one step to getting a smooth paint finish is to start with a smooth surface. The way to achieve a smooth surface is by sanding. You cannot skip sanding and expect a smooth finish.
I hate sanding as much as the next person, but it’s a CRITICAL step not just for finish, but also throughout the entire building process.
I encourage you to check out this post to learn more about sanding and WHY it’s so important.
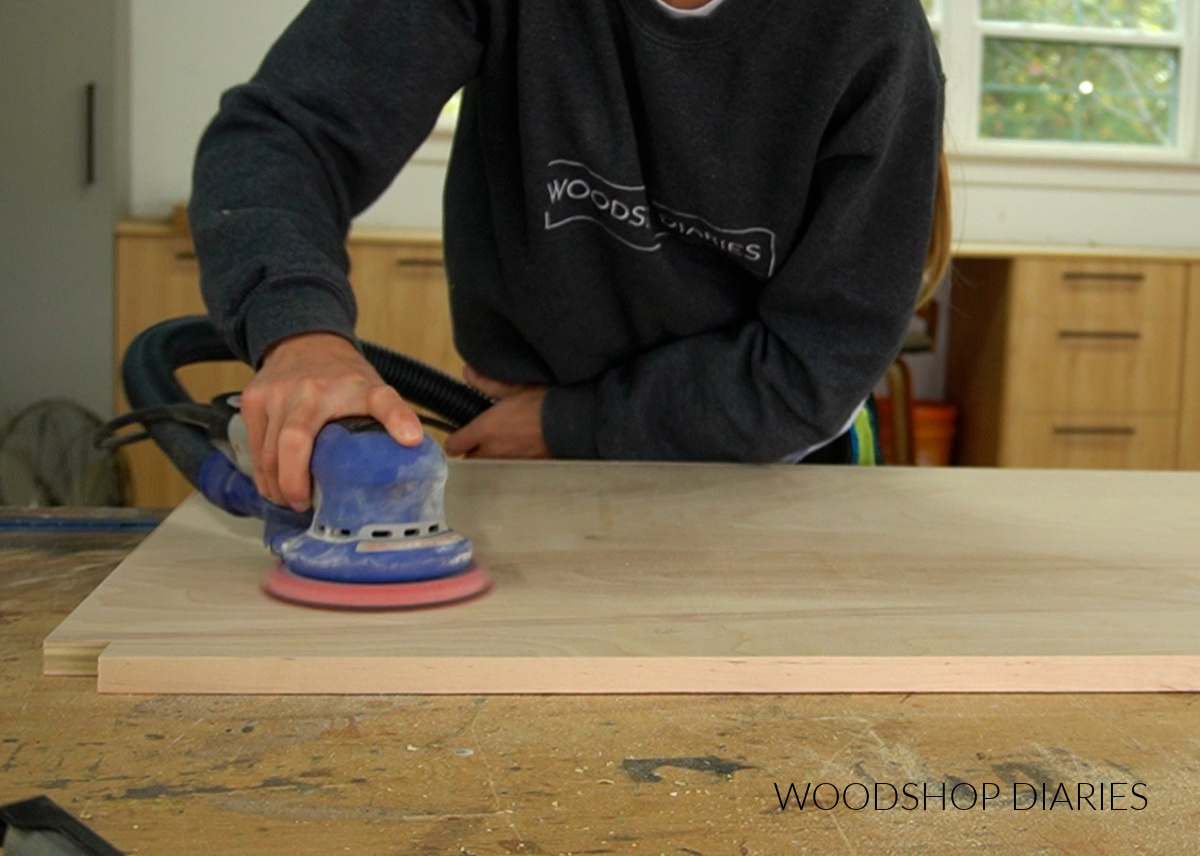
Before applying finish, sand the entire piece to at least 220 grit. Then wipe or blow away the dust. I like to keep some old t shirts and rags in my shop to wipe my projects clean before finish.
But if you have an air compressor, you can blow the dust off, too.
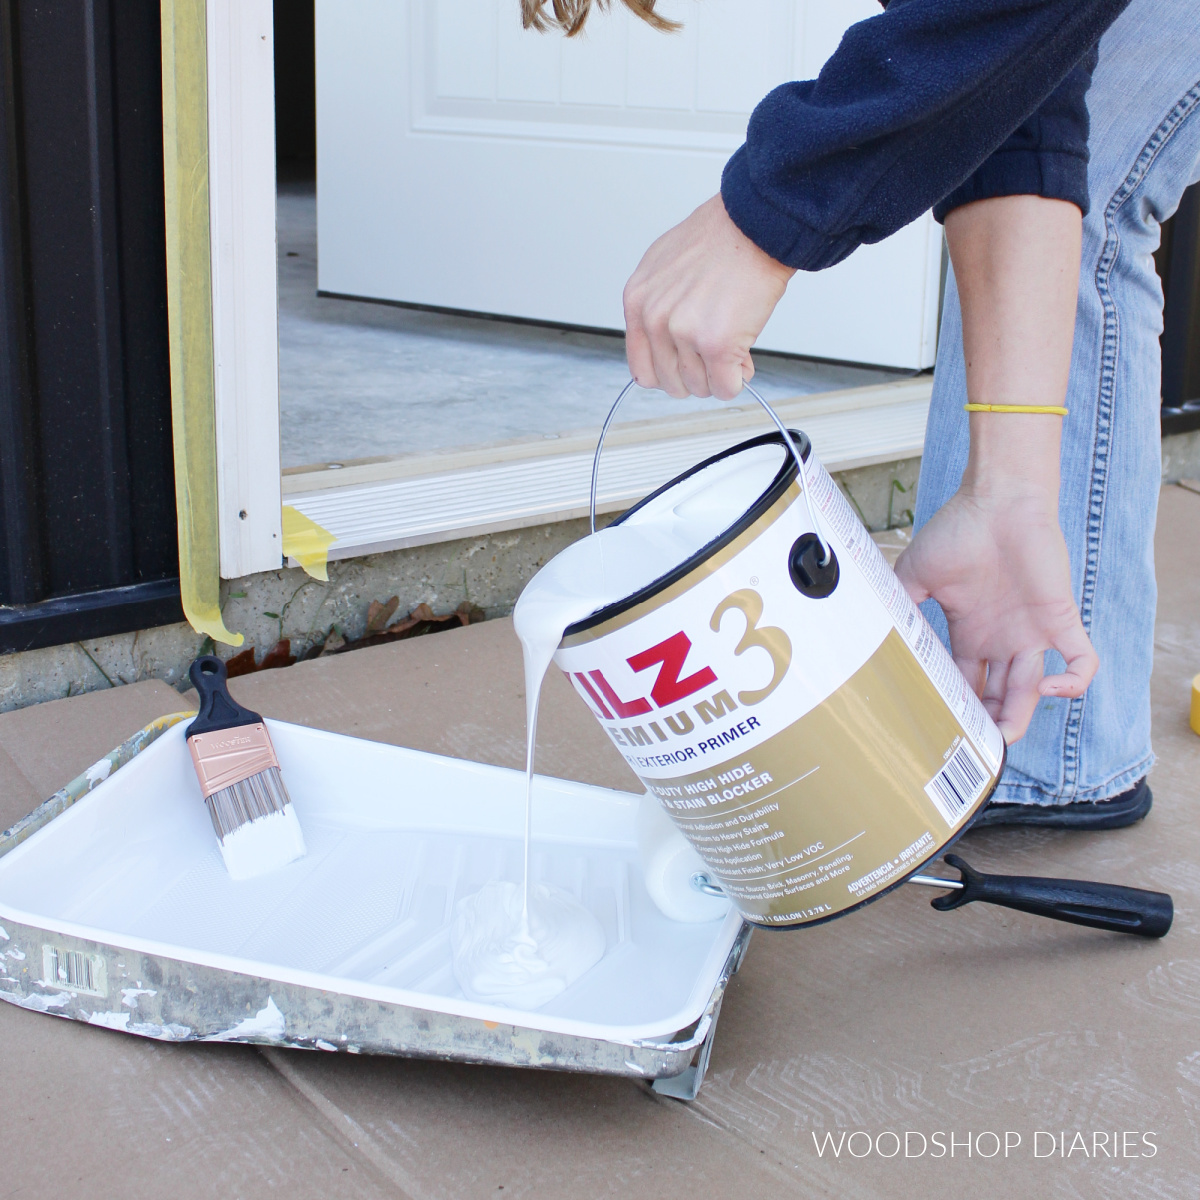
Step 2: Apply Primer
Raw wood is thirsty. It will “soak in” whatever you put on it. So if you are painting raw wood, do not skip the primer.
Primer helps to “seal” the raw wood so that it doesn’t soak in the paint when you apply it. This gives you a much smoother and less blotchy paint coat–and let’s you use a lot less paint.
I like using Sherwin Williams Multi-Purpose Primer and I get them to tint it a light grey color (the exact color doesn’t matter, the grey just provides better coverage). But, I also use Kilz 2 and Kilz 3 Primer as well. All three work great.
To apply, first, I brush any inside corners or detailed pieces (like molding) that I won’t be able to get into with a roller. Make sure to use a HIGH QUALITY paint brush made for latex/water based paints. I like to use Wooster and Purdy brand brushes.
TIP: Make sure to brush away any globs or streaks–apply as smooth as you can.
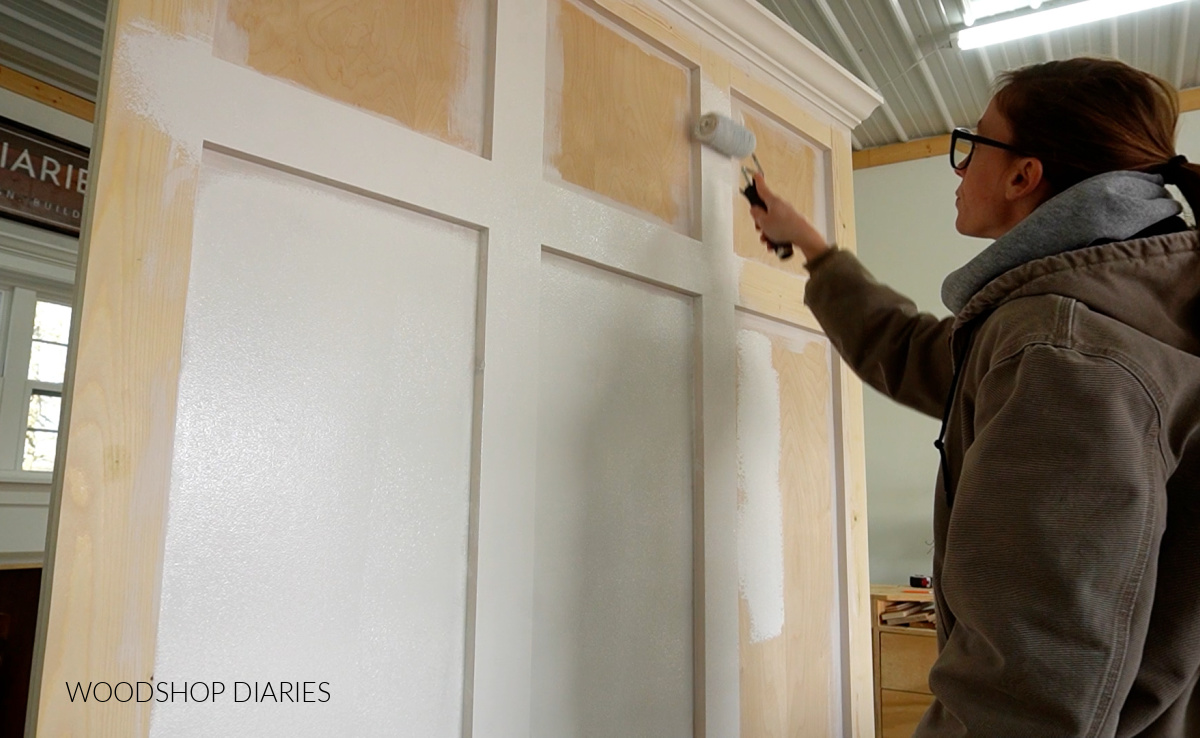
Then, I use a small roller frame and a ⅜″ nap roller to roll primer on the rest of the surfaces. Be careful to spread it evenly and don’t leave any streaks.
NOTE: You can use foam rollers if you want, but I personally don’t like them.
Step 3: Sand Again
I allow the primer to dry according to the manufacturer’s instructions. Then, I hand sand all surfaces with 400 grit sandpaper.
RELATED: How to sand wood
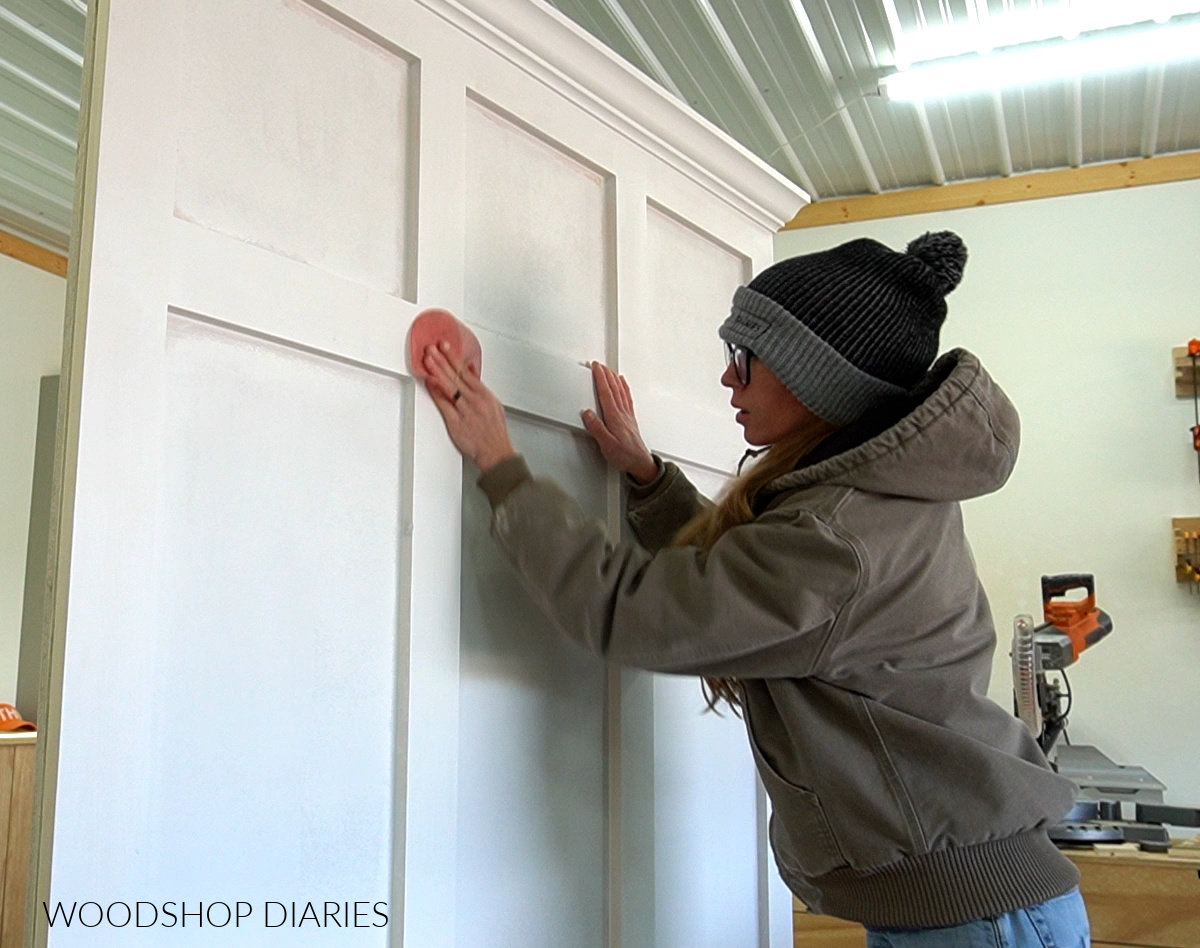
Water based (latex) finishes will soak into the wood and cause the grain to raise leaving a rough feel after it’s applied. You can run your hand across it to feel how it’s a little rough.
This is why you need to sand both before AND after primer. You only need a light sanding to smooth it back out. Use your hands to feel for any spots that are still a little rough.
Then I make sure to remove all the dust again.
Step 4: Caulk
Caulk is optional, but it really makes a big difference to give you a clean looking paint job to seal up any gaps or cracks.
I apply paintable trim caulk into the inside corners where I plan to paint and smooth it out with my finger and a damp paper towel.

Step 5: Paint
Personally, I recommend Sherwin Williams Emerald Paint for my furniture projects. I’ve used many kinds and this is my favorite. It’s thick, goes on smooth, and shows the lest amount of brush strokes once dry.
Paint comes in different sheens–flat, satin, semi-gloss, and gloss. Personally, I’m a fan of satin or semi-gloss. BUT, sheen is just a personal preference.
The glossier the sheen, the easier it is to clean. But glossier sheens also show more imperfections. So you have to weight the pros and cons.
Once the primer is completely dry to the touch, I apply the paint just like the primer–with a high quality brush and a roller.
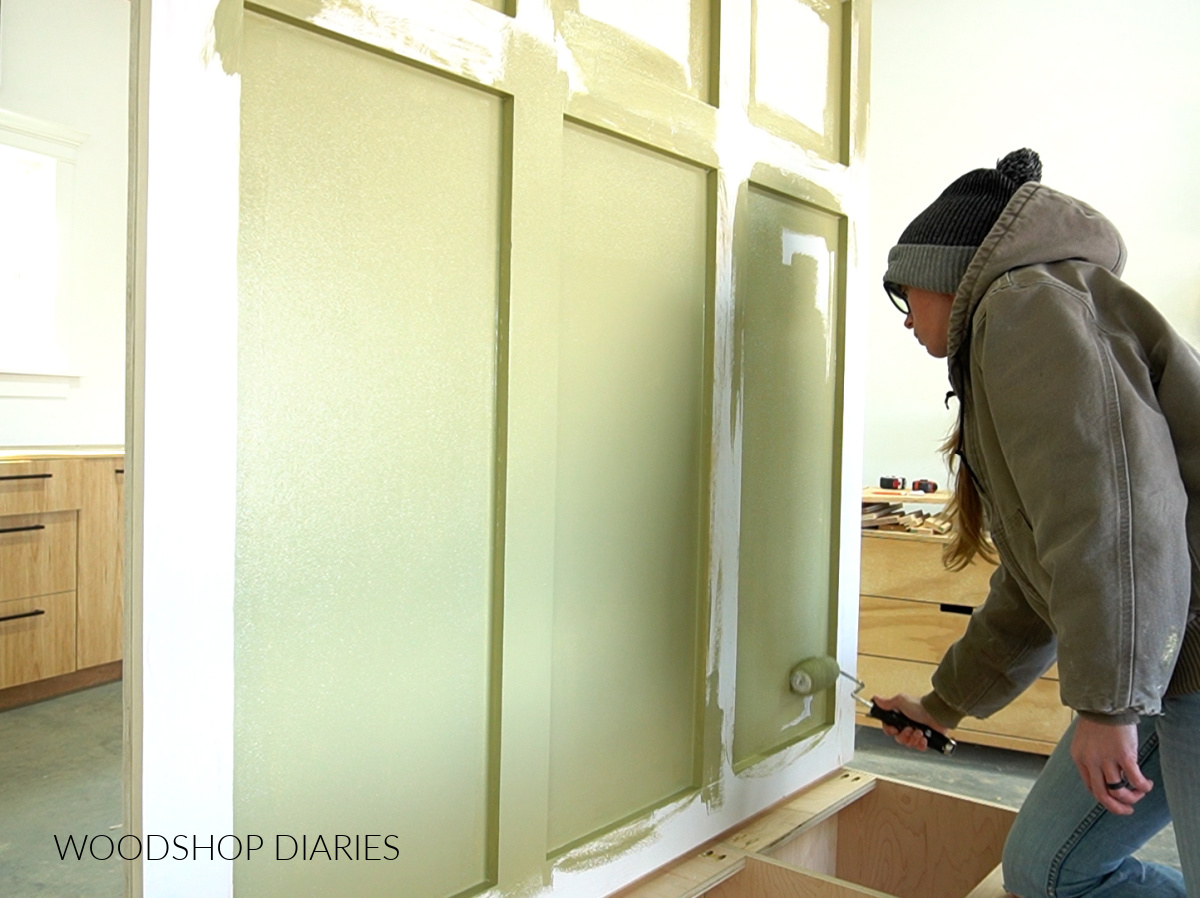
I brush the hard to reach areas, inside corners, and decorative trim pieces first, then roll the rest. The roller helps smooth out brush strokes where it can reach.
For a smoother finish, it’s best to hand sand lightly between EACH coat using 400 grit sandpaper. This will help reduce brush strokes. Don’t sand after the final coat.
I usually apply 2-3 coats of paint (I apply the next coat when the previous coat is dry to the touch) then allow to completely cure according to the instructions on the label.
For an extra layer of protection, you can apply some clear furniture wax or a clear coat poly over the top of the paint if desired. I don’t usually do this, but it is an option if you wanted to.
MAKE SURE TO CHECK THE PAINT LABEL FOR CURE TIMES BEFORE APPLYING ANYTHING ON TOP OF IT.
Additional Tips on Painting Furniture
Keep in mind that while paint will cover a multitude of sins, it will also expose some “sins” in your project if you aren’t careful. Paint can’t fill in or hide gaps in your pieces. So, be sure to putty, and caulk as needed for a smoother, cleaner finish.
Another consideration when painting–cold or humid conditions will cause paint to dry slower, while warm or dry conditions will cause it to dry faster. It’s best to avoid extremes one way or the other.
Wash water based finishes from paint brushes with soap and water so you can reuse them again on your next project–don’t let paint dry on them.
You can place brushes and rollers in a Zip-Loc bag between coats so they don’t dry out and store them in the refrigerator overnight if you’re painting over multiple days.
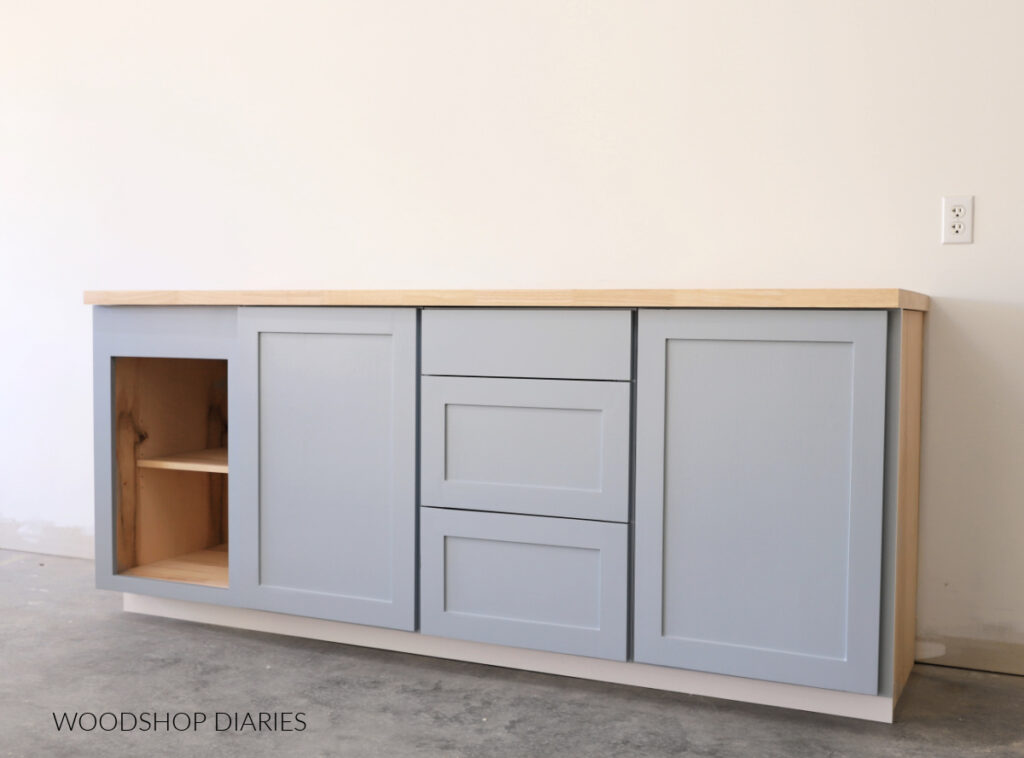
If I’m painting something with doors and/or drawers, I recommend removing them from the cabinet, finishing all parts and pieces separately, then putting everything back together after the finish is dry.
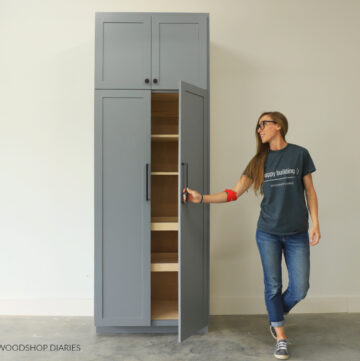
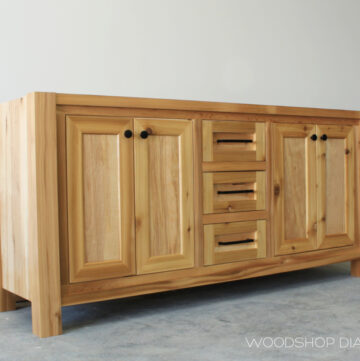
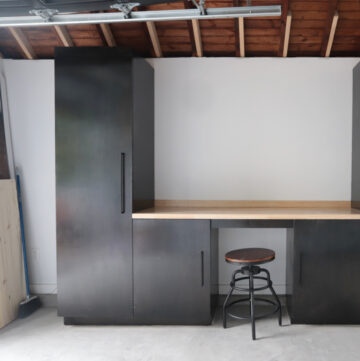
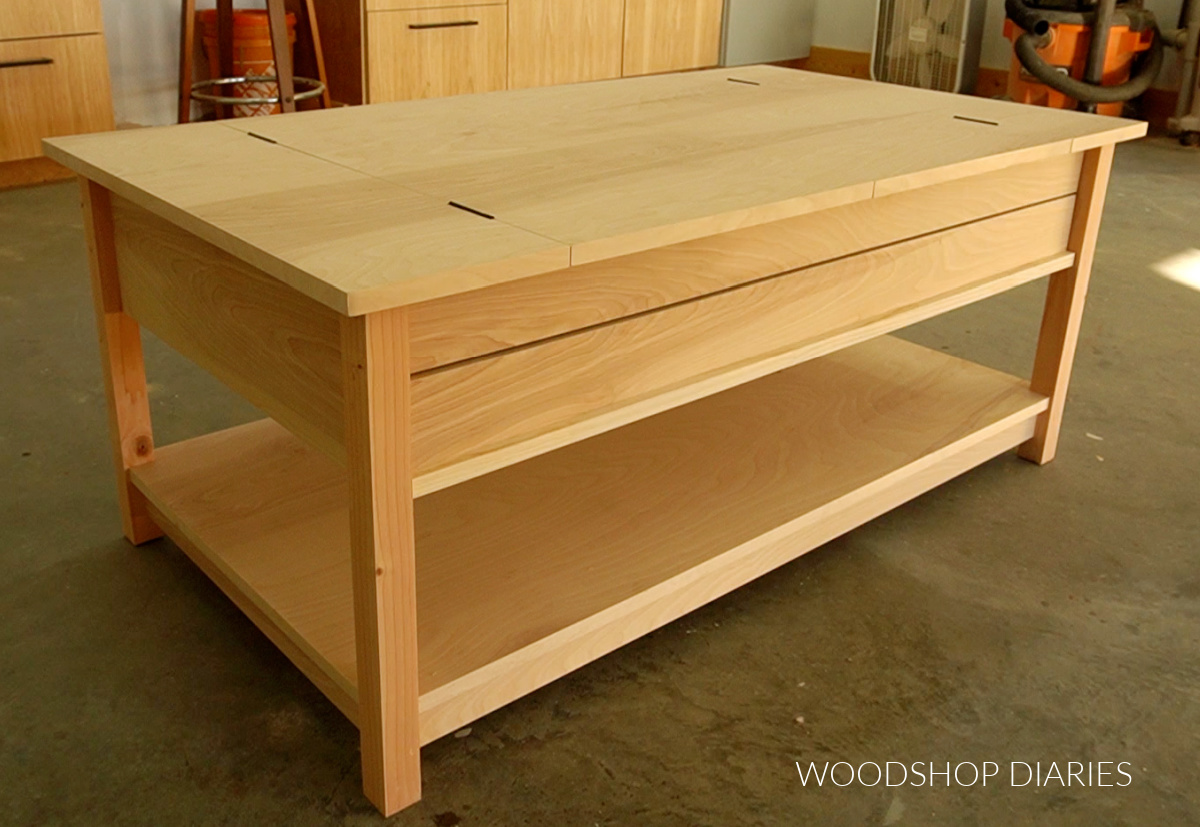
Looking for DIY Projects to Build and Paint?
Here are a few DIY projects you might enjoy building to test out your new painting skills on!


If you’d like to save this post for later, be sure to pin it or share to your favorite social channel!
Until next time, friends, happy building 🙂