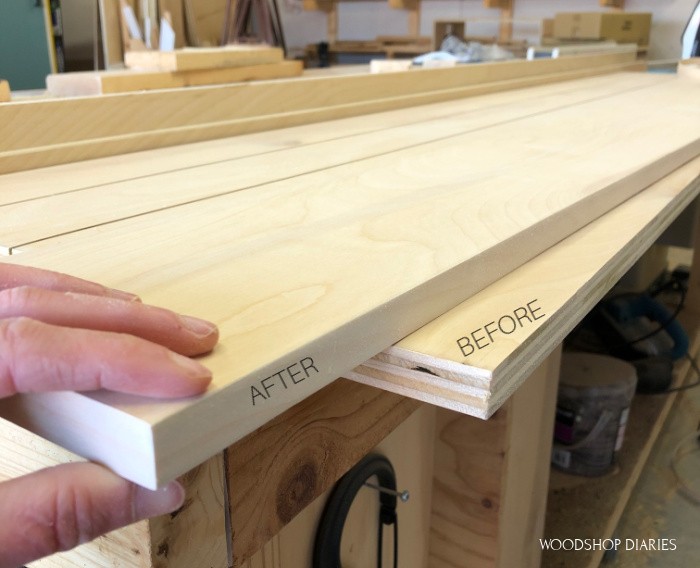
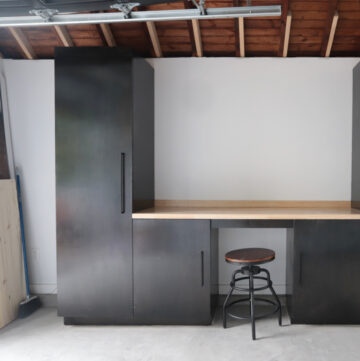
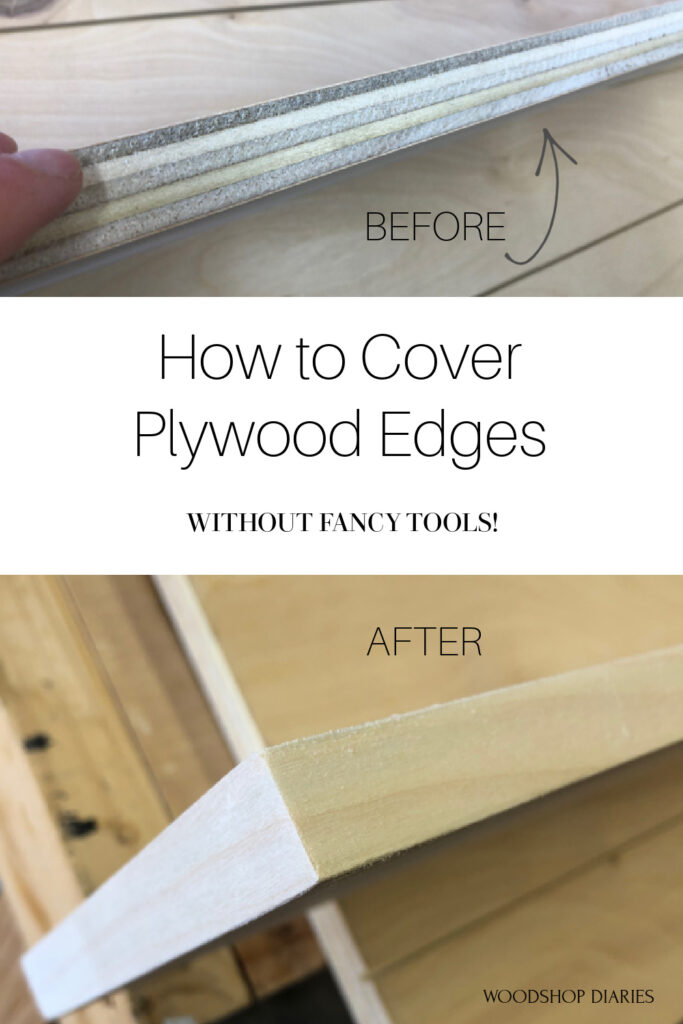
In this post, I’ll show you how to cover plywood edges quickly and easily without any special tools!
This post contains affiliate links. See policies.
Plywood is useful in many furniture and cabinet building projects.
But the exposed plywood edges aren’t always a desired feature in the finished product.
So for those times you want to cover the plywood edges to make it to look like solid wood, I like to apply Iron On Edge Banding.
RELATED: If you’re new to working with plywood, check out this helpful guide for how to cut down your own plywood sheets!
What is Edge Banding?
Plywood iron on edge banding is a thin solid wood veneer that has a nice, smooth, sanded side.
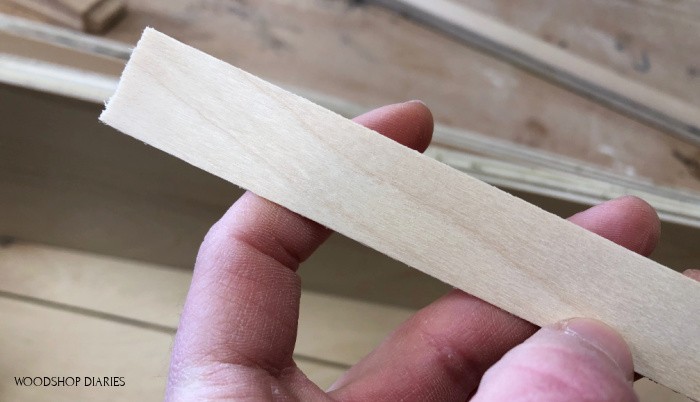
And it has a rougher side with pre applied glue.
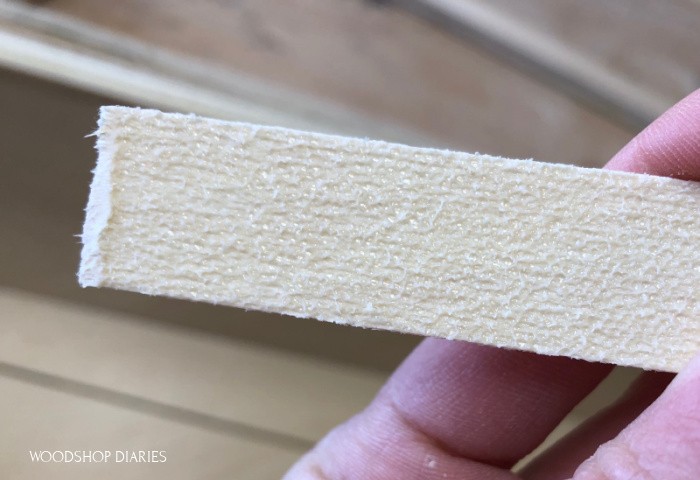
The glue will melt when heat is applied, which is how you get it to stick to the plywood.
But before we get to that part, let’s talk about types of edge banding.
What Type Do You Need to Cover Plywood Edges?
Edge banding comes in rolls in various sizes and types.
Personally, I use a lot of it, so I buy it in large rolls on Amazon (it’s cheaper that way).
But, you can usually find them in smaller rolls at your local Home Depot store if you won’t be needing a lot of it.
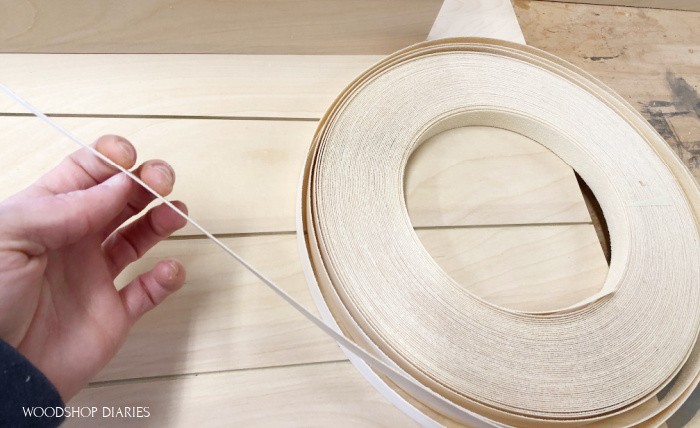
They come in almost every wood type you can think of and sizes varying from about ½″ wide to over 2″.
.
To make the colors match on your finished project, it’s important to chose the same wood type as the plywood you are using.
.
For example, if you are covering edges on birch plywood, use birch edge banding. If you’re using red oak plywood, use red oak edge banding, etc.
.
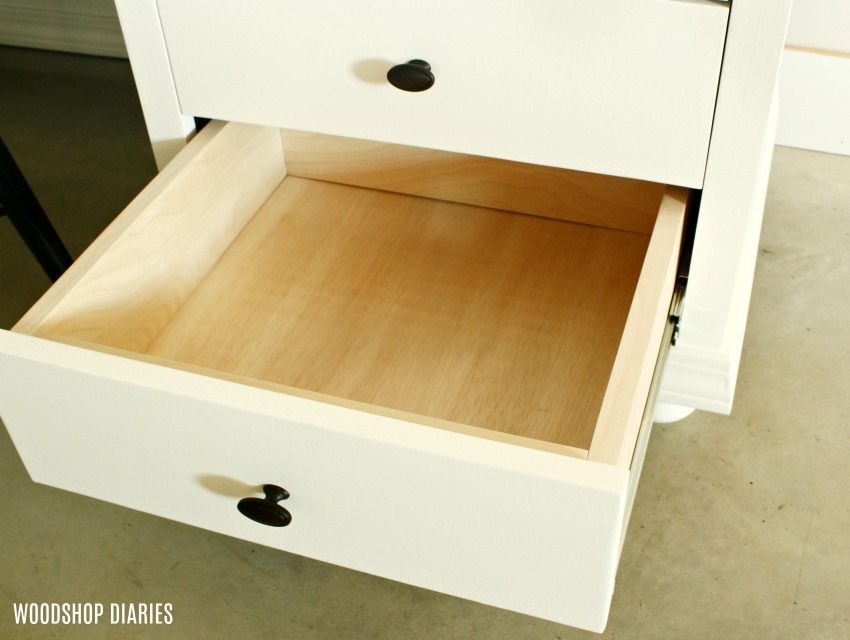
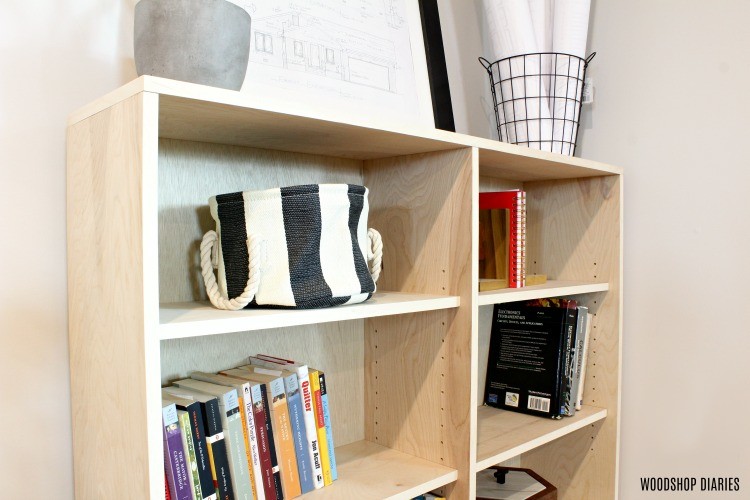
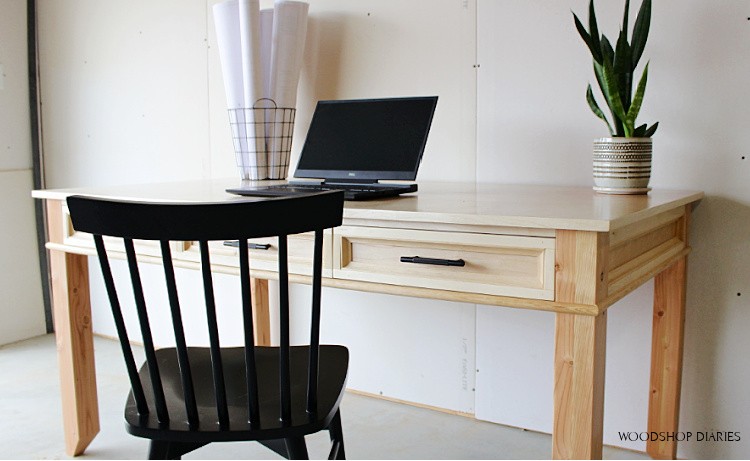
Here’s an example of where I used birch edge banding with birch plywood on this writing desk:
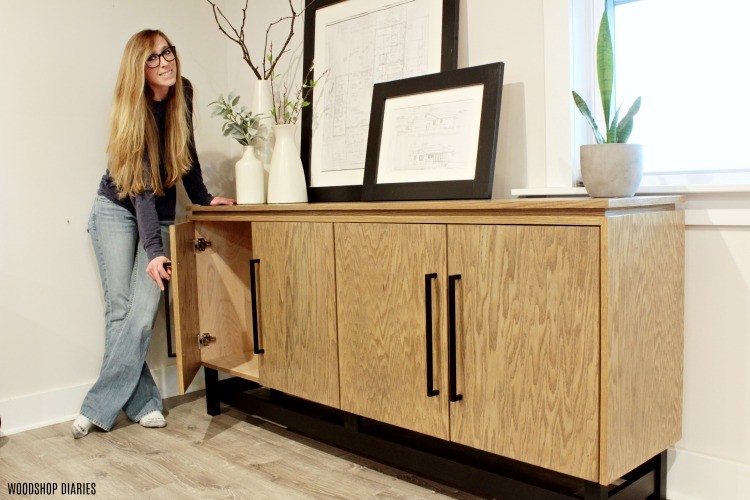
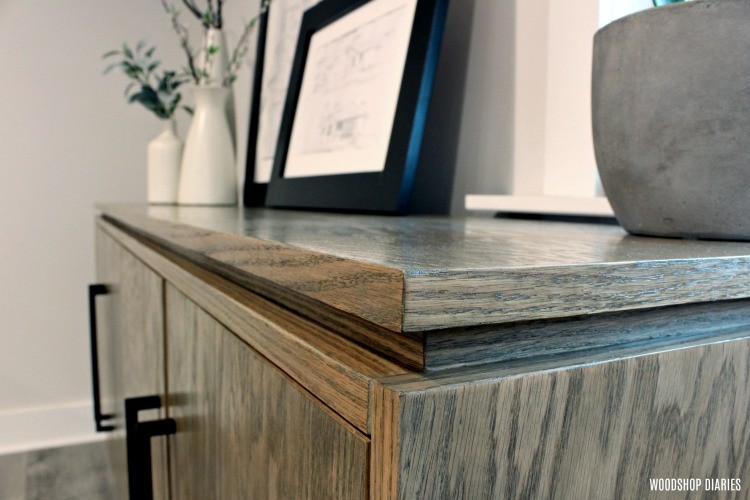
And here’s an example of red oak edge banding used with red oak plywood on this modern console cabinet:
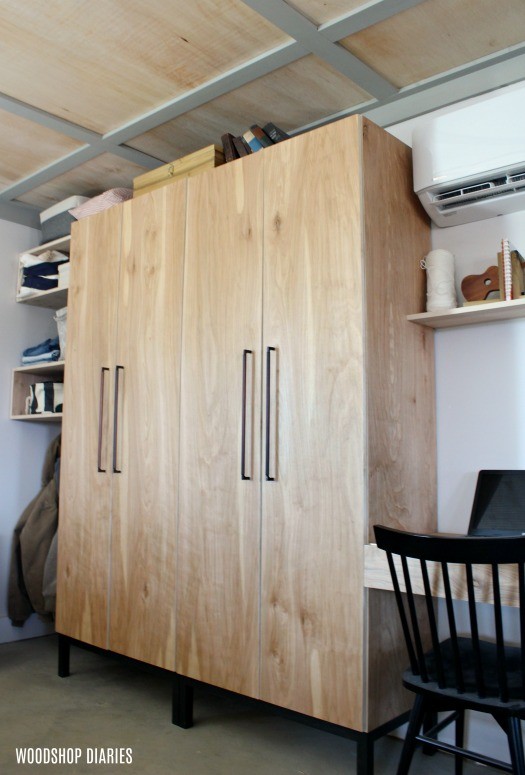
And finally, here’s an example of hickory edge banding I used on my hickory plywood cabinet doors:
Now, it does also come in black or white that can be used with any wood type if you’re planning to paint your project.
As far as size, I find it easiest to chose a size SLIGHTLY wider than the thickness of plywood I’m covering.
For example, the ¾″ plywood I normally use is actually 23/32″. So I use ¾″ wide edge banding because it’s 1/32″ wider.
This just gives me a tiny bit of overhang on each edge once applied.
I can sand that off to give me a nice, clean edge (more on that in a minute).
HOWEVER, you don’t want too much overhang or you’ll be sanding a lot of unnecessary material off.
I recommend NOT using edge banding that is more than 1/16″ wider than your plywood thickness.
How to Cover Plywood Edge with Iron On Edge Banding
There are a TON of ways to “edge band” plywood. Many of them require fancy router bits or equipment.
.
But what I love about iron on edge banding is that literally all you need is an iron to apply it…like, legit…an iron–like you use on clothes.
.
NOTE: Don’t use a good iron for this–no matter how careful you are, you will eventually get glue on the iron and you won’t want to transfer that to your clothes.
.
Simply line the end of the roll up with the edge of the plywood.
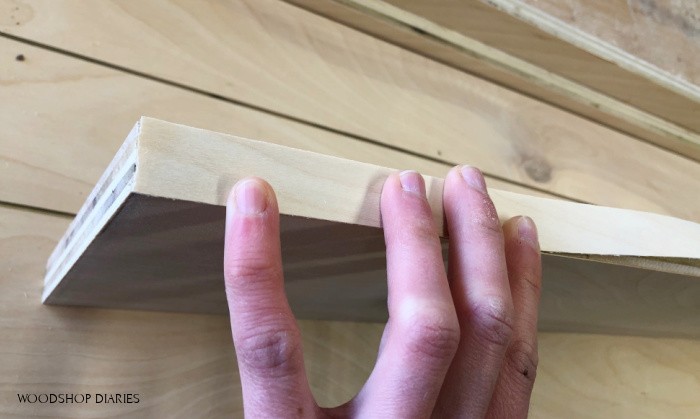
Heat your iron to the cotton setting (no steam), and apply heat to the edging.
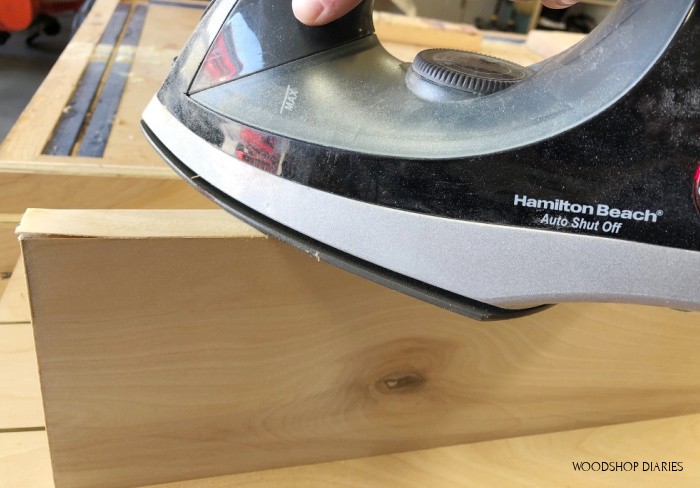
If you look really close, you can watch the glue start to melt between the edging and the plywood.
Once you see that, you can move the iron down and work your way down the piece.
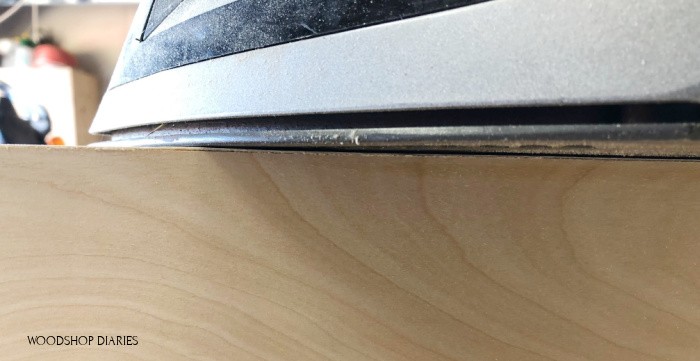
The most important part is that after the glue melts and you move the iron, you need to either use your fingers (it will be HOT!) or a scrap wood block to press the edging down while the glue cools (it’ll only take a couple seconds).
If you don’t press the edging after the glue melts, the edge can tend to cup upward and not stick well.
I like to work in small sections or 6-12″ at a time and melt the glue, then run my block along it, then move over and do the next 6-12″ section.
If for any reason the edge banding doesn’t stick well or gets out of position, just go back over it with heat again and reposition it as needed.
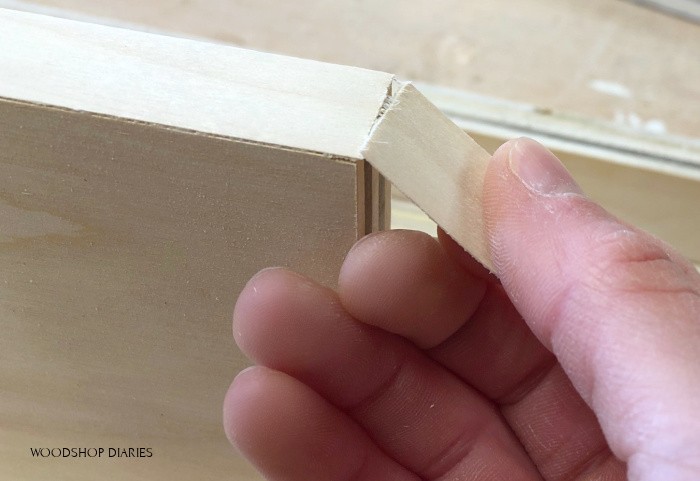
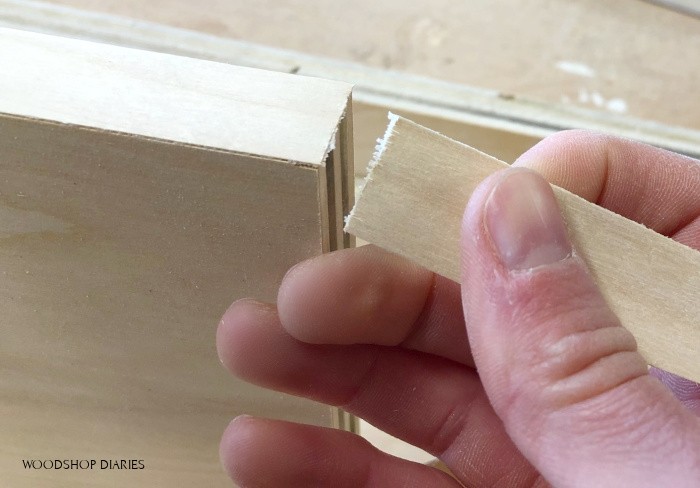
Once you reach the end of an edge, you need to cut or break the edge banding.
You can cut this with a utility knife, but I find it easier and cleaner to simply “break” it off.
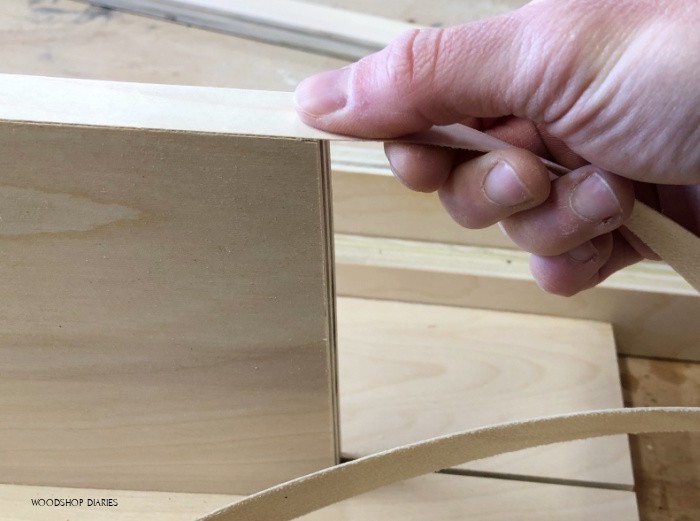
Just fold it over the edge like shown.
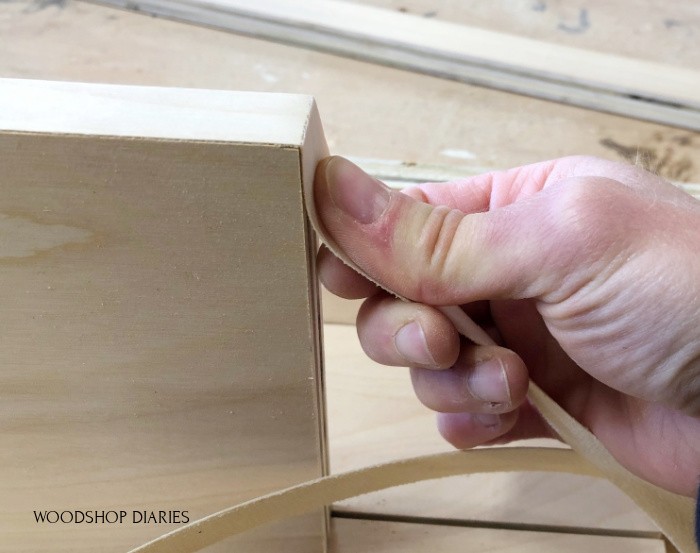
Then, fold it backwards.
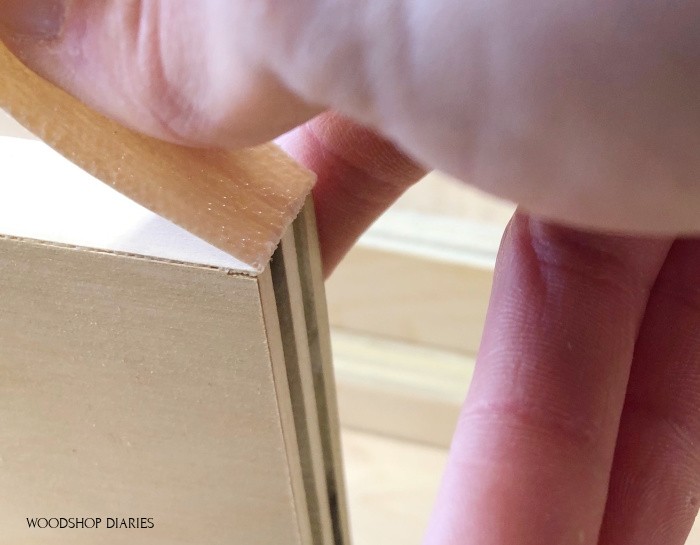
And it should break off pretty easily, if not, keep folding back and forth and try again, or just use a knife.
Repeat the process for the other exposed sides and when you come to a corner, let one side SLIGHTLY overlap the other–you can sand this down flush later.
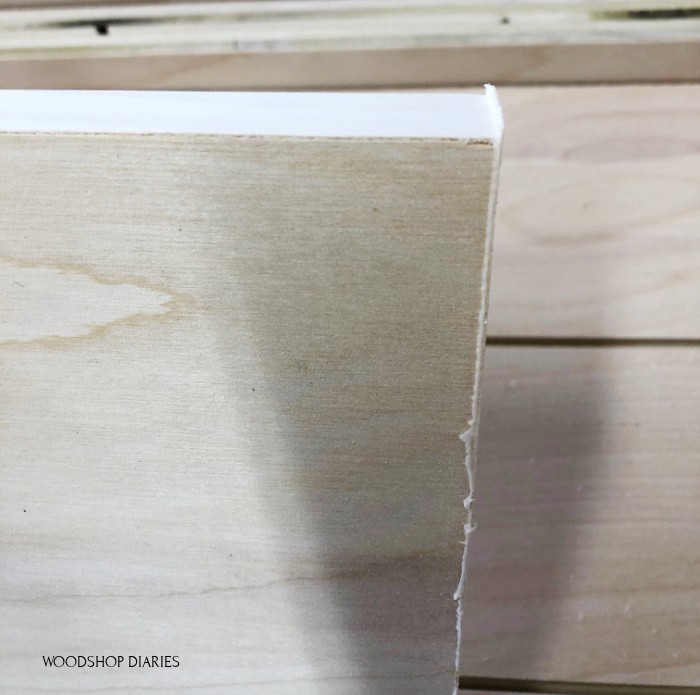
Once the banding is applied and the glue has had a chance to cool, it’s time to sand–see those rough edges and glue squeeze out above?
.
You can hand sand if you prefer, but I like to use an orbital sander with 220 grit sandpaper and sand along these edges to get everything nice and smooth.
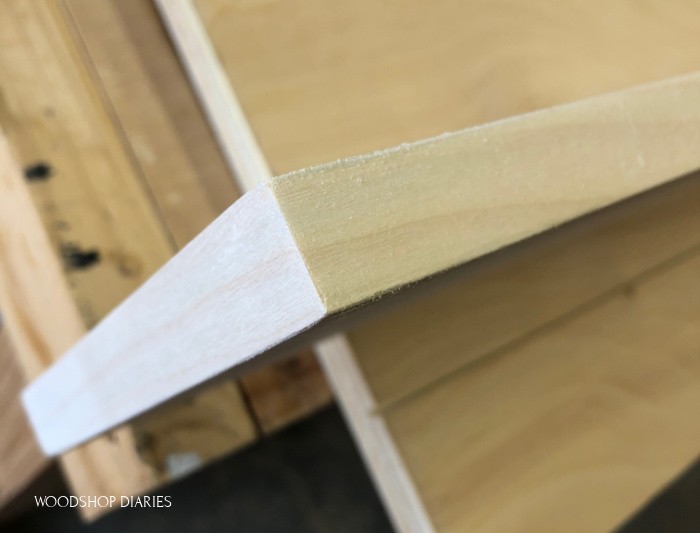
If for any reason there is some loose edge banding you find while sanding, reheat your iron and touch up anywhere the glue didn’t hold.
Just re-melt and press it in place good.
I’ll address a few other common issues you may encounter and how to fix them below.
But at this point, once you’re done sanding, it’s ready to use in your project and/or paint/stain as desired 🙂
Will Edge Banding Stain the Same Color?
Yes…IF you followed what I said earlier about matching your edge banding to the type of plywood you are using.
There is no special technique or procedure for staining or finishing edge banding.
Since it’s real wood veneer, it takes stain just like real wood.
Check out this modern console cabinet for an example.
The front edges, top, and doors were all edge banded plywood and they stained the same.
Do You Need Edge Banding if You’re Painting?
No. You can use other methods to cover your plywood edges if you are painting, BUT, I usually still use edge banding for mine.
Some people prefer to putty the edges and sand well.
But I find that many times, if I’m looking at the right angle, I can still see the plys when I use this method.
So, I still edge band EVEN IF I’m painting.
But, I always encourage you to try it my way and try it your way, then pick which one you’d rather do 🙂 Whatever works for you…works.
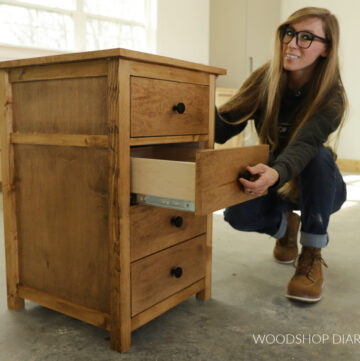
Here’s an example of a drawer front I painted after applying edge banding to it.
What if the Edge Banding Bubbles?
Once thing I’ve noticed about iron on edge banding over the years is that applying a water based finish will expose any weaknesses in its application.
The water based finishes will cause bubbling anywhere that the glue didn’t properly adhere.
You will literally see like a bubble pop up underneath the edging.
DON’T FREAK OUT. This is fixable.
To fix this problem, first, try using a clean, but old rag (not your good stuff) over this area and use the iron over that to reheat the spot.
Press the bubbled spot down and try to get it to stick underneath.
If that doesn’t work, use a needle or a knife to make a SMALL incision or puncture on the bubble to allow air to escape and try again to heat the glue and press it in.
Then just putty and touch up the small hole if needed.
Won’t it Eventually Peel Off the Plywood Edges?
Maybe? To be honest, I can’t tell you how long glue on edge banding will last.
But what I can tell you is that I’ve been using it (A LOT) for about 5-6 years and haven’t had any issues that I’m aware of where it’s peeled off anything I’ve put it on.
If properly applied with good adhesion, I wouldn’t expect it to fail.
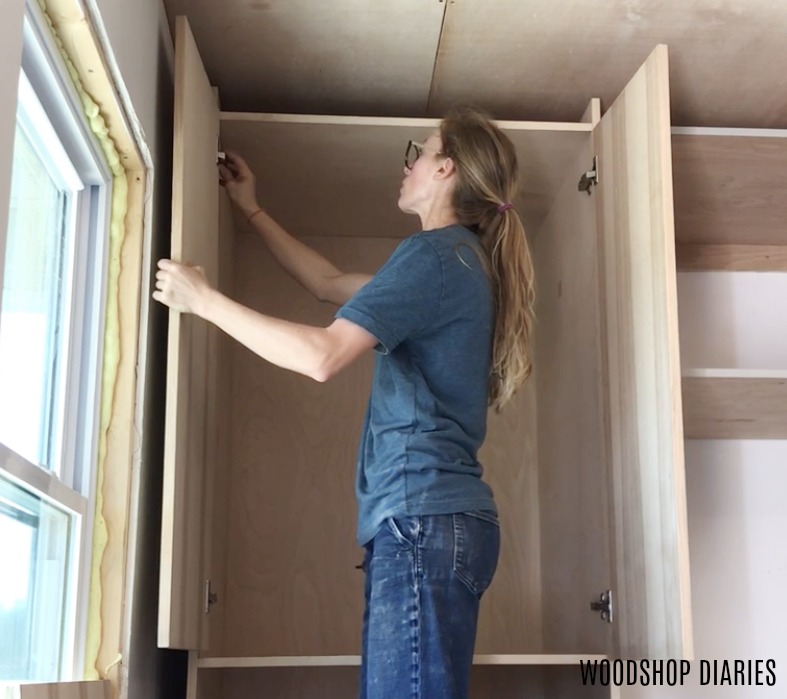
I’ve got it on all my kitchen cabinets and closet doors (seen above) that we use multiple times a day and haven’t had a single issue in well over 3 years.
If exposed to a lot of direct moisture or direct steam (like in a bathroom), it MIGHT have some issues in time.
But, if you have that much steam and moisture in your bathroom, the least of your concerns over time will probably be the edge banding on your cabinets haha.
As with most anything else, edge banding will become easier and easier the more you do it.
It’s not really a “fun” task, but it does make a HUGE difference to take your builds up a notch vs just leaving the exposed edges.
RELATED: Easy DIY Bookshelf Build
If you’re interested in learning a few more helpful tips to take your builds to the next level, I’m sharing 5 furniture building secrets here.
.
And if you’re interested in where to get your edge banding, this is my favorite brand and size I’ve been using for my ¾″ plywood for years.
.
I hope you found this post on how to cover plywood edges helpful and if you want to save it for later, be sure to pin it!
And if you want to be the first to know about awesome new content on Woodshop Diaries, be sure to sign up for the newsletter below.
Until next time, happy building 🙂


