In this post, I’ll share how easy it is to add adjustable shelves into your cabinets and furniture with just a couple basic tools!
I don’t know about you, but I’m indecisive. One of the things I love most about installing adjustable shelves is that I can move them around however I want and as many times as I want to suit my needs.
Stationary shelves just don’t give me that option.
So when I get ready to add shelves into my DIY and furniture projects, I almost always add adjustable shelves to give me options.
The best part? I think they’re even easier to install than stationary shelves, anyway! I’ll show you how to add adjustable shelves to your own furniture and cabinet projects below.
What Do You Need To Install Adjustable Shelves?
The tools and materials needed to add adjustable shelves to either new OR existing cabinets are very minimal. You only need a few items!
*This post contains affiliate links. See website policies.
WHAT YOU NEED TO INSTALL ADJUSTABLE SHELVES
Tools:
- Drill
- Shelf Pin Jig
- Saw (to cut shelving material as needed)
Materials:
- ¾″ plywood or desired shelving material
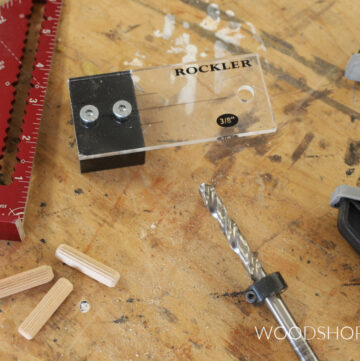
- Shelf Pins
NOTE: I use a Kreg shelf pin jig. There are several brands that make similar jigs as well. Kreg recently updated their shelf pin jig design, so you’ll see two different looking jigs in this post. Don’t be confused–they’re the same thing, one is just the newer version, so it looks a little different.
Shelf Pin Types and Sizing
Shelf pins and shelf pin jigs some in two common sizes–5mm and ¼″. It’s important to know what size jig you’re using to know what size shelf pins to use.
5mm is smaller than ¼″ so if you use 5mm shelf pins in ¼″ holes, they’ll just fall out. But ¼″ shelf pins won’t fit into 5mm holes.
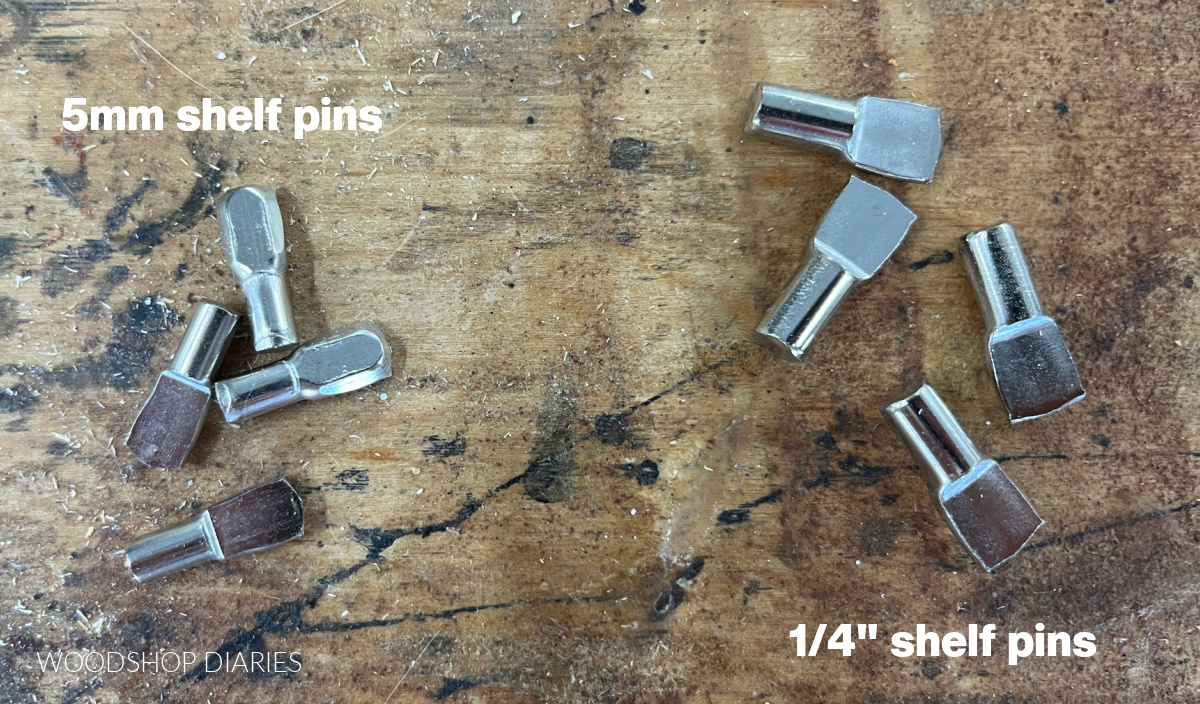
Both work fine for most cabinet and furniture applications, so it doesn’t make a big difference which one you decide to go with.
If you’re using a 5mm jig, use 5mm shelf pins. If you’re using ¼″ jig, use ¼″ shelf pins.
Personally, I prefer ¼″ sizing for my shelf pins.
In addition to the different sizing options, shelf pins also come in a few different styles. Some are just simple rods, some are like L shaped brackets. But I prefer the “spoon” style like shown on the right below.

How to Drill Shelf Pin Holes
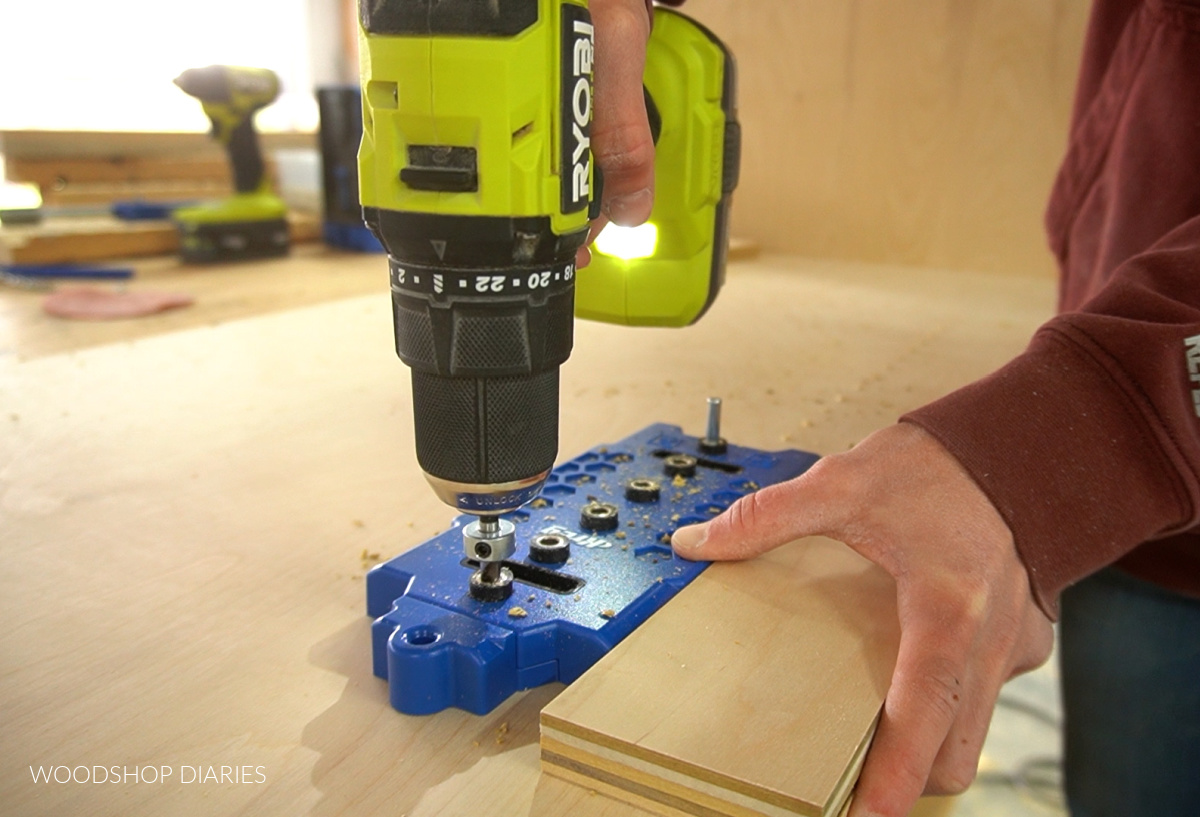
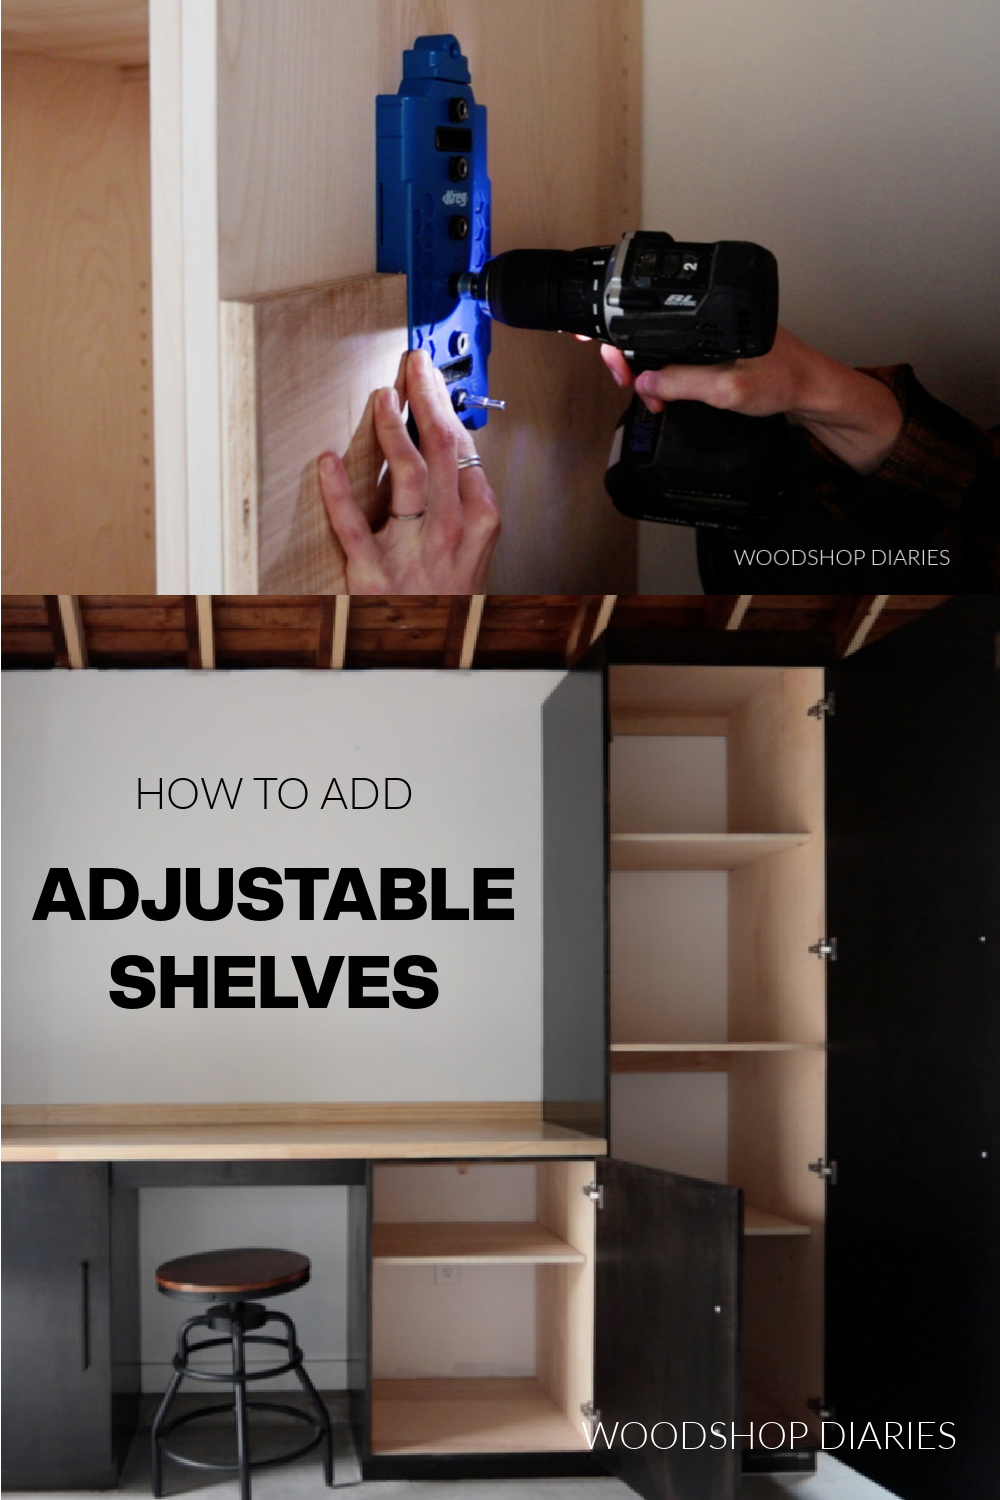
Drilling shelf pin holes is SUPER easy with a shelf pin jig. This jig helps you drill equally spaced holes perfectly sized for shelf pins.
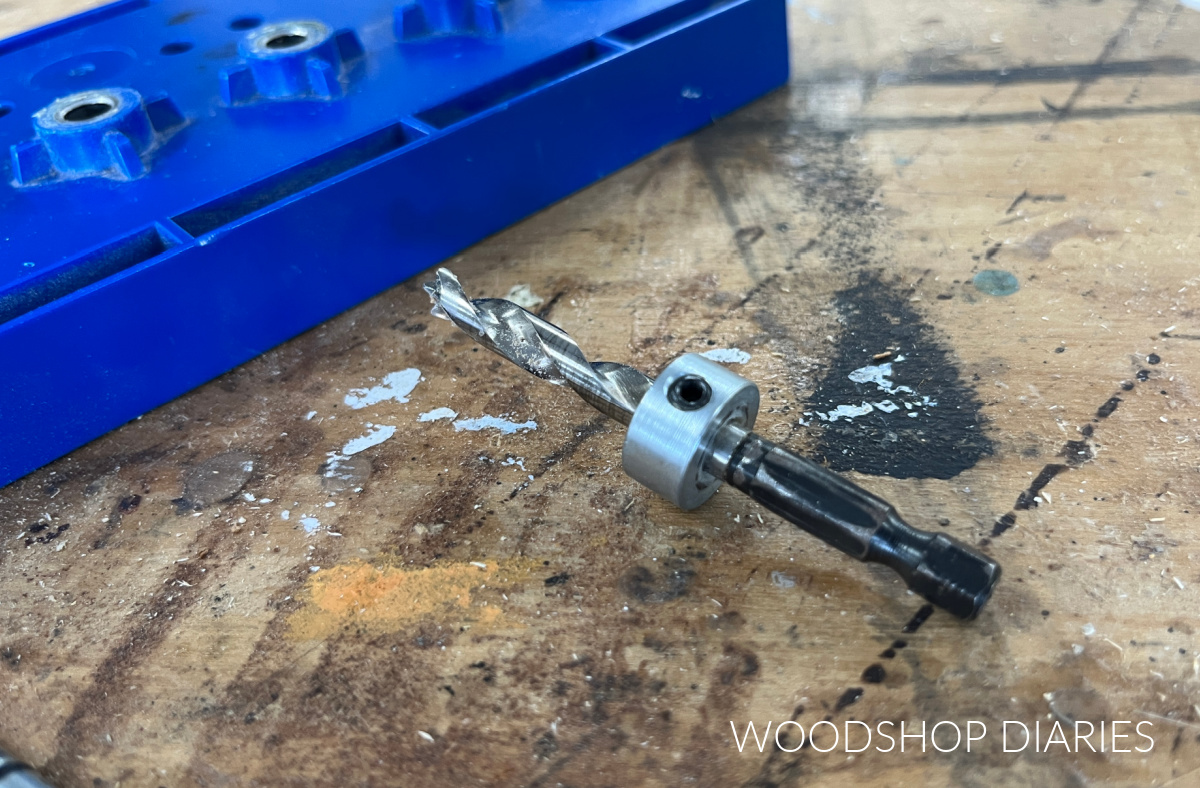
The shelf pin jig comes with a drilling guide (or jig), a drill bit with stop collar, and an indicator pin.
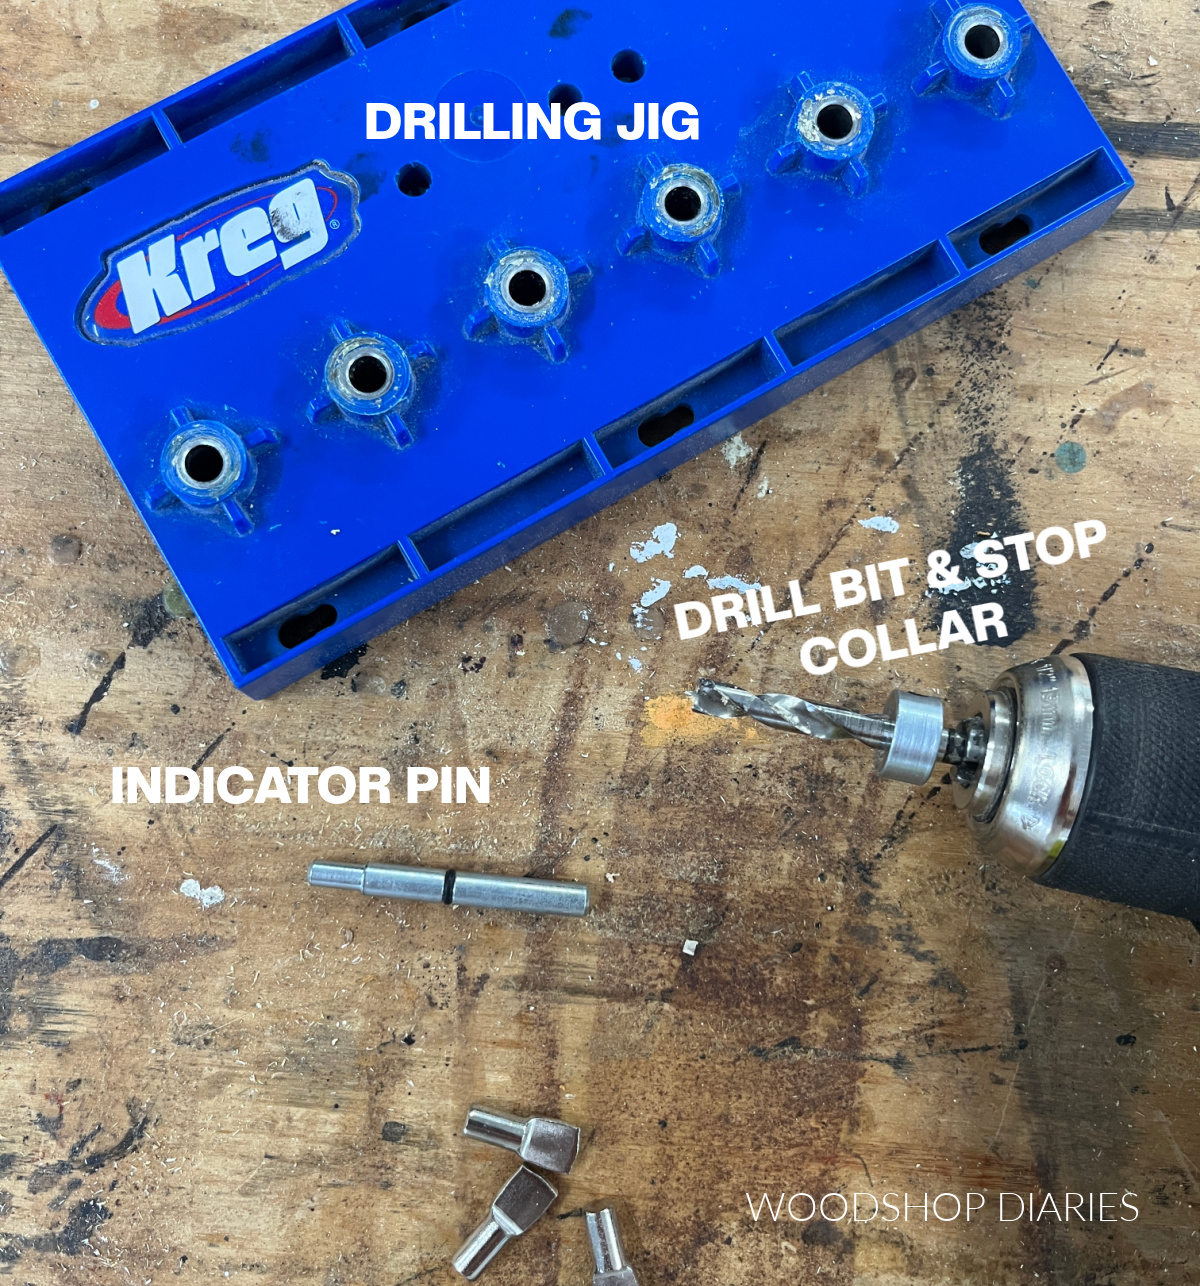
Install the drill bit into your drill and set the stop collar to the depth you want to drill. See frequently asked questions at the bottom of this post for drill depth tips.
Step 1: Determine shelf pin hole locations
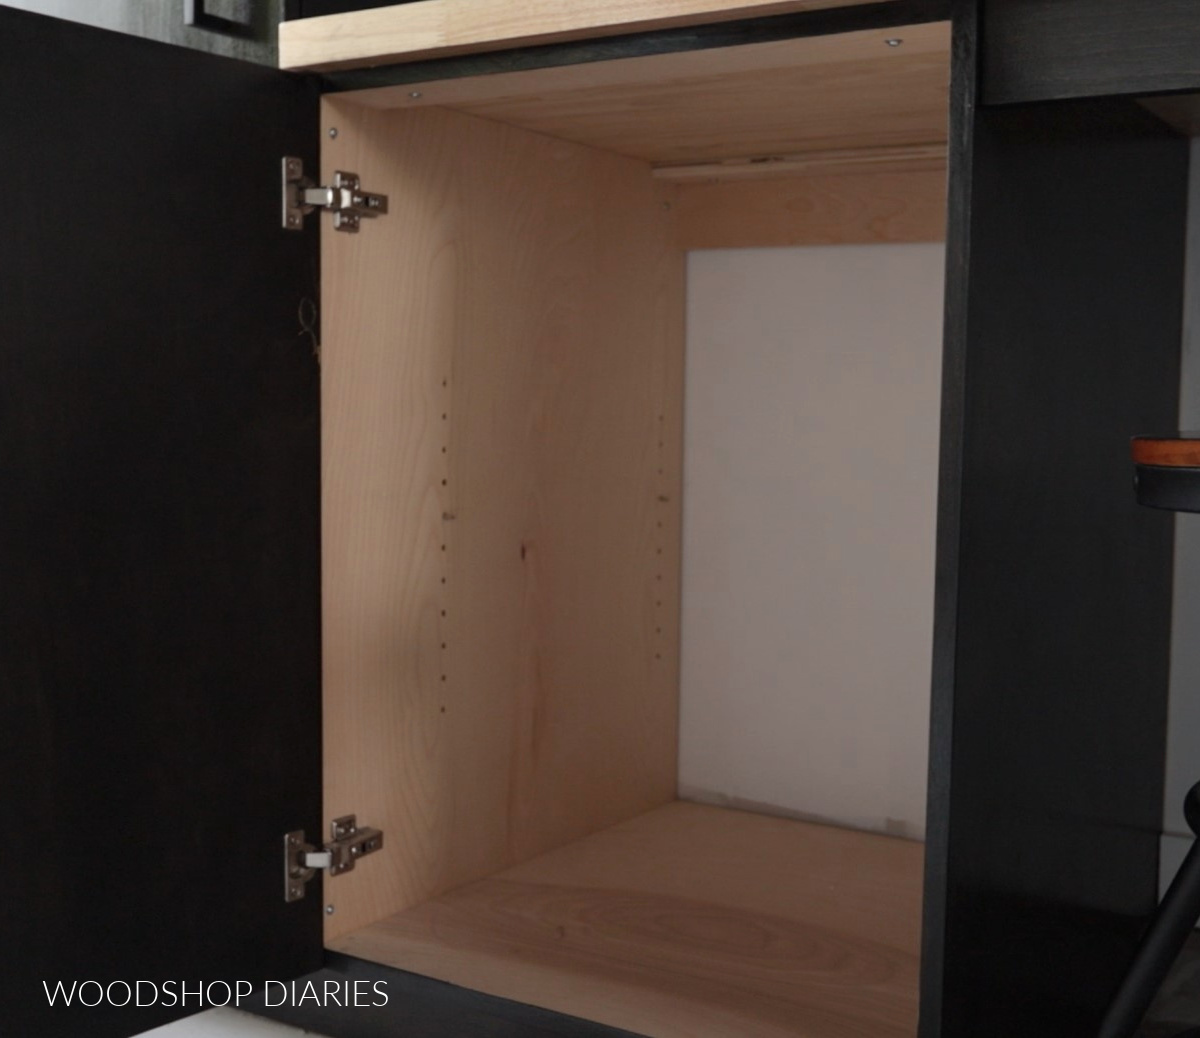
You’ll need to drill 4 sets of holes–two on each side of the cabinet toward the back and two on each side of the cabinet toward the front. Each shelf will rest on 4 pins placed in these holes.
For the two sets of holes along the back, I like to just line up the edge of the jig with the back of the cabinet when drilling. That way, I know I’m drilling straight up and down along this edge.
For the holes at the front, I like to drill these about 1″ closer to the back than the depth of the shelves. So if the shelves are 12″ deep, I’ll drill my holes about 11″ from the back of the cabinet.
You can use some scrap blocks placed along the front or back edge of the cabinet to help you keep the jig properly spaced and square while drilling.
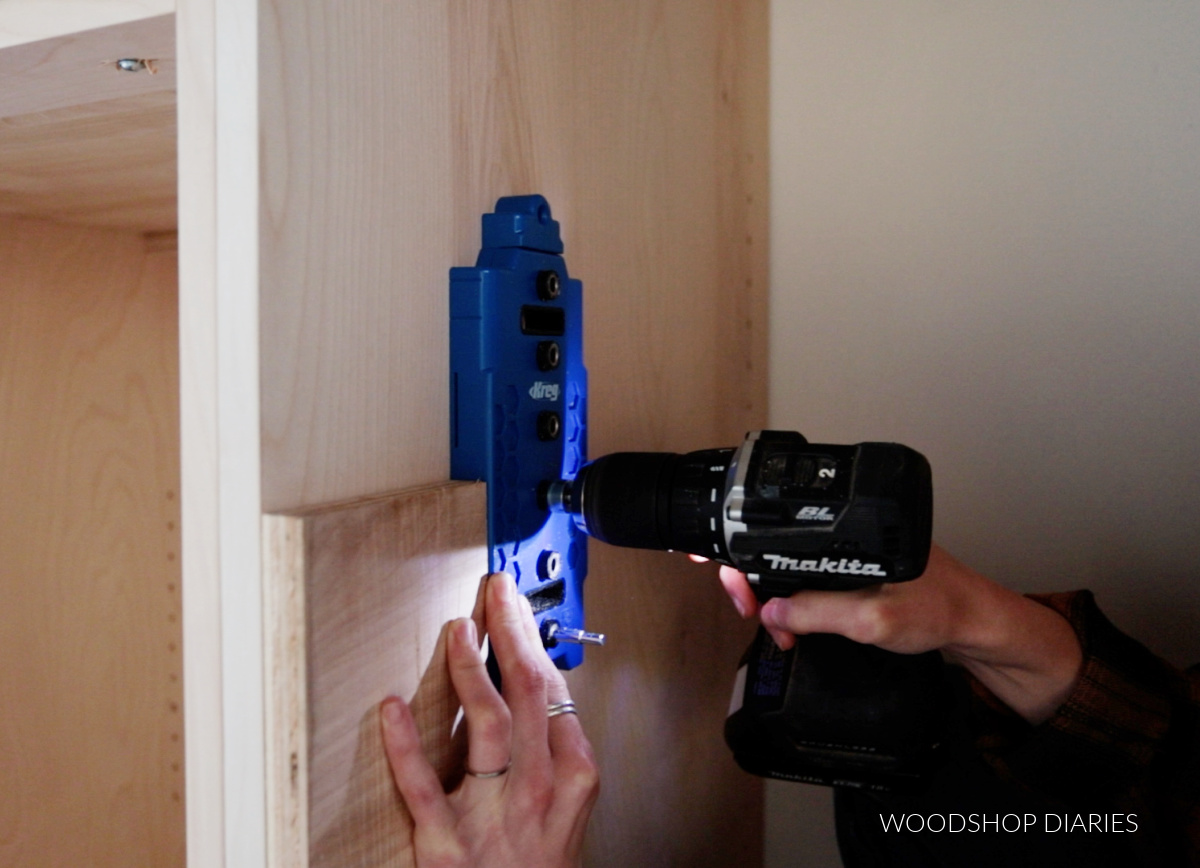
Make sure you start each set of holes at the same height. For example, if you started your first set of shelf pin holes 6″ from the bottom of the cabinet, start the other three sets of holes 6″ from the bottom of the cabinet.
See frequently asked questions at the bottom of this post for more shelf pin location tips.
Are DIY and woodworking projects your thing? Sign up for our newsletter to be the first to know when new projects and plans are out!
Step 2: Drill Out Shelf Pin Holes
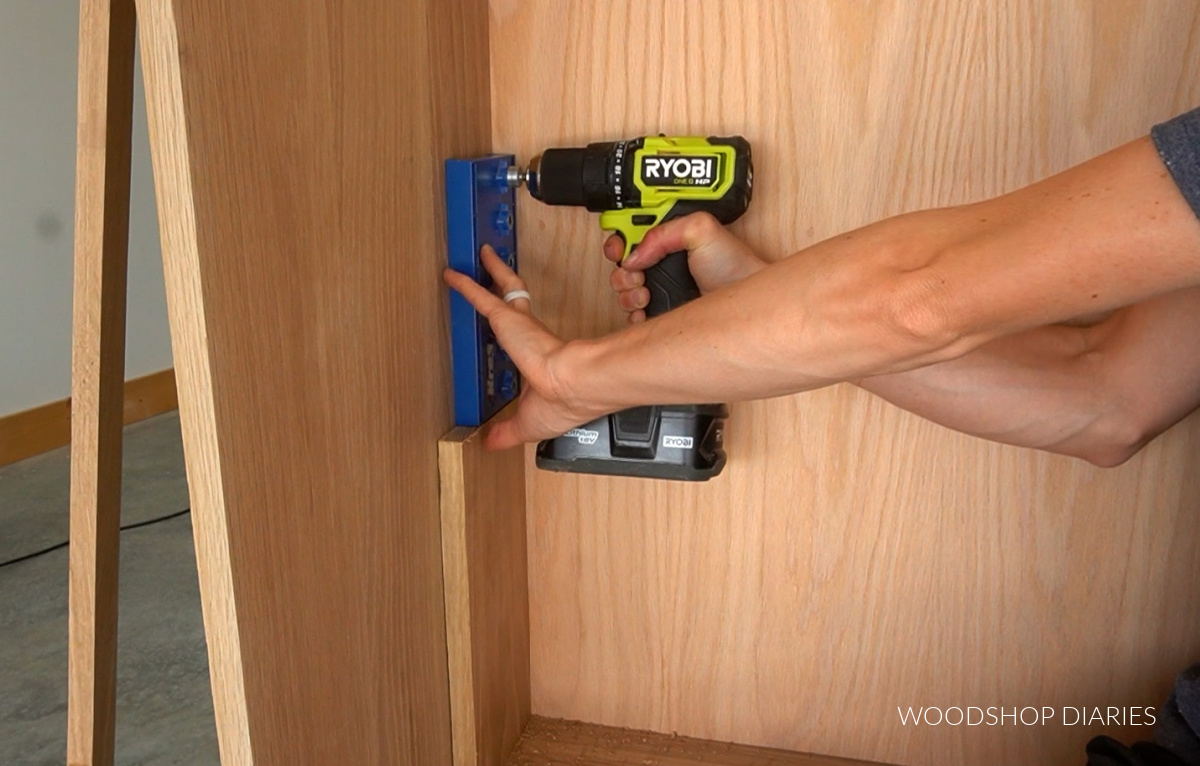
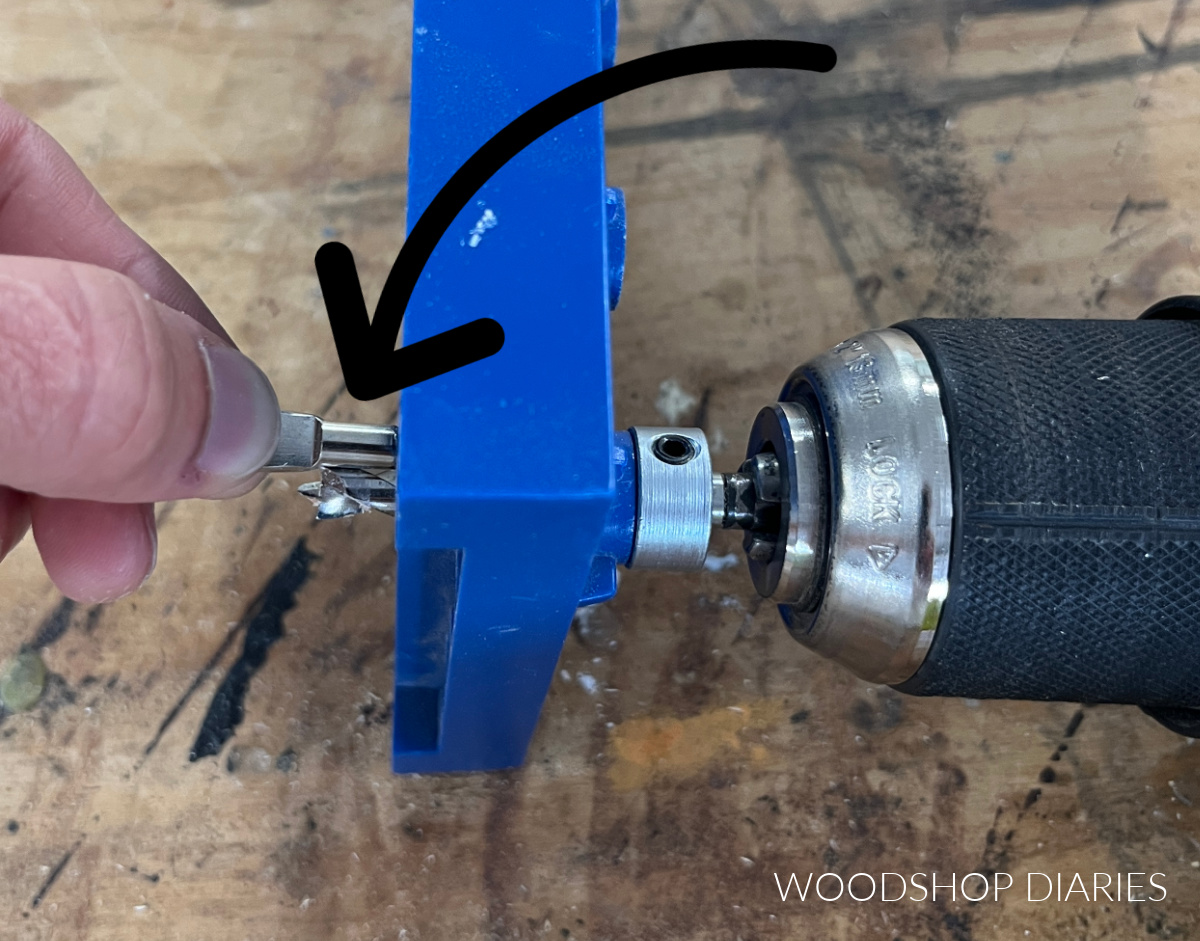
To use the jig, simply hold it tightly (or clamp) onto the side of the cabinet at the locations mentioned in step 1 and drill into each hole of the jig. I like to start at the bottom of the cabinet and work my way up.
After you drill the top hole in the jig, move the jig up and place the indicator pin through the bottom hole of the jig into the last hole drilled.
This helps keep the holes consistently spaced as you drill your way up the side of the cabinet. By the way, you can drill your shelf pin holes while the cabinet is standing up like shown above or laying down like shown below.
If you don’t want holes going all the way to the bottom of your cabinet, you can use a piece of scrap wood under the jig to raise it where you want to start your shelf pin holes.
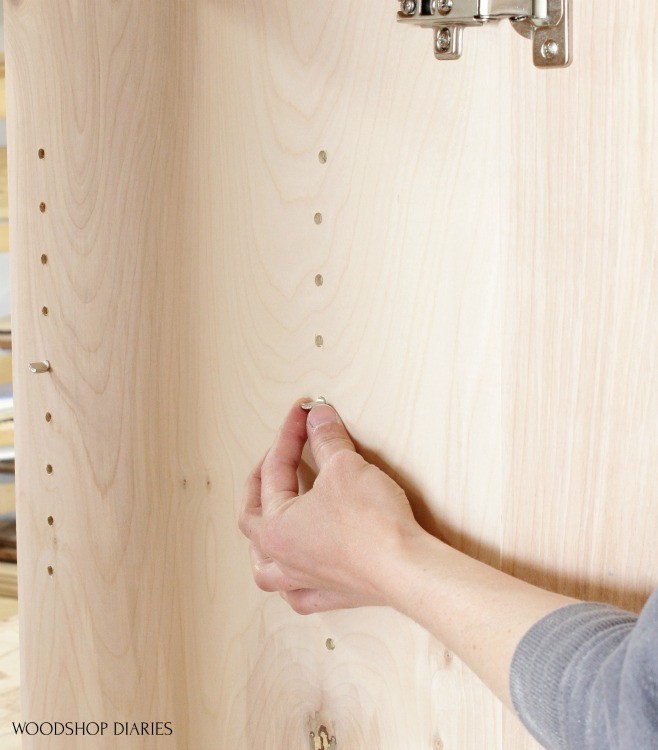
Once all four sets of holes are drilled, lightly sand the area to smooth out any rough spots around these holes.
How to Install Shelves with Shelf Pins
Installing the shelves is even easier than drilling the holes. Simply place shelf pins into the holes where you’d like to place your shelf or shelves.
Use 4 pins per shelf and make sure they’re all in corresponding holes so your shelf isn’t lopsided.
Cut your shelving material (I recommend ¾″ hardwood plywood) to the depth you want your shelves to be and trim the width to about ¼″ less than the width of the inside of the cabinet.
For example, if the inside of the cabinet is 24″ wide, cut your shelves about 23 ¾″ long. This allows about ⅛″ wiggle room on both sides to be able to easily remove and adjust the shelves.
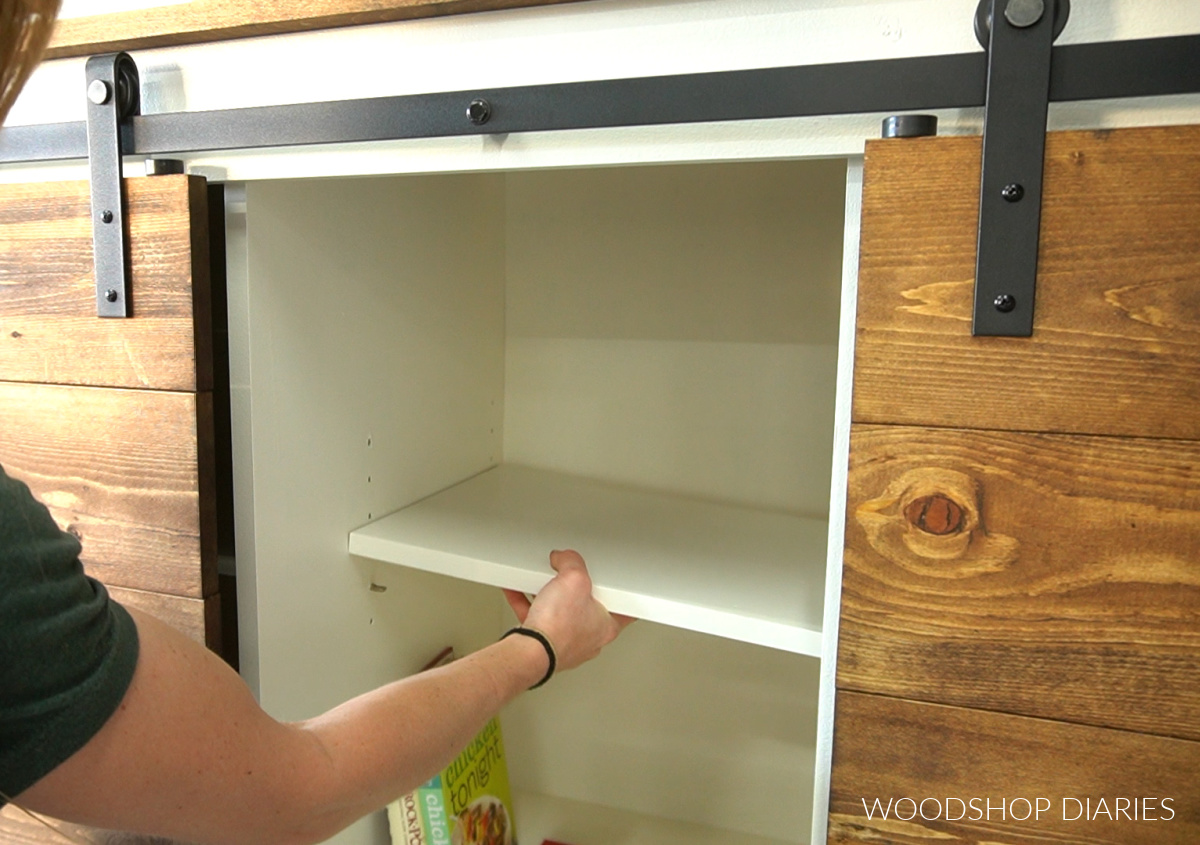
Place the shelves on the pins and now they’re ready to use!
Frequently Asked Questions About Installing Adjustable Shelves
Drilling shelf pins and installing adjustable shelves is a really easy task, but there are several questions people often ask about the process that I’ve answered below.
If you think of an additional question while you’re installing your own shelves, feel free to reach out and ask so I can add that question to this list!
How deep do I drill my shelf pin holes?
The drill bit on the shelf pin jig comes with a stop collar that you can adjust to set your drill depth.
The depth you drill your holes will depend on the type of shelf pin you’re using and the thickness of the material you’re drilling into.
What I suggest is sticking the bit through the jig so that it sticks out just barely more than the length of the shelf pin peg (the back portion of the pin that will go into the hole). Set the stop collar at this location and drill a couple test holes.
Insert the shelf pin and see if it seems to fit well. If so, you’re set to drill! If it goes a little too deep or not deep enough, adjust the stop collar and drill another test hole until you get it where you want it.
If you’re drilling through the panel, I suggest using thicker material. For example, ½″ plywood may not work well for some shelf pins.
Can I drill shelf pins on both sides of plywood?
For example, maybe you have a divider panel in the middle of a cabinet and you want to drill shelf pin holes on both sides of it to be able to install shelves on both sides of the cabinet. Like in this example:
Yes, you can drill on both sides! However, it’s best to offset the holes on each side so that you aren’t drilling in exactly the same spot.
One way to “offset” the holes on each side is to drill the set of holes on the left side of the panel 1″ further back from where you drilled the holes on the right side of the panel.
For example, if you drilled holes 2″ in from the front edge on the right side, then drill them 3″ in from the front edge on the left. That way, the holes won’t interfere with each other.
Another option is to start your holes on the left side ½″ higher than where you started your holes on the right side. That way the holes on left side will be offset the holes on the right.
Where should I drill my shelf pin holes?
The exact location that you drill your shelf pin holes isn’t critical in most cases. There is a lot of wiggle room. So it’s kind of up to you where you want them! However, there are a few things to keep in mind with shelf pin location.
Remember that you will drill 4 sets of holes–two along each side of the cabinet toward the back and two along each side of the cabinet toward the front. I recommend drilling the front set of holes about 1″ less than the depth of the shelf from the back of the cabinet.
For example, if you will have 12″ deep shelves, drill the front holes about 11″ from the back of the cabinet.
You can drill your holes as high or as low in the cabinet that you think you’d want to place any shelves. Just make sure that you keep the holes on the left side of the cabinet at the same heights as the holes on the right side.
For example, if you start your holes on the left side of the cabinet 6″ up from the bottom, then be sure to start the holes in the right side of the cabinet 6″ up from the bottom as well.
How much weight can shelf pins hold?
This will depend on the type of shelf pin you’re using, the depth of your shelf pin hole and the material you’re using. In most cases, the shelf will give before the shelf pins will. The pins can hold a SIGNIFICANT amount of weight.
How do I avoid tear out when drilling shelf pin holes?
Most cases of tear out when drilling shelf pin holes are caused by a dull bit, not enough clamping pressure on the jig, or poor quality wood.
First, check your drill bit for chips–make sure it’s sharp and in good shape.
Next, make sure you’re holding or clamping your jig TIGHT to the wood surface when drilling your holes. The jig pushing tight against the wood helps prevent the wood fibers from tearing.
If you’re still struggling with tear out, try drilling some shelf pin holes on another type of material and see if it tears out, too. It may be that the plywood or lumber you’re drilling into is just poor quality and prone to tearing (it may have a really thin veneer layer that rips easy).
One way to help with this issue is to apply painters tape where you plan to drill your holes. The tape can help keep the wood fibers from ripping as it’s drilled into. Always sand after drilling shelf pin holes. Often, a quick sanding removes most of the tear out and it’s not noticeable anymore.
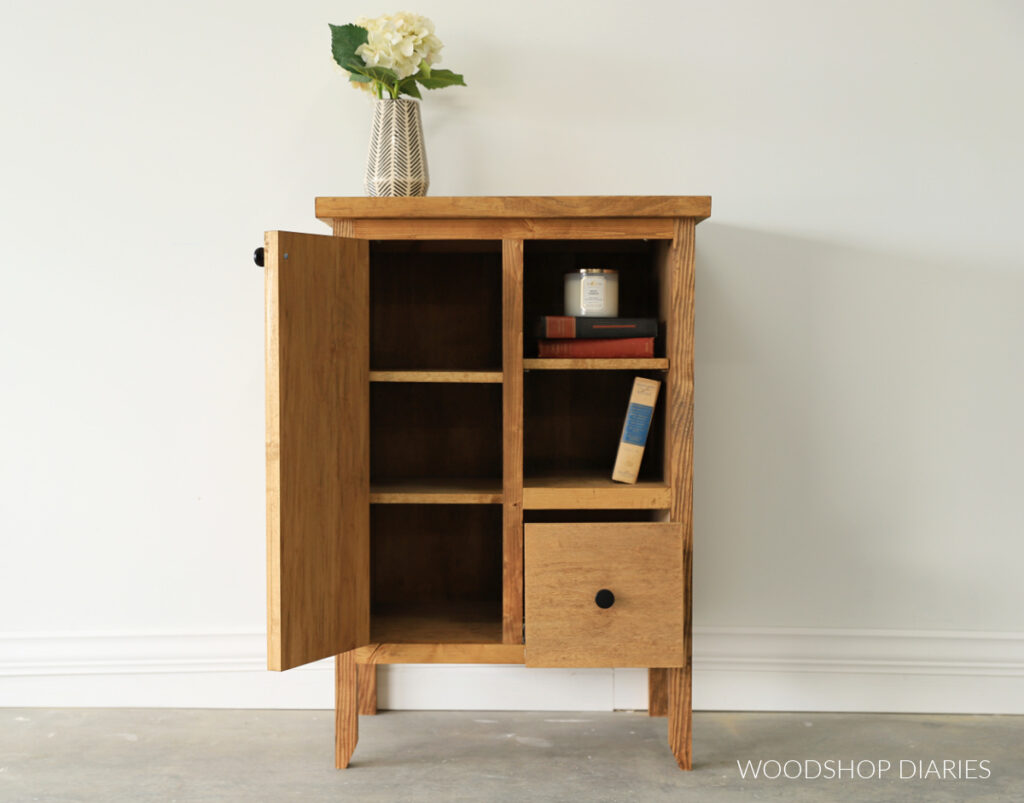
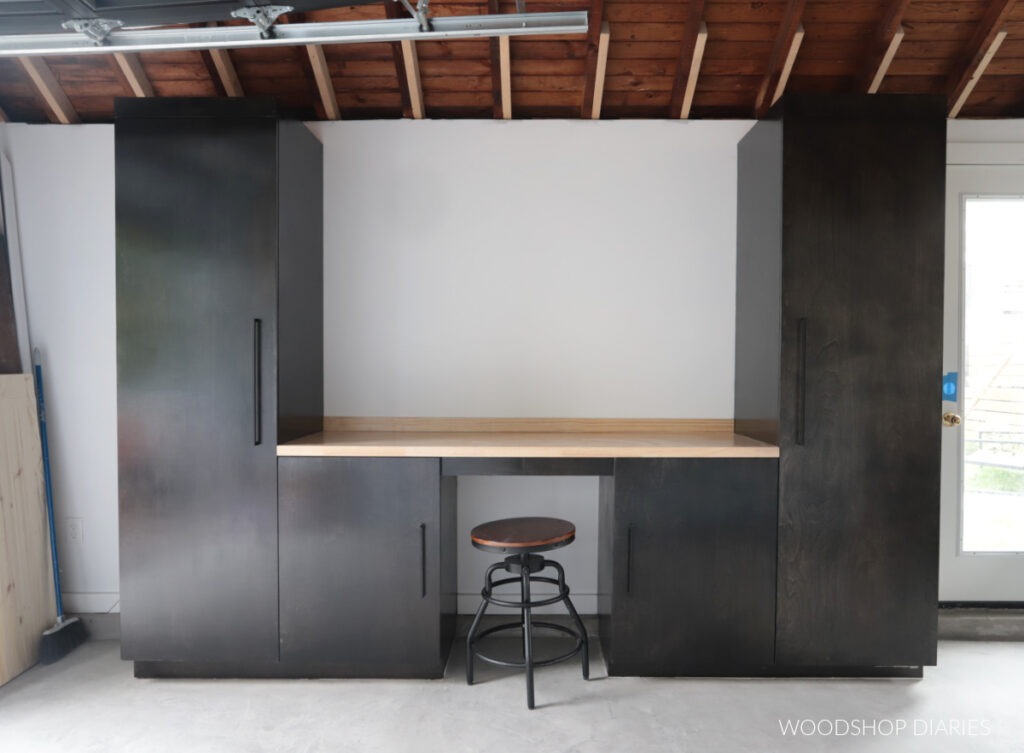
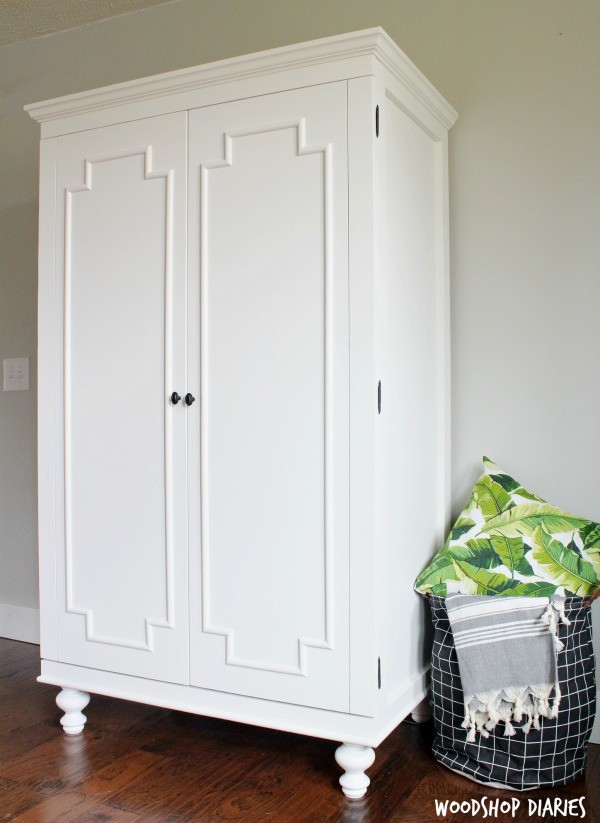
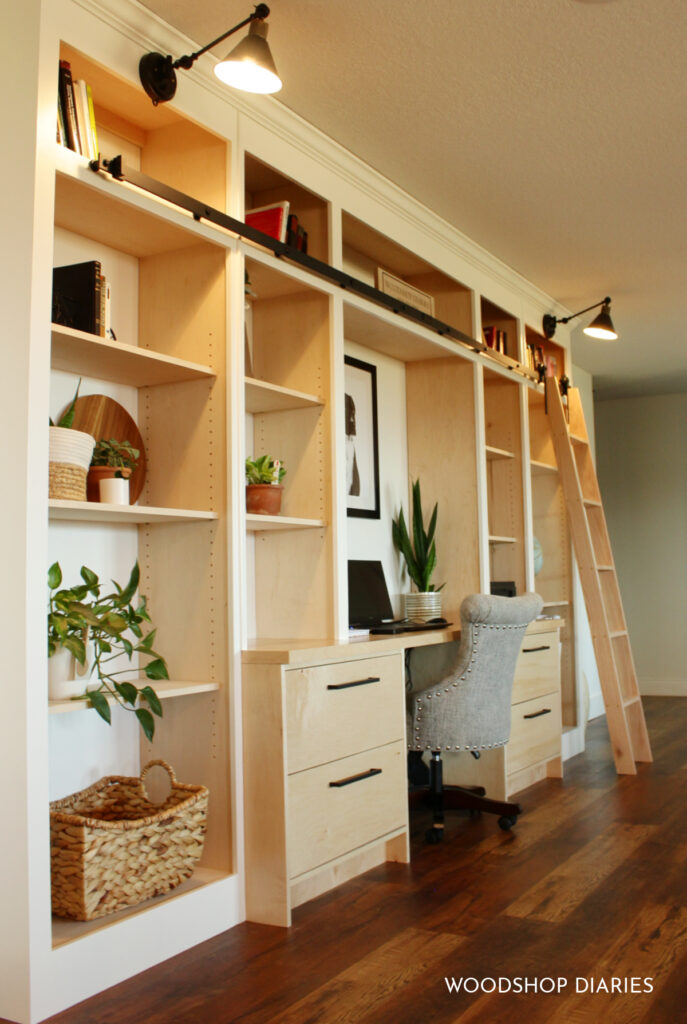
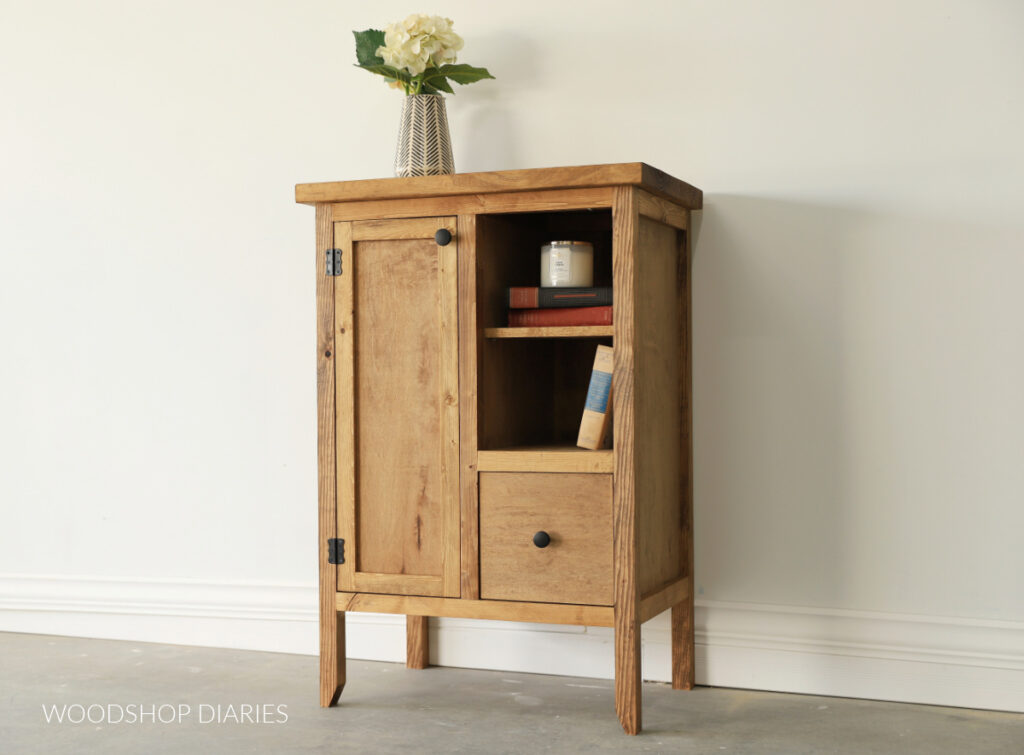
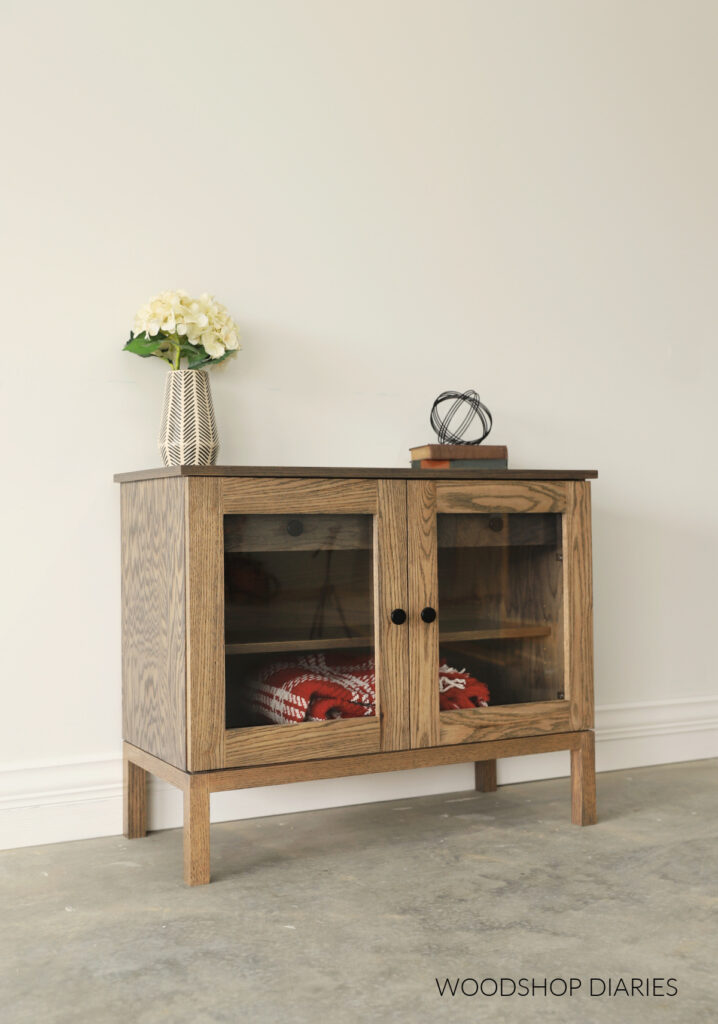
Looking for shelving project ideas?
Now that you know how to use a shelf pin jig and install adjustable shelves, it’s time to practice on a new project!
Here are a few great shelving project ideas to practice your new skills!
If you’d like to save this for later, don’t forget to pin it or share to your favorite social channel!
Until next time, friends, happy building!