
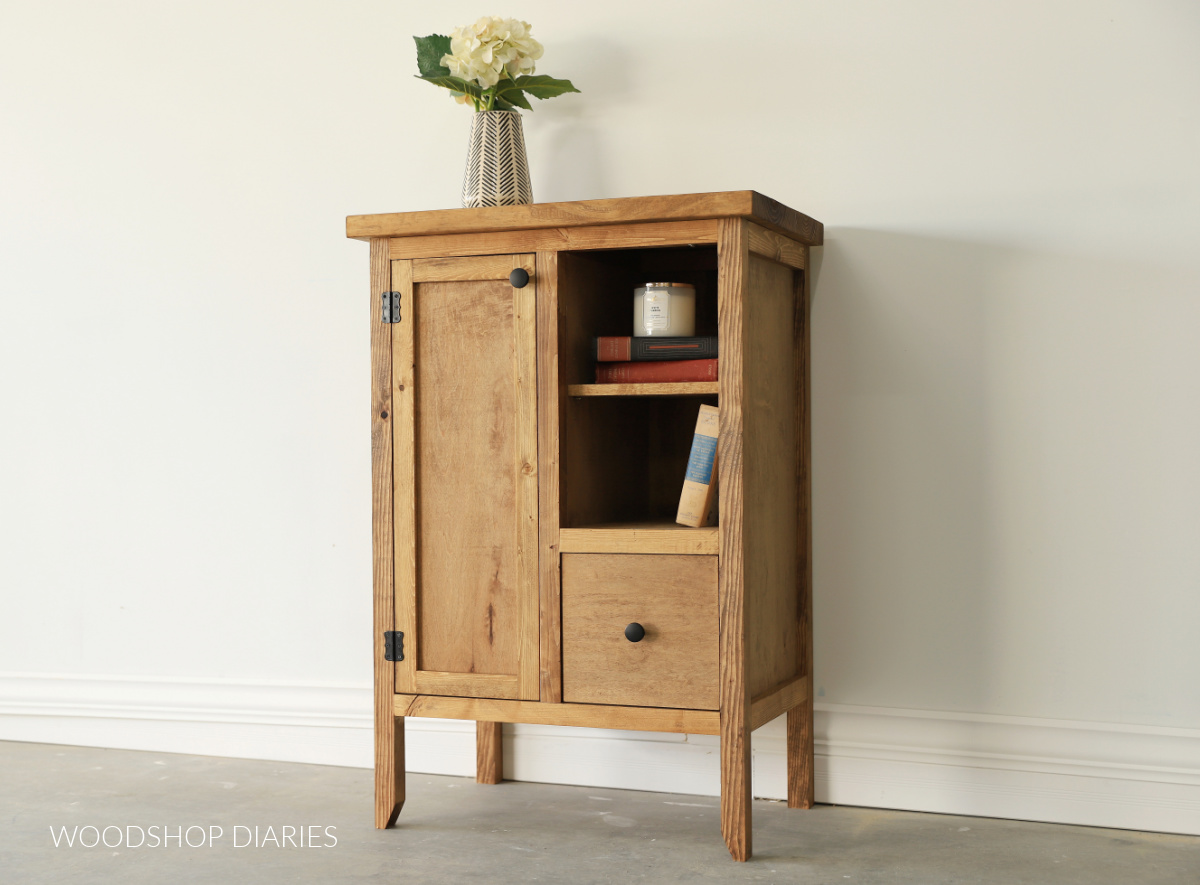
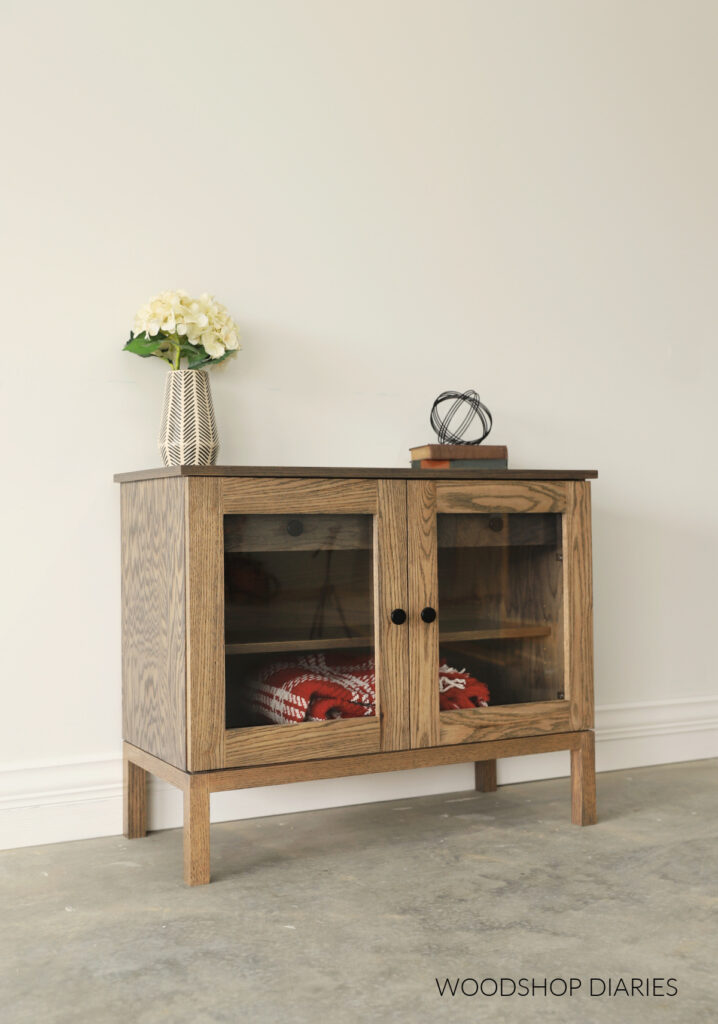
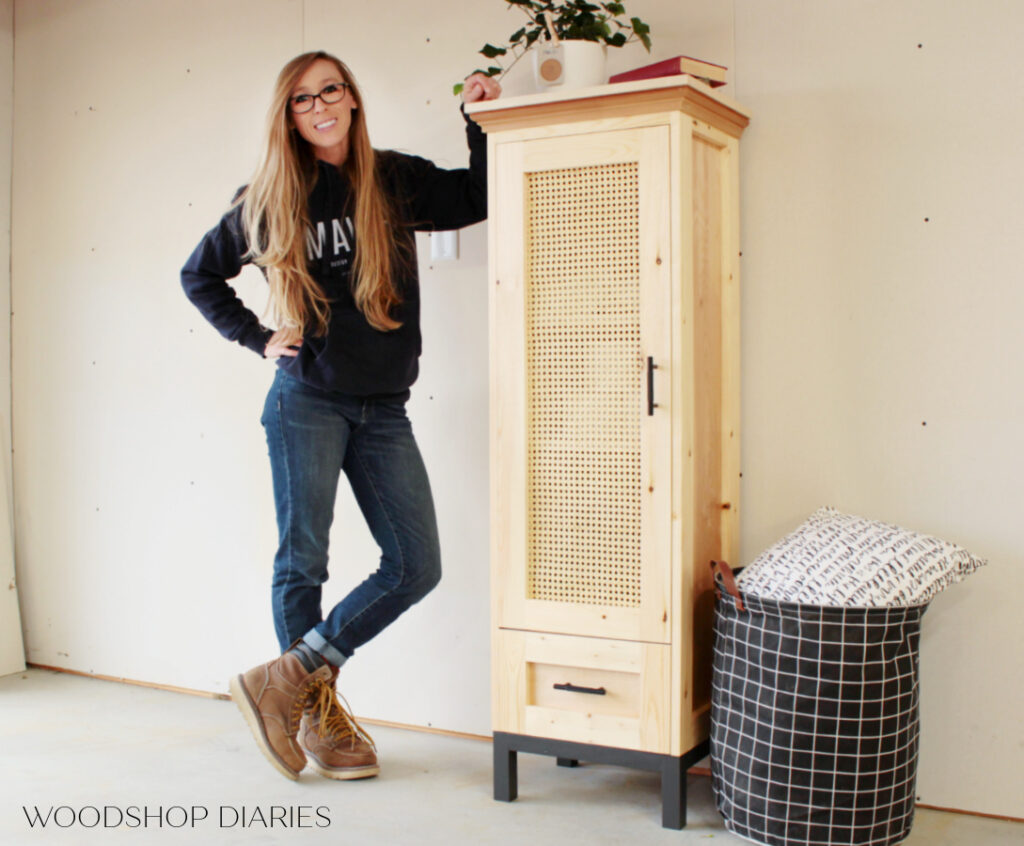
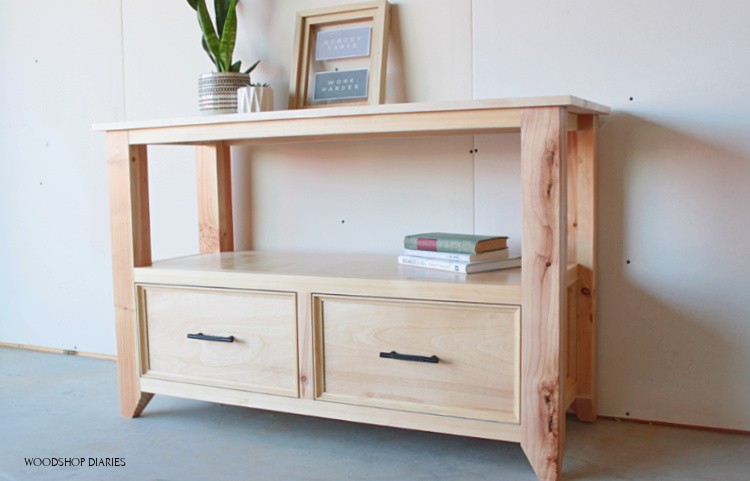
In this post, I’m sharing how to build a DIY coffee bar storage cabinet with step by step building plans!
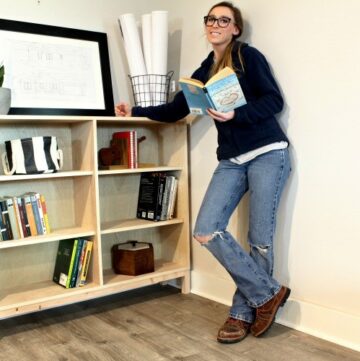
This simple DIY accent cabinet would make a great place for a coffee bar, a bookshelf, a linen storage cabinet or even a nice addition to a home office.
*This post was originally published on June 27, 2016. It was updated and republished on May 5, 2023.
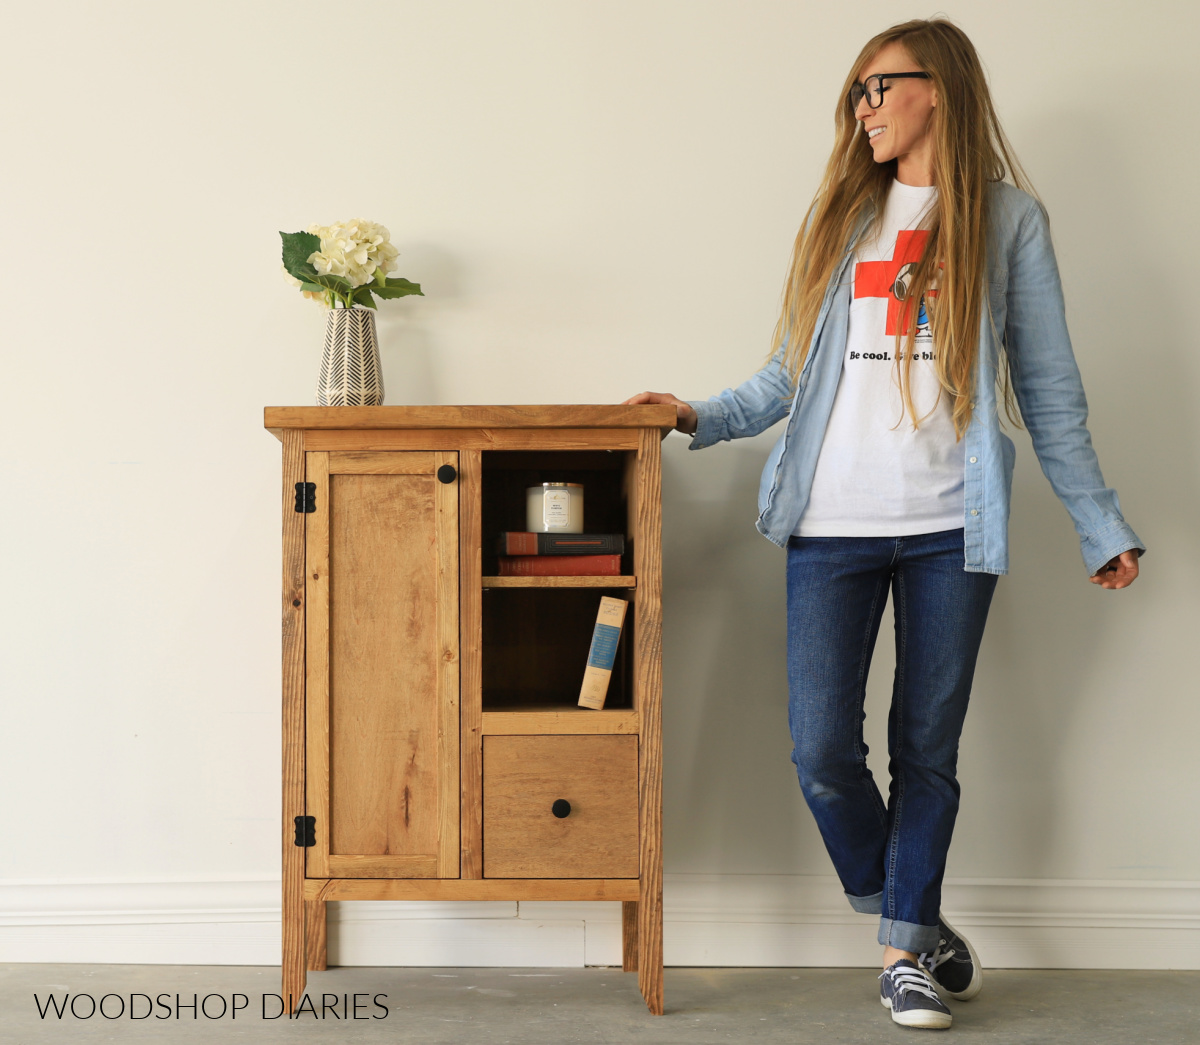
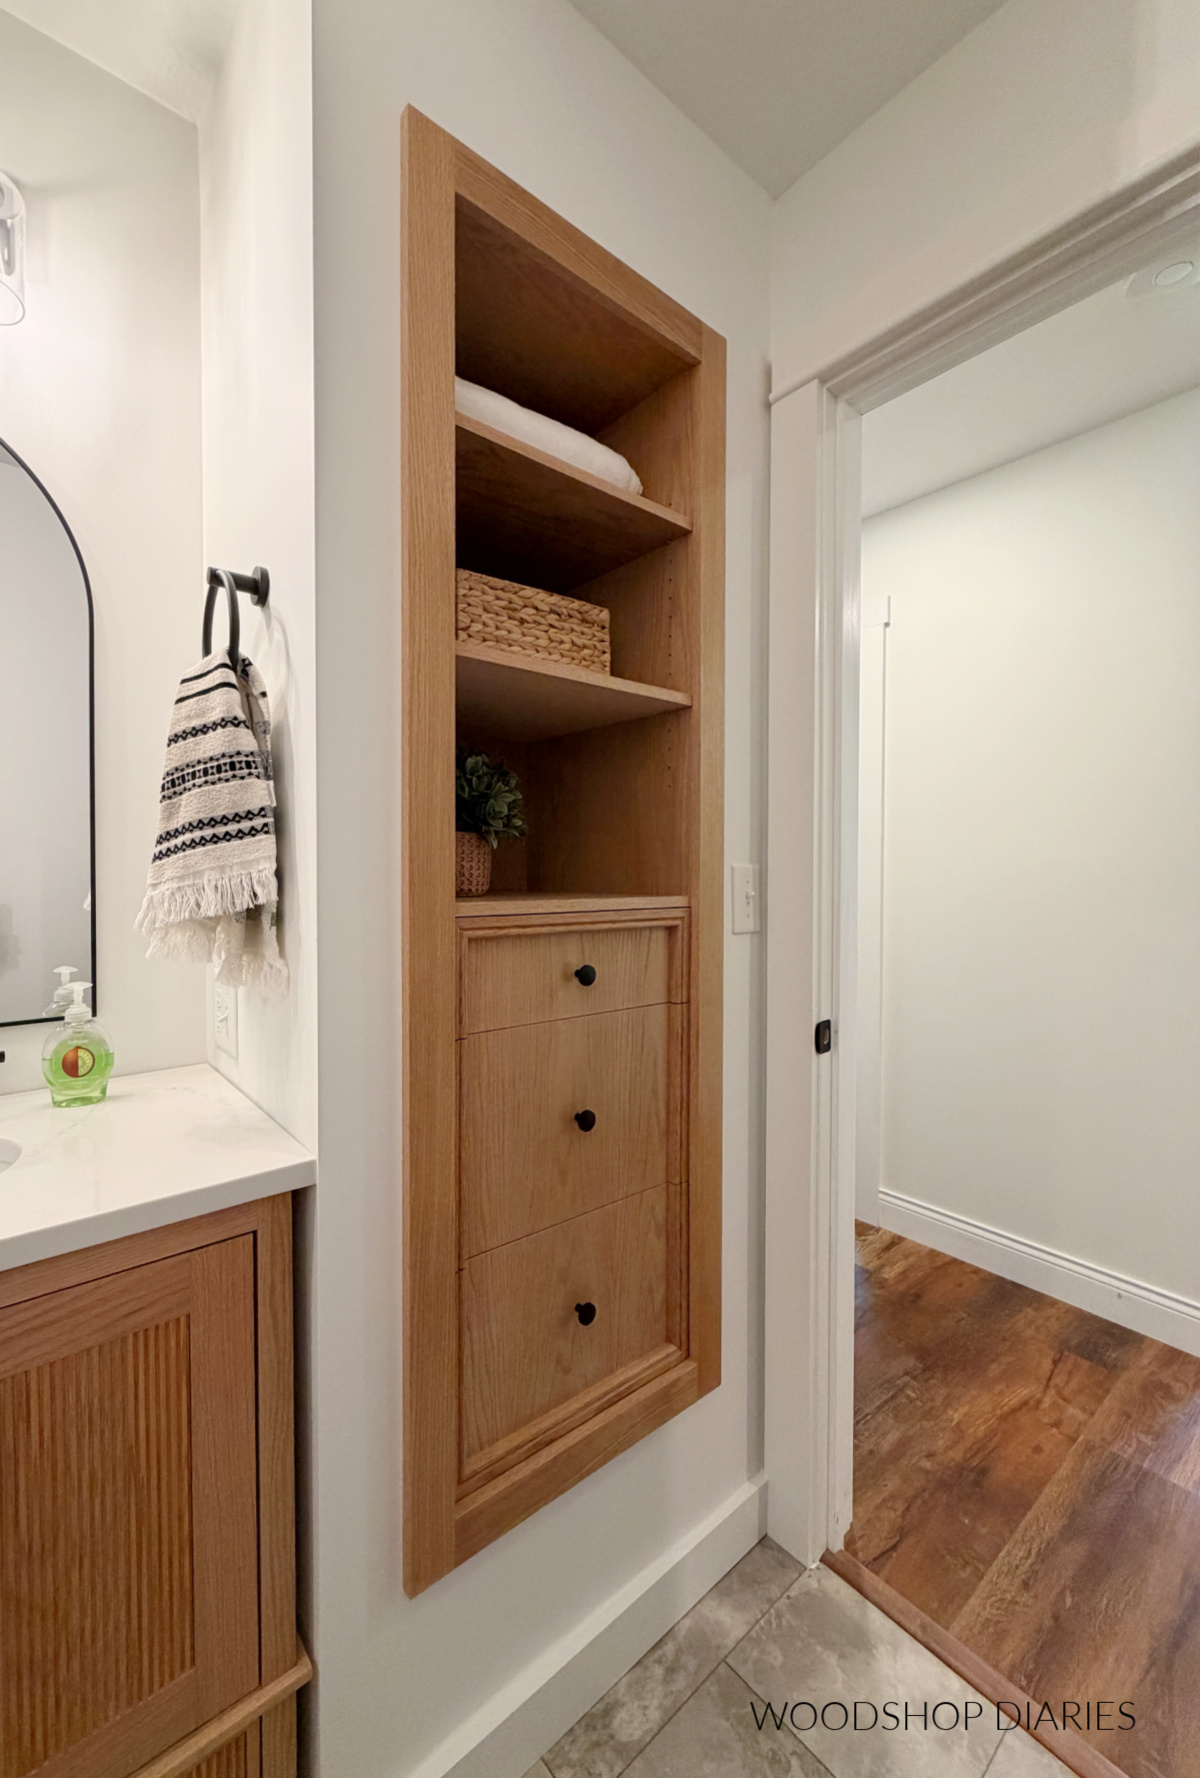
If you’re looking for unique storage ideas for a small space, this adorable accent cabinet is it!
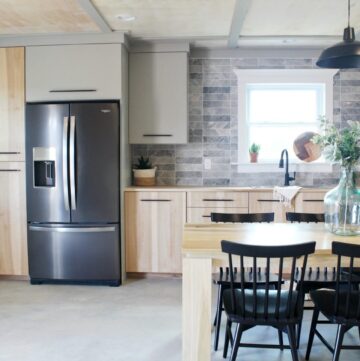
It’s packed full of storage and the perfect size to fit in a small corner or nook in the kitchen, bathroom, laundry, or office.
If you’d like to learn how to build your own I’m sharing the plans and build video below! Here’s what you’ll need.
Tools & Materials:
*This post contains affiliate links. See policies page.
Tools:
- Miter Saw
- Drill/Driver
- Circular Saw
- Cutting Guides (optional, but helpful–Kreg Rip Cut & Kreg AccuCut)
- Pocket Hole Jig
- Shelf Pin Jig
- Brad Nailer (and/or Stapler)
- Clamps
- Square
- Tape Measure
Materials:
- (4) 2x2x8 boards
- (1) 2x10x6 board
- (1) 1x2x8 board
- (1) ¼″ x 1 ½″ x 8′ piece of lattice trim
- (1) 4×8 sheet ¾″ plywood
- (1) 2×4 sheet (¼ of a full sheet) ¼″ plywood
- (1) pair 16″ ball bearing drawer slides
- (1) pair cabinet butt hinges
- (2) knobs/pulls
- Shelf Pins
- 1 ¼″ pocket hole screws
- 2 ½″ pocket hole screws
- 2″ & 2 ½″ wood screws
- Figure 8 Fasteners OR Z clips (optional to attach top)
- Edge Banding (optional)
- Wood Glue
Want to print your plans? Grab printable building plans for this DIY Accent Cabinet here!
Want your DIY projects to look professional?
What to know before building a DIY coffee bar cabinet
I’d consider this an intermediate level project. It’s definitely not difficult, but it does have several parts to put together. It’s assembled using simple pocket hole joinery, and basic tools.
If you’re determined (and not easily distracted like me haha), you can likely complete this build in a weekend or over a couple days. It’s a really fun project that is great to team up with a friend on!
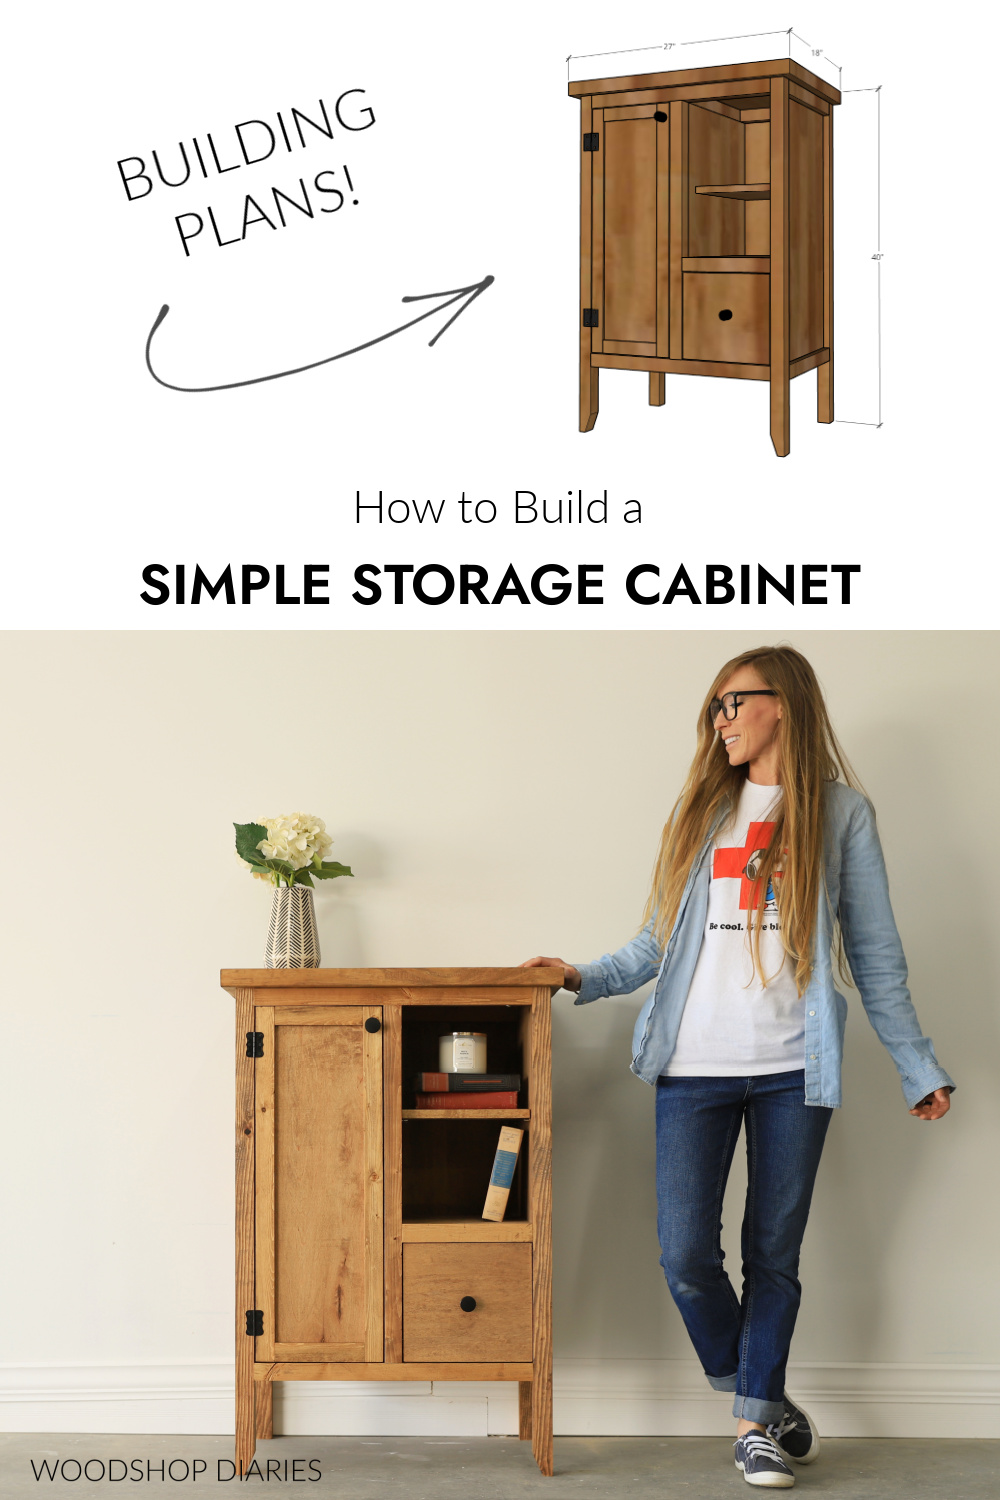
Overall Coffee Bar Cabinet Dimensions:
This accent cabinet is approximately 18″ deep x 27″ wide x 40″ tall.

..
Cabinet Door Hinge Options
For this project, I used simple cabinet butt hinges. You can get these in different sizes and finishes to accent the style you’re going for.
If you prefer to use concealed hinges, take note that the door here is 1″ thick (¾″ plywood plus ¼″ thick lattice trim on top). So you’ll need to make sure to use concealed hinges for inset doors at least 1″ thick.
RELATED: Learn more about installing concealed hinges here.
Alternatively, you can build you door a different way to make them ¾″ thick like in this DIY shaker style cabinet door building tutorial.
Installing the Top
The top panel in this project is made from gluing together pieces of 2×10.
RELATED: How to glue up a table top.
Since this is a solid wood top, you’ll need to allow for wood movement. You can do this by installing the top using figure 8 fasteners or Z clips.
RELATED: Step 8 of this post shows how to install figure 8 fasteners on a table top.
Or, a simpler method is to drill oversized pilot holes through the top framing and use wood screws with washers through these holes. I discuss this more in the video below.
Or, if you didn’t mind a thinner top, you could also just cut the top from ¾″ plywood and not have to worry about wood movement. In that case, you could just use 2″ wood screws through the top 2×2 framing to secure the plywood top panel in place.
Helpful resources for this project
You may find these posts and resources helpful throughout the building process.
- How to cut plywood sheets
- How to use a pocket hole jig
- How to square board edges
- How to make a table top
- How to apply edge banding
- How to build a drawer box
- How to install a drawer
- How to plug a pocket hole
How to Build a Coffee Bar Storage Cabinet
Are you ready to dive into the how-to? I’m sharing the project details, tips, video and building plans below.
If you prefer to watch, check out this full build video packed full of tips along the way.
And if you prefer to print your plans, you can grab the printable building plans here with cut list, plywood cut diagram, step by step diagrams and instructions.
Step 1: Build Cabinet Sides
The sides of the cabinet are made from ¾″ plywood and 2x2s.
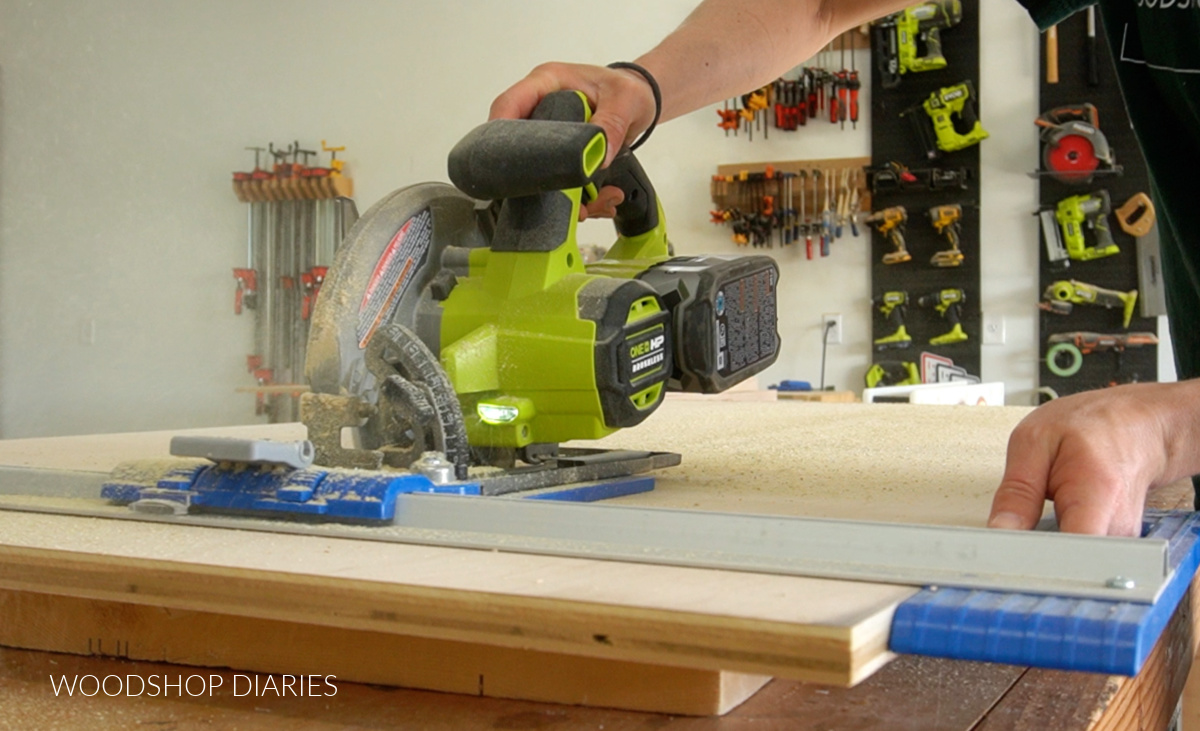
You can find the full plywood cut diagram in the printable plans, but I cut two side panels to 14″ x 31″. Check out this post for more information on how to cut plywood sheets.
Then, I drilled ¾″ pocket holes along the sides to attach them to the legs. Check out how to use a pocket hole jig here.
I cut the legs from 2x2s at 38 ½″ long. To give the front legs a little extra detail, I adjusted my miter saw to 65 degrees and cut a taper on the inside corners.
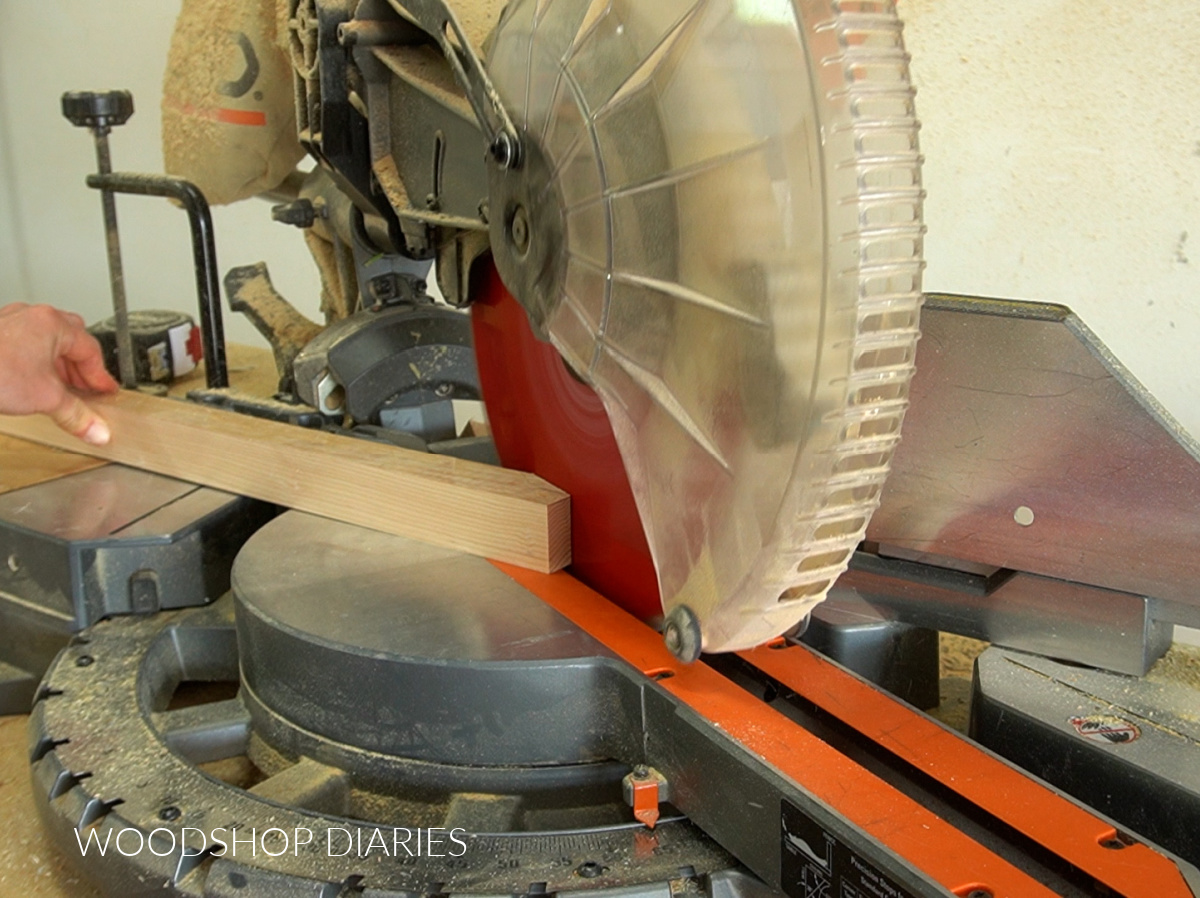
That is optional and you can taper all four legs if you wanted.
I assembled two identical side panels like shown below using 1 ¼″ pocket hole screws so that the panels were flush to the inside of the legs.
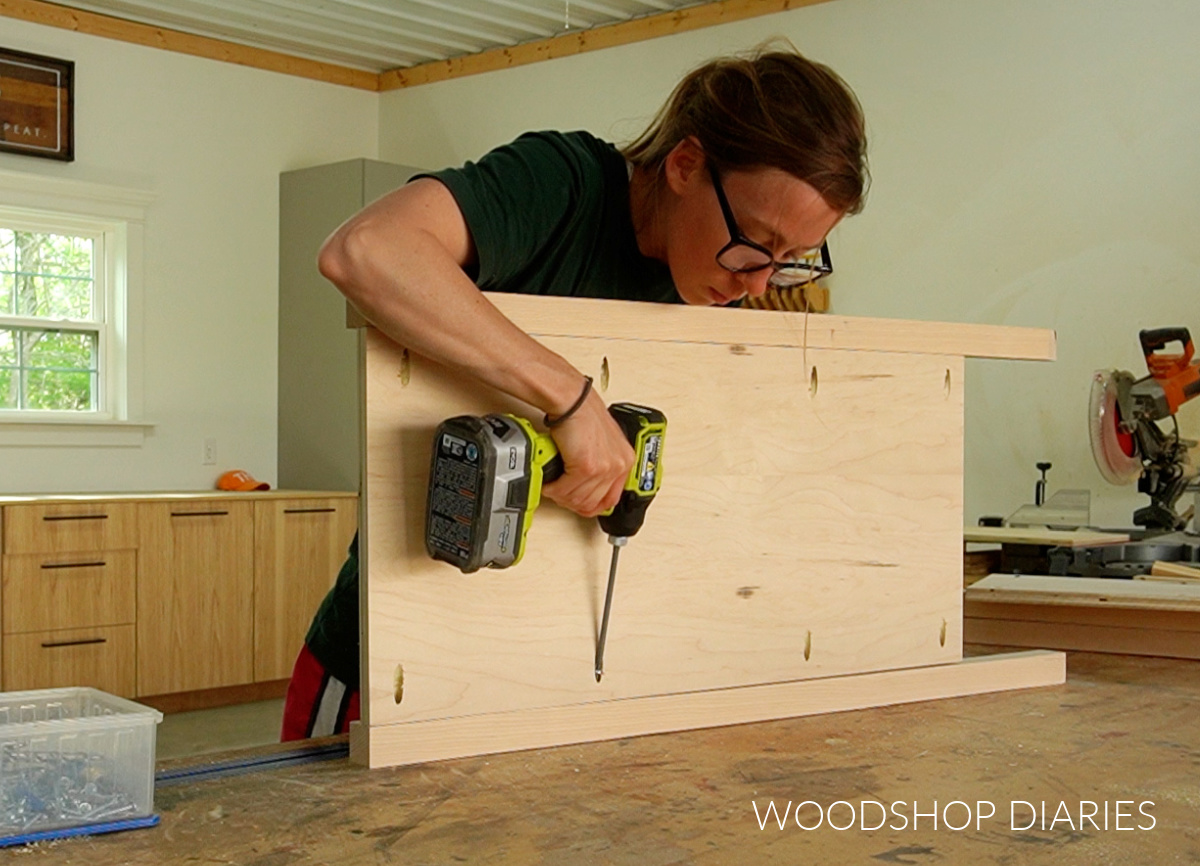
TIP: Pay attention to the direction of the tapers as you assemble to make sure they face the right way..
Step 2: Assemble Accent Cabinet Frame
I cut three 2x2s to 22″ long and drilled 1 ½″ pocket holes into each end. Then, I cut a ¾″ piece of plywood to 15 ½″ x 22″ for the bottom panel and drilled ¾″ pocket holes along the sides and front edge.
The 2x2s will go between the side panels–two at the top and one toward the bottom on the front side. I secured these in place using wood glue and 2 ½″ pocket hole screws.
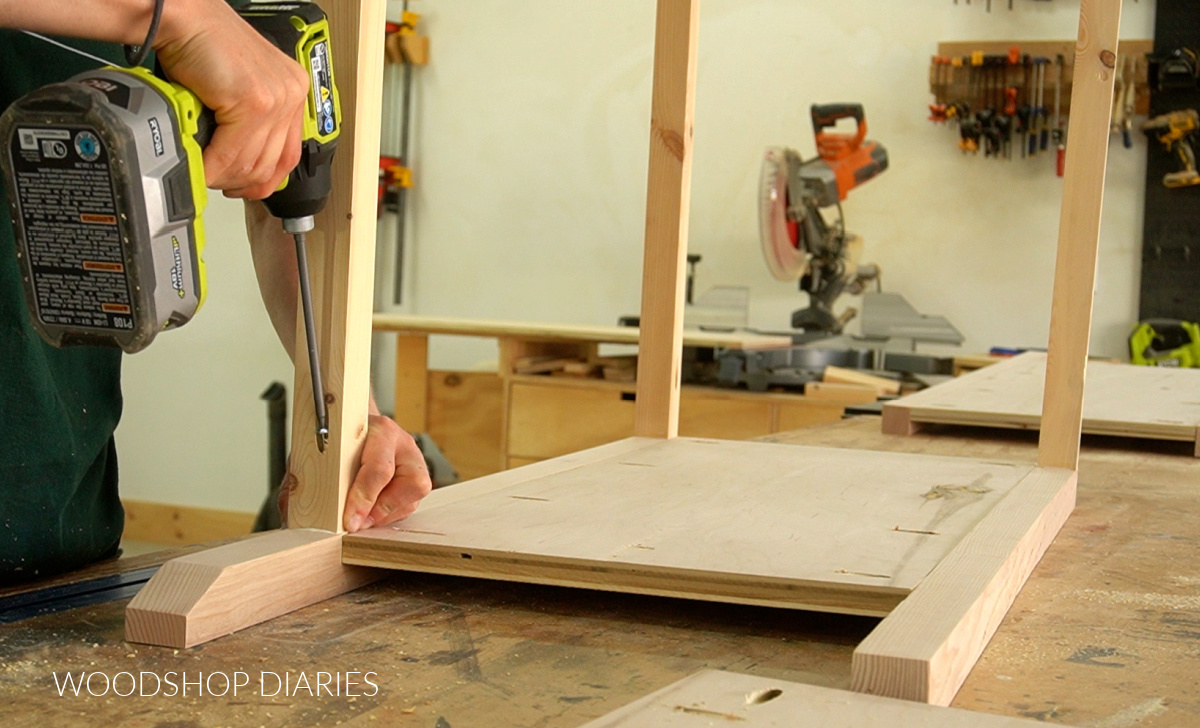
TIP: Make sure to place the pocket holes where they won’t be seen in the finished project.
Then, I placed the plywood bottom panel into the cabinet and secured it to the bottom front 2×2 and the side panels using 1 ½″ pocket hole screws.
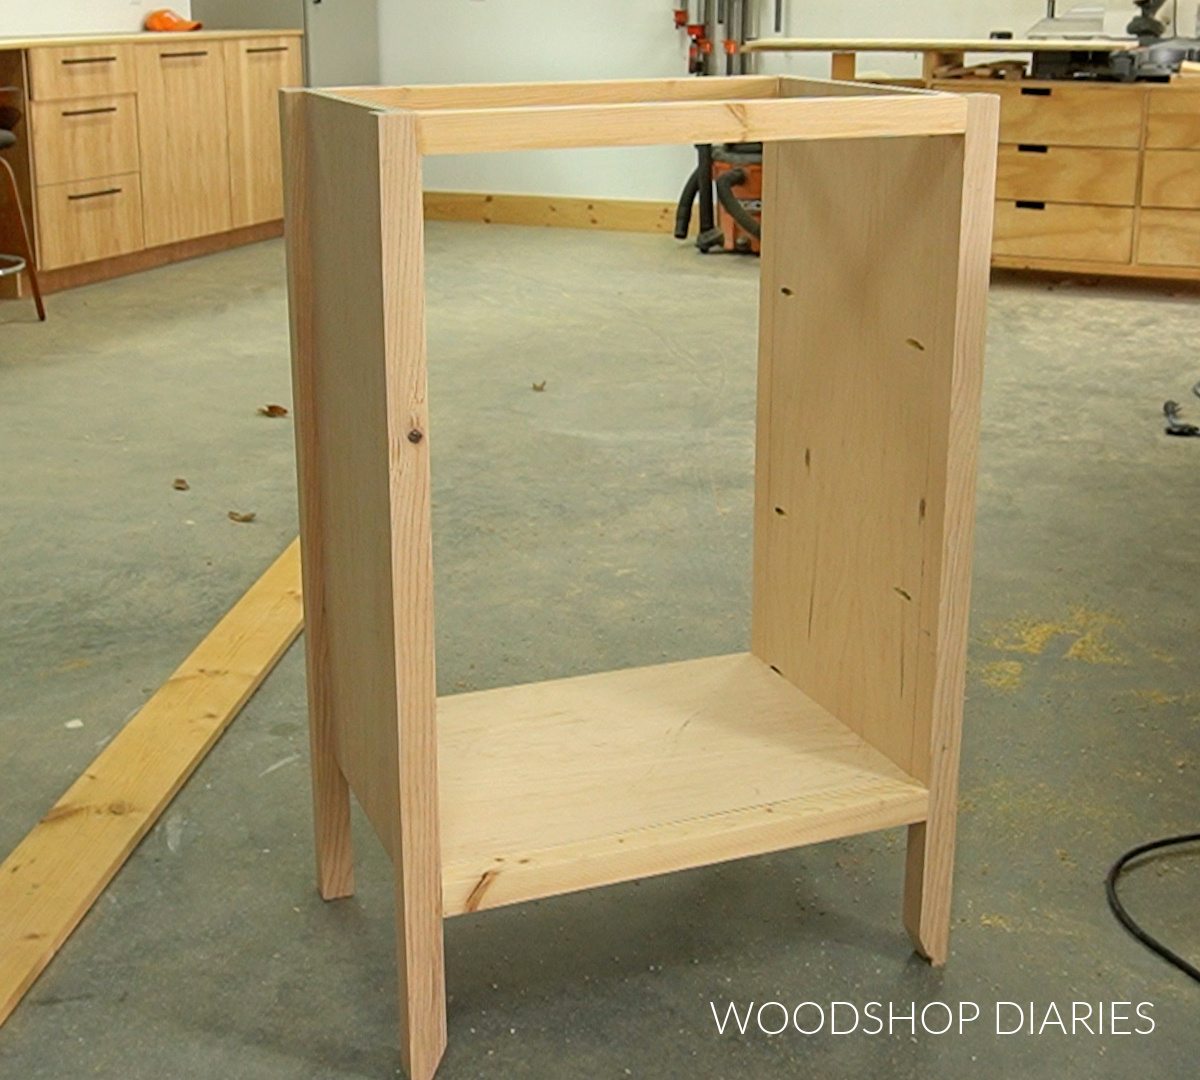
This completed the main cabinet body frame. It already looks adorable!
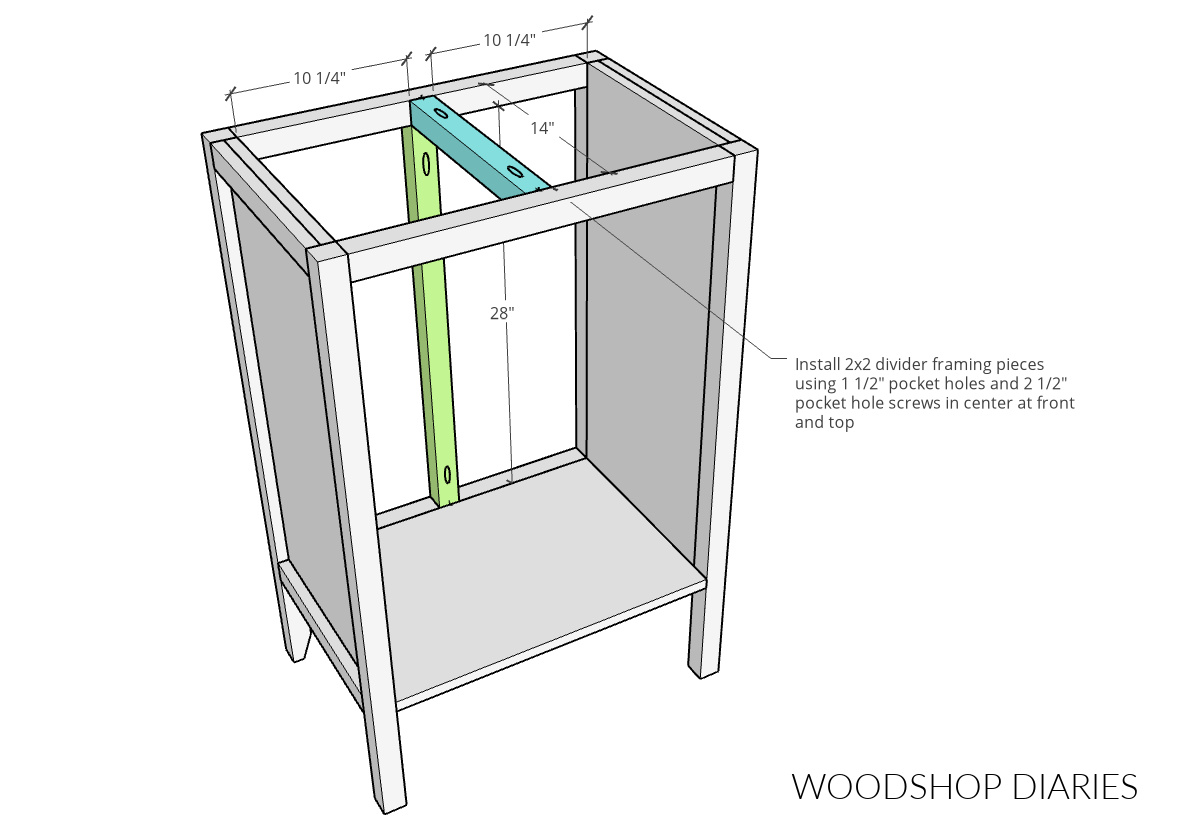
Step 3: Add Middle Cabinet Divider
This coffee bar cabinet is divided into two sides–the left side has the door and the right side has open shelves at the top and a drawer at the bottom. In order to separate these sections, I needed to install a divider.
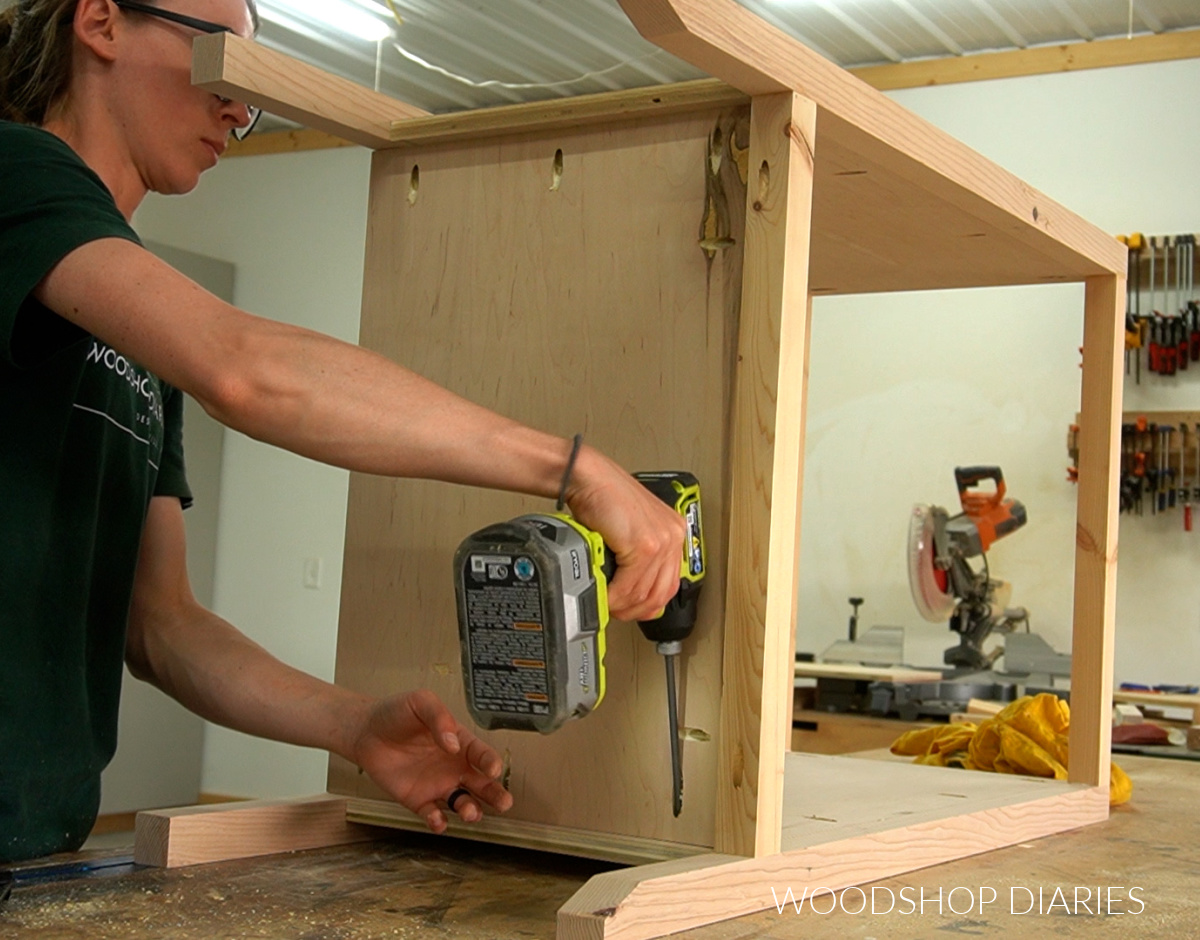
I added a 2×2 piece at the top and one along the front in the center to serve as the divider framing. I installed these with 1 ½″ pocket holes and 2 ½″ pocket hole screws.
Then, I cut a piece of ¾″ plywood to fit into this space as the divider panel. I used ¾″ pocket holes and 1 ¼″ pocket hole screws along the front edge to secure it to the front 2×2.
NOTE: The divider panel is not installed directly in the center. It’s installed so that it’s flush to the drawer side of the divider 2×2 framing pieces.
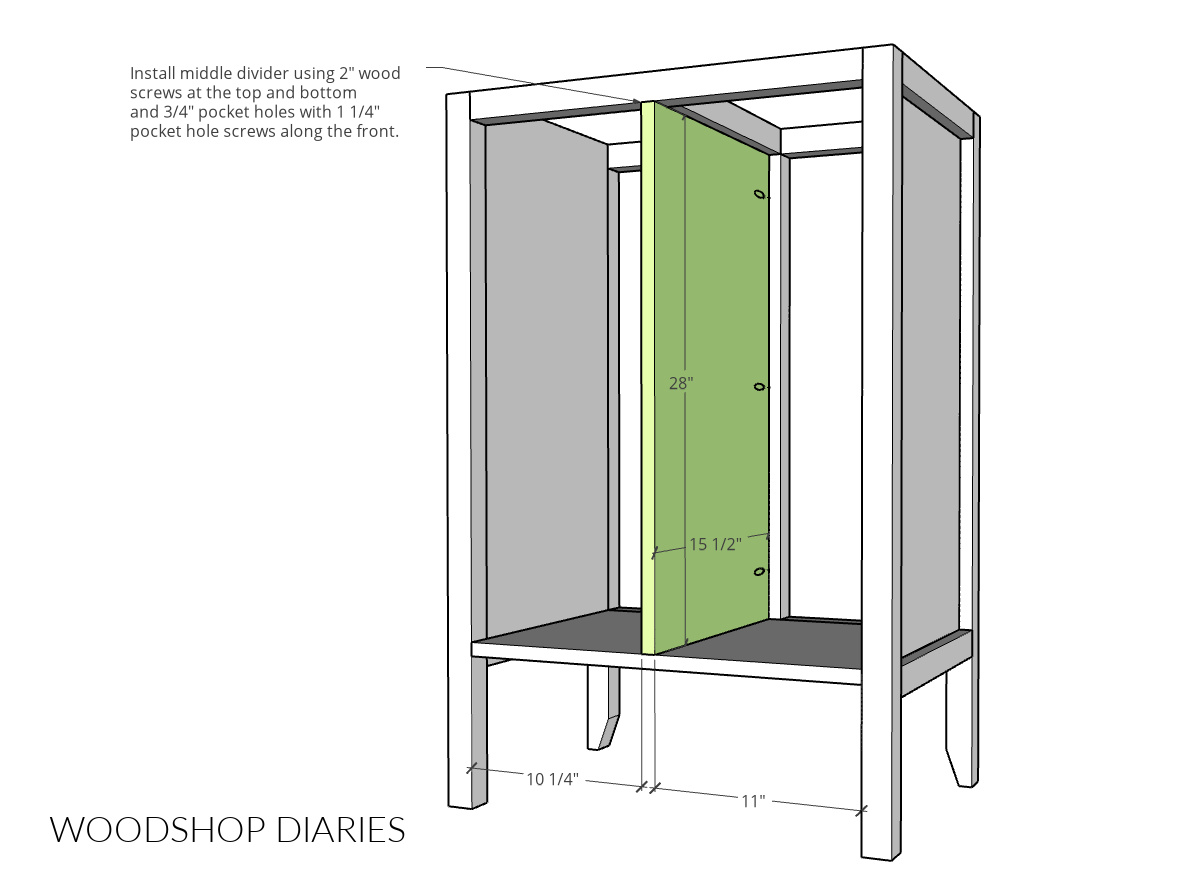
But I used 2″ wood screws through the top and bottom to secure. Pocket holes would work fine, but I was trying to use as few as possible so they won’t be visible in the end project.
TIP: Place the pocket holes on the front of the divider panel so they will be on the door side of the project–that way, they’ll be hidden behind the door.
Step 4: Install Stationary Shelf
All the shelves in this coffee bar cabinet are adjustable EXCEPT the one above the drawer. That is a stationary shelf.
But, that shelf is going into a pretty tight space. So to make things a little easier, I assembled the shelf together first before installing it into the cabinet.
I cut a piece of 2×2 to 10 ¼″ and drilled 1 ½″ pocket holes into each end. Then, I cut a piece of plywood 10 ¼″ x 15 ½″ and drilled ¾″ pocket holes along the sides and front edge.
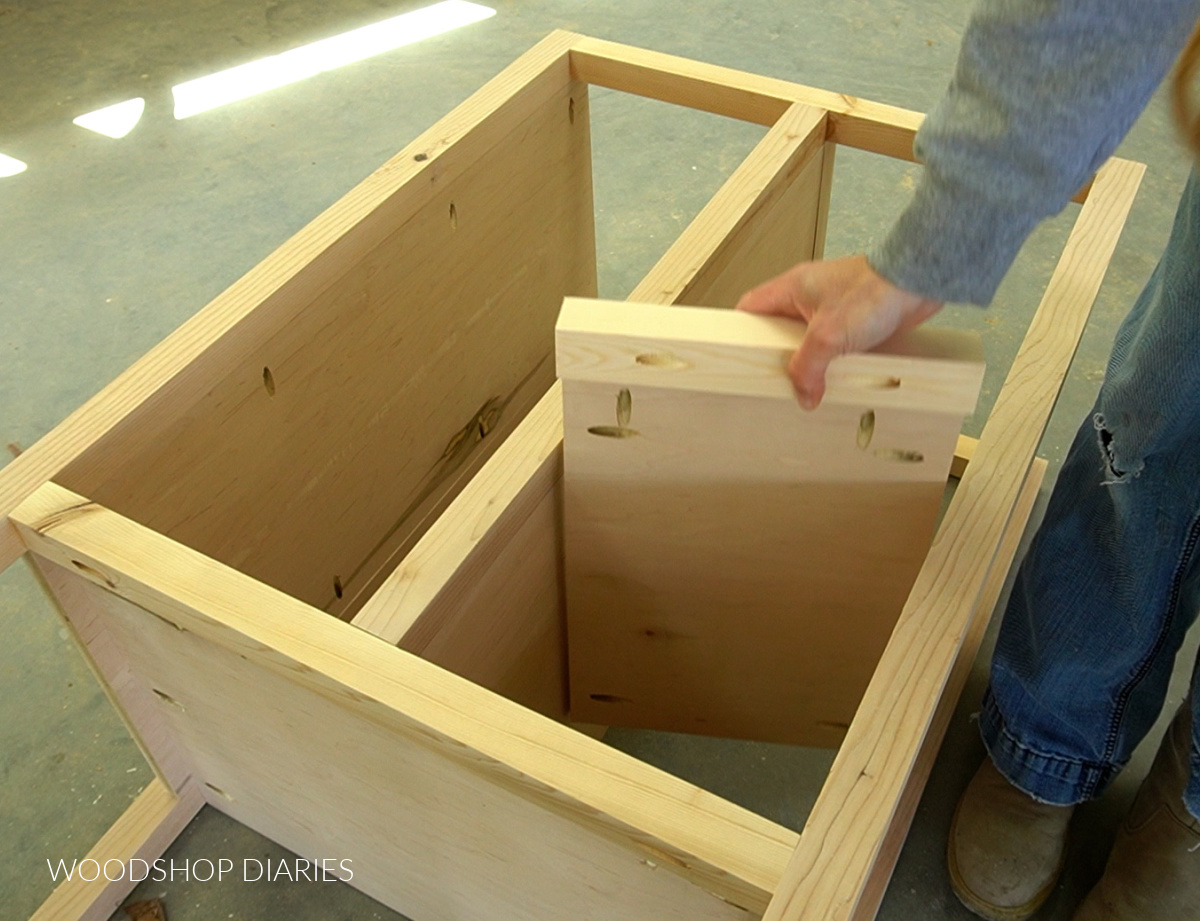
I secured the plywood to the 2×2 using 1 ¼″ pocket hole screws first, then slid this into the right side of the cabinet so that there was a 9 ½″ space between the shelf and the bottom frame.
I secured the front 2×2 using 2 ½″ pocket hole screws first. Note that the image below is showing the cabinet and shelf assembly turned upside down so I could access the pocket holes on the bottom side.
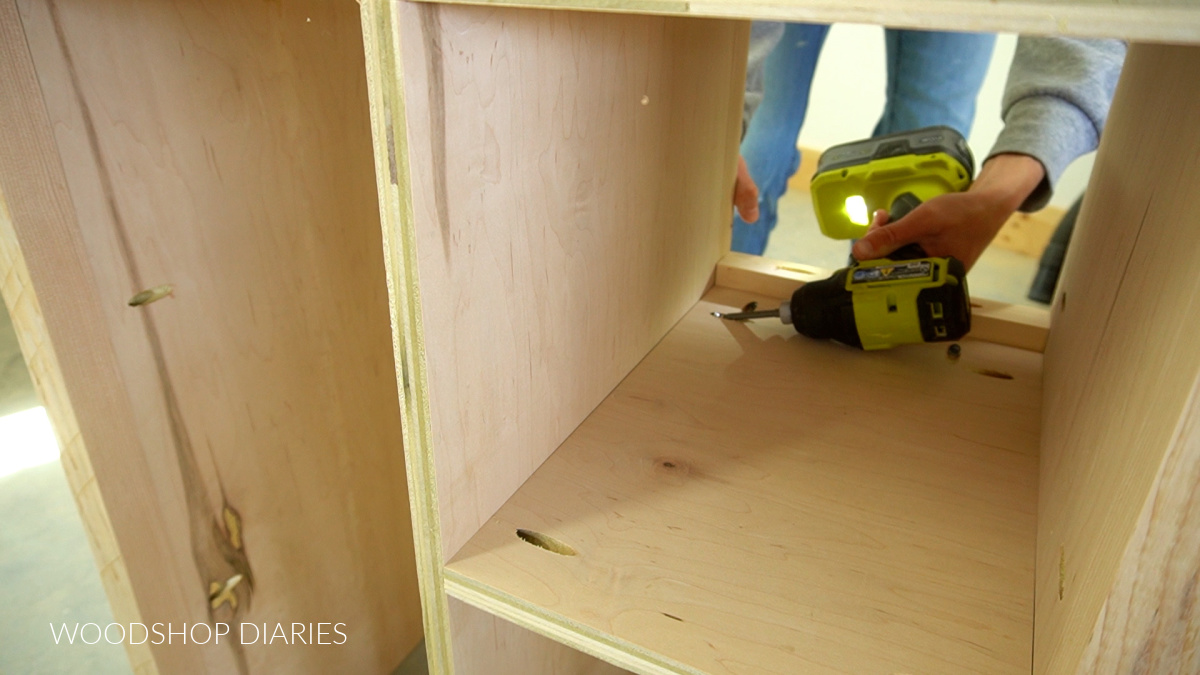
Then, I flipped the cabinet over and secured the plywood to the sides using 1 ¼″ pocket hole screws.
TIP: Make sure the shelf is straight and square front to back.
ADDITIONAL TIP: Since this is a tight space, use a short square bit or a 90 degree driving attachment to drive the pocket hole screws.
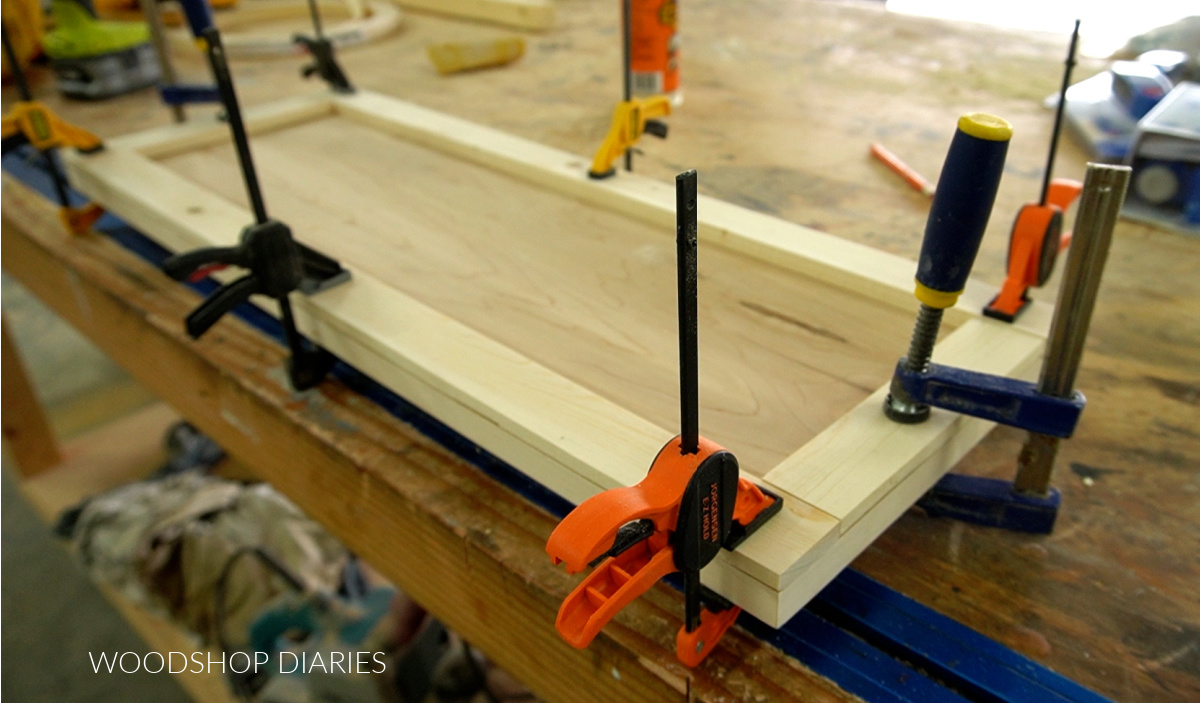
Step 5: Assemble and Install Top
The top is assembled using 2 pieces of 2×10 board. However, you can glue up any combination of 2x material to get a panel 18″ wide. OR you can cut this from plywood if you don’t mind it being a little thinner. See notes above.
To make the top, I trimmed down two pieces of 2×10 to about 27 ½″ long. The finished top will be 27″ long, so I cut these boards a little long so I can trim them down to the exact size later.
I squared the rounded edges on each board for a cleaner glue up on the table saw. That’s an optional step and you can learn how to square board edges here.
Then, I glued and clamped these two boards together and allowed to dry. Check out this post for how to glue up a table top.

Once they were dry, I trimmed the panel down to 18″ x 27″ and sanded it well.
Since this is a solid wood top, it’s best to attach in a way that accounts for wood movement. Figure 8 fasteners and Z clips are great options, but you can also simply drill oversized pilot holes through the top framing of the cabinet and use wood screws with washers through these holes to attach the top.
I drilled oversized holes (a hole larger than the screw, but smaller than the washers you’re using)–two in the front and two in the back of the top 2x2s and used 2 ½″ screws with washers to secure the top.
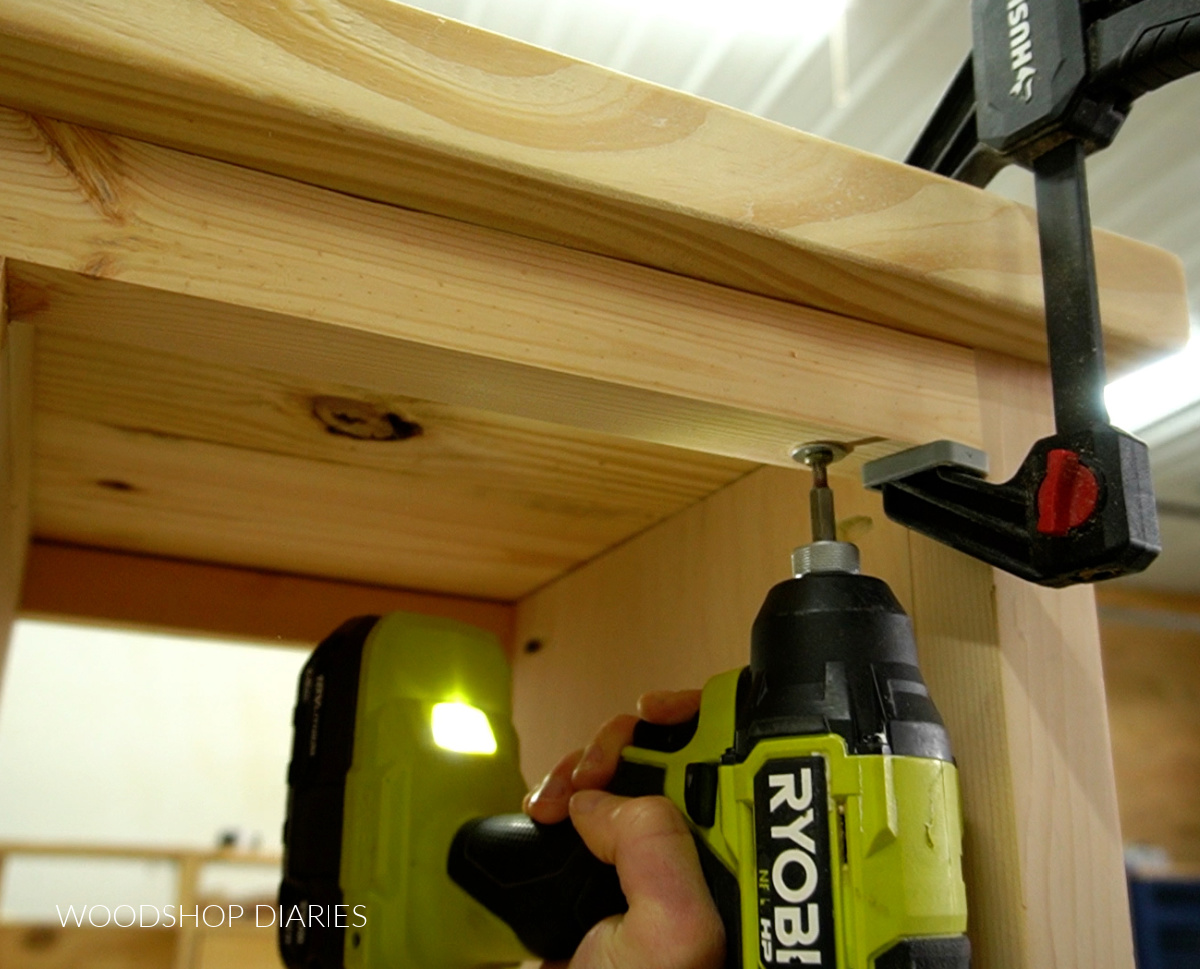
There should be 1″ overhang on each side and the front.
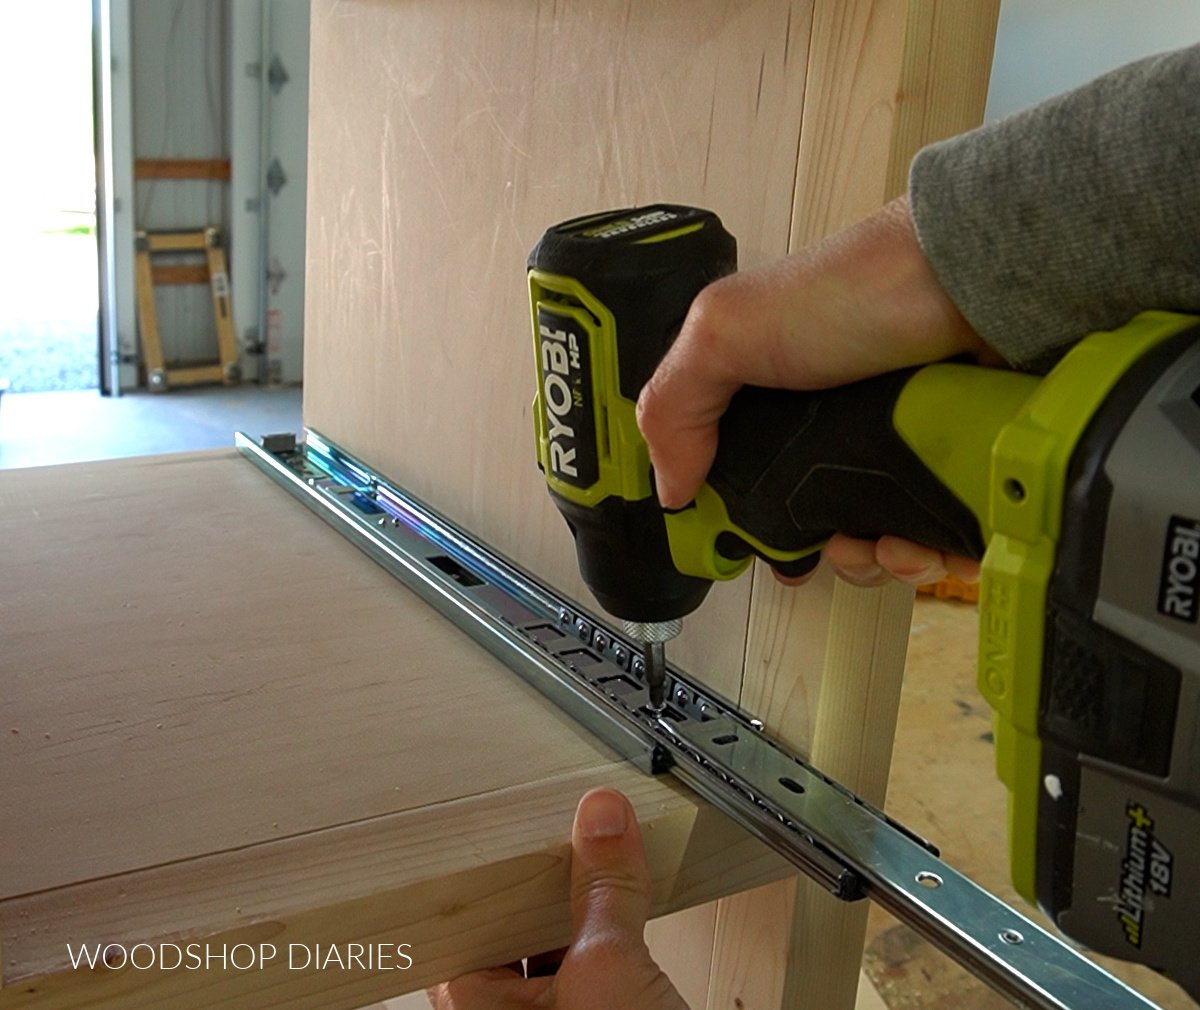
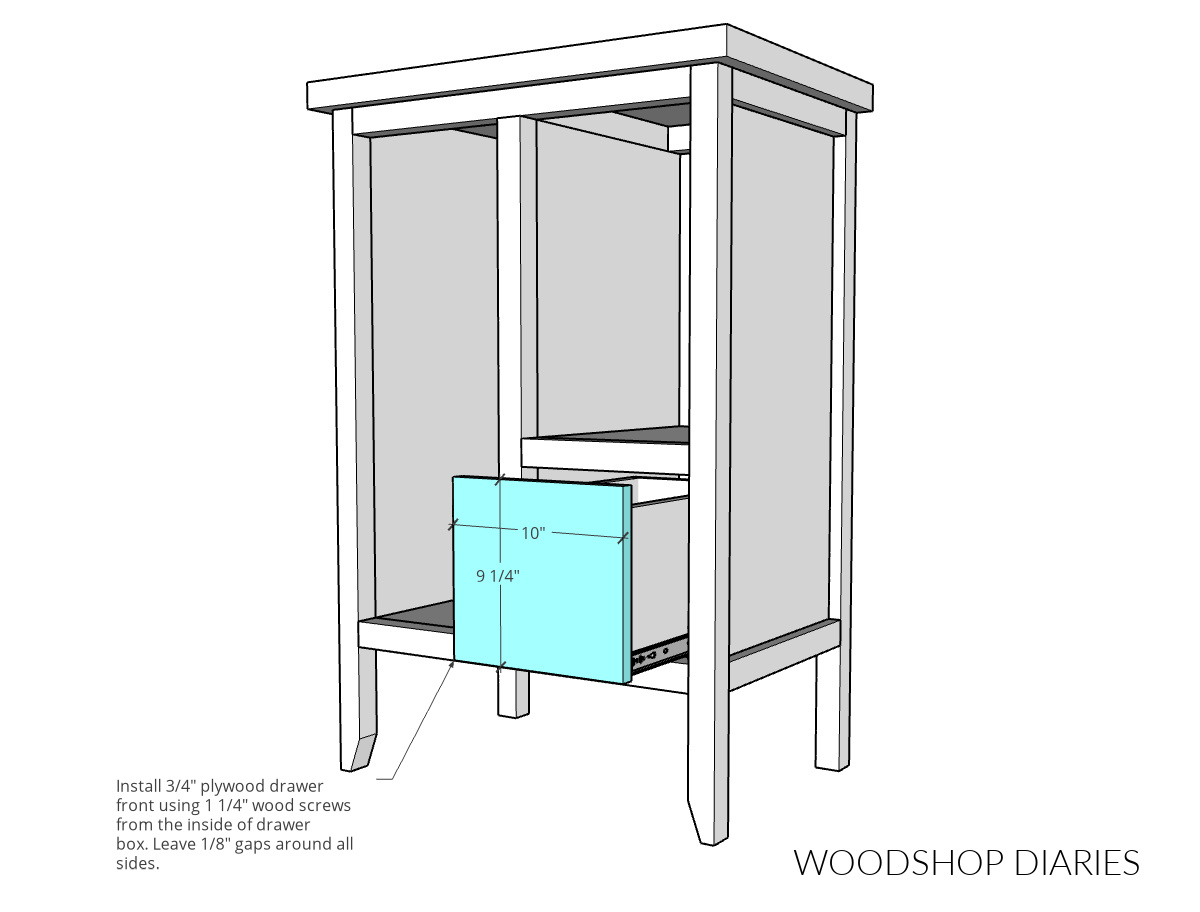
Step 6: Add Drawer to Storage Cabinet
I installed 16″ ball bearing drawer slides into the bottom right section of the cabinet so that they were ¾″ inset from the front edge.
RELATED: How to install side mount drawer slides
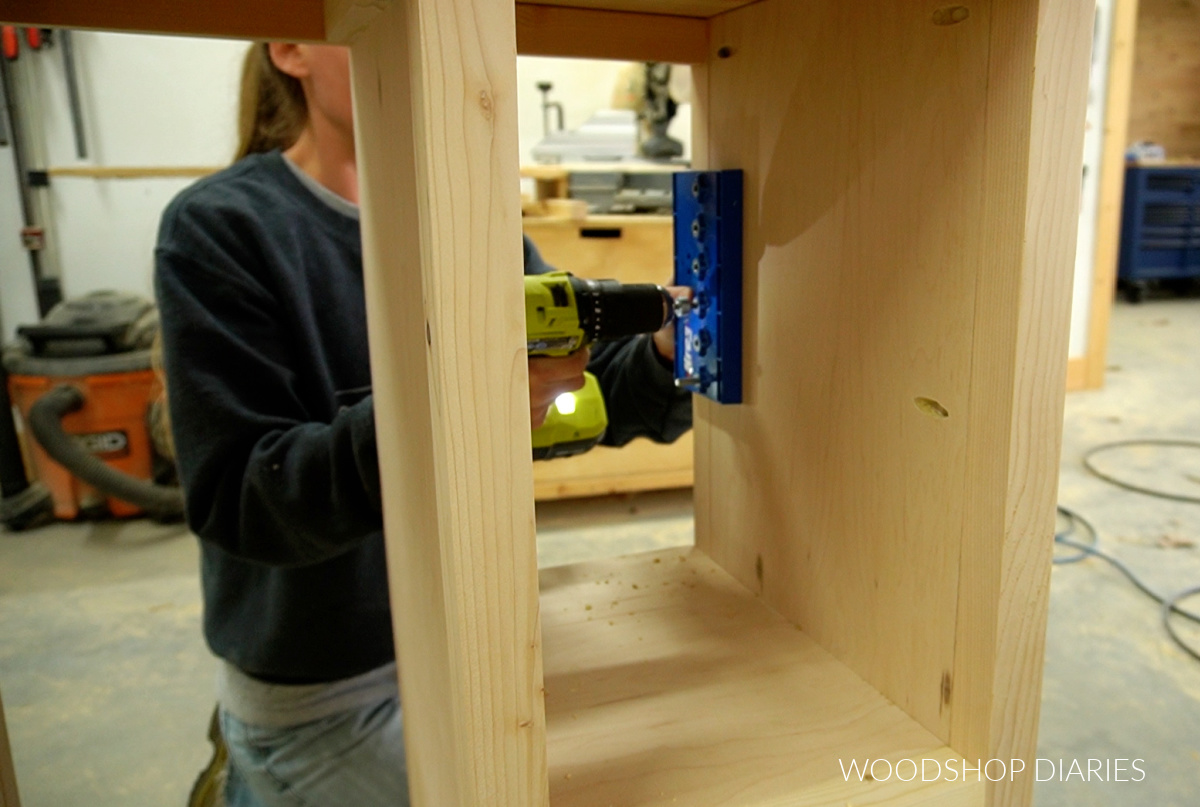
Then, I assembled a basic drawer box to fit the opening. I used ¾″ plywood for the drawer box sides and ¼″ plywood for the drawer bottom.
RELATED: How to build a drawer box
Prefer to print? You can find all the measurements for the drawer and the rest of the cabinet in the printable plans here.
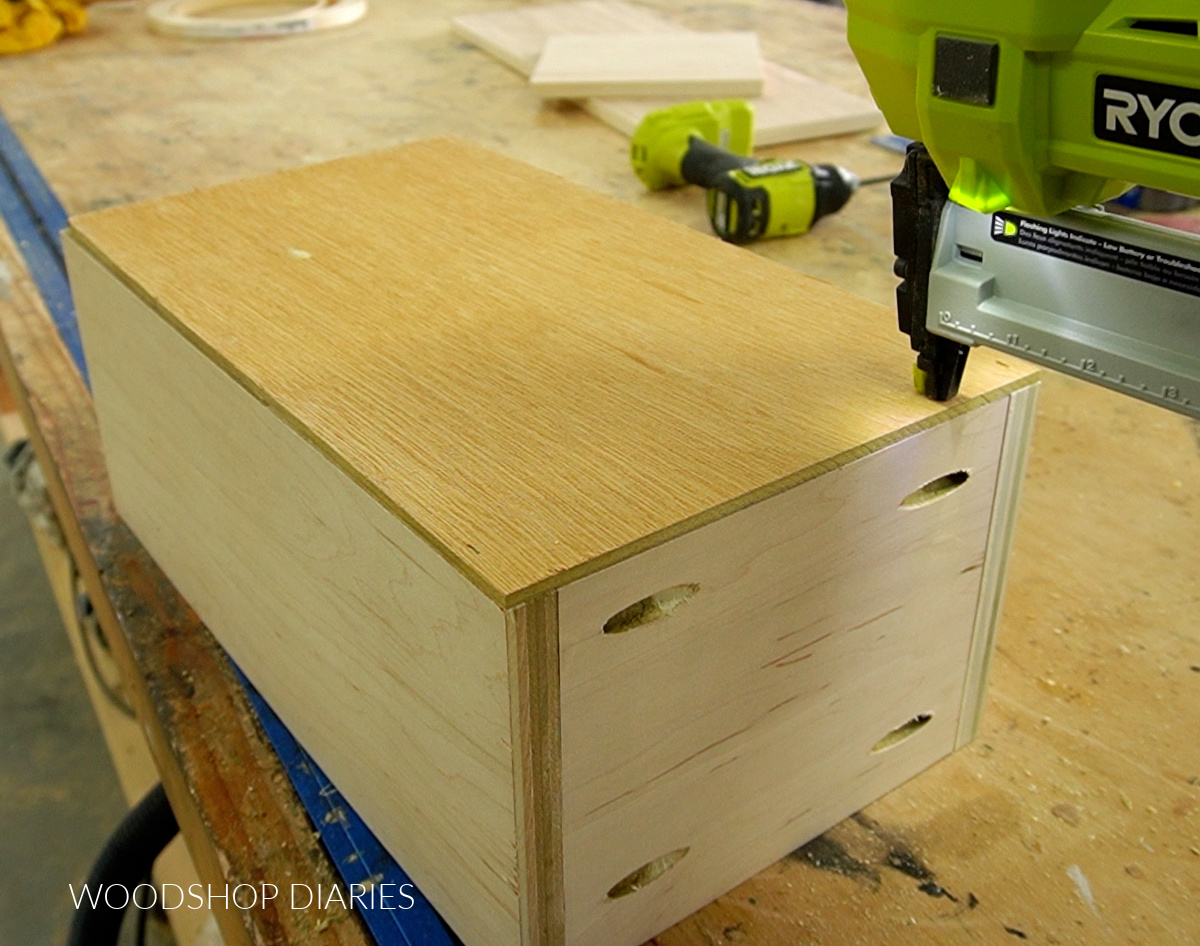
Once the drawer box was assembled, I installed it onto the slides in the cabinet. Then, I cut a piece of ¾″ plywood for the drawer front and installed it onto the box using 1 ¼″ wood screws from the inside.
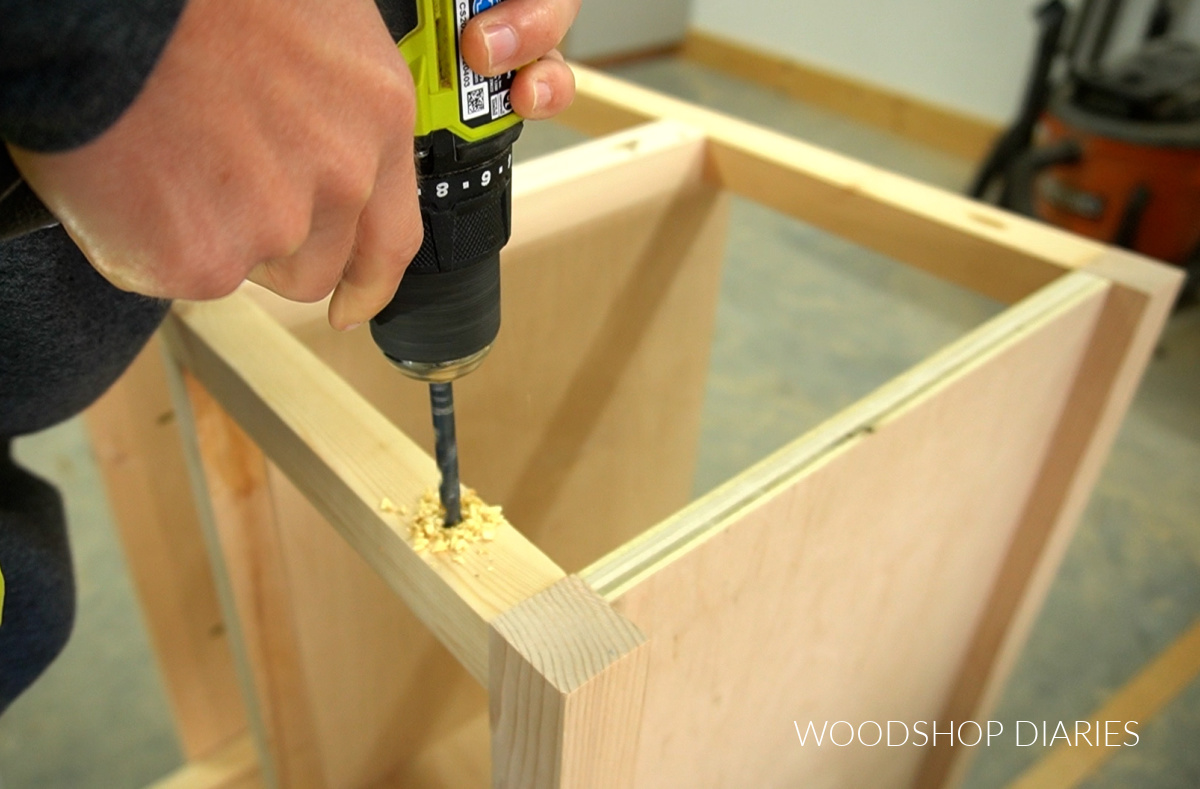
Step 7: Add Shelves
I love the option of having adjustable shelves, so for the left side of the cabinet and the top right side, I used a shelf pin jig to drill shelf pin holes to allow for adjustable shelving.
This jig basically allows you to drill evenly spaced holes so you can place pins in the ones you want to use and rest your shelf on the pins.
I drilled holes along the back and the front on each side of both sections.
TIP: You may want to plug your pocket holes before drilling shelf pin holes. Some of the holes may end up being where the pocket holes are.
Once the holes were drilled, I cut shelves to fit into these cabinet sections from ¾″ plywood.
Note that the shelves on the left side will be slightly wider than the shelves on the right side since the middle divider panel wasn’t placed directly in the center.
I made sure they fit, but didn’t install them yet because I wanted to stain everything first–see step 10.
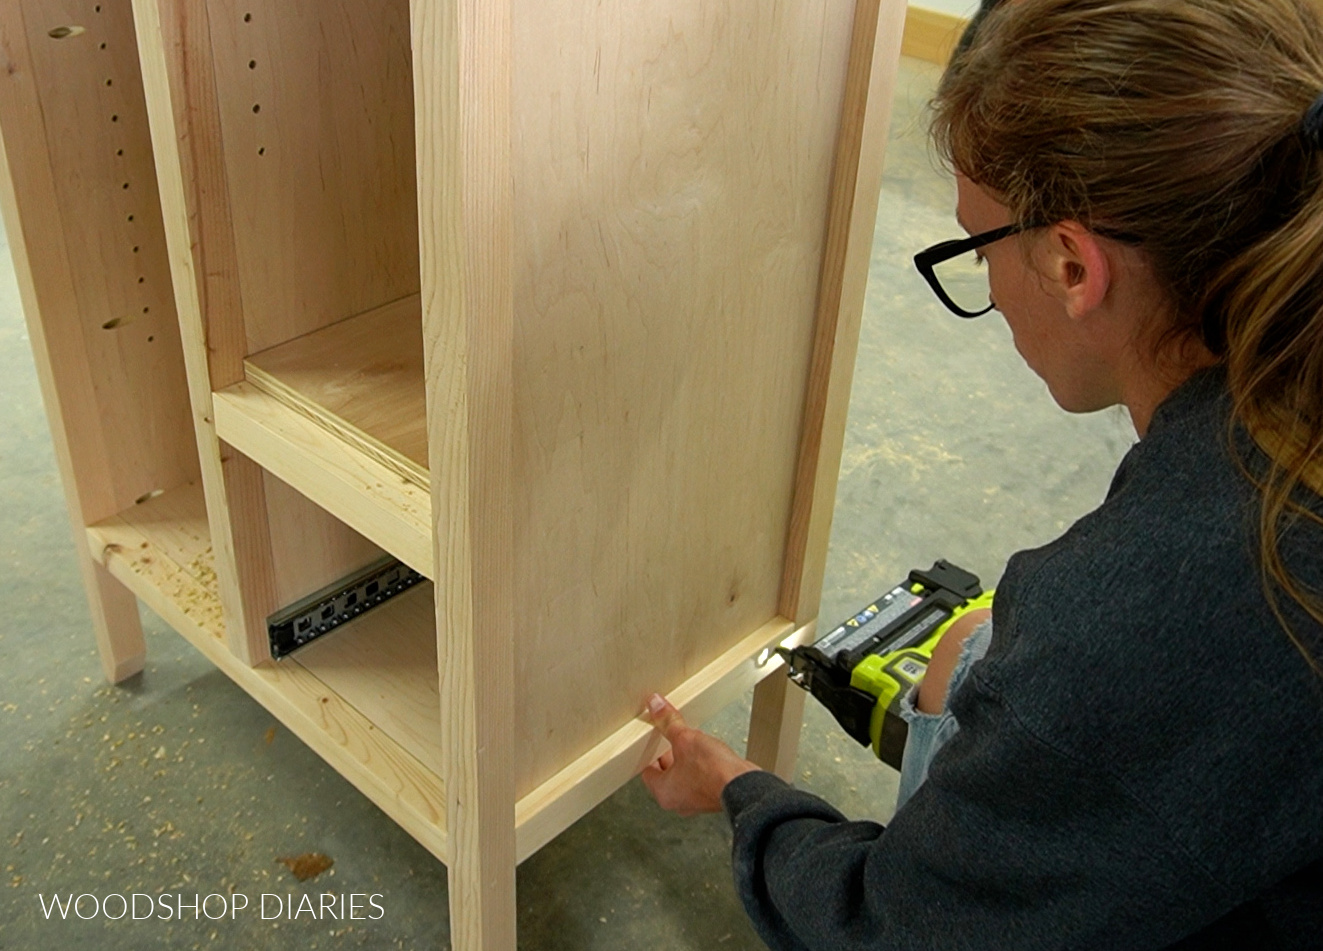
Step 8: Attach Back Panel & Trim Sides
TIP: Before adding the back panel, remove the drawer from the cabinet using the tabs on the drawer slides. This will make it easier to stain/paint later and once the back is installed, you won’t be able to pull the drawer out without a knob or a pull.
For the back panel, I cut a piece of ¼″ plywood to 24″ x 30″ and centered and stapled it onto the back side of the cabinet.
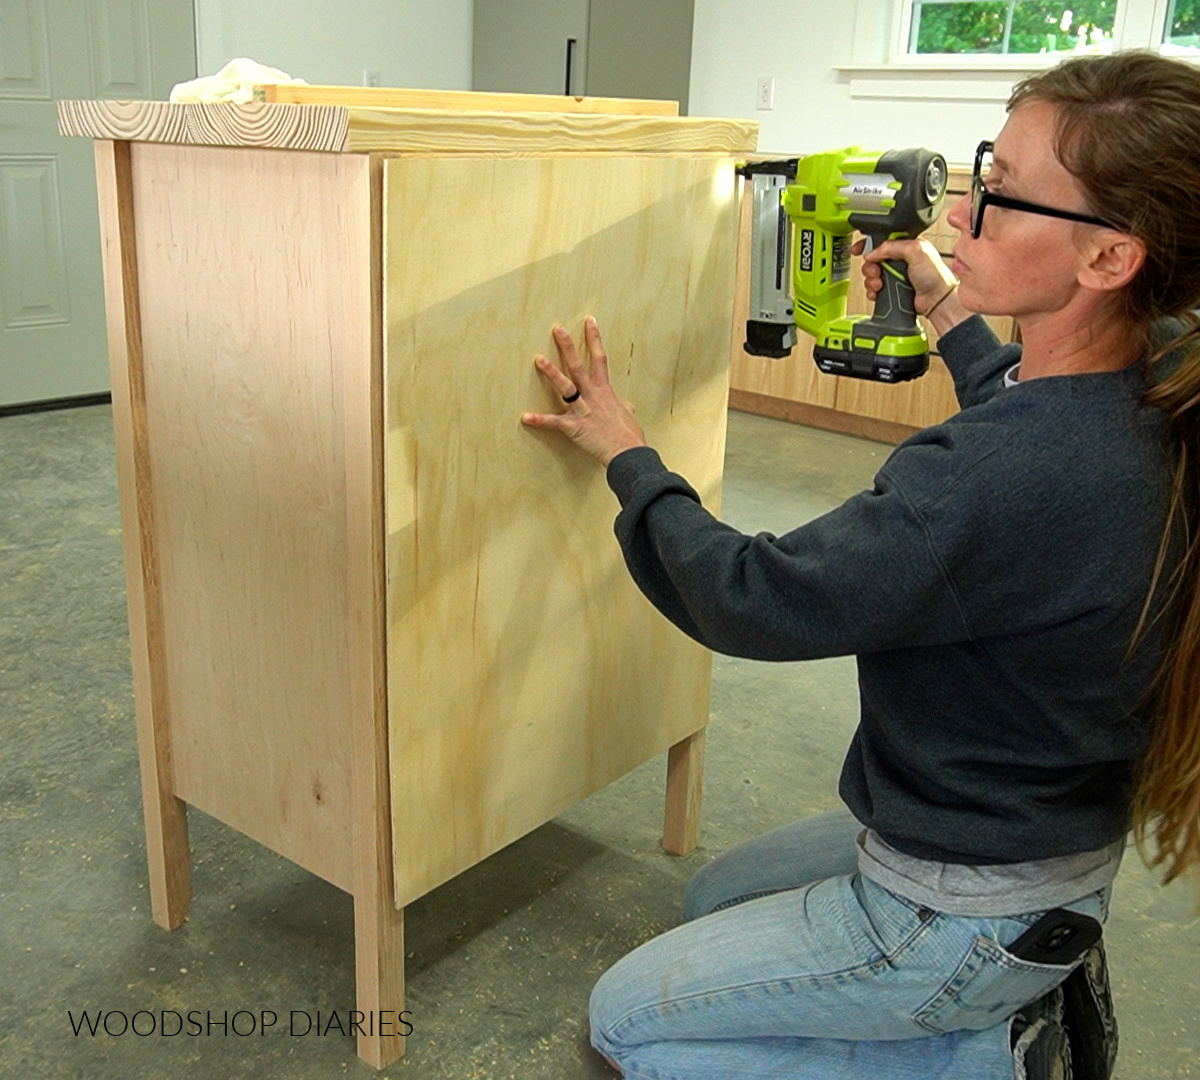
You could also brad nail or screw the panel in place if you don’t have a stapler.
And, as an added (optional) detail, I cut to fit 1×2 trim pieces to trim out the top and bottom of each side panel. I just glued and brad nailed these pieces in place.
Step 9: Assemble and Attach Cabinet Door
I cut the cabinet door from ¾″ plywood and glued lattice trim on the front to make it look like a Shaker style cabinet door.
The plywood should be ¼″ smaller in height and width than the opening. Then, I cut to fit the lattice trim and glued it along the front.
If you wanted to get a little “fancier” you could make a frame and panel cabinet door using this tutorial instead.
Or you could make a “cheater” cabinet door using this method with tongue and groove boards.
Once the door was assembled, I used simple cabinet butt hinges to install. You could use concealed hinges instead, but since this door is 1″ thick, you need to make sure the hinges will work with 1″ thick doors OR build your door a different way to make it ¾″ instead.
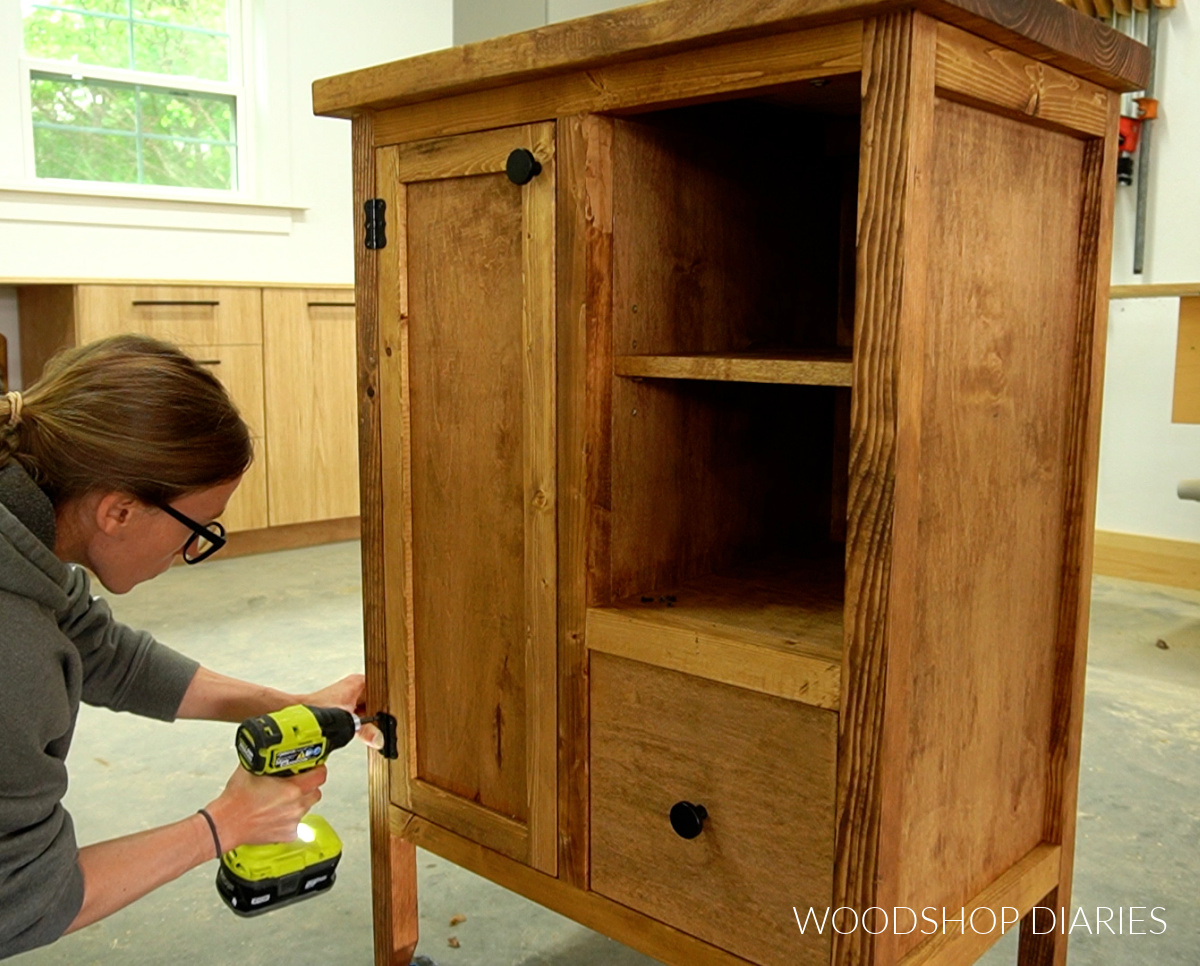
TIP: You may want to go ahead and stain/paint/finish the door and cabinet separately before installing it.
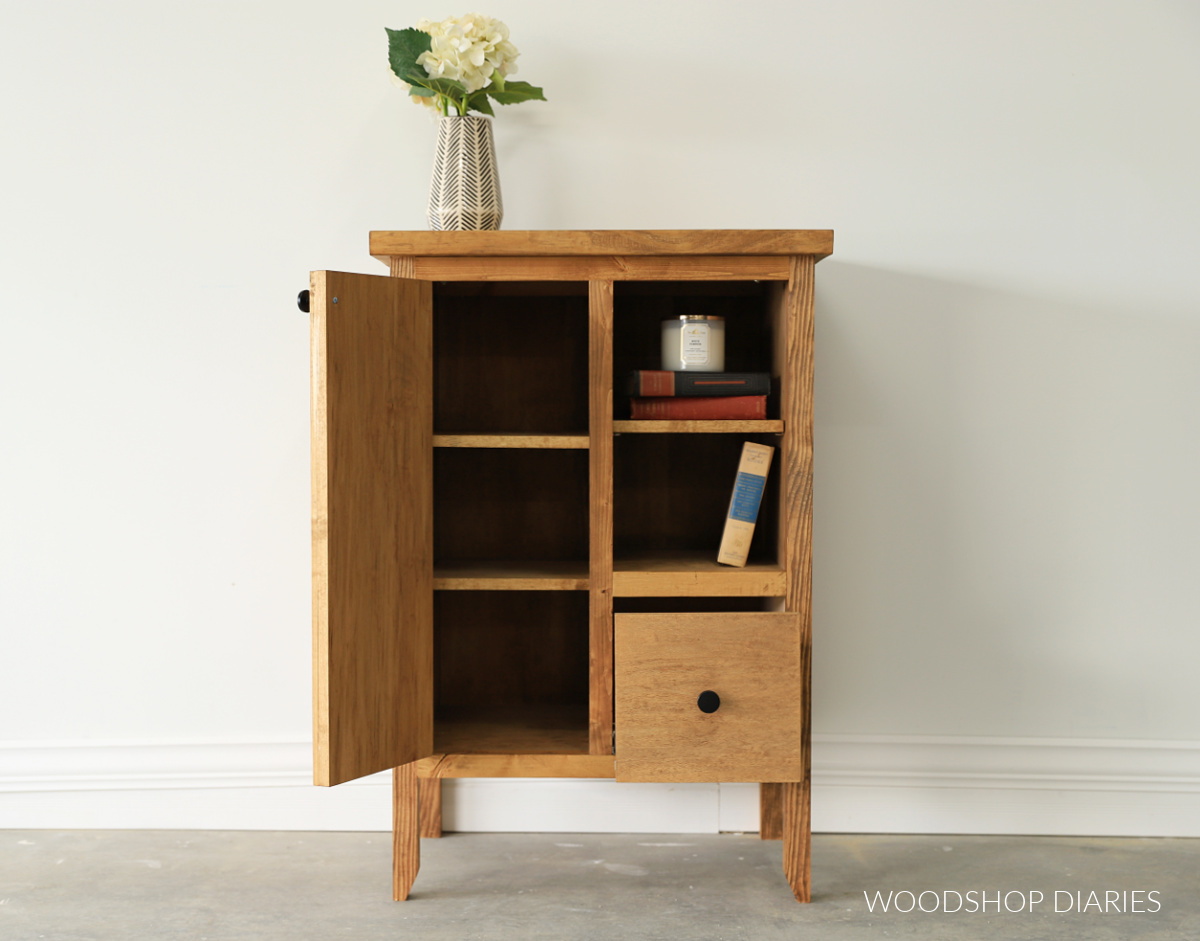
Step 10: Finish Coffee Bar Storage Cabinet
Once I had the cabinet, the shelves, the door, and the drawer assembled, I stained each piece separately to make things a little easier. I stained them all with Minwax Early American.
Once the stain was dry, I reinstalled the drawer (don’t forget to add a knob or pull first so you will be able to open it again!), added the shelves with shelf pins, and installed the door (see step 9 above).
Want to print these plans? You can! Grab the printable building plans for this DIY Accent Cabinet here.
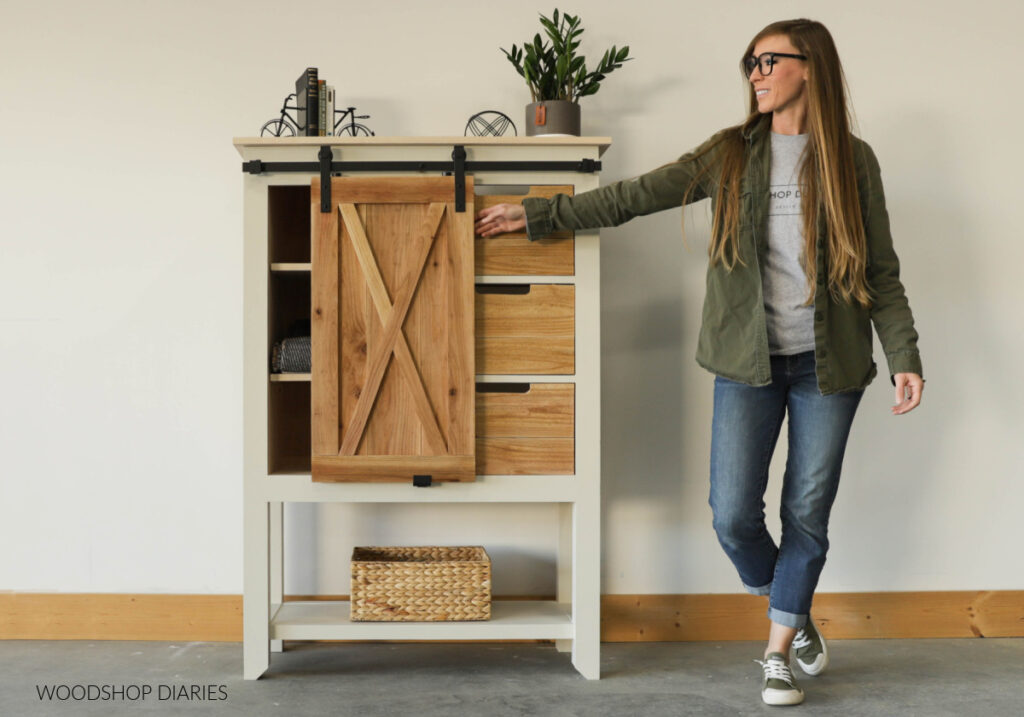
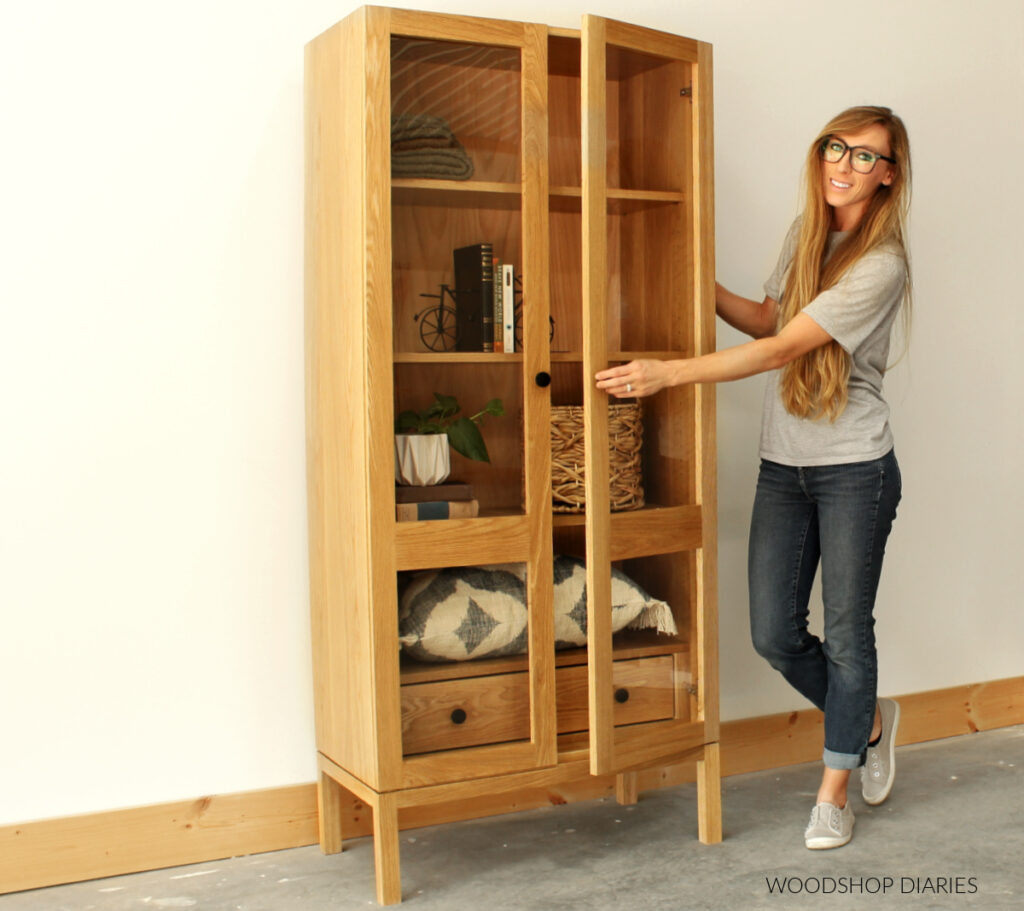
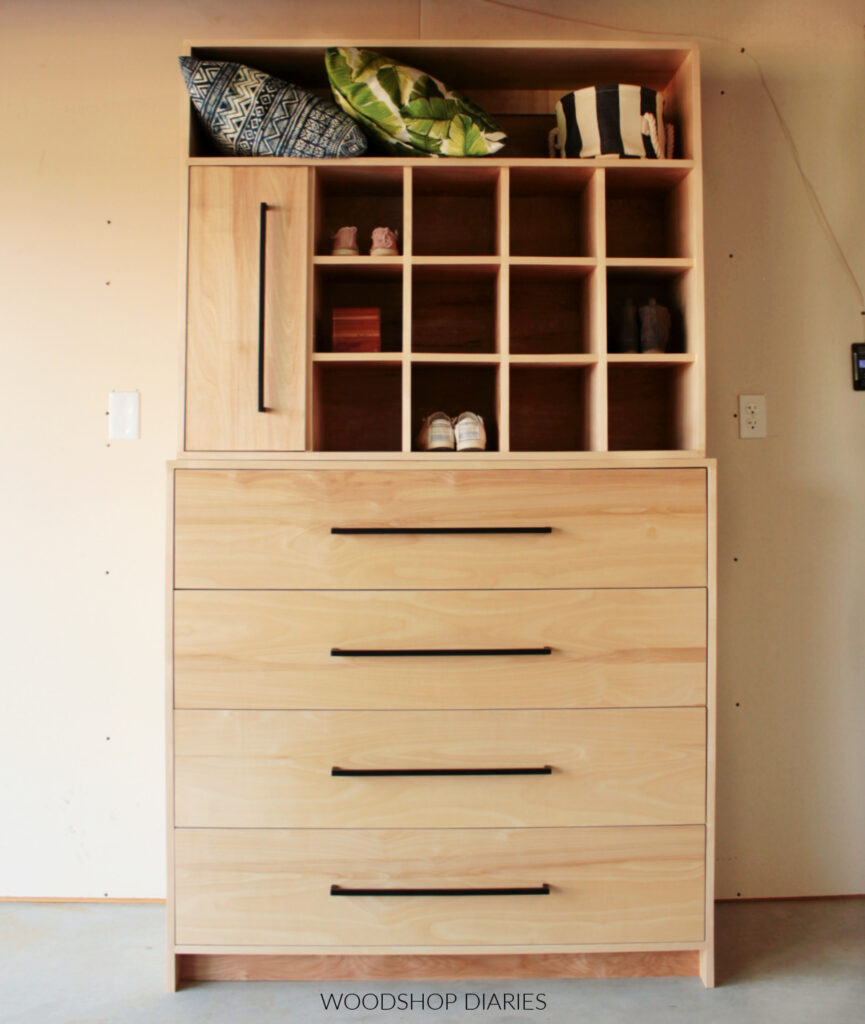
Looking for more storage cabinet ideas?
Enjoy the build but looking for more ideas? Here are a few favorite storage cabinet ideas you might enjoy!

Want to save this project for later? Don’t forget to pin it or share to your favorite social channel!
Until next time, friends, happy building 🙂
Debra Chase says
Shara this would look amazing in my home office. You did an amazing job, I hope when I try to replicate it, it’ll look close to what you’ve made. I’ll let you know! Thanks for sharing! All the best to you.
Shara, Woodshop Diaries says
THank you so much! Good luck with your build! I’m sure it’ll be awesome 🙂
Joslyn says
Beautiful! I wish you sold one! I don’t have the space or tools to make my own 🙁
Shara, Woodshop Diaries says
If you are local, I do sell them. I just can’t ship very cost effectively 🙁
Joslyn says
Aww Shara, where are you located? I’m in Los Angeles.
Shara, Woodshop Diaries says
I’m in Kentucky. That’s a good haul away from LA
Stephanie K Cole says
Love this! Would a Keurig fit inside if you adjusted the cabinets?
Shara, Woodshop Diaries says
Thank you! I didn’t try to put my keurig in the cabinet, but I’m sure you could make it fit it you adjusted the shelves. It would depend on what size Keurig you had probably. One would definitely set on the top, though!
Elaine says
You did a lovely job on this cabinet but it was difficult concentrating on your instructions with that very sweet-faced cat looking back at me! lol!
Shara, Woodshop Diaries says
Thank you! Yes, he is so distracting isn’t he? Haha. He is one spoiled kitty…but he keeps me good company in the shop, so I guess it’s okay 🙂
Amy E. says
love this! i want one. how long did it take you to make? (trying to get an estimate for my own build, which will likely take at least 4 times as long as yours cuz KIDS). thanks!
Shara, Woodshop Diaries says
Hi Amy! Thank you! I work on my things in the afternoon when I get home from work. Altogether it probably took me 6-8 hours. That’s a rough estimate–I usually take breaks to do chores around the house or whatever, so it’s hard to say exactly. You can do it!! It doesn’t matter how long it takes as long as it gets done 🙂 Good Luck!
Corinn says
Very nice cabinet!
Shara, Woodshop Diaries says
Thank you so much!
Shara, Woodshop Diaries says
Thank you so much! 🙂
Susie says
Very nice “coffee cabinet”, I can see it as a linen cabinet in a bath or a catch all in an entry. I’d love to see it painted and distressed as it has that old world look about it. Your cat is adorable…sometimes our pets pick us!