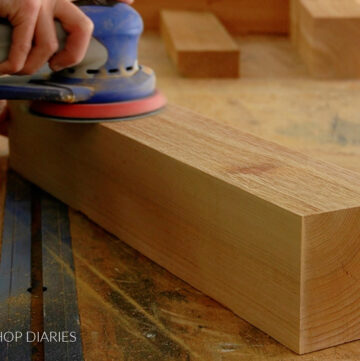
In this post, I’m sharing how to build a basic, simple drawer box for your next furniture or cabinet project!
If you haven’t already, be sure to check out this post about how to measure and size your drawers first. That will help you determine the overall size you need to make your drawer.

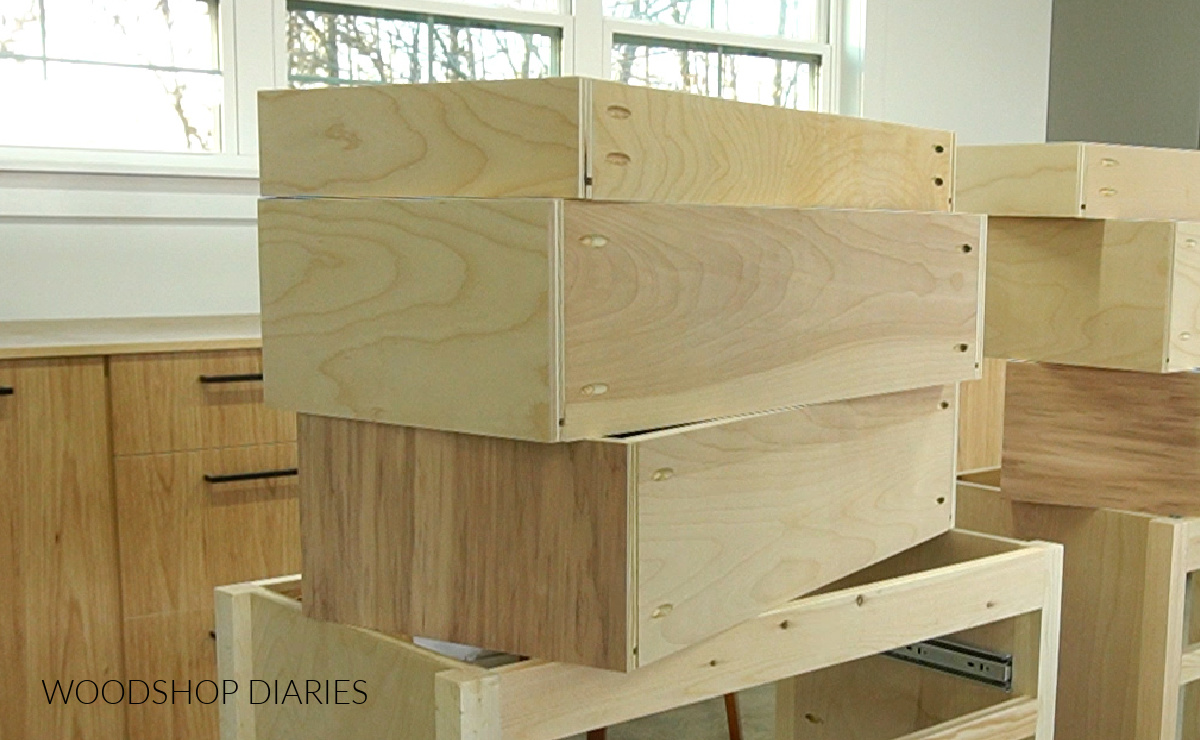
Once you know the dimensions you need, then it’s time to make some sawdust and start assembling drawer boxes!
Before we start cutting anything, let’s first discuss tools and materials.
*This post contains affiliate links. See website policies.
What Wood Should You Use to Build a Drawer Box?
If you ask 100 people this question, you’re likely to get 100 answers. And that’s because there isn’t a specific wood you “should” or “shouldn’t” use.
Some people prefer using solid wood for their drawer boxes. Others prefer plywood. Some people like thinner material and others like thicker material.
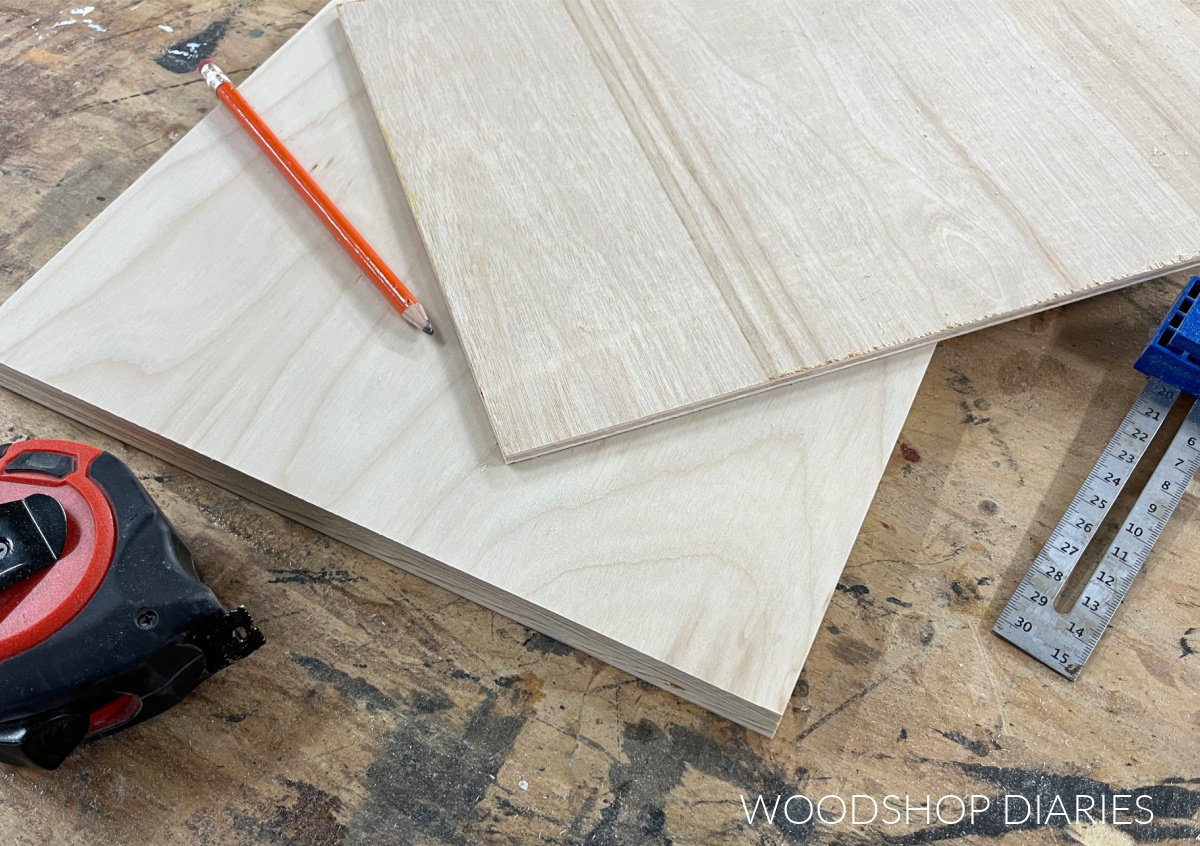
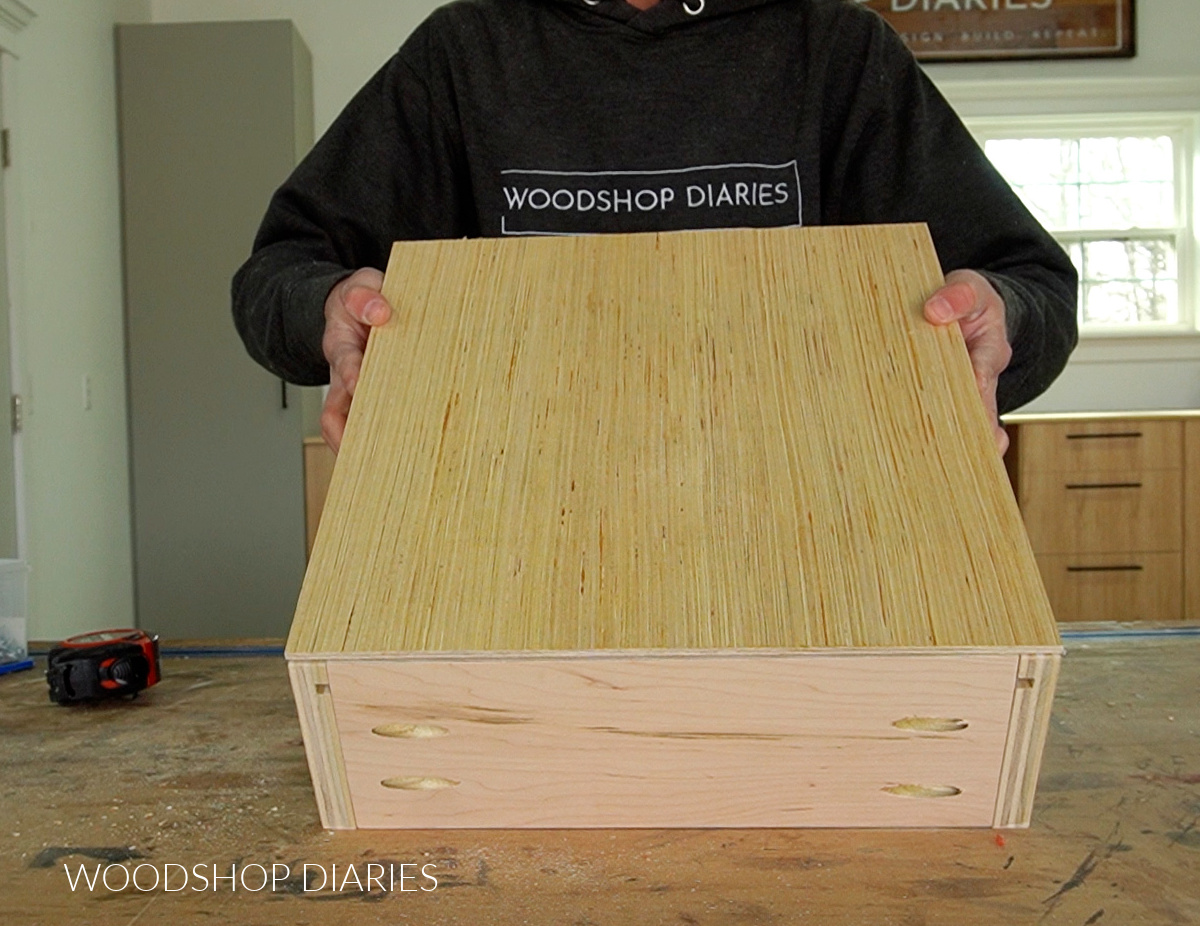
Personally, I use ¾″ hardwood plywood (like birch or maple) for the drawer box sides and ¼″ plywood for the drawer bottoms.
I always like to say, “if it works, it works.” There are a million options that would work fine for drawer boxes–so don’t stress that you have to use something specific. Use what works best for you!
For the method shown below, in addition to the lumber, the only other materials you will need for assembly are 1 ¼″ pocket hole screws and edge banding, which is optional.
Materials needed to build a drawer box:
Why is plywood a good option for drawer boxes?
One of the main reasons I prefer to use plywood for drawer boxes is because plywood is more stable than solid wood–the wood movement is practically negligible.
So plywood drawer boxes are less likely to expand, warp, or put stress on the drawer slides due to wood movement than solid wood.
Hardwood plywood is also cheaper than solid hardwood lumber and more readily available in most locations.
Plywood is also easy to cut down to your desired sizes, where using solid wood may require glue ups depending on how large your drawers will be.
I tend to keep ¼″ and ¾″ plywood on hand in my shop, so that’s what I use for most everything. However, many people build drawer boxes from ½″ plywood instead and that works fine, too!
You can check out this video for details on why I don’t use ½″ plywood.
As for the bottom panels, since I usually have ¼″ plywood stocked in my shop, I use that to save on costs. However, if you wanted to build the entire box from ½″ or ¾″ plywood, you certainly can.
As long as your drawer box ends up being the overall dimensions you want it to be, you can build it from just about any material that you’d like.
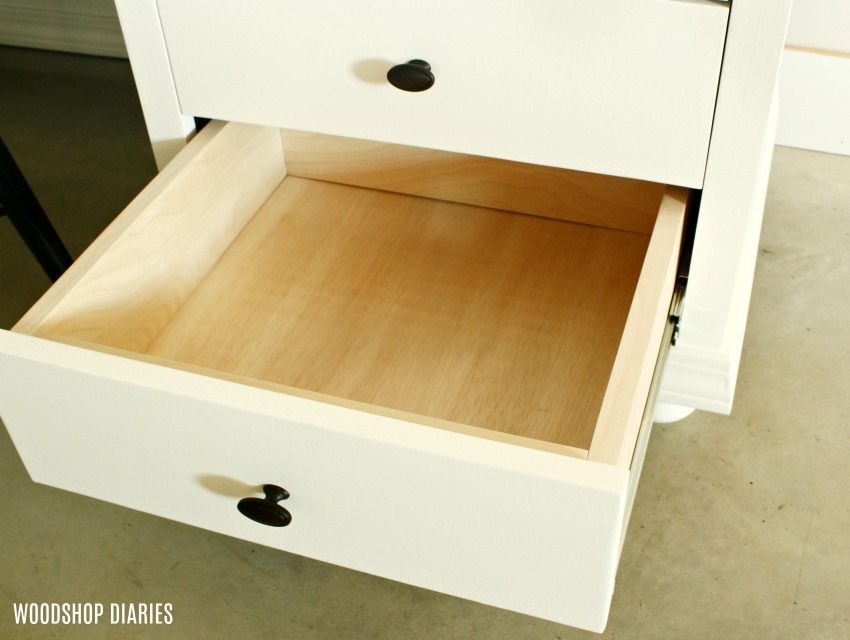
In this tutorial, I’ll be using ¾″ plywood for the drawer box sides and ¼″ plywood for the bottom panel since that’s what I usually use in my projects.
What Tools Do I Need to Build a Drawer?
These are the tools I use when building my drawer boxes. Note that some of these tools are optional.
I know a lot of people don’t have a table saw or a router and I don’t want you to think that you have to have one or the other to build a drawer. You can still build a drawer without a table saw or a router!
Tools:
- Miter Saw
- Drill/Driver
- Circular Saw (only need if using plywood)
- Kreg Rip Cut (optional)
- Pocket Hole Jig (optional)
- Table Saw or Router (optional)
I use the table saw to cut dadoes in my drawer boxes, but a router can cut them, too. And, if you don’t have either, that’s absolutely fine because I’ll show you how to build your drawers both with and without dadoes in the steps below.
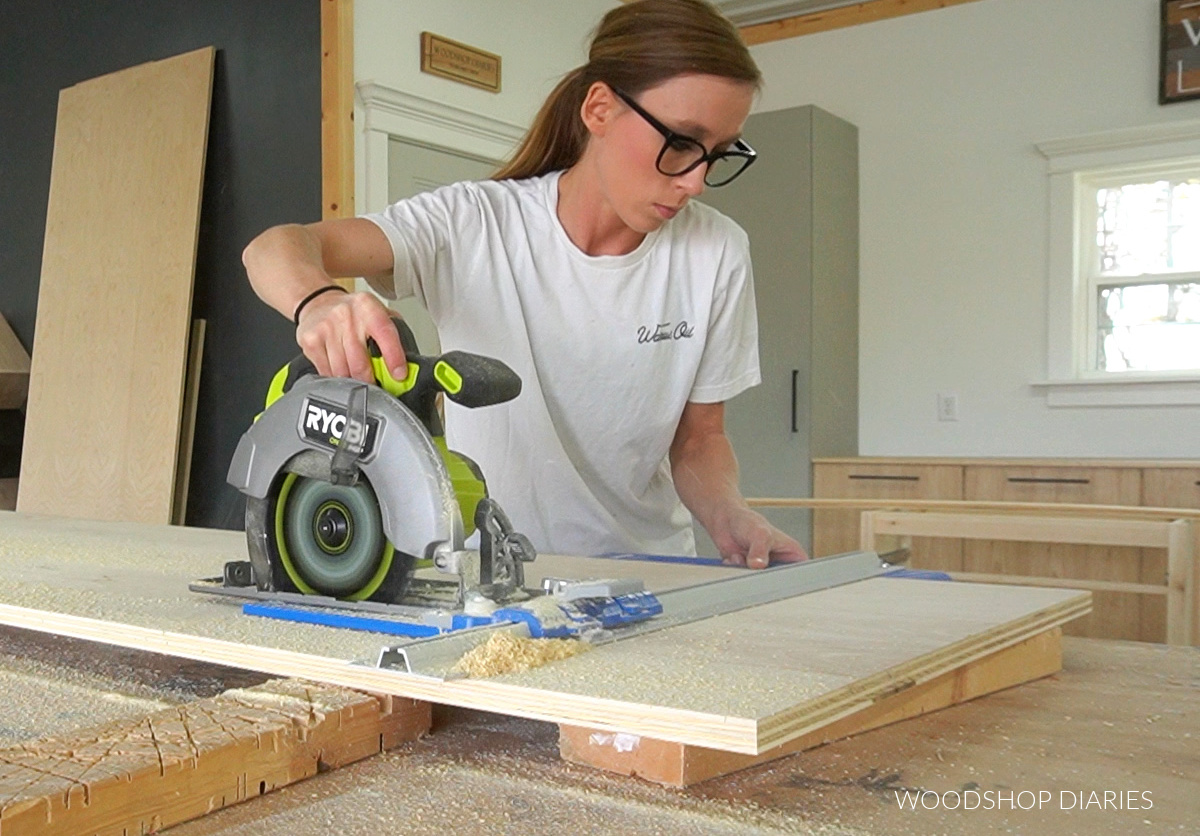
I like to cut down my plywood sheets down using a circular saw and Kreg Rip Cut cutting guide. However, if you’re not building with plywood, the circular saw and cutting guide is not necessary.
If you don’t have a pocket hole jig, you can skip the pocket holes and use regular wood screws instead.
So the bare minimum needed here is a miter saw and a drill/driver. If you have these, you can build a drawer box!
How Much Weight Can a Drawer Box Hold?
How much a drawer box can hold will largely depend on the type of slides you’re using–not necessarily the drawer box itself.
Most standard side mount ball bearing drawer slides are rated for 100 lbs. However, some heavier duty slides are rated for more. Check manufacturer’s specs on your specific slides.
I weigh more than 100 lbs and I made a video showing how I can stand in a drawer that I built using the dado method shared below and the bottom holds just fine.
So if the drawer box can hold over 100 lbs, then you’re most likely limited by the rating of the slides, not the structure of the drawer box.
How to Build a Drawer Box
This is definitely not the only way to build a drawer, but I’m sharing my personal step by step process below.
This way of assembling drawer boxes is very simple, basic and requires few tools. But, it produces sturdy, strong, and nice looking results that are repeatable and easy to build.
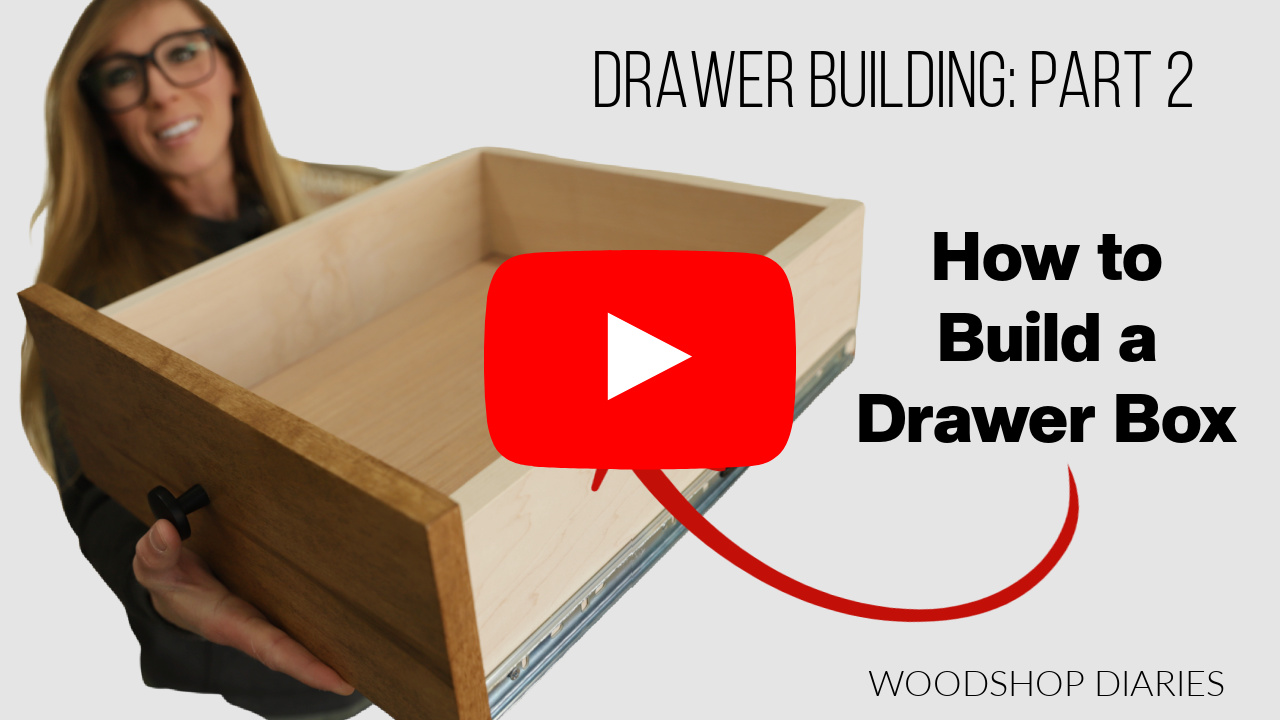
If you prefer to watch, I’ve got a drawer building video here as well:
Step 1: Cut Drawer Box Sides
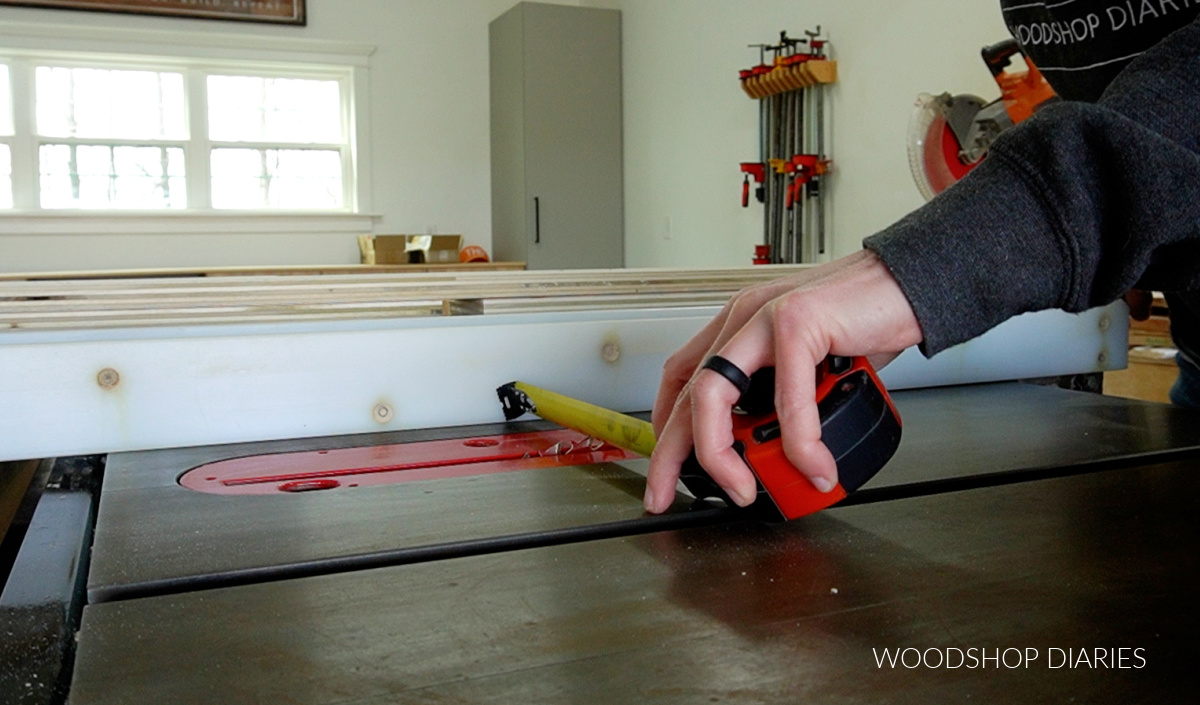
As I mentioned previously, I build my drawer box sides from ¾″ plywood. So, first, I rip strips of ¾″ plywood to the width that I want my drawer box height.
For example, if I’m building drawer boxes 4 ½″ tall, I rip my plywood to 4 ½″ wide. You can figure your drawer box dimensions using this post about how to measure and size your drawer boxes.
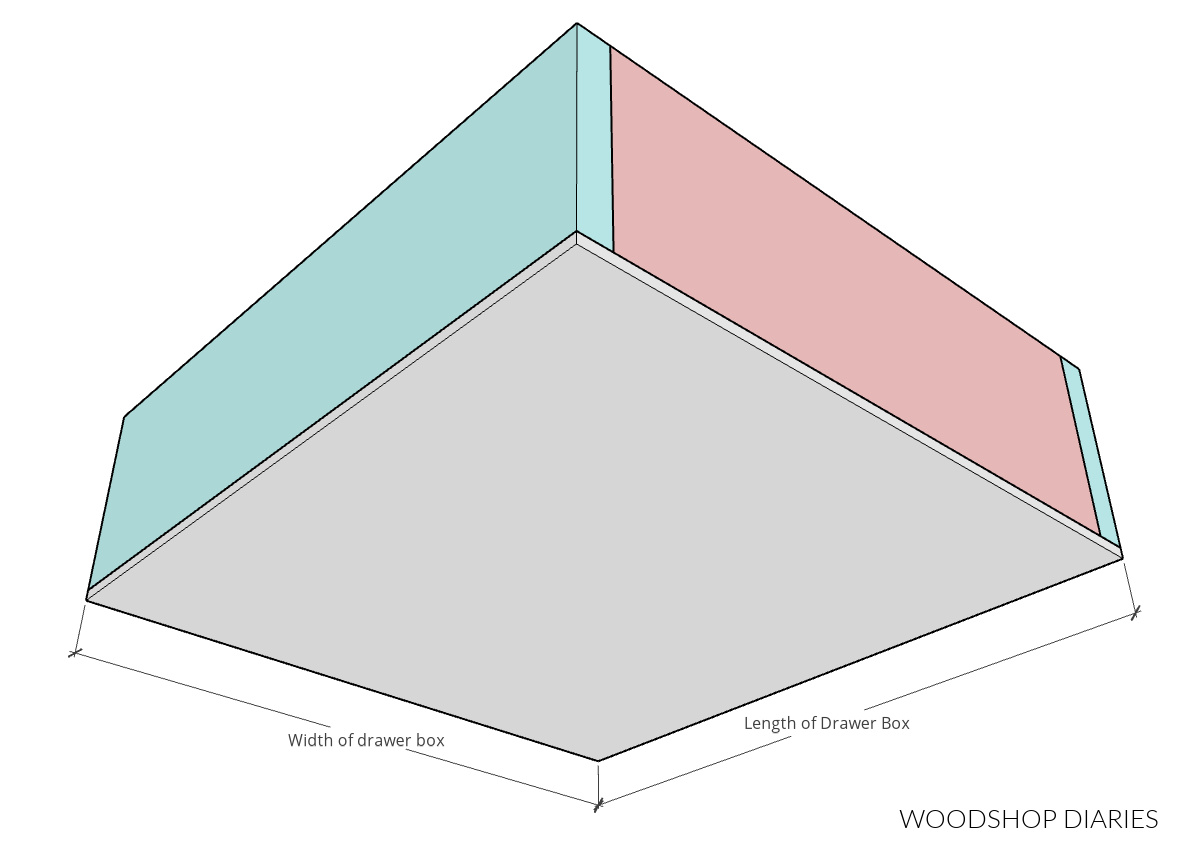
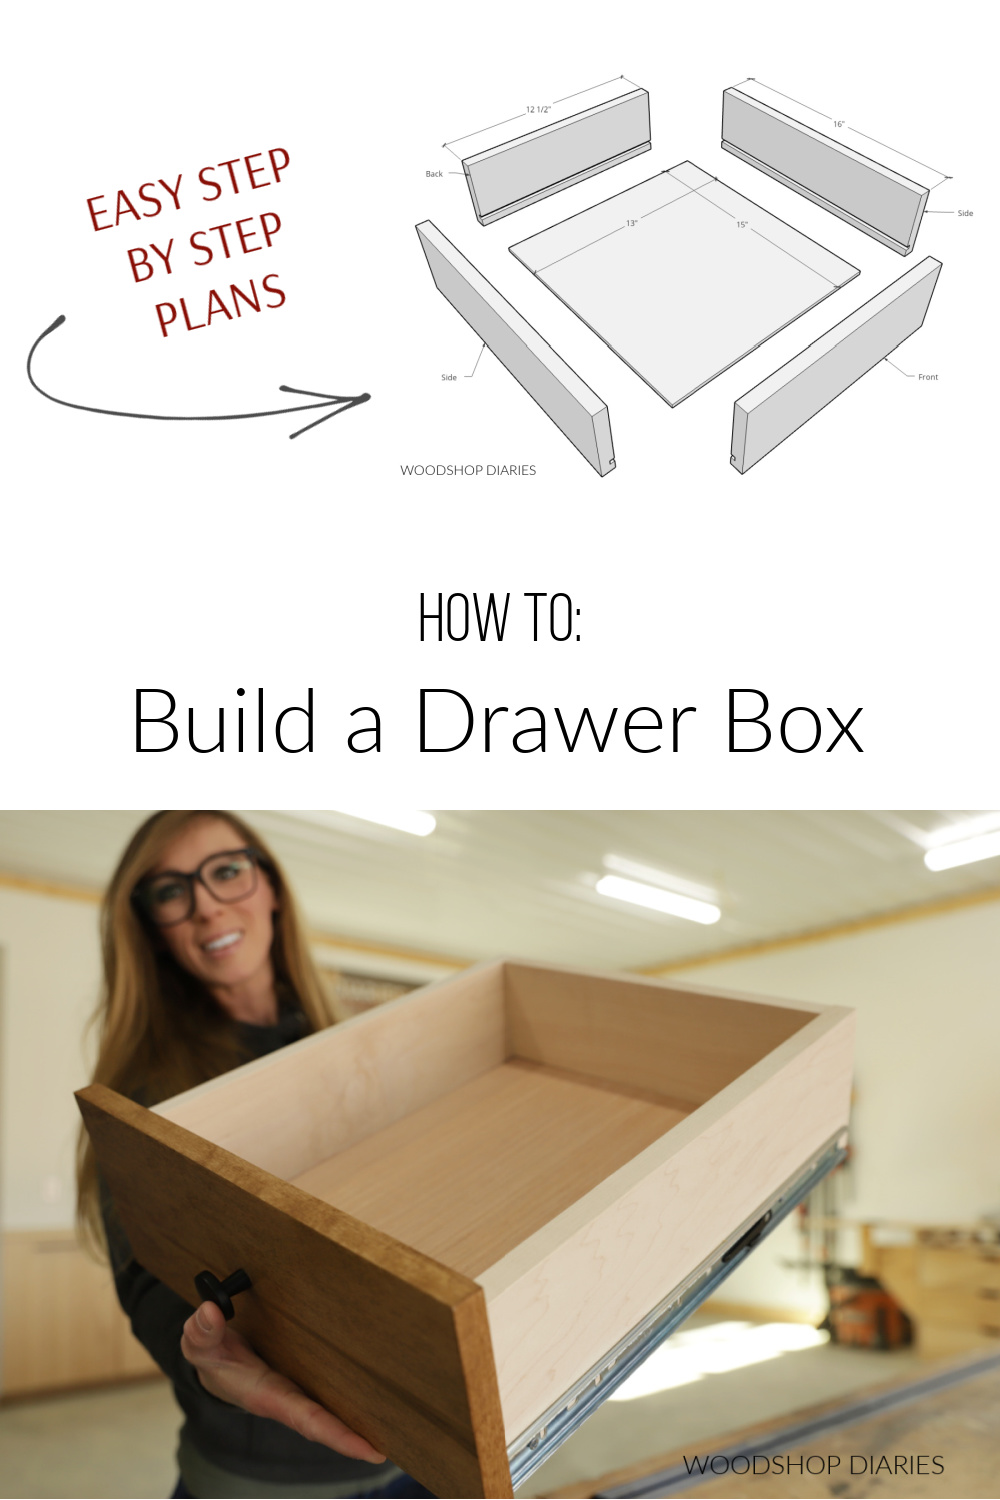
From these plywood strips, I cut 2 pieces the length that I want my drawer box (shown in blue below) and 2 pieces 1 ½″ shorter than the width that I want my drawer box (shown in pink below).
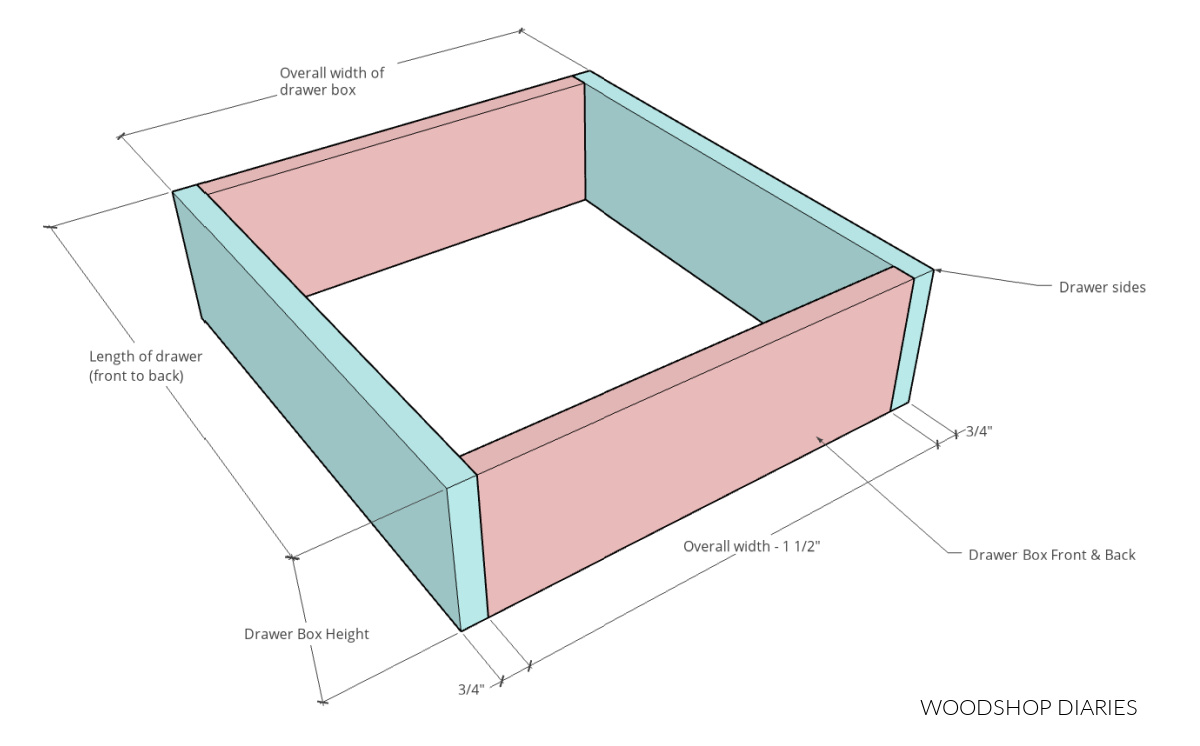
The blue pieces above are the SIDES of the drawer box and the pink pieces are the front and back of the drawer box.
NOTE: Most of the plywood that is referred to as ¾″ is ACTUALLY 23/32″ thick. So it’s 1/32″ shy of a full ¾″. So when you put the drawer box together, the overall width would be 1/16″ shy of your desired overall drawer box dimension.
You can certainly add this 1/16″ to the drawer box front/back pieces if you’d like to be super precise, but there is enough wiggle room with side mount slides, that this slight variation is negligible. Personally, I don’t consider it in my own calculations and I just figure my measurements using the full ¾″.
Obviously, if you’re using something other than ¾″ thick material, you’d need to adjust your front and back piece lengths accordingly.
But once the 4 sides of the drawer box are cut to length, dry fit them together to make sure the overall dimensions are correct for your drawer box.
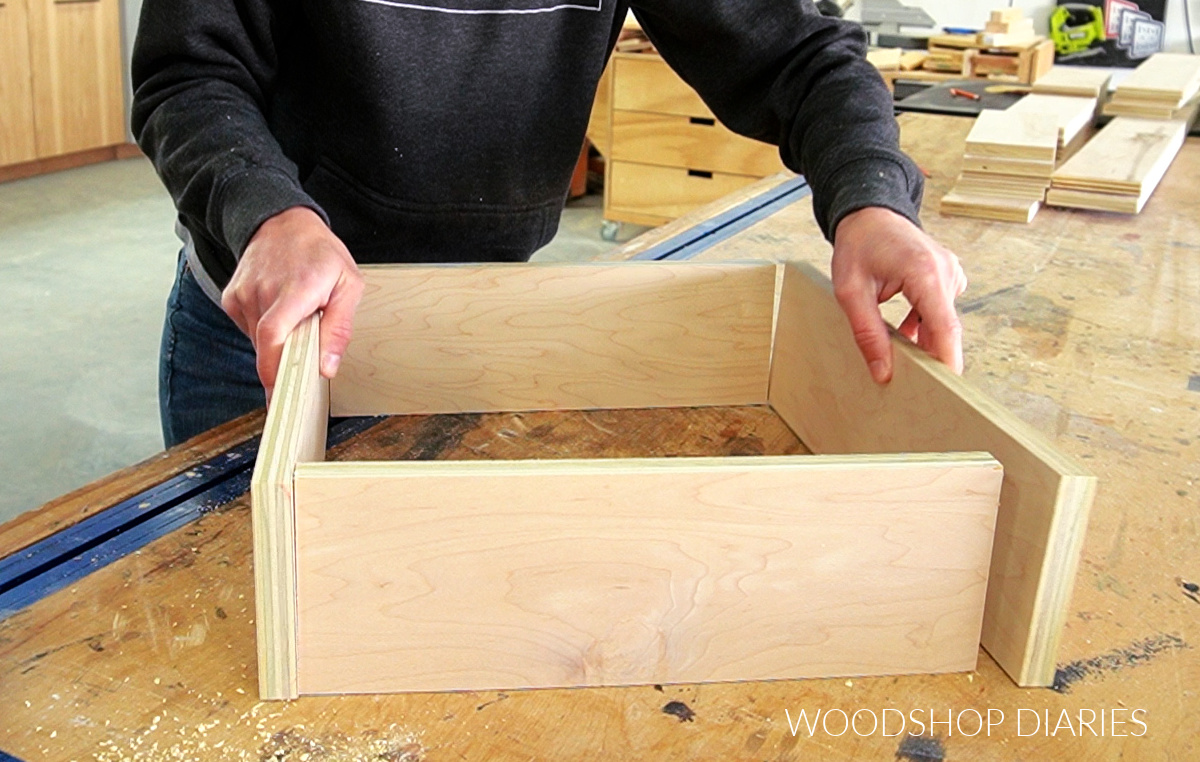
If you’d like, you can apply iron on edge banding to the top edges of the drawer box pieces. Iron on edge banding is optional, but I like to add it on my own drawers as it looks a little cleaner.
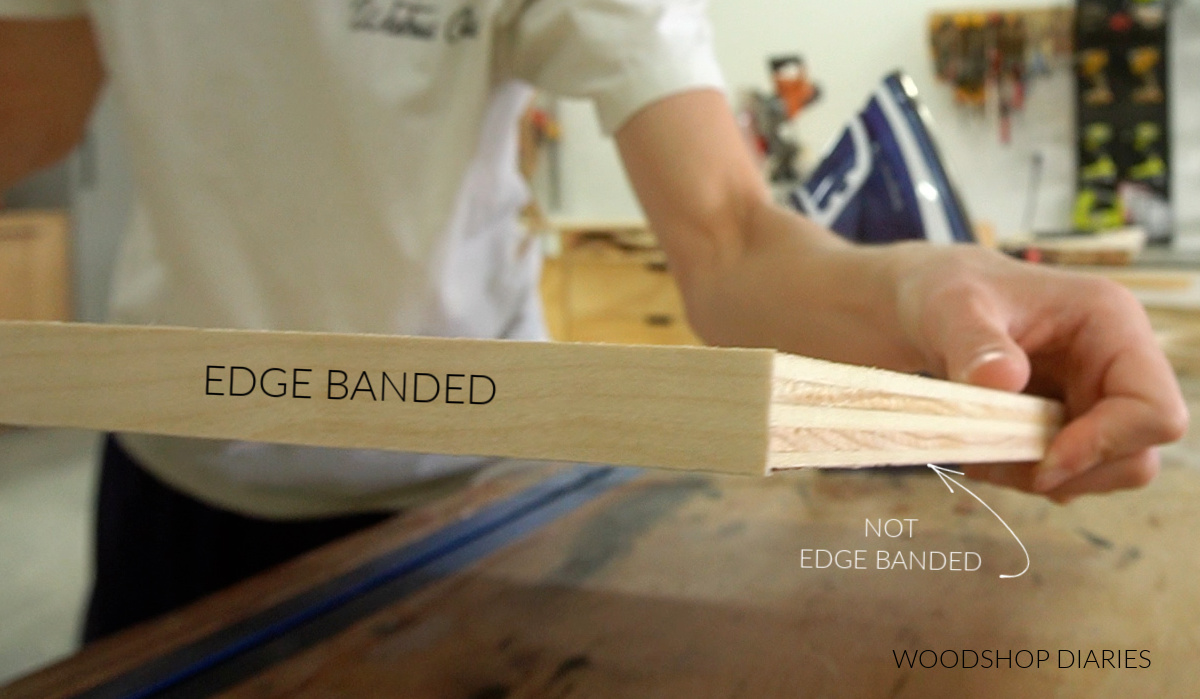
I have a guide to applying iron on edge banding to plywood here.
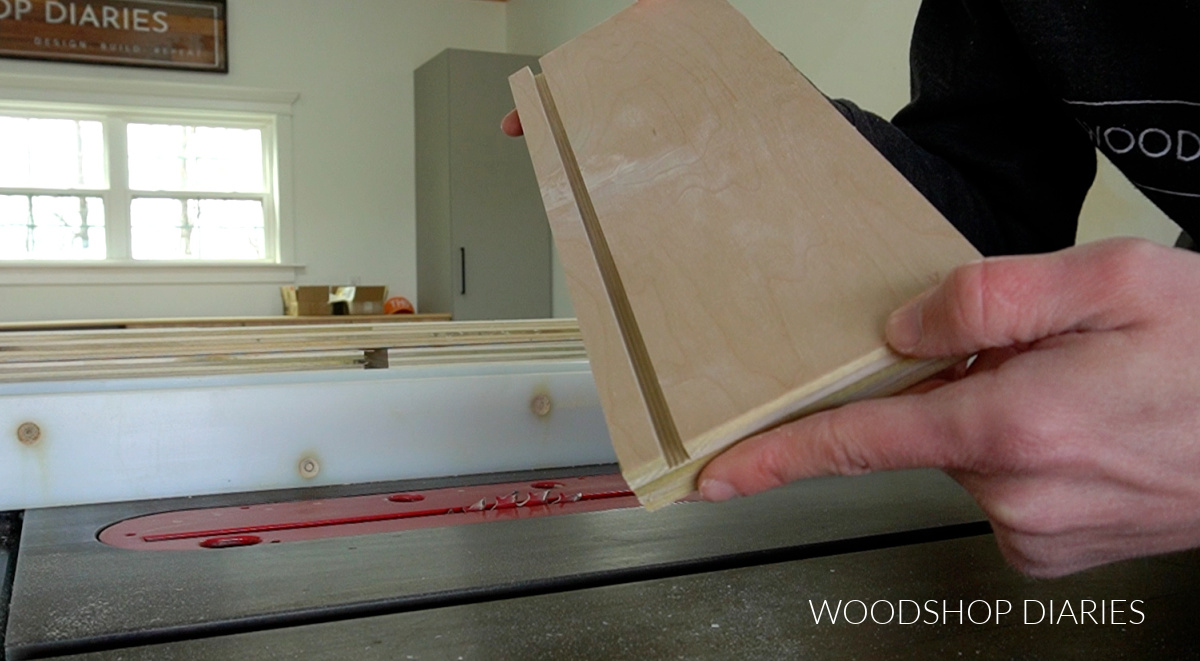
Step 2: Cut Dadoes to Install Drawer Bottom (optional)
I cut dadoes into my drawer box sides to install the ¼″ plywood bottom panel. This is a sturdy and simple way to add the bottom panel without needing a bunch of additional hardware.
However, this is an optional step, so if you don’t have a table saw or router to cut the dadoes–or you simply don’t want to cut them–you can skip this step.
To cut the dadoes, I use a table saw. I detail this process in the YouTube video, but first, I adjust my blade height to about ¼″ using a Kreg MultiMark tool. This allows me to cut my dadoes ¼″ deep into my drawer box sides.
I don’t normally use a dado blade to cut my dadoes–I just use a general purpose blade and make a couple passes. If you have a dado blade, feel free to use it.
If I’m just doing a few cuts, I don’t usually bother with swapping out my blades because it’s kind of a hassle.
I like to cut my dadoes about ½″ from the bottom edge of the drawer. So I adjust the rip fence so that the OUTSIDE of the blade will cut ½″ from the bottom edge and run each drawer box side through to make a cut.
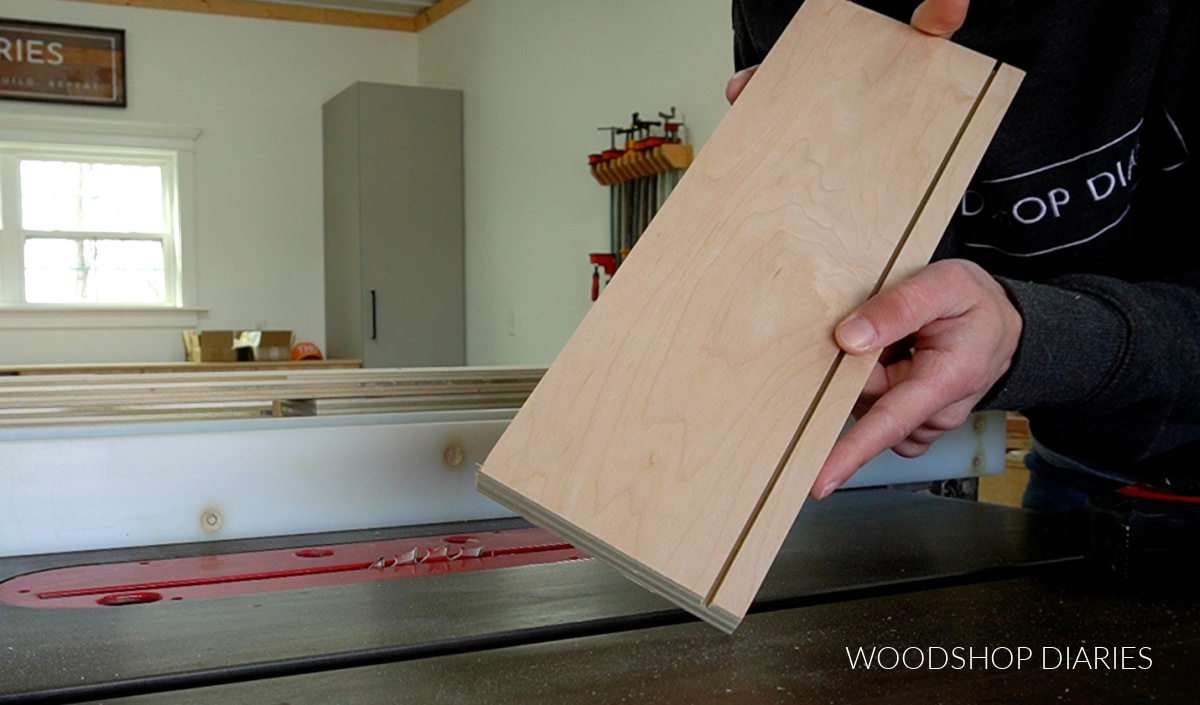
In this case, my drawer box pieces were 4 ½″ wide, so I adjusted the outside of my blade to 4″ from the rip fence.
Then, I adjust the rip fence so that the INSIDE of the blade will cut ¾″ from the bottom edge of the drawer box.
In this case, my drawer box pieces were 4 ½″ wide, so I adjusted the inside of my blade to 3 ¾″ from the rip fence and ran the boards through again.
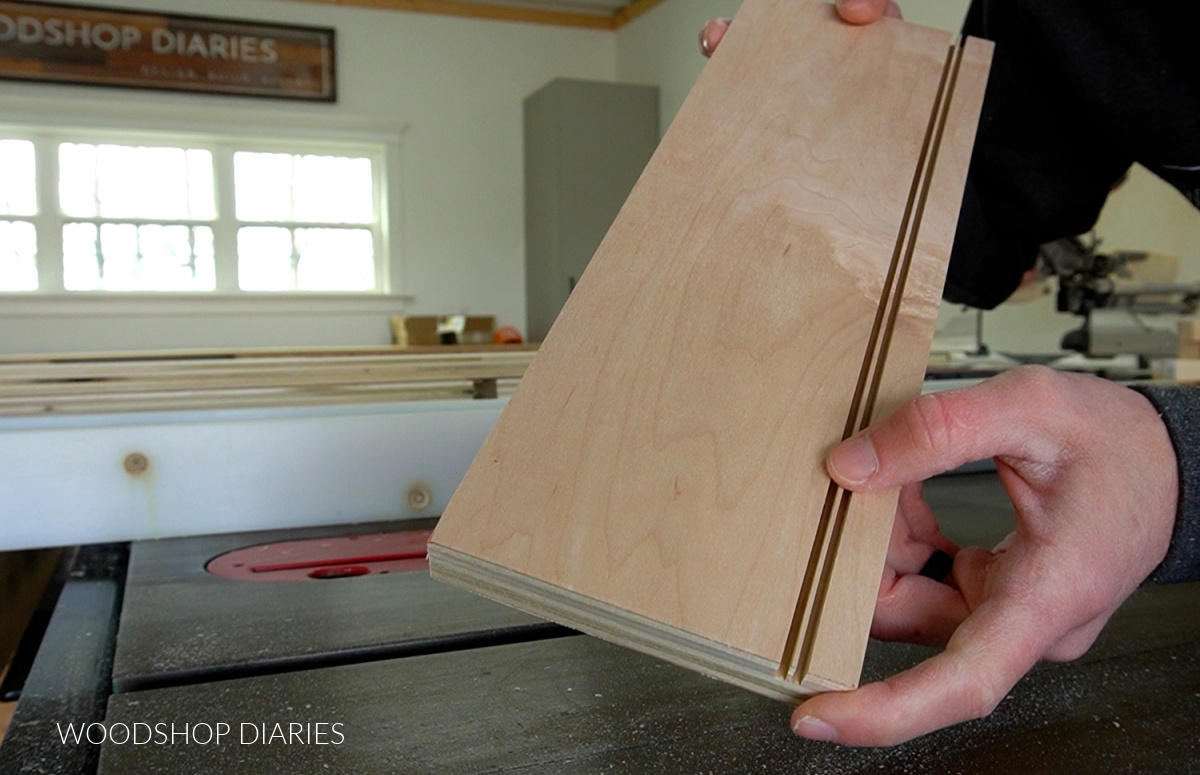
Then, I adjust back a little and run through again just to cut out this middle piece.
I know that seems like a long process, but if you’re doing it in batches and only for a few drawers at a time, it goes really quick.
You can also use a ¼″ straight bit in your router to route this dado instead.
RELATED: How to use a router
Step 3: Size and Cut Drawer Bottom Panel
To figure the size the plywood bottom should be to fit into the dadoes, you simply take the size of the opening plus ½″ in both directions. That allows for ¼″ on all four sides–which was the depth of the dadoes.
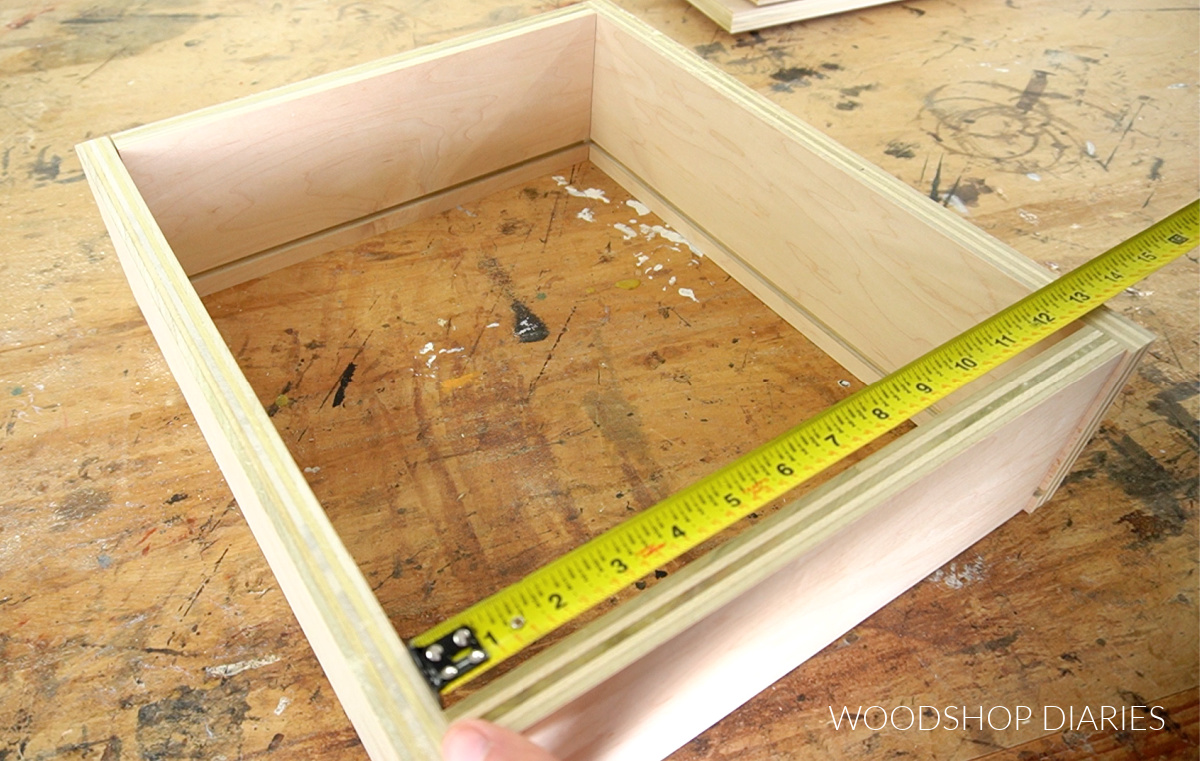
You can also figure this as the length of the front and back pieces + ½″ x the length of the sides – 1″.
Let’s look at an example, when I fit my drawer box pieces together, if the opening is 12 ½″ x 14 ½″, then I need to cut my ¼″ plywood bottom panel 13″ x 15″.

However, if you skipped cutting the dadoes, simply cut the ¼″ plywood bottom panel to the overall size of the drawer box.
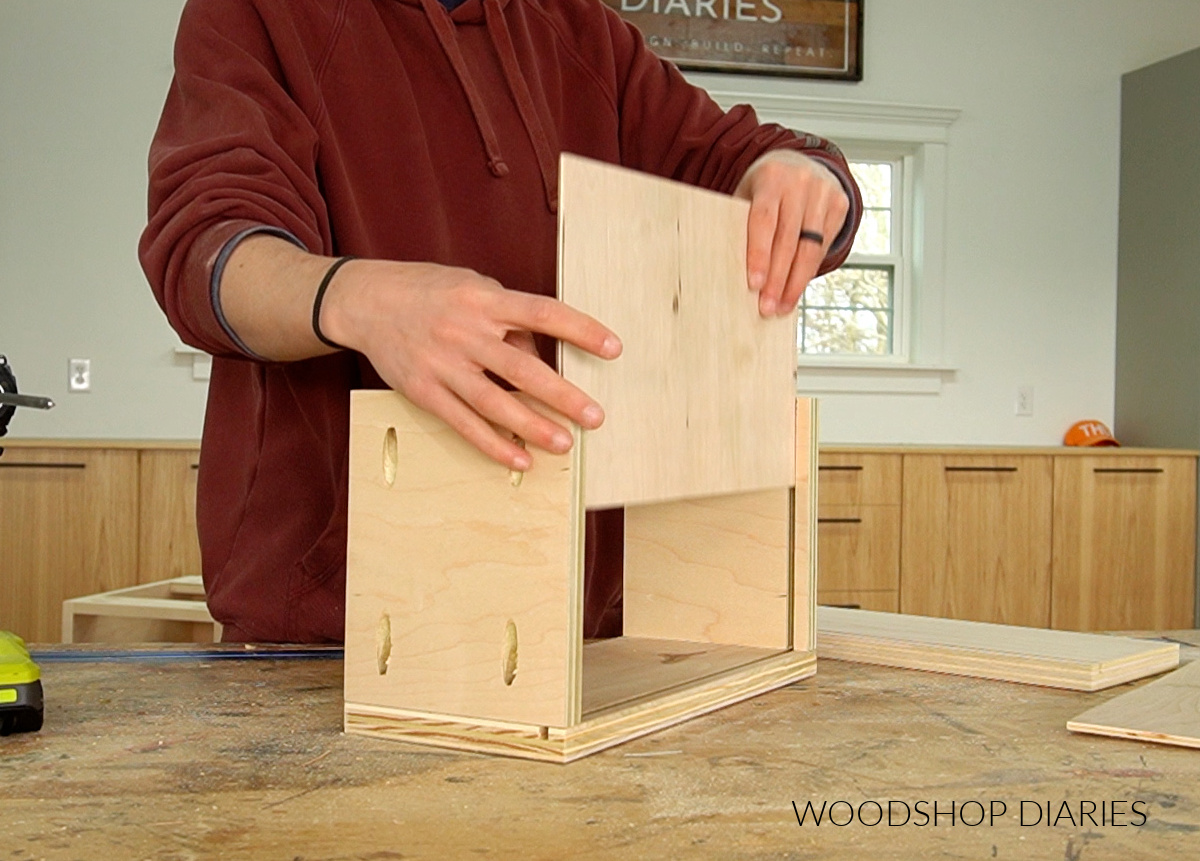
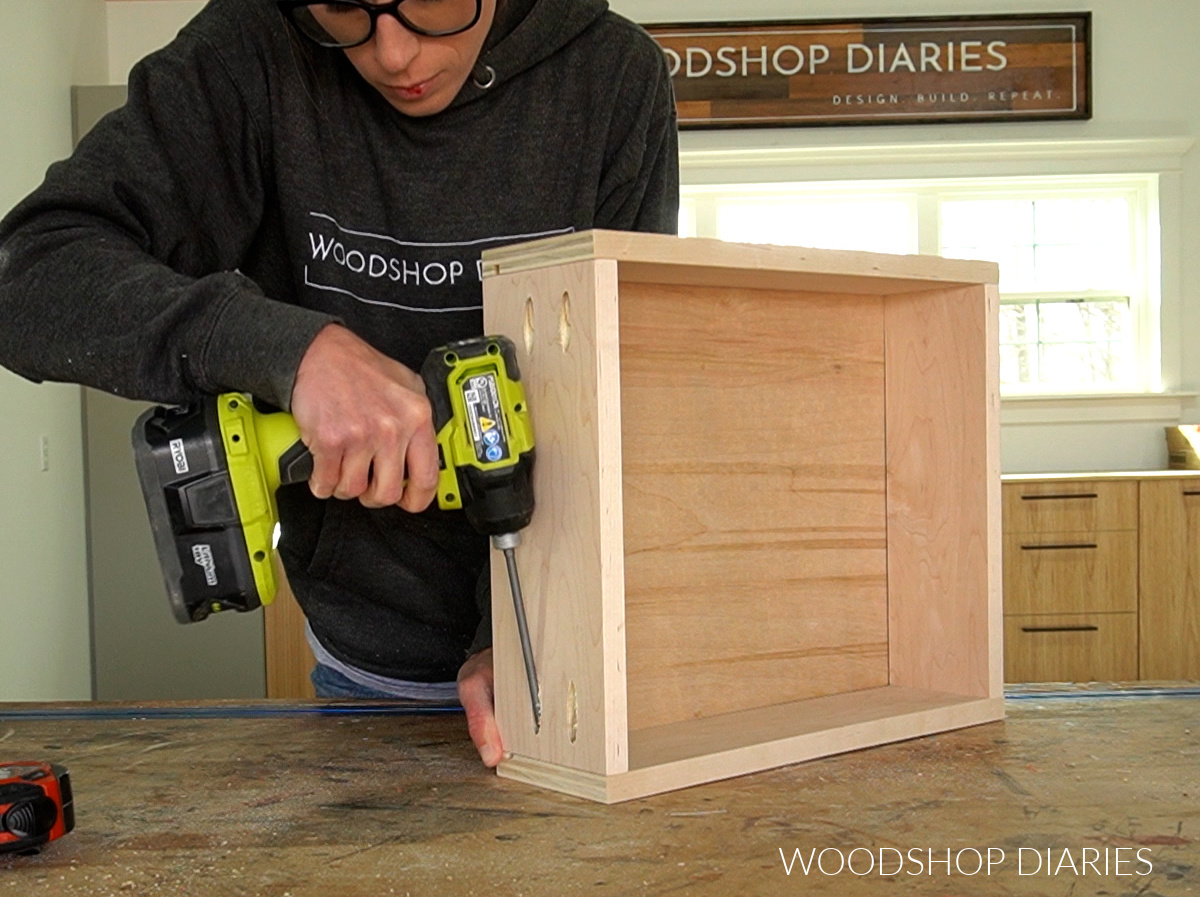
Step 4: Assemble Drawer Box
I assemble my drawer boxes using pocket holes because it’s simple and strong. So that the holes are hidden in the end result, I drill them into the front and back pieces of the box on the OPPOSITE side as the dadoes.
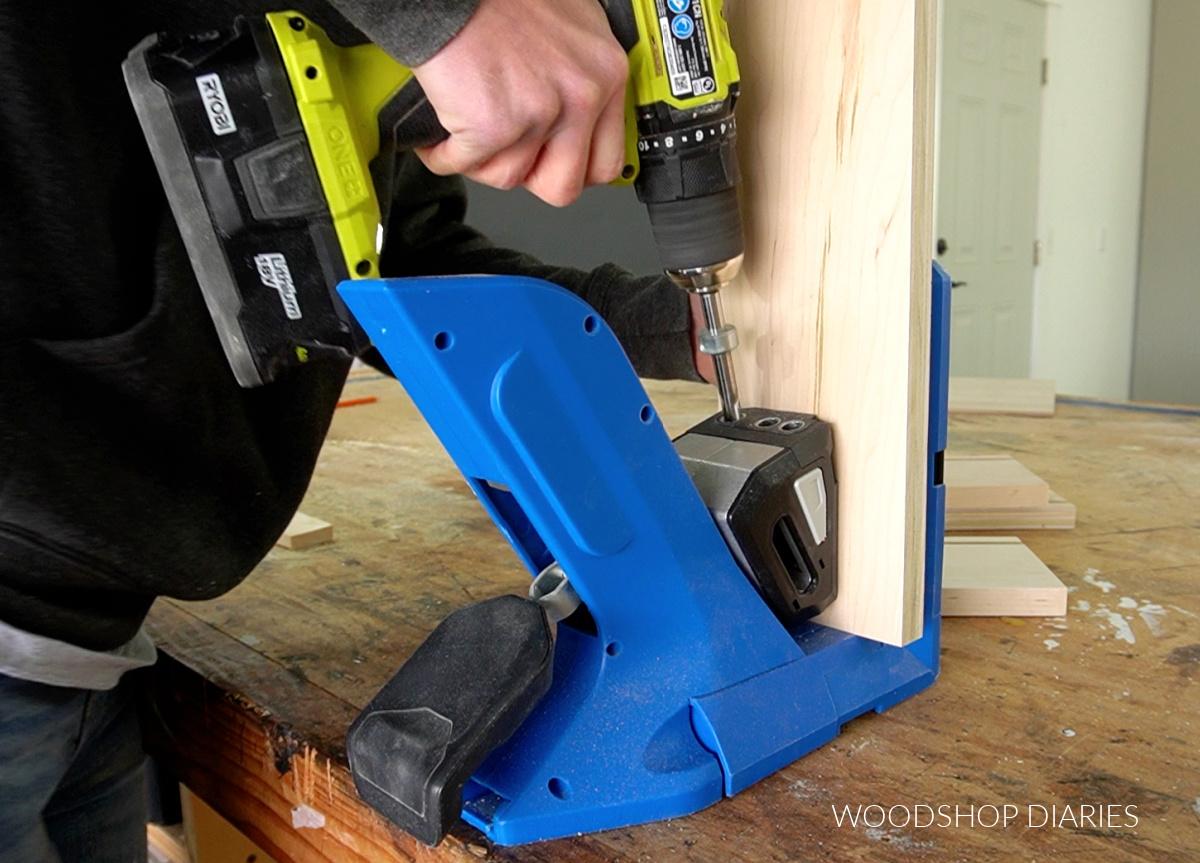
Since I’m using ¾″ plywood for these pieces, I drill ¾″ pocket holes.
RELATED: How to use a pocket hole jig
Then, I use 1 ¼″ pocket hole screws to assemble three of the four sides.
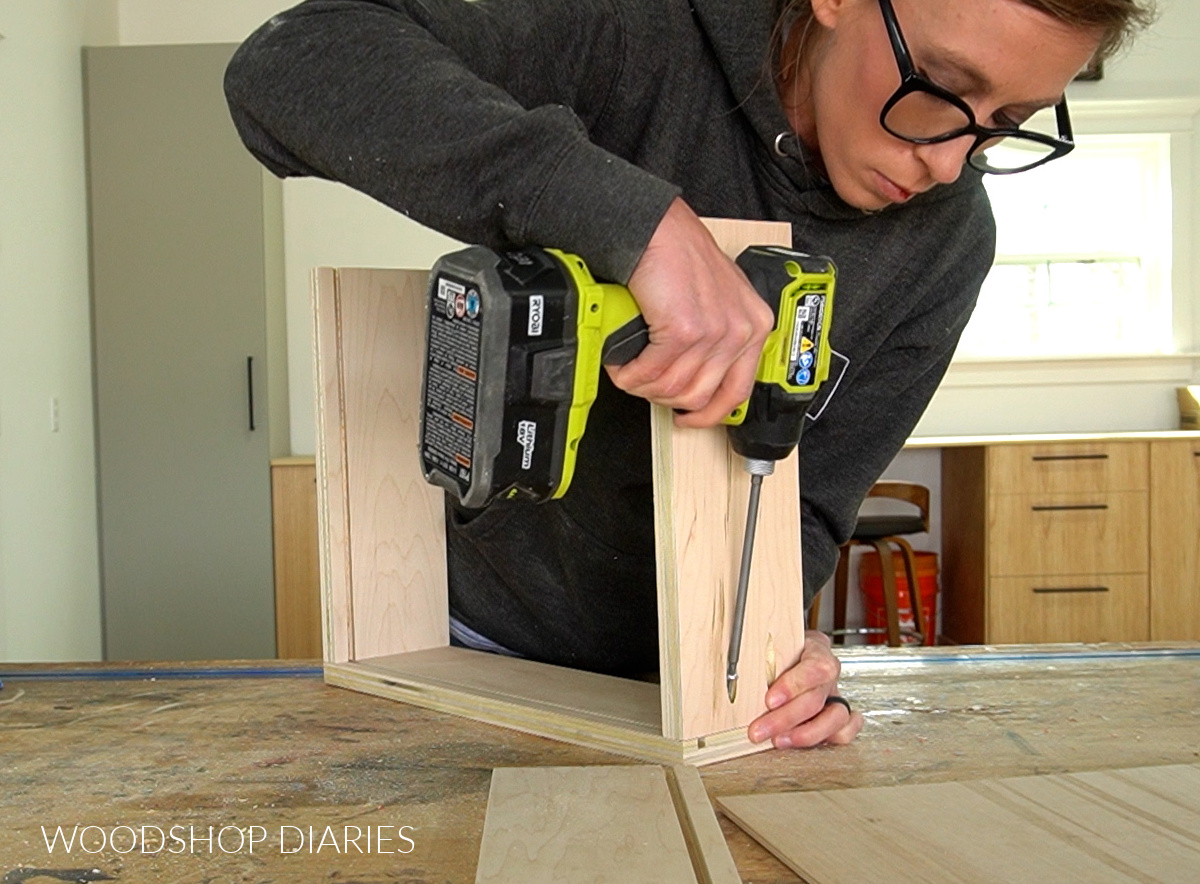
I slide the ¼″ plywood bottom panel into the dadoes before adding the fourth side using 1 ¼″ pocket hole screws.
The pocket holes at the back won’t be seen once installed and the ones in the front will be hidden by the drawer front once it’s installed.
However, if you didn’t want to use pocket holes, you can certainly just use wood glue and finish nails or wood screws through the sides instead.
NOTE: I don’t personally use wood glue when assembling drawers with pocket holes. However, if using nails or screws through the sides, I’d definitely recommend using it.
If you opted not to cut the dadoes for the bottom panel, you can assemble the four drawer box sides the same way, just without the bottom panel.
Then use wood glue and staples or screws to secure the bottom panel onto the bottom side of the box.
NOTE: If you add the bottom panel onto the bottom of the drawer box, keep in mind that will add to the overall height of the box. You may want to adjust how wide you cut your drawer box sides to accommodate the additional thickness.
How to Ensure Your Drawer Box Stays Square
This is a VERY common question when it comes to building drawers. My number one tip is to make sure to cut your pieces nice and square first. It’ll be impossible to build a square drawer with unsquare cuts.
But my second tip is similar, only with more emphasis on the bottom panel. Make absolutely sure your bottom panel is square–whether you’re installing it directly to the bottom or inside dadoes.
The bottom panel should fit snug either way, so if it is square, it will pull the drawer box square to it once it’s installed. However, if it isn’t square, it will pull the drawer box sides out of square.
Another, more obviously tip is to use some corner clamps to help hold your pieces perfectly square as you screw them together.
How to Check for Square
You can check both the bottom panel and the drawer box (once it’s assembled) for square by simply measuring across the diagonals and seeing if they are equal.
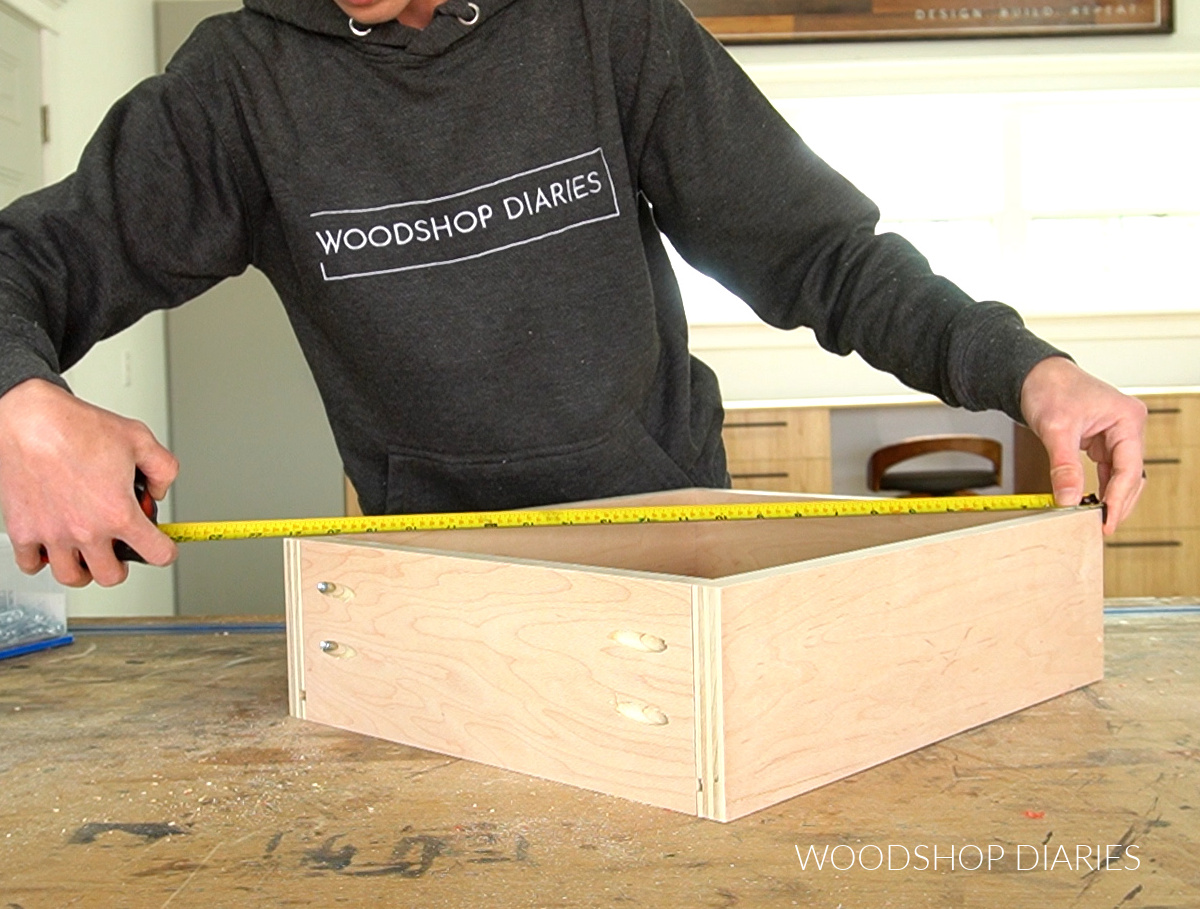
Mathematically, if two diagonals of a rectangle are equal, then the corners are square.
Ready to Install Your Drawer Box?
There are SO many ways to build a drawer box. The method I shared above is the one that I use in all my projects and I hope you find it helpful to build for your own projects.
If you are ready to learn how to install your drawer boxes, I have a complete guide plus video on installing drawer boxes here. After that, check out how to finish up your drawer installation by installing the drawer fronts.
if you want to take the entire drawer building series to the shop with you as a printable, you can grab the printable drawer building guide here:
If you enjoyed this tutorial and want to be the first to know when new projects and posts come out, be sure to subscribe to the newsletter below!
To save this for later, don’t forget to pin it!
Until next time, friends, happy building!