In this post, I’m sharing some tips on getting started using a router, breaking down the different types, and giving you some project ideas you can practice with!
After a recent poll on my Facebook page, I was overwhelmed with how many people had so many questions about how to use a router.
I’m not a router expert, but I’ve used one a time or two (or a hundred). So I wanted to put together this router guide with all the information that I’ve learned over the years to help others who had questions and are just starting out.
This post contains affiliate links. See policies page.
Router Guide: What is a Router?
Routers come in many shapes and sizes. I’ll cover the various types below, but, basically, a router is a power tool that uses a shaped cutter (or a bit) to make decorative edges, or grooves in wood.
Routers are a super versatile tool. And like any power tool, they pose a possible danger, especially if you aren’t sure how to use it.
Be sure to read manufacturer’s instructions on your routers and get comfortable using them on small projects before tackling anything huge.
Router Guide: Why Do I Need One?
Routers are really handy to have in a woodshop. I don’t use mine on every project, but I have used them on several.
A router is one of those tools that you may not use every day, but there’s not really an alternative to use when you need it. It’s both a versatile, but specialized tool. Nothing else really takes it’s place.
They are great for not only adding some decorative touches to your projects, but they also can be used to cut slots, grooves, and dadoes for joinery methods, flatten table tops, carve, and smooth out rough or uneven edges when needed.
Here are a few examples of how I’ve used my router. These are a just a few of the many ways you can use them:
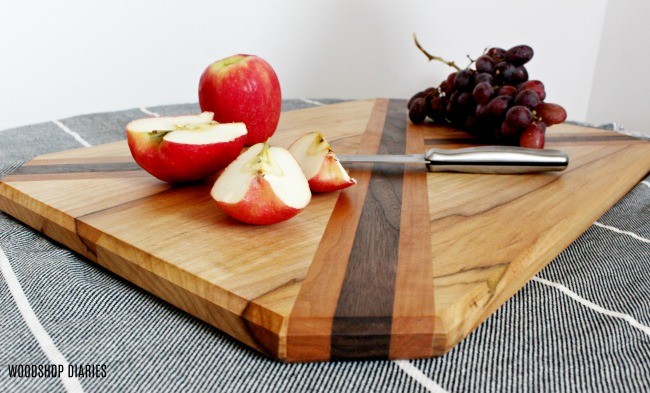
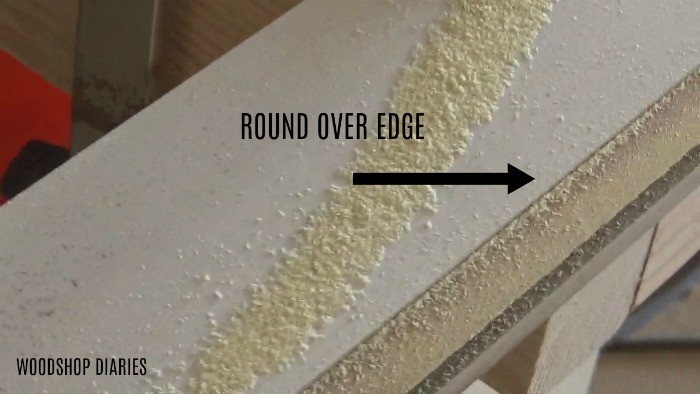
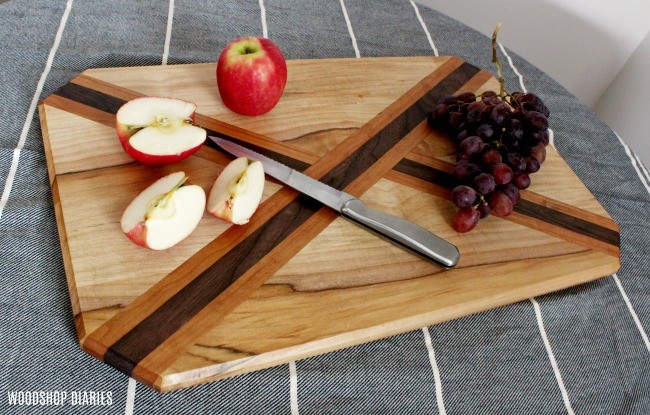
Add a decorative edge on a project
Check out how I used a router on this scrap wood cutting board project.
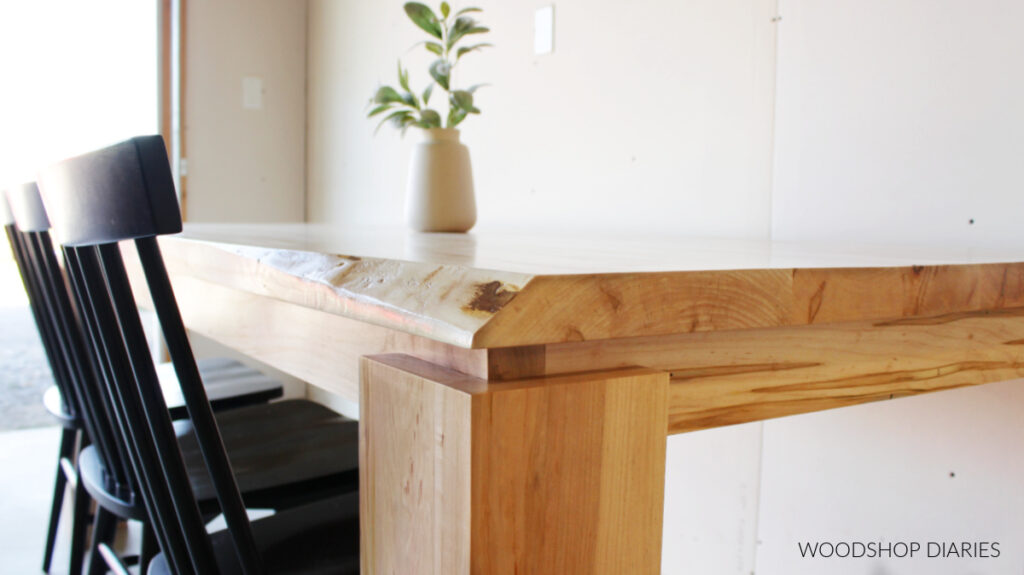
Cut out large rabbets for joinery
Check out how I used a router on this dining table build to join the legs and apron.
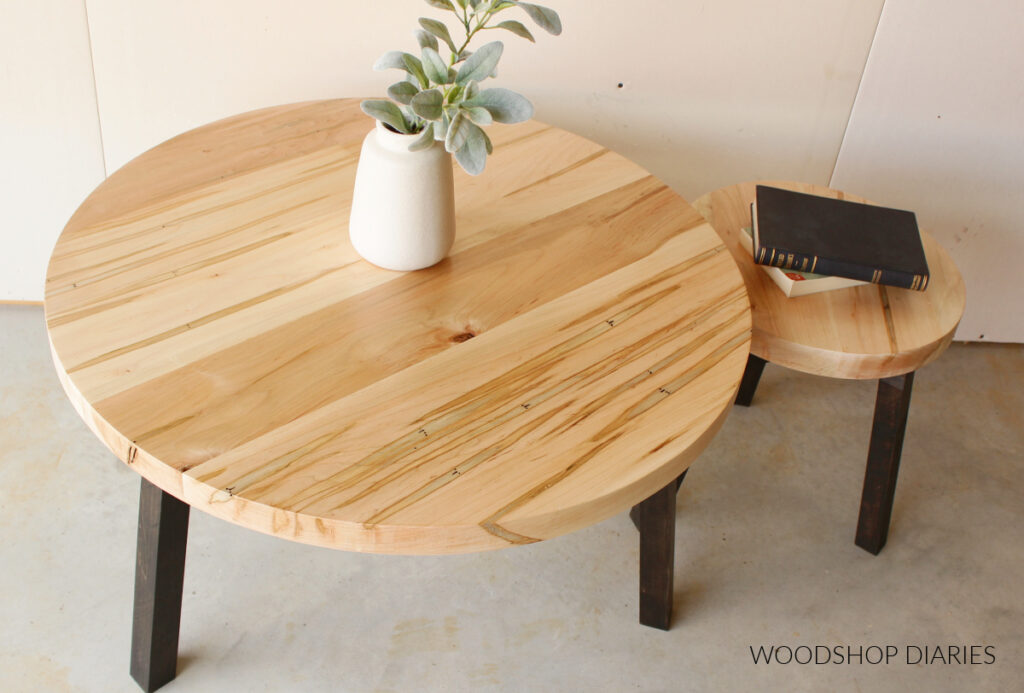
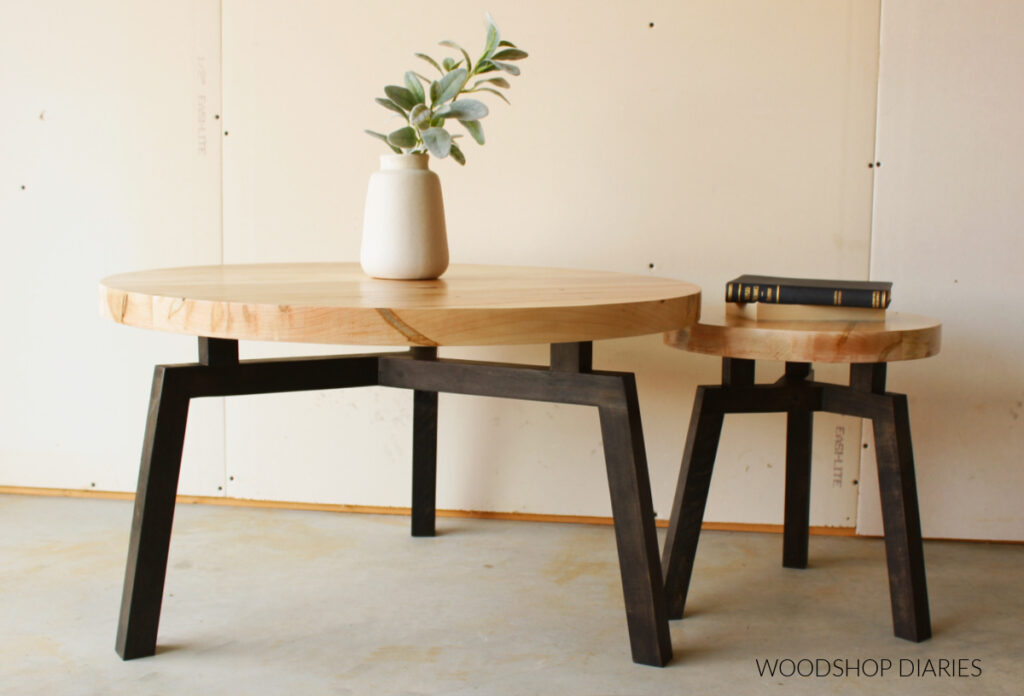
Cut a perfect circle
Check out how I used a router to cut a perfect circle to build these round coffee tables.

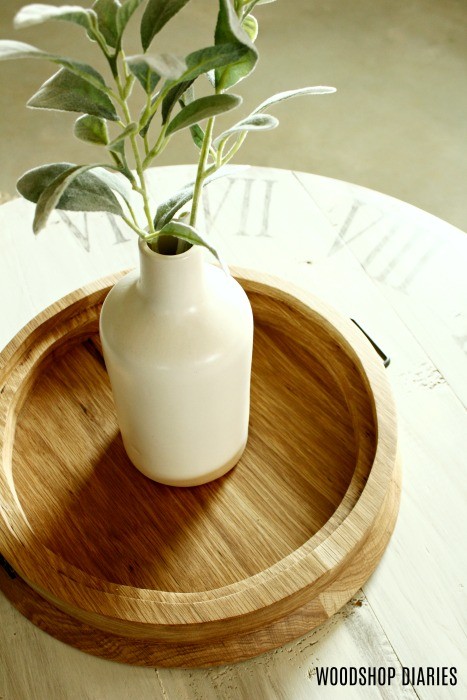
Smooth uneven edges after glue ups
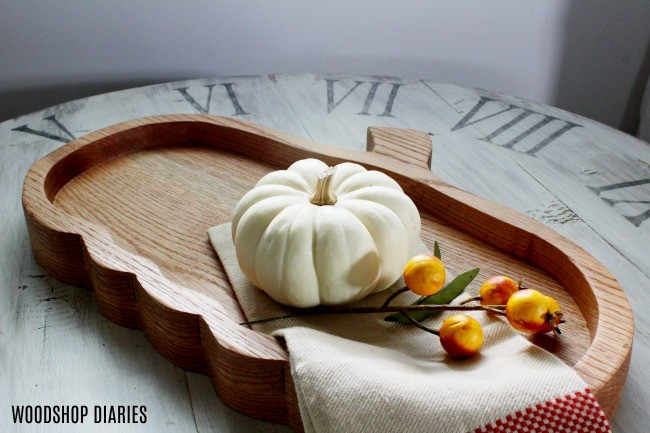
Check out how I used a router to flush cut the edges of this DIY pumpkin tray after gluing the pieces together.
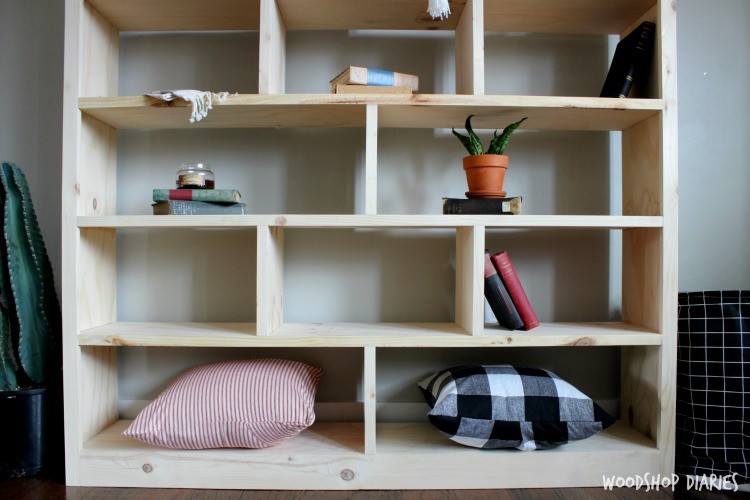
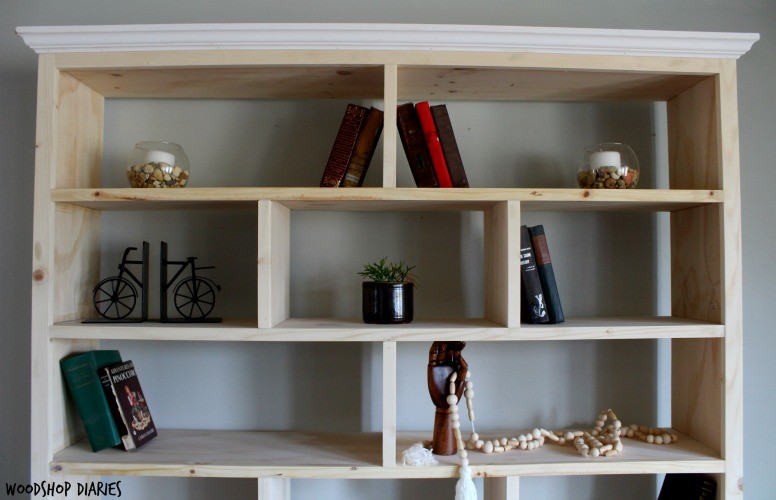
Cut dadoes to assemble shelves
Check out how I used a router to cut dadoes to assemble this large DIY modern shelving unit.
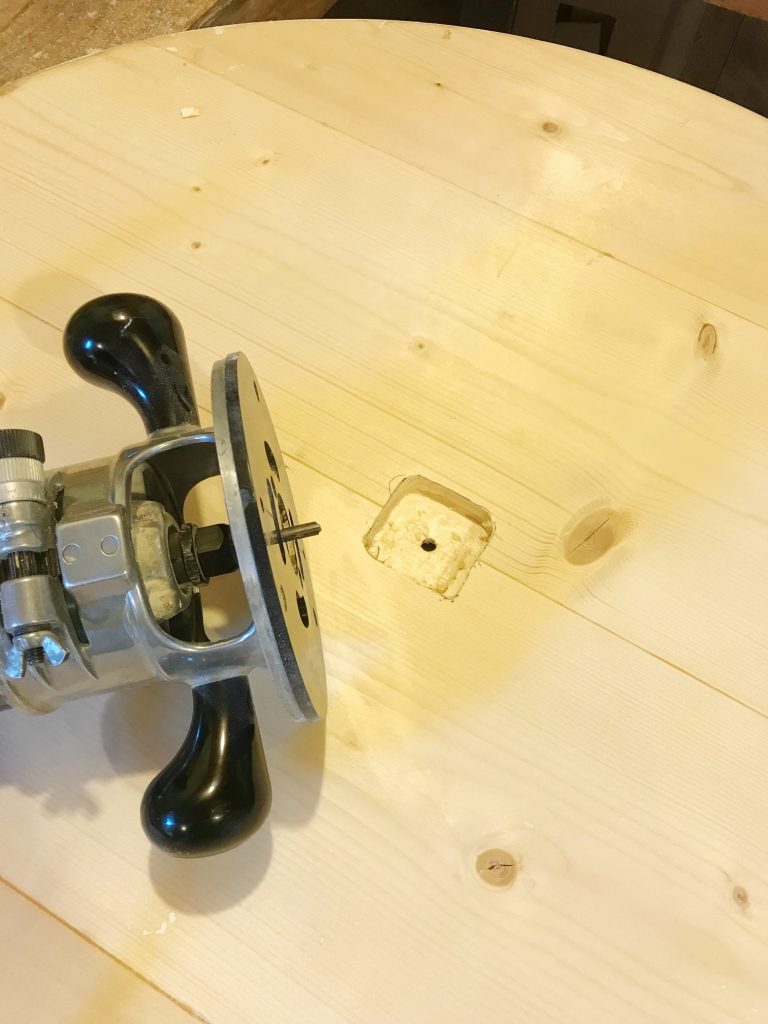
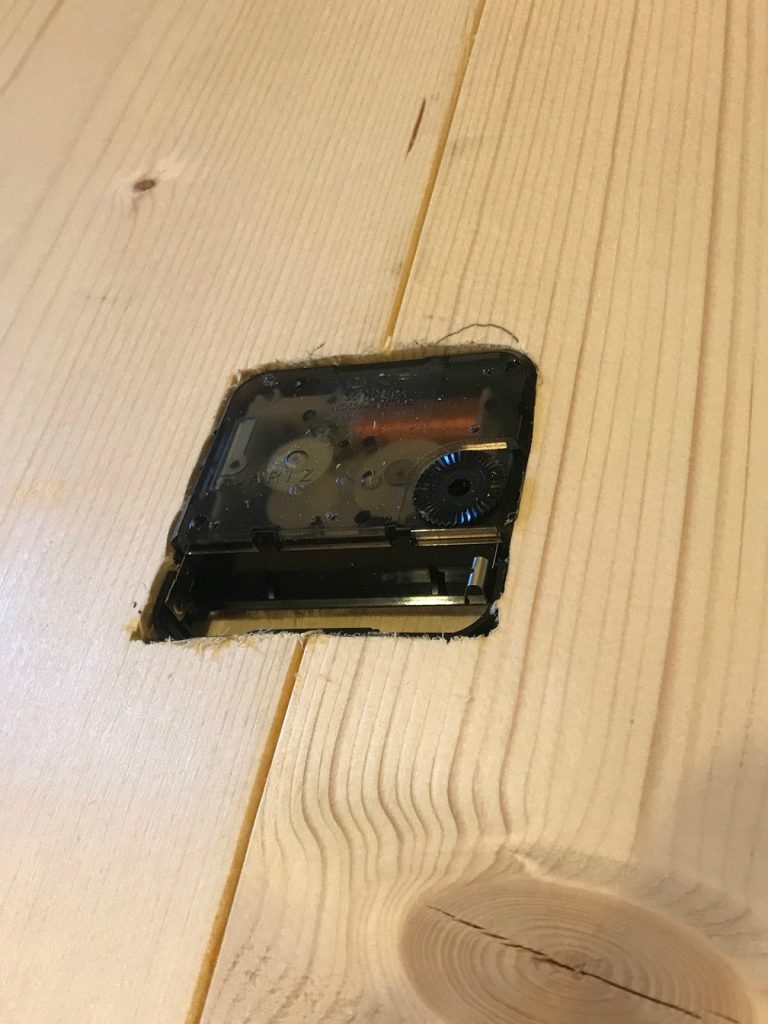
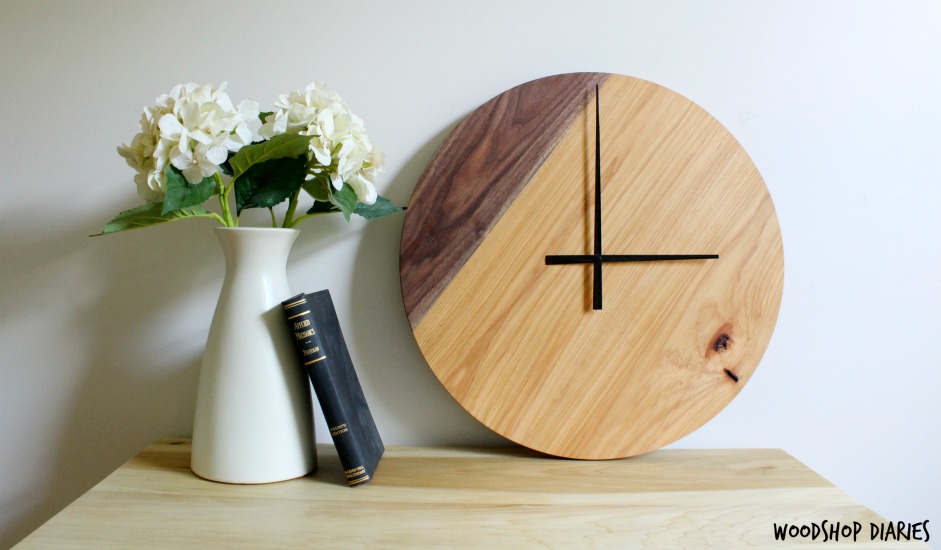
Cut out a hole in the middle of a project
Check out how I used a router to route out a hole to install a clock mechanism in this DIY round wood clock project.

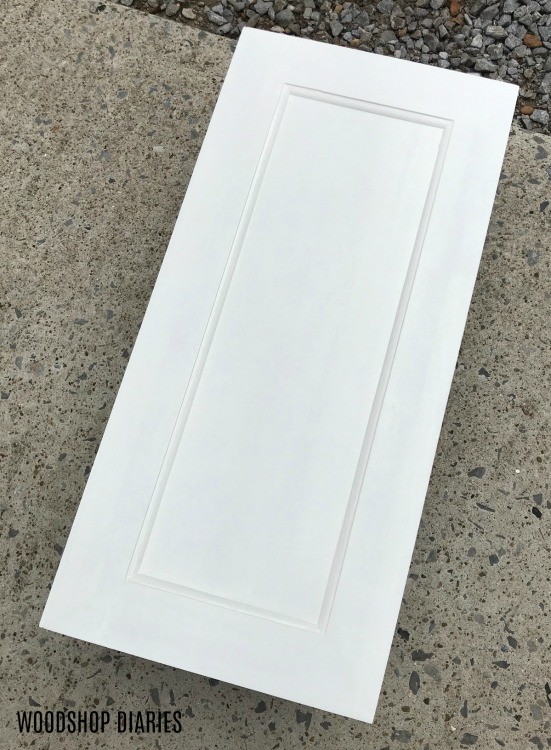
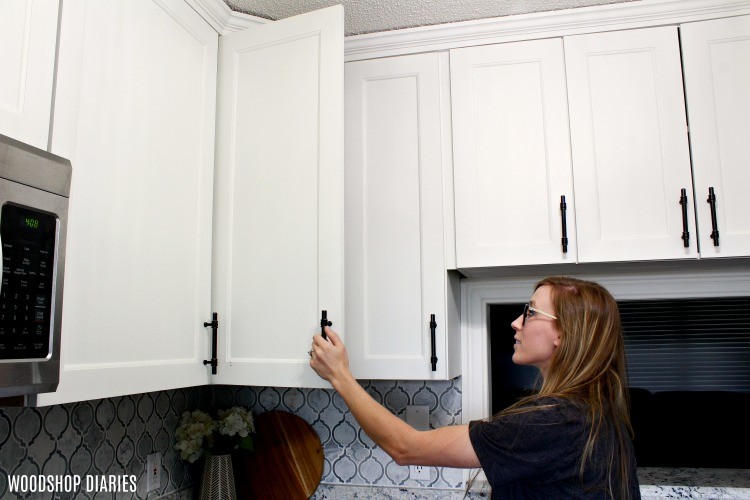
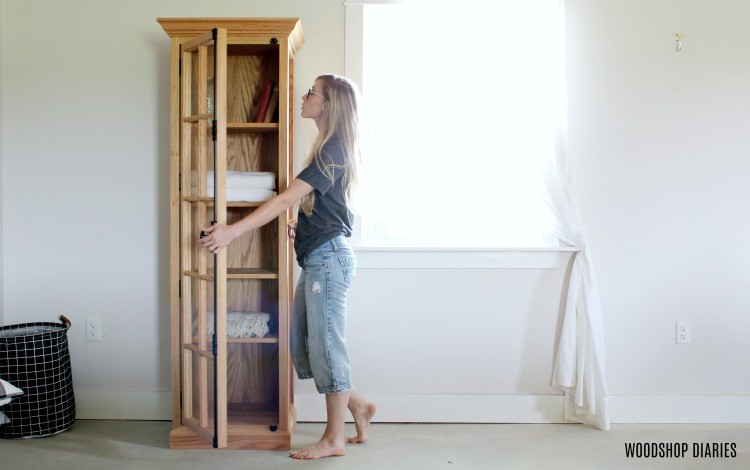
Make frame and panel cabinet doors
Check out how I used a router to build these DIY shaker style cabinet doors.
Specialized router bits can also be helpful in making cabinet doors, cutting key hole slots, and cutting pieces out from templates.
Router Guide: What Kind Are There?
There are several types of routers and some of the terminology overlaps. But, there are three basic types of routers.
They may come in different sizes and they may be called different names, but they generally fall into one of these categories: trim, fixed base, or plunge.
Let’s also cover the terms collet and shank before I dive into this.
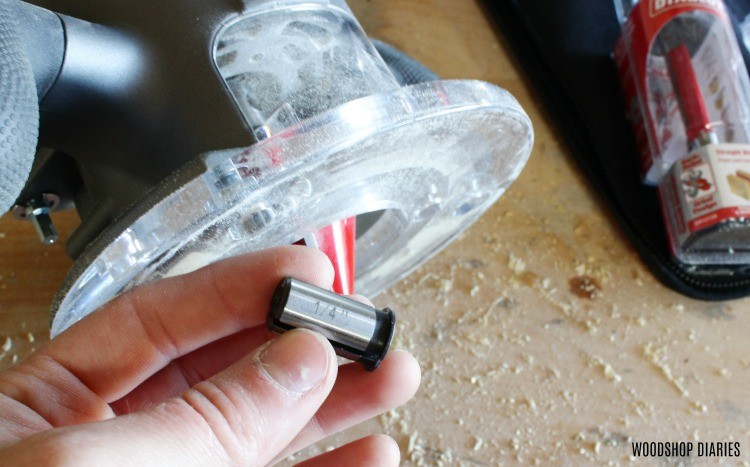
A collet is the metal sleeve on a router that you insert a router bit into. A shank is the part of a router bit that gets inserted into the router. (This is just like with drills and drill bits.)
These typically come in ¼″ and ½″ diameter sizes on routers.
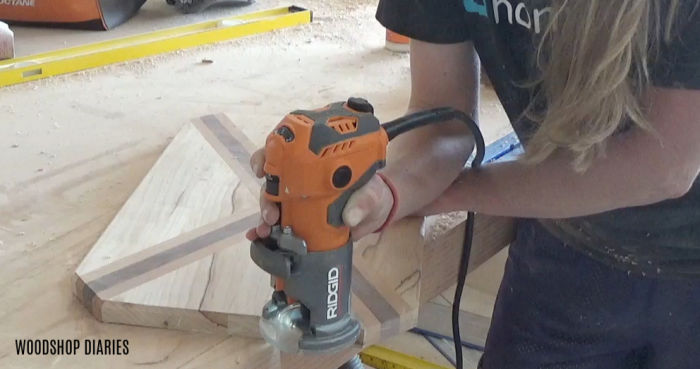
Trim Routers
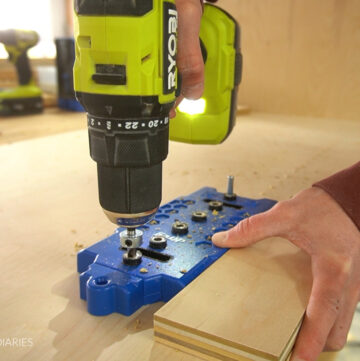
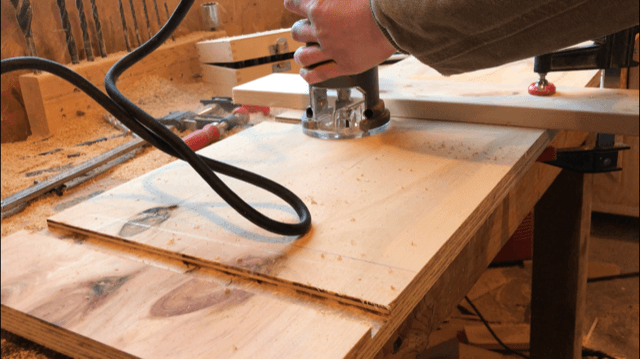
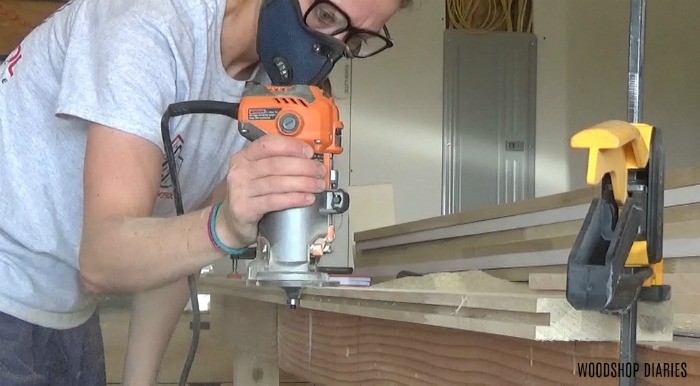
Trim routers are small routers that can typically be held with one hand like shown here.
Sometimes they are called palm routers or hand routers. I’m currently using this corded Ridgid Trim Router in my shop. It also comes in a battery powered version if you want to ditch the cord.
Trim routers usually have ¼″ collets for ¼″ router bit shanks and are best used for small details like adding decorative edges shown here in this cutting board.
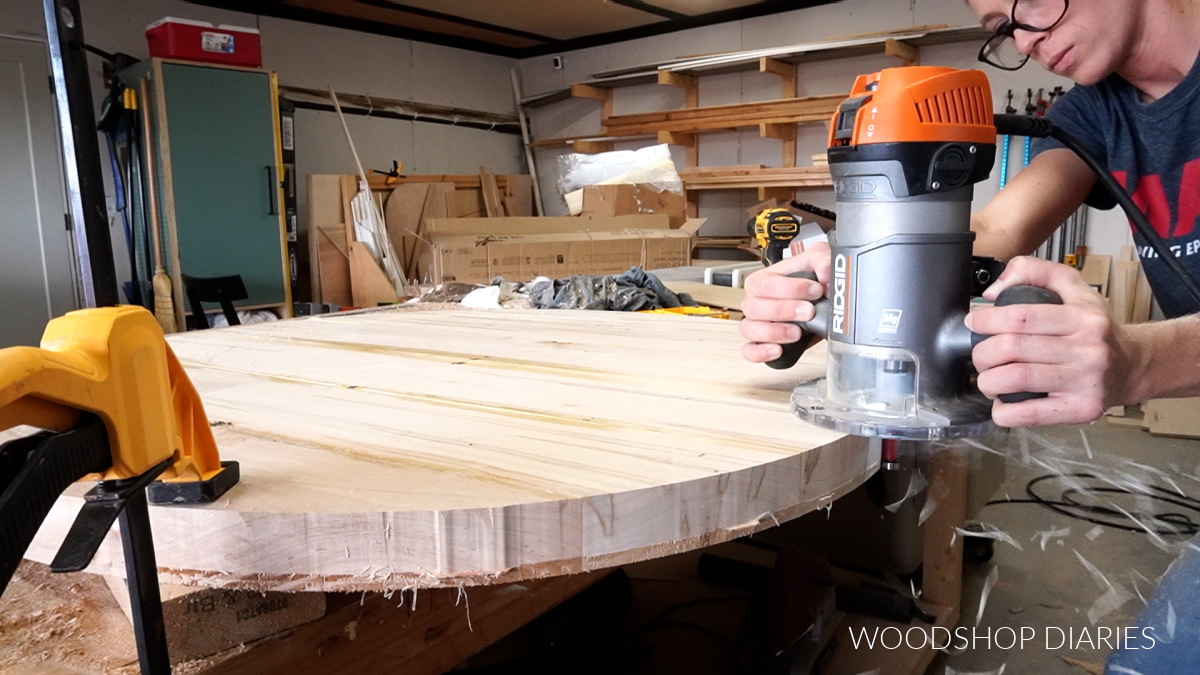
In my experience, they don’t do well removing a large amount of material at one time. I’ve used mine in a circle jig to make a thick, round table top, but I don’t recommend it. It’s just too small for making large cuts.
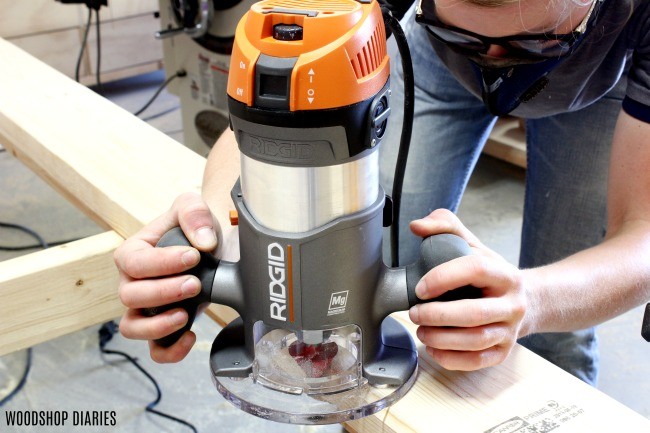
Fixed Base Router
TECHNICALLY, a trim router is also a fixed base router, but when I talk about fixed base routers, I typically think about mid and full sized versions. Trim routers are kind of an animal of their own.
Fixed base routers are routers that continuously cut at the same depth. Now, the depth is adjustable between cuts, but unlike a plunge router (I’ll discuss below), you can’t lift and plunge while it’s cutting–hence the term “fixed base.”
They usually have two handles on each side so they can be held and controlled with two hands. And they are usually larger and more powerful than trim routers.
They can come in TONS of sizes (as far as horsepower goes) and can be ¼″ or ½″ collets.
Personally, I’m using this Ridid 2 HP Fixed Base Router and it uses a ½″ collet and I LOVE it.
The larger router cuts much thicker material than my small trim router without bogging down and is much easier to control with the two handles on each side.
Also, the ½″ router that I’m using comes with a ¼″ collet attachment so I can still use all my old ¼″ router bits with it even though they are a different shank size.
Plunge Router
I don’t have a plunge router to show you pictures of, but basically, a plunge router is just a router that has a “springy looking base” that allows you to plunge the bit into the wood and lift it back up.
This is useful for carving signs where you need to lift the bit between letters or designs you are carving.
It’s handy to have the ability to plunge and some fixed base routers have a separate attachment you can purchase to give you both fixed and plunge base options.
Router Guide: Which is Best?
It all just depends on what you plan to use it for.
If you just want to add some decorative edges to your projects and are on a budget, a trim router is probably your best option.
It’s the cheapest option, but also has the least amount of power. It’s great to start out with and you can upgrade later.
If you plan to use it to cut out circles, table tops, cut large dadoes, or you are going to be using it on a lot of thick material, I’d upgrade to a larger fixed base router.
I got my fixed base router because my trim router just wasn’t cutting it (pun intended) to help me cut out circles in 2x material. The larger router is much easier to control, too, so I feel more comfortable using it.
That said, if you think you may ever want to use the functionality of a plunge router, I’d recommend getting a fixed base router that has the add on option to use it as a plunge router as well. Like a 2-in-1.
Router Guide: How To Use a Router
That’s a tricky question to answer because routers are SO VERSATILE, so you may use them a little differently for each application.
However, I’m covering the BASICS in this post, so first, we have to install the bit.
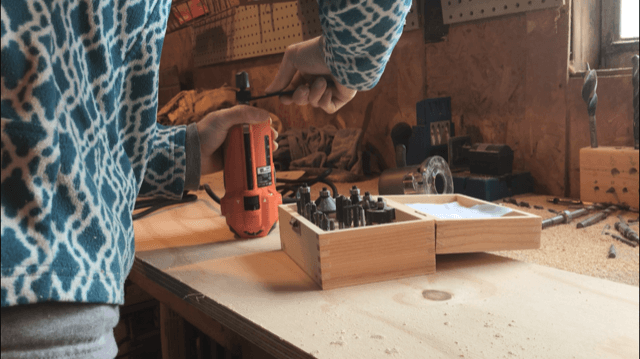
Router Bit Types
Routers can use A TON of different bits. Here are several different types you can browse through to see all the options.
Some are for edges and they will have a little bearing at the bottom or the top. This bearing is designed to ride along the edge of the board while the cutter cuts a profile.
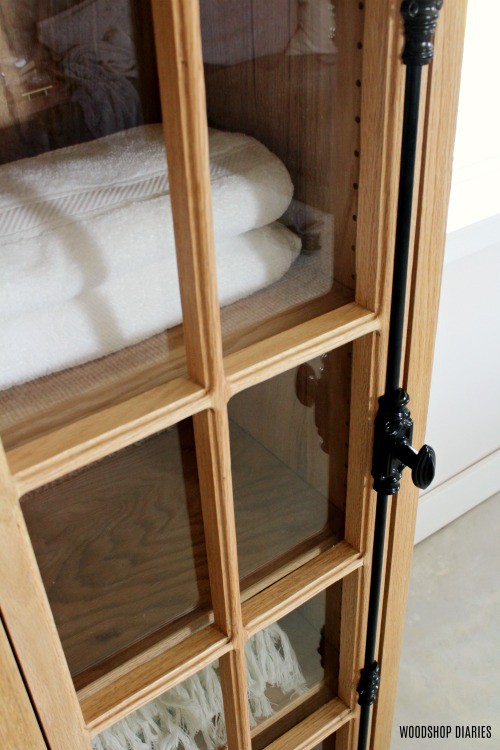
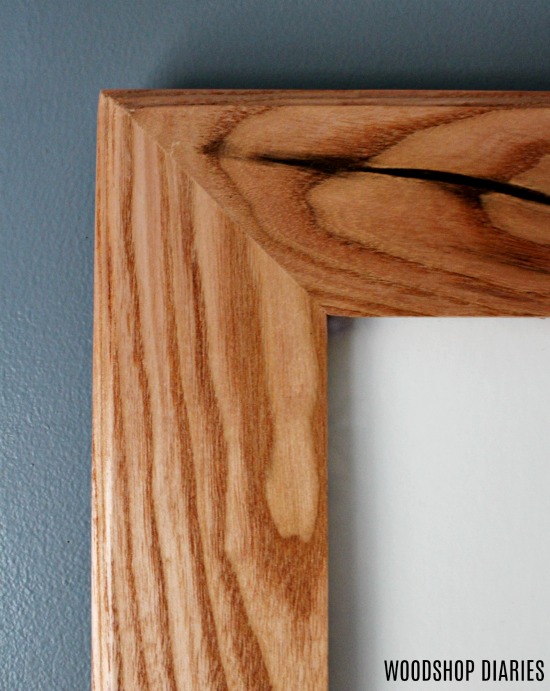
Some common decorative edge bits are chamfer, Roman Ogee, round over, and cove. .
You can see the chamfer along the bottom edge of the tray in the first photo below, the Roman Ogee around the edge of the door, and the round over on the cabinet door frame below.
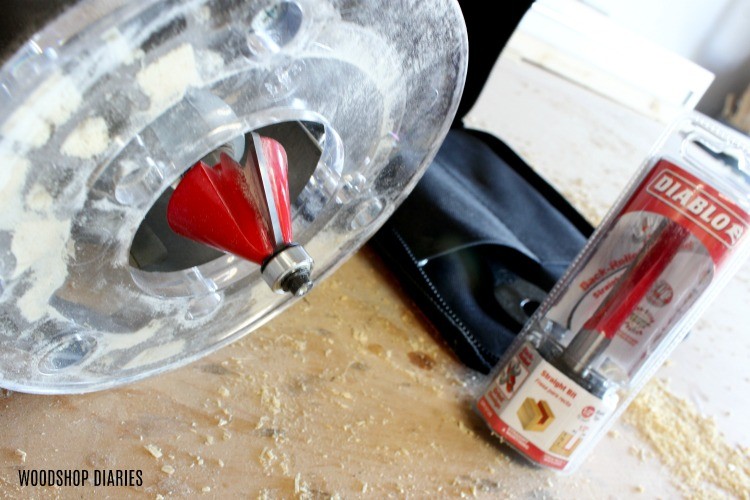
And some router bits are for cutting grooves–like a straight bit, juice groove bit or a dovetail bit.
Straight bits come in different sizes and are commonly used for cutting dadoes. I also use them when I cut out round table tops.
V groove bits, round nose (or juice groove bits), and other decorative groove bits come in various sizes as well and are often used for carving designs like the juice groove shown below in this stove top cover.
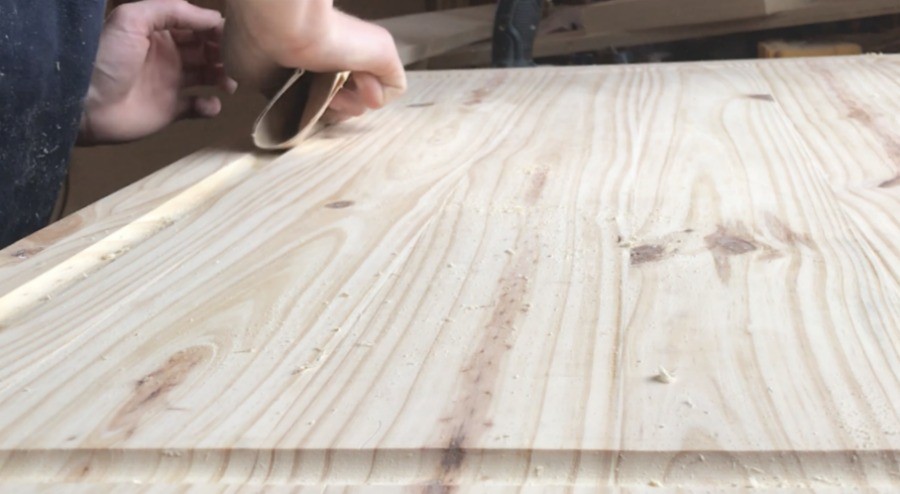
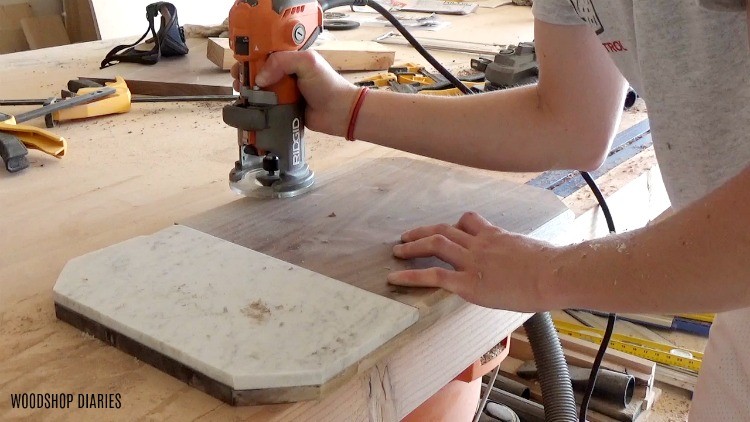
Flush trim bits are another very common bit used in woodworking.
These are handy for applications like where you glued two pieces together and the edges aren’t flush. I used a flush trim bit in this pumpkin tray project where I glued a piece onto the top and they didn’t match up perfectly.
Instead of sanding for hours, I used a flush trim bit to clean up my edges.

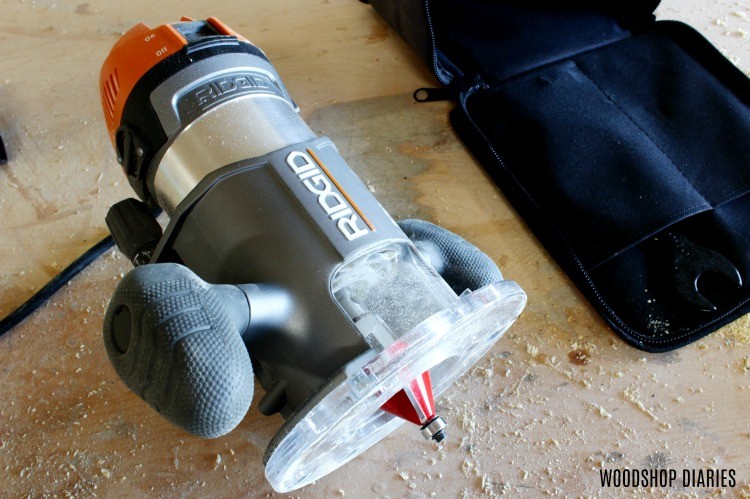
Installing the Router Bit
Once you decide which bit you want to use, follow manufacturer’s instructions to install it into your specific router.
Typically, you simply slide it into the collet and use the included wrench (routers come with a wrench for this) to tighten the nut.
Once you install the base back on, you can adjust the base up and down (mine has a turning wheel for extra precise adjustments) to set the correct cutting depth you want (see below for cutting depth details).
Routing Direction
When routing an edge, router direction is very important.
You should route opposite the direction that the bit is turning.
So, when running the router along the outside edge of a board–for example around the outside edge of a picture frame–you should cut counterclockwise (or running from left to right).
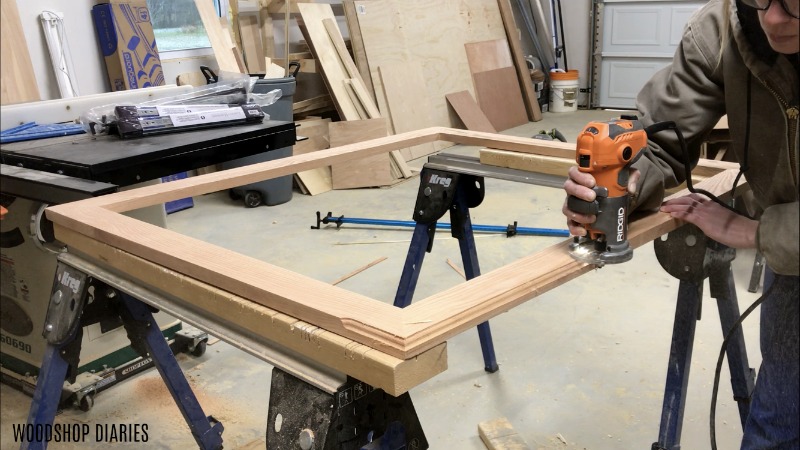
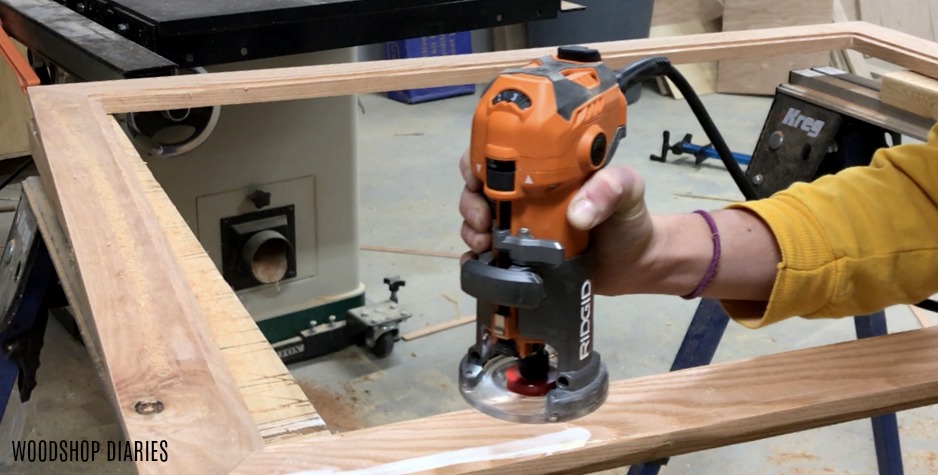
When routing INSIDE a board (like this frame for example), you should route clockwise (so right to left).
Routing Depth
Your routing depth will vary depending on your application.
The depth is adjusted by adjusting how far the router bit sticks out of the base. When routing a small decorative edge, you may be able to make one pass and cut your edge.
But, if you are taking a lot of material off at a time or cutting through thick material (like cutting out a circle table top), it may be best to make several passes, going a little deeper each time.
It all depends on how sharp your bits are, how powerful your router is, and how comfortable you are using it.
When using a router, I HIGHLY recommend doing a couple test pieces to make sure you’ve got your adjustments set how you want.
Router Guide and Jigs
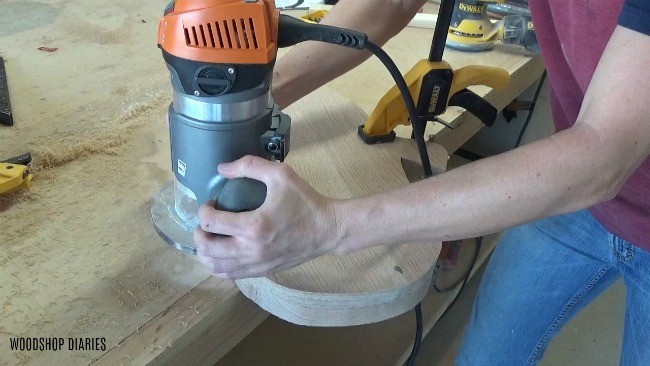
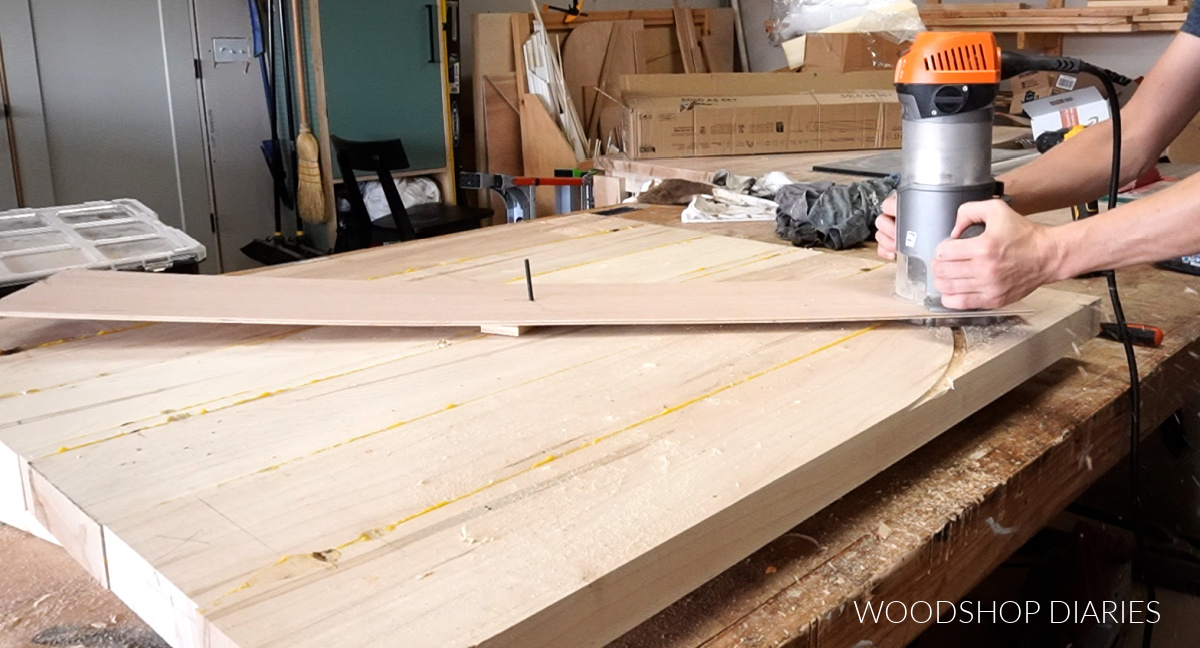
When using a hand held router, it’s helpful to use a router guide or jig for more accurate cuts (like the circle jig seen above).
Most routers come with some type of attachment that will run along the edge of a board and allow you to cut a certain distance from the edge.
Or, you can simply clamp a straight edge to run your router along as well. There are also many jigs that you can make or buy to add to the functionality of your router.
A good example is a circle jig. You can purchase a circle jig to mount your router onto that will allow you to cut a perfect circle. OR, you can make your own circle jig as well.
There are also TONS of jigs and guides out there for helping cut dovetails, carve letters, etc.
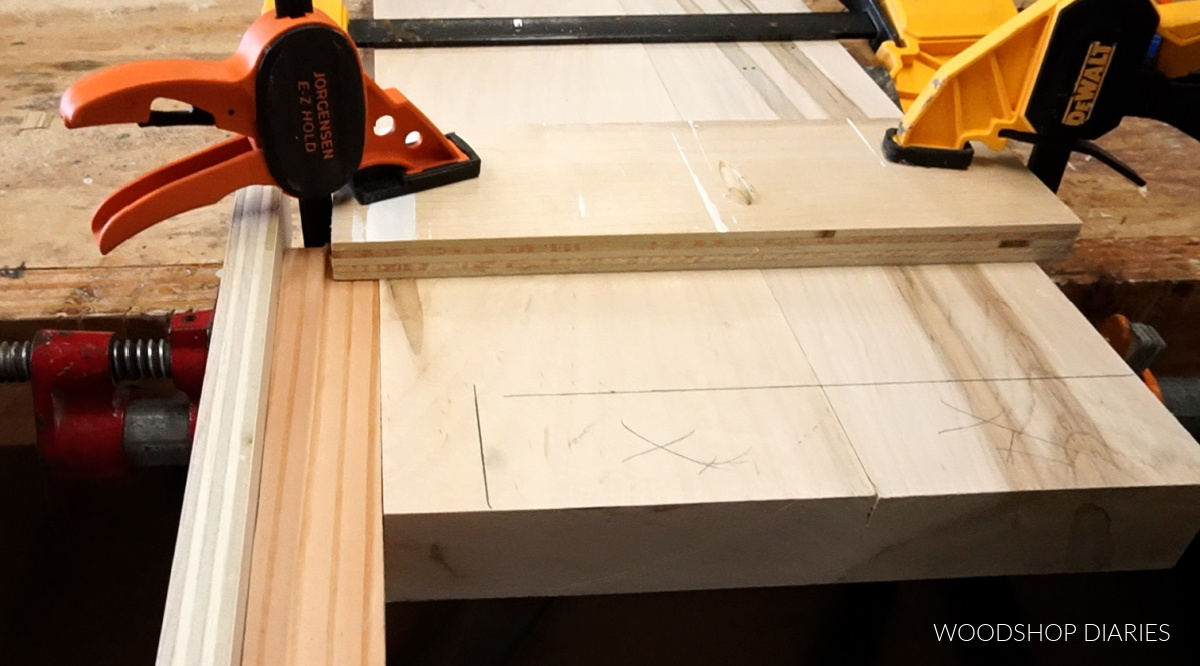
And of course, you can always make your guides, jigs, and set ups like this one.


Router Guide: Router Tables
I can’t say much about router tables as I don’t personally have one. However, they can be a VERY useful tool to have–it’s on my wish list.
Router tables are basically a table base where you can attach a router upside down so that the router bit sticks up out of the table. Like a table saw…but for a router.
They have rip fences and can make edging small pieces and cutting dadoes quick and painless.
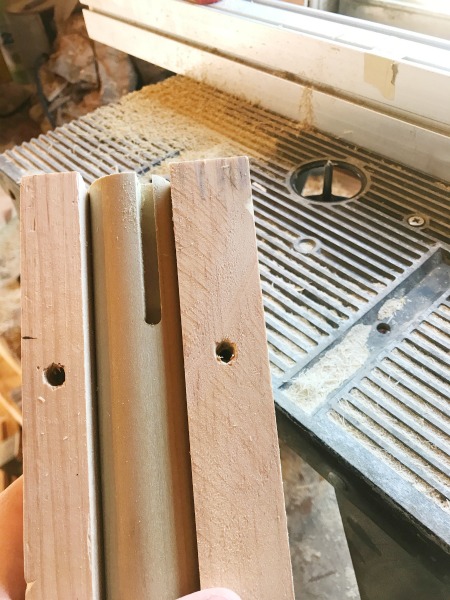
I borrowed my Dad’s tiny, mobile router table for one project one time and kind of just winged it.
I built a jig to hold a dowel rod so that I could route a slot to insert a 1×3 to make a modern dresser base. So I don’t have a lot of information to share. But, here is a link to a great guide to router tables.
Router Safety Tips
I’M NOT A SAFETY EXPERT. Follow manufacturer’s instructions for your specific router. I just have to make that clear.
However, there are some basic safety measures you should take when using a router. Many people are afraid of routers…and for good reason.
They can be dangerous. So here are a few tips to make using your router a more uneventful experience 🙂
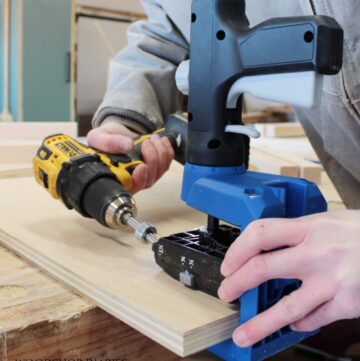
Keep your hands out of the path of the router.
If you are using a hand held router like I’ve shown in this post, do not hold your pieces with your hand.
Clamp pieces to your workbench to route and keep your hands out of the way. If you are using a router with two handles, keep BOTH hands on it.
The only router you should use with one hand is a trim router.

Make sure you are routing the correct direction
I covered this above 🙂
Don’t cut too much too fast
If you are cutting away a lot of material, don’t cut too much too fast. Make multiple shallow passes if needed.
Use sharp bits
Use high quality, sharp router bits. Crappy bits can chip, burn, bog down and cause kickback. Use sharp router bits for cleaner and safer cuts.
Examine your board before routing
Examine the area you plan to route. Do not route if you see cracks, knots, or loose pieces. This can cause damage to your project, or, in worst cases, can fly off and cause danger to you.
Turn router off when not in use
The scariest part of a router is that it’s not a trigger switch like a drill. You flip the switch and it’s on. And it stays on whether your hands are on it or not.
If your router isn’t cutting, TURN IT OFF. Don’t lay it on your workbench running. Don’t walk around with it running.
Practice, Practice, Practice
The best lessons are learned by experience. If you want to learn how to use a router, the best way is to USE A ROUTER.
Take it slow and get comfortable using it on some small projects or with some scraps. Routers are a very useful tool once you learn how to handle one.
If you want some projects to use your router with, here are a few:

I hope this routing guide has been helpful and I’d love if you’d pin this for later.
Until next time, happy building 🙂