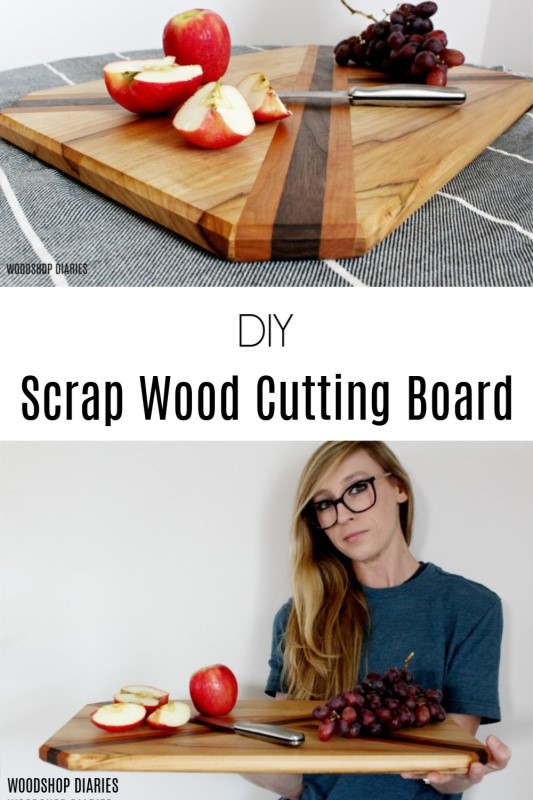
Looking to make a fun new piece of functional decor for your kitchen?? Check out this tutorial to make an easy DIY Scrap Wood Cutting Board!
Hey friends! I’m sharing a fun, new scrap wood project with you today because, let’s be honest, at this moment in time, my shop, my budget, and my scrap wood pile are all out of control. So I needed to make something small, free, and that will make an ever so slight dent in the massive collection of mostly useless pieces of wood I just can’t bear to part with haha.
.
If you know where I’m coming from, this project is for you…and if you don’t have a clue what it feels like to live in chaos, feel free to help me come get my crap together because apparently you’re managing your life better than me. HAHAHA…the laughter is to cover up the stress 🙂
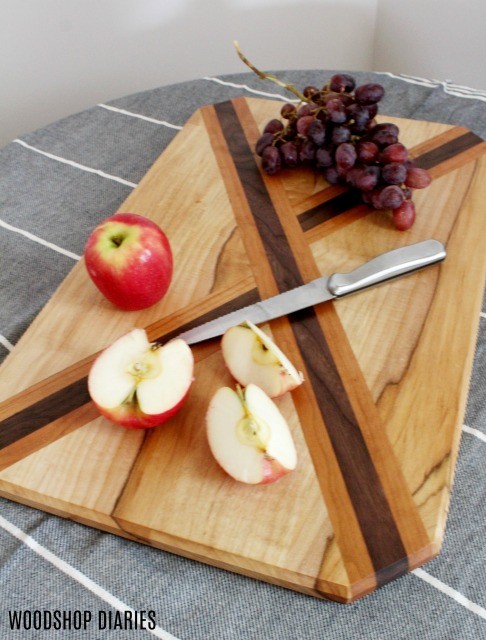
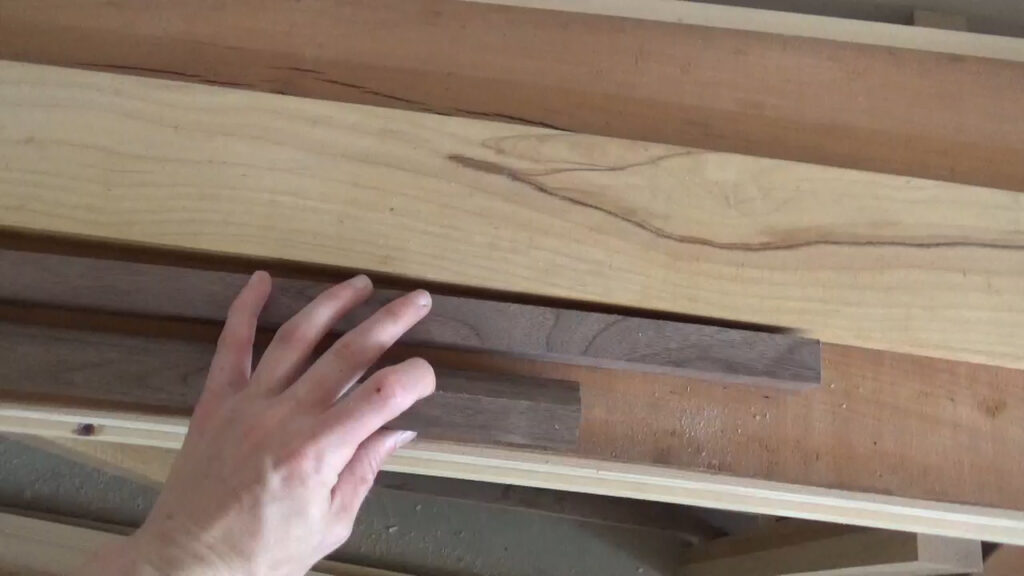
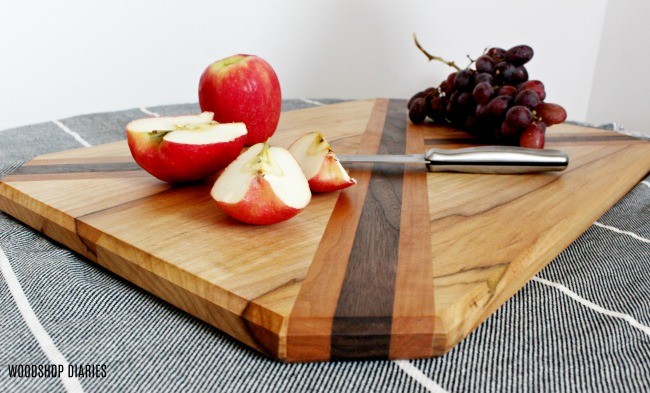
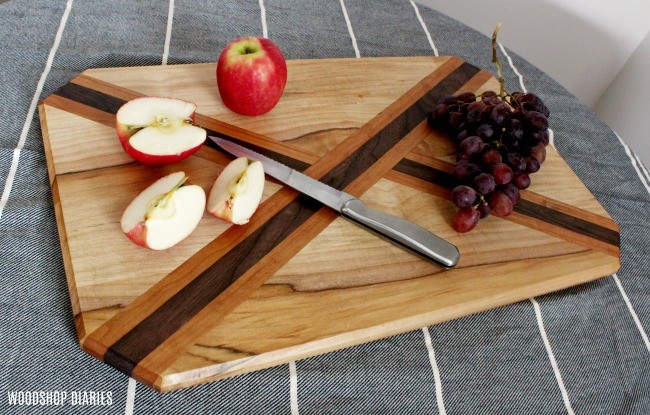
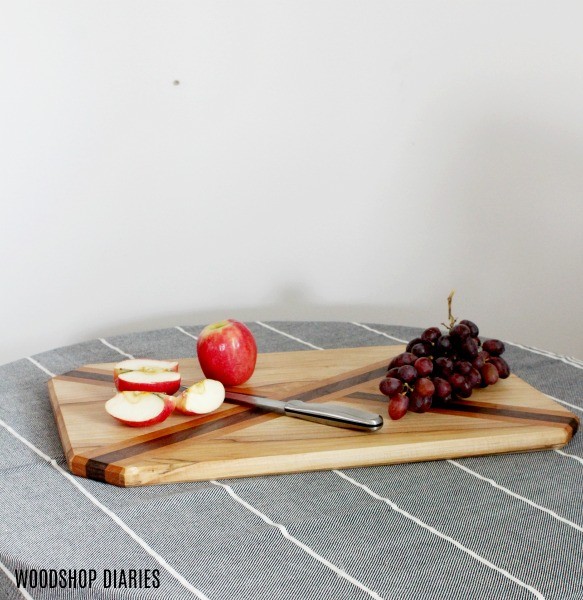
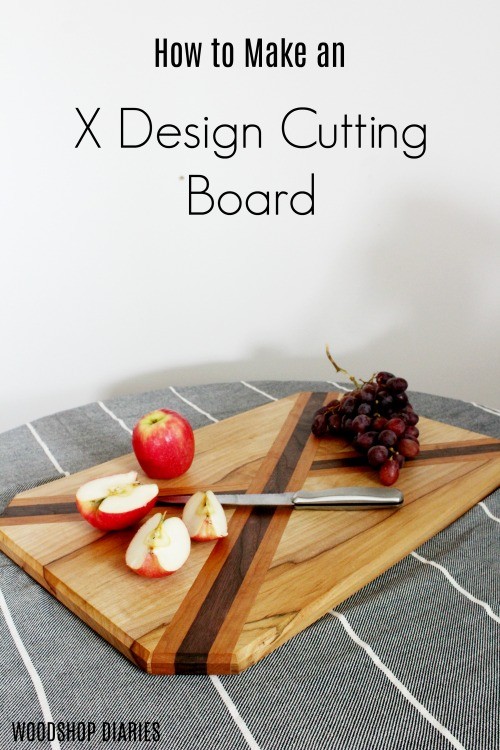
A little backstory before we begin…if you remember a few weeks ago when I shared my DIY Walnut Serving Tray, I told you about a friend at work who brought me a truckload of old walnut wood he didn’t want. Well, mixed in with that bundle was one cracked piece of cherry and one thin piece of GORGEOUS maple. So I combined some thin strips I had leftover from the walnut tray, this one piece of maple, and an off cut of the cherry board into this X design cutting board.
If you didn’t have multiple wood types to play with, you could totally do this with just one wood type and I think it would still turn out pretty cool with the different wood grain directions.
.
AND, one last note before diving into the project tutorial…I must warn you that this design doesn’t exactly follow the rules as it pertains to wood movement. This design could potentially cause warping, splitting, or cracking over time as the wood moves. However, since this is just a decorative cutting board, I don’t see any harm in breaking a few “rules.” I’ve broken MANY before and never had any issues.
But even if it warps or cracks, it would still function just fine for cutting cheese and apples or serving snacks on 🙂 So I don’t mind.
.
So if you’re ready to get building, I’ve got the tutorial below and the video as well 🙂 This post contains affiliate links. See policies page.
For this project, you will need:
Scrap wood (amount will depend on size you want–I used maple, walnut and cherry for my board)
Miter saw
Table Saw
Circular Saw
Kreg AccuCut (optional)
Clamps
Router and chamfer bit (optional)
Step 1: Glue Up Main Cutting Board
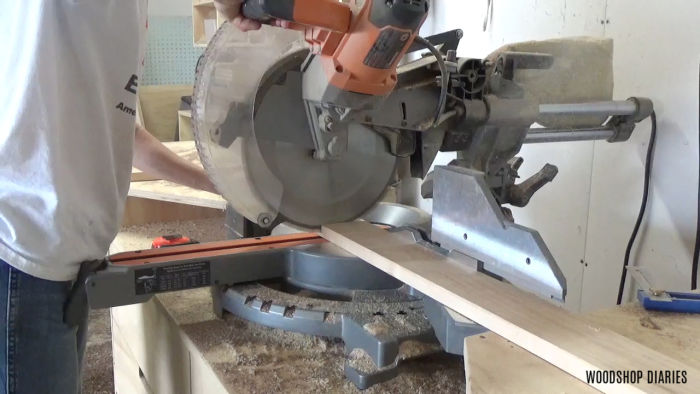
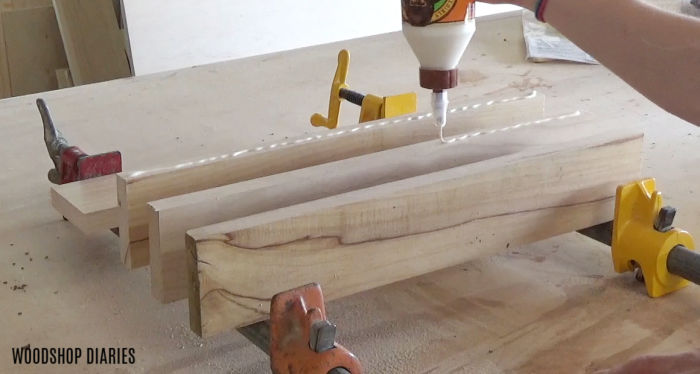
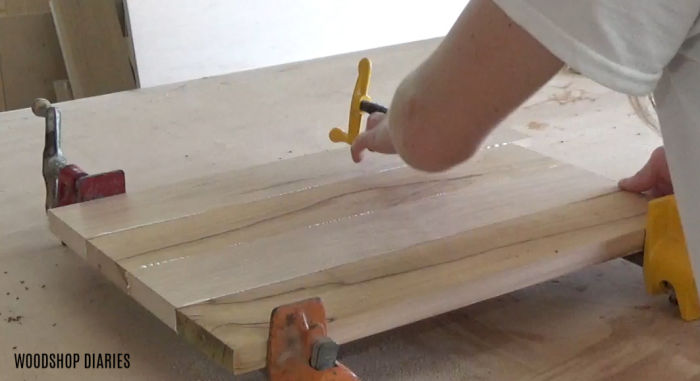
Because I really LOVED this piece of maple, I chose to use it as my main board. So I cut it in four equal pieces on my miter saw, then applied wood glue to the edges and clamped together making sure to keep everything nice and flat.
Step 2: Trim Main Board and Cut Diagonal
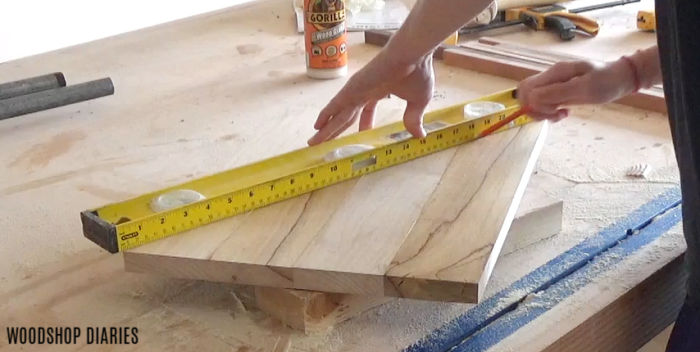
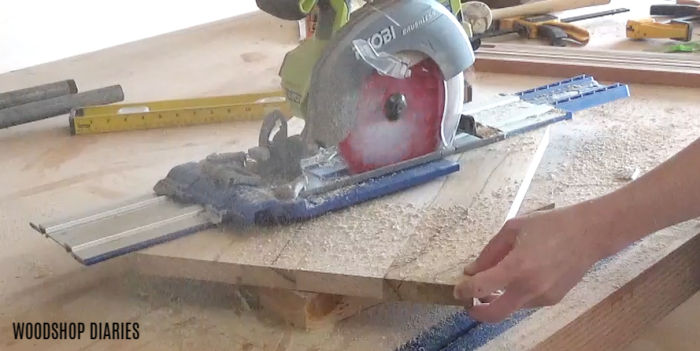
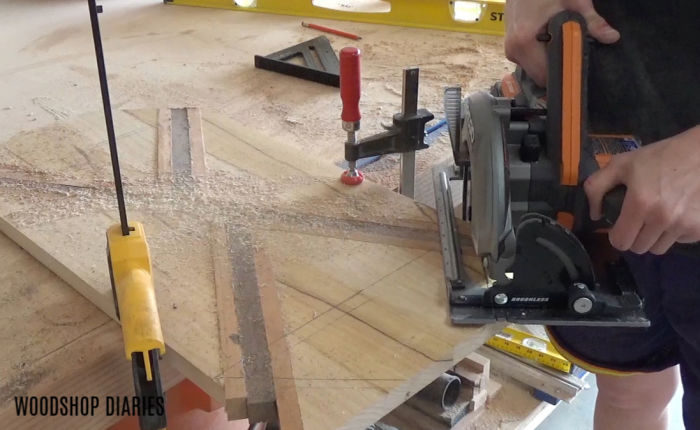
Once the glue had dried, I trimmed the edges of this board nice and flush on the miter saw, then used a straight edge to draw a line along one of the diagonals. I used my circular saw and Kreg AccuCut to cut a straight line across this diagonal along the line I just drew.
If you didn’t have a Kreg AccuCut (although, I highly recommend them–I use mine ALL THE TIME), you could also clamp a straight edge to guide your circular saw along this line instead.
Step 3: Glue in First X Legs
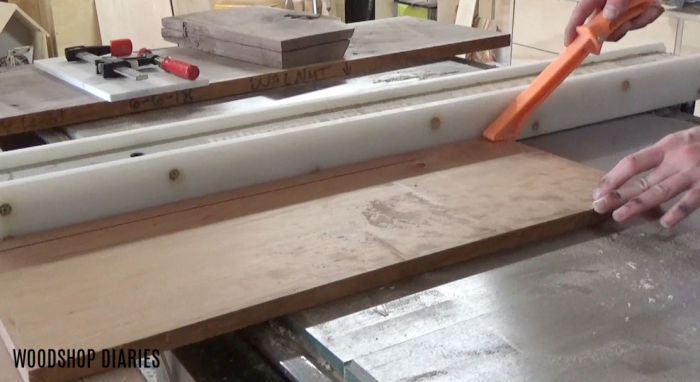
I already had two thin strips of walnut leftover from the walnut serving tray project that were ¾″ x ¾″. So I cut four strips of cherry the same size to sandwich beside the walnut in the design on my table saw.
The key thing to make sure of here is that you want all your boards to be the same thickness when you glue them together–in my case, this was ¾″ thick, because that’s how thick my main maple board was from step 1.
.
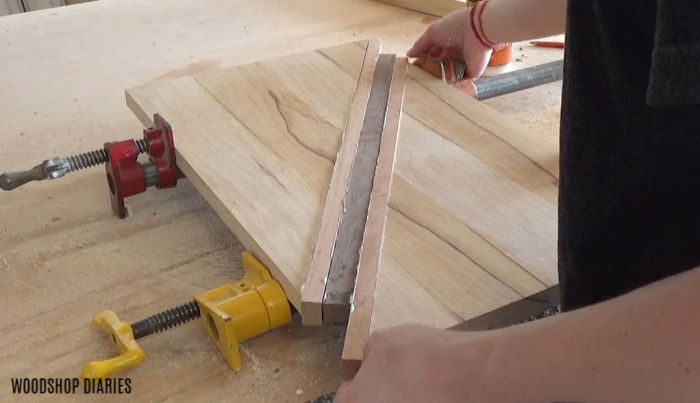
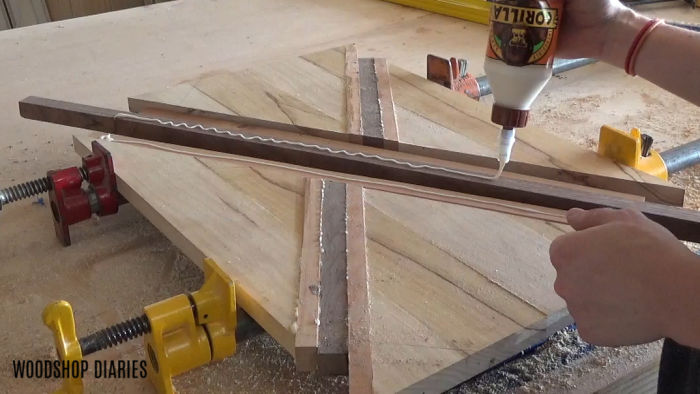
Once I had my cherry and walnut strips, I brought them over and glued them up in the diagonal of the main board like shown. I was careful to glue this up so that the glue joints on the maple board stayed straight and not offset. This will lengthen the board a little during the glue up process.
Step 4: Cut Second Diagonal and Glue in X
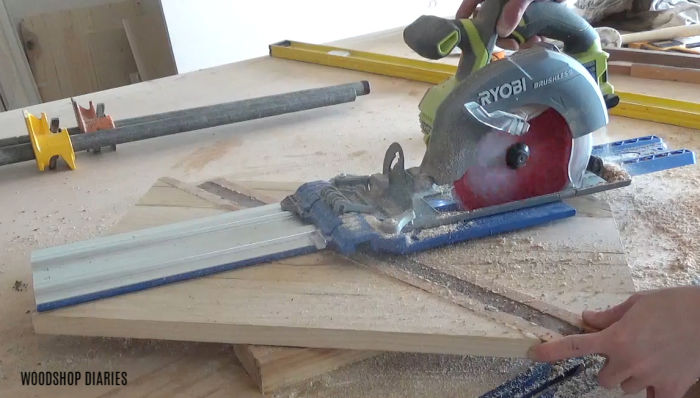
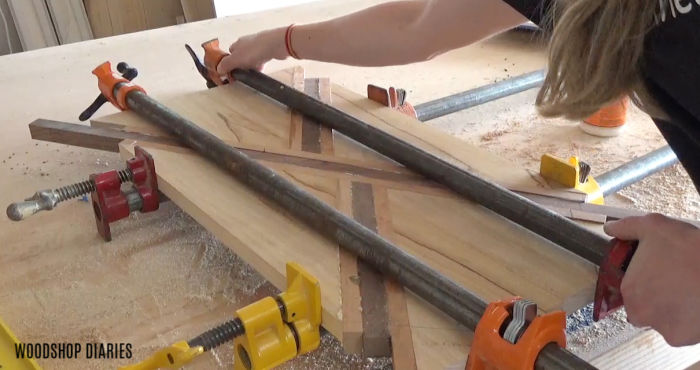
Once the glue dried from step 3, I used a straight edge to draw a line across the other diagonal and cut using my AccuCut and circular saw. Then I glued in two more cherry strips and a walnut strip just like before.
When I clamped this together, I made sure again, to keep my maple boards lined up straight and not offset. This was just personal preference, but I didn’t want them to look crooked.
Step 5: Trim Corners and Ends
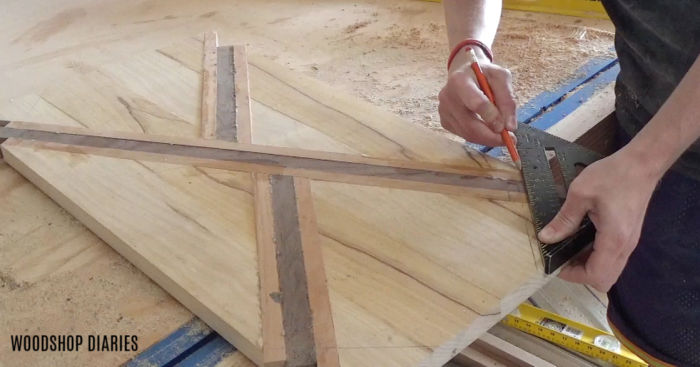
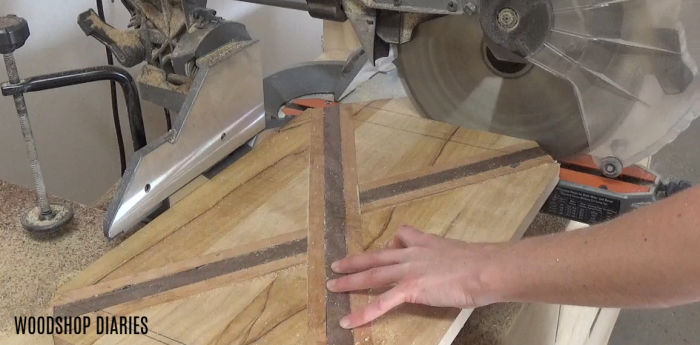
Once the glue was dry from step 4, I removed the clamps and used a speed square to mark 45 degree lines along the corners and to mark where to trim the ends of the board. I really wanted the X to look like it was coming out of the corners, so I ended up having to trim a few inches off the ends of the board and then cut my corners so they were even like shown.
I used my circular saw to trim the corners first, then used my miter saw to trim the board down and clean up the corners to get them even.
Step 6: Clean Up and Finish
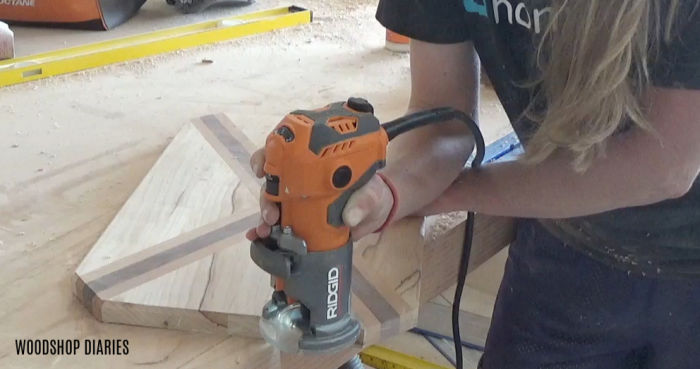
Once it was trimmed down, I sanded it down to get it flat and remove any glue squeeze out. Then I used a router and a chamfer bit to chamfer the edges of the top and bottom of the board. Again, you can totally skip this step, but I really liked knocking those sharp corners off.
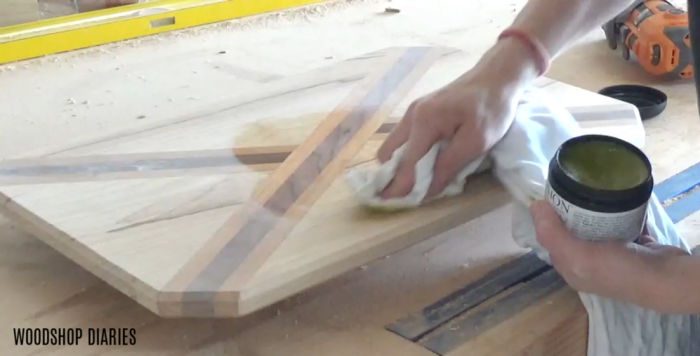
Lastly, I finished the board with a food safe beeswax finish and it was ready to use!
Obviously, it can be used as a cutting board, but I will probably be using it for a serving platter as well and for general decoration around the kitchen. I mean, at this point, I’ve got decorative trays and boards everywhere–like this walnut serving tray, this wood and marble cheese board, this round serving bowl, and now this cutting board.
So I guess I have started a collection 🙂 There’s even some that I haven’t shown on the blog I have sitting on my window sill. Don’t judge my hoarding tendencies haha.
I just love a good scrap wood project. Especially one that’s pretty AND functional 😉
So hopefully I’ve inspired you to dig around your scrap pile and make a cool new cutting board. But, if you’re still looking for more scrap wood projects, I’ve listed a few of my favs below.
Don’t forget to check out this video tutorial over on YouTube and if you aren’t already subscribed to my channel, be sure to subscribe so you don’t miss out on the latest projects. And, be sure to follow on Instagram for sneak peeks, and sign up for my newsletter below, too 🙂
Oh, and if you like this project, be sure to pin for later! Until next time, friends, happy building 🙂


