
Looking for a really cool wood and marble DIY cheese board to wow guests at your next get together? I’ve got you covered in this post 🙂
This post is sponsored by The Home Depot. All opinions are my own. This post contains affiliate links. See policies page.

Did you see the DIY modern walnut serving tray I posted a couple weeks ago? Well, if you did, you will remember that I said two things: 1. I just got a load of free walnut from a friend at work I’m trying to put to good use and 2. I’ve been wanting to tackle a few smaller projects this summer to avoid burnout from all the big projects on the to do list.
.
I’ve been wanting to try a project combining wood and marble for a while and I finally got around to making something!
.
Truth be told, I’ve had this on my to do list for about a year, but just now found some “free time” to try it out. I remember buying the tile for this project when we started buying stuff for our garage apartment house. I either have way too many irons in the fire, or I’m TERRIBLE at time management HA!
Either way, the timing is perfect because now I have plenty of walnut to use with it and I finally got an angle grinder and it was a life saver with this project. But more on that later.
If you’re ready to make your own, let’s get to it. I’ve got the video for you here and the step by step tutorial below 🙂
For this project, you will need:
Hardwood board (I went with walnut since that’s what I had) between 11-12″ wide, preferably (only need 18″ long)
Ridgid 18V Octane Cordless Angle Grinder
Speed Square
Measuring Tape
Router and Chamfer Bit
Miter saw, router, OR table saw (see step 2)
Step 1: Prepare Wood for DIY Cheese Board
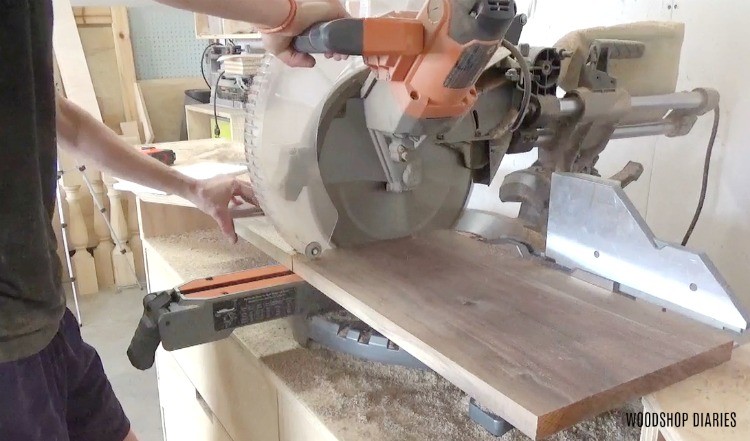
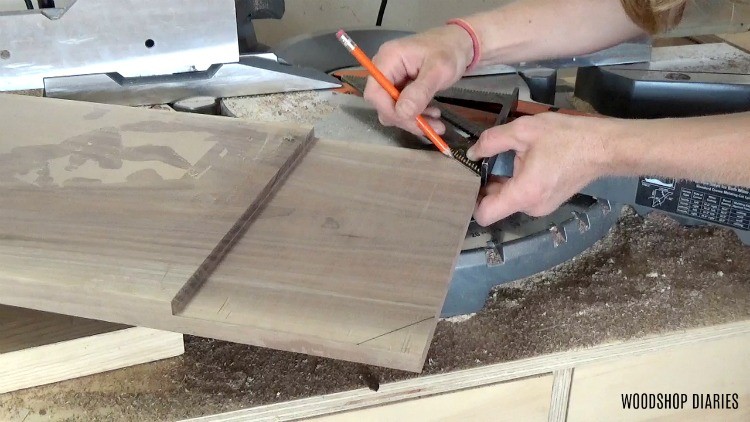
I started out by picking out my board. I had a wide walnut board that would work perfect for this. It was about 11″ wide. You need a board 11-12″ wide OR you can glue up some narrower boards to make your own wide board. I took it over to my miter saw to trim it down to the length I wanted. I ended up making it about 18” long.
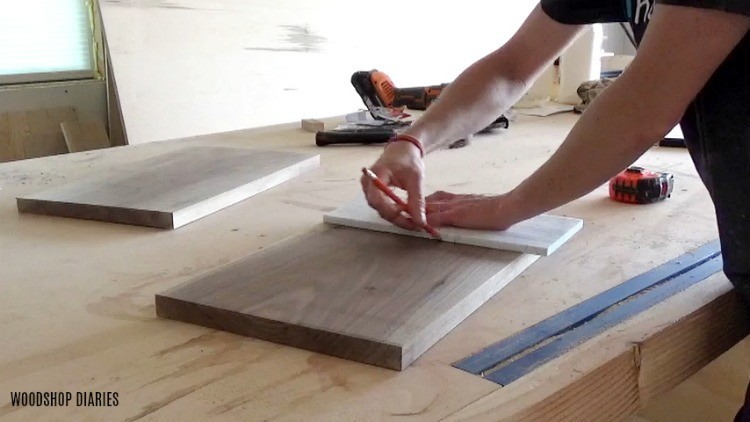
Then, I laid out my marble tile on the walnut piece and marked where I needed to cut out to place the tile. I needed to cut out a section from this line to the end of the board the total thickness of the tile. There are multiple ways to do this.
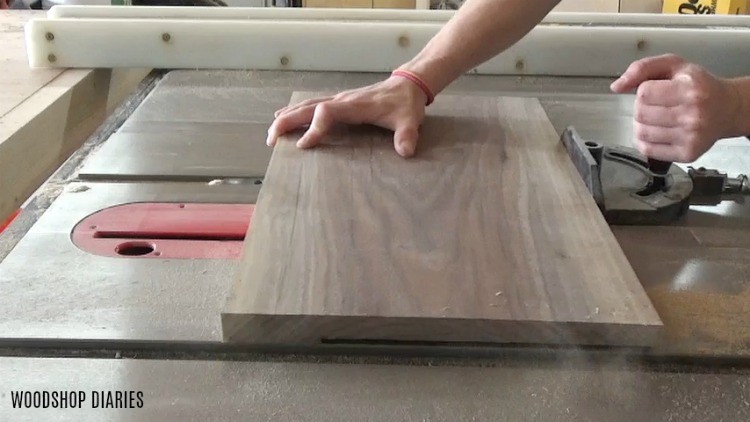
Step 2: Cut Out Tile Section of Hardwood Board
I started out trying to do this with my router and a straight bit. I would have to cut out a little thickness at a time. It’s possible to do, but once I got started, I realized it would be a little difficult to get it nice and clean once I got down to the edge.
So I switched to the table saw. I set my blade height to the exact thickness of the tile and started cutting out this section one blade width at a time. It took forever. I really need a dado blade for stuff like this.
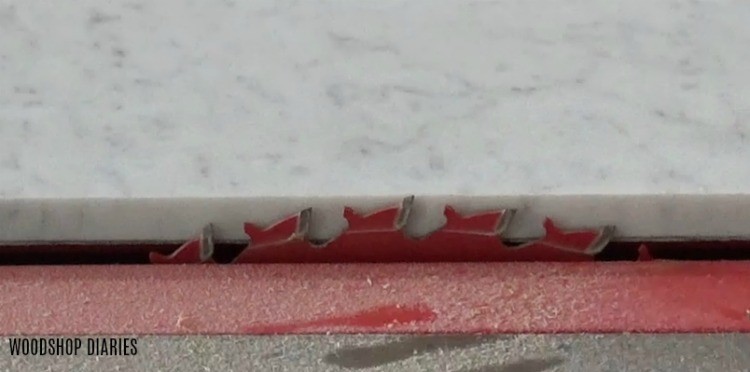
If I had a bandsaw big enough, that would have been ideal. You can also use a miter saw to do this if it has a stop adjustment on the cutting depth.
.
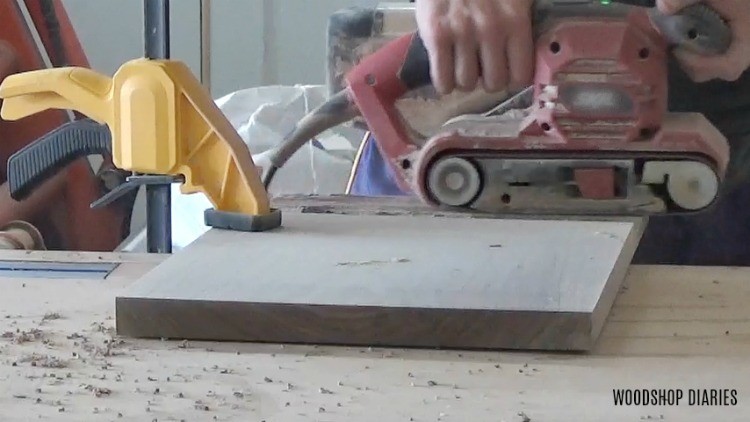
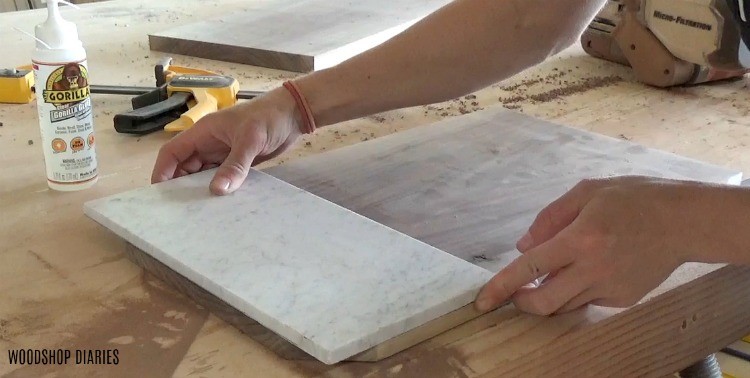
Once I finally had the section cut out, it was a little rough, so I used my belt sander to fine tune the depth and clean it up a little. I dry fit the tile in place to see if it was flush to the wood and sanded as needed to get it to fit perfectly.
Step 3: Trim Corners of Board
For some reason, I’m on a sharp corner hating kick lately and I’ve been cutting the corners off all my projects. This one included. So I trimmed the corners off on the miter saw on the end where I will glue the tile on before I actually glued it.
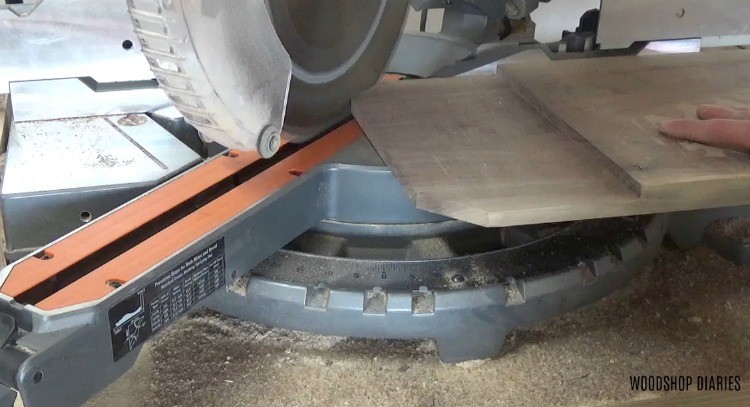
I could have gone ahead and trimmed all four corners, but I was in a hurry, so I trimmed the other two corners later. You can go ahead and trim them now. It doesn’t make any difference.
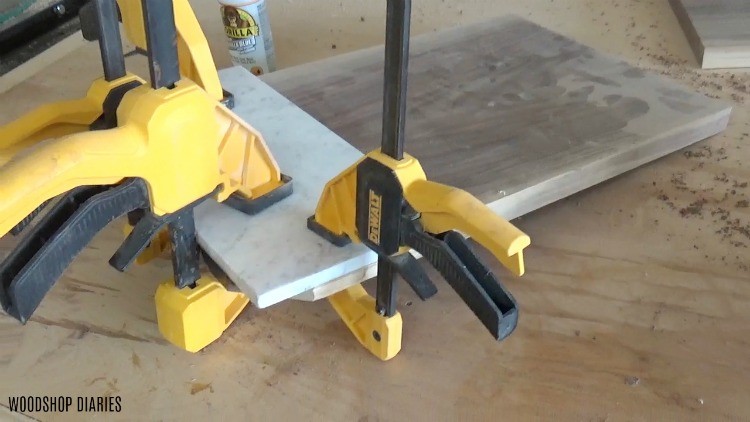
Step 4: Glue Tile in Place
Then, I glued the tile in place using Clear Gorilla Glue and clamps. If you plan to actually use this for food serving, make sure that whatever adhesive you use for this is food safe. I just plan to use this for decoration, so I wasn’t too concerned. Plus, you sand all the glue squeeze out off later, so I think it’s okay.
![]()
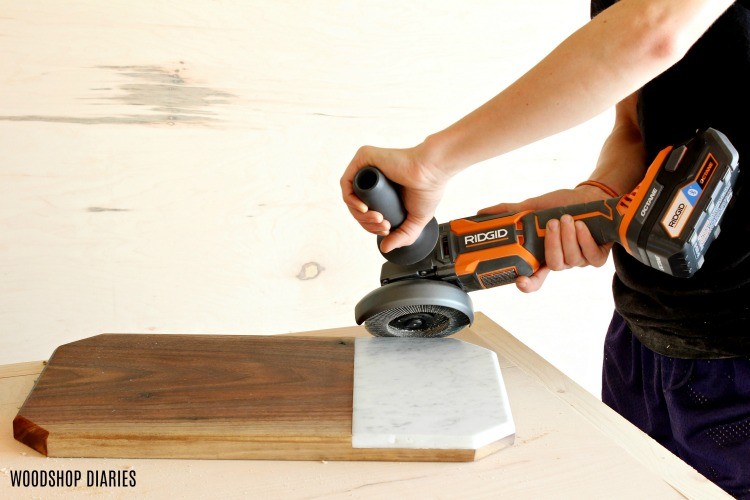
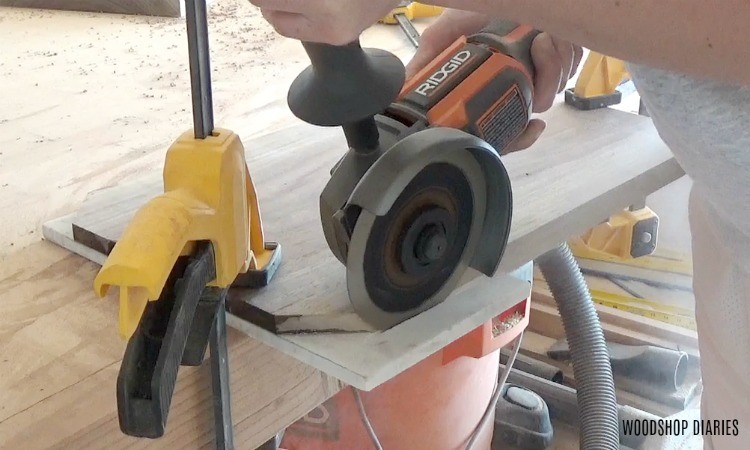
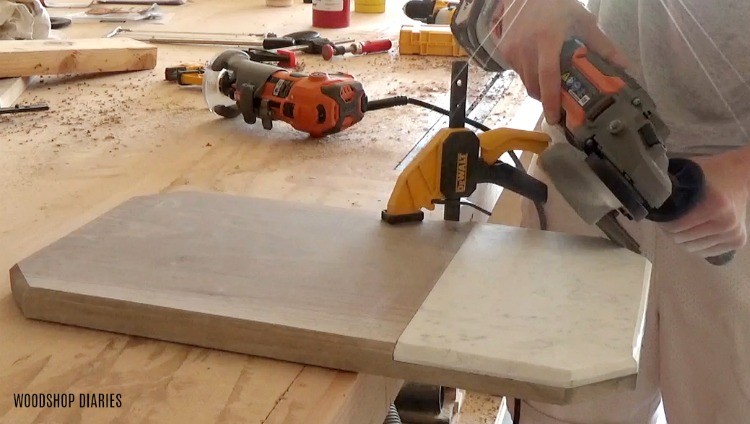
Step 5: Trim Tile
Once the glue had fully dried, I needed to trim the tile off to fit the wood piece. For this, I used my new Ridgid 18V Octane Cordless Angle Grinder with a segmented diamond blade.
.
Now, I should tell you that the manufacturer doesn’t RECOMMEND using cut off blades with this OR ANY of their angle grinders (although this blade is made for angle grinders). However, they did say that have seen customer success with it. It worked great for me. So just keep that in mind while using it.
It cut super easy, but one side chipped a little when it was cut. It would have been better to cut it from the top side in hindsight, I think.
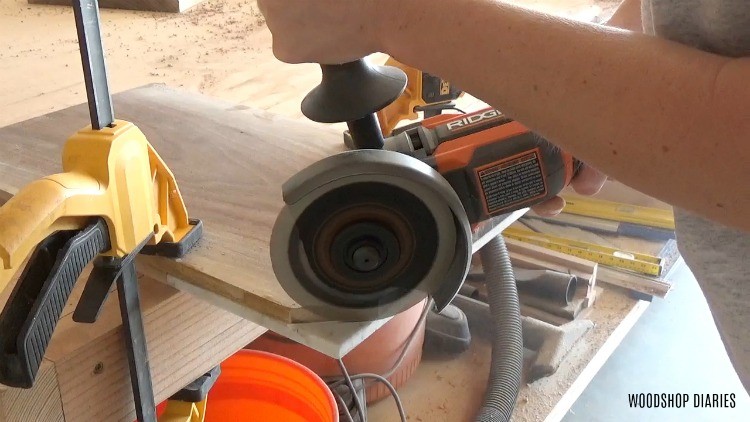
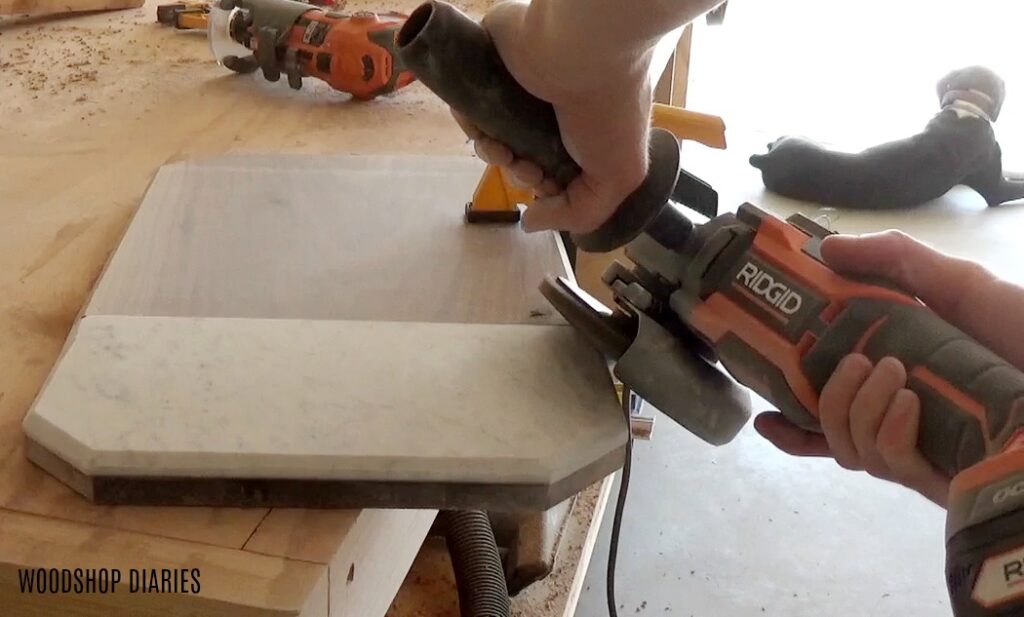
Anyway, once it was trimmed down, I swapped wheels on the grinder to an 80 grit sanding wheel and sanded the edges smooth and flush to the walnut board.
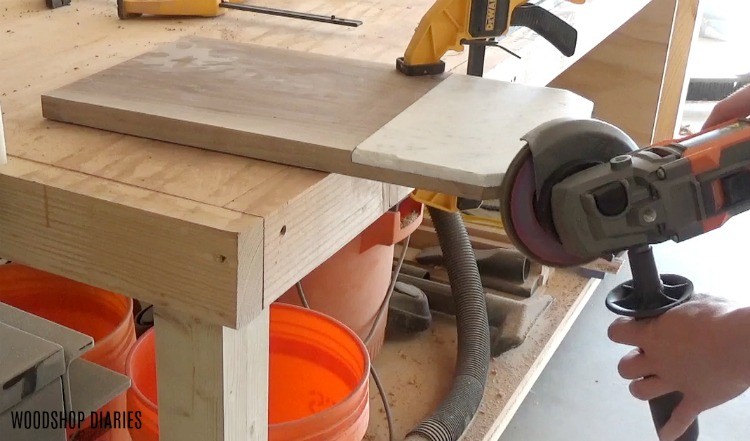
I’ve never used a grinder in the shop before now and it really made quick work of polishing and flush sanding this marble tile. If you’re interested in adding one to your shop, be sure to check out this Ridgid Octane Cordless Angle Grinder.
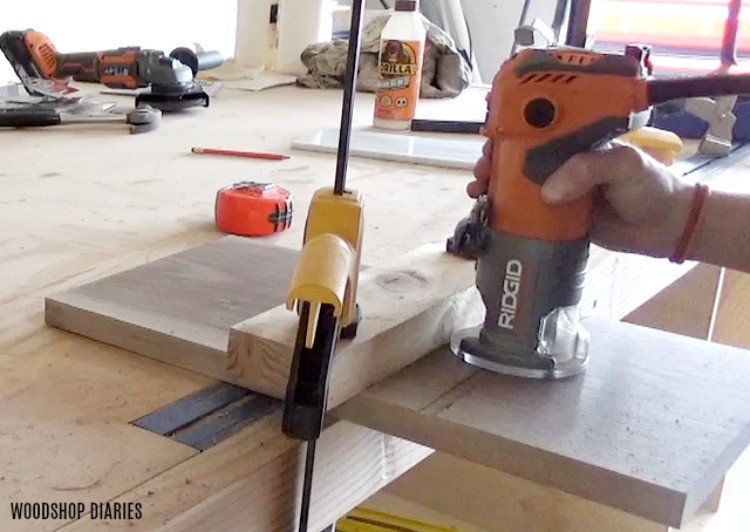
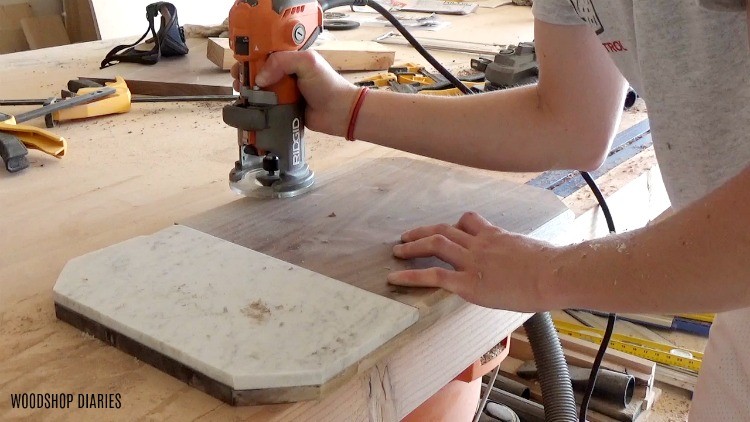
Step 6: Chamfer Edges of Board
At this point, it just needs a good sanding and a nice finish to be done. However, I really wanted to add one more detail.
.
I used my router and a chamfer bit to chamfer the top edges of the walnut board being careful not to get too close to the marble because I don’t think it would be very good news to knick the edge of that tile with a carbide router bit.
But since I couldn’t use the router top chamfer the edges of the marble, I picked up my angle grinder again with the sanding wheel and sanded the corners to as close of a perfect chamfer I could to match the one on the wood. It’s not perfect, but unless you’re really looking, you can’t tell.
It took a while to sand, but it was totally worth it.
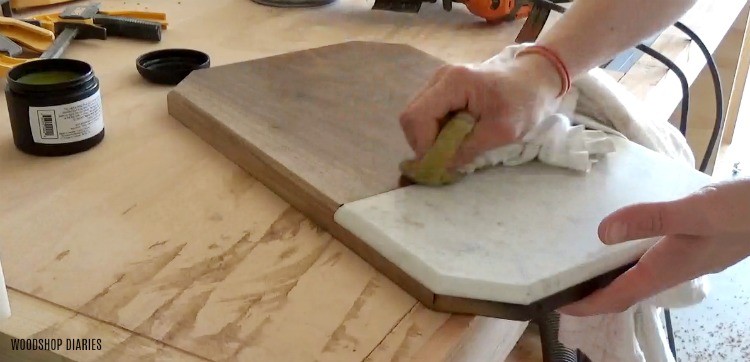
Step 7: Finish
Once I had gotten the chamfer as good as I thought I could, I gave the whole thing one final finish sanding with my orbital sander and applied some beeswax finish.
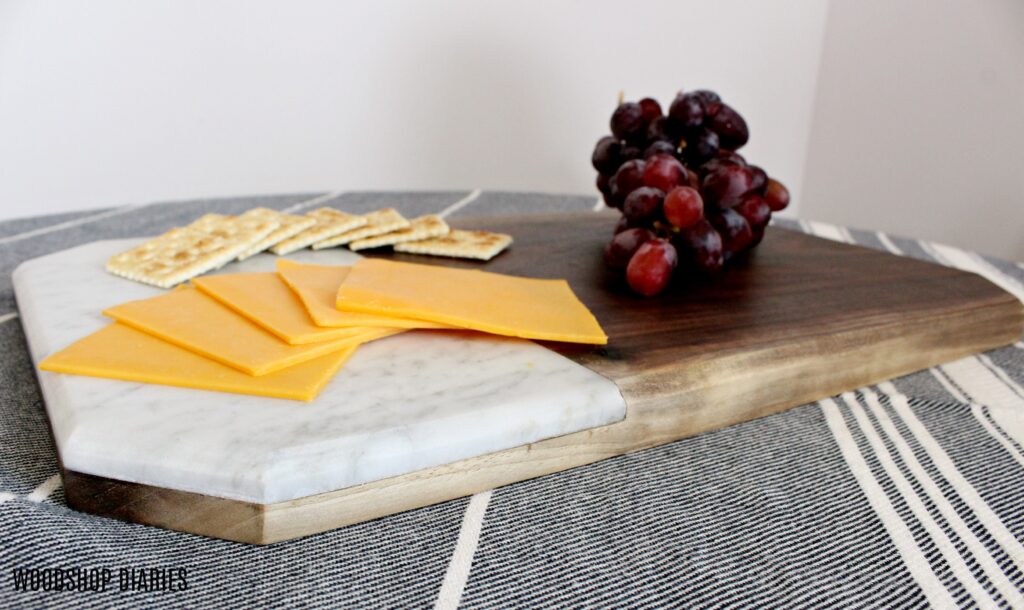
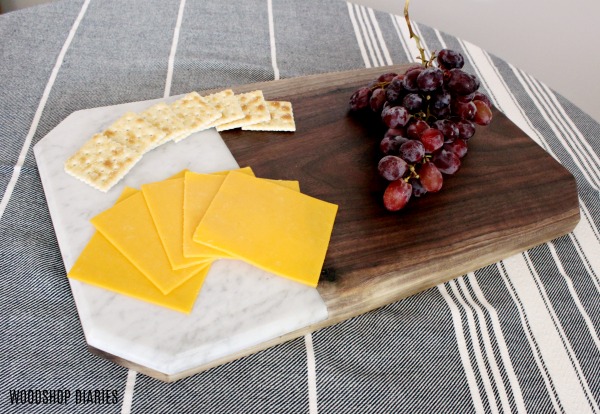
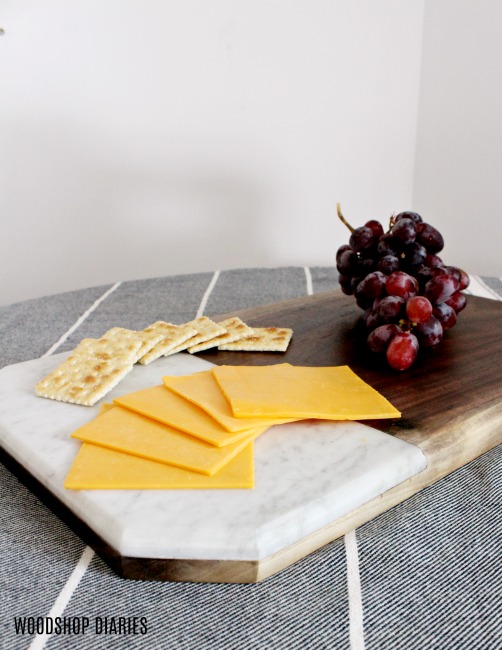
Then I brought this classy piece inside to stage it with cheap sandwich cheese and saltine crackers haha.
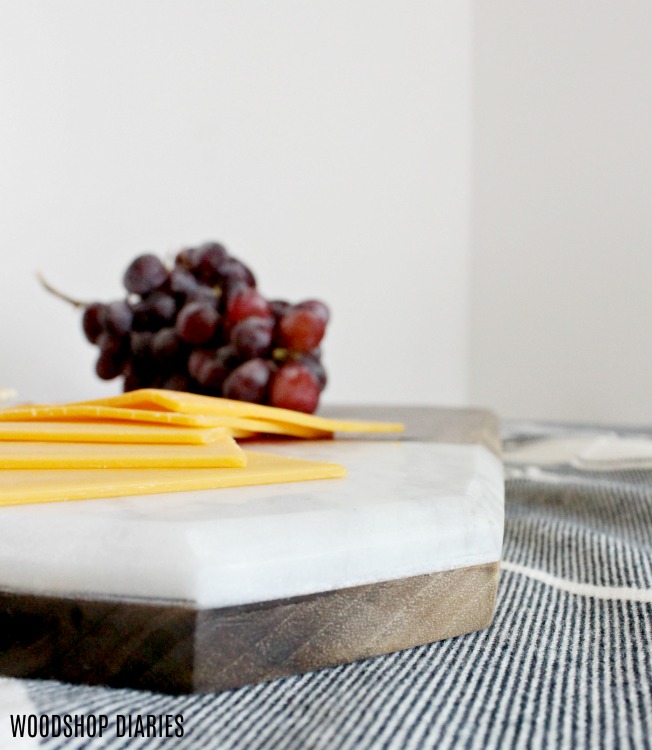
I didn’t think about it until after the fact that my staging was kind of…comical. You get the idea though, right? Even if the sandwich cheese isn’t the classiest option 😉 At least the grapes look like of upscale, maybe?

Whatever. Whether you use it for fancy cheese or cheap crackers this is a really fun project and a great excuse to add an angle grinder to your shop 😉

So if you enjoyed this project, don’t forget to check out the video tutorial above and I’d also love if it you’d pin this post for later 🙂
Until next time, happy building! 🙂

Russel says
Wow this is an amazing project
you have given me inspiritation to make this now as this has been on my to do list for sometime
Hopefully mine will come out as good as yours
Shara, Woodshop Diaries says
Thank you so much! I’m sure it will turn out beautiful 🙂 Good Luck! It’s such a fun project