In this post, I’m sharing some simple tips to prevent tear out when cutting wood for your DIY projects.
And if you can’t prevent it, I’m also sharing a few tips to dealing with it so it doesn’t ruin your build.
One of my most asked questions is how to prevent tear out. Or often, it’s phrased more like “why do my cuts look so rough?”
So if you’re struggling with tear out, know it’s a very common problem. But luckily, it’s easy to prevent.
*This post contains affiliate links. See website policies.
What is tear out
Tear out is basically when the saw blade tears the wood fibers instead of cuts them. So the cut ends look rough and “shredded.”
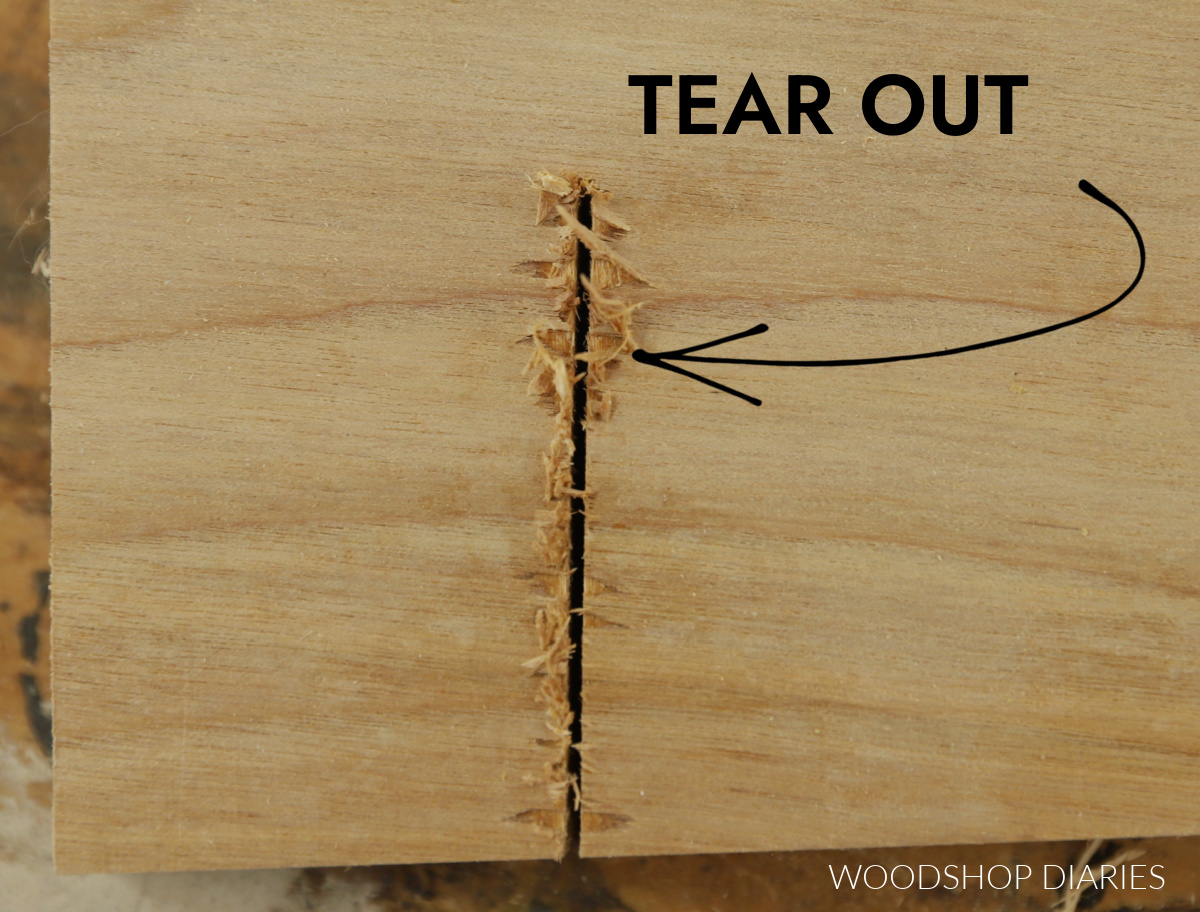
This can happen on any type of wood, but it’s very common with plywood since plywood is made with thin layers, which are easy to tear.
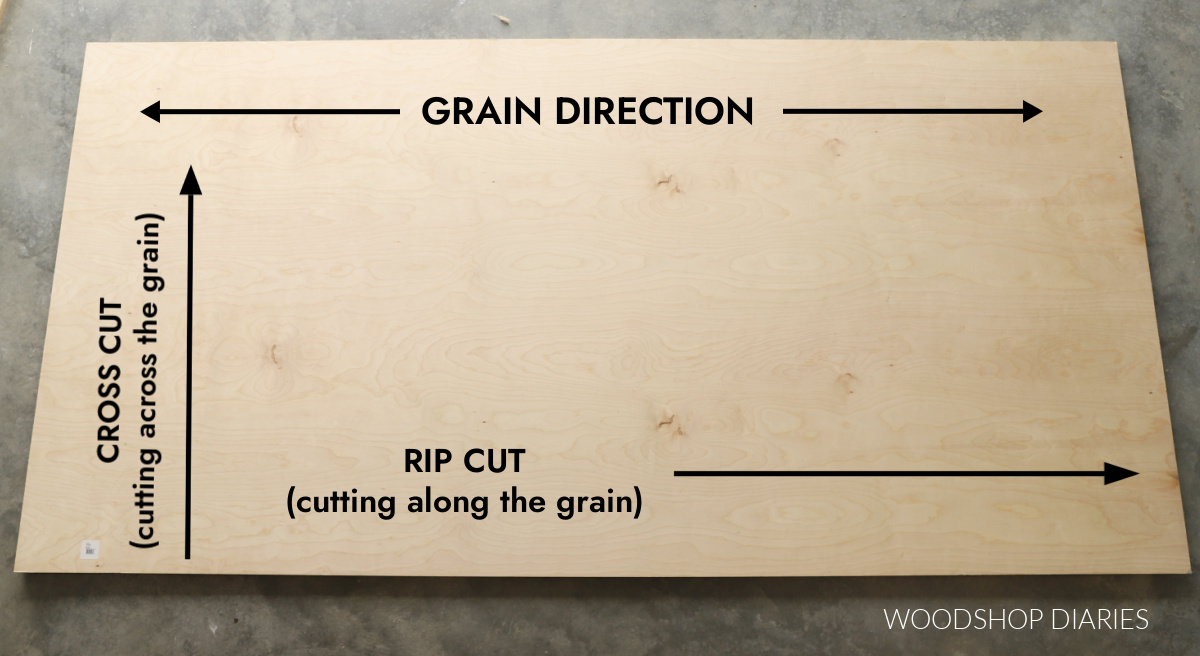
Tear out is also far more common on cross cuts vs rip cuts. Rip cuts are cuts that are parallel to (or along) the wood grain. Cross cuts cut across the wood grain.
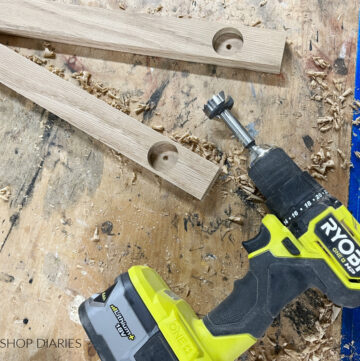
Tear out can also happen when drilling holes. When the drill bit breaks through the back side, it can often tear some pieces out with it.
This is usually referred to as “blow out” instead of tear out, but the concept is the same.

What causes tear out
Tear out is caused when wood is torn or ripped instead of cut clean.
A few of the most common causes of tear out are:
- A dull or poor quality blade or bit
- Trying to cut too fast
- Not properly supporting the wood
Another cause, though, that you may not think as much about is the type/quality of wood you are cutting.
Poor quality plywood that isn’t well glued together and brittle/splintery wood types (like oak) may tear out no matter what kind of blade or cutting speed you use.
How to Prevent Tear Out When Cutting Wood
Is tear out preventable? Luckily, yes! In most cases, a few simple steps can help keep your cuts clean.
Here are some tips to prevent tear out when cutting wood for your projects.
Use a Fine Finish Blade
My number one tip for preventing tear out, especially with plywood, is to use a high quality finish blade.
Finish blades are sometimes even referred to as “plywood” blades and generally have a high tooth count. The higher the tooth count, the cleaner the cut.
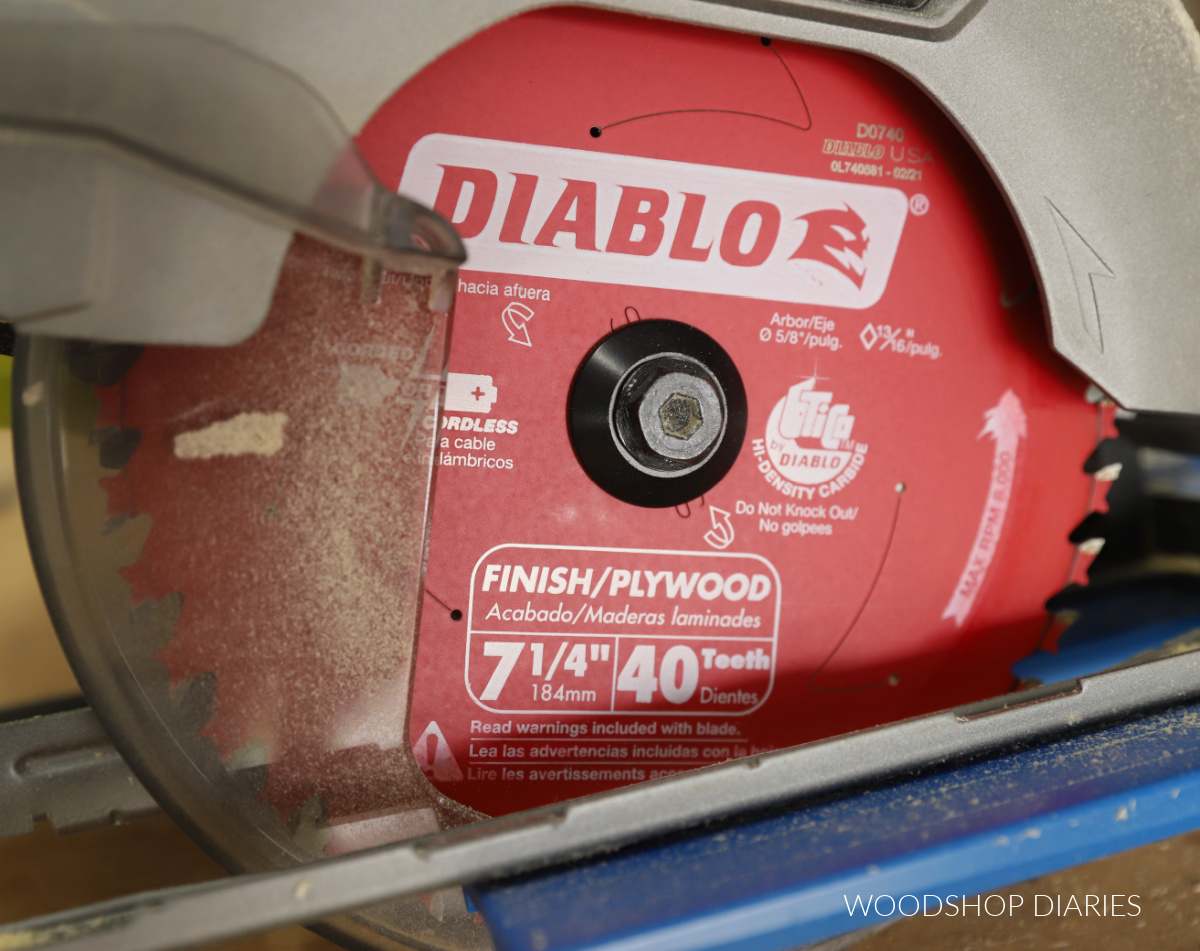
Keep in mind that a 40 tooth 7 ¼″ blade is not the same as a 40 tooth 10″ saw blade. So you’re not looking for a specific number of teeth, as this will vary depending on blade size.
Instead, look for a blade that says “finish,” “fine finish,” “clean,” or “plywood.”
This applies to blades for any tool–whether you’re cutting with a circular saw, table saw, miter saw, jig saw, etc.
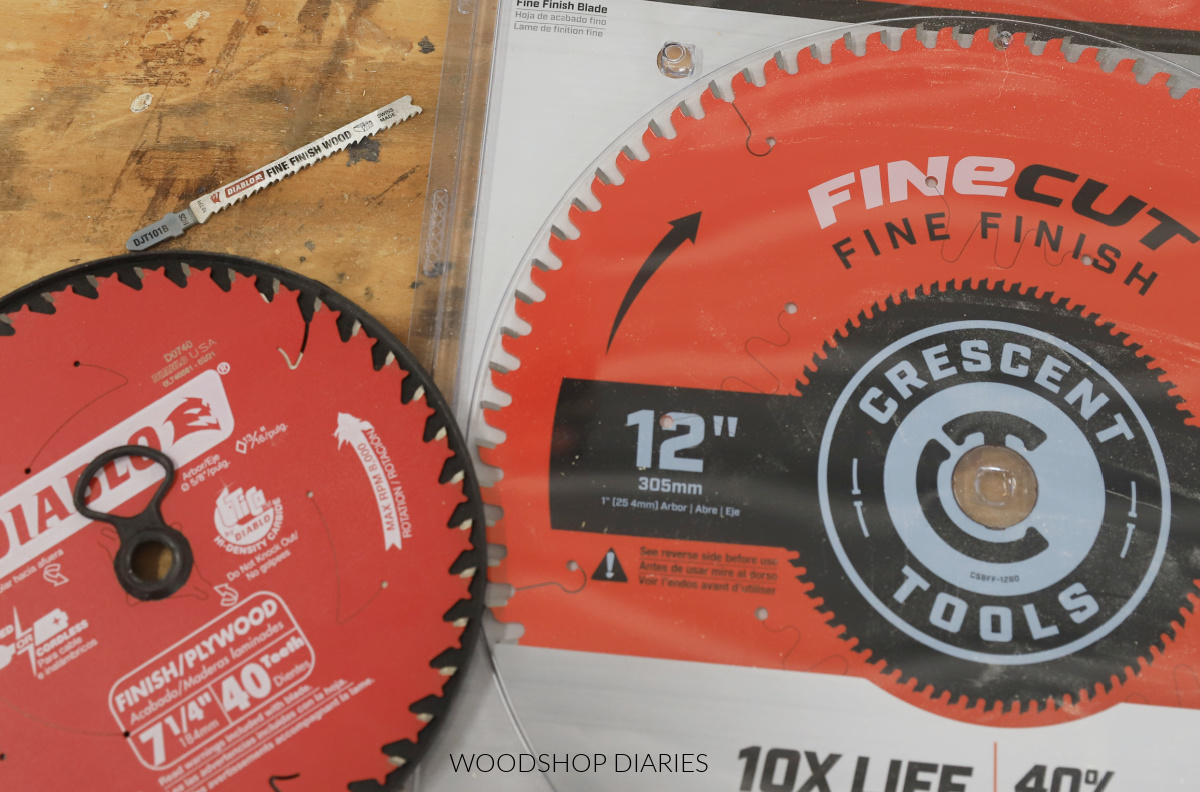
Finish blades are more expensive than general purpose blades, but make a HUGE difference in cut quality.
If you’re using a finish blade but getting tear out, it may be dull and time for a swap. Sharp blades cut…dull blades tear.
Adjust Cut Speed and Settings
Another way to help prevent tear out is to cut slower–and I don’t mean blade speed. You usually want to keep the blade at full speed, but don’t force the saw.
Pushing the saw blade too fast through the wood can cause tear out because it doesn’t allow enough time to properly cut–so it tears.
Take your time when cutting. Bring the blade to full speed before contacting the wood and move the saw slowly, not forcefully. Practice helps you get a good feel for this.
If you’re having to push the saw very hard, you’re probably trying to cut too fast OR you have a dull blade.
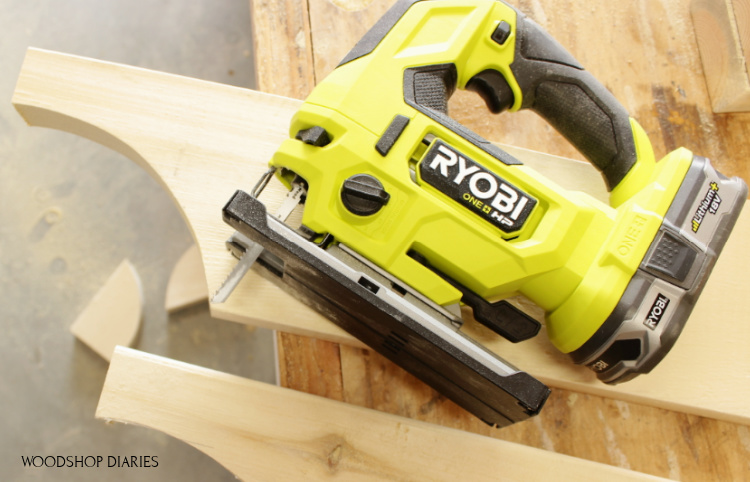
A note about jig saws: If your jig saw blade has orbital settings, make sure to read the manual for specifics on when and how to adjust these settings. My jig saw has 4 settings, but some jig saws have more or less.
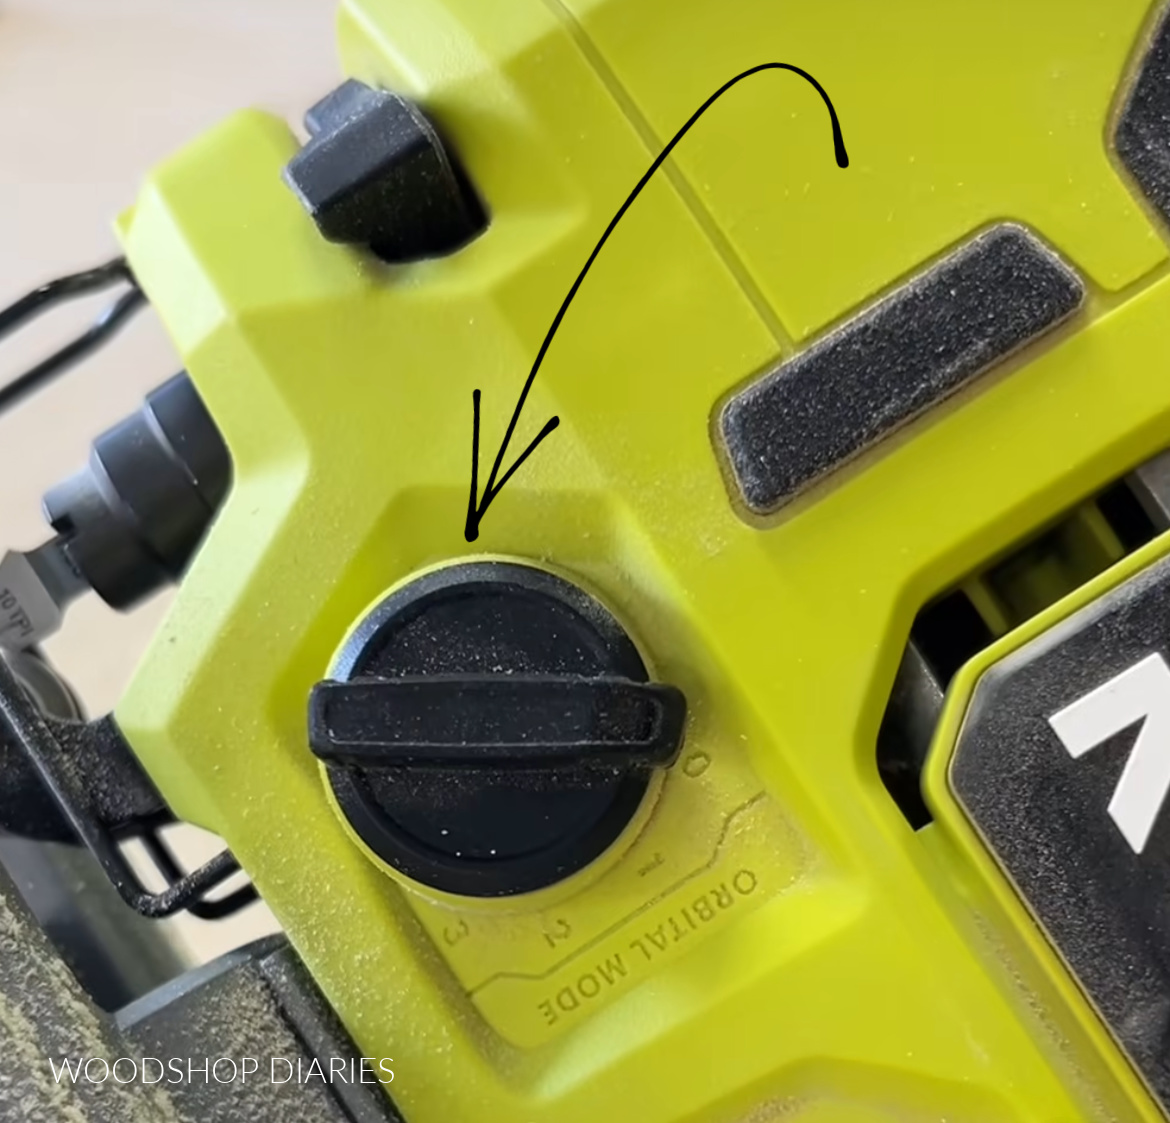
An orbital setting of 0 means the blade moves straight up and down. This cuts wood slower, but cleaner. I normally keep my saw on 0 or 1 when cutting wood.
The highest setting moves the blade in more of a circle/oval shape. This cuts wood faster, but much messier.
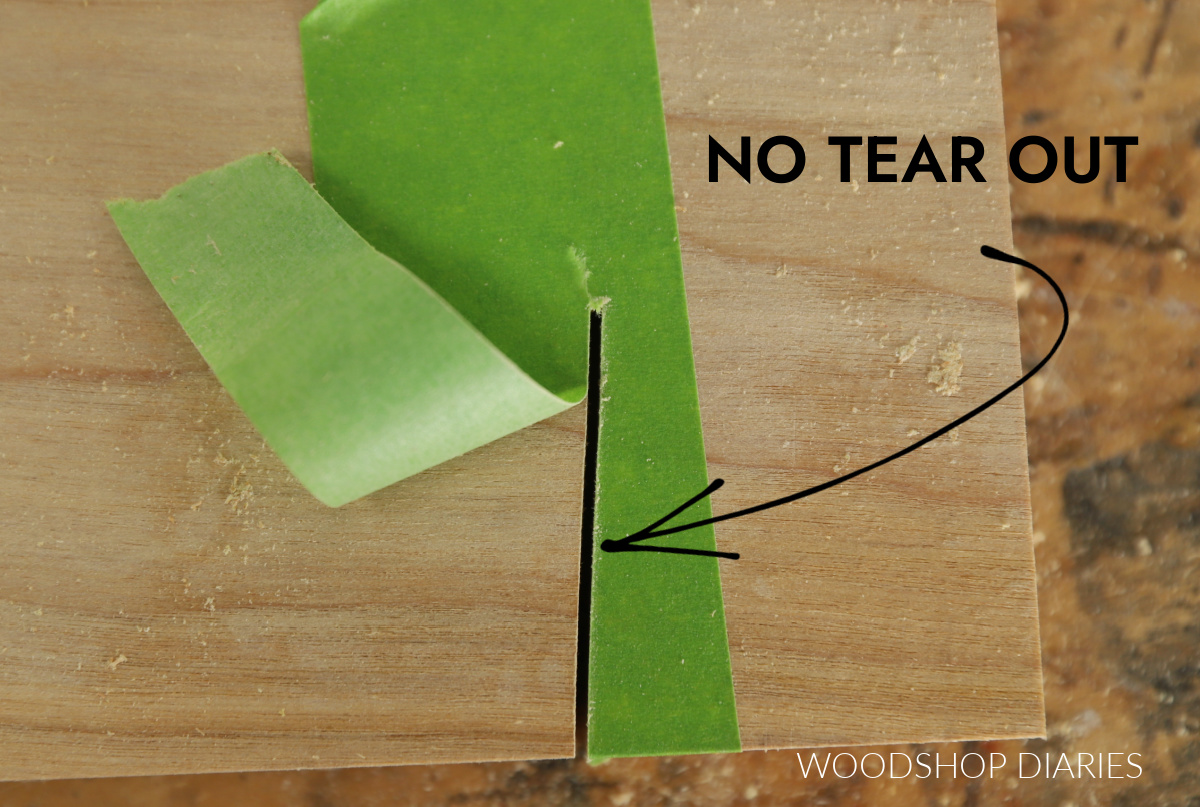
Use Painters Tape On the Cut Line
Another way to help prevent tear out when cutting wood is to use painters tape across the cut line.
The tape helps hold the wood fibers down while the blade passes over so they’re less likely to shred and tear.
Before applying, make sure the surface is free of dust so it sticks well. Depending on the type of saw you’re using, you may want to apply tape on the top, bottom and the edges where the cut will take place.
This also helps prevent blow out when drilling holes. Place painters tape on the back side to help prevent the wood from tearing as the drill bit passes through.
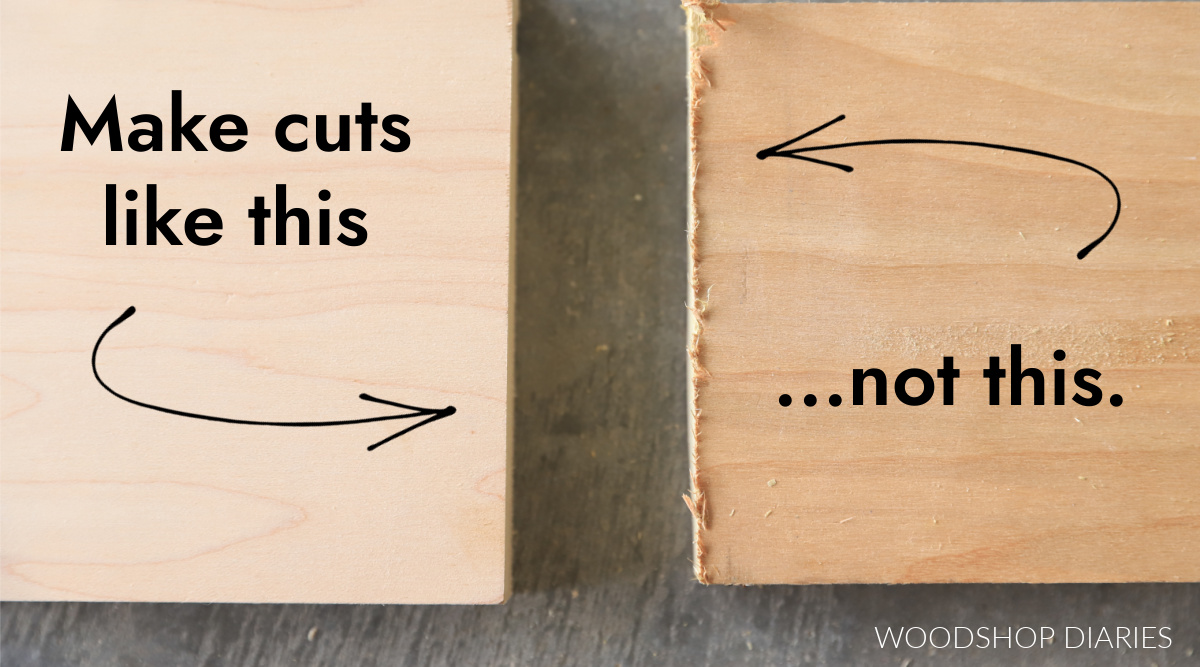
Cut with the Good Side Down
This applies when using a circular saw. The blade on a circular saw spins so that it cuts from the bottom side up.

That means that the blade “exits” the wood on the top side, so tear out (when using a circular saw) is most common on this side.
For this reason, I recommend turning the board/plywood so that the “good side” (the side you want most prominent in the overall project) is on the bottom when making your cuts.
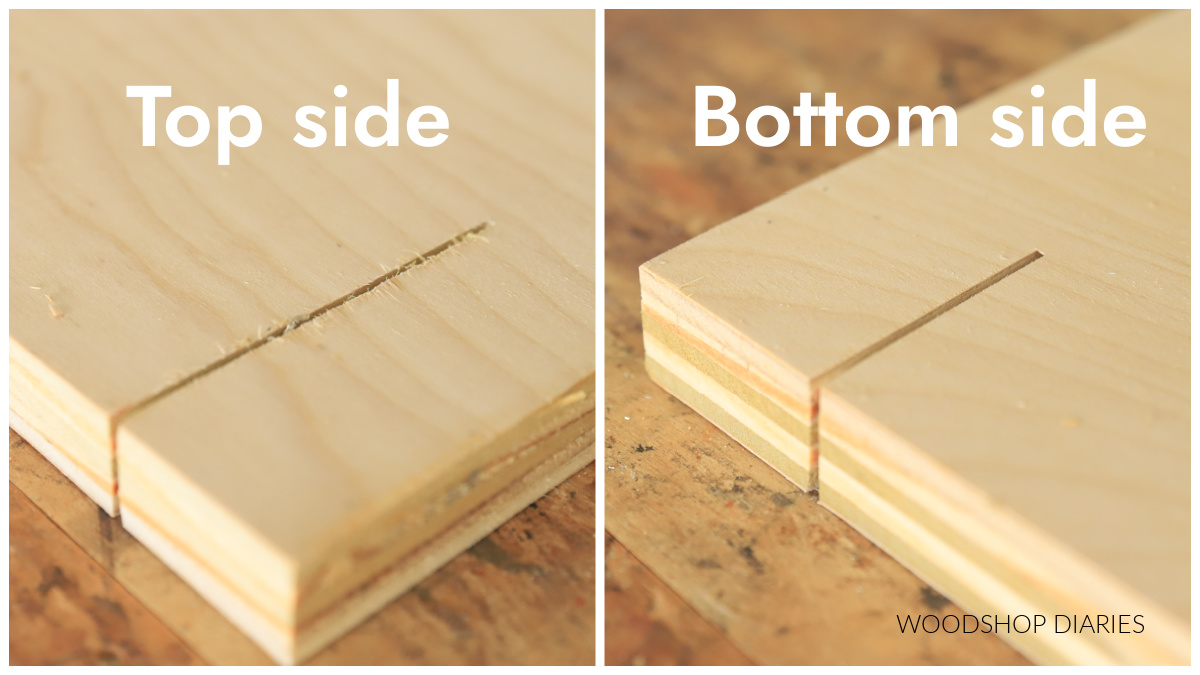
That way, the tear out that does occur won’t be on the side you want most seen in your build.
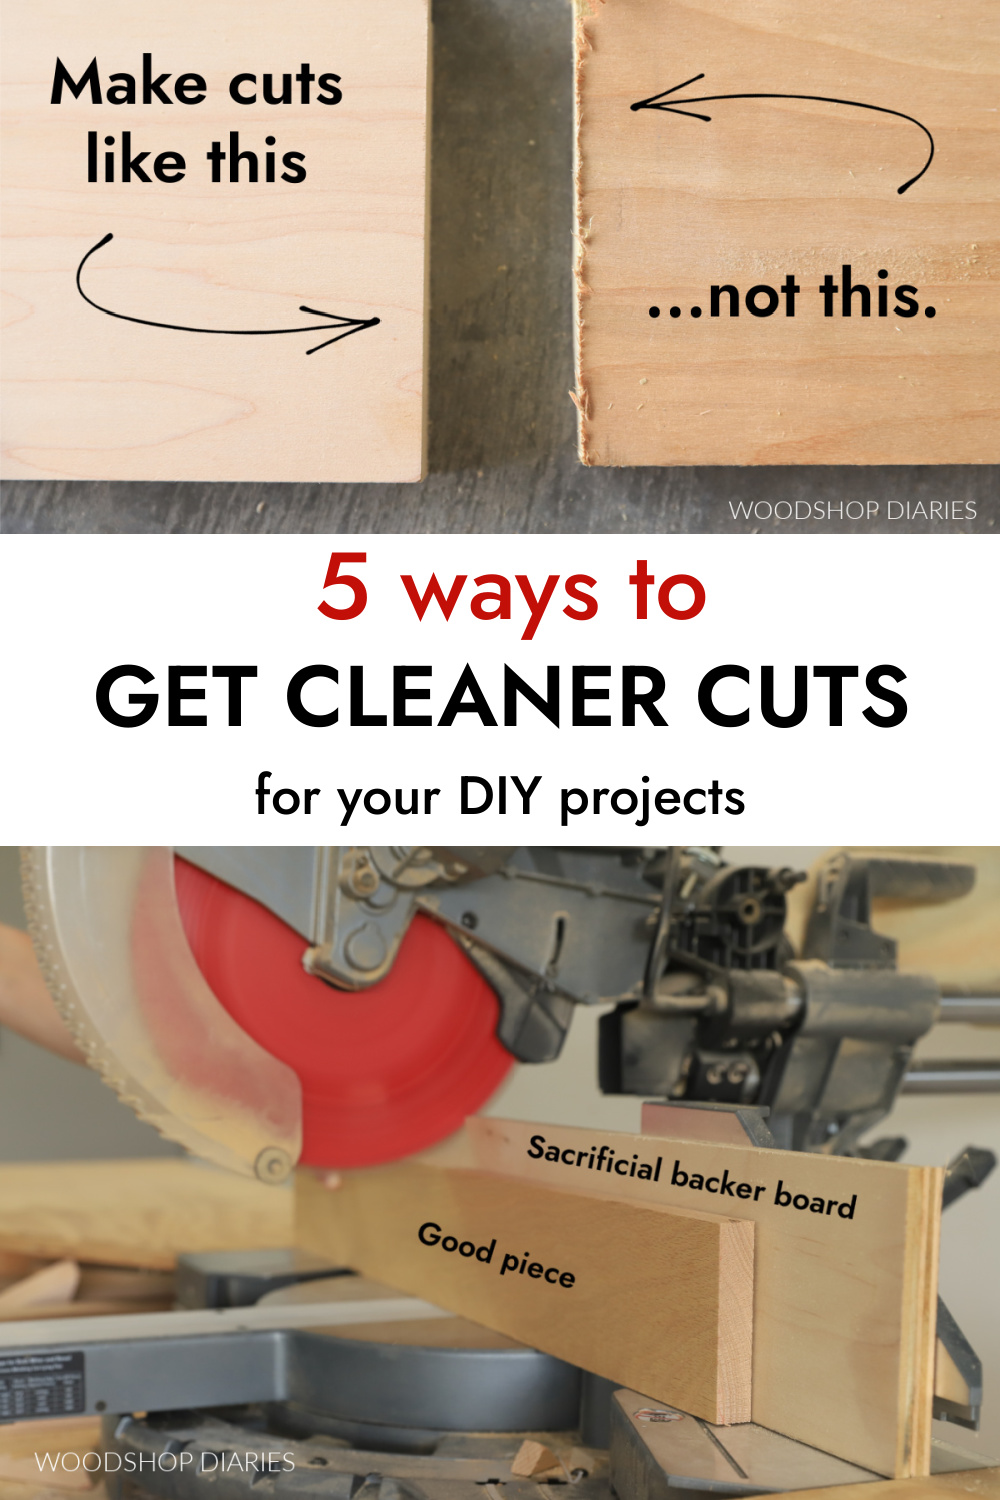
Use a Sacrificial Backer Block
Another great way to help prevent tear out (or blow out) is to use a sacrificial backer block behind the cut.
This sacrificial scrap block helps support the good piece during the cut and takes the brunt of the tear out.

Tear out usually occurs most at the end of a cut–or wherever the blade or bit comes out of the piece. So this sacrificial piece should be placed or clamped on the side of the board that the blade (or bit) will exit.
This is often used when cutting on a miter saw (shown above) or with a router or when drilling holes.
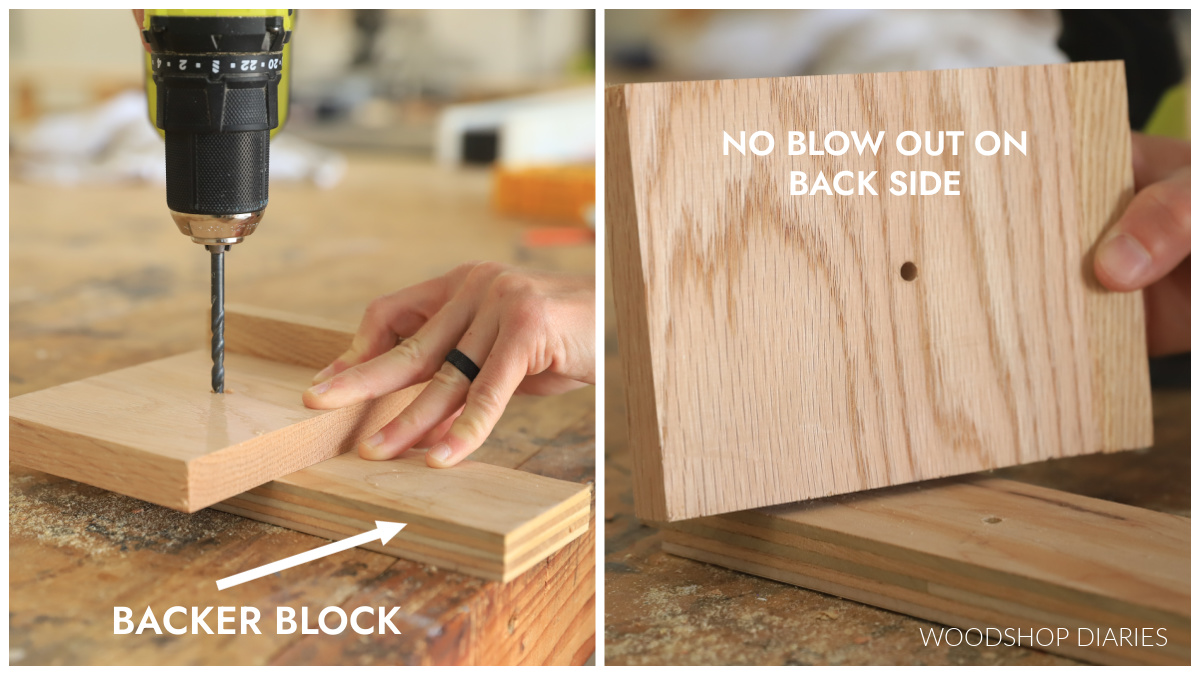
A sacrificial scrap block (similar to painters tape) holds the wood fibers of board you’re cutting (or drilling) tight. So the backer block will end up taking the tear out instead of the good piece you’re cutting (or drilling).
This set up may look a little different depending on what tool you’re using, but think of it as adding an extra layer your board. Then you cut them both at once and the scrap board takes the tear out.
How to Fix Wood Tear Out
Sometimes you end up with a little tear out no matter how hard you try to prevent it. Here are a few ways to work with tear out so it doesn’t ruin your project.
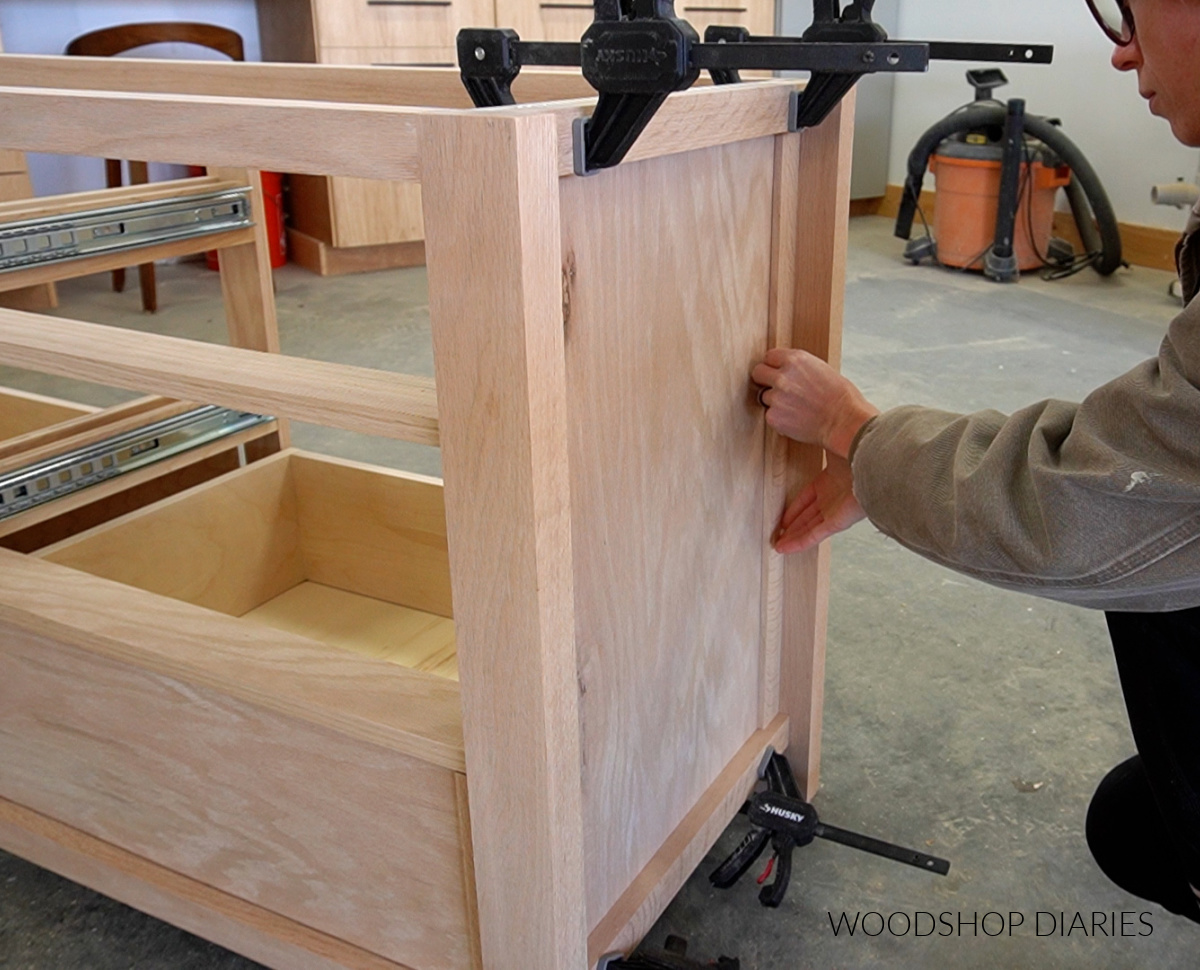
Whenever possible, face the torn out side of the wood in the project where it will be least noticeable. If it can be placed where it won’t be seen (like the inside of a dresser, for example), there’s no need to repair it.
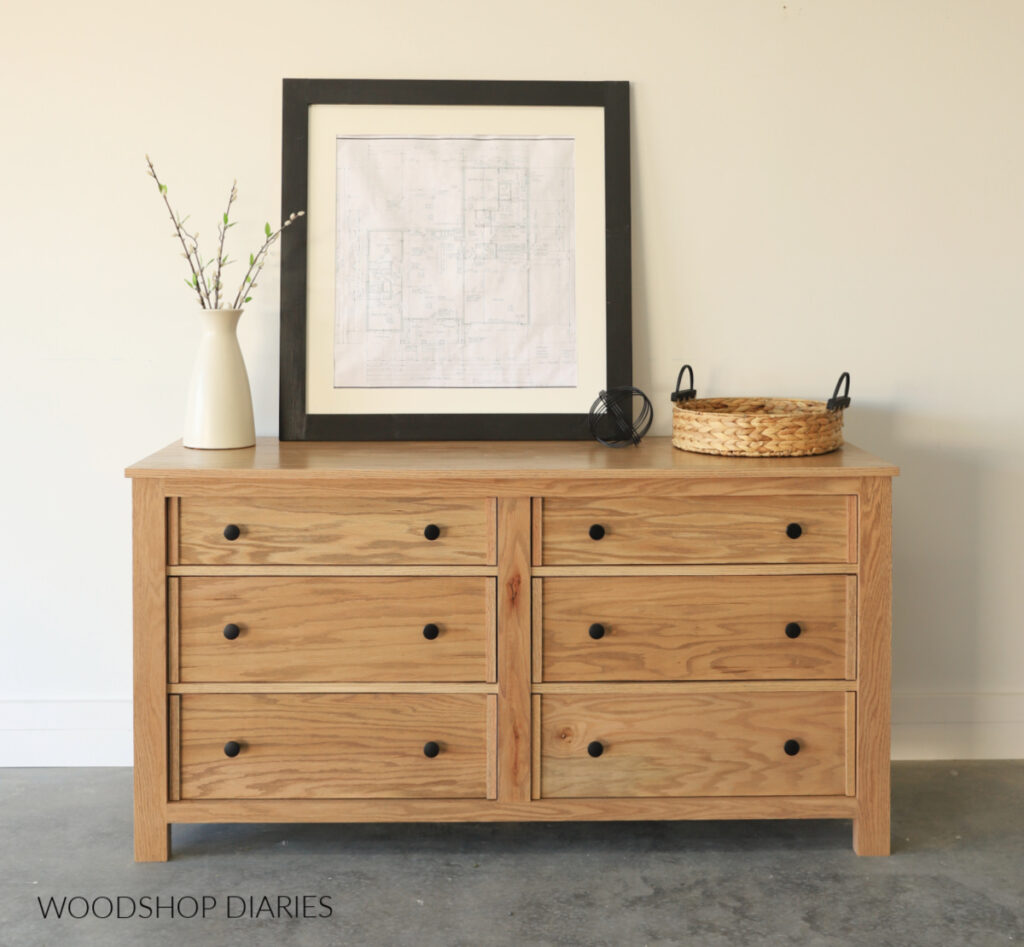
Another option is to cover it with trim. For example, if the plywood you cut for the side panel of a dresser had tear out, you may be able to add a piece of trim at the top or bottom to hide it like shown below.
RELATED: Check out this 6 drawer dresser build here.
But if there’s no way to hide or cover the tear out in your project, you can try to patch it to make it less noticeable. Keep in mind that while patching can help, it’s definitely not going to be a perfect solution.
First, examine the cut. Are the shreds fine or chunky?
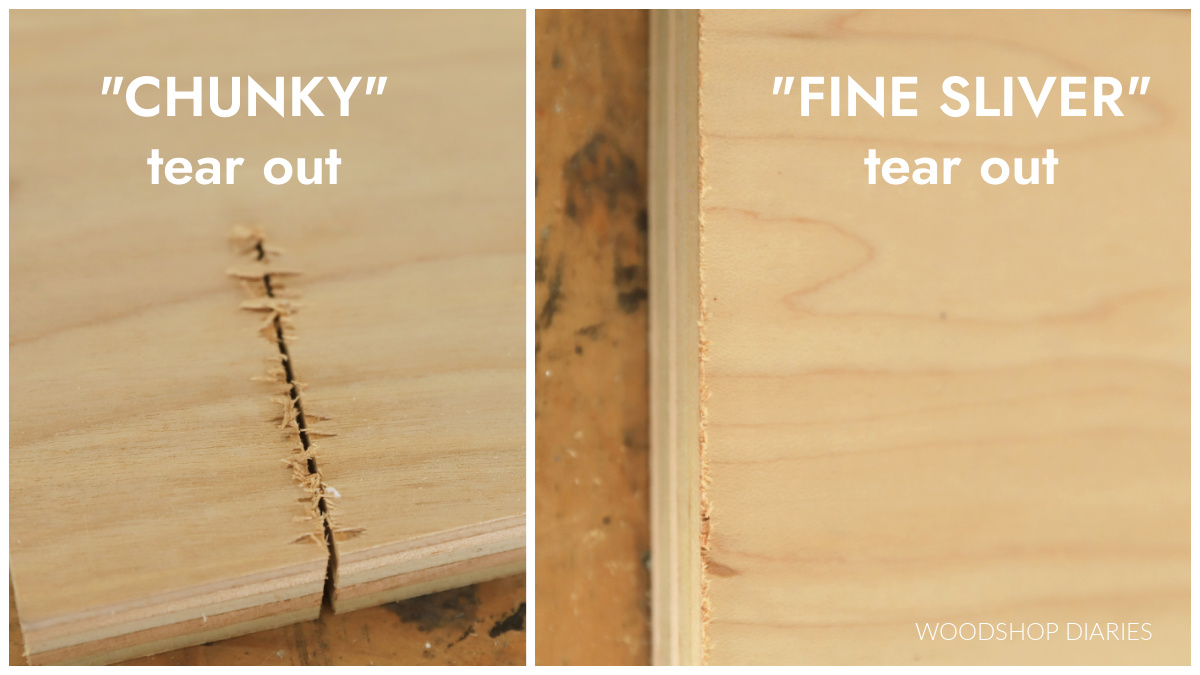
If it appears to have torn out in larger chunks, you may be able to salvage a few of the larger pieces and glue these back in place. Use tweezers and carefully pick off the larger chunks along the cut line, then lightly sand what’s left smooth.
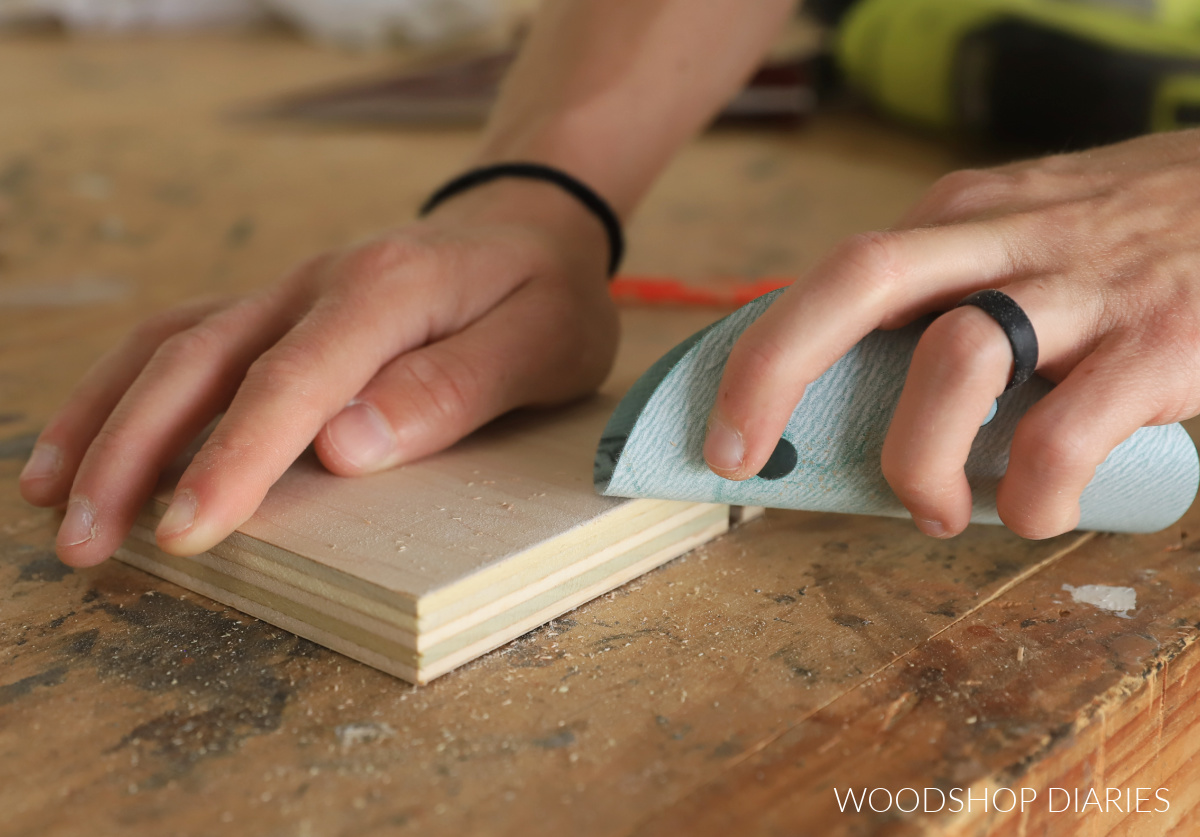
If the tear out is in fine slivers, lightly sand (by hand or with a sander) with 220 paper to remove all the rough fibers.
If you had larger chunks, apply a small amount of wood glue to the areas they came off and glue these pieces back in. Use painters tape or a clamp to hold them tight and flat while they dry.
For fine slivers, use wood filler and a putty knife to fill in the rough edges. Make sure to use stainable wood filler if you’re staining your project. Once dry, wrap sandpaper around a piece of scrap wood and sand it smooth and flat.
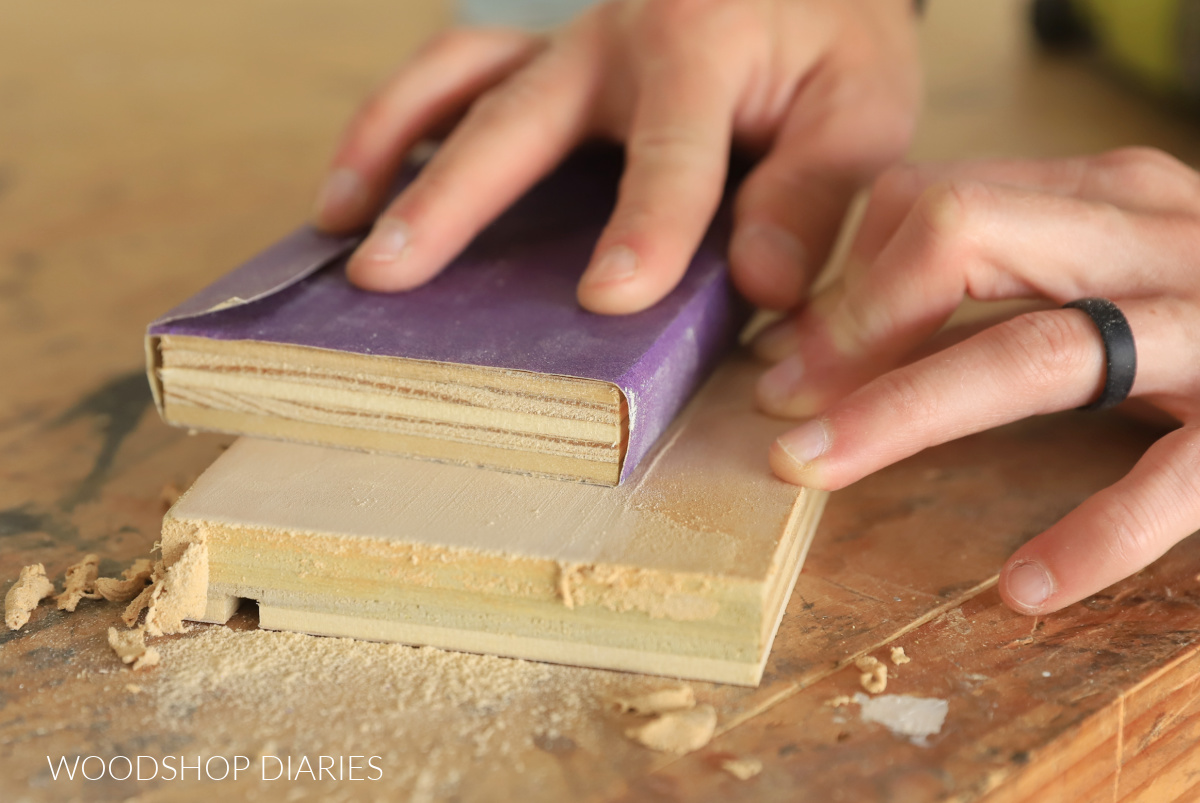
*An alternative to store bought wood filler is to mix some fine sawdust and wood glue into your own putty.

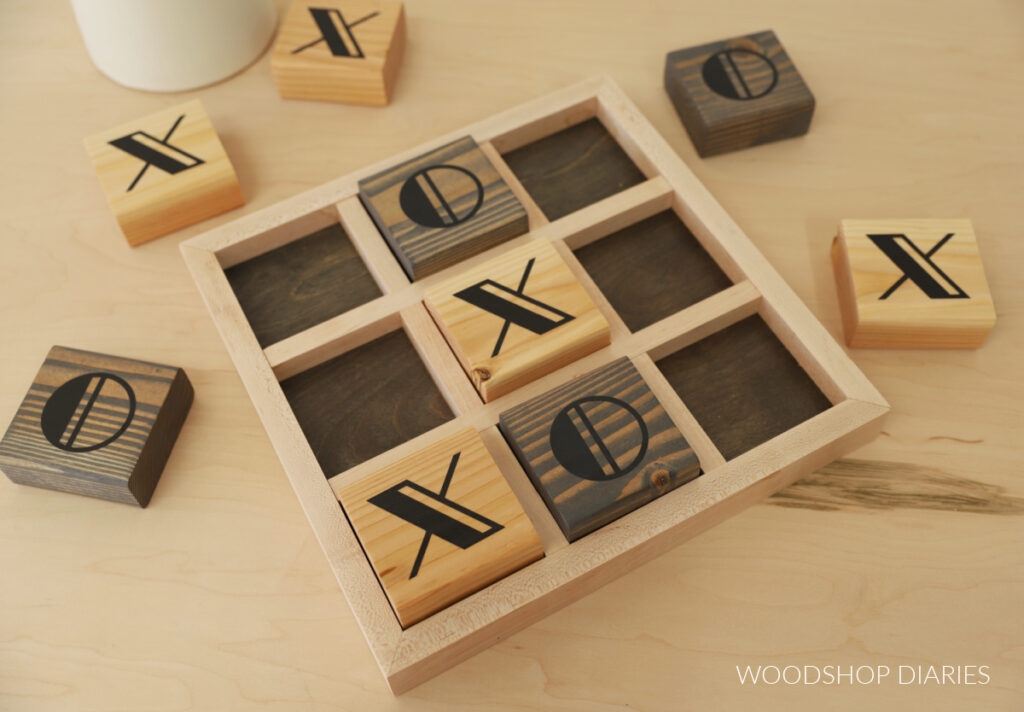
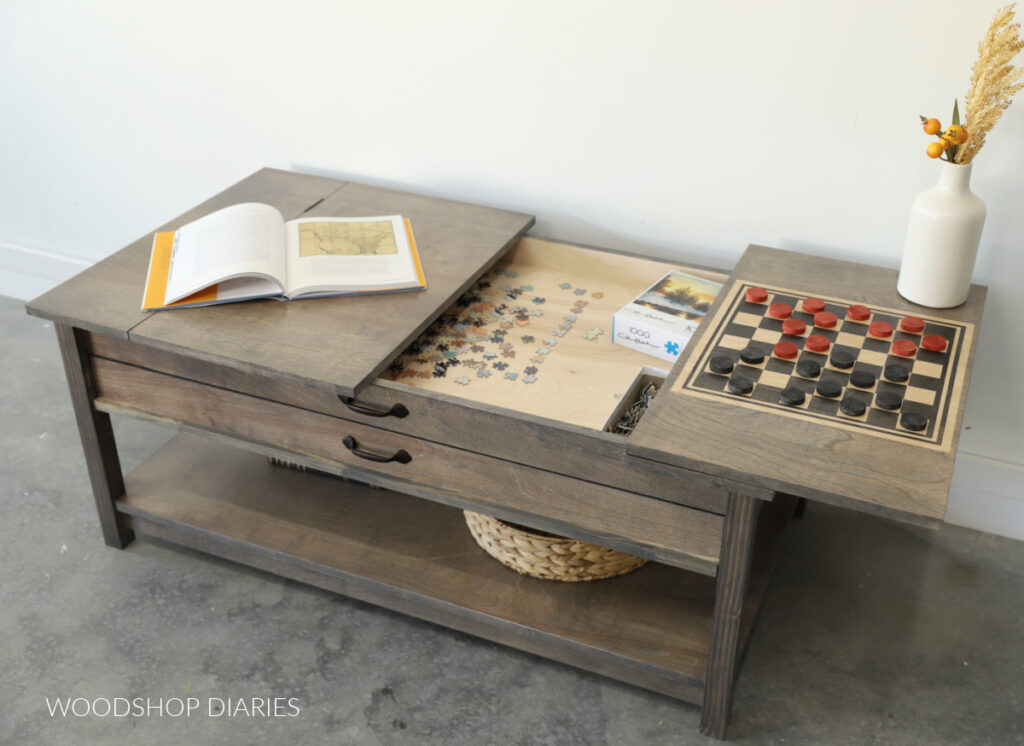
Looking for your Next DIY Project Idea?
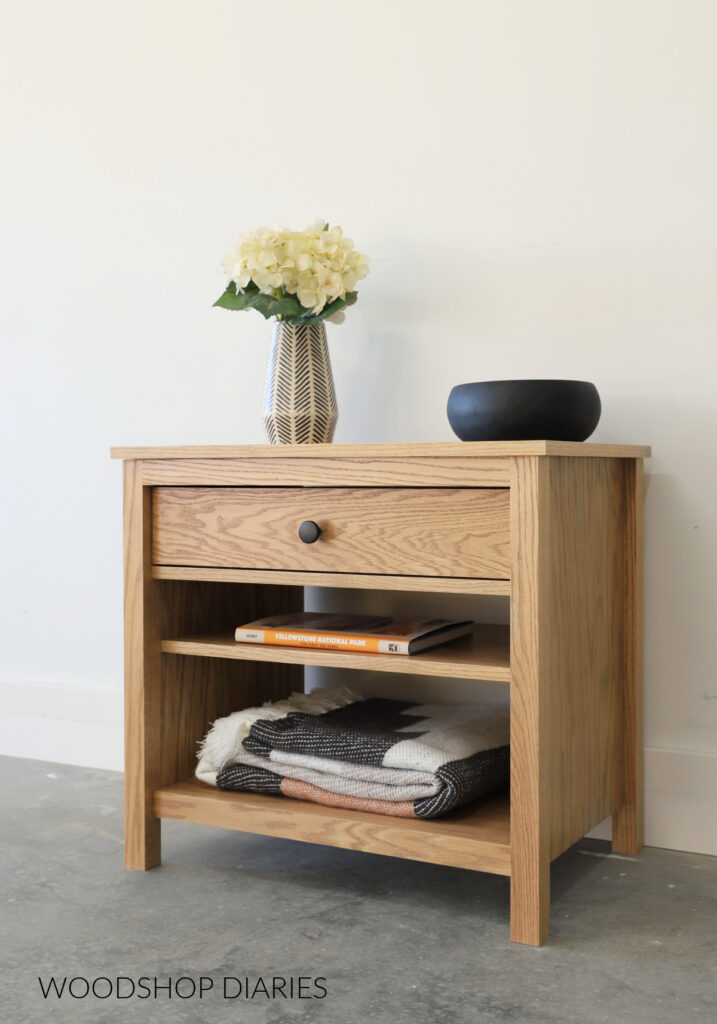
Now that you know how to make clean cuts without tear out, here are a few projects you might enjoy practicing on:

If you enjoyed this post and want to save it for later, don’t forget to pin it or share to your favorite social channel!
Until next time, friends, happy building!