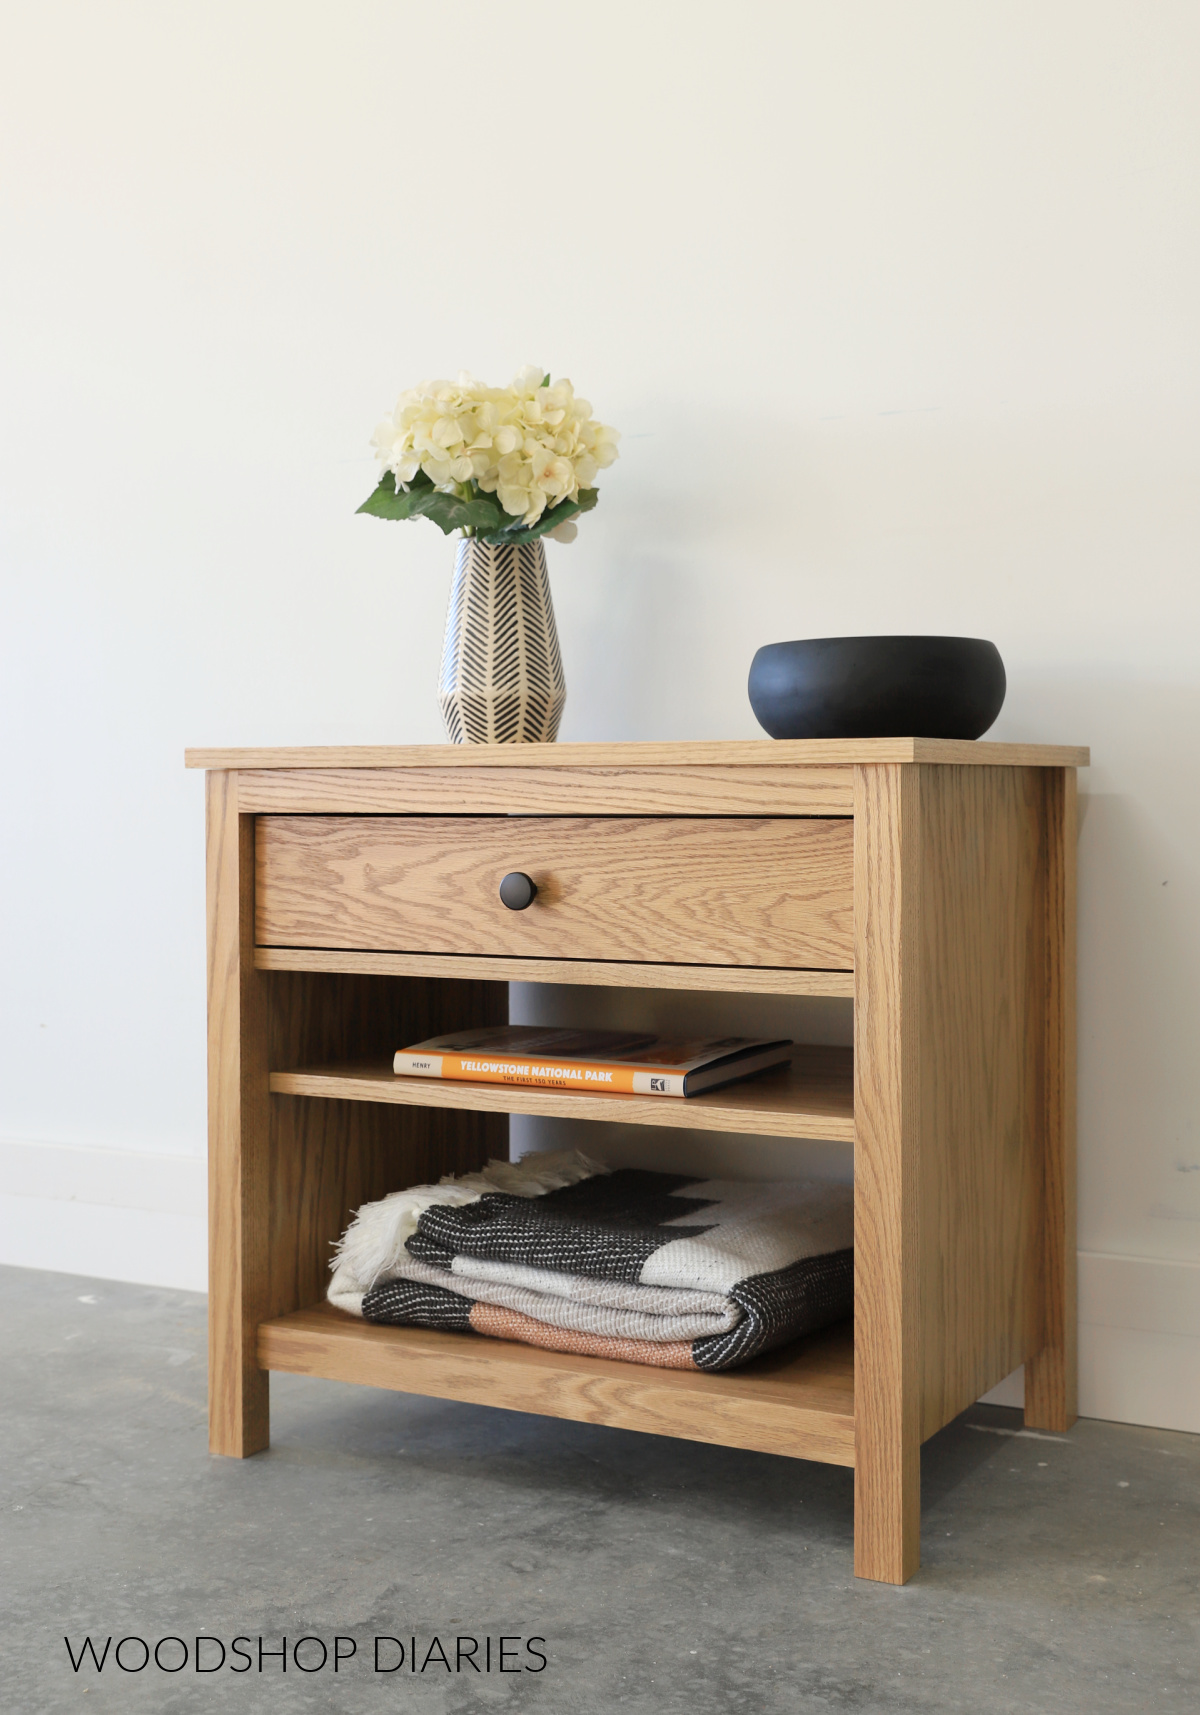
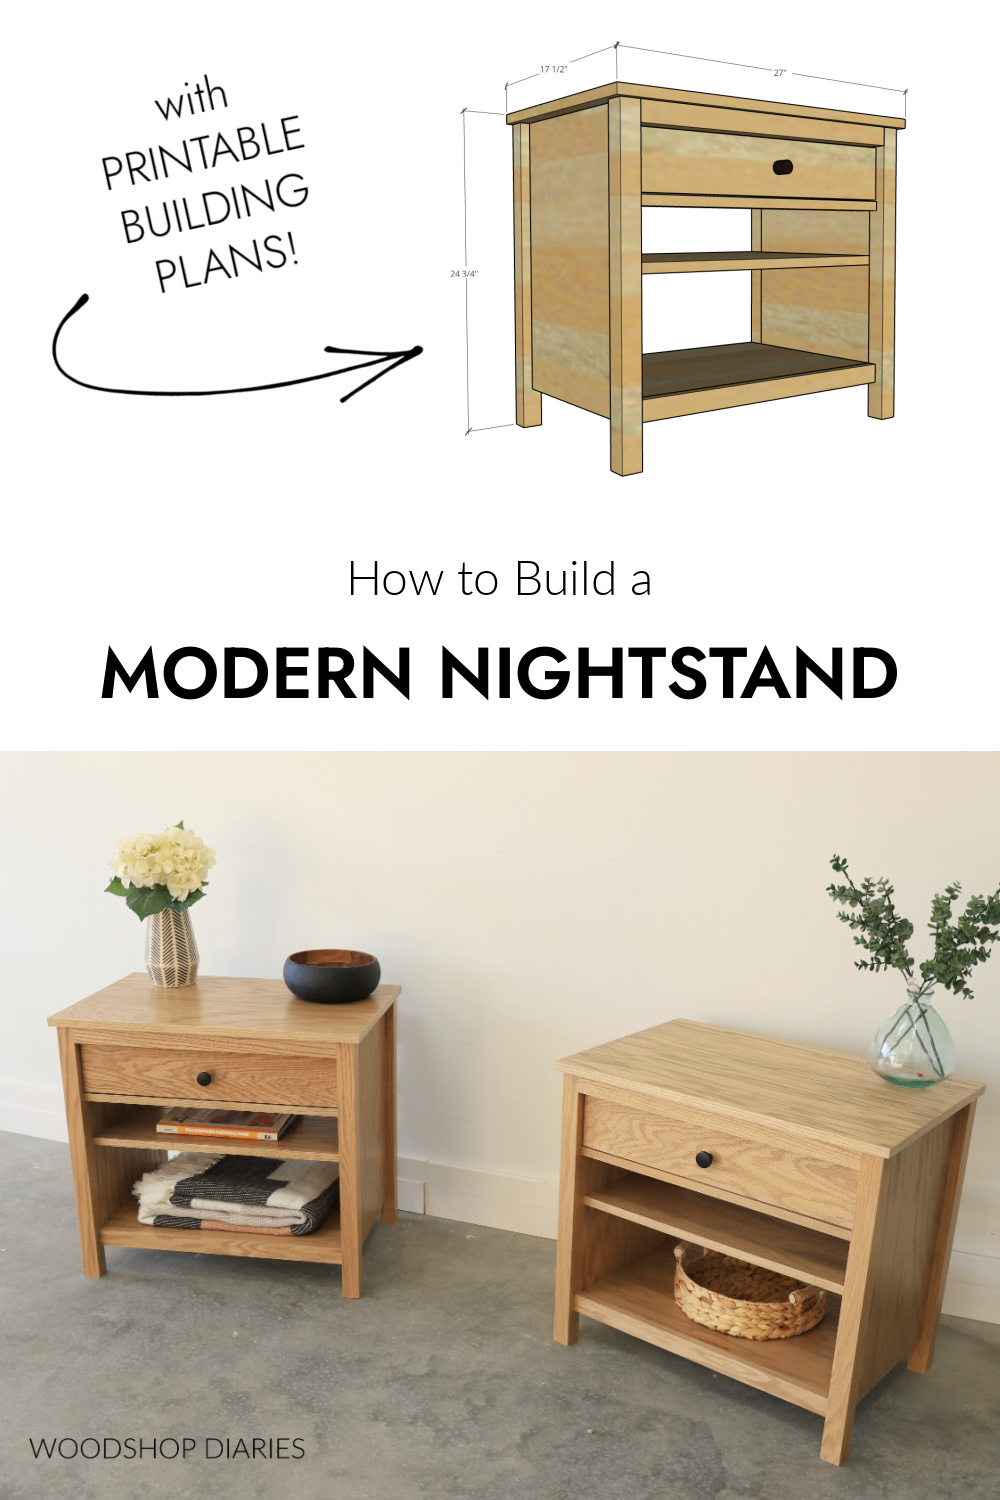
In this post, I’m sharing how to build a simple modern nightstand with a drawer and two open shelves!
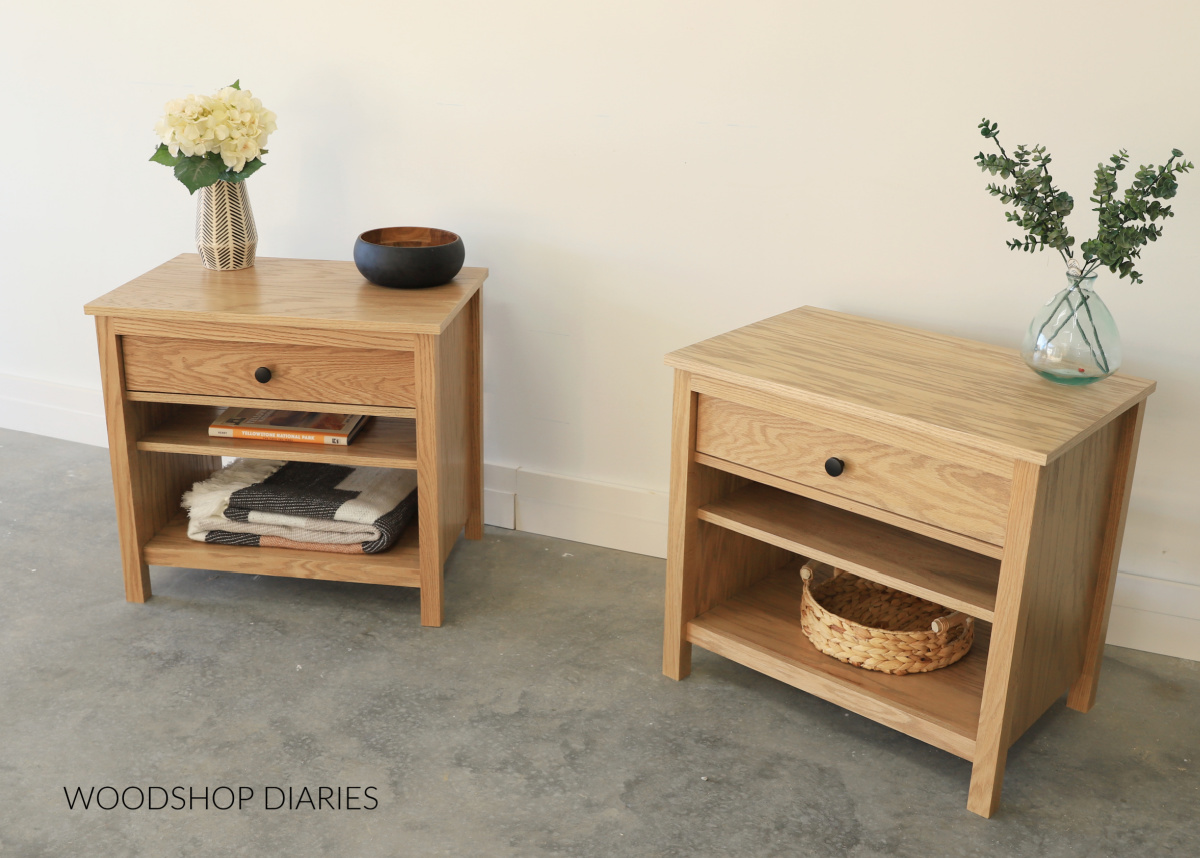
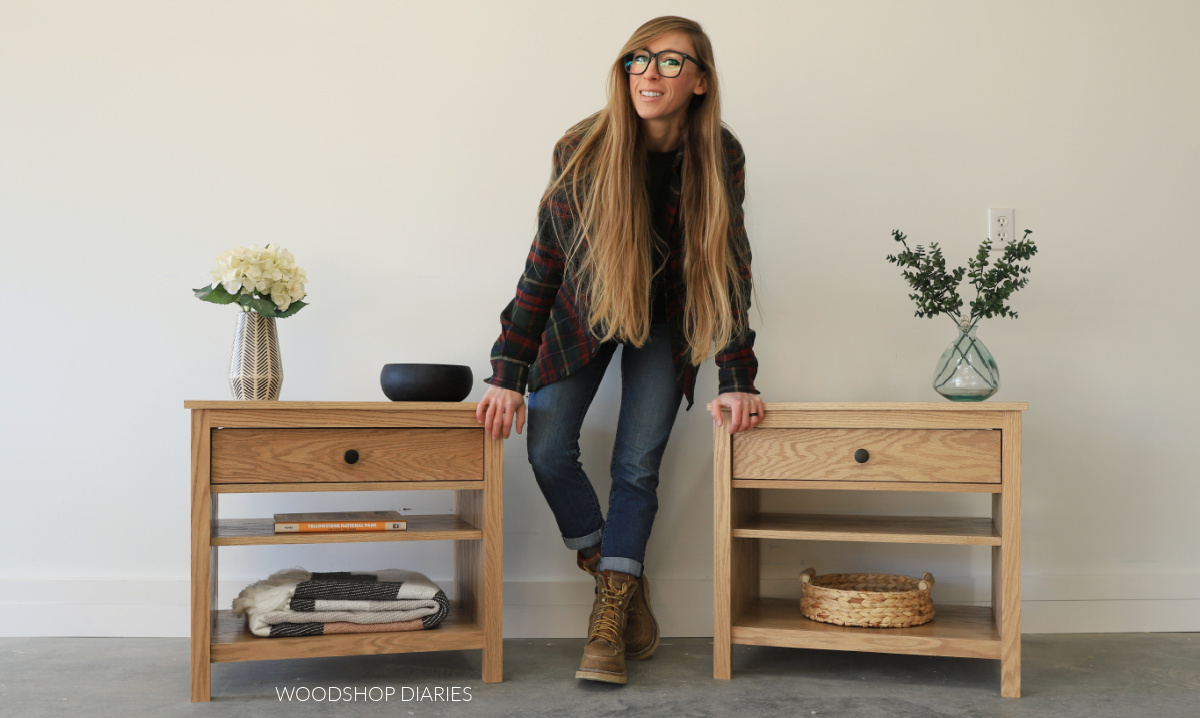
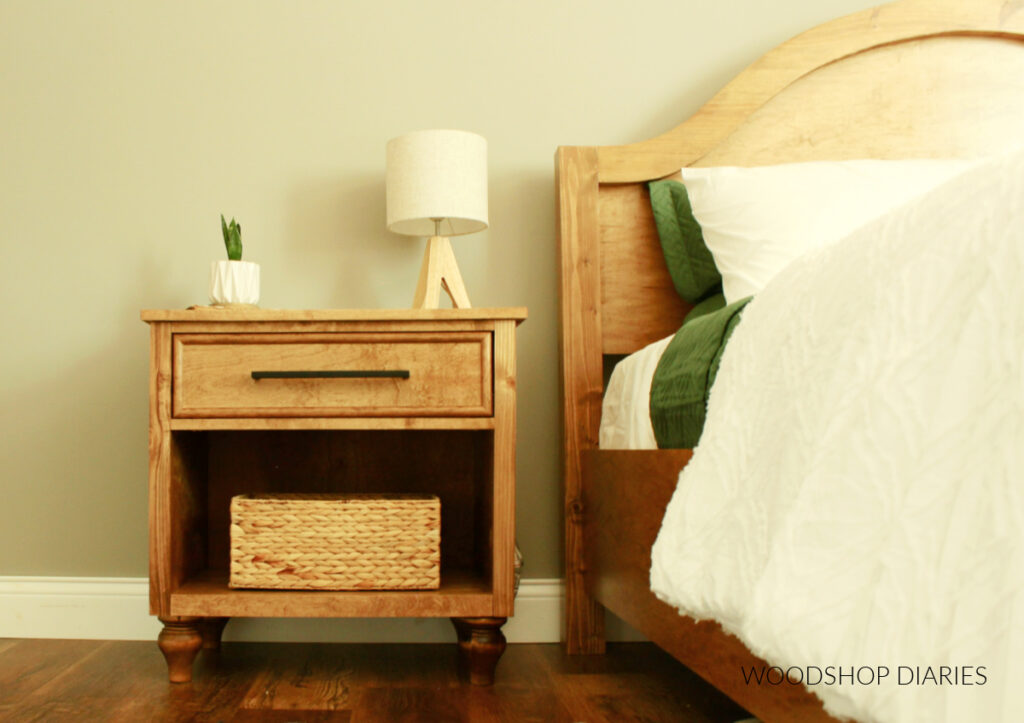
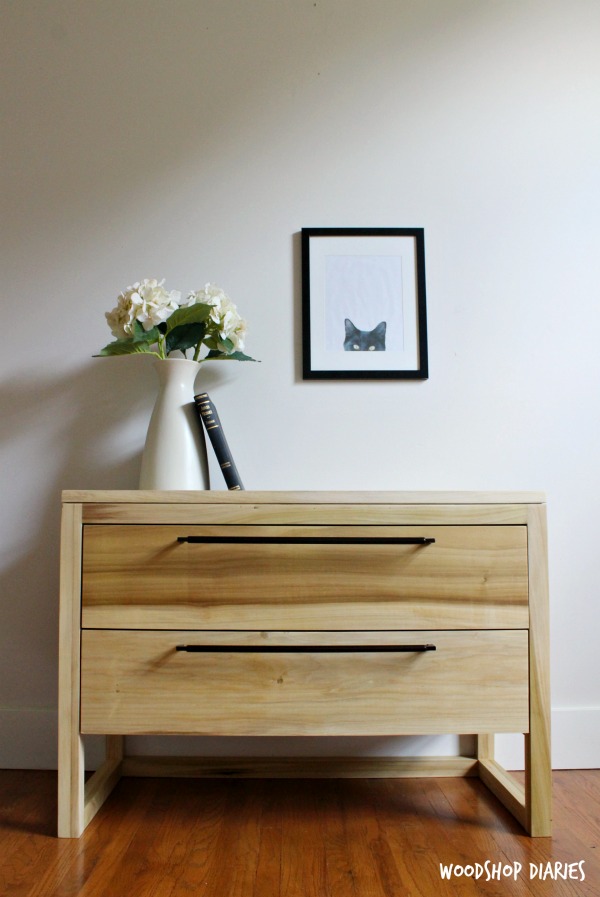
This simple, but stunning bedside table was designed to match the DIY storage bed that I shared recently. And as you can see below, I think they go together nicely.
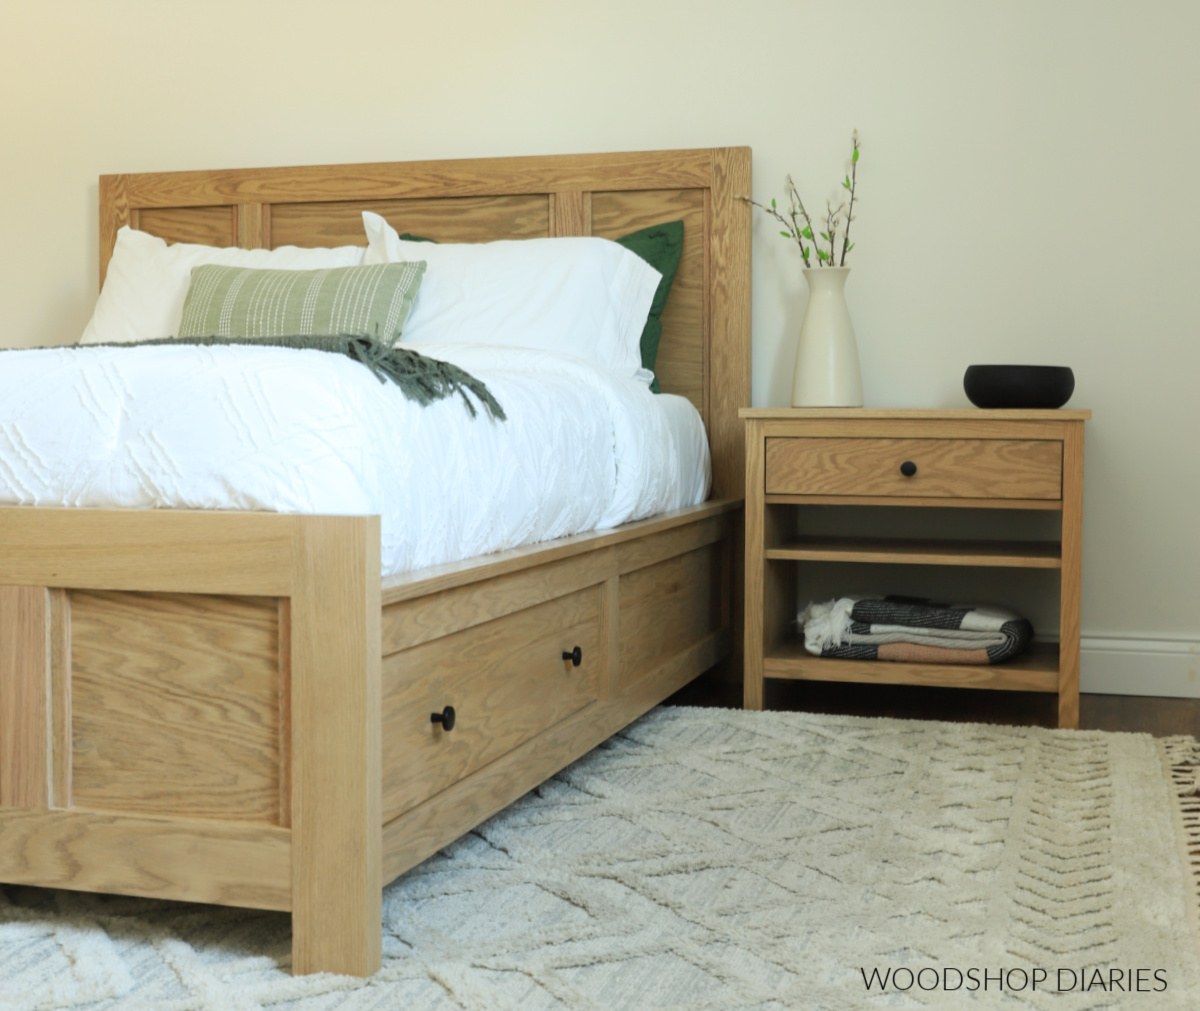
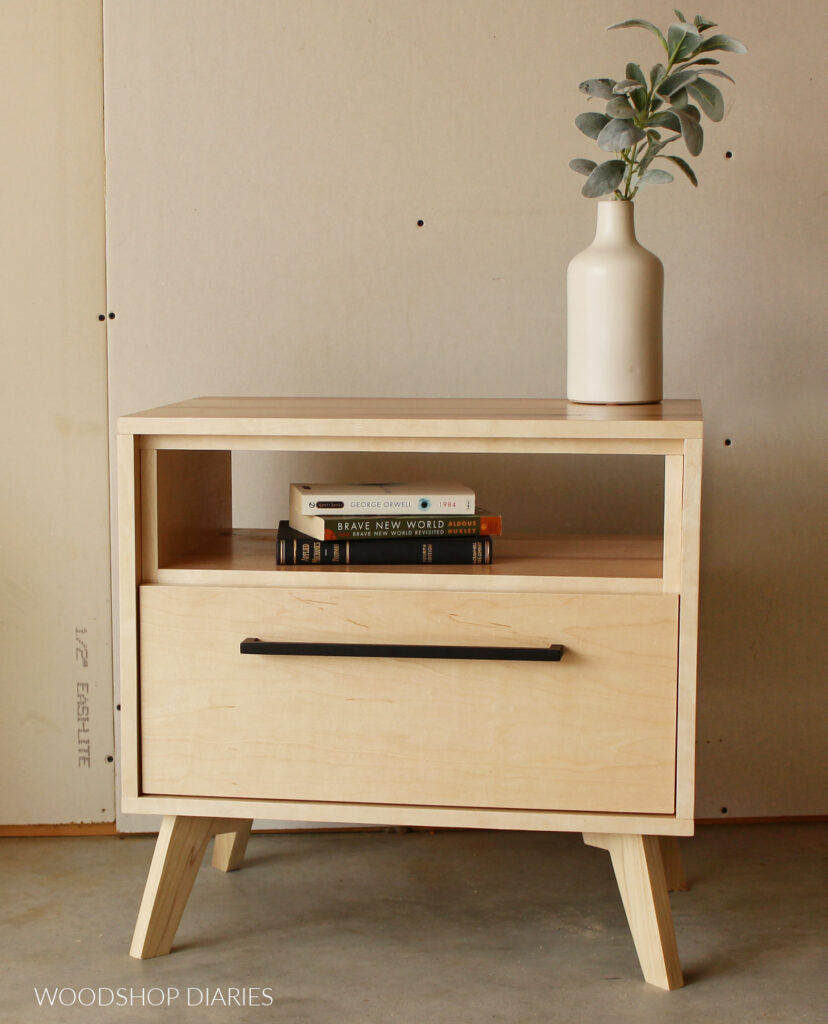
This design is clean and modern and the combination of drawer storage and shelving make it versatile and convenient.
Use the drawer for keys and glasses, the shallow top shelf for books, and the larger bottom shelf for baskets or blankets.
I’m sharing the step by step instructions below to build your own, along with a video tutorial and plenty of helpful tips. So…let’s get building!
*This post contains affiliate links. See website policies.
What to know before building Modern Nightstand
This DIY modern nightstand project is a simple build you can easily complete in a weekend. It works great as a bedside table, but you could also use it as an end table or small entryway table, too.
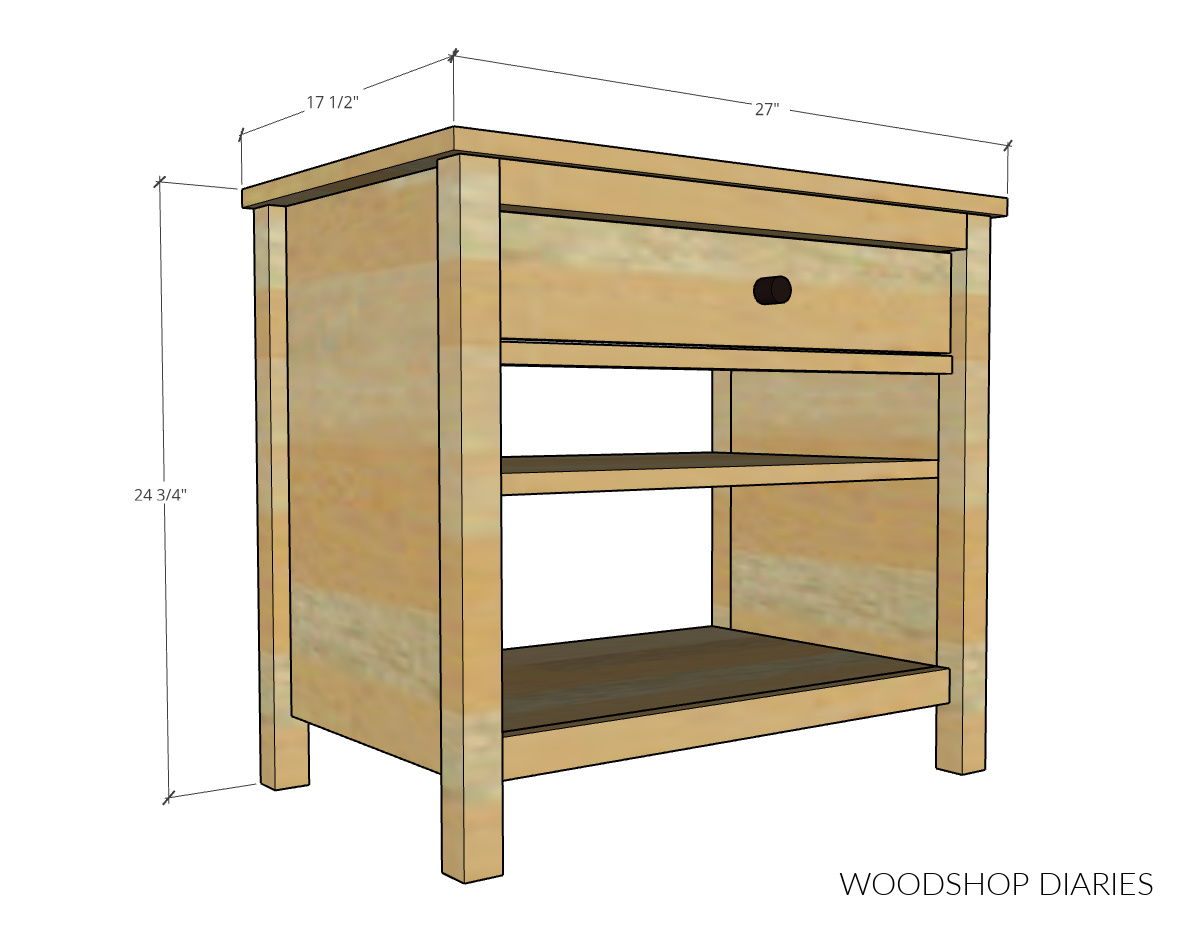
It’s versatile and an excellent beginner to intermediate build! Overall dimensions of this nightstand are 17 ½″ deep x 24 ¾″ tall x 27″ wide.
Choosing a wood type
The nightstand shown here was made using both solid red oak and red oak plywood–just like the matching storage bed. However, if you’d prefer to use another wood type for your build, that’s perfectly fine!

Birch plywood (or pine plywood in a pinch) and construction lumber (pine/spruce/fir) would work great as a more budget friendly option.
RELATED: How to choose plywood for your project
Keep in mind when using pocket holes and screws that you need to use fine thread pocket hole screws when driving into hardwoods (like oak). You need to use coarse thread pocket hole screws when driving into softwoods (like pine) and plywood.
Dowels vs Pocket Hole Assembly
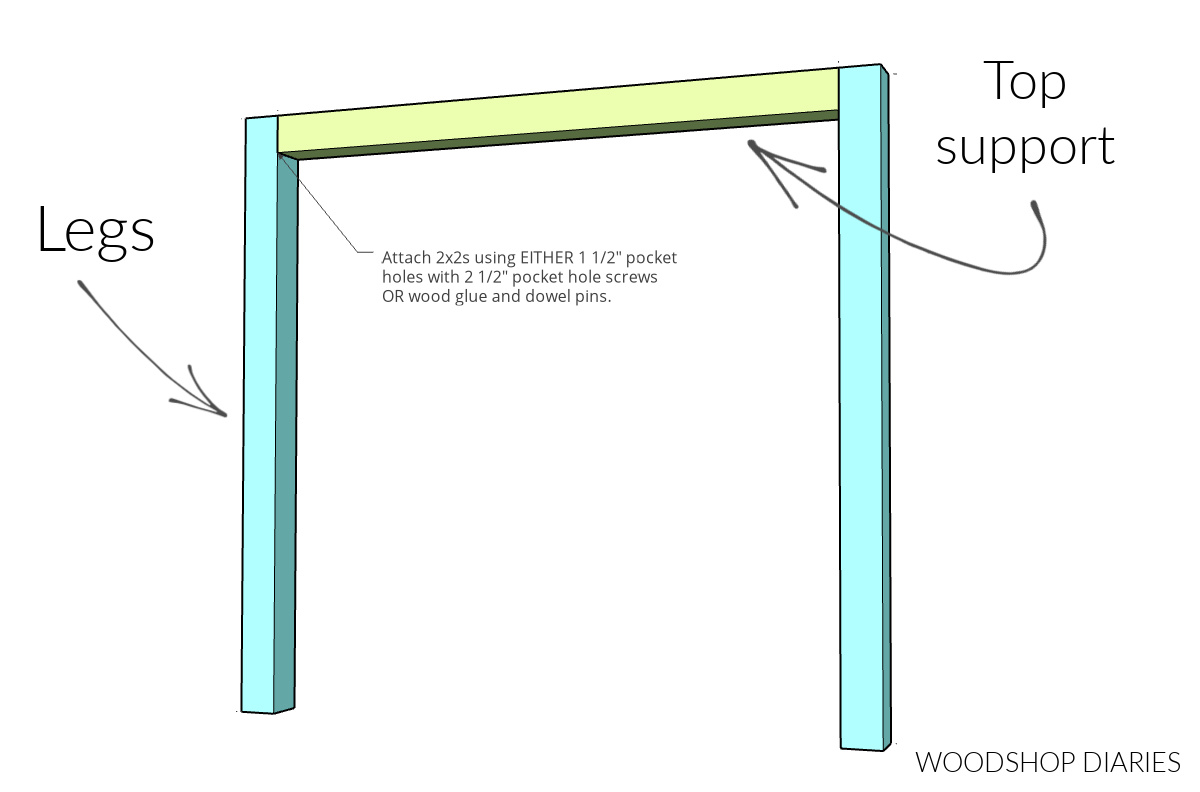
The front and back frames are made from 2x2s in step 1. You can assemble these using EITHER dowel pins and glue OR pocket holes and screws.
The majority of this nightstand build was assembled using pocket holes and screws. However, I used dowel pins and glue when assembling the frames in step 1. You can certainly use another joinery method to build this project if you’d rather.
RELATED: How to use a dowel jig

Note in the tools and materials list below–if you use dowels for this part, you’ll need a dowel jig and dowel pins. But if you use pocket holes and screws to assemble them, you don’t need either of those. You’ll need 2 ½″ pocket hole screws instead.
Building a Pair of Nightstands vs One
The plans and materials list below are for a single table–not a pair. However, if you wanted to build a pair, you only need one additional pair of 14″ drawer slides, one additional 2x2x8 board and ¼ sheet more of ¾″ plywood.
Are DIY projects your thing? Sign up for our newsletter for priority access to the latest projects and build plans!
How to Build a Modern Nightstand with Shelves
You can find the step by step building instructions below along with printable building plans. But, if you prefer to watch, I’ve also included a build video as well. Check out the video for tips, visuals, and some extra clips from behind the scenes!

Love watching how-to videos? Subscribe to my YouTube channel for plenty more where that came from!
Helpful resources for this build:
Prefer to print? Grab the printable modern nightstand building plans here:
TOOLS & MATERIALS
Tools:
- Drill/Driver
- Circular Saw and cutting guides (Kreg Rip Cut and AccuCut used here)
- Pocket Hole Jig
- Dowel Jig (optional)
- Miter Saw
- Clamps
- Table Saw (optional)
Materials: (materials list is for ONE nightstand)
- (1) 4’x8′ sheet ¾″ plywood
- (1) 2’x4′ (¼ sheet) ¼″ plywood
- (2) 2x2x8 boards
- 1 ¼” pocket hole screws
- 2 ½” pocket hole screws OR 1 ½” dowel pins (see notes)
- 2” wood screws
- Wood glue
- Edge banding (optional)
- (1) pair 14″ drawer slides
- Drawer Pulls/Knobs
Step 1: Assemble Front and Back Nightstand Frames
First, I assembled the front and back frames of the nightstand. These parts are made from 2x2s and form basically like an upside down “U” shape–two legs on the sides and a support at the top that runs between them.
As I mentioned in the notes above, I attached these pieces using dowel pins and glue. However, you could also use pocket holes and screws instead.
RELATED: How to use a pocket hole jig
Dimensions can be found in the printable plans here. However you can easily modify the overall size of the nightstands by simply adjusting the length of the legs and the length of the top supports here.
Step 2: Assemble Nightstand Sides
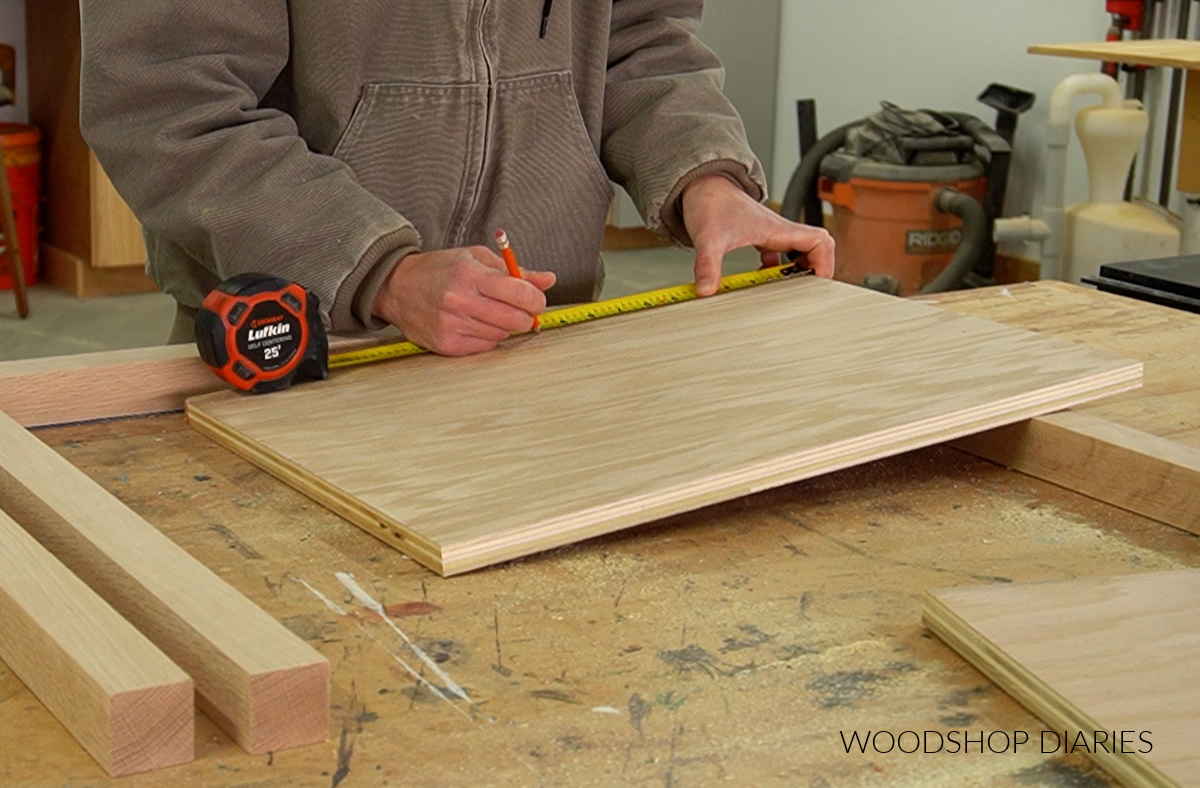
Once the front and back frames are assembled, everything else on this build is cut from ¾″ plywood (except the drawer bottom which is cut from ¼″ plywood).
So I cut down my plywood sheet to continue. If you’re new to using plywood, check out this guide to learn how to easily break down your plywood sheets.
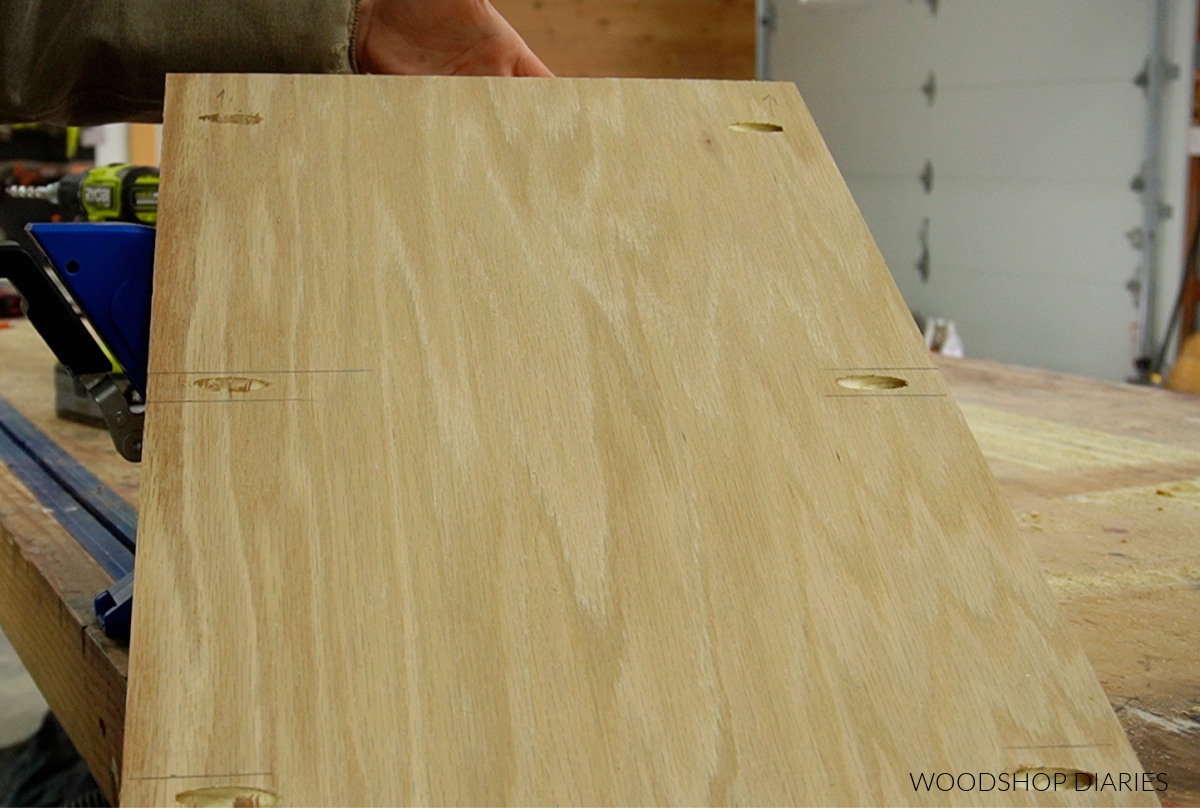
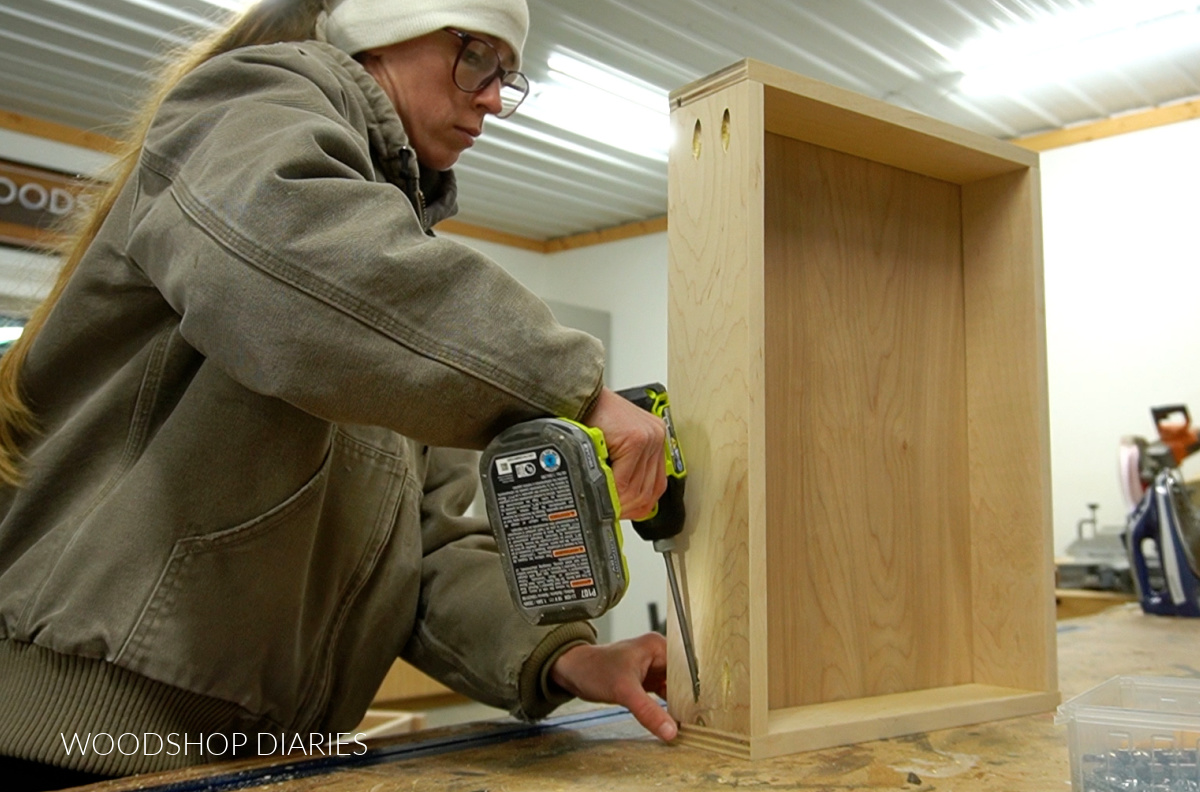
Once I had cut my two side panels, I marked out where to drill the pocket holes so they’ll be covered by the drawer and/or shelves in the finished build.
Basically I marked out where I wanted the shelves to go and drilled the pocket holes between these lines.
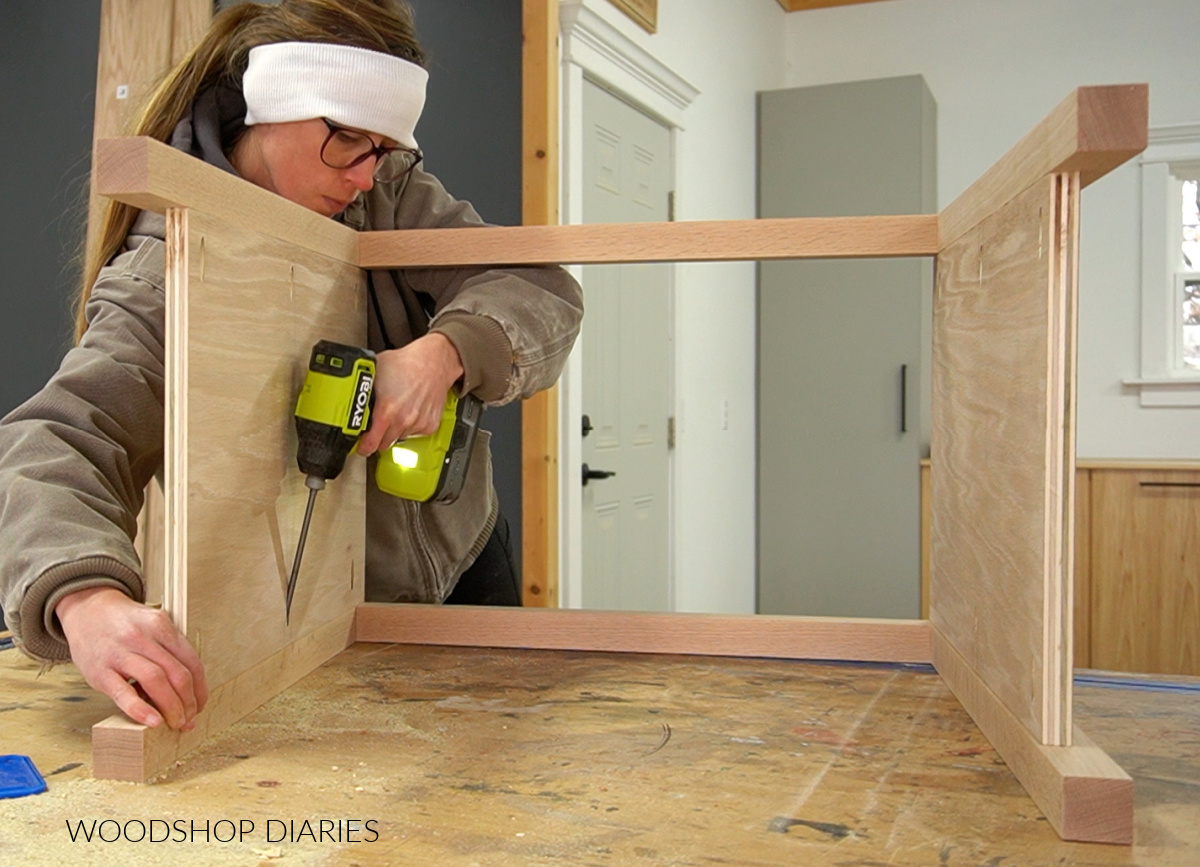
Then, I installed them between the front and back frames from step 1 using pocket hole screws.
Step 3: Add Shelves into Modern Nightstand
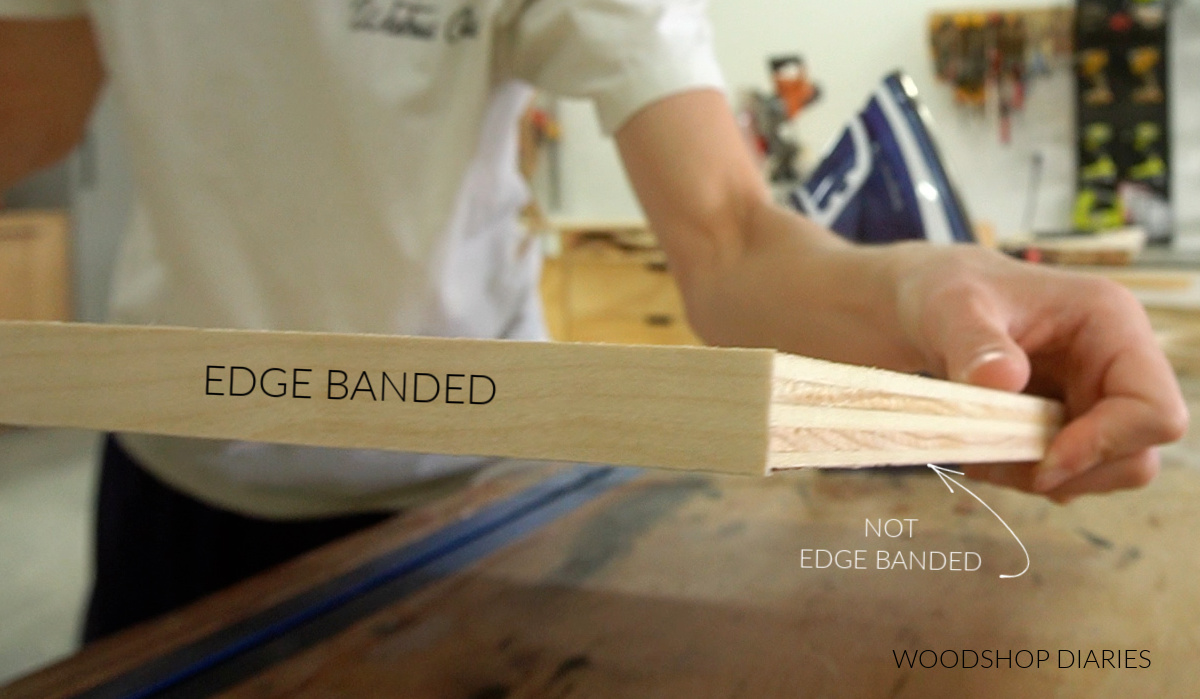
Next, I cut two pieces of ¾″ plywood for the shelves. I applied iron on edge banding to the front edge of the top shelf (the one directly under the drawer) and set it aside for now.
RELATED: How to apply iron on edge banding
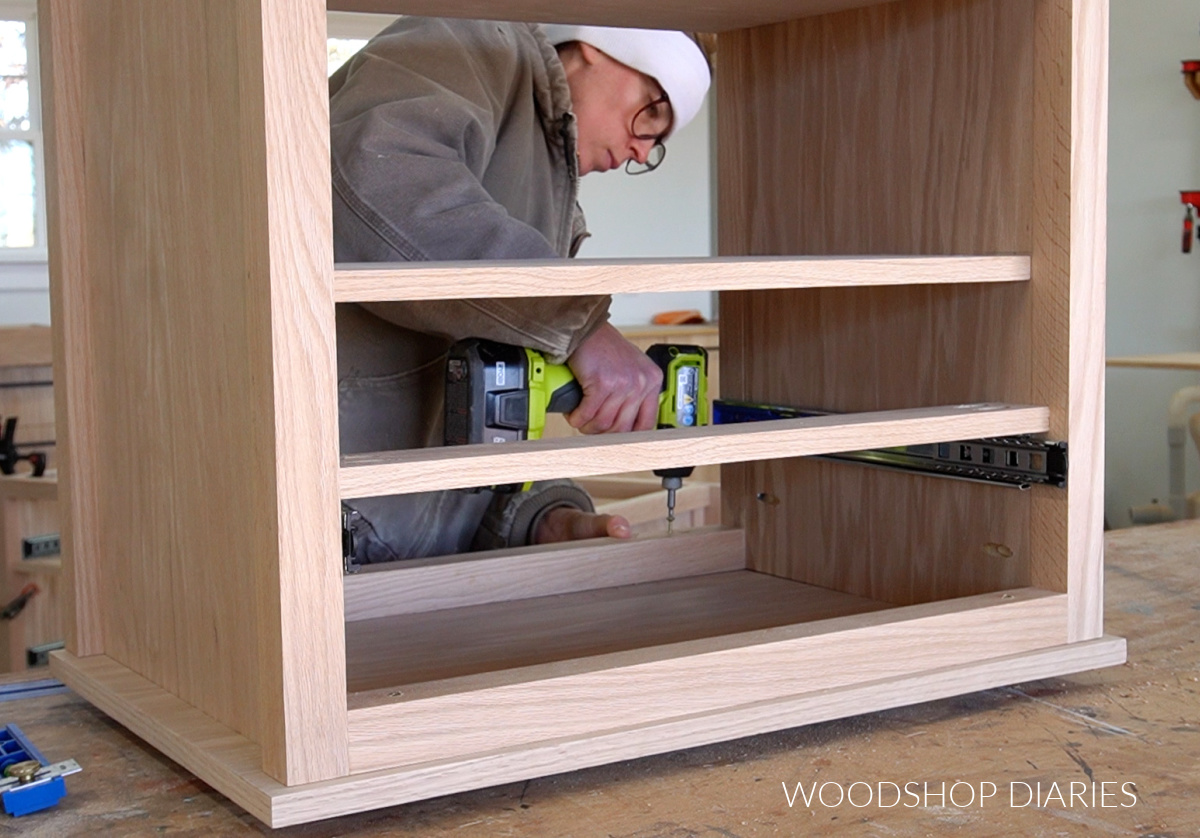
But for the bottom shelf, I covered the front edge with a trim piece instead. I drilled ¾″ pocket holes along the sides and the front edge and attached a 1×2 onto the front so that it appeared thicker.
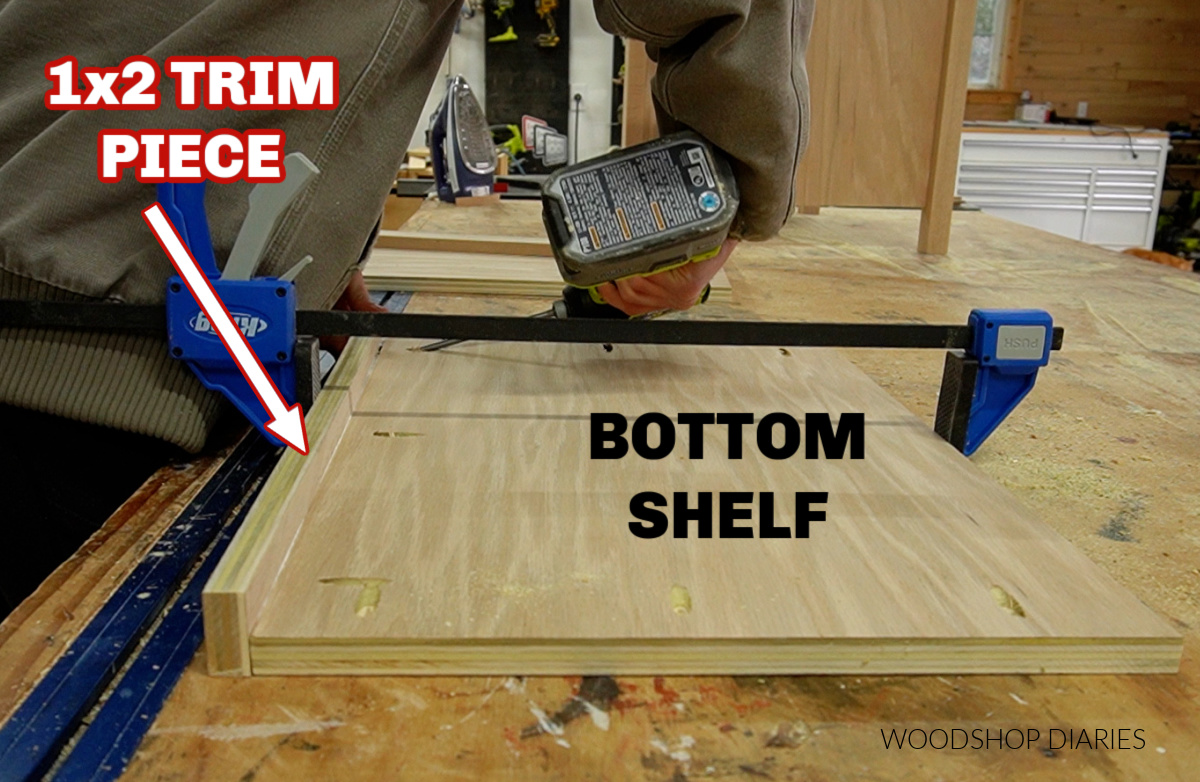
Full transparency–this “1×2″ was actually just a piece of ¾″ plywood I cut to 1 ½″ wide. Either ¾” plywood OR a solid 1×2 would work fine.
RELATED: Understanding lumber sizing
Then I cut a piece of 1×3 (again, this was actually just ¾″ plywood ripped to 2 ½″ wide, but solid wood or plywood would work fine) to go underneath the drawer.

I drilled pocket holes into the end of this 1×3 and the top shelf, then installed them into the nightstand along with the bottom shelf using pocket hole screws.
Prefer to print? Grab the printable building plans for this modern nightstand with shelves here.
Step 4: Build and Install Drawer into Nightstand
Now the main nightstand body is assembled and I needed to add the drawer. I installed 14″ ball bearing drawer slides into the nightstand in the drawer section at the top.
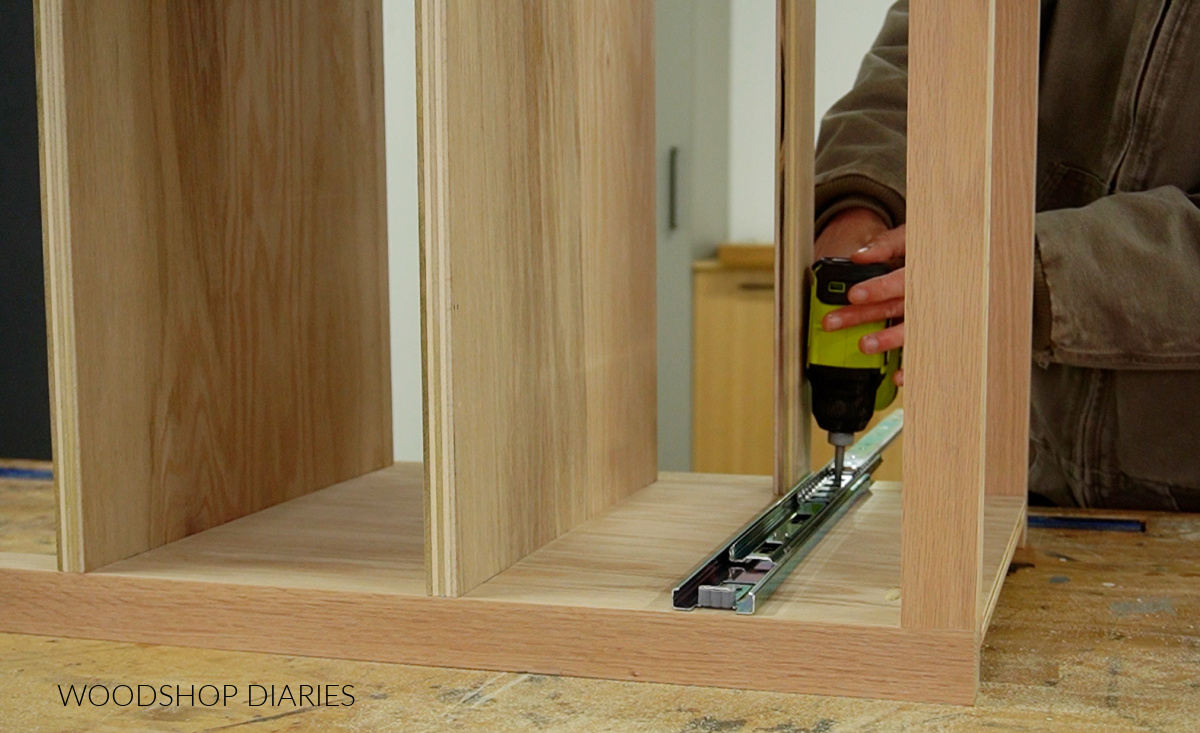
These were inset 1 ½″ from the front edge. Learn how to install drawer slides here.
Then, I assembled a basic drawer box to fit the opening. Learn how to measure for drawer boxes here.
RELATED: Learn how to build a basic drawer box here.
I installed this drawer box onto the drawer slides in the nightstand so that they were 1 ½″ inset from the front edge of the legs.

Finally, I cut a drawer front to fit into the opening and secured it from the inside of the drawer box using 1 ¼″ screws. There should be ⅛″ gap around all sides of the drawer front.
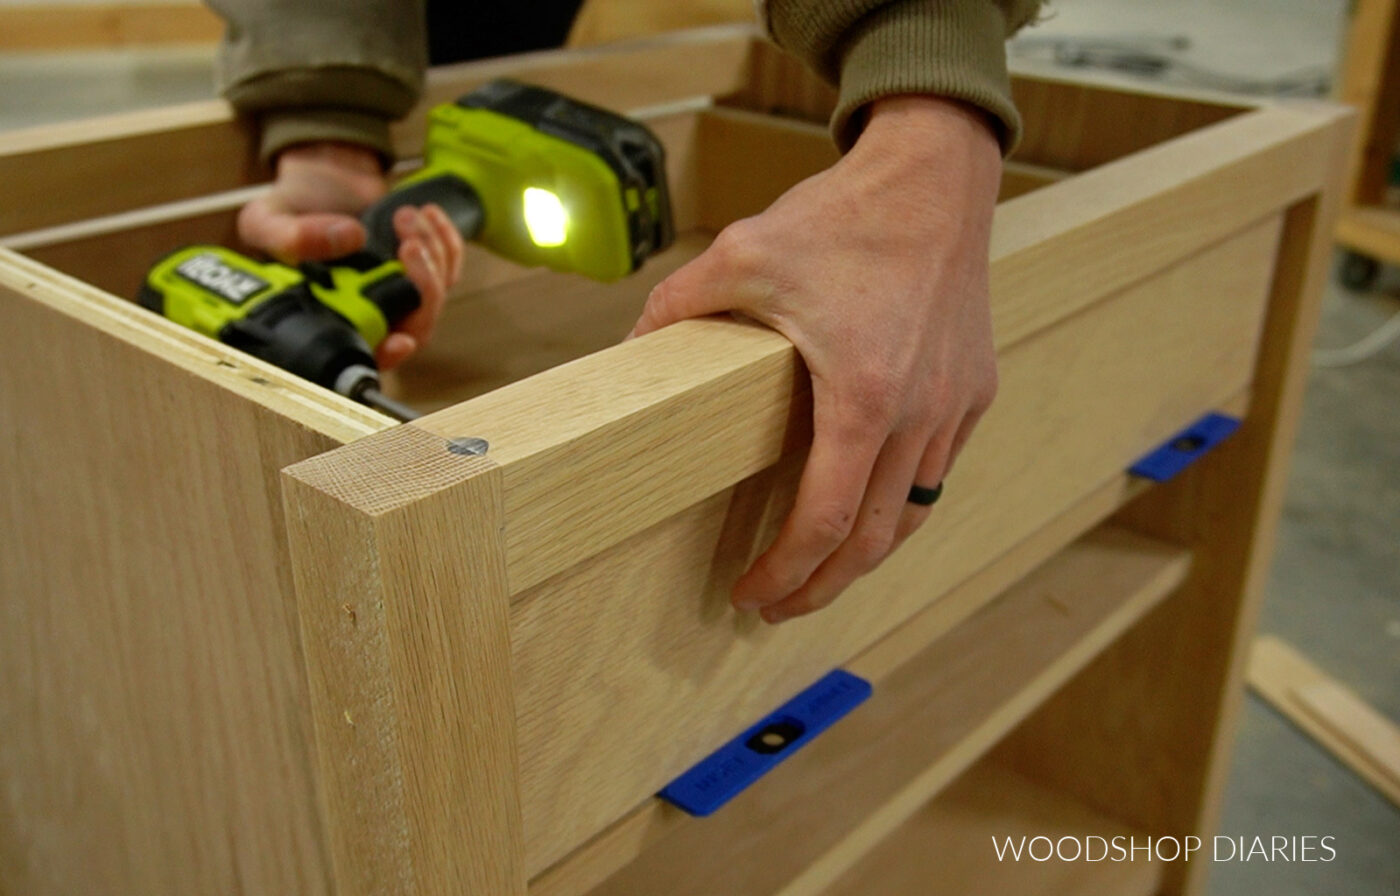
The shims that come with the Kreg drawer front installation jig (the blue shims shown in the image above) are handy, but any ⅛″ shims would work to help with placement as you install. Learn more about installing drawer fronts here.
Step 5: Attach Top
For the top, I cut a ¾″ plywood panel about 1″ wider and ½″ deeper than the nightstand body. This will allow ½″ overhang on the sides and front.
I applied iron on edge banding to the sides and front. Iron on edge banding is always optional, but it makes your plywood edges look clean and finished.
I flipped this top panel upside down on my workbench and flipped the nightstand base upside down on top of it. In order to be able to have access to attach the top, I removed the drawer box using the tabs on the drawer slides.
I made sure the overhang was even on both sides and ½″ on the front, then drove 2″ wood screws through the top supports to secure the top in place.
Step 6: Finish Nightstand
Once the top was on, it was ready for stain/paint/finish. I opted to stain my nightstands with Minwax Weathered Oak to match the storage bed these will go next to.
Then I sealed them with Minwax Polycrylic, added a knob to the drawer, and slid the drawer box back in place.
With that, this build is complete and ready for use! I love the small drawer for odds and ends, the shallow shelf for books, and the large bottom space for blankets or baskets.
Simple, clean, modern, and gorgeous–I hope you enjoyed seeing it come together and I hope it inspired you to build your own!
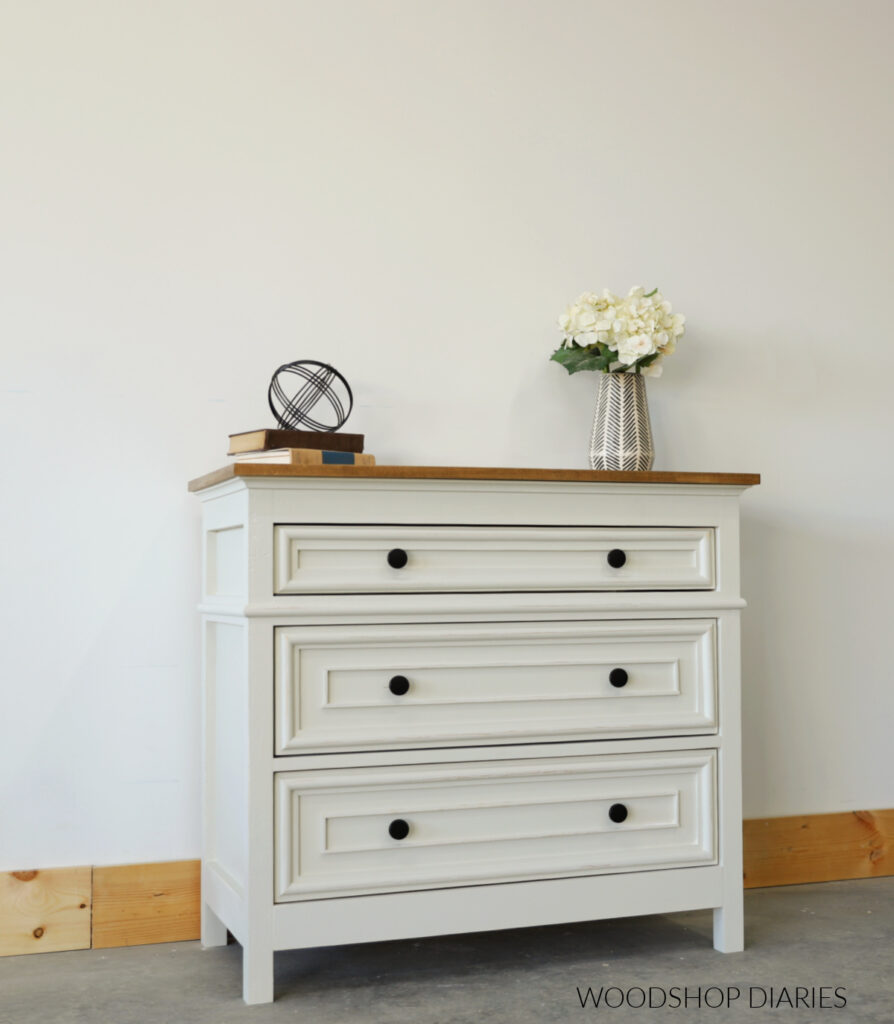
Looking for more DIY nightstand ideas?
Enjoyed this design but looking for more inspiration? Here are a few favorites in different sizes and styles:

Want to save this project for later? Don’t forget to pin it or share it to your favorite social channel!
Until next time, friends, happy building!