In this post, I’m sharing how to read a basic tape measure, plus some tips for getting the most accurate measurements for your DIY projects!
Reading a tape measure is a foundational must-have skill not just for woodworking and DIY projects, but for all kinds of tasks in your day to day life.
Below you’ll learn how to use and read a tape measure confidently!
What is a Tape Measure?
First, let’s start with the very basics–what is a tape measure? The tape measure is the most common, basic, and versatile tool for measuring distance. It’s a must-have in any homeowner or tradesperson’s tool box and can come in many shapes and sizes.
Depending on where you live, you can find tape measures in Imperial units (inches/feet) or metric units (centimeters/meters). Mine are in inches/feet since I’m in the U.S.
The tape is basically a long ruler that rolls up into the case or body. So it will show whole units, but also has tick marks for partial units so you can measure precisely.
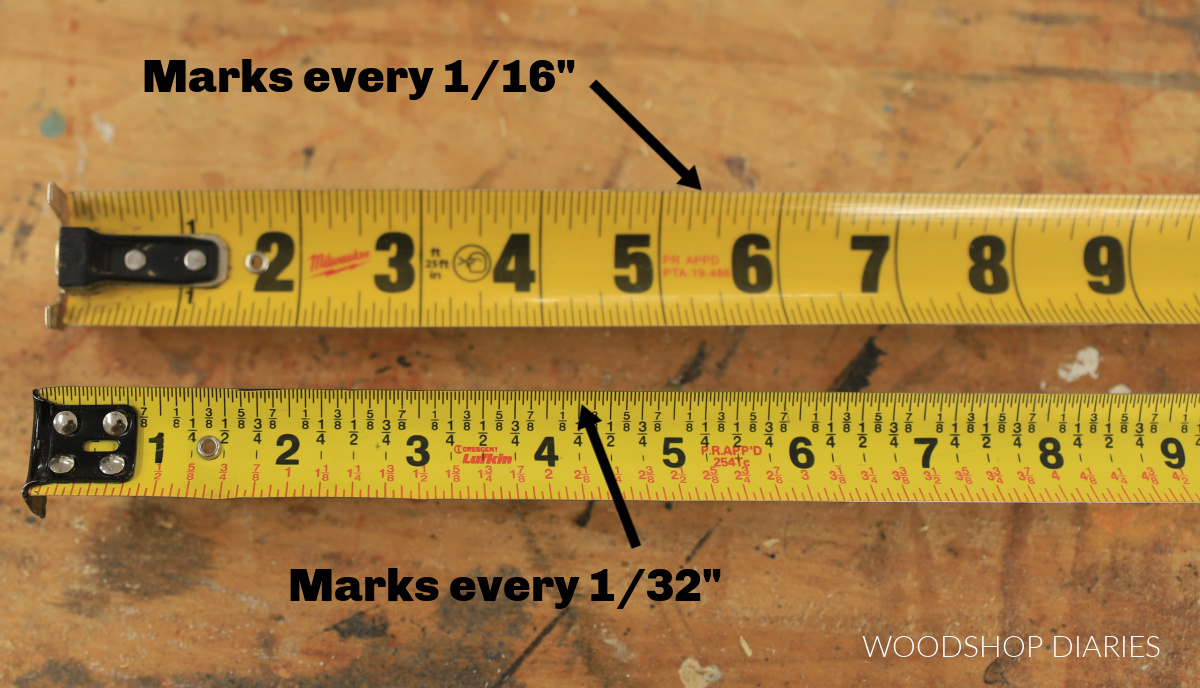
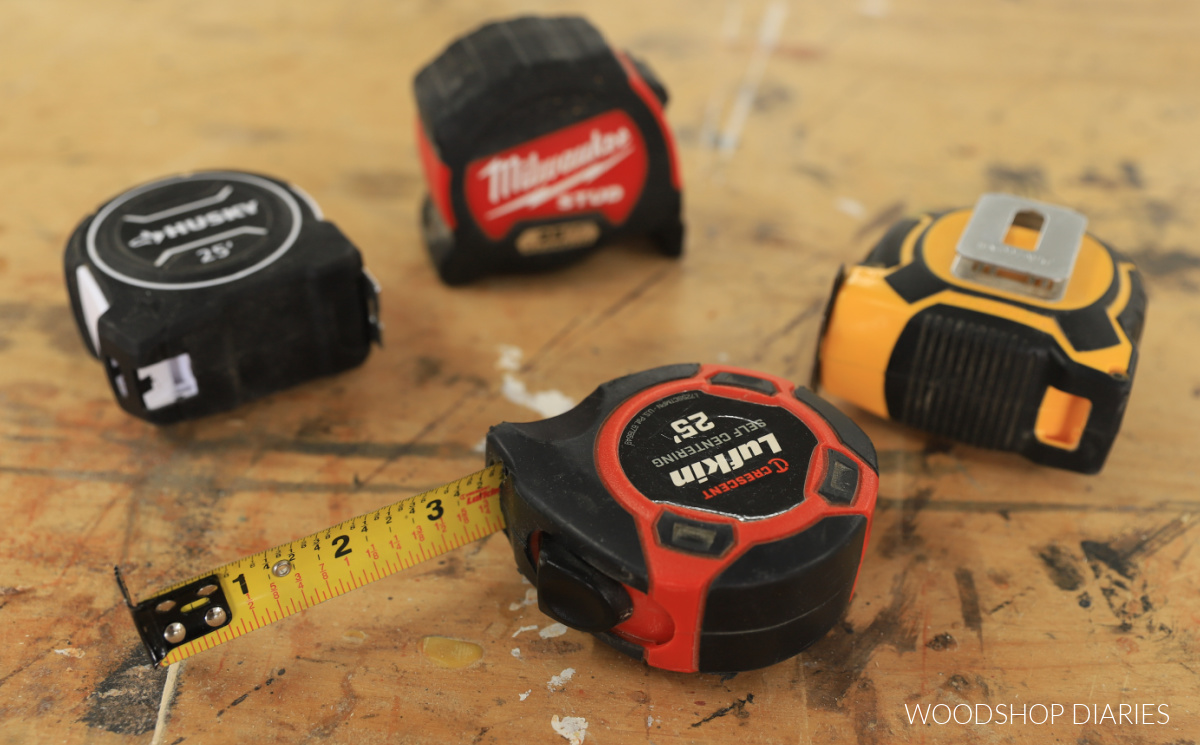
Most tape measures have markings down to at least every 1/16″ but some go as low as every 1/32″. You can see in the image above that the tape on the top has tick marks for 1/16″ but the one on the bottom goes a step further and has tick marks every 1/32″.
My Favorite Tape Measure
People often ask what tape measure I like to use. And while I have several different kinds in the shop, this Lufkin Self Centering Tape Measure is my go-to.
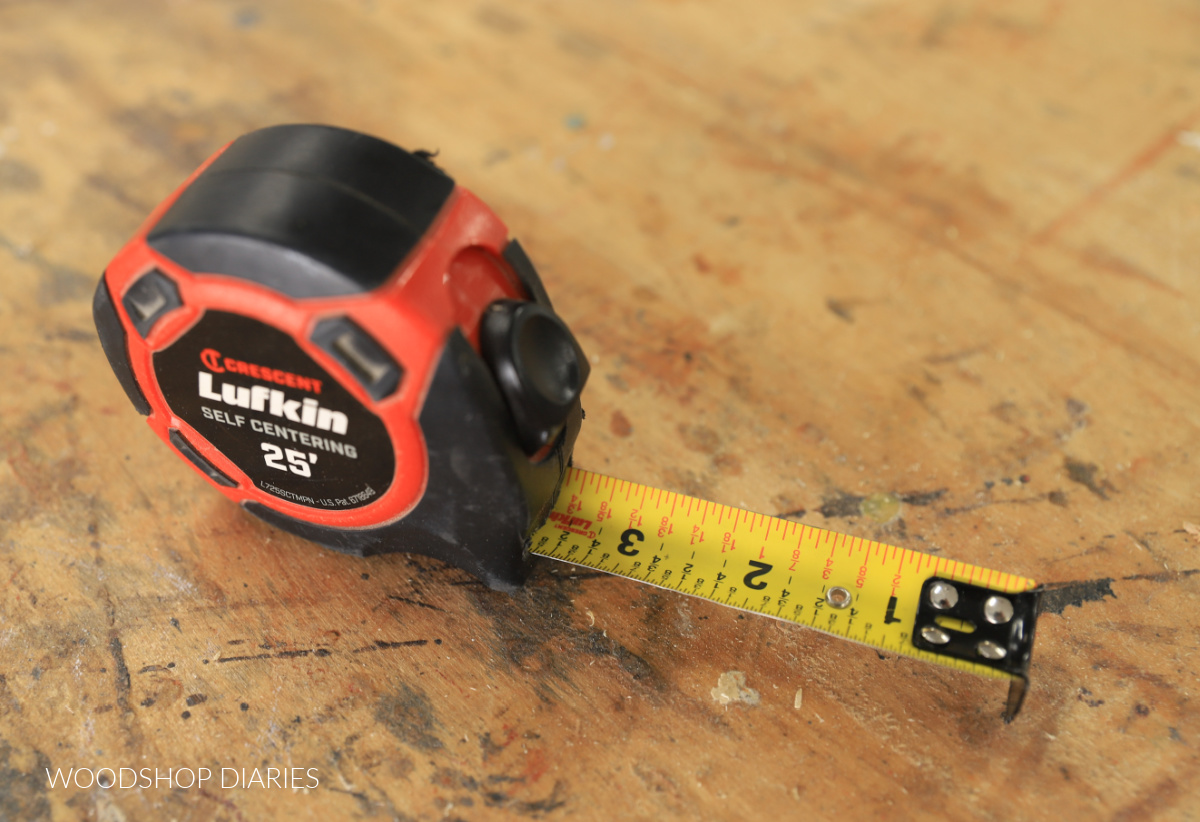
The reason I love this particular tape measure is because it has the fractions labeled on the tick marks of the tape. Most other tape measures I’ve found only label the inch marks, not the fractions, too.
Labeling the fractions makes it quicker and easier (at least for me) to get accurate measurements vs having to count the tick marks and figure the fractions in my head.
Are DIY projects your thing? Sign up for our newsletter for priority access to the latest projects and build plans!
Love watching how-to videos? Subscribe to my YouTube channel for plenty more where that came from!
How to Use a Tape Measure
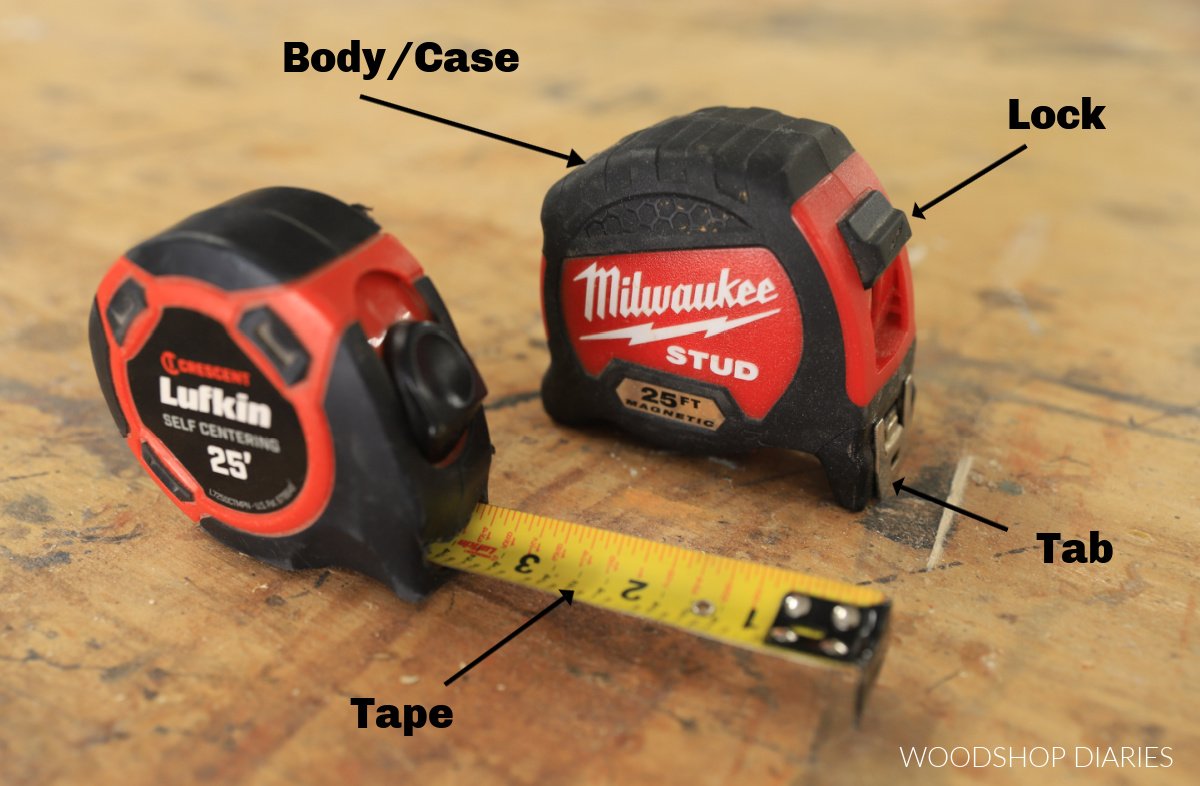
The tape on a tape measure is rolled up into the case and the tab sticks out from one corner. To take a measurement, you’ll need to pull the tab to extend the tape. The tape will automatically retract if you let go of the tab.
Most tape measures have a sliding “lock” that will lock the tape in the extended position if needed. Slide down to lock and slide back up to unlock.
Consider the tab
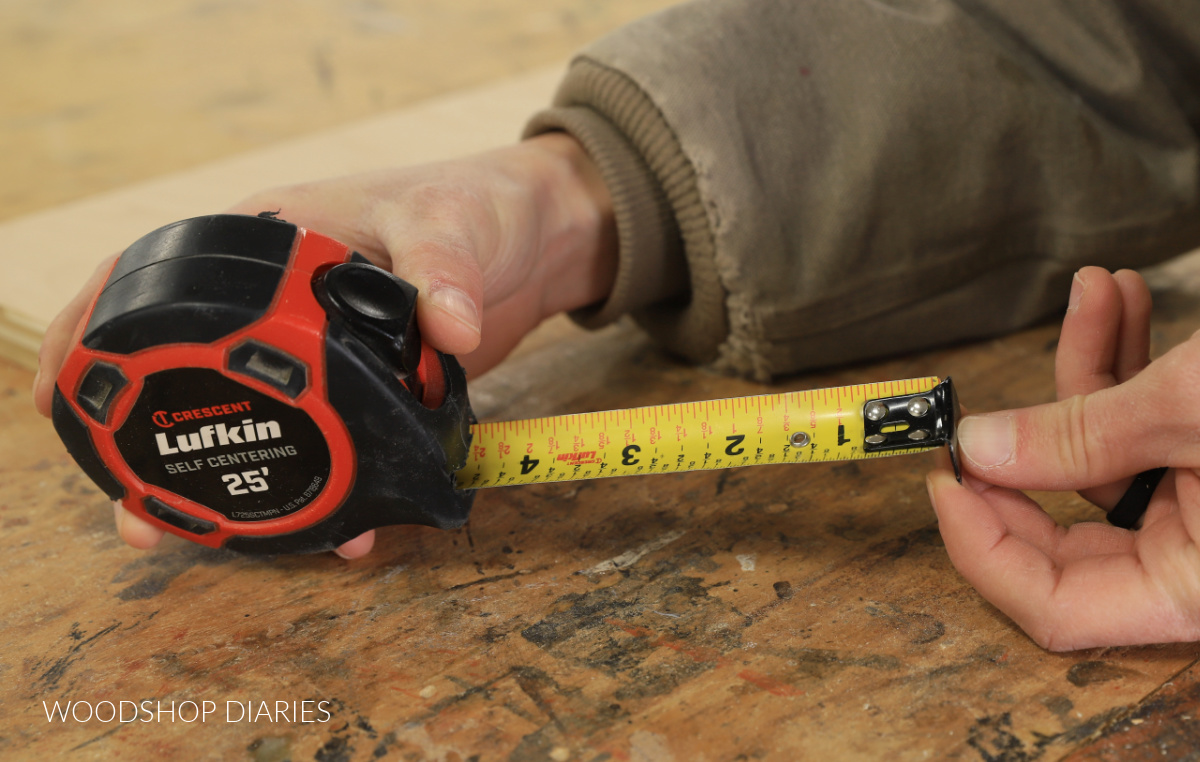
The tab on the end of the tape is purposefully “wiggly.” You’ll notice you can kind of push/pull the tab and it will move. It’s not broken–this is intentional. The amount of movement is equal to the thickness of the tab.
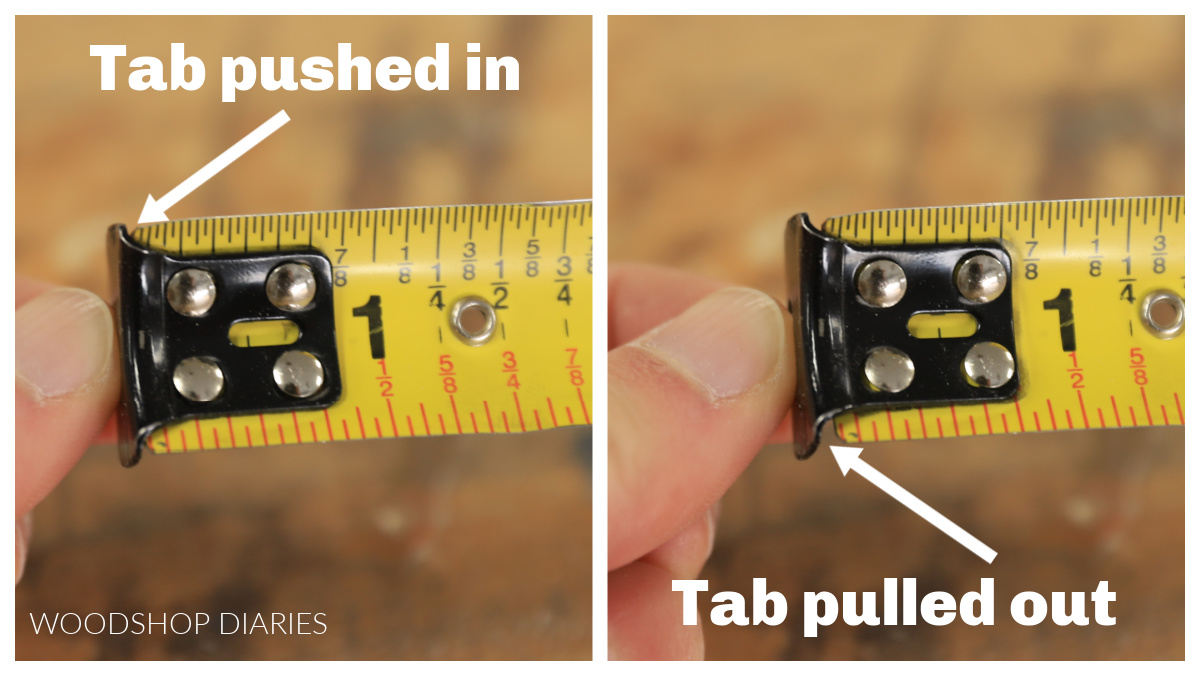
The reason this has some play in it is because you can use a tape measure on either the inside or outside of an edge. The thickness of the tab needs to be accounted for in either case, so it adjusts itself.
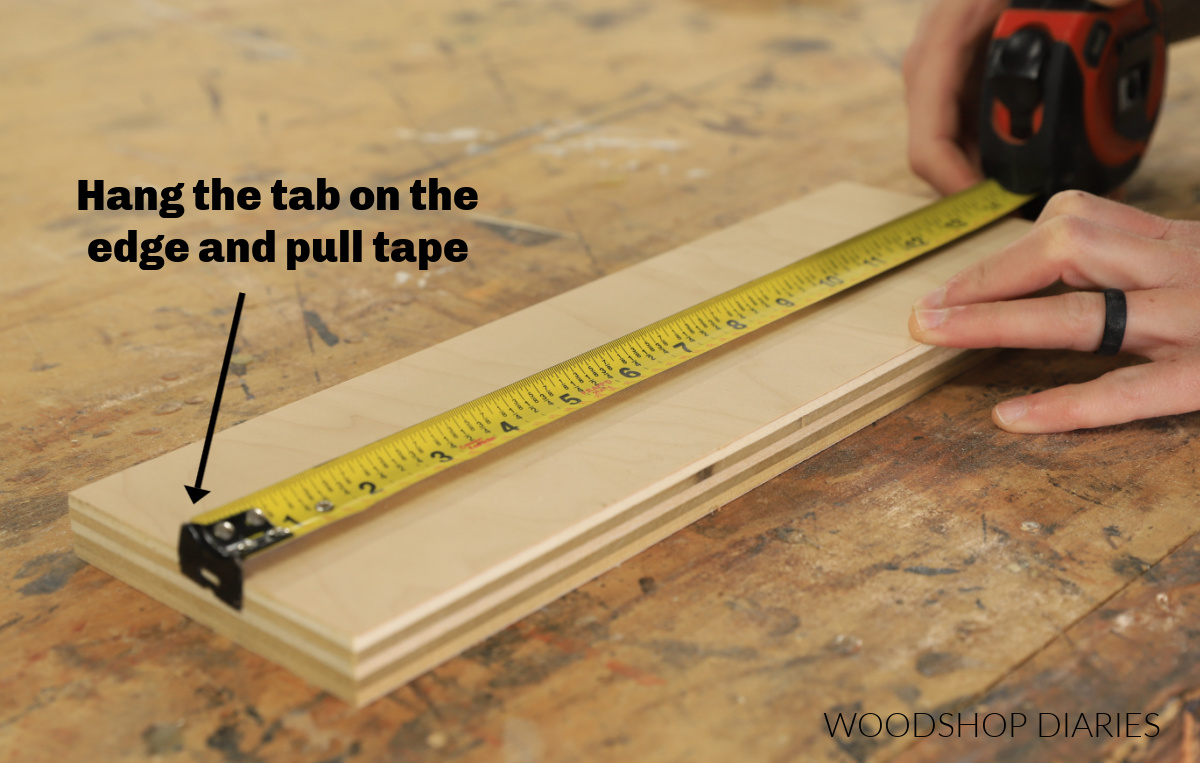
If you’re measuring from the outside of an edge, you want to hang the tab on the edge and pull the tape. The tab will extend so that your measurement will start from the inside of the tab.
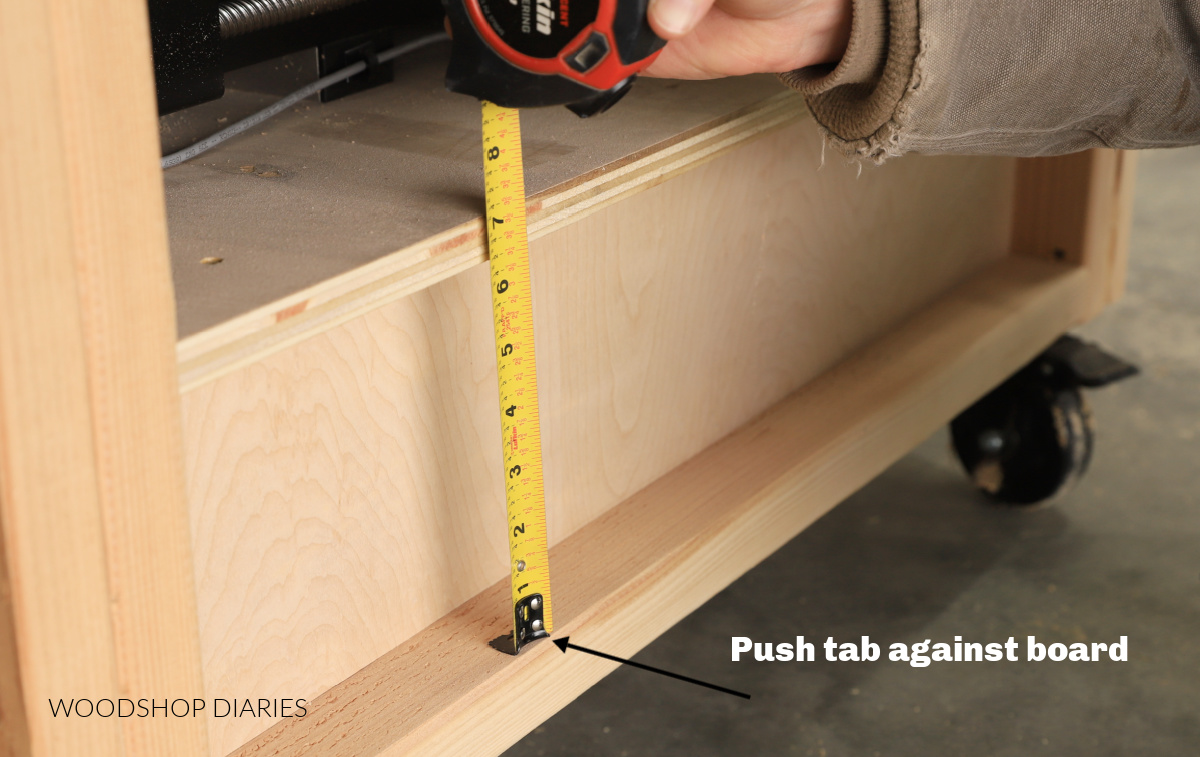
However, if you’re measuring from the inside of an edge (for example the inside of a cabinet), you extend the tape, but push the tab against the edge. The tab will retract so that the measurement starts on the outside of the tab.
Take note that tape measures also have a measurement written on them to indicate the size of the body.
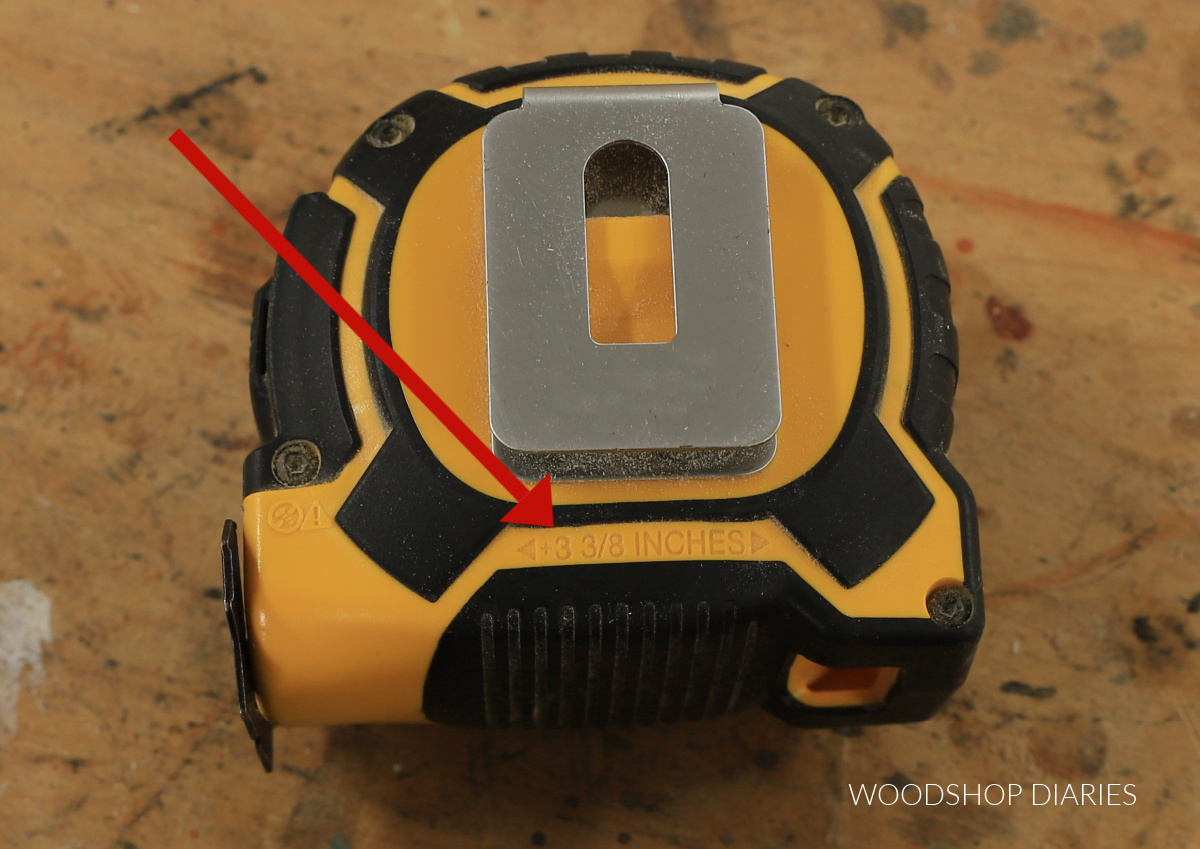
This may be helpful when measuring (especially on inside dimensions) because you can add this to the measurement on the tape to get the total length from the tab to edge of tape measure.
For example, if I was measuring the inside dimension of this side panel, I can extend the tape so that the tab is pushed against one side and the edge of the tape body is against the other side.

Then I can add the size of the tape measure body to the length of the tape to get the full distance. I don’t find this method particularly accurate, so I rarely use it. However, it is sometimes handy to know what the measurement of the tape measure case is.
How to Read a Tape Measure
Different tape measures may have different colors or extra markings, and depending on where you live, they may be in metric OR standard units. But every tape measure will be labeled with some units of distance.
I live in the US, so my tape measures are in inches/feet.
When you pull out the tape, you can see larger marks indicating inches with smaller marks between them. This is just like a basic ruler.
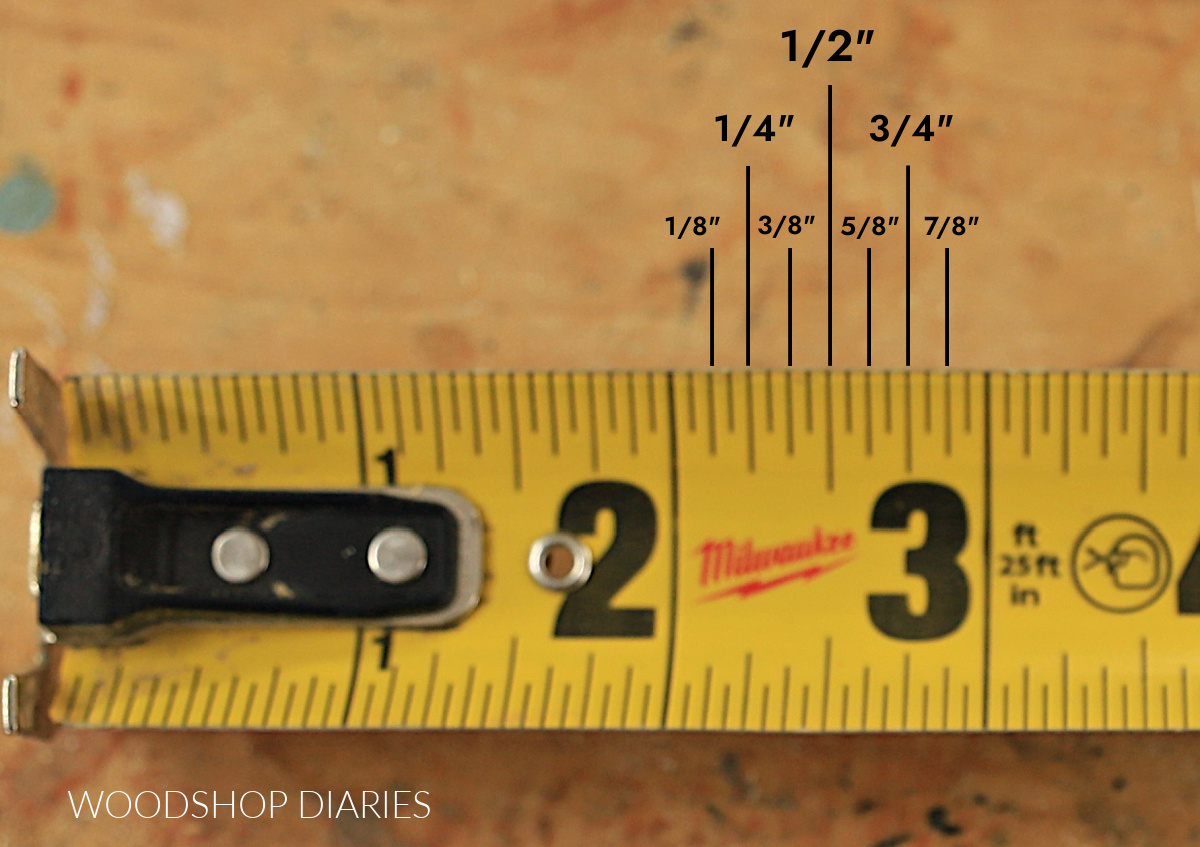
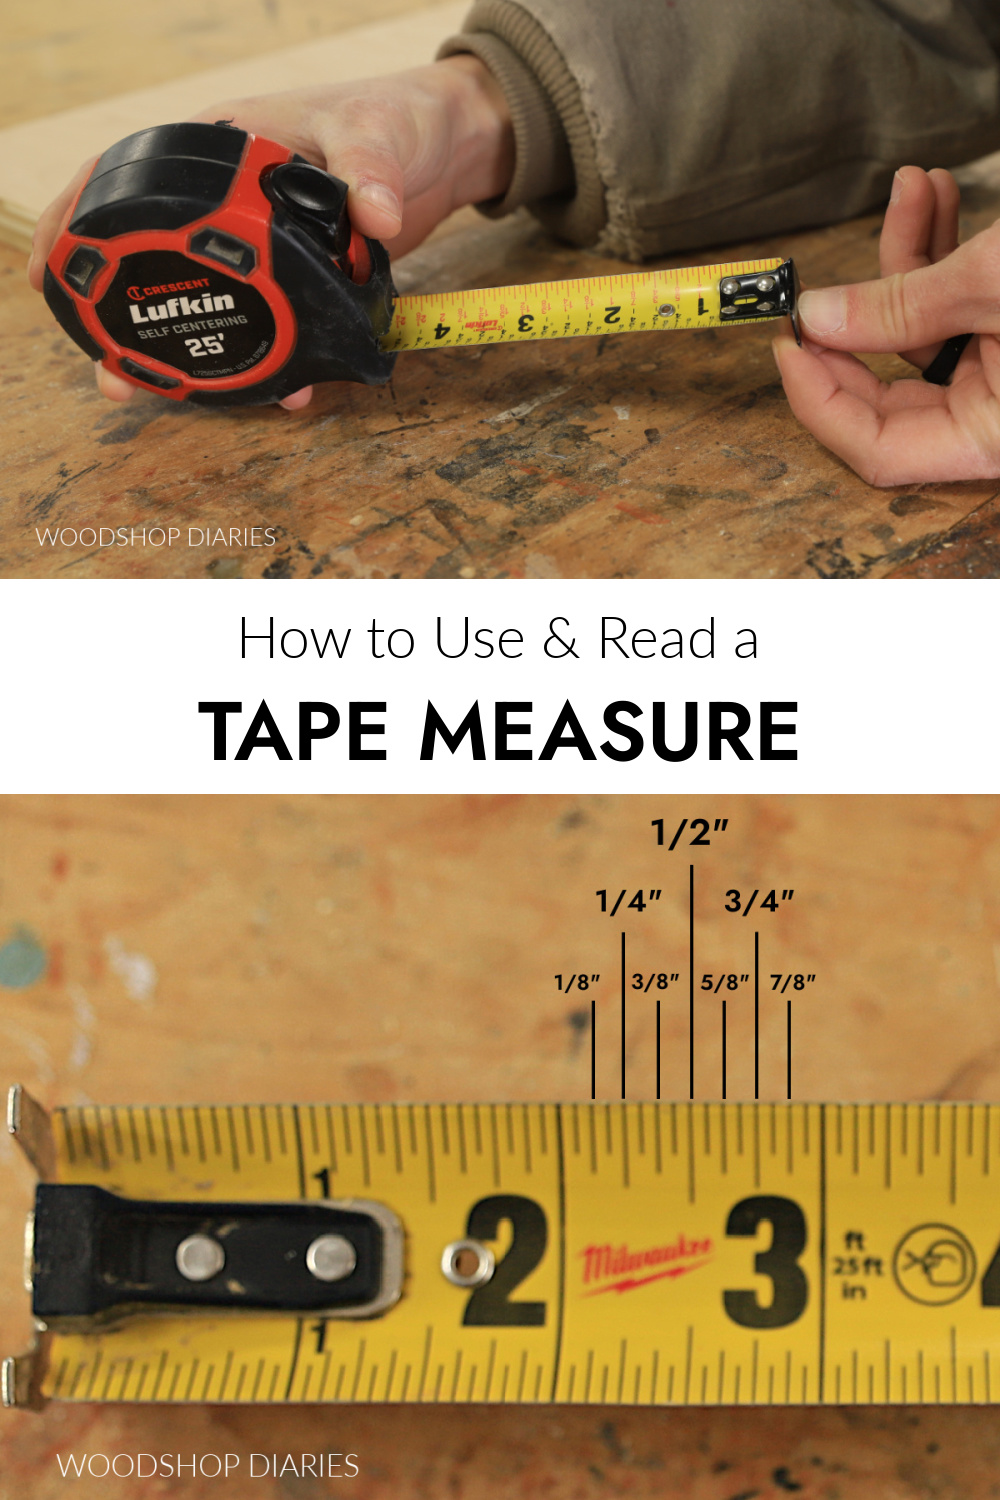
- The longest tick marks indicate whole inches.
- Halfway between the whole inches is a slightly shorter mark indicating the ½″.
- The next shortest tick marks designate ¼″ increments (these will be at the ¼″ and the ¾″).
- The next shortest tick marks designate ⅛″ increments (these will be at ⅛″, ⅜″, ⅝″, and ⅞″).
- The next shortest tick marks designate 1/16″ increments (these will be at 1/16″, 3/16″, 5/16″, 7/16″, 9/16″, 11/16″, 13/16″, and 15/16″).
And so on. Each smaller tick mark indicates a smaller increment of a whole inch. And at every 12″ increment, you’ll also see some sort of foot indicator mark (1 ft at 12″, 2 ft at 24″, 3 ft at 36″, etc).
As I mentioned before, some tape measures label the fractional tick marks, but most don’t.
If they don’t have fractions labeled, you’ll need to count the tick marks to determine them yourself. Here is a visual:
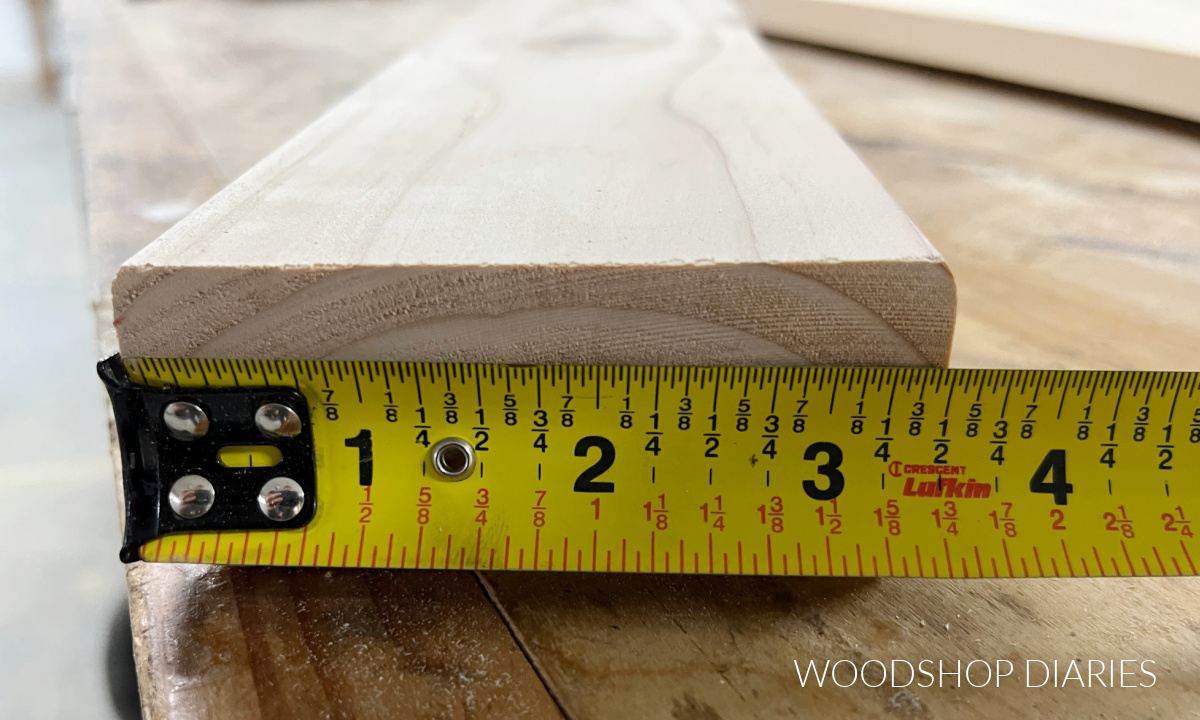
Reading a tape measure is just like reading a ruler–once you pull the tape across what you’re measuring, look at the numbers to determine the length. Find the last whole number (inch) that it crosses, then add the fraction to that.
As an example, you can see this board is about 3 ½″ wide.
Stud Marks
Many tape measures will have special markings or colors on 16″ increments–like at 16″, 32″ 48″, 64″, etc. In construction, wall studs are often placed on 16″ centers, so these special markings are useful for framing and in home building.
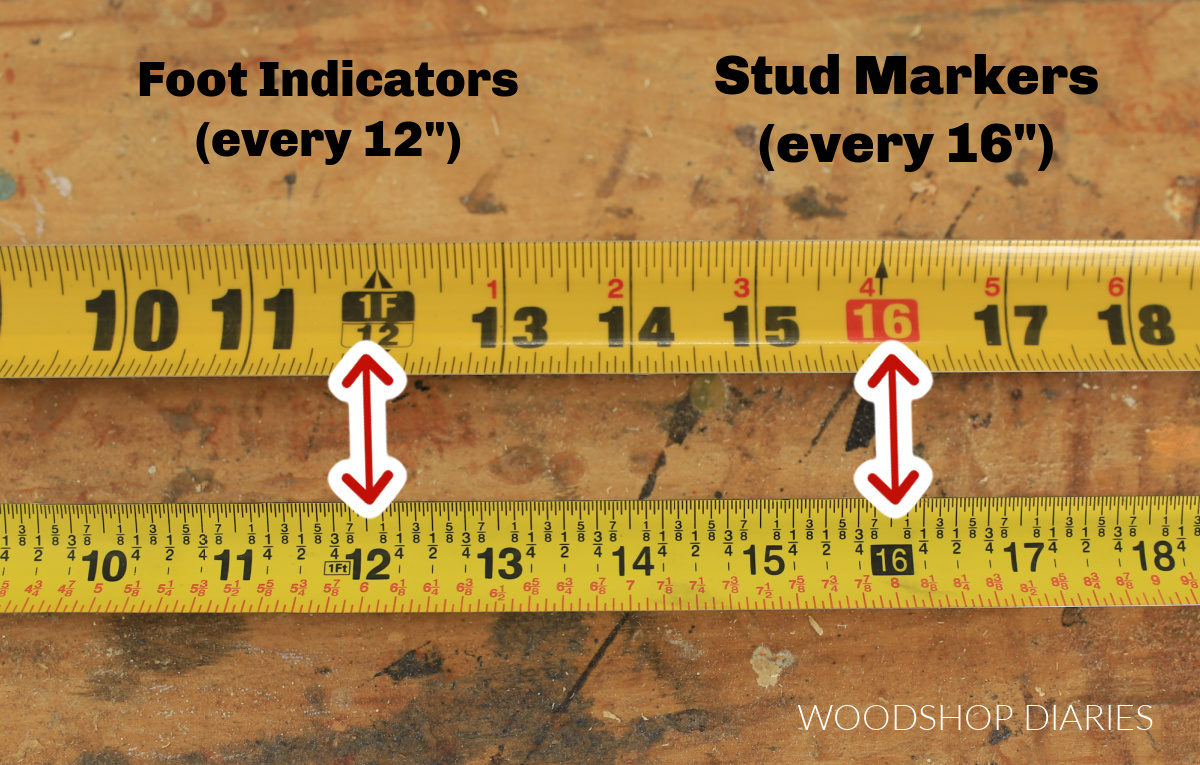
For furniture building and basic DIY projects, this probably doesn’t matter to you, but in case you were wondering what these marks were for, it’s for wall stud placement/location.
Self Centering Marks
Some tape measures (like the one I like to use) are “self centering”–which kind of sounds a lot cooler than it actually is ha!
This simply means that in addition to the typical length measurements on the tape, it also lists the “centers” of these measurements as well.
For example, if I measure a board with my tape and want to quickly figure out what the center of that board would be, I can simply look at the tape. This board is 4 ⅜″ wide (you can see at the top of the tape in black), so the center would be 2 3/16″ (you can see on the bottom of the tape in red).
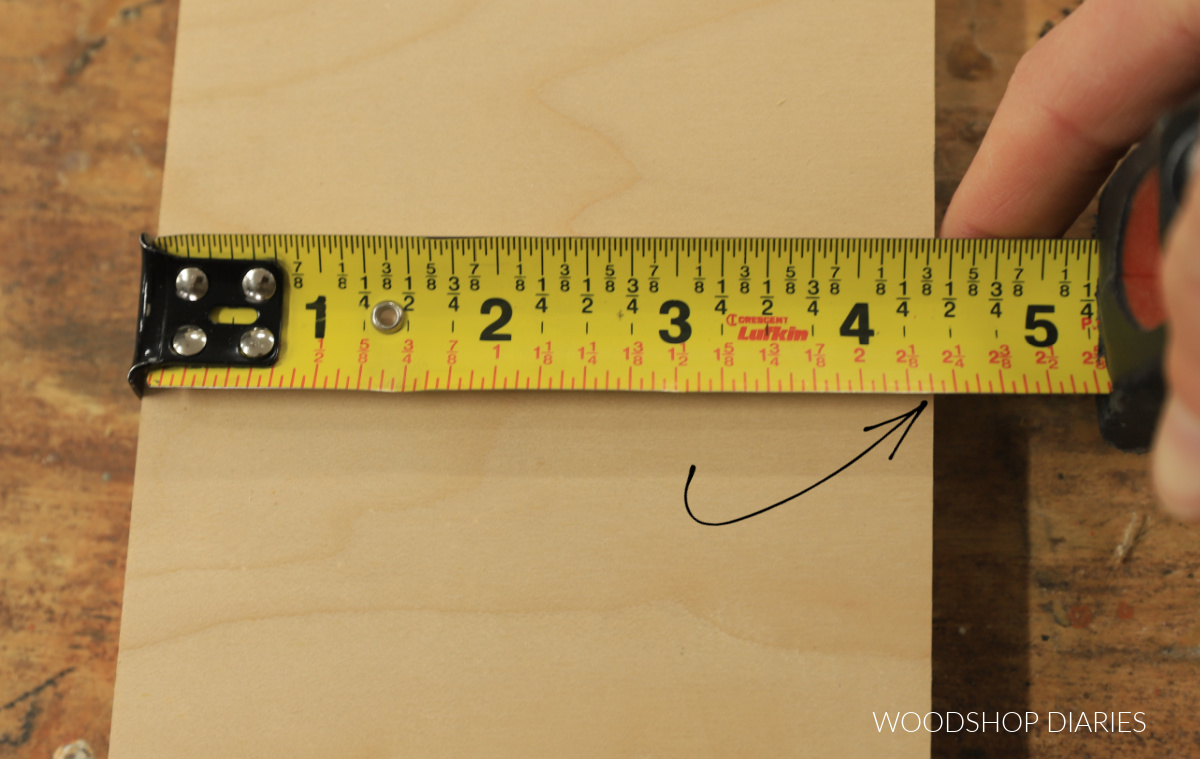
Basically the top numbers are the measurements and the self centering numbers are those measurements divided in half. This is an optional feature you may come across on SOME tape measures, but not all of them have it.
Additional Tape Measure Tips:
As odd as it may sound, not all tape measures are exactly the same. While theoretically an inch is an inch, you may find some slight variations between brands and styles of tapes. Because of this, it’s best to use the same tape measure throughout your project. Don’t mix and match them.
Damaged, bent, or ripped tape measures will cause inaccurate measurements.
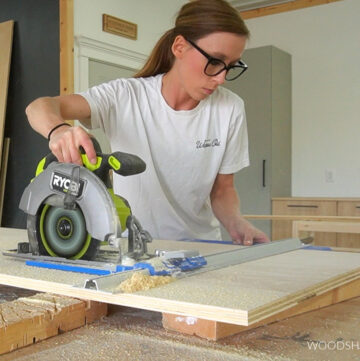
When measuring (especially on long distances–like a wall or a room), keep the tape as straight as possible. If the tape is crooked, twisted, bowed, or bent, the measurement won’t be accurate.
For accurate measurements, pay attention to the tab. Make sure the tab is free to extend/retract as needed. If measuring from the inside of an edge, the tab should be pushed in. If measuring from the outside of an edge, the tab should be pulled out.
Measure twice, cut once. I know you’ve heard it before, but those tick marks on the tape measure can run together sometimes. That ⅜″ can look an awfully lot like a ⅝″ when you’re in a hurry. Take the time to double check your measurements before cutting your pieces.
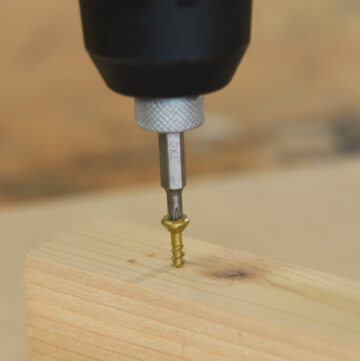
The tab has a hole in the end that is handy for hanging on a screw if you’re measuring long distances and need something to hang the tape on.
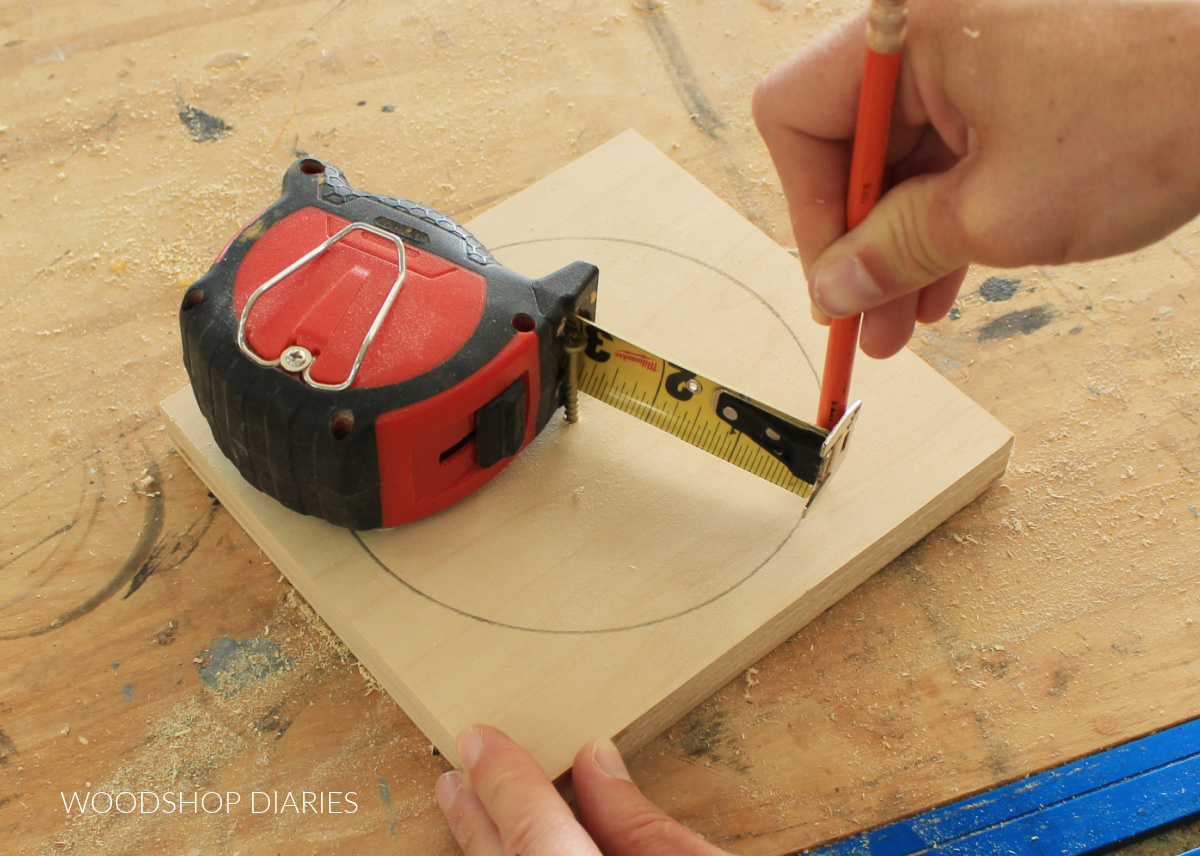
You can use a tape measure to draw a circle of any size using this trick!
More Beginner Woodworking Tips
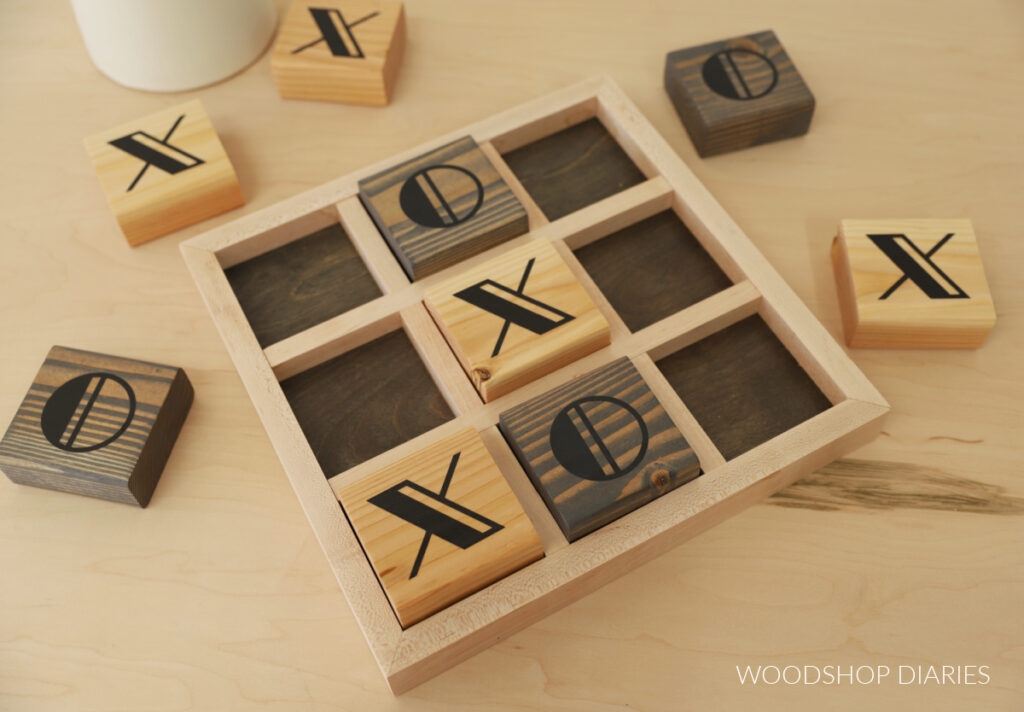
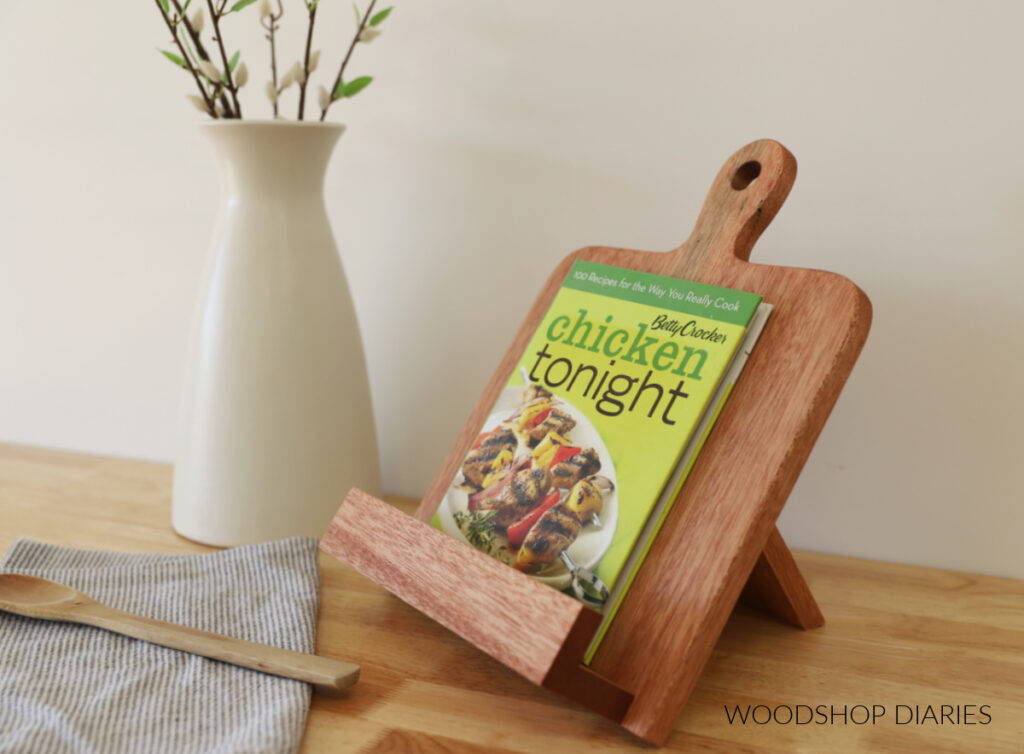
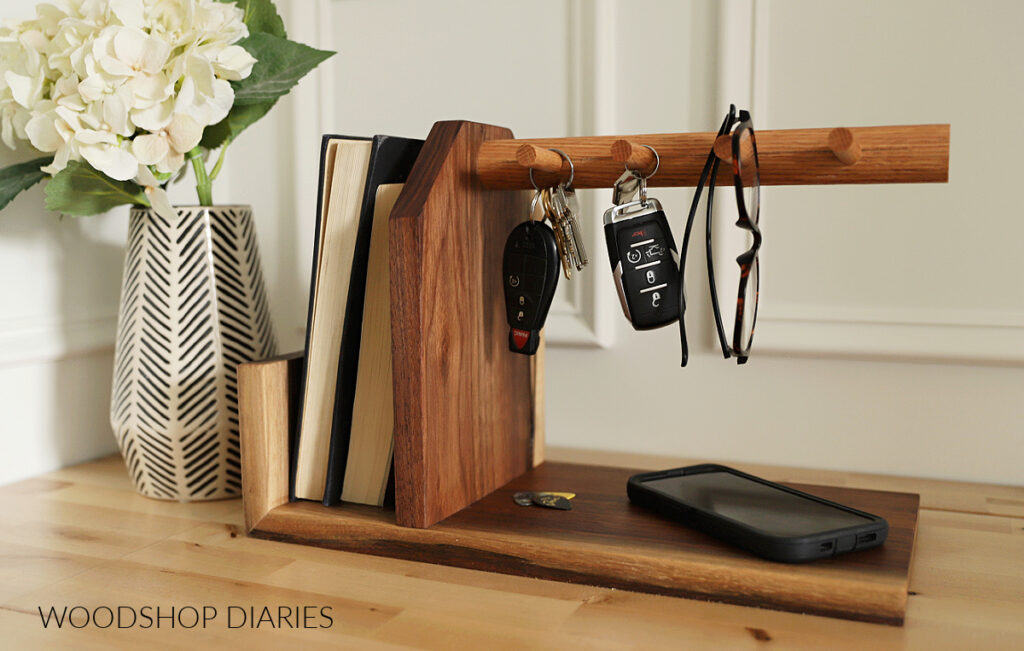
Now that you know what a tape measure is and how to use and read it, it’s time to put that new skill to the test!
Check out more beginner woodworking guides and tips on the Getting Started Page. Then, dive into one of these easy DIYs to practice using and reading a tape measure.


Want to save this post for later? Don’t forget to pin it or share to your favorite social channel!
Until next time, friends, happy building!