Tired of muddy boots piled up by the door? This DIY freestanding boot rack can help keep your entryway neat and organized.
The best part of this project is that it’s SO easy to customize to fit your space, your needs, and your collection of boots and shoes.
We keep several pair of rain and work boots by our front door. It’s just nice to be able to throw them on and off.
But, a pile of dirty boots by the door is an eyesore, and is annoying to dig through to find the matching pair.
So I wanted a way to keep them neat and organized, but still easy to access. And I also didn’t want to put any more holes in the wall–so this needed to stand on its own.
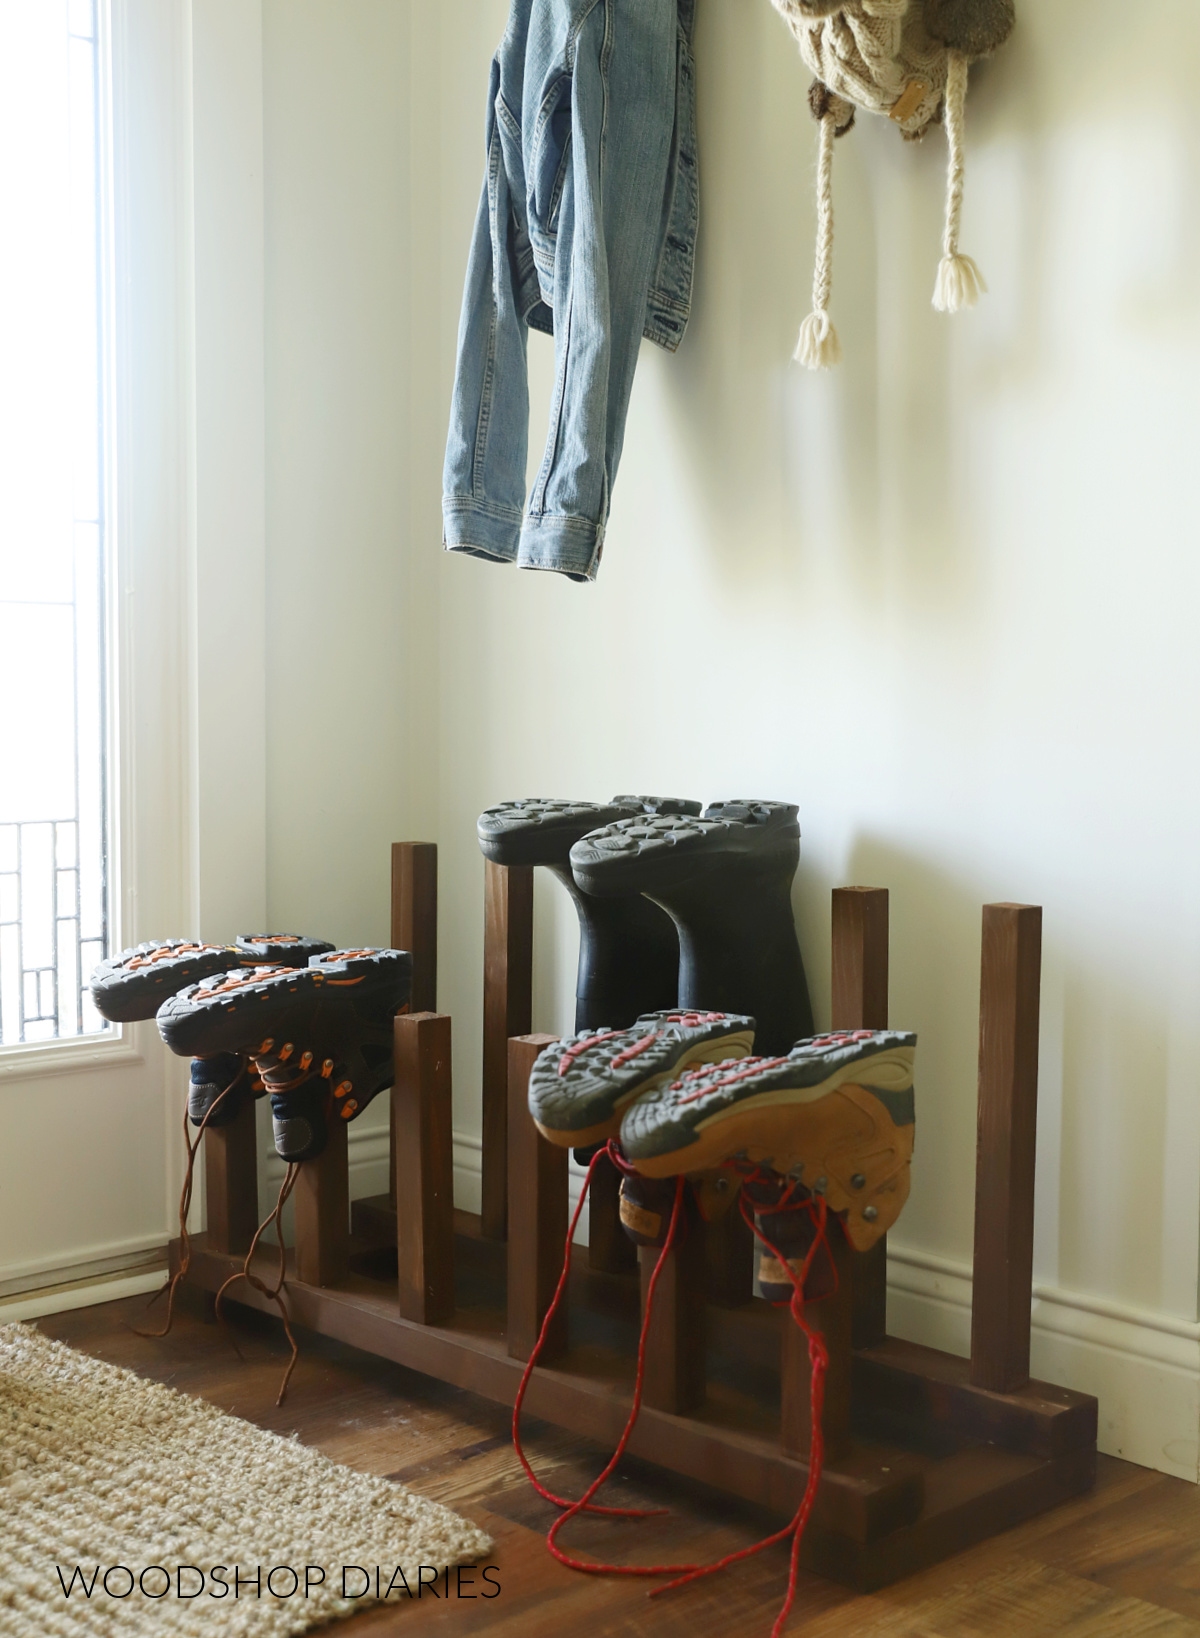
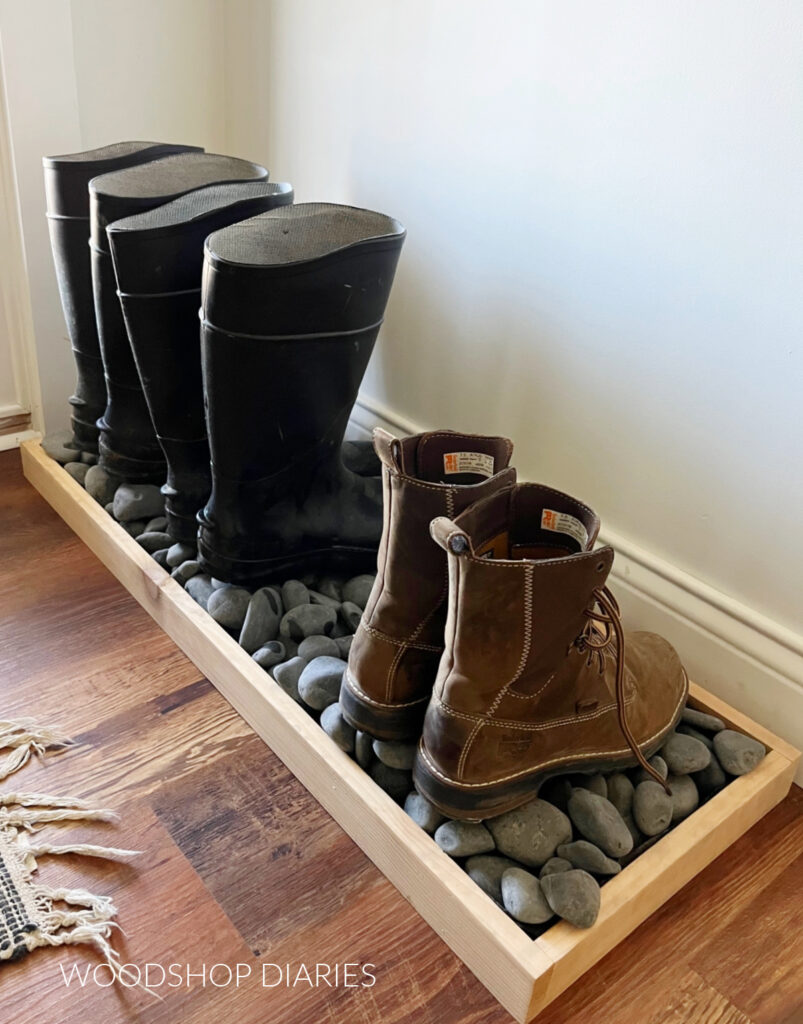
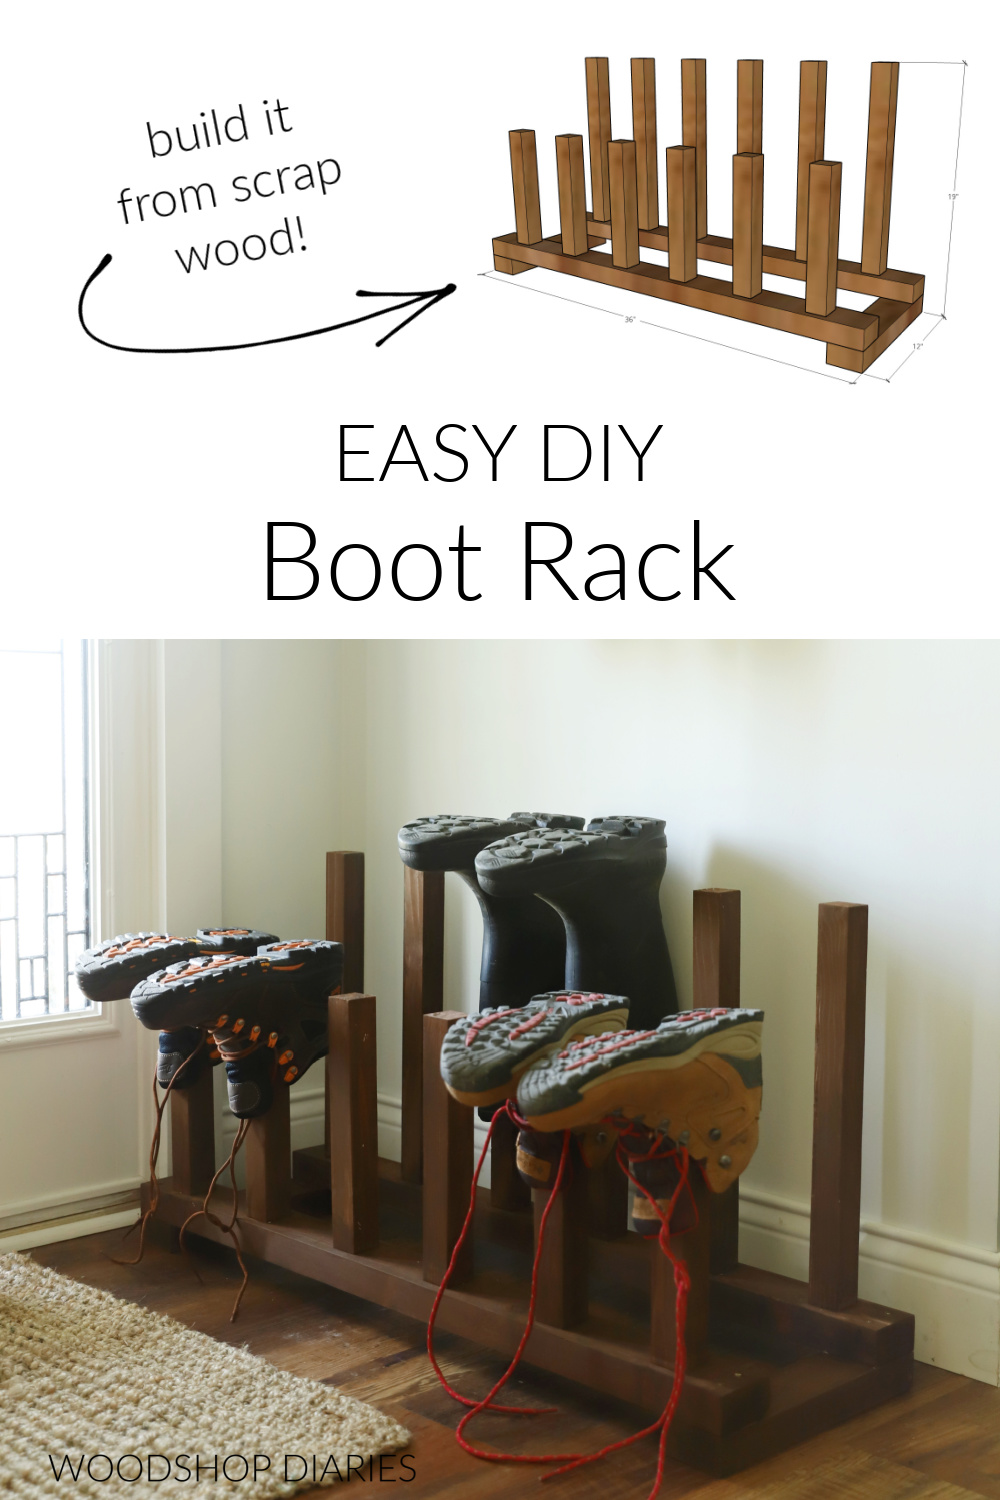
This simple boot rack worked perfect and can fit 6 pair of boots or shoes! Plus, storing them upside down will help keep critters from crawling inside–which is nice if you plan to keep this on the porch or in the garage.
*This post contains affiliate links. See policies.
What to know before building
Before building, I recommend taking inventory of the shoes you usually keep by your door. How many pair, what style, what size?
This will help you figure out how many boot posts you need and how tall you need to make them. The boot posts here are the vertical 2x2s. Each post will hold one boot or shoe.
Customizing the size
In my case, we typically keep a couple pair of tall rain boots, and some shorter work boots close to the door. My rain boots are about 15″ tall and my work boots are about 6-8″ tall.
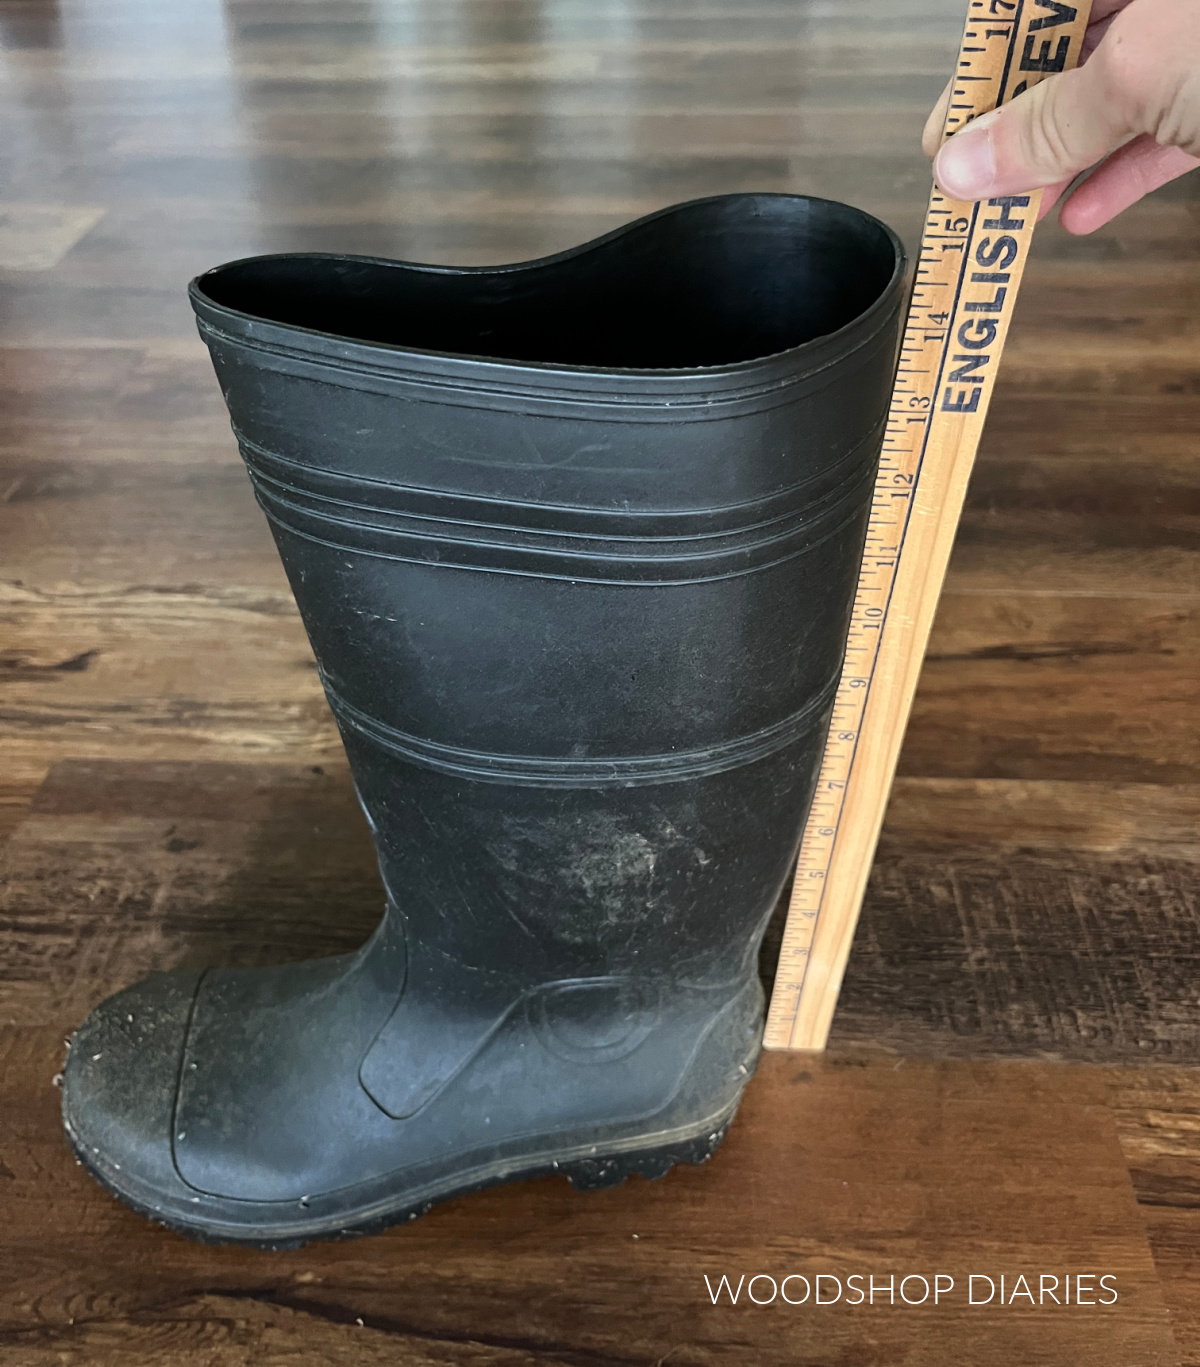
So I made the back posts 16″ tall for my rain boots and the front posts 10″ tall for my work boots. However, you can customize the heights of these posts as needed to fit your own boots/shoes.
NOTE: I recommend making the front posts at least 6″ (or more) shorter than the back posts. This prevents the shoes in the back from interfering with the shoes in the front.
I made my boot rack about 36″ long and spaced 6 posts (three pair of shoes) across it in the front and the back. However, I could have fit four pair across this span if I had spaced my posts closer together.
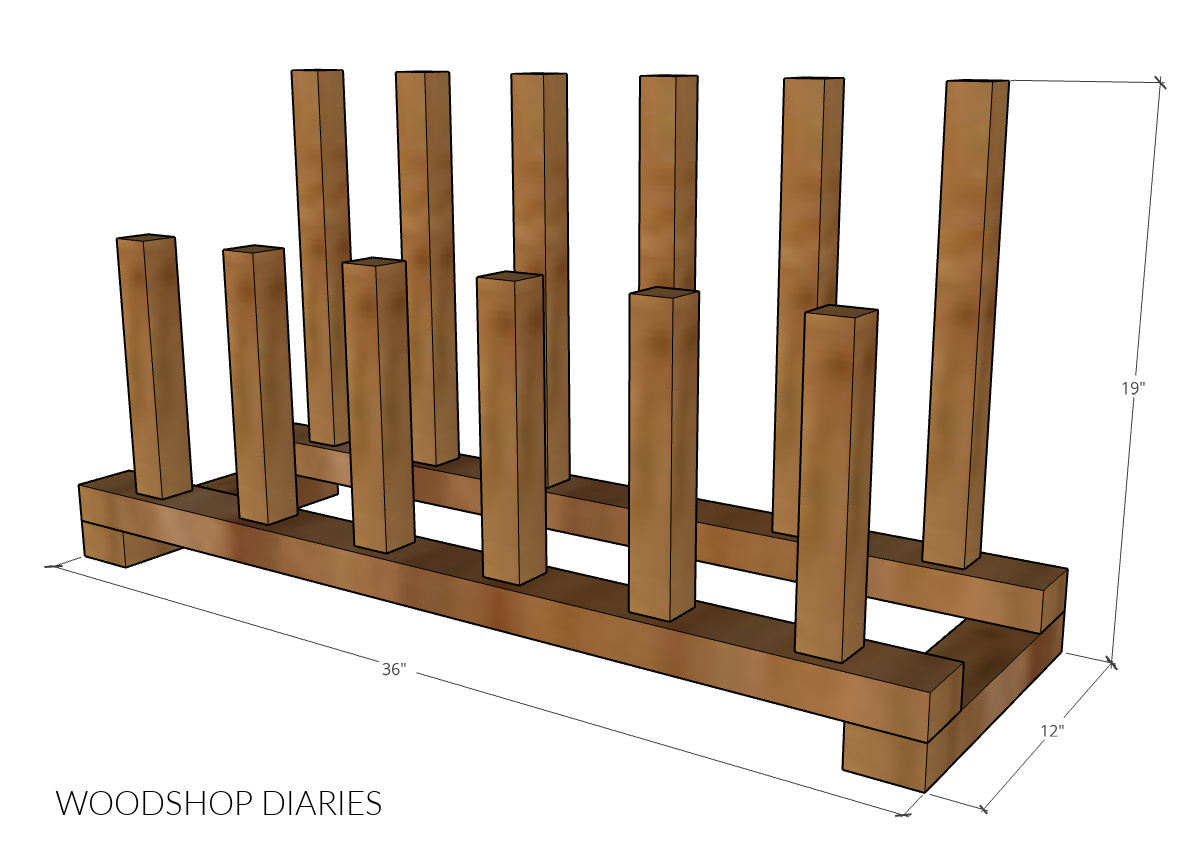
Each pair of shoes/boots needs at least 9-10″ of space (measure across your own shoes to double check). But I spaced mine out a little extra so the boots weren’t rubbing together.
Depending on your available floor space and the number of shoes you’re trying to store, you may want to space the posts closer together to fit more shoes or make your boot rack longer to accommodate.
Material options
For this project, I highly recommend checking your scrap pile! I used scrap 2x2s and 2x3s to make this, but feel free to get creative to use whatever wood you may already have.
For the base, 1x3s, 1x4s, 2x3s, or 2x4s would all work great. And for the posts, 1x2s, 2x2s, or even dowel rods would work great, too.
Are DIY projects your thing? Sign up for our newsletter for priority access to the latest projects, plans, and new videos!
How to Build a Freestanding Boot Rack
This project is SO EASY and you can assemble it in under an hour. It’s a great scrap wood project and would make a great gift, too!
Tools & Materials
Tools:
- Miter Saw (or any saw that can cut straight lines)
- Drill/Driver
Materials:
- (1) 2x3x8 OR 2x4x8 (OR use scraps–see cut list below)
- (2) 2x2x8 boards (OR use scraps–see cut list below)
- 2 ½″ wood screws
- Wood Glue
Step 1: Cut Boot Rack Pieces
See notes above about size customizations. You may want to change up your sizing, but I cut the following pieces to assemble my boot rack.
Cut List:
- (2) 2x3s @ 12″ long
- (2) 2x3s @ 36″ long
- (6) 2x2s @ 10″ long
- (6) 2x2s @ 16″ long
Since these pieces are fairly small, I encourage you to check out your scrap pile first before buying any lumber.
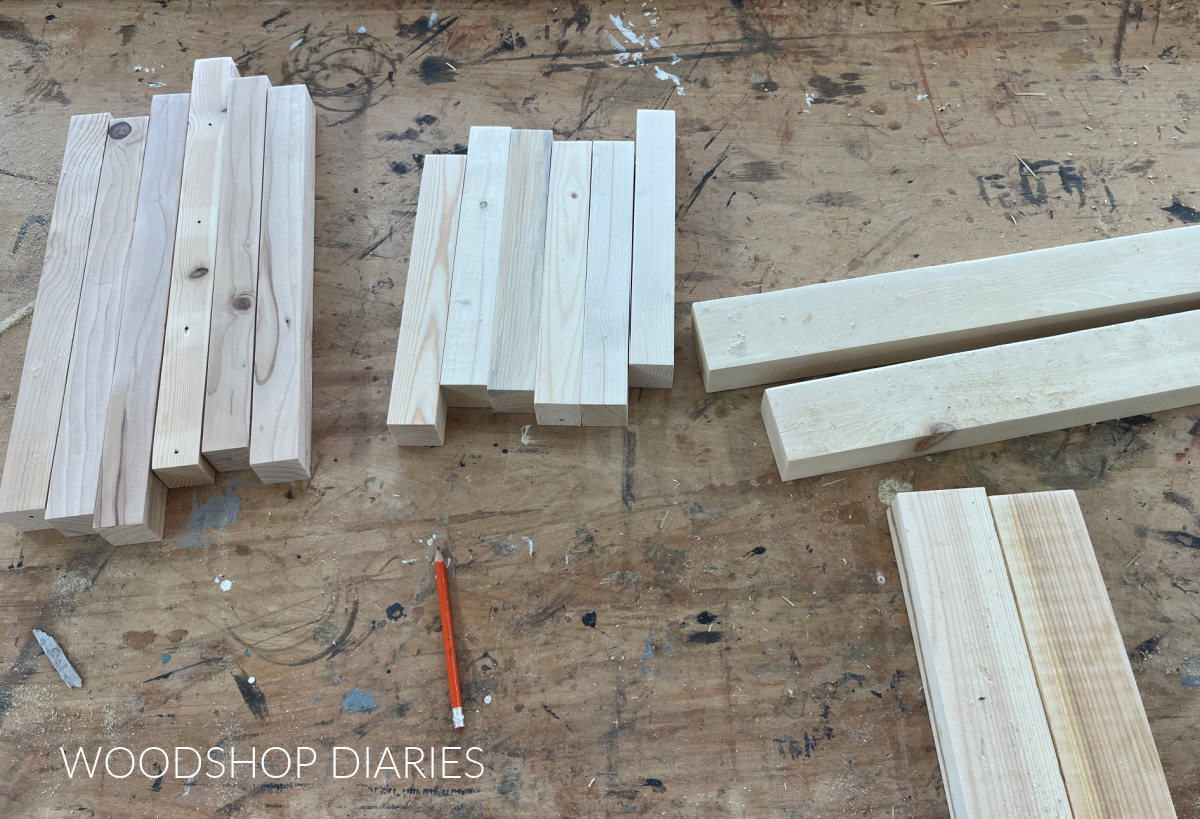
The 2x3s will make up the base and the 2x2s will be the posts that the boots/shoes will rest on.
Sand these pieces well before moving on to the next step.
Step 2: Attach Boot Posts
I laid out my two long 2x3s and marked the following locations on each. Again, feel free to customize as you’d like.
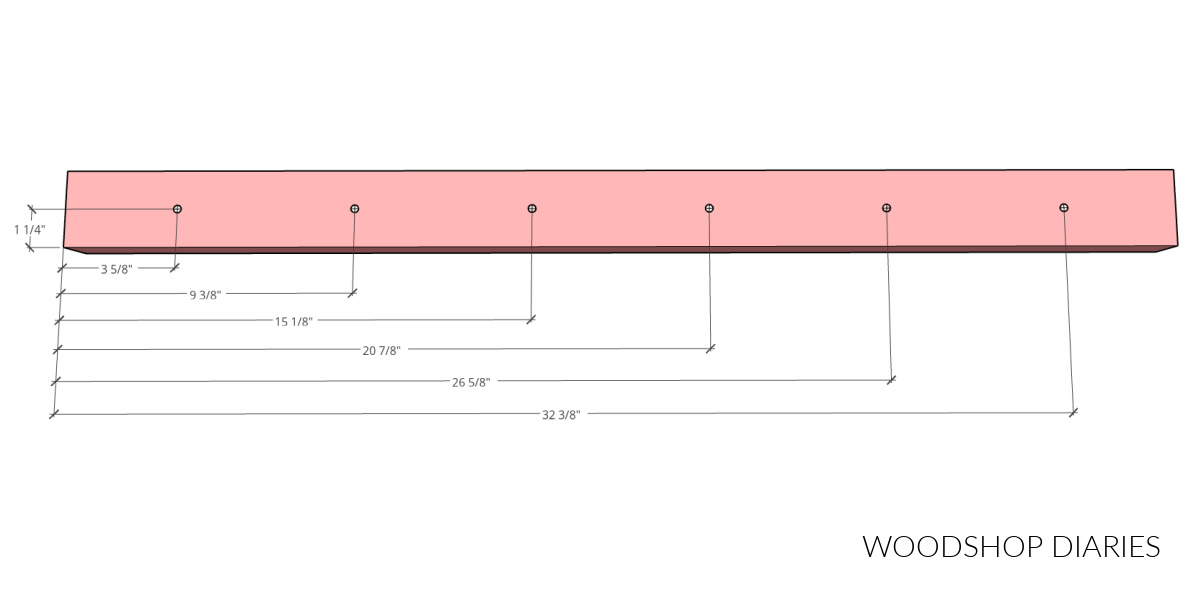
I found a drill bit about the size of the shank of the 2 ½″ screws I was going to be using. Then, I used it to drill through the boards at these marks. Make sure you drill all the way through.
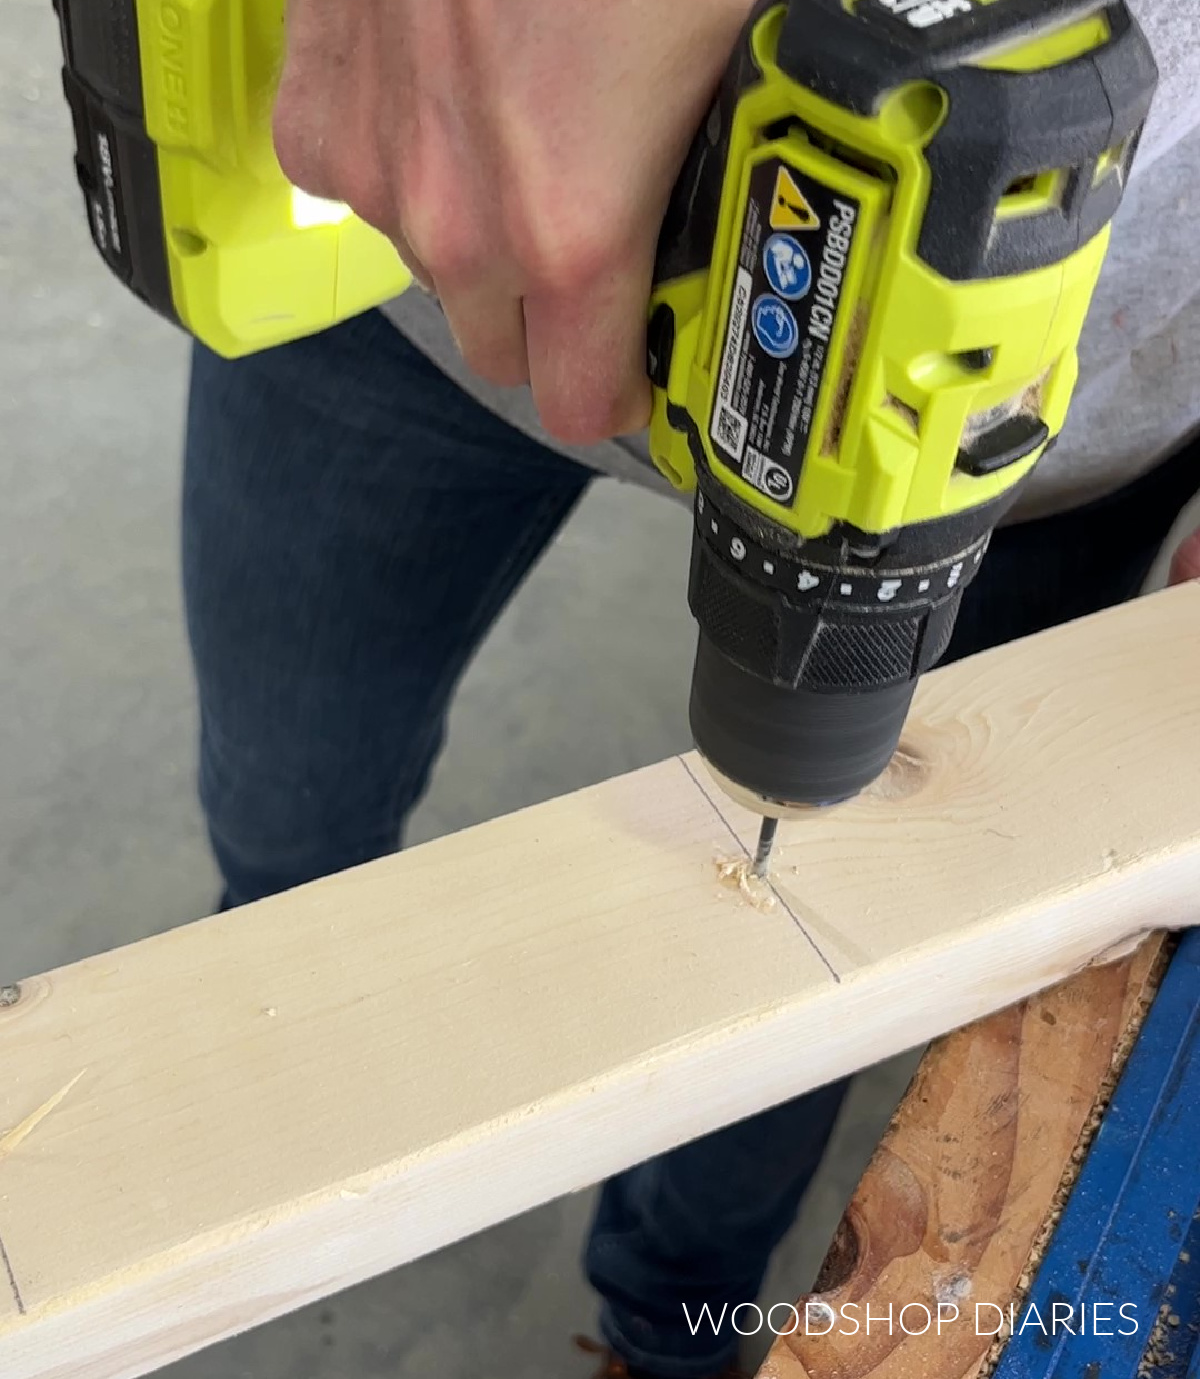
Then I sanded off the pencil marks and used wood glue and 2 ½″ wood screws through the bottom side of these boards, through the predrilled holes, to attach the 2x2s.
TIP: Draw an X across the diagonals on the bottom of the 2x2s and make sure the screw hits right at the center as you screw these in place. That will just help ensure your posts are spaced properly.

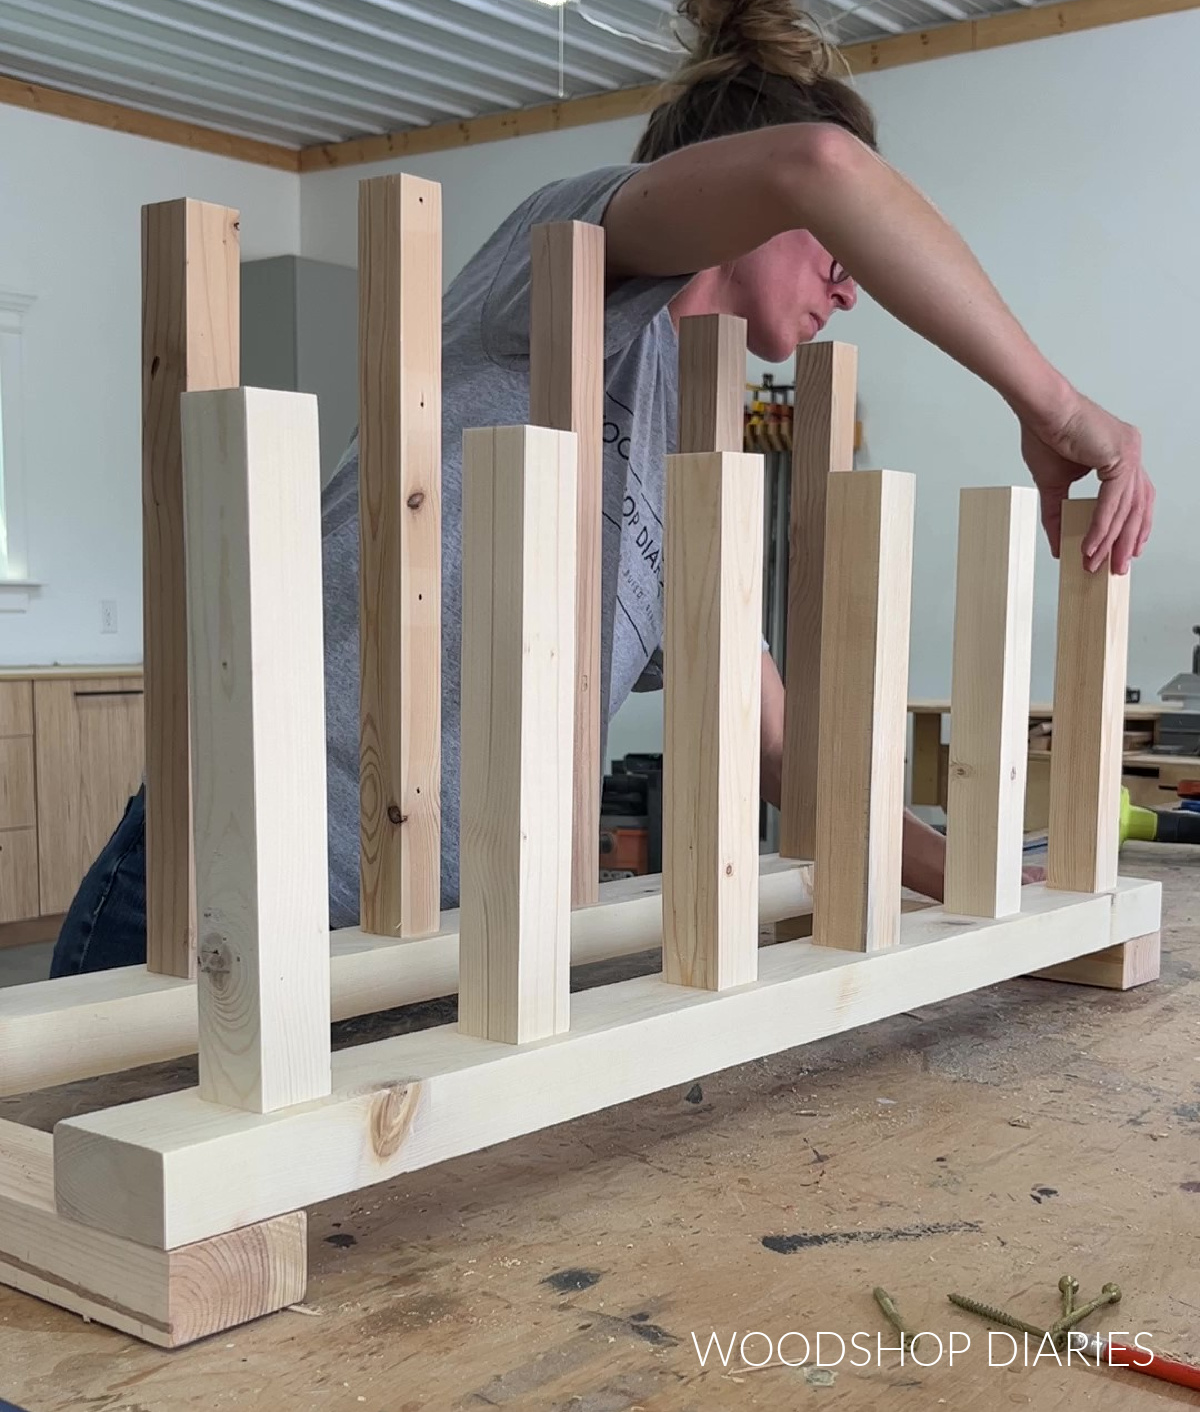
I installed all the 12″ long posts to one board and all the 16″ posts to the other board. One of these assemblies will go in the front and one will go in the back in the next step.
NOTE: I actually made the two posts in the middle on the back 18″ long instead of 16″ long because I had one pair of rainboots a little taller than my others. (Just in case you wondered why the middle two posts were a little taller in the next step.)
Step 3: Assemble Boot Rack Base
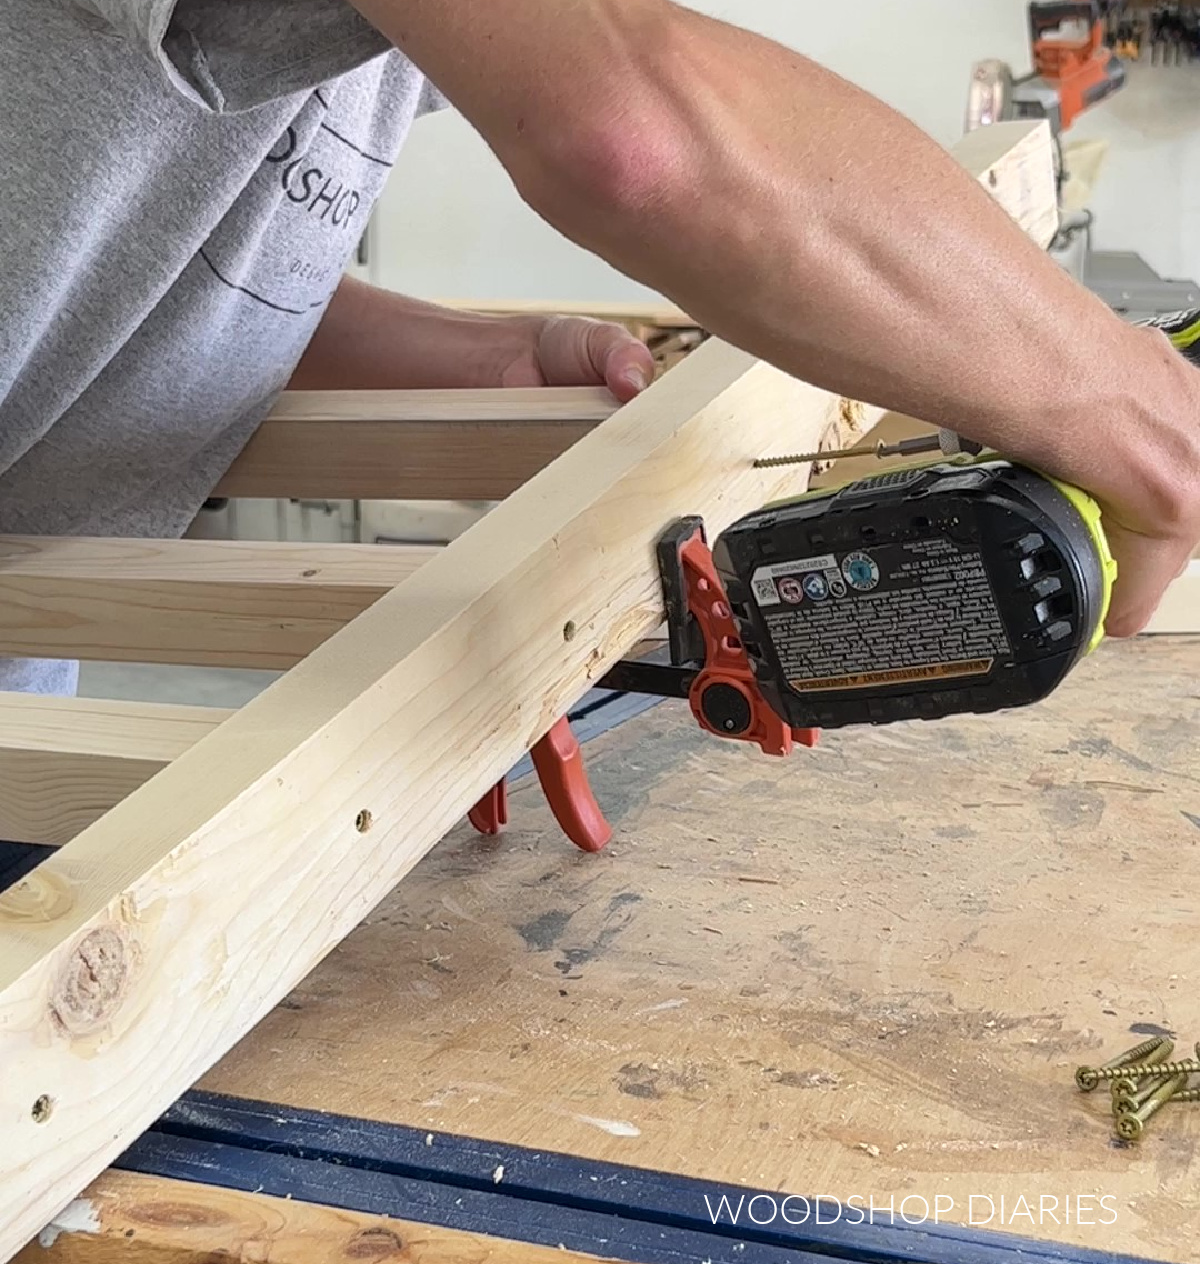
I placed my 12″ long 2x3s on the workbench–flat. Then I laid my two boards from step 3 across them–the tall posts in the back and the short posts in the front. I lined everything up at the corners like shown below.
Then, I predrilled two holes at each corner and used 2 ½″ wood screws to attach. If you wanted to flip this over and use screws from the bottom side instead of the top so the screws are hidden, go for it!

This is going to be used for muddy boots by the door, so I wasn’t too worried about looks here haha.
Step 4: Finish Boot Rack
If desired, apply finish (paint, stain, poly) to the boot rack. Sealing the wood is a good idea here, especially if you plan to store wet or muddy boots. A coat of finish will help protect it and make it easier to clean.
I applied a coat of Minwax Water Based Pecan stain and a topcoat of Minwax Polycrylic on top.
And once it was dry, it was ready to use. This is such a great way to be able to store your bulky (usually dirty) rain and work boots neatly by the door!

Funny side story–one time my Dad went to put on his boots he leaves on the steps of the garage and he stuck his foot in to find a frog in the toe!
Needless to say, he stores his boots upside down now. So this DIY boot rack is also a great way to keep creatures from crawling (or hopping) into your shoes, too!
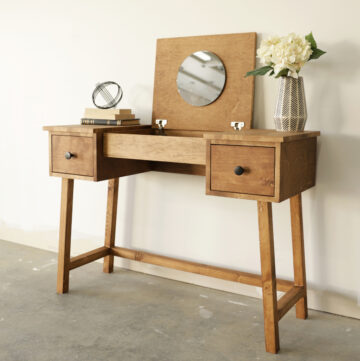
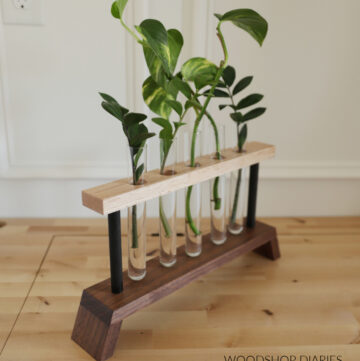
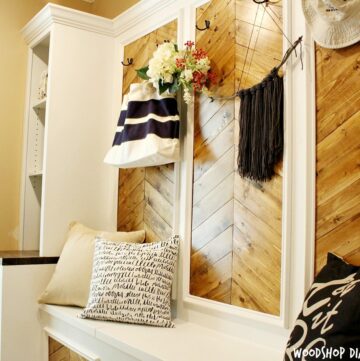
Looking for more entryway organization ideas?
Here are a few of my personal favorite ideas to help keep your entryway neat and organized!

If you’d like to save this project for later, don’t forget to pin it or share it to your favorite social channel!
Until next time, friends, happy building!