In this post, I’m showing you how to build a garden arbor using basic tools and materials!
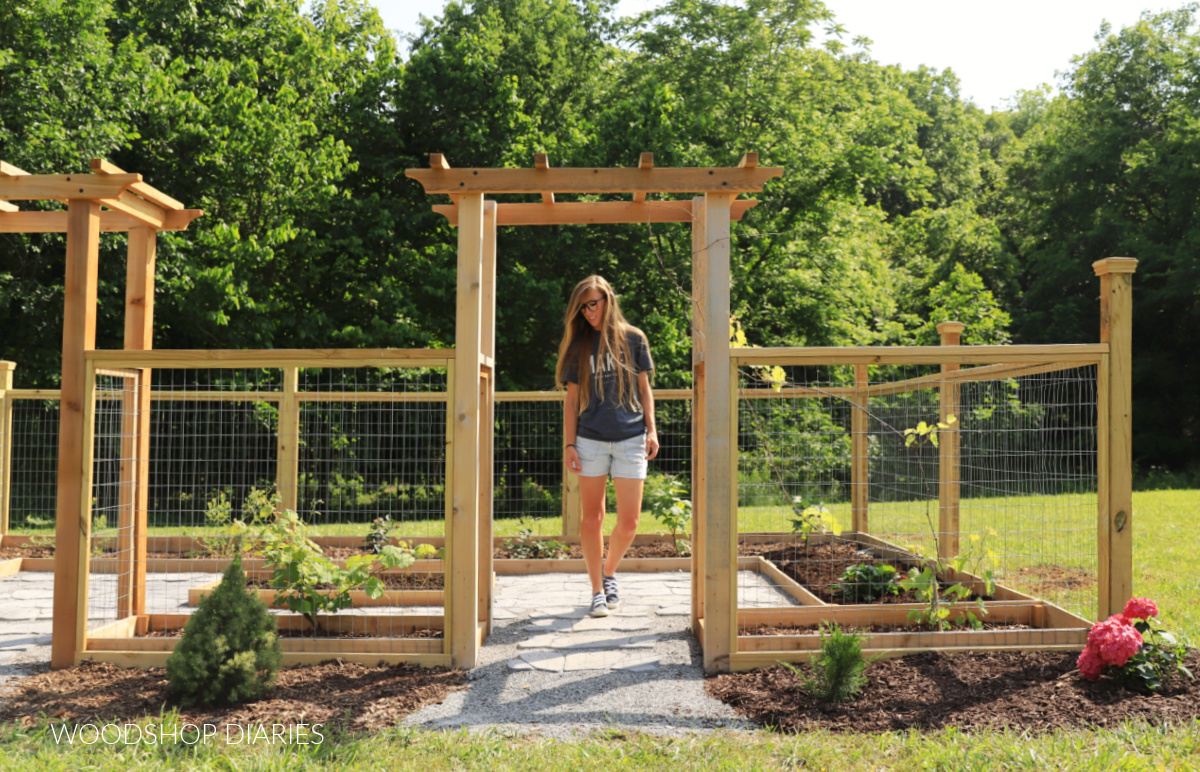
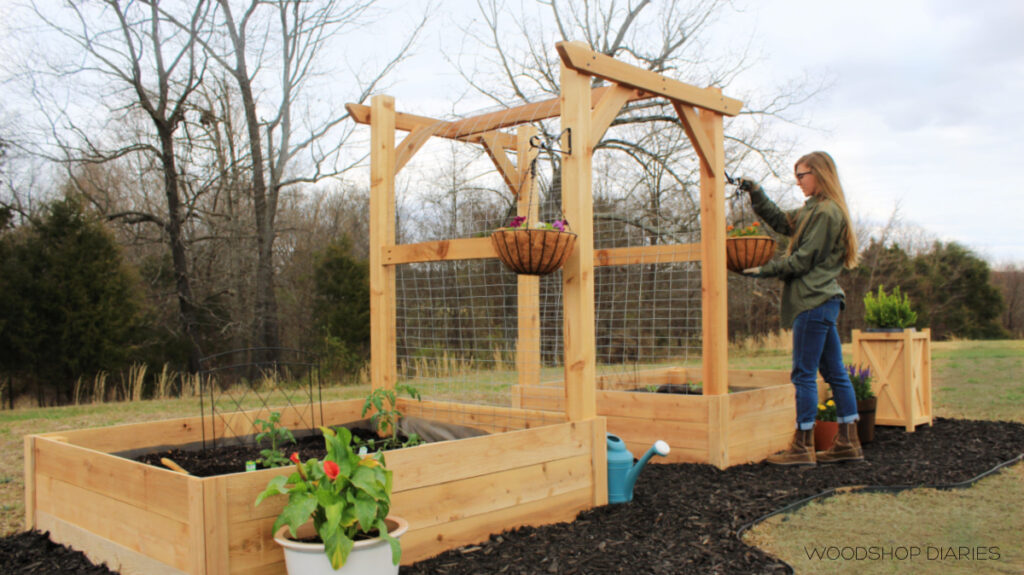
I designed this simple garden arbor for our grapes to grow up (and around) and ended up making two of them as part of a large fenced garden area.

This beautifully simple arbor design is perfect for standing alone in your landscaping or flower beds.
But, it would also be great to add to your raised garden beds or as an entrance to a fenced area if you wanted to add a gate. I’m sharing how to add a gate to this arbor in step 6 below!
I’m using mine as the entrance(s) to our fenced berry garden and once the grapes fill up the sides and top, they will be so much fun to walk through!
Check out the complete fenced in garden build here. Be the first to know about the latest projects by subscribing to the newsletter below or my YouTube channel!
Building this DIY grape arbor was a really quick and simple project, so if you’re ready to see how it came together, let’s get building!
What Wood Should You Build an Arbor With
Since they’re designed to use outdoors, it’s best to build arbors with wood that is naturally moisture and rot resistant so that they last as long as possible. Cedar and redwood are both great wood options for building a garden arbor.
Usually, depending on where you live, you can find one or the other in your local big box store or lumber yard. I used cedar for this particular project.
RELATED: How to shop for lumber
However, if you’re on a budget, treated wood is also a good option. Treated wood will last a long time and is budget friendly, but because it’s treated with special chemicals, you may not want to use it for growing food on.
I encourage you to do your own research when deciding how and when to use treated wood with your food garden.
If you don’t mind replacing it within a few years or you’re not using it outdoors long term (like for a wedding arbor), untreated pine would work as well and is an even more inexpensive option.
What to Know Before Building a Freestanding Garden Arbor
Building this garden arbor only took a couple hours, so it’s an excellent weekend woodworking project for spring or summer.
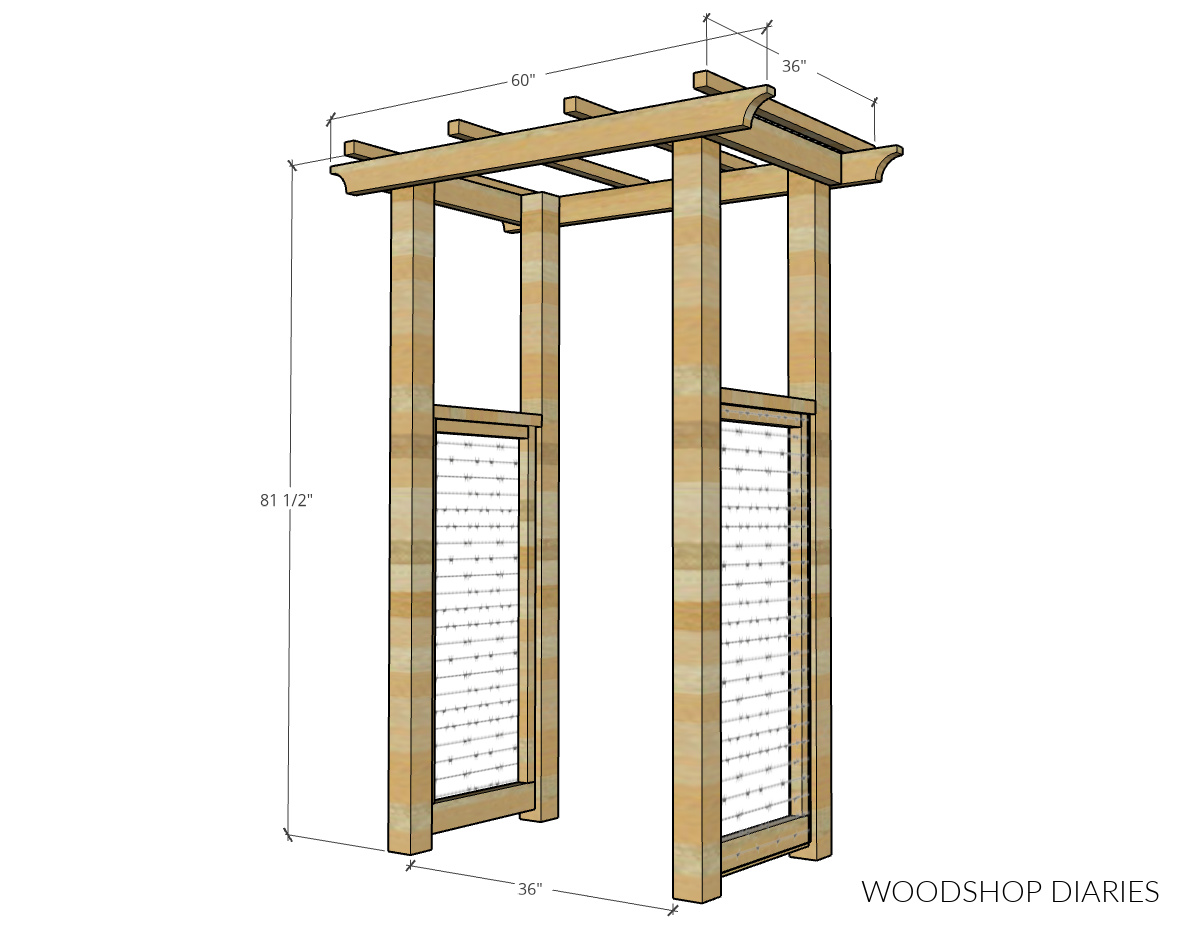
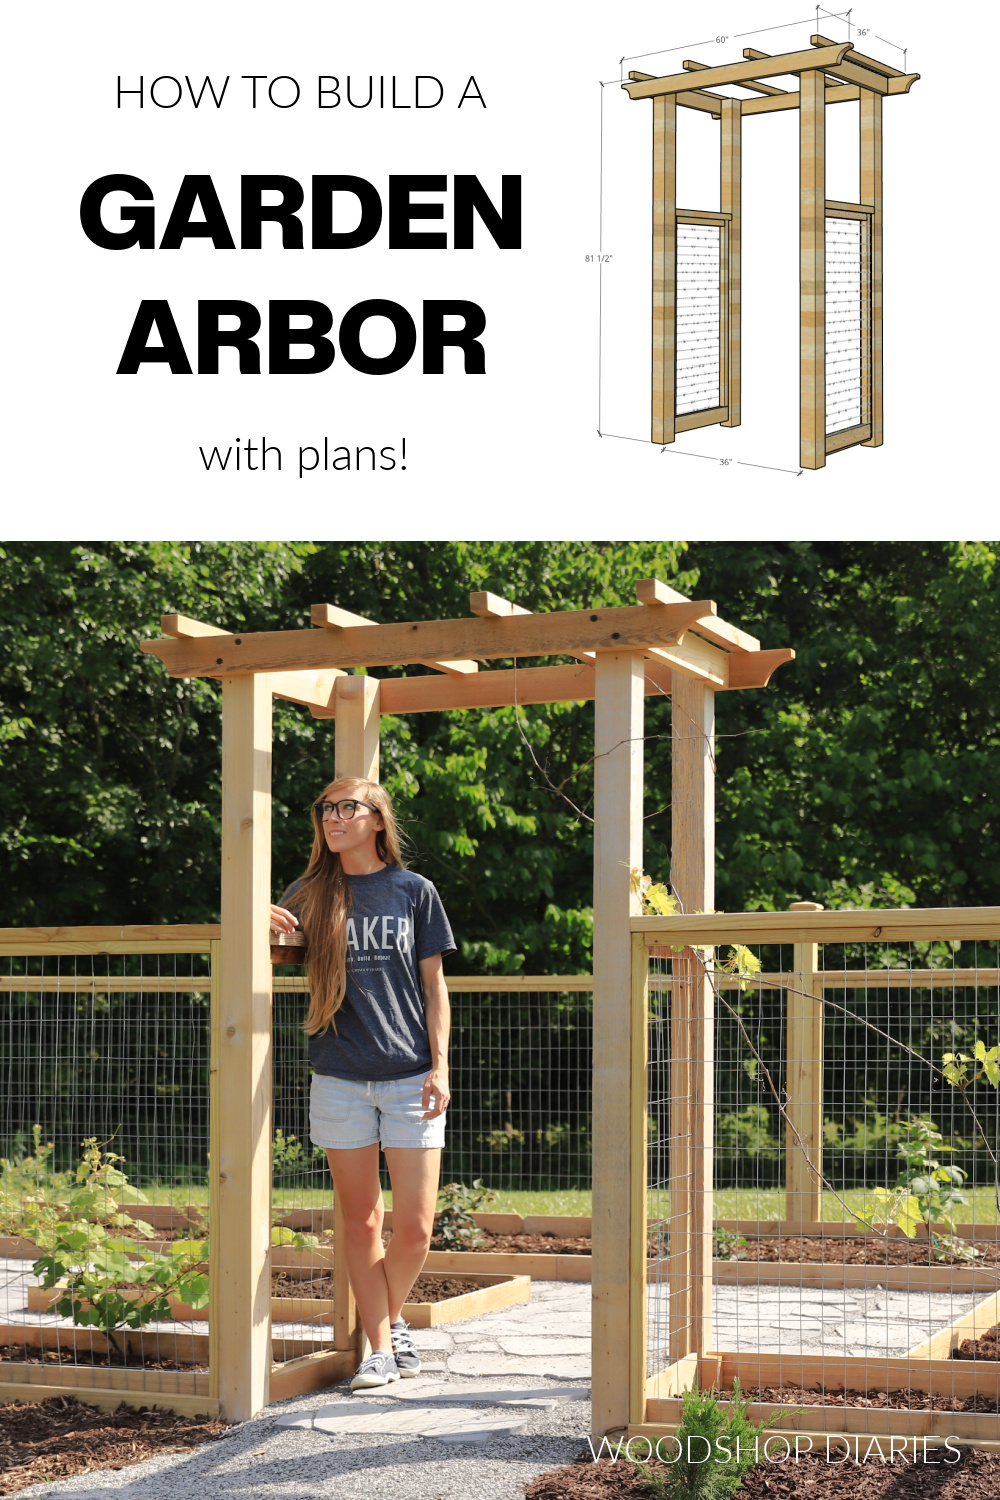
The overall dimensions of this garden arbor are 36″ deep (at the very top) x 60″ wide x 81 ½″ tall. The opening between posts is 36″.
This arbor can be built with or without a gate. If you’d like to build a garden arbor with a gate, I’m sharing how easy it is to add on in step 6 below.
When you’re finished building the arbor, make sure to anchor it to prevent it from tipping over. There are several ways you can anchor it depending on how you plan to use it.
You can anchor it into the ground with post anchor brackets and concrete, anchor it to your raised garden beds or an existing structure, or anchor it to a fencing system like I will be doing as I build our fenced garden around it.
How to Build a Garden Arbor
If you prefer to watch, I’m sharing a video tutorial of the build here on my YouTube channel:
If you prefer to print, I’ve got printable building plans for this project with detailed diagrams, cut lists, and dimensions available here:
But, I’ve got you covered with the project details and step by step instructions below.
Tools & Materials
*This post contains affiliate links. See website policies.
When building any outdoor project, make sure the finishes you choose and the hardware (screws, hinges, etc) are rated for exterior use.
I used welded wire fencing on the sides toward the bottom of this arbor. However, feel free to get creative with this part as there are other great options.
Wood lattice paneling, hardware cloth, fencing wire, or even a custom trellis design made with thin scrap wood strips are all great ideas.
Tools:
- Miter Saw
- Jig saw (optional)
- Drill/Driver
- Pocket Hole Jig
- Stapler
- Wire Cutters
Materials:
- (4) 4x4x8 posts
- (3) 2x4x8 boards (add two more if building the gate)
- (4) 2x2x8 boards
- Welded wire fencing, lattice paneling, hardware cloth (for trellis material)
- 2 ½” exterior wood screws
- 2 ½” exterior pocket hole screws
- 2 ⅞″ timber screws (optional–see notes)
- ¾″ staples
Step 1: Assemble Arbor Side Frames
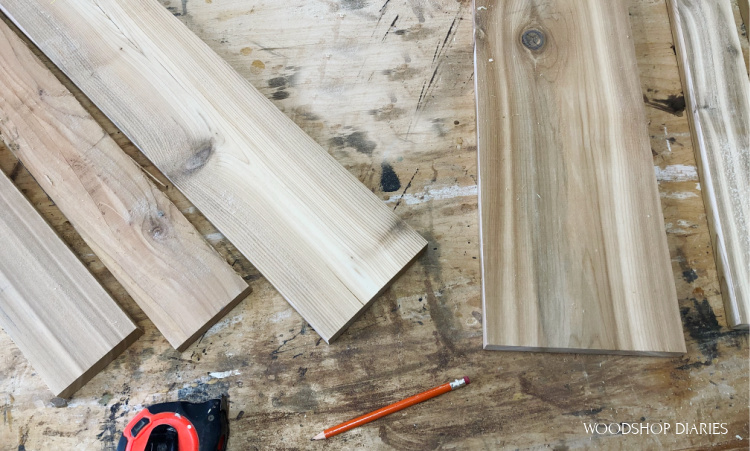
The sides of the arbor are assembled from 4×4 posts and 2x4s that run between them. So first, I trimmed down my 4×4 posts to about 80″ long.
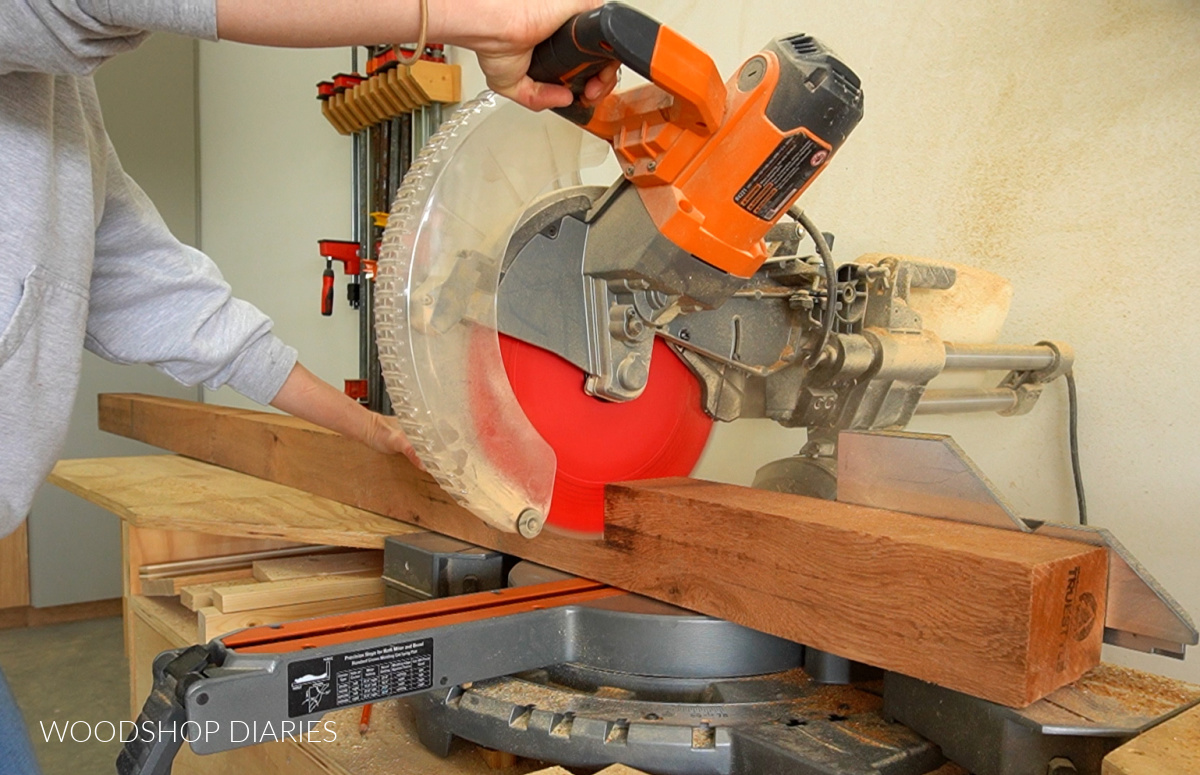
This arbor ended up being 81 ½″ tall overall, but if you wanted it taller or shorter, you can simply adjust the length of the 4×4 posts.
Then, I cut 2x4s to 20″ long and drilled 1 ½″ pocket holes into the ends of each.
RELATED: How to use a pocket hole jig
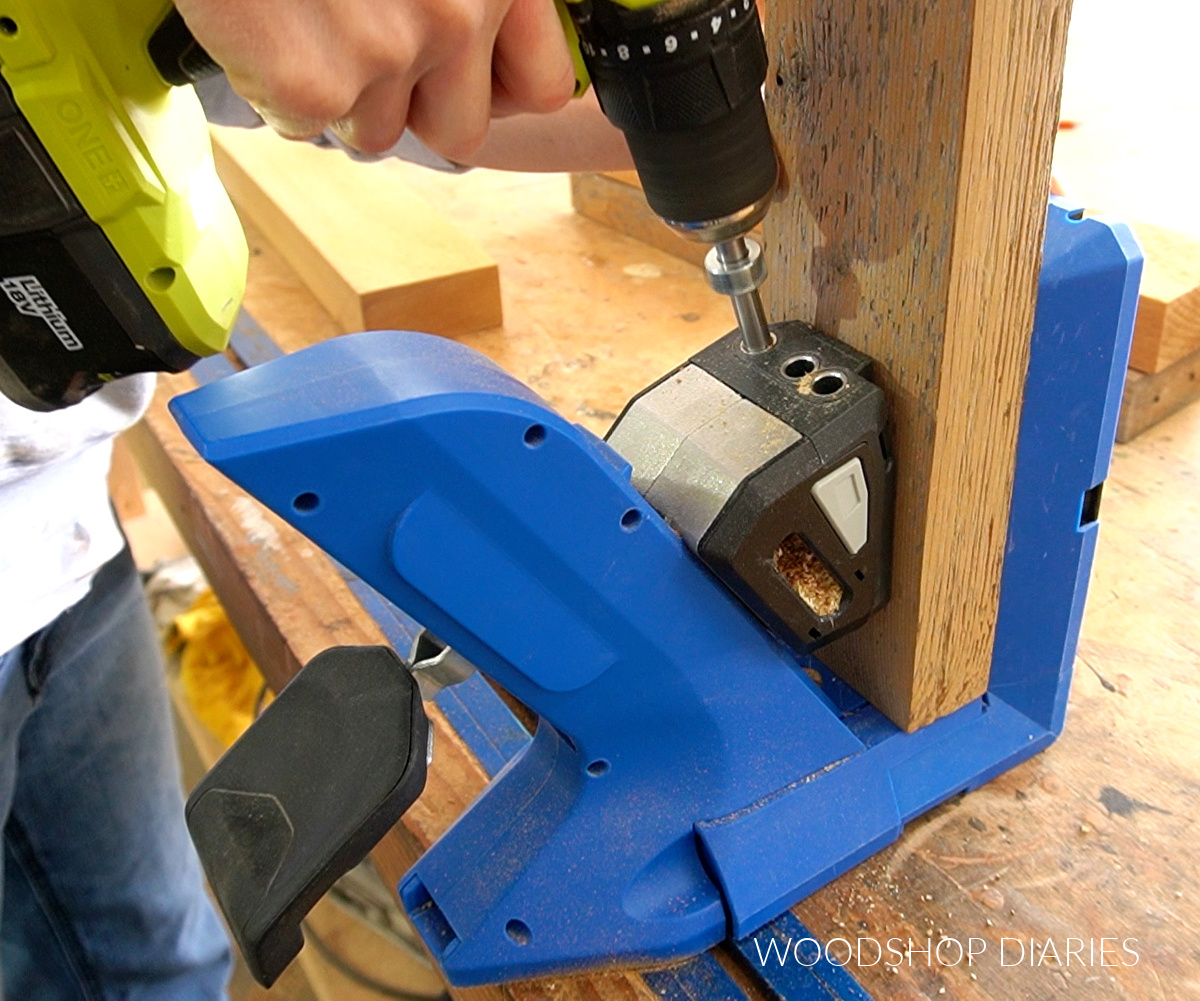
I assembled two identical side frames using 2 ½″ exterior pocket hole screws. Notice that the bottom piece is ran vertically and the middle piece is ran horizontally.

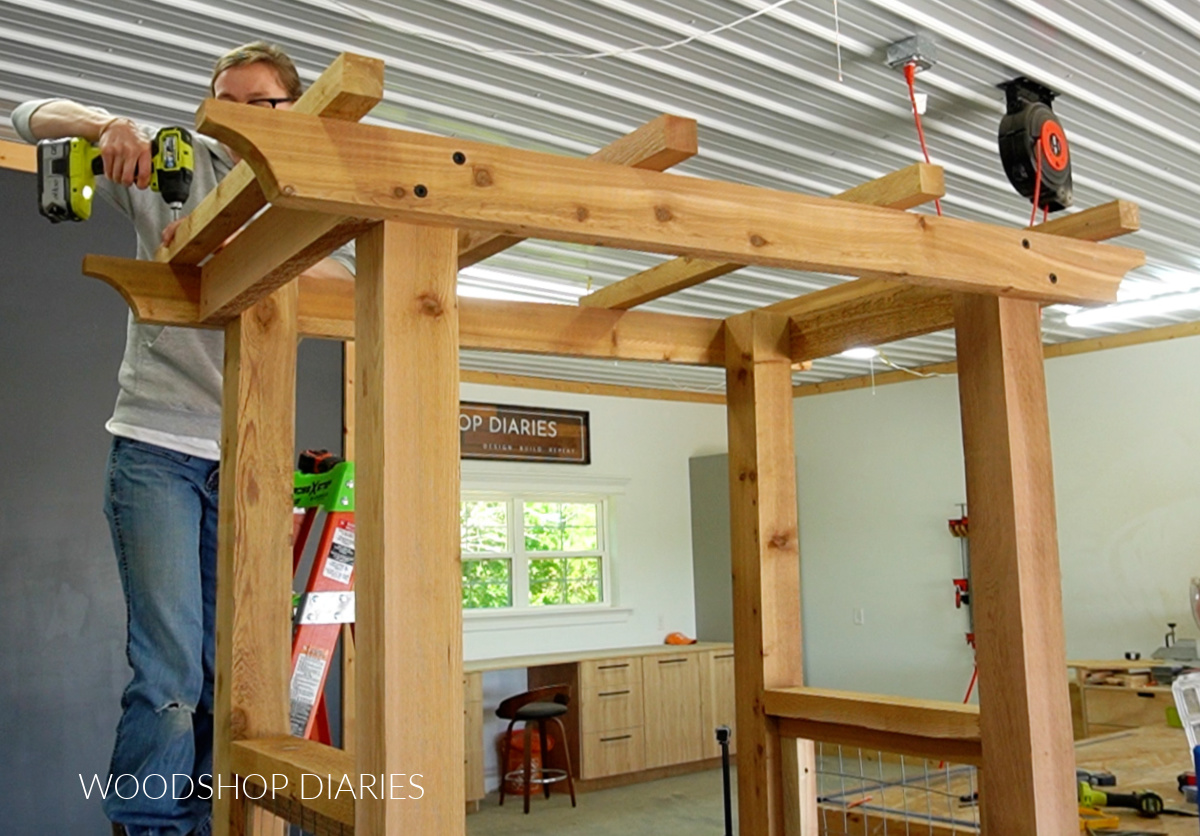
Step 2: Install Top Arbor Framing
The top of this arbor is assembled like a mini pergola. So I cut two pieces of 2×4 to 60″ to run along the front and back of these side frames.
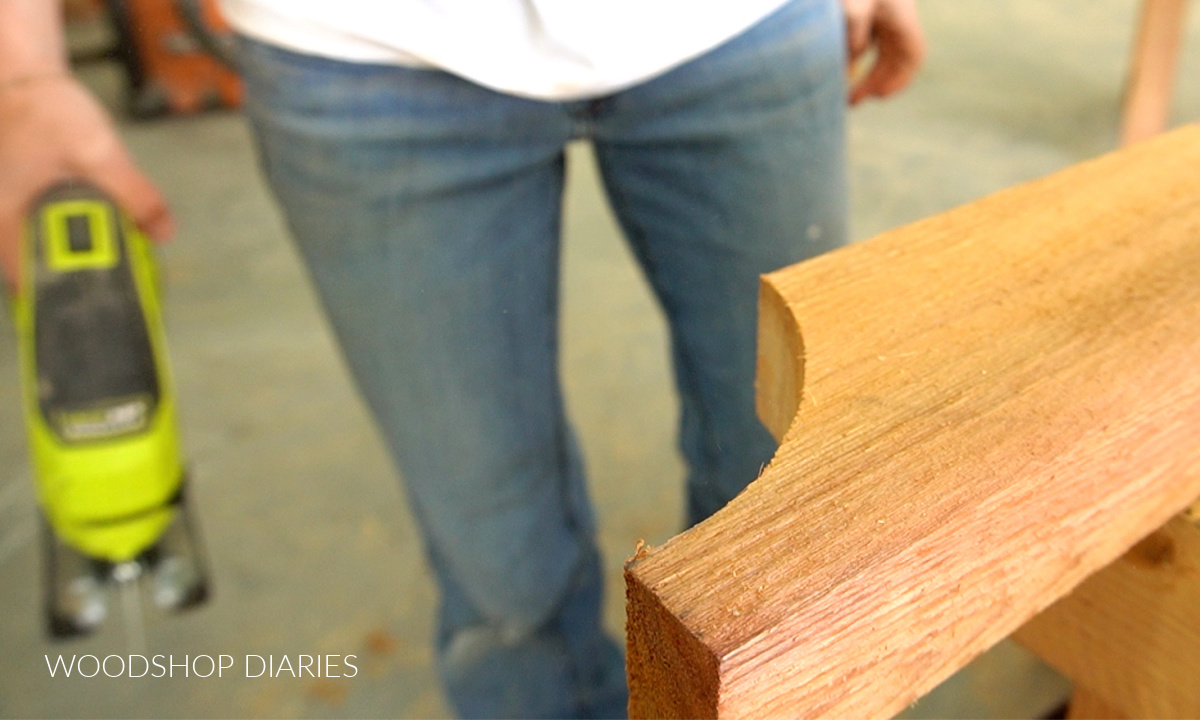
Before attaching, I used a paint can to help me draw a curve on the corners and cut these with a jig saw. This just added a little extra detail to the arbor design.
I laid the side frames down and spaced them 36″ apart at the top and bottom (make sure they’re square). As a note, you can certainly install these pieces while the sides are standing upright, but I found it a little easier to lay them down for this part.
Prefer to print your plans? Grab the printable building plans for this DIY garden arbor with optional gate here. Printable plans include detailed diagrams, cut list, and step by step instructions.
Then, I positioned these 2x4s along the top edge making sure they had equal overhang on each side, and secured then with 2 ⅞″ black timber screws.
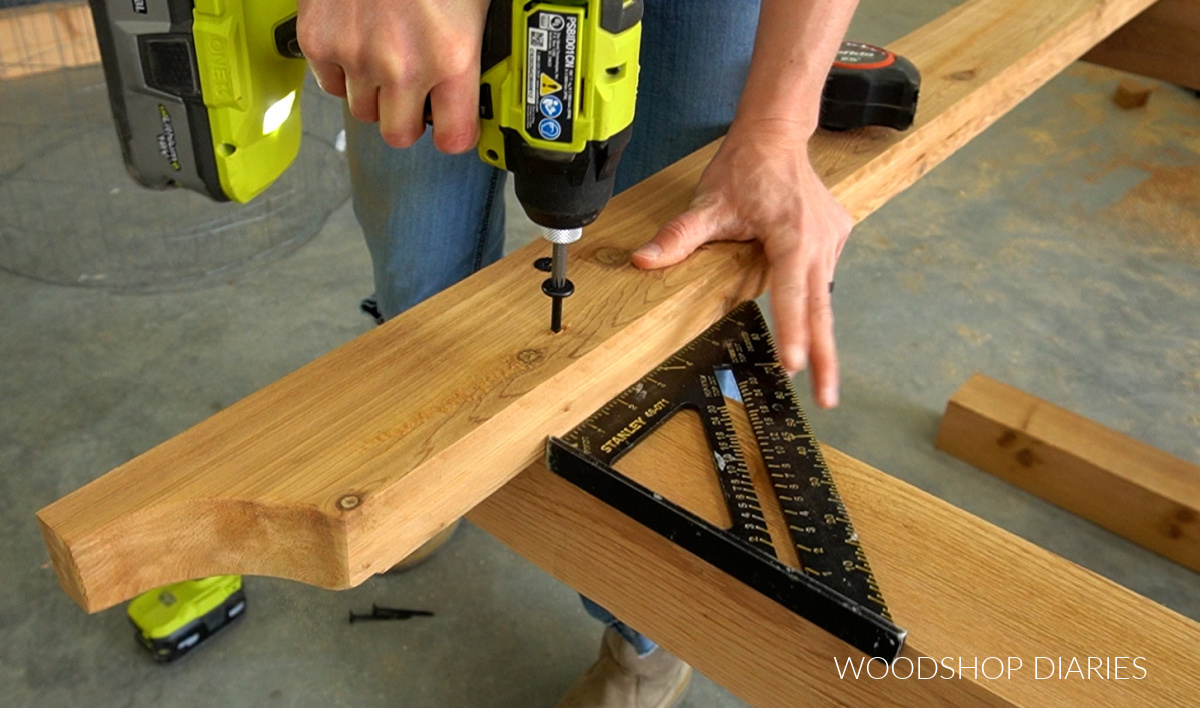
You could use 2 ½″ exterior screws instead, but I liked the black accents for this part.
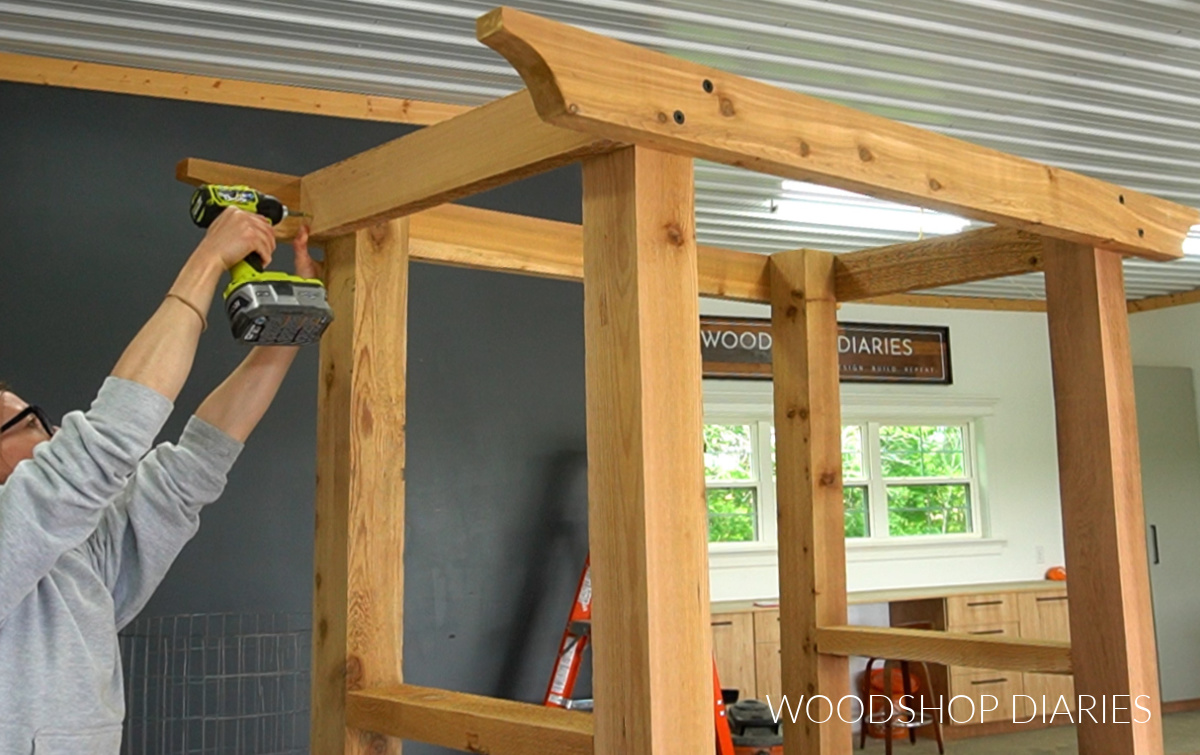
Once these were installed on both the front and the back, I flipped it back up and cut to fit 2×4 pieces to go between them at the top of the posts. I secured these pieces to the posts with 2 ½″ exterior screws.
Step 3: Attach Trellis Framing
Next, I cut to fit 2x2s to kind of “line” each side frame around the bottom section. These pieces will go along the sides and the top of the opening and this is the framing I’ll use to attach the fence panel or lattice to later.
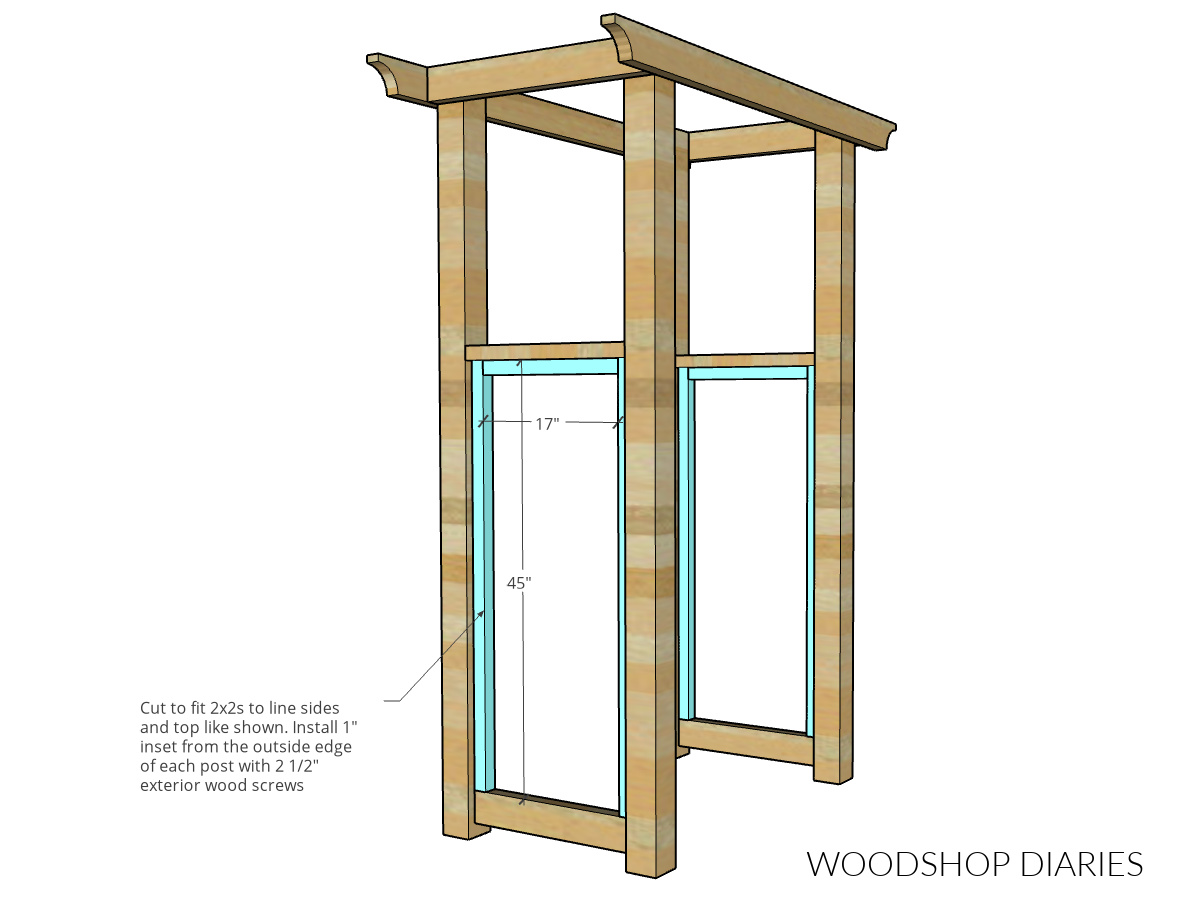
I cut each of these pieces to fit and secured with 2 ½″ exterior screws. Be sure to predrill before driving to prevent wood splits!
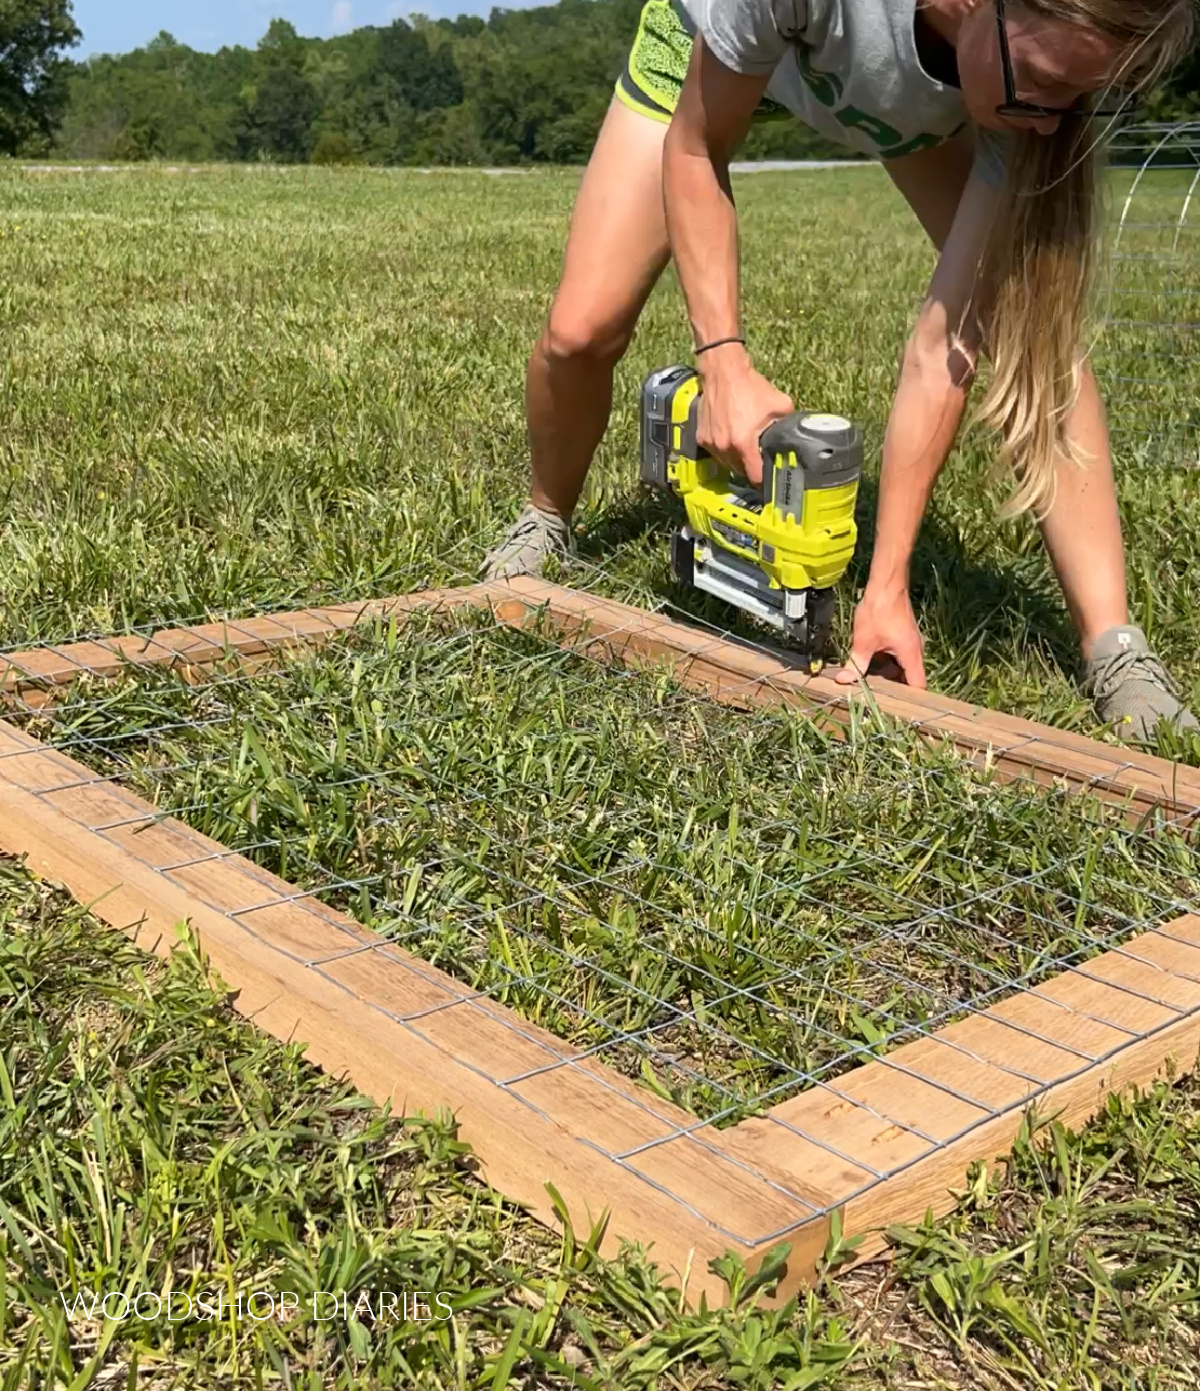
Step 4: Add Fencing Wire or Lattice
For this project, I used welded wire fencing for the side panels. However, lattice paneling, hardware cloth, or your own DIY trellis design would work great for this.
It’s both for decoration, but also support for any vines, flowers, or vegetables you plan to grow on it.
I cut two pieces of wire fencing to cover the bottom openings on each side panel using wire cutters.
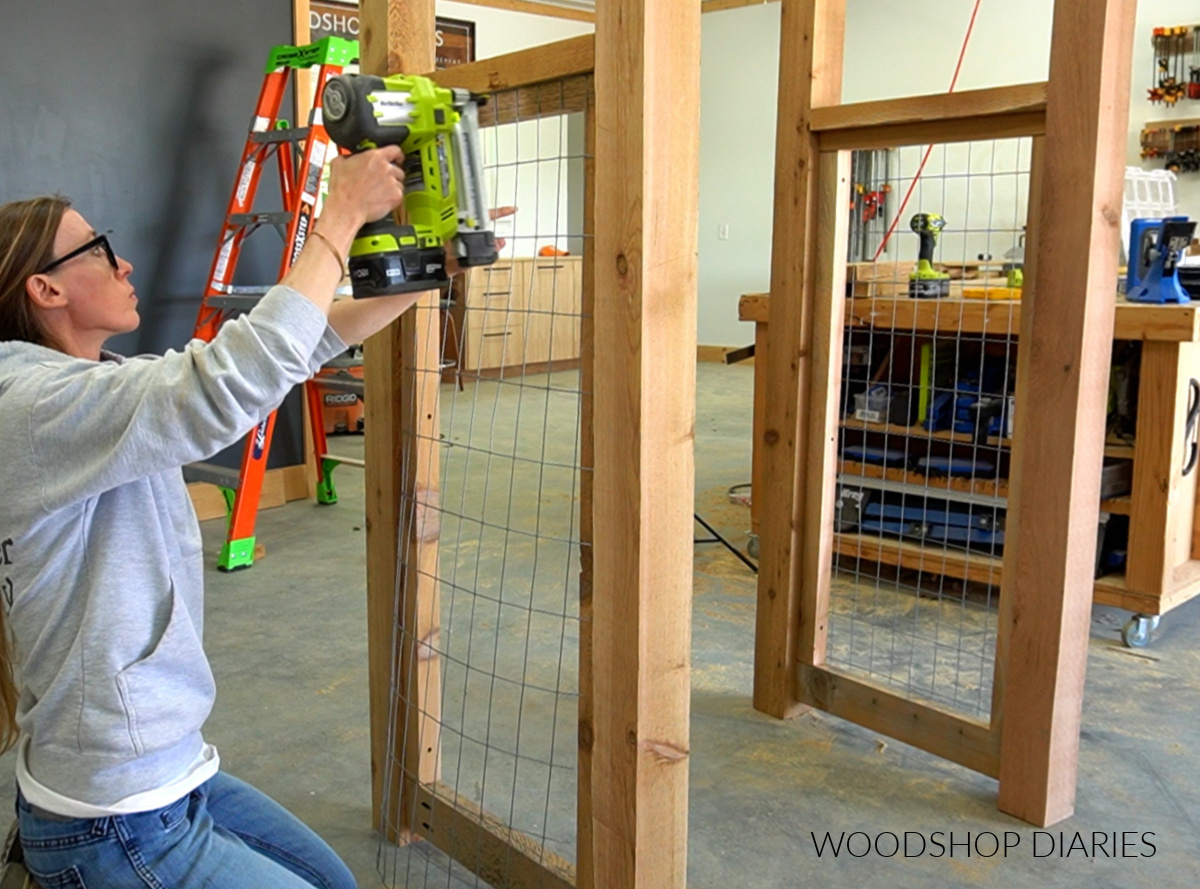
Then, I stapled these panels onto the 2x2s from step 3.
Step 5: Install Pergola Top Runners
Since the arbor was kind of like a mini pergola, I added these runners along the top to make it look more like a pergola. These also to provide supports for vines or plants to grow on along the top.
I cut 4 pieces of 2×2 to 36″ and spaced these evenly along the top supports making sure they had equal overhang on the front and back.
Then, I used 2 ½″ exterior screws to secure them to the top front and back supports.
At this point, the arbor assembly is complete. If you’d like to add a gate to the arbor, see step 6, but if not, move on to step 7.
Step 6: Add Optional Gate to Arbor
Adding a gate to this arbor is very simple. I cut 2x4s to build a frame whose overall size was 35″ x 48″.
I used 1 ½″ pocket holes and 2 ½″ exterior pocket hole screws to assemble it, then just cut some more fencing panel to cover the opening. I stapled the fencing along the back side.
The gate is installed using basic gate hinges so that there is ½″ space between the gate and the arbor posts.
It doesn’t really matter how high or low you install the gate as long as it’s at least ½″ or so above the ground so it doesn’t rub on anything when opening and closing.
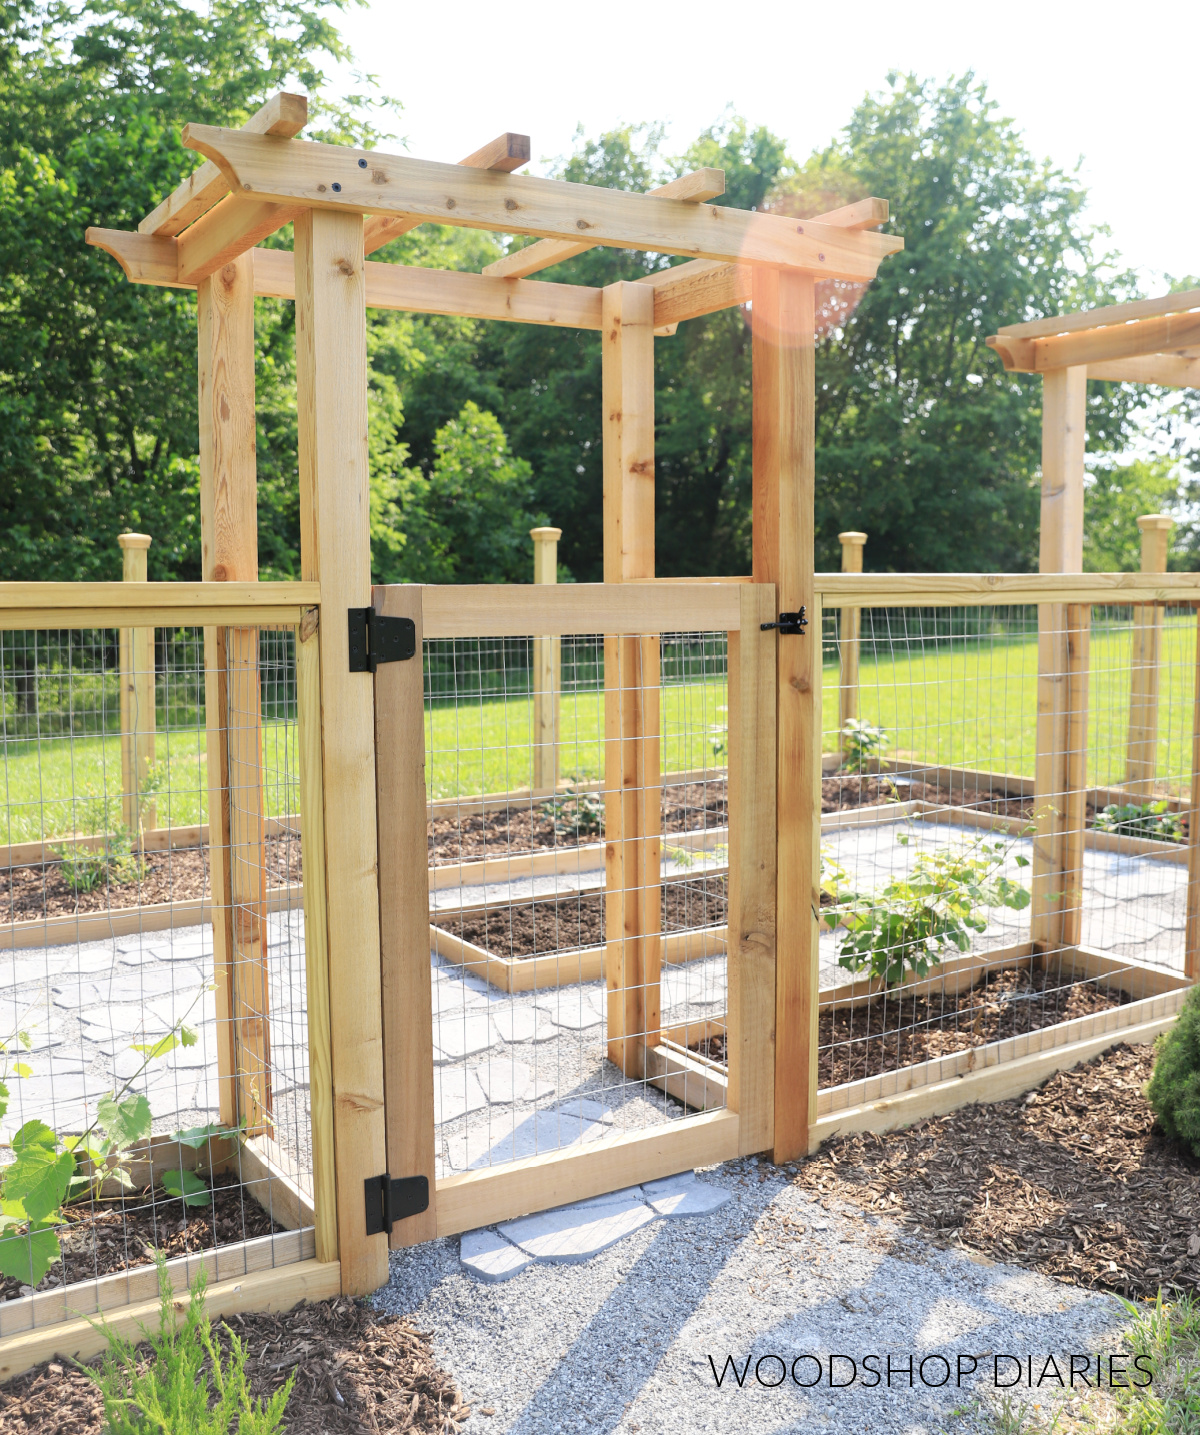
Finally, I added a simple gate latch to keep the gate closed and secure.
Step 7: Finish and Anchor
To keep the arbor looking nice through the weather, I recommend applying an outdoor finish (stain and sealant or paint) to protect it.
I’m going to stain and seal my entire garden all at one once when I get it finished up, so I didn’t stain my arbor just yet.

Be sure to anchor the arbor once complete to prevent tip over. You can anchor it to the ground, an existing structure, a raised garden bed, a fencing system, etc.
Just make sure it’s securely anchored before using. Now it’s ready to grow your flowers, veggies, and grapevines!
Want to print these plans to take with you to the shop? Grab the printable DIY garden arbor building plans here.
More Outdoor and Gardening Ideas
Looking for more outdoor and garden related DIYs? Here are a few favorites!
If you’d like to save this project for later, be sure to pin it or share it to your favorite social channel!
Until next time, friends, happy building!