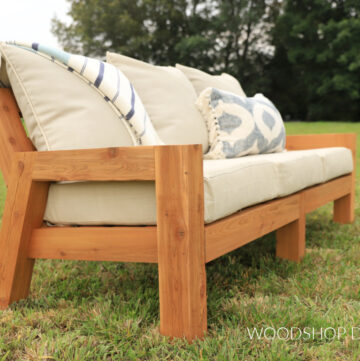
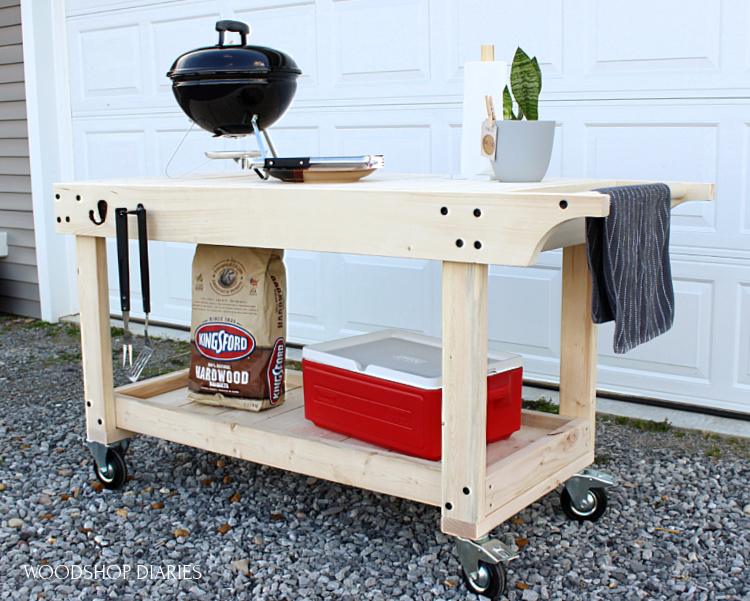
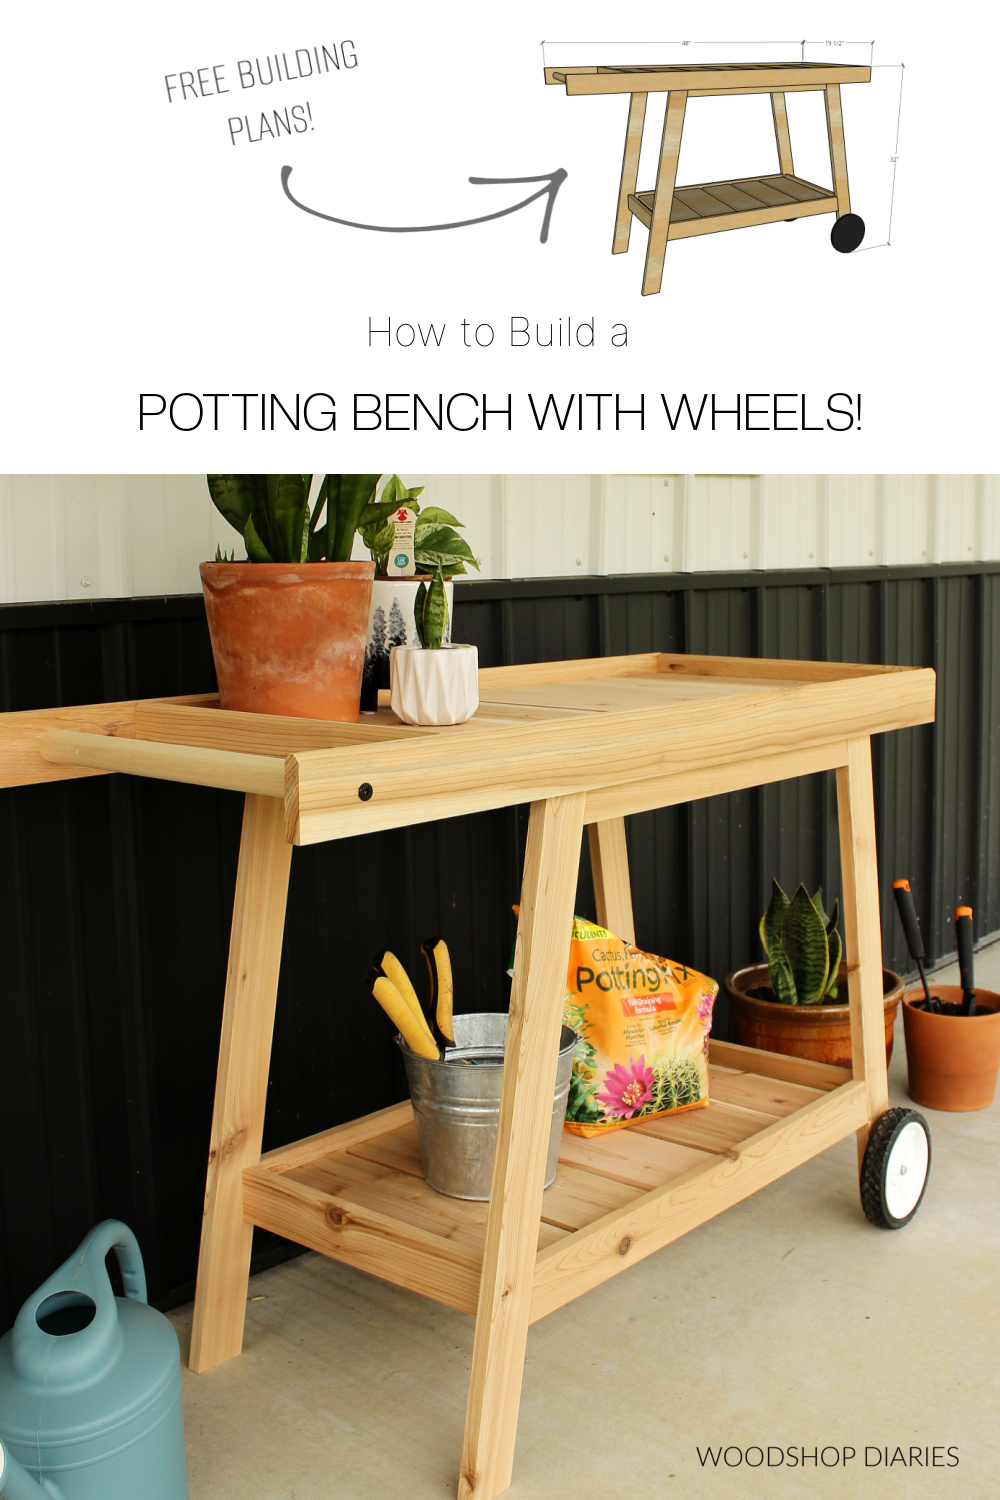
In this post, I’m sharing how to build this adorable DIY potting bench with wheels!
*I’ve partnered with KregTool.com to provide you with FREE BUILDING PLANS for this project!

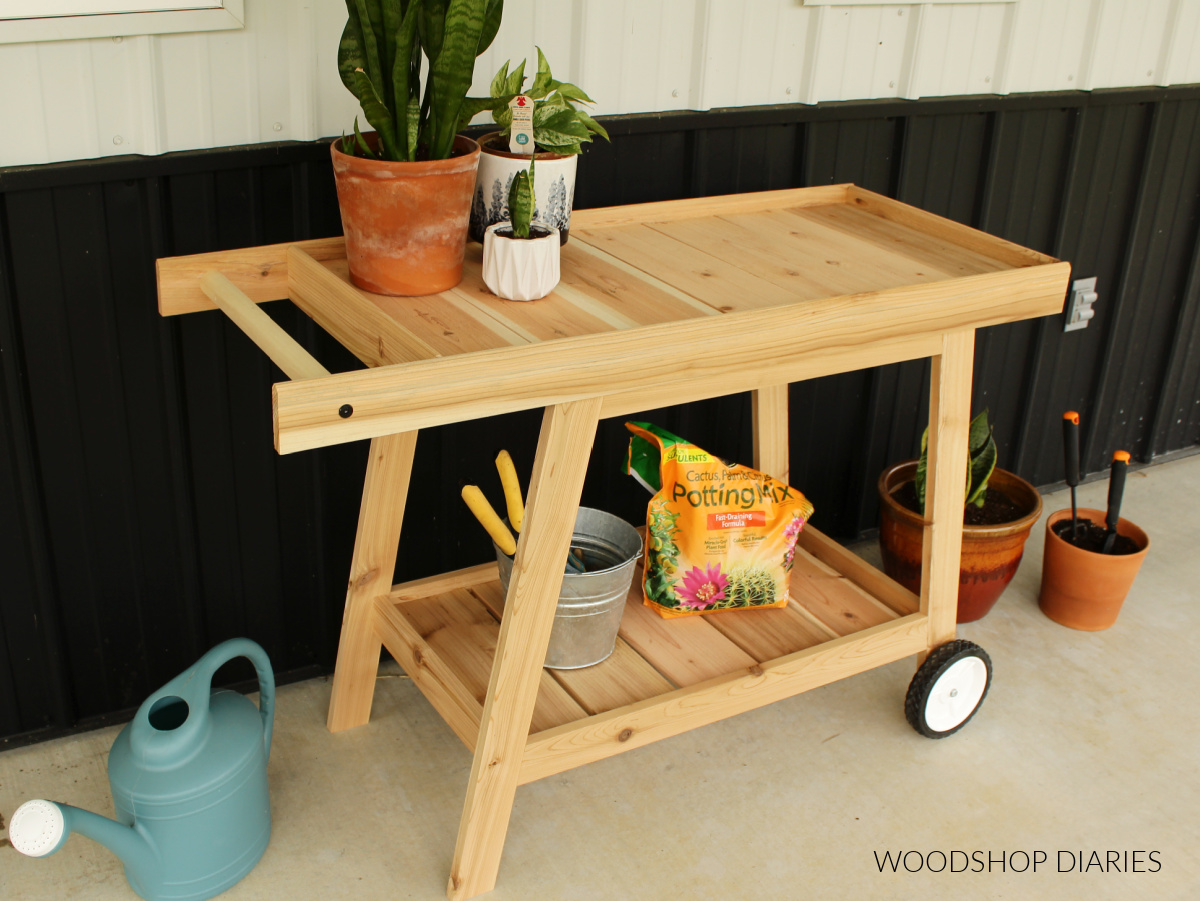
This simple DIY potting bench cart is not only adorable, but super versatile, too!
.
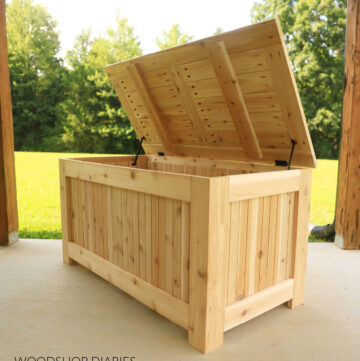
It would make a great place to display some of your indoor plants outside during the summer, store your potting supplies and repot your plants. You could even use it as a serving cart for outdoor (or indoor!) entertaining and meals.
.
If you’ve got a garden, you could also use it to help you collect your harvest and roll it back to the house.
.
However, you use it, this DIY potting bench is a really fun summertime scrap wood project and I’m sharing the video tutorial here and the plans below:
*This post contains affiliate links. See website policies.
Tools & Materials:
Tools:
- Miter Saw
- Drill/Driver
- Pocket Hole Jig (Kreg 720 used here)
- 18 ga Nail gun (optional)
- Level
Materials:
- (5) 1x3x8 boards
- (1) 1x2x8 board
- (3) 1x6x8 boards
- (1) 1” dowel rod (18” long)
- (2) 7” plastic wheels (or cut wooden wheels)
- (2) 2 ½” long bolts + nuts to attach wheels
- 1 ¼” Kreg Pocket Hole Screws
- Wood Glue
- 1 ¼” wood screws
- 2” wood screws
- Brad nails (optional)
HELPFUL TIP: I built this project from cedar scraps I had leftover from my raised garden bed project, my bathroom vanity, and some planters.
I listed the complete materials list above, but I encourage you to shop around your workshop and get creative to see what you may already have on hand that you can use for this.
Some Notes Before Getting Started:
Material and Hardware:
If you plan to use this project outdoors, be sure to use outdoor finish (paint, stain, poly, etc) and outdoor/exterior rated hardware.
.
Kreg makes Blue Kote pocket hole screws that are made to be used in exterior projects and with treated lumber. I’d recommend using these type of pocket hole screws if you plan to use this out in the elements.
.
It’s not NECESSARY, but if you plan to use this outside, you may want to consider using treated wood or a rot resistant wood like cedar or teak. You can certainly use untreated pine wood, but it may not last as long.
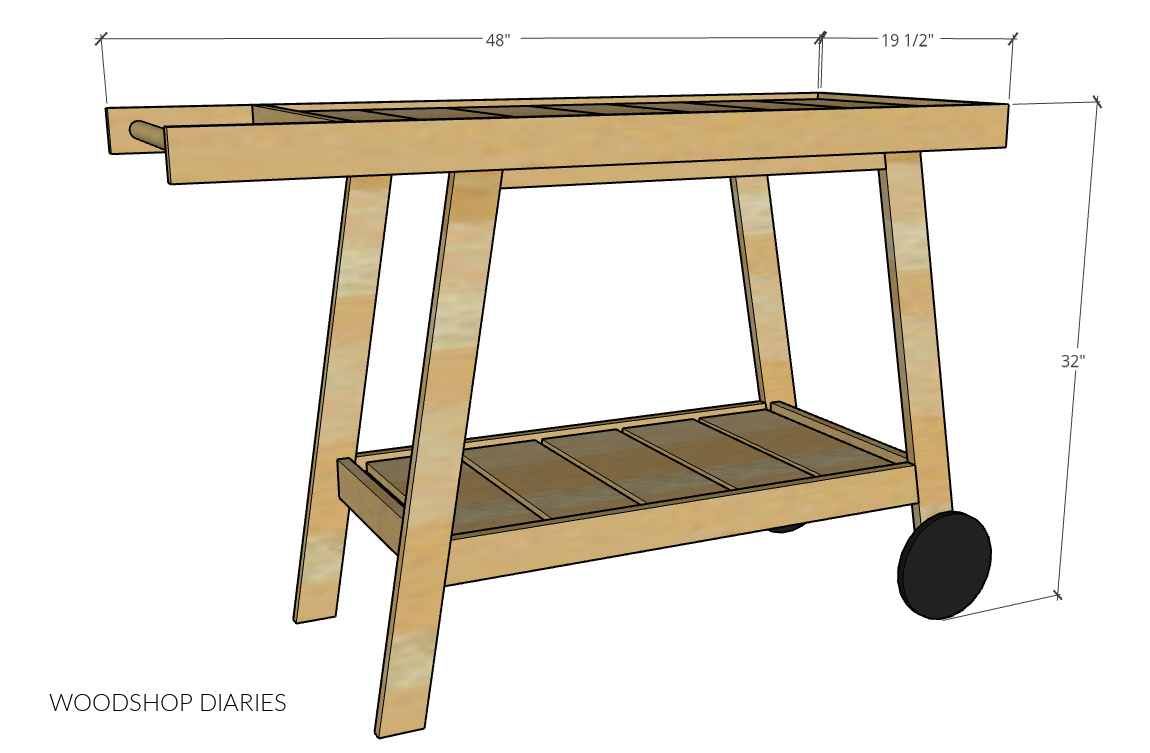
Overall Dimensions:
The overall dimensions for this project were 19 ½″ deep, 32″ tall, and 48″ long.
Wheel Options:
Get creative with your wheel options! You can use any size or material you want–as long as it’s at least 4 ½″ or larger in diameter.
.
I initially cut my own wooden wheels for this project (you can see this in the video), but decided to swap them out because I wasn’t able to get them perfectly round haha.
.
However, you could cut your own wheels, use precut wooden rounds, or use a totally different material than wood altogether.
.
I swapped my original wooden wheels for some 7″ plastic lawn mower wheels for this project and they worked great!
I encourage you to check out the video for a more in depth visual for how to install them.
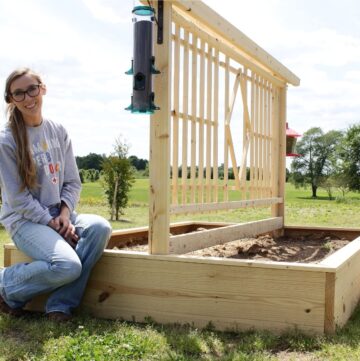
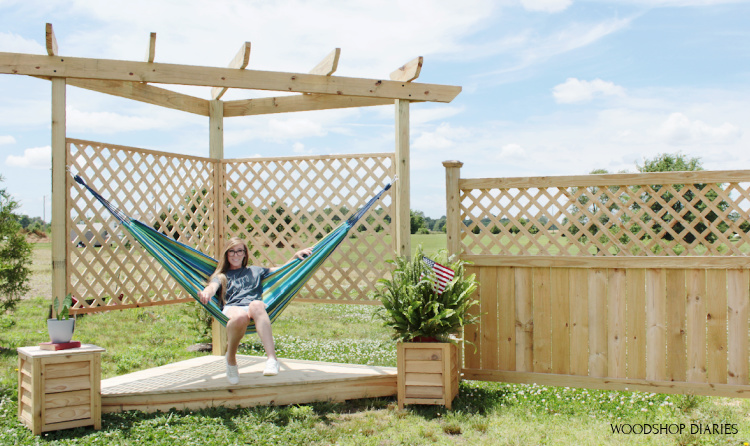
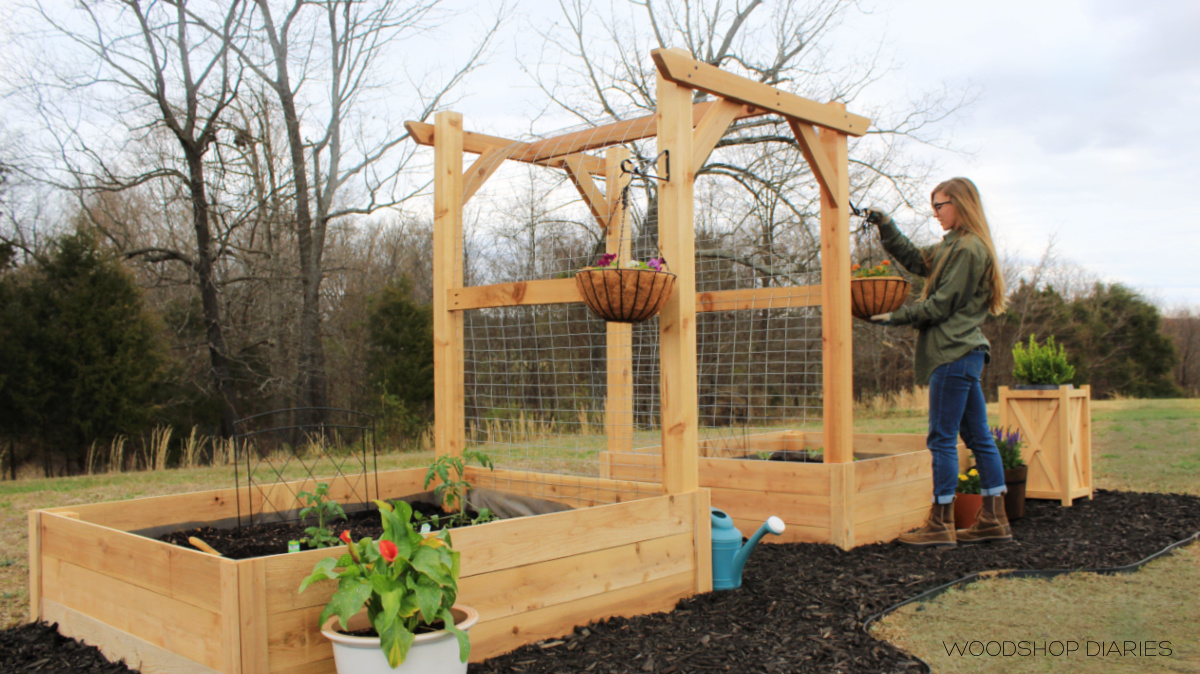
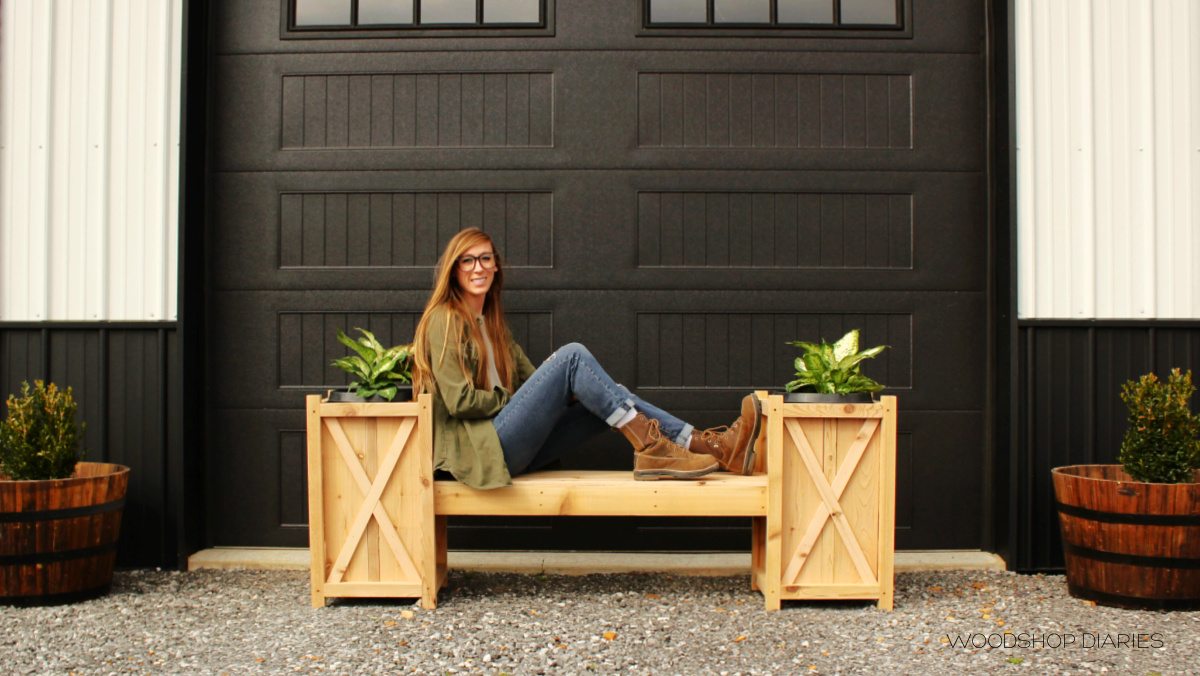
Looking for more Summertime DIY Project Ideas?
If you’re interested in more outdoor DIY projects, here’s a few favorites!
How to Build a DIY Potting Bench with Wheels
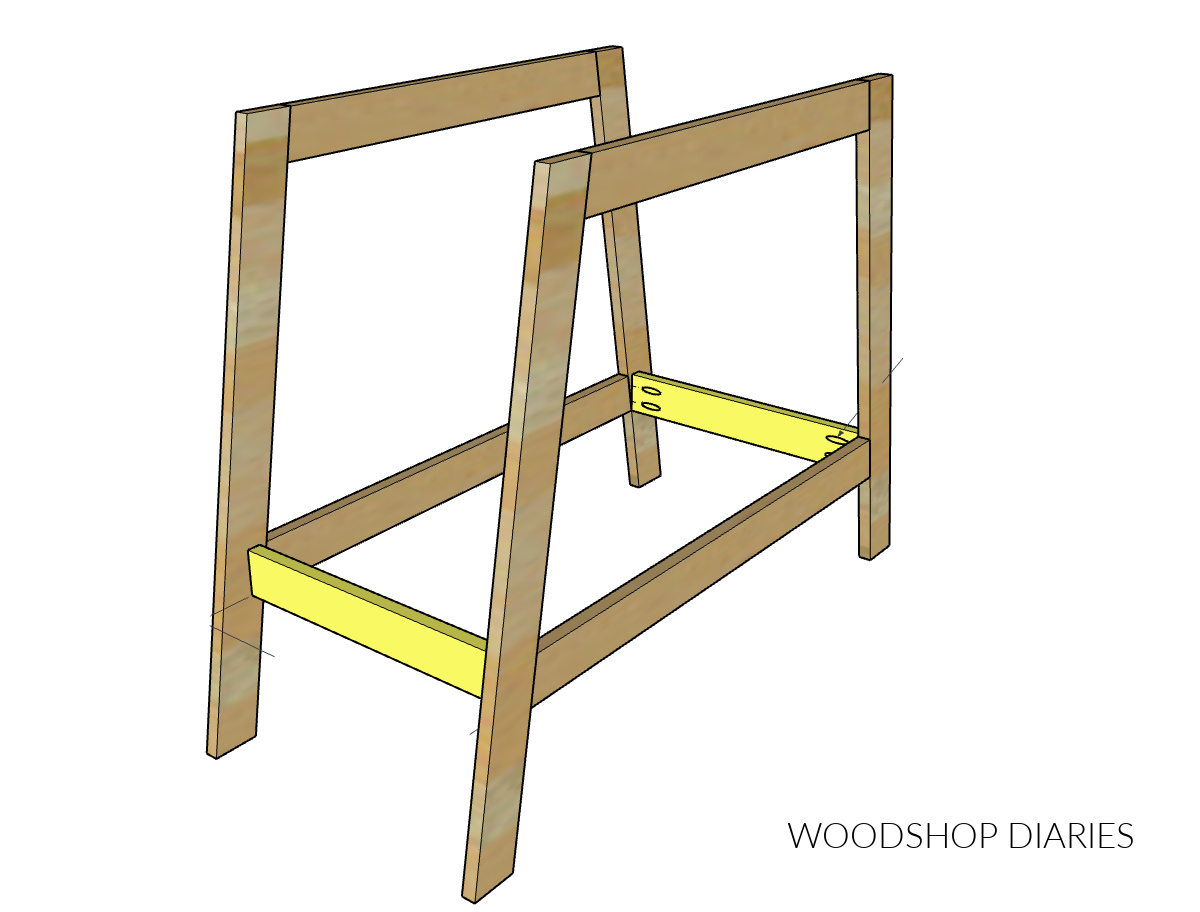
Step 1: Assemble Potting Bench Sides
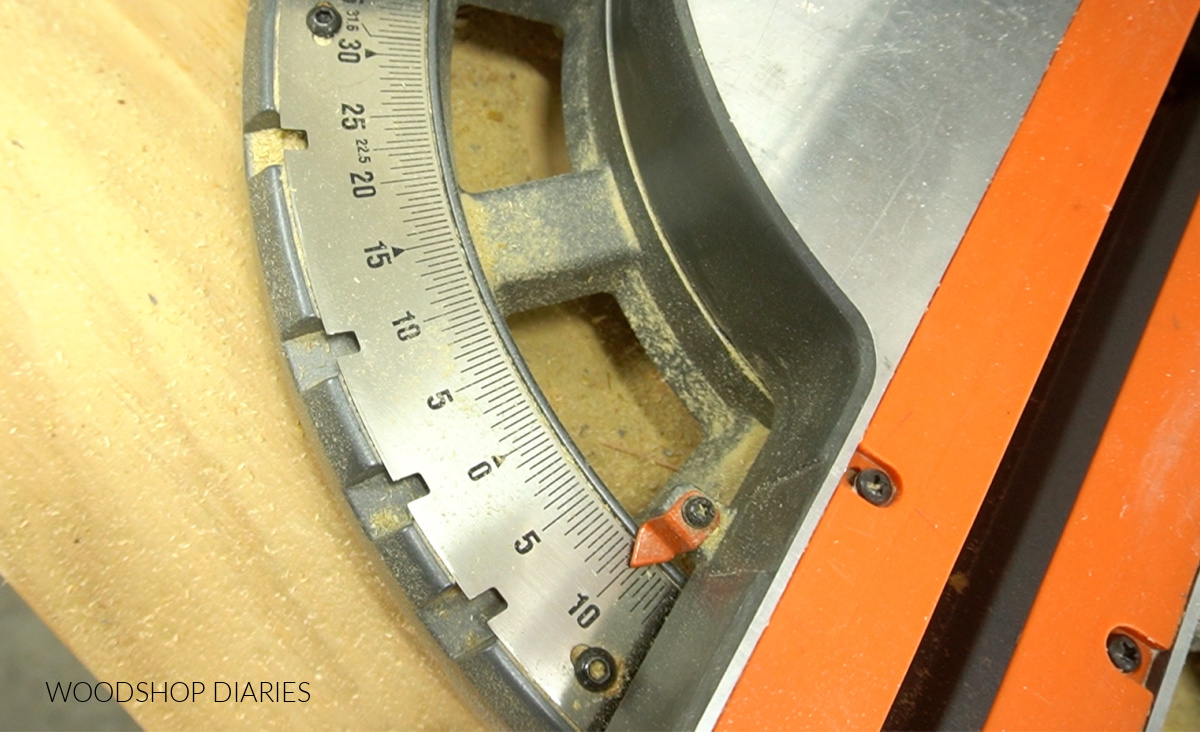
I cut four cart legs from 1x3s with 10 degree mitered ends. Two legs were 2” shorter than the others because the two longer ones will touch the ground, and the two shorter ones will not since they’ll have a wheel installed onto them.
Then, I cut two pieces with mitered ends not parallel to each other–one shorter one for the top and a longer one for the bottom. All dimensions can be found in the plans here.
.
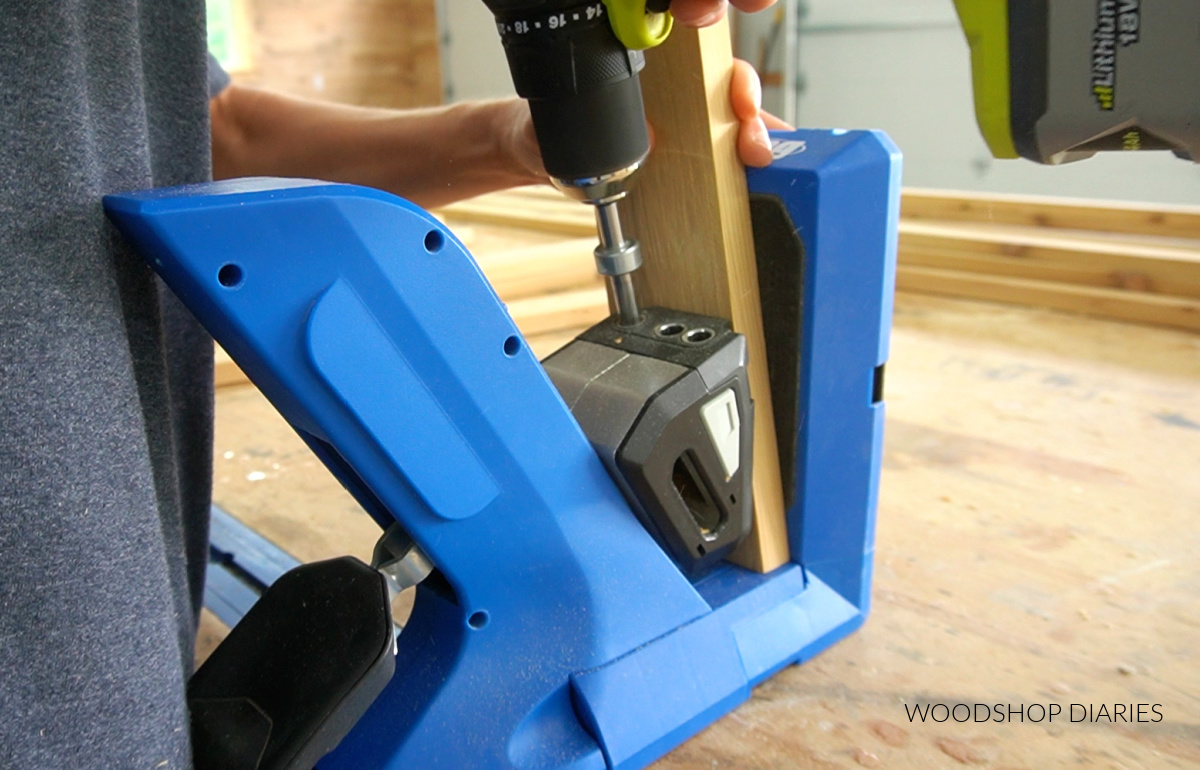
I drilled ¾” pocket holes into the ends of the top and bottom pieces.
.
In case you ever wondered if you can drill pocket holes in angled boards, yes, you certainly can. You just have to place it into the jig at an angle so that the edge is flat on the bottom of the jig.
RELATED: How to use a pocket hole jig
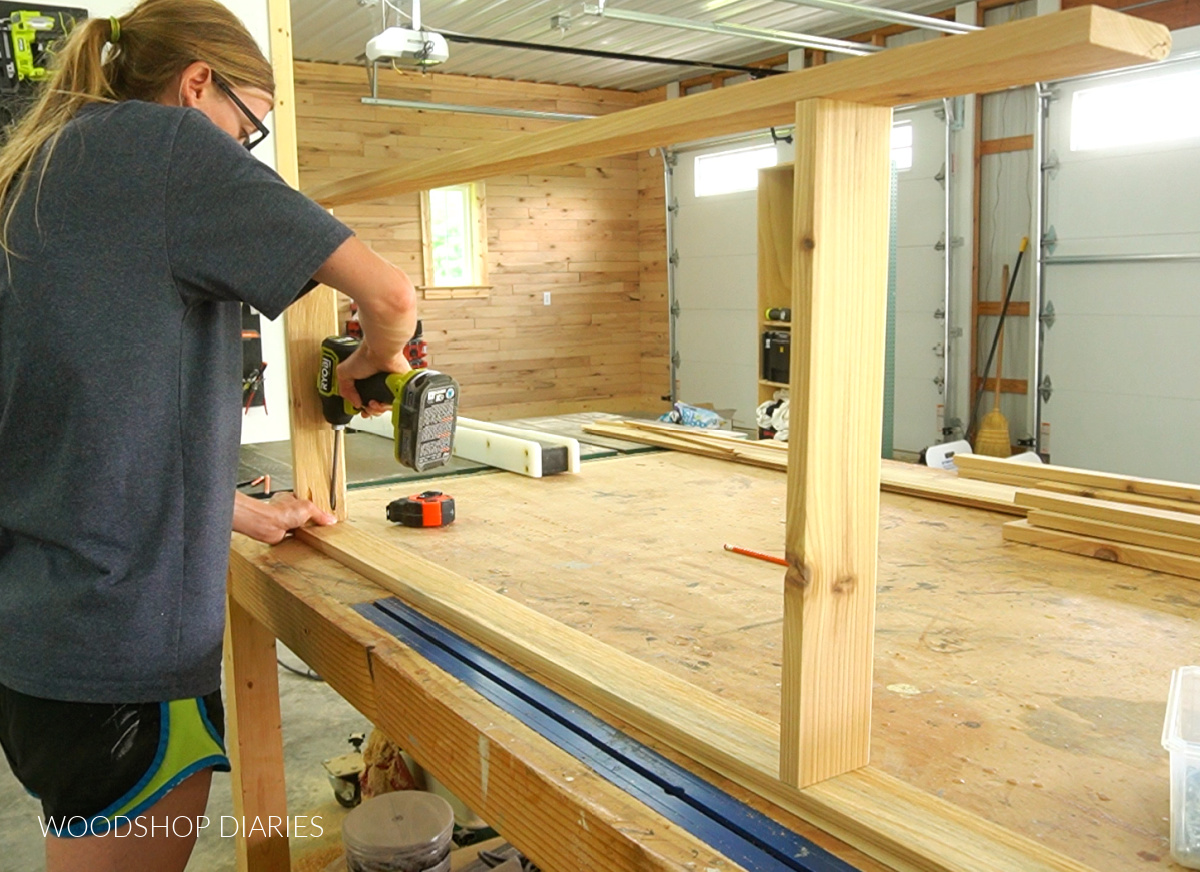
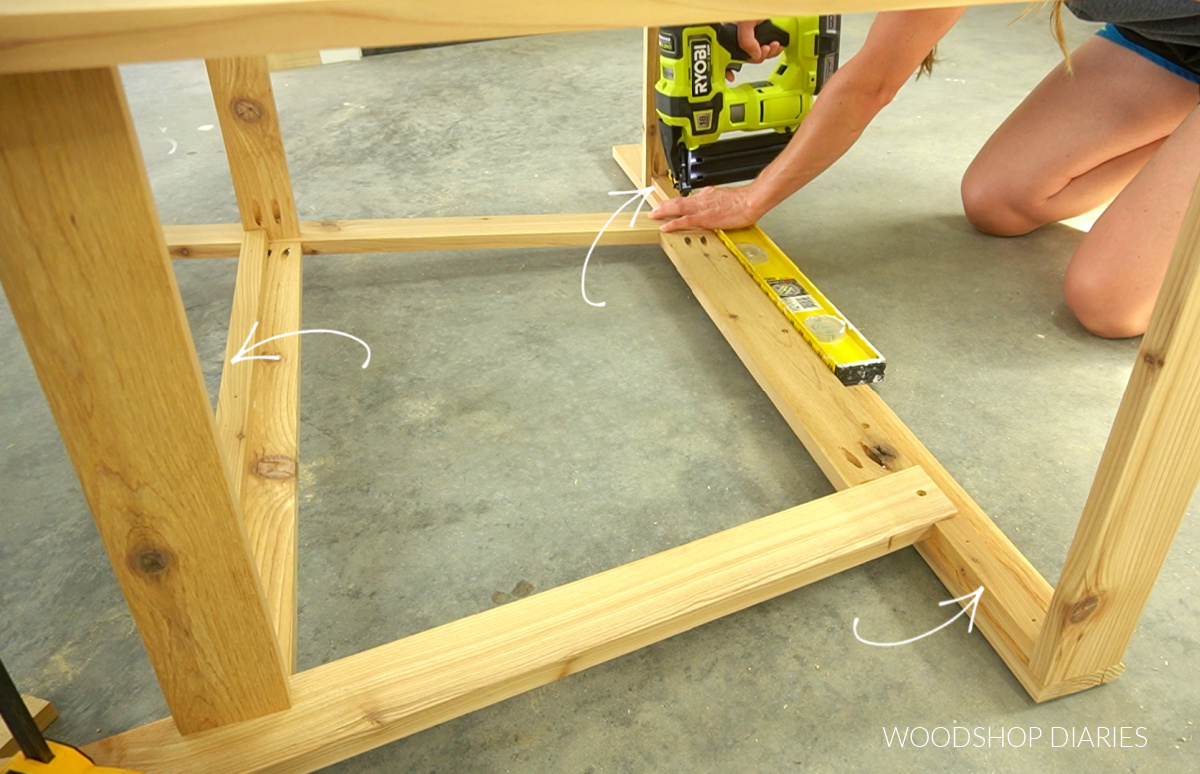
I assembled two frames using 1 ¼” pocket hole screws and a little wood glue. Each frame will have one short and one long leg and I made sure to measure and install the bottom piece parallel to the top.
.
All required dimensions can be found in the plans here.

I built these MIRRORING each other so that when put together, the short legs are on the same side and the pocket holes all face the inside.
Step 2: Install Bottom Sides
I installed two 1×3 bottom shelf sides even with the bottom piece on the frame using ¾″ pocket holes and 1 ¼″ pocket hole screws.
RELATED: How to use a pocket hole jig
.
I just eyeballed the angle on these so that they would be somewhat square to the floor and not angled on the leg…this isn’t critical, I just didn’t want the sides here slanted.
Step 3: Assemble Potting Bench Top Tray
I cut four pieces of 1×3 to assemble the top tray using pocket holes and screws. One short side piece was inset so that there would be room later to add the cart handle.
Step 4: Add Top Tray to Potting Bench Frame
I centered the opening in tray from step 3 onto the frame from step 2 so that it overhung the top of the frame about 1 ½″. Then, I used 1 ¼″ screws to secure the frame to the tray from the inside.
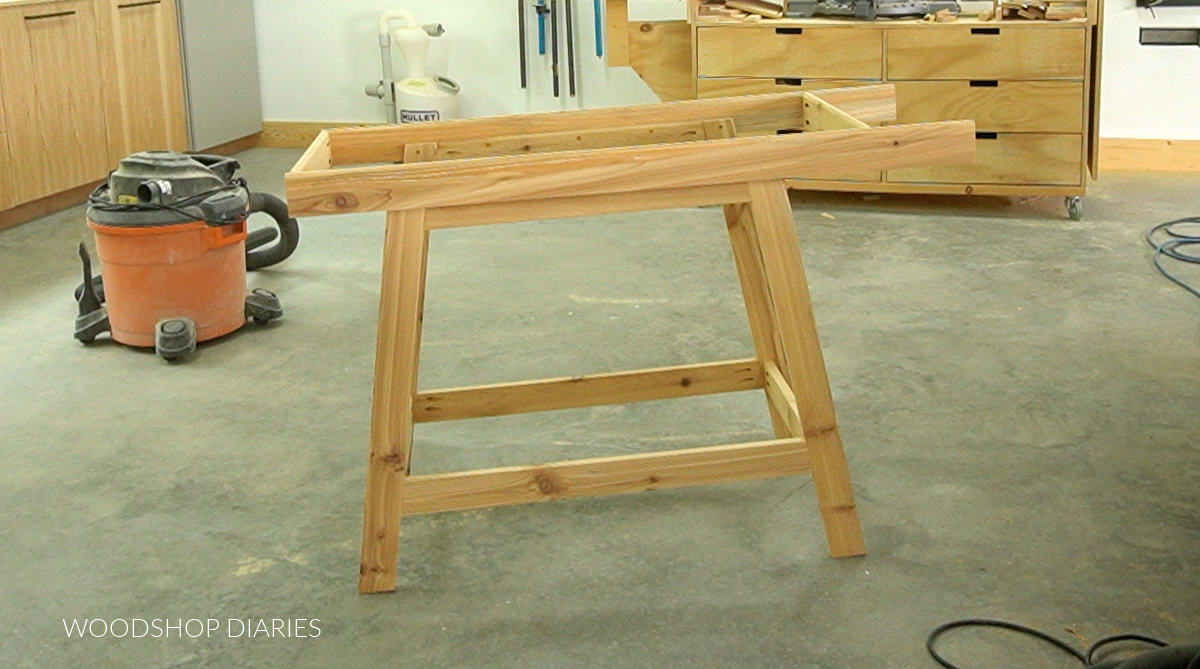
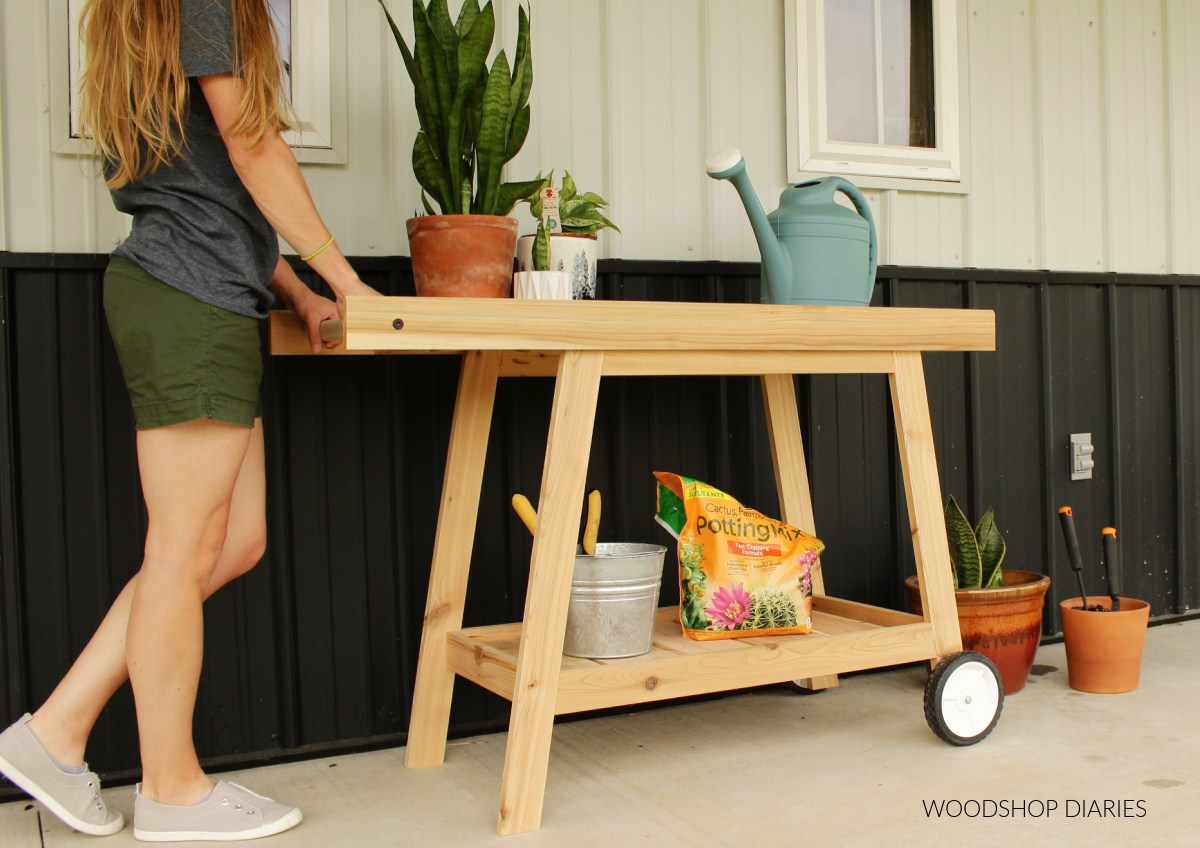
And that gave me this lopsided cart haha. Don’t worry…the wheels will fix the lopsidedness later.
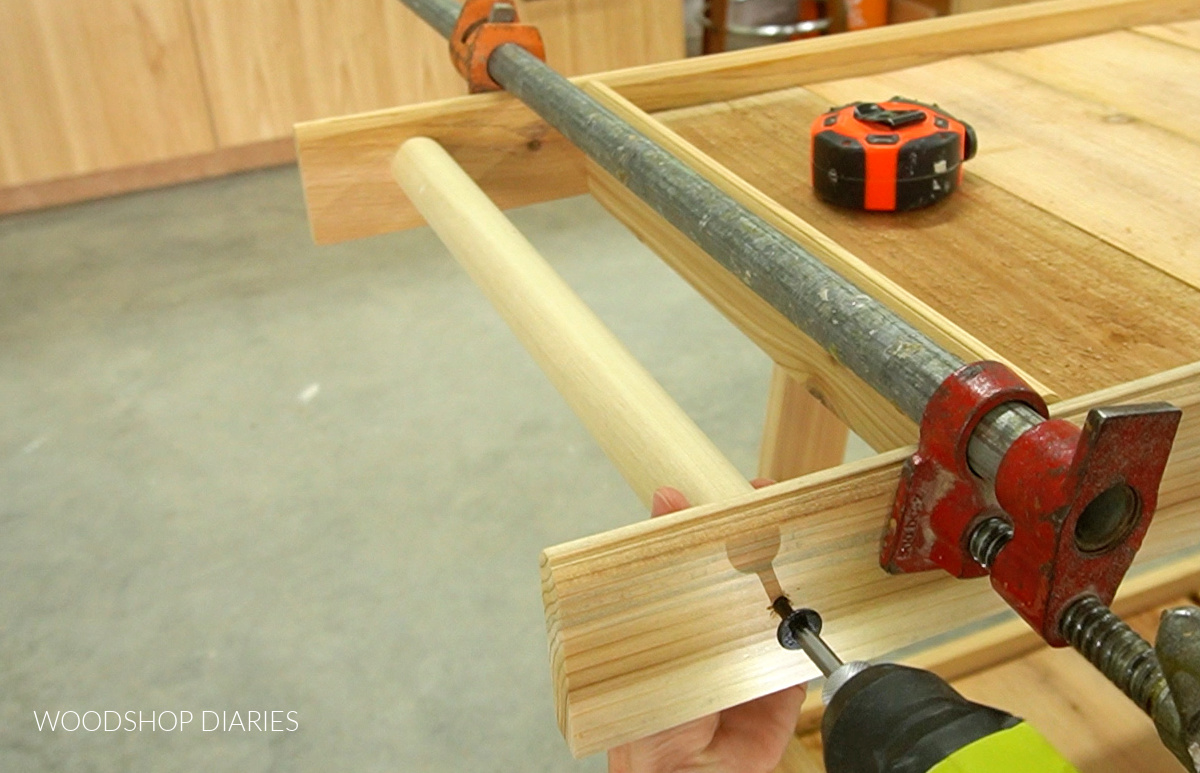
Step 5: Add Potting Bench Cart Handle
I cut a piece of 1” dowel rod to fit between the sides of the top tray. I used some of these black timber screws to install this because I liked the black hardware accent, but a regular wood screw would work here as well.
Step 6: Add Slat Supports
I cut some small scrap strips and glued and nailed them onto the bottom and at the top to give me somewhere to set the slats onto.
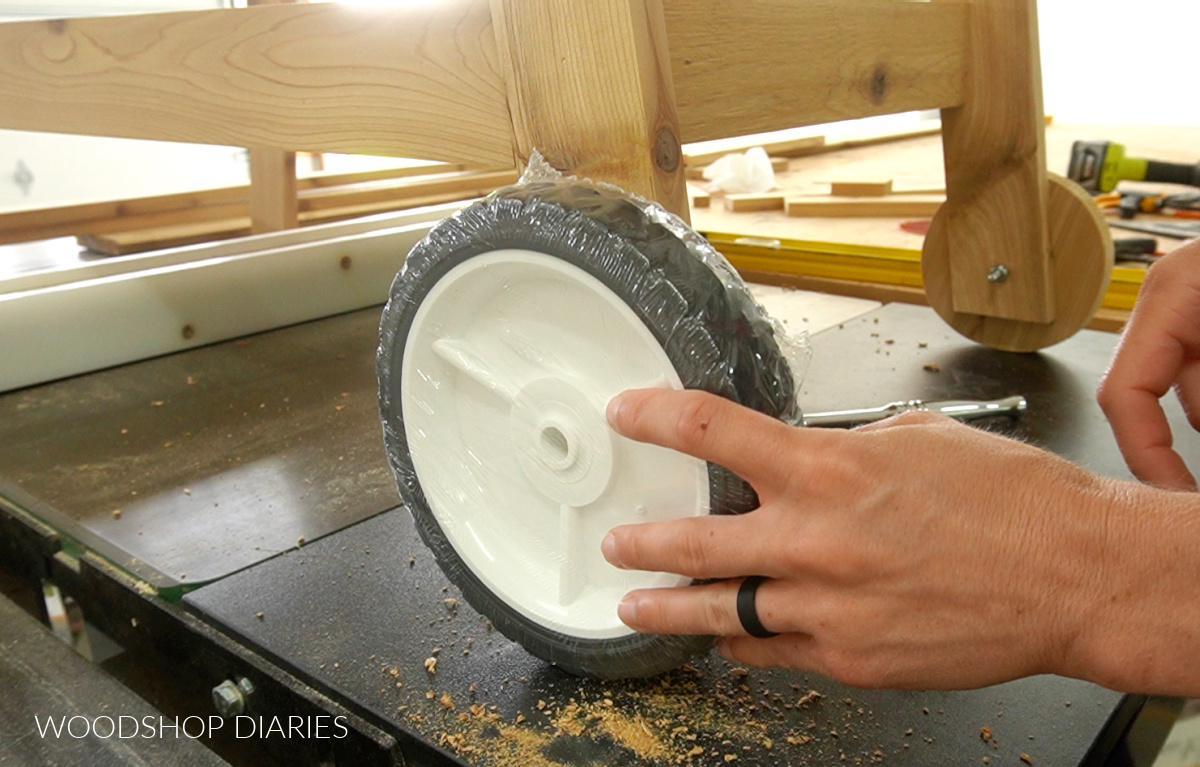
Step 7: Add Wheels to Potting Bench
I mentioned in the notes above that I started out cutting my own wooden wheels and changed my mind. You can choose to use any type of “wheel” for this.
.
However, no matter what kind of wheels you want to use here, this is how I attached them. I set my cart up on my table saw because it’s a flat, level surface.
.
Then, I raised the short side of the cart up until the bottom shelf was level and clamped the wheels onto the short legs at that height.
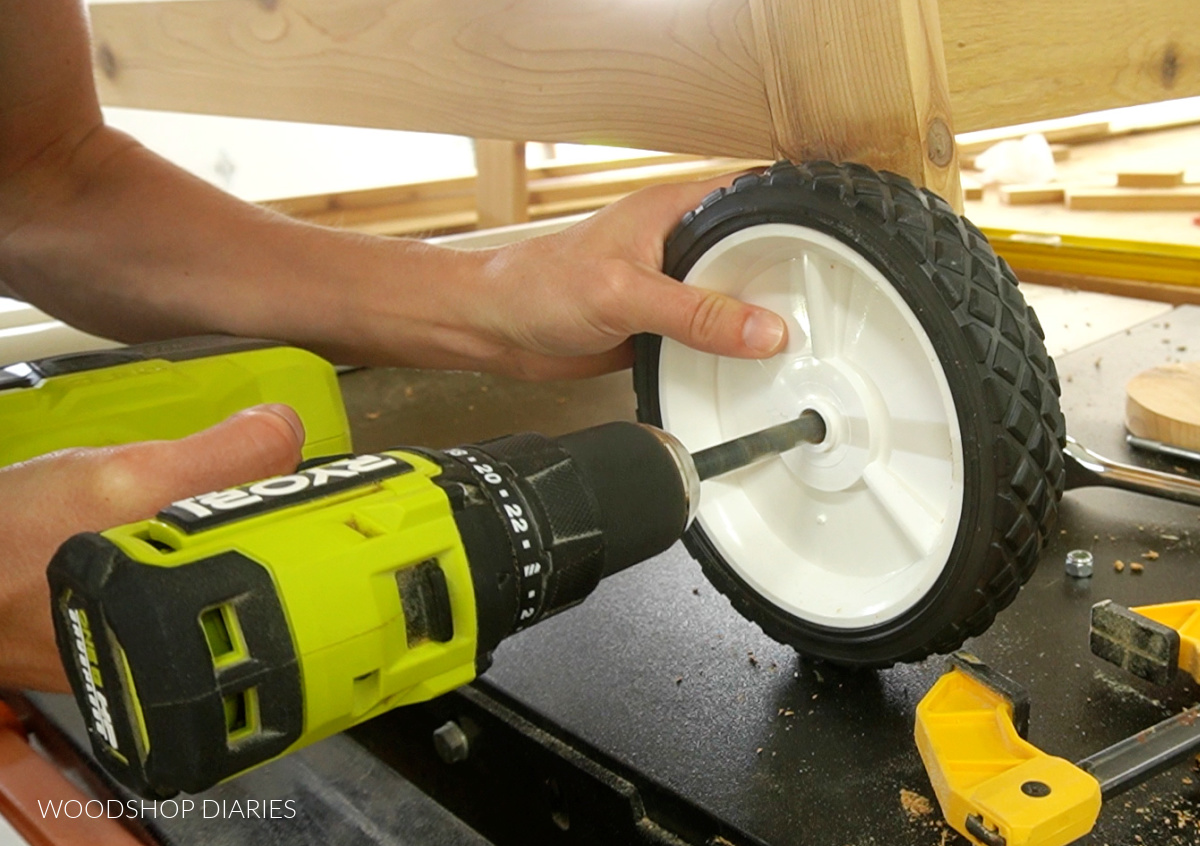
I drilled a hole through the center of the wheel and through the leg, then used a bolt just slightly smaller in diameter than the hole I drilled and added a nut on the end.
.
I tightened it just barely snug so it was tight enough to hold the wheel in position, but loose enough to still be able to spin.
Step 8: Add Shelf Slats
Then, I cut some 1×6 cedar fence picket pieces for the shelf slats. You could certainly use regular 1x6s or even plywood, or whatever width boards you want for this, but fence pickets are a fraction of the price of any of those options, so that’s what I used here.
.
I cut 7 for the top and 5 for the bottom and set them in place on the little supports.
I did come back and sand these as they were a little rough, but I didn’t attach them so they’d be easy to remove and clean off later if I got potting soil on them or whatever.
.
However, you could certainly nail or screw these in if you’d like. And now, this cart is ready for use!
I didn’t apply any finish to this cart—I’m still undecided on whether it’s going inside or staying on the porch or what’s happening with it, so for now, I’m leaving it as is.
.
But, you can apply a paint, stain or poly as desired—just make sure it’s an exterior finish if you plan to use it outside.
RELATED: How to finish DIY furniture projects

Building Plans:
I’m sharing the project dimensions, cut list, and detailed instructions in the FREE building plans here on KregTool.com.
.
I hope you enjoyed this fun and simple summertime build and if you want to build your own, don’t forget to head to KregTool.com for the free building plans for this and hundreds of other DIY projects.
.
If you liked this DIY potting bench with wheels, be sure to subscribe and follow along for tons more projects coming soon.
If you’d like to save this for later, don’t forget to pin it or share it to your favorite social channel!
Until next time, happy building! 🙂