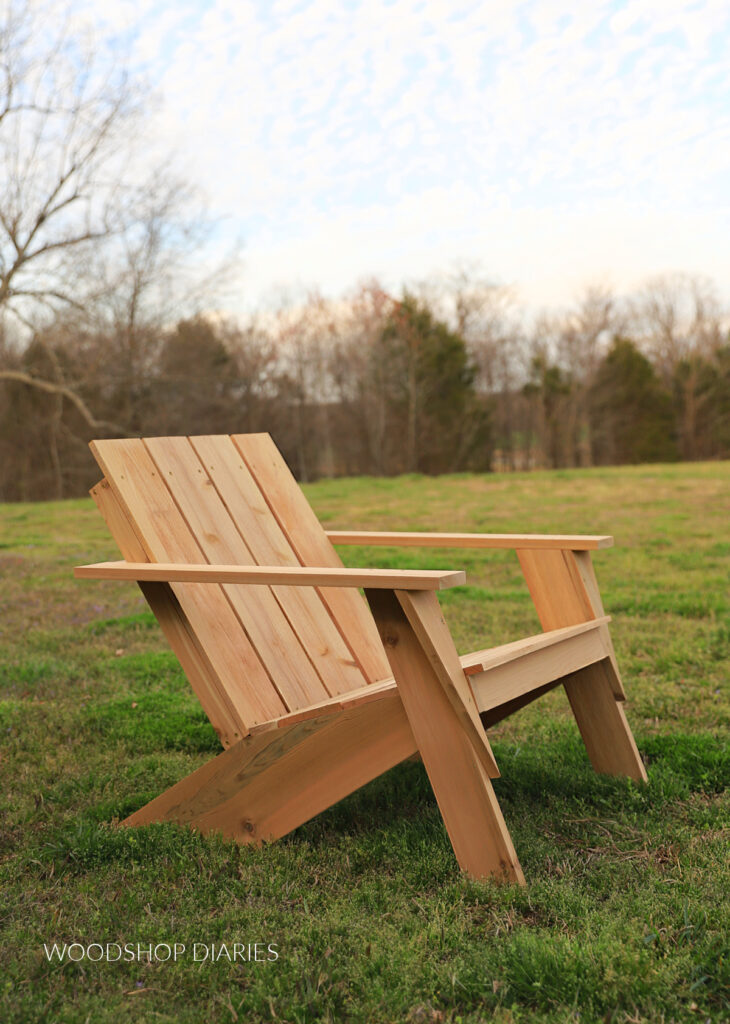
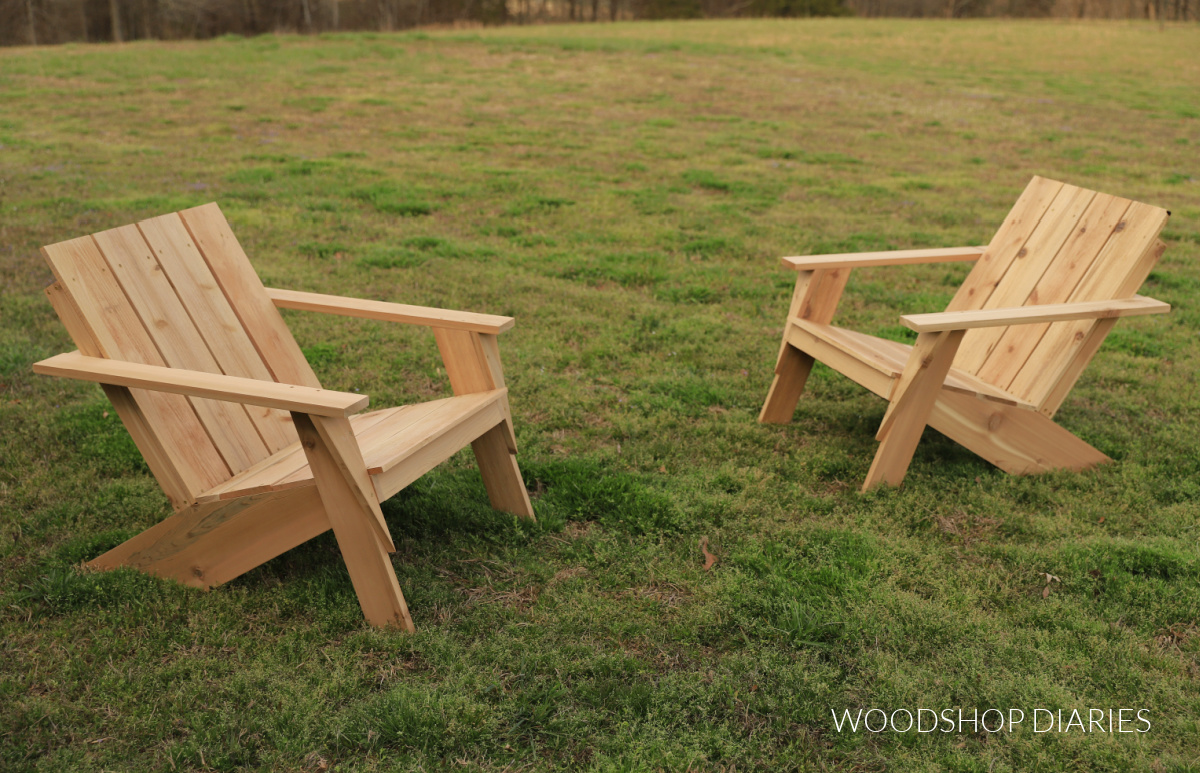
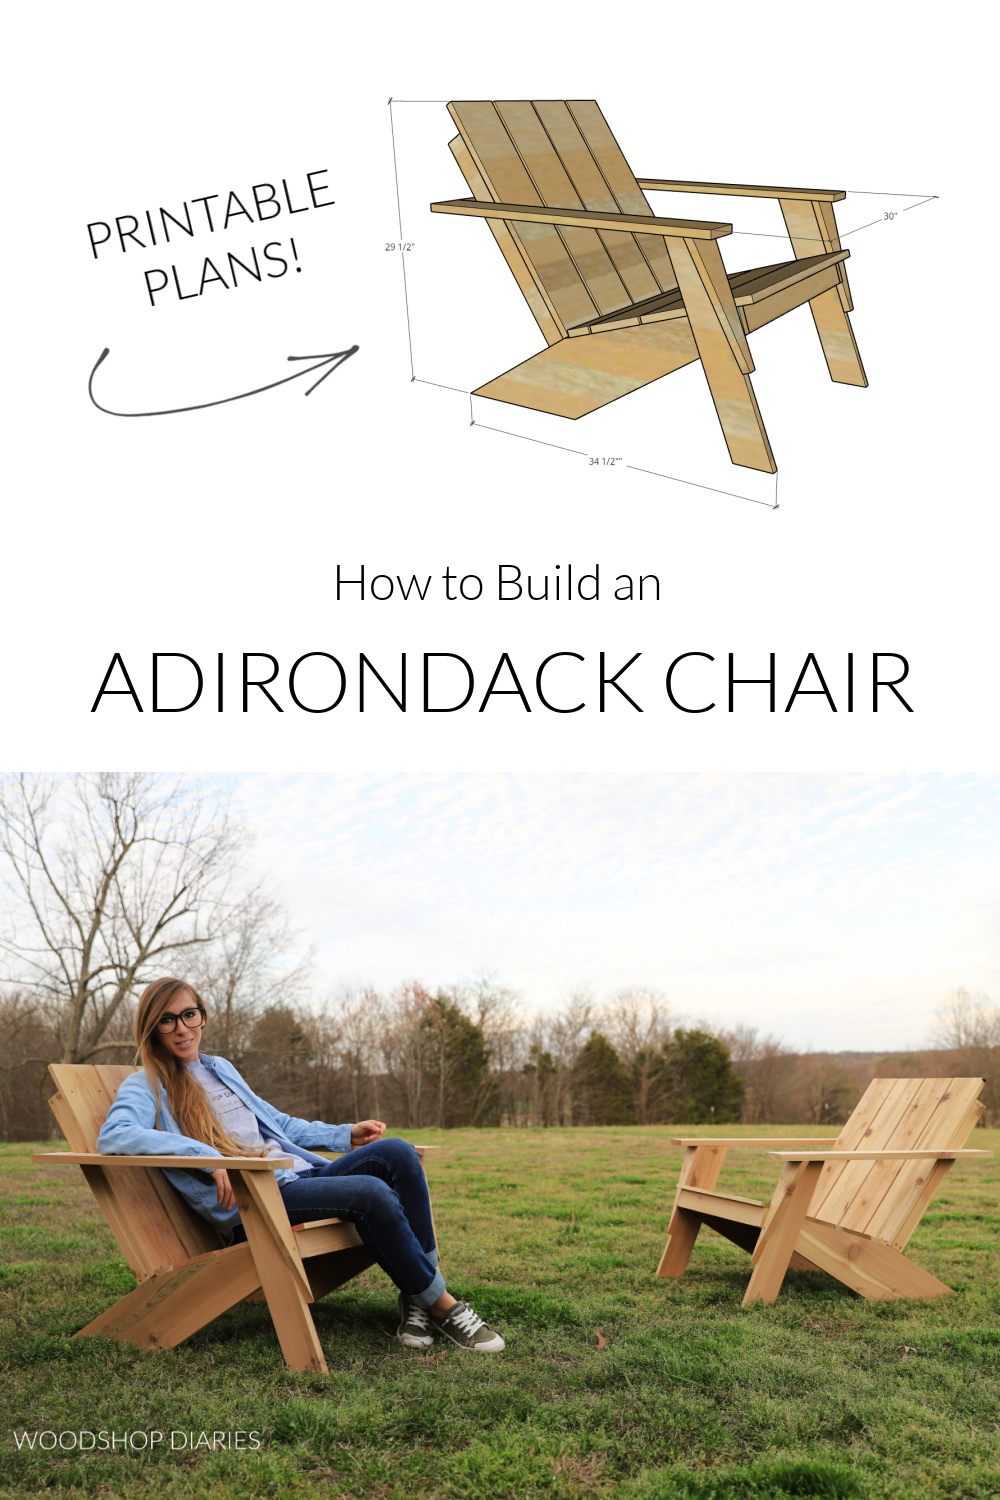
In this post, I’m sharing building plans for this DIY Adirondack chair!
This is a simple and modern take on this popular outdoor chair style that you can build in just a couple hours with basic tools and common materials!
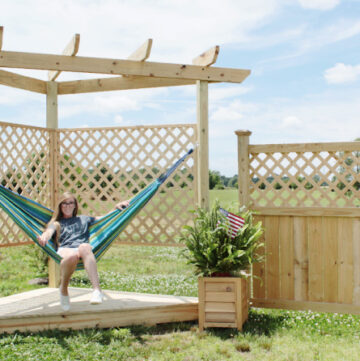
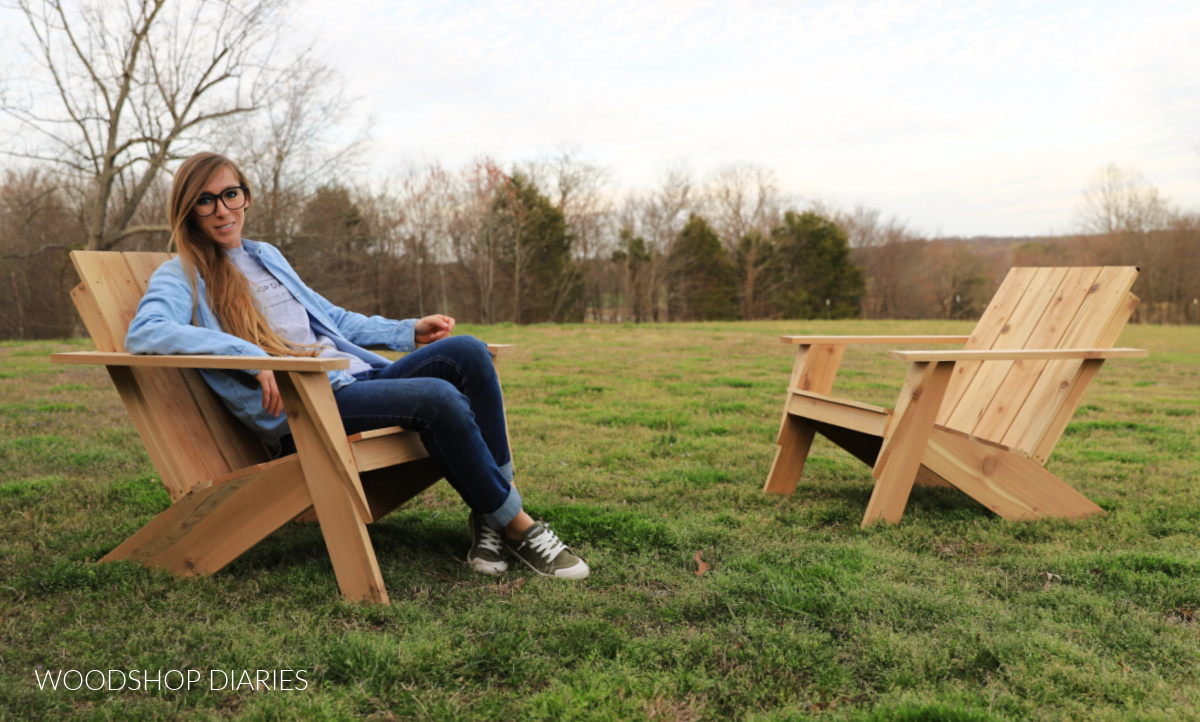
Place these beautiful DIY Adirondack chairs around a fire pit, on your porch, under a pergola, or by the lake.
One of my favorite features of this outdoor chair is that it’s lightweight and easy to carry, so you can grab it and move it wherever you feel like lounging this summer.
This is a really simple, fun, and quick weekend woodworking project and I’m sharing how to build it in the plans below!
But, first…
*This post contains affiliate links. See website policies for details.
What is an Adirondack Chair?
An Adirondack chair is defined as an outdoor lounging chair with wide arm rests, a tall, slatted back, and a backward sloping seat.
The original Adirondack chair was created in 1903 by Thomas Lee who wanted to create the perfect outdoor chair for his lake house. It was originally called the Westport plank chair–named after the city it was created in.
Eventually, they became more widely know as Adirondack chairs–named after the Adirondack mountain range in New York.
Adirondack chairs have been a very popular outdoor chair style for over 100 years and there are thousands of varying styles, sizes, and designs to pick from.
This particular design I’m sharing here leans a little more modern with the clean, straight lines, and angled features.
What Do You Need to Build an Adirondack Chair
Tools:
- Miter saw
- Drill/Driver
- Circular Saw
- Kreg Rip Cut and Kreg AccuCut Cutting Guides (optional, but helpful)
- Pocket Hole Jig
- Speed Square
Materials:
- (1) 1x8x8 board
- (2) 1x6x8 boards
- (1) 1x4x8 board
- (2) 1x3x8 boards
- 1 ¼″ exterior pocket hole screws
- 1 ¼″ exterior wood screws
- Wood Glue
What to Know Before Building an Adirondack Chair
This is a great weekend woodworking project as it only takes an hour or two to assemble. It requires minimal tools and is a great beginner project.
What type of wood should you build an outdoor chair out of?
It’s important to consider what type of wood you use for outdoor projects since it will be exposed to the elements continuously. While any wood would work fine…for a while, there are some types that will last outside much longer than others.
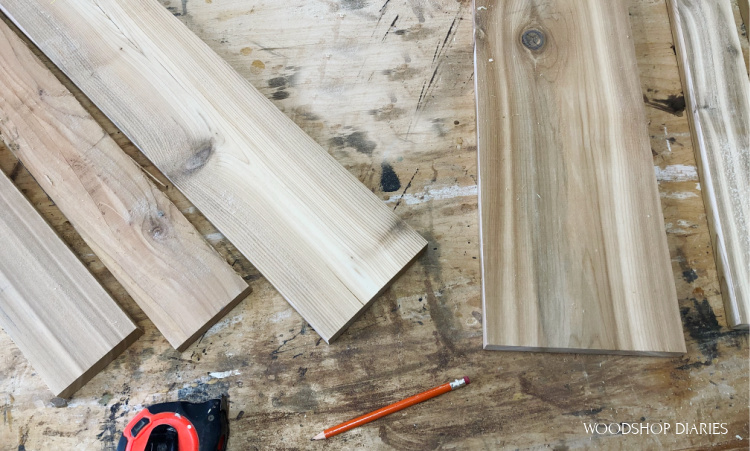
For this project, I used cedar wood to build my chairs as it’s readily available where I live. Cedar is a naturally rot and moisture resistant wood.
Other great lumber options for outdoor projects are red wood, cypress and white oak depending on the availability where you live.
You can use pressure treated lumber as well, but it’s not always the most desirable since it’s heavy and often has a green tint and an odd smell when it’s fresh.
Untreated, regular pine wood would work fine if you’re on a budget, but it weathers and rots quickly if not protected. So if you use it for outside projects, take care to properly finish and seal it with an outdoor paint for longest life.
Untreated pine can last several seasons outside if properly sealed.
Use Exterior Grade Hardware and Finishes
Any time you are building an outdoor project, make sure the glue, screws, hardware and finishes you use are rated for exterior use.
In this case, I used Gorilla Wood Glue since it’s rated for exterior use and I used decking screws since they are coated with a corrosion resistant coating to prevent rust.
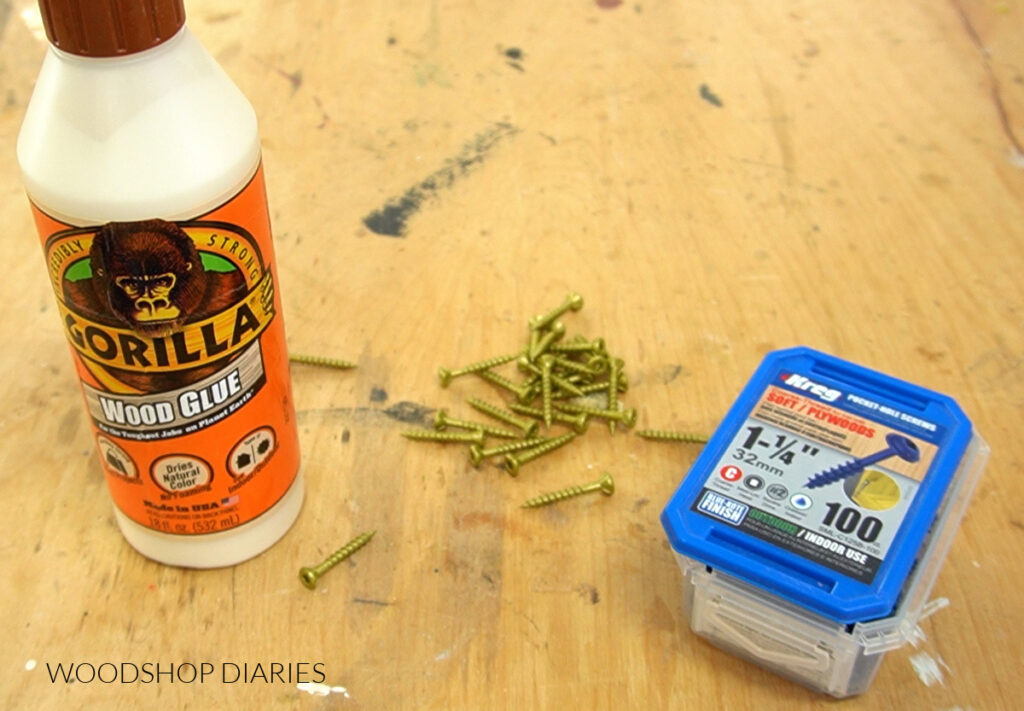
I also used Kreg Blue Kote pocket hole screws that are designed for outdoor use.
Make sure the paint or stain you apply is rated for exterior use as well so that it will hold up to the UV rays and moisture it will be exposed to outside. I sealed these chairs using Minwax Helmsman Water Based Clear Coat.
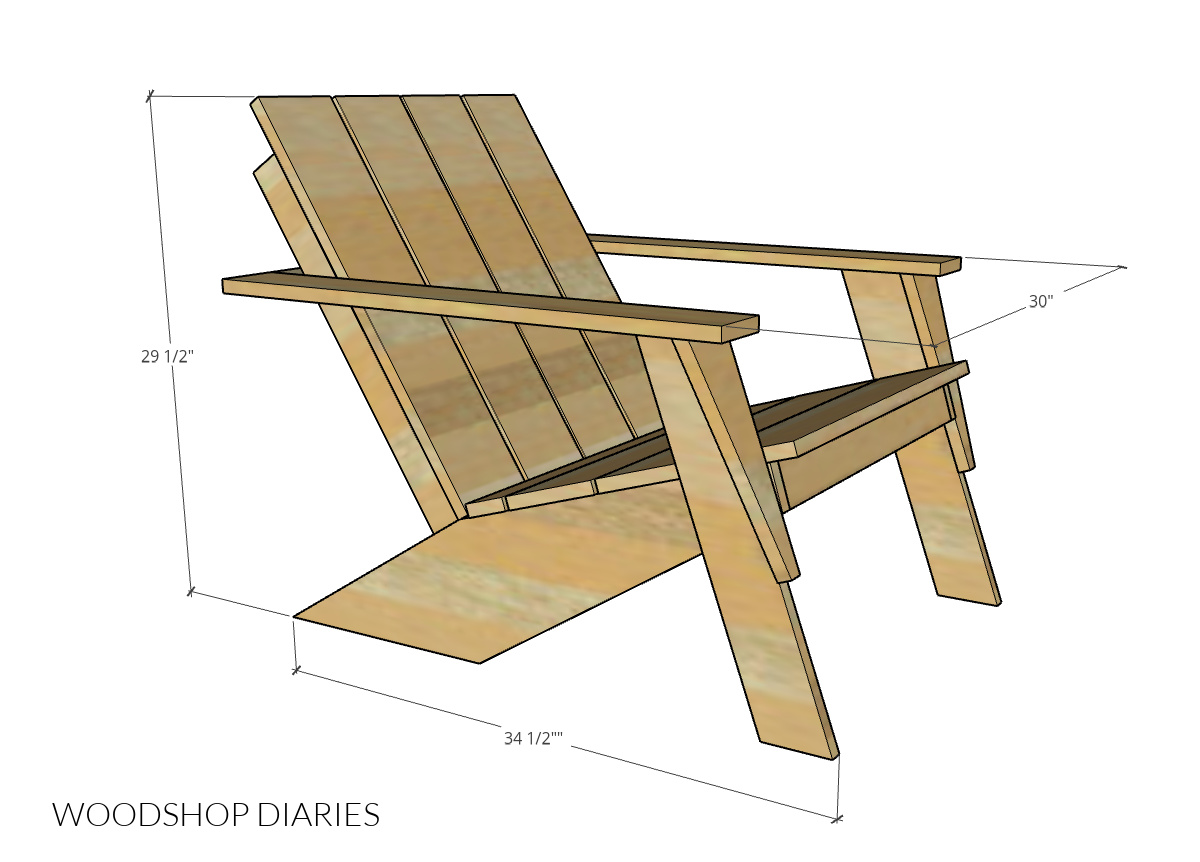
Overall Adirondack Chair Dimensions
The overall size of this DIY Adirondack chair is 29 ½″ tall x 30″ wide x 34 ½″ deep. The seat height from the ground at the front is about 14 ½″.
How to Build a DIY Adirondack Chair
I’m sharing the step by step how to so you can build your own Adirondack chair below.
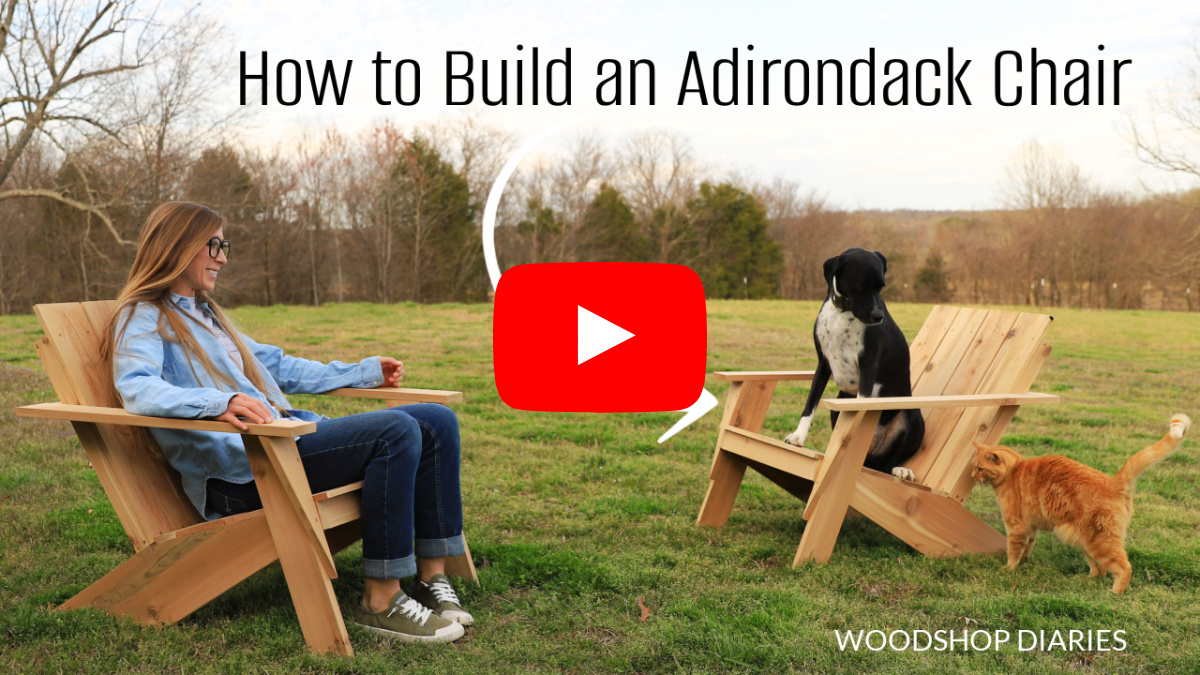
But if you prefer to watch, I’ve also put together a detailed build video you can check out here:
And if you prefer to print, be sure to grab the printable building plans here:
Step 1: Cut and Assemble Leg Assemblies
The first pieces I cut for these chairs were the legs. I have a complete cut diagram with dimensions detailed in the printable plans.
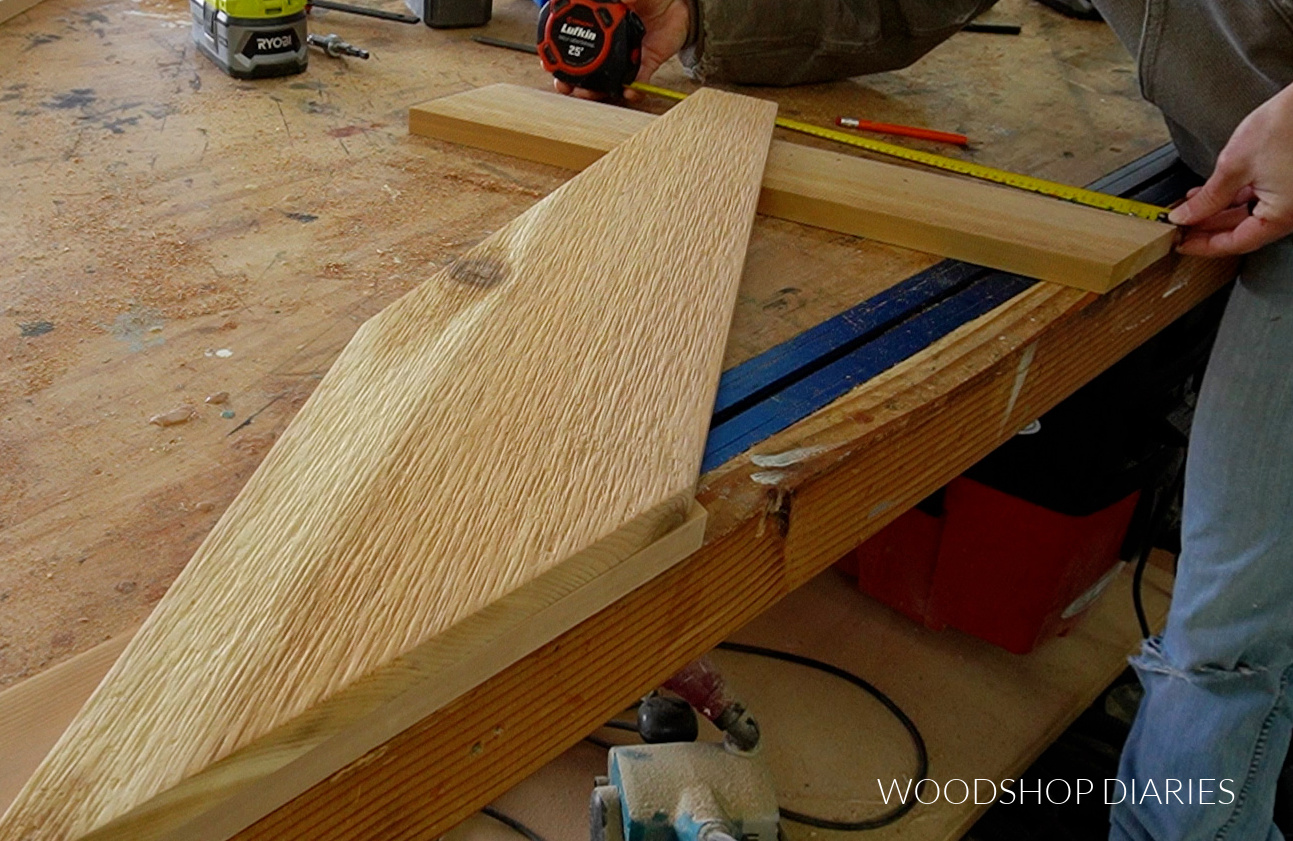
The back legs are cut from the 1×8 board. First, I adjusted my miter saw to 15 degrees and cut off the very front corner of my board.
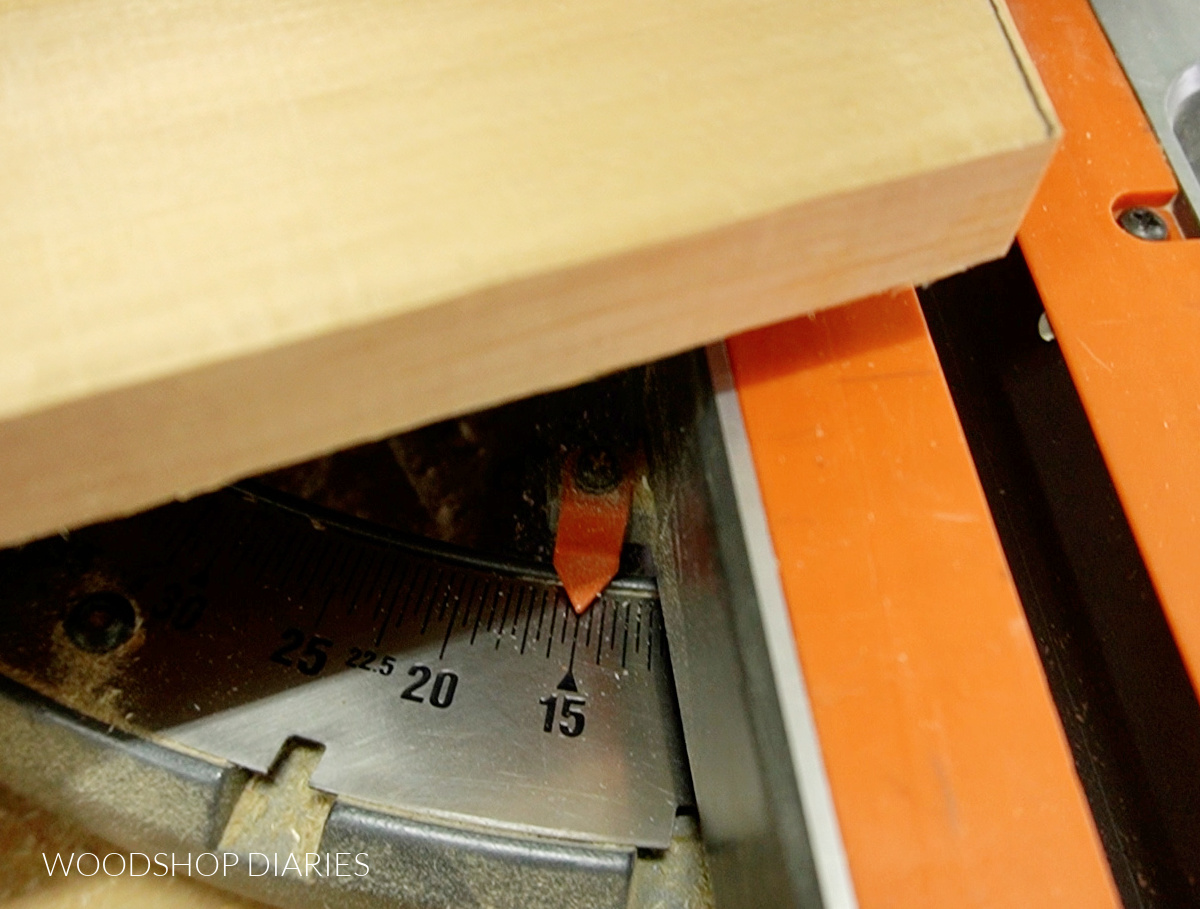
I cut this front corner of the board a little at a time until the cut edge was about 2 ½” long.
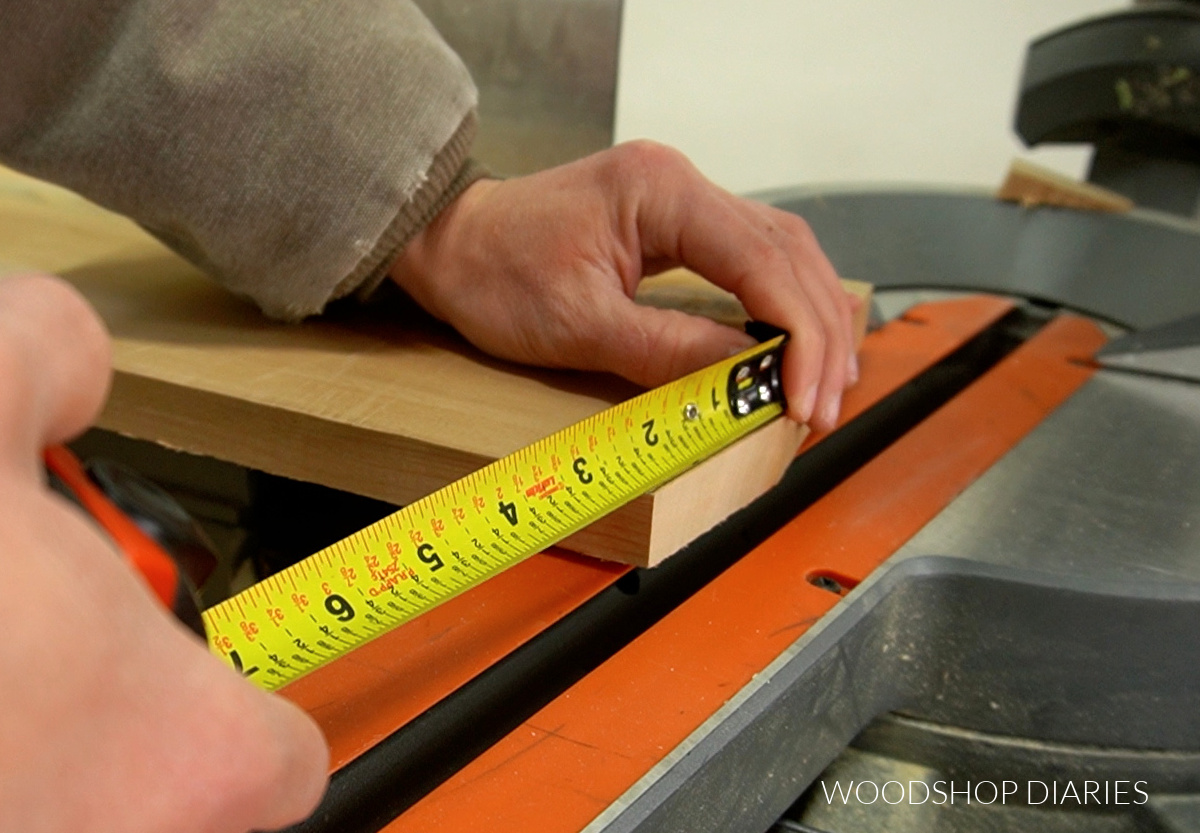
Once this 15 degree corner was cut, I measured down the board the length of the seat, adjusted the miter saw to 58 degrees the opposite way and cut across the board.
I highly recommend checking out the video for tips on cutting these back legs.
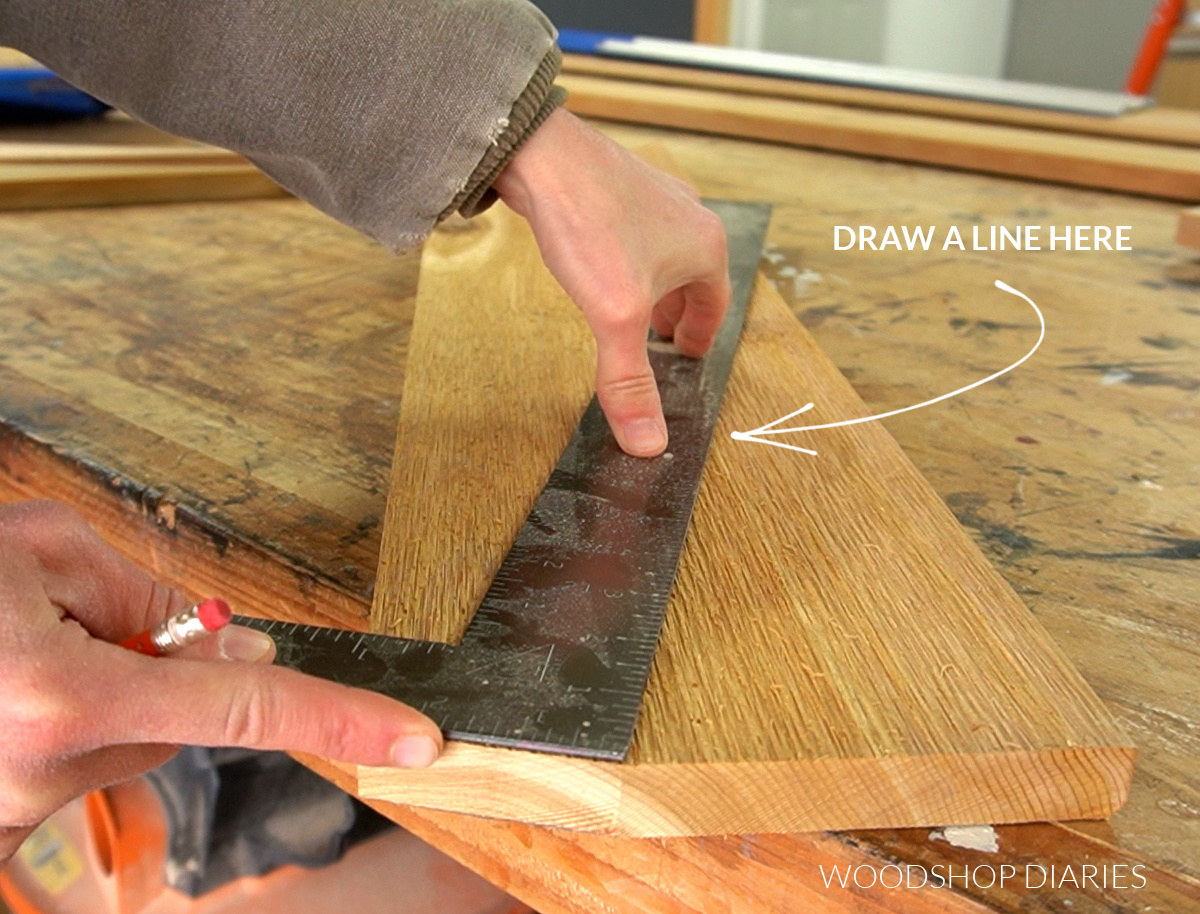
I brought this leg to the workbench and used a square to draw a 90 degree line from the 2 ½″ edge I cut off the corner.
After drawing this line, I placed the leg on some scrap blocks, clamped it in place, and used a circular saw and Kreg AccuCut to cut right along this line. And that gave me my first back leg for the chair.
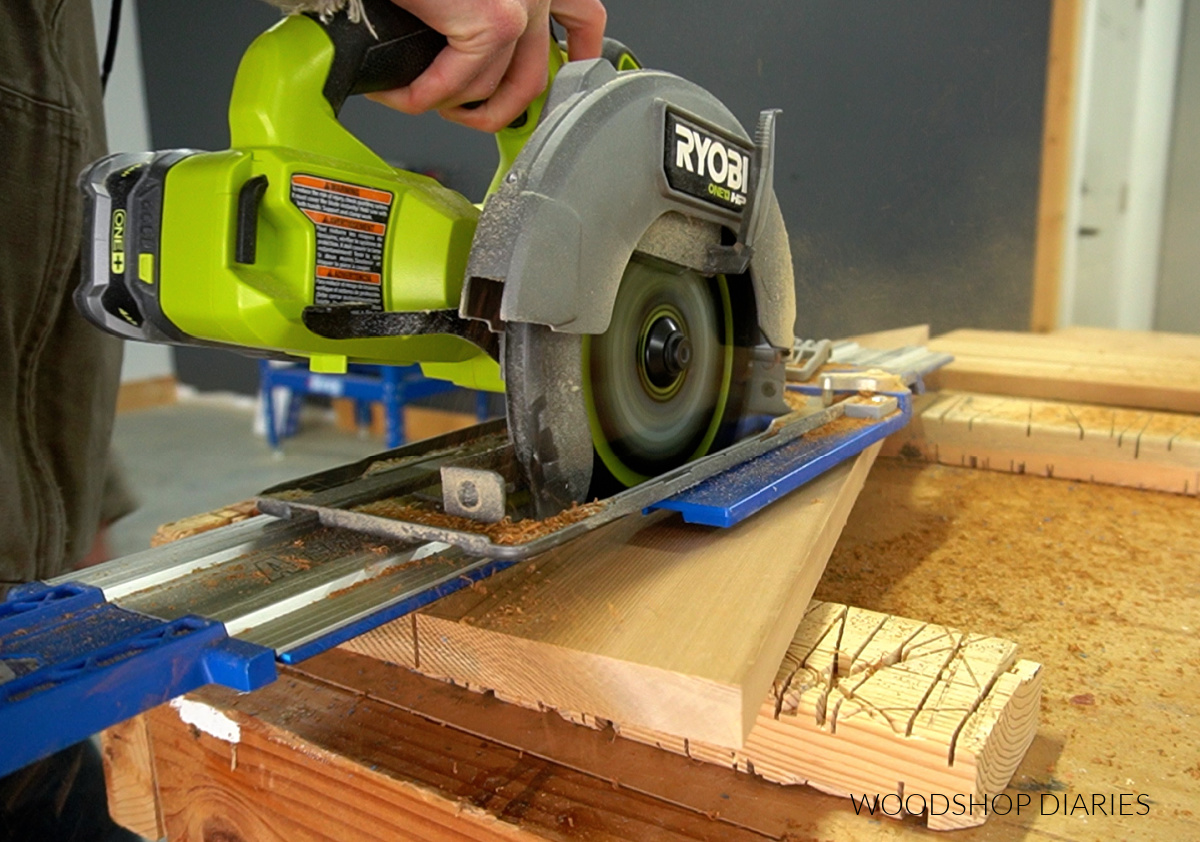
I hung onto the triangle piece I cut off here to use in the very last step.
Once this first back leg was cut, I traced and cut a second one just like it from the same 1×8 board. Then, I set the remaining 1×8 board to the side to use later.
For the front legs, I cut two pieces of 1×4 with simple mitered ends–these were a lot simpler than the back legs haha!
Again, all the angles, dimensions and cut diagrams can be found in the plans here.
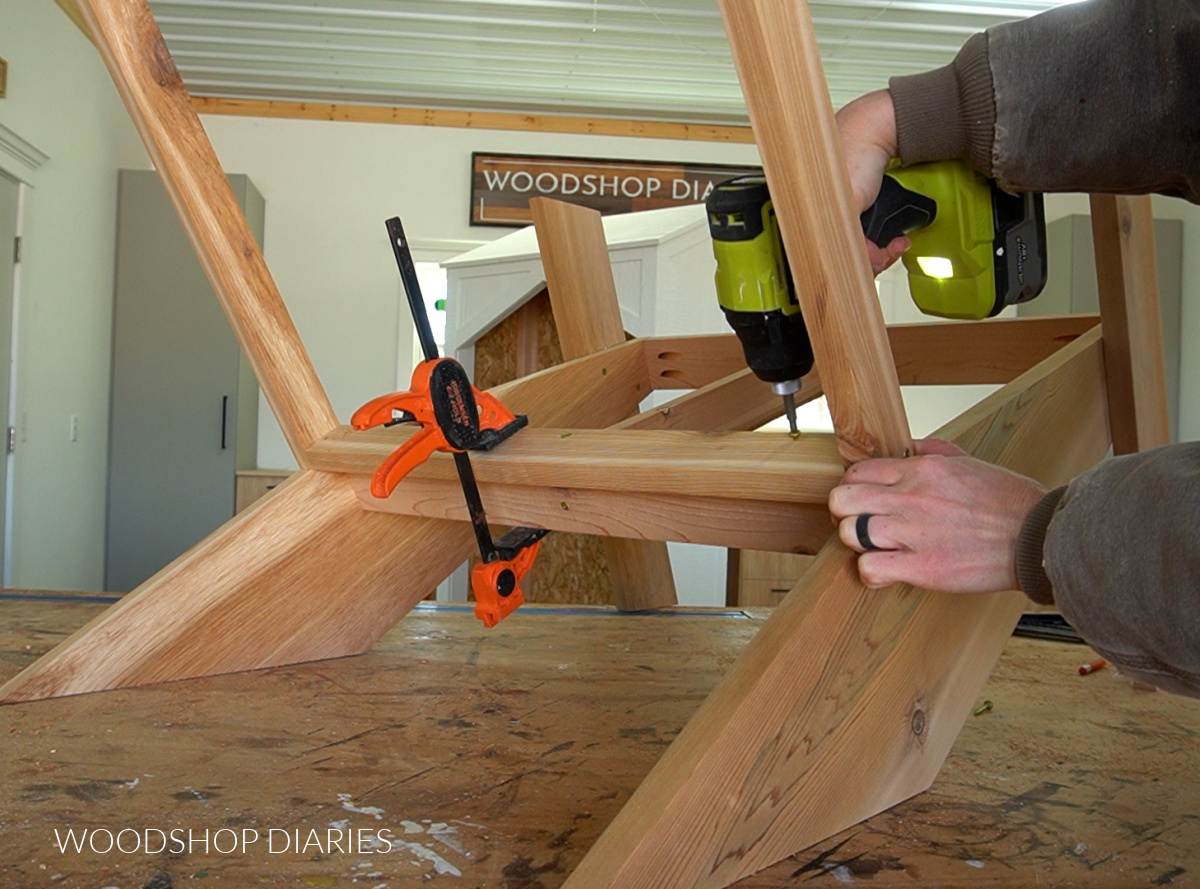
I arranged the front and back legs on my workbench so that the bottom edges were even.
Once I positioned everything, I predrilled my holes first, then applied an exterior wood glue, and secured with 1 ¼” screws.
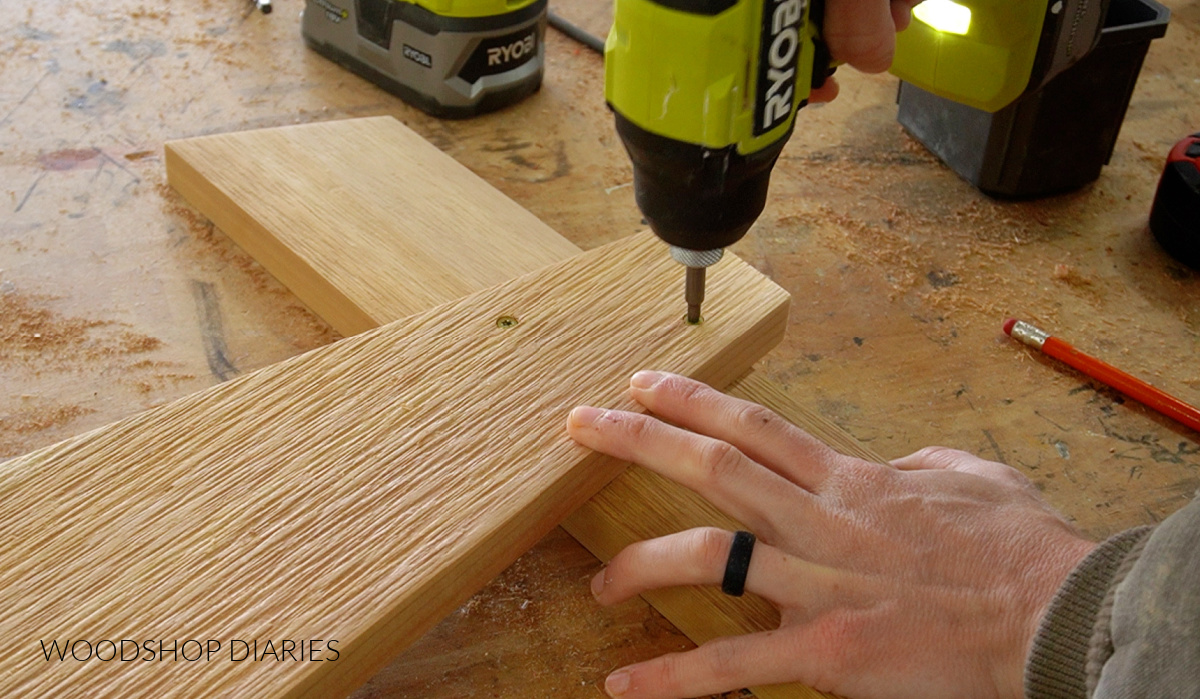
Predrilling first allows me to move the pieces to add the glue, but still line them back up once I drive the screws.
I repeated this for the other side of the chair, making sure to mirror them so that this time the front leg is on the opposite side of the back leg.
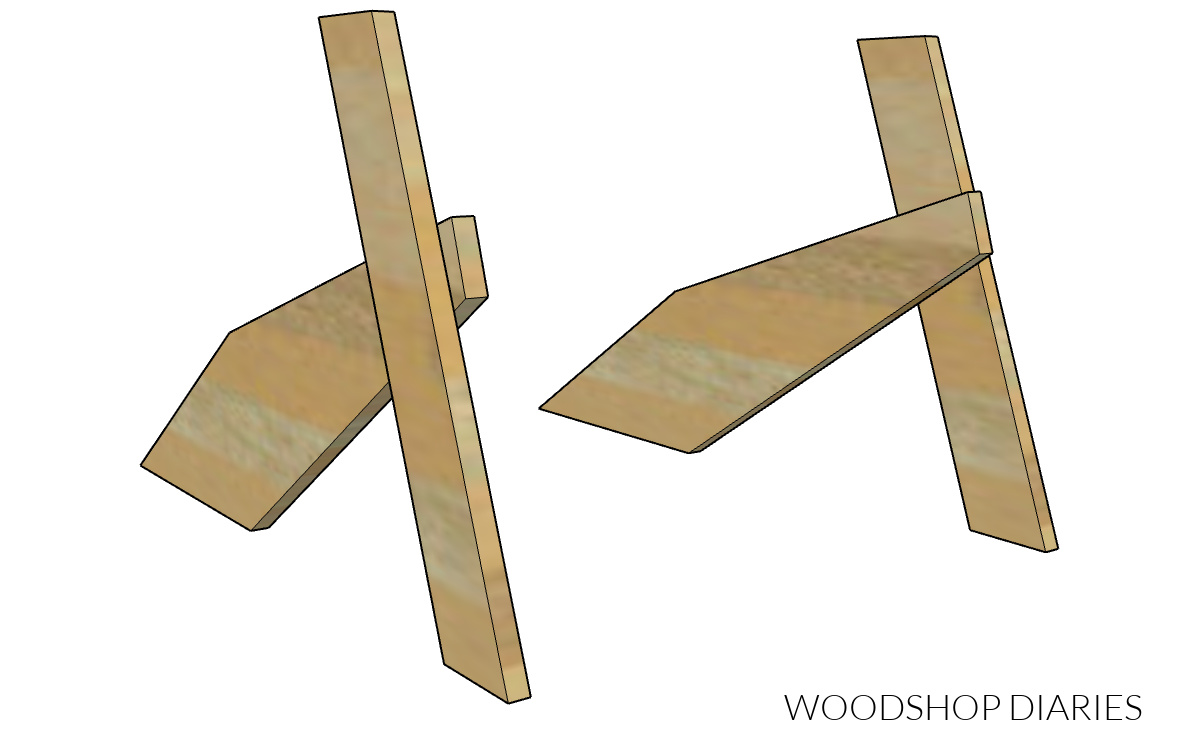
That way, when they come together like this, the two back legs are on the inside—this is where the seat slats will rest later.
Step 2: Assemble Adirondack Chair Frame
Once the two leg assemblies were together, I cut two pieces of 1×3 and drilled ¾″ pocket holes into the ends of each.
RELATED: How to drill pocket holes
I attached these between the two leg assemblies using 1 ¼″ exterior pocket hole screws.
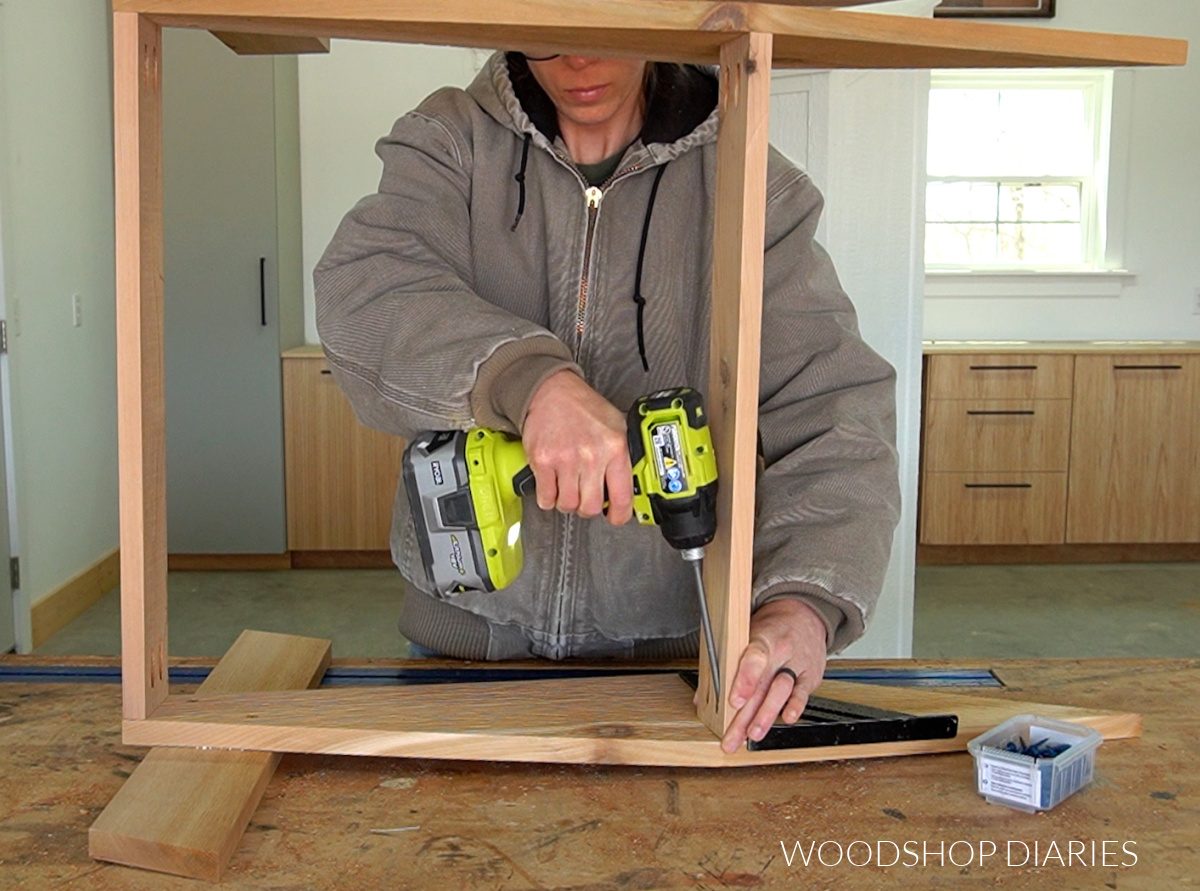
The front piece goes flush to the front of the back legs, and the back piece is installed square to the top edge of the back of the leg right behind the angle change.
Once these pieces were installed, I cut another piece of 1×3 to fit between them–the front edge is cut square and the back edge should be mitered 15 degrees.
I installed using ¾″ pocket holes and 1 ¼″ exterior pocket hole screws so that it was centered side to side in the frame.
Prefer to print? Grab the printable plans to build your own here.
Step 3: Attach Back Rest Frame
I cut four pieces of 1×3 to assemble a basic rectangle frame for the back rest.
I used 1 ¼″ screws to secure the frame together making sure to predrill before driving to prevent wood splits.
Once the frame was together, I applied some wood glue to the back 1×3 on the seat frame and clamped this frame on top of it so it was flush across the front edge.
Then, I predrilled and drove 1 ¼″ screws through the top to secure.
At this point, the back frame may be a little flimsy, but it’ll stiffen up once the arm rests are attached.
Step 4: Assemble and Install Arm Rests
In step 1 after cutting the back legs, I set the remaining 1×8 board to the side. At this point, I brought it back out and trimmed it to 30″ long.
I ripped this piece in half down the middle for my two arm rests. You can use a table saw for this if you have one, but a circular saw and a straight edge or cutting guide would work as well.
Then, I cut a piece of 1×3 to attach them together across the back.
I assembled this “U” shaped arm rest frame using ¾″ pocket holes and 1 ¼″ pocket hole screws.
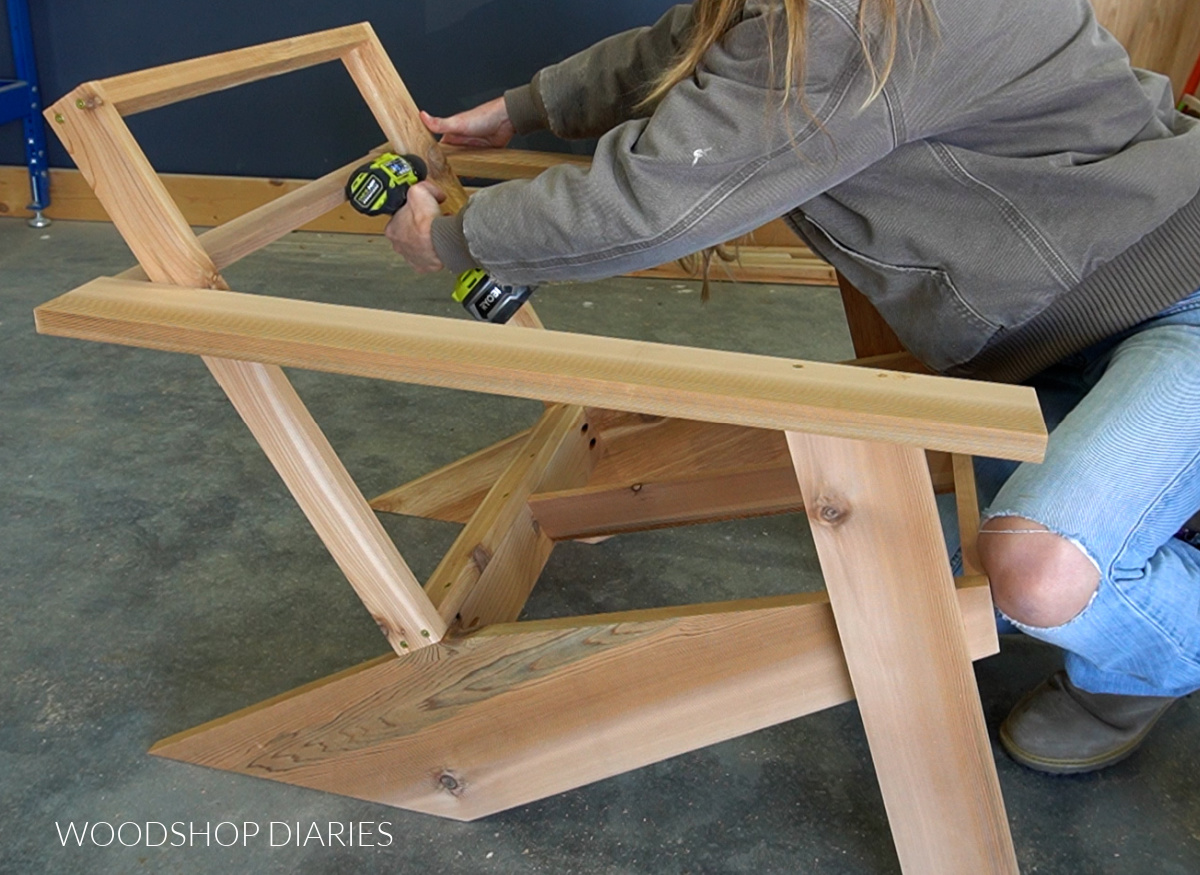
I set this onto the chair frame so that the arm rests sat flat on the top of the front legs and so that the 1×3 on the back was pushed up against the back frame of the chair.
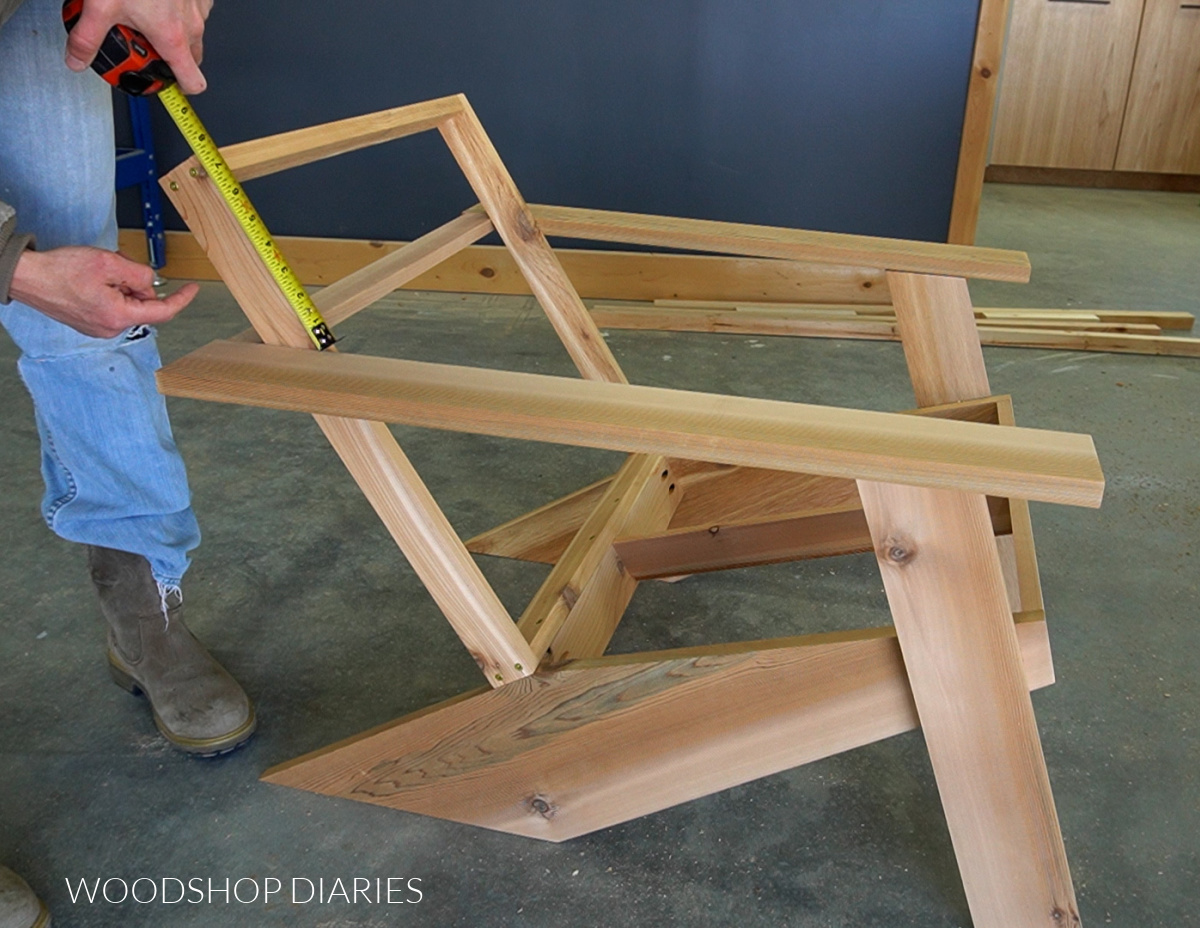
Before securing, I measured to make sure the frame was at the same height on both sides (you don’t want to install it crooked).
Then, I used 1 ¼″ screws through the top of the arm rests to secure into the front legs.
I also used a couple 1 ¼″ screws through the inside of the back frame to secure it to the sides of the arm rests on each side.
Step 5: Add Back and Seat Slats
Now it’s starting to look like an Adirondack chair! It’s time to add the slats.
I used 1×6 cedar fence pickets for the seat slats because this saves quite a bit of money compared to using regular 1×6 cedar boards.
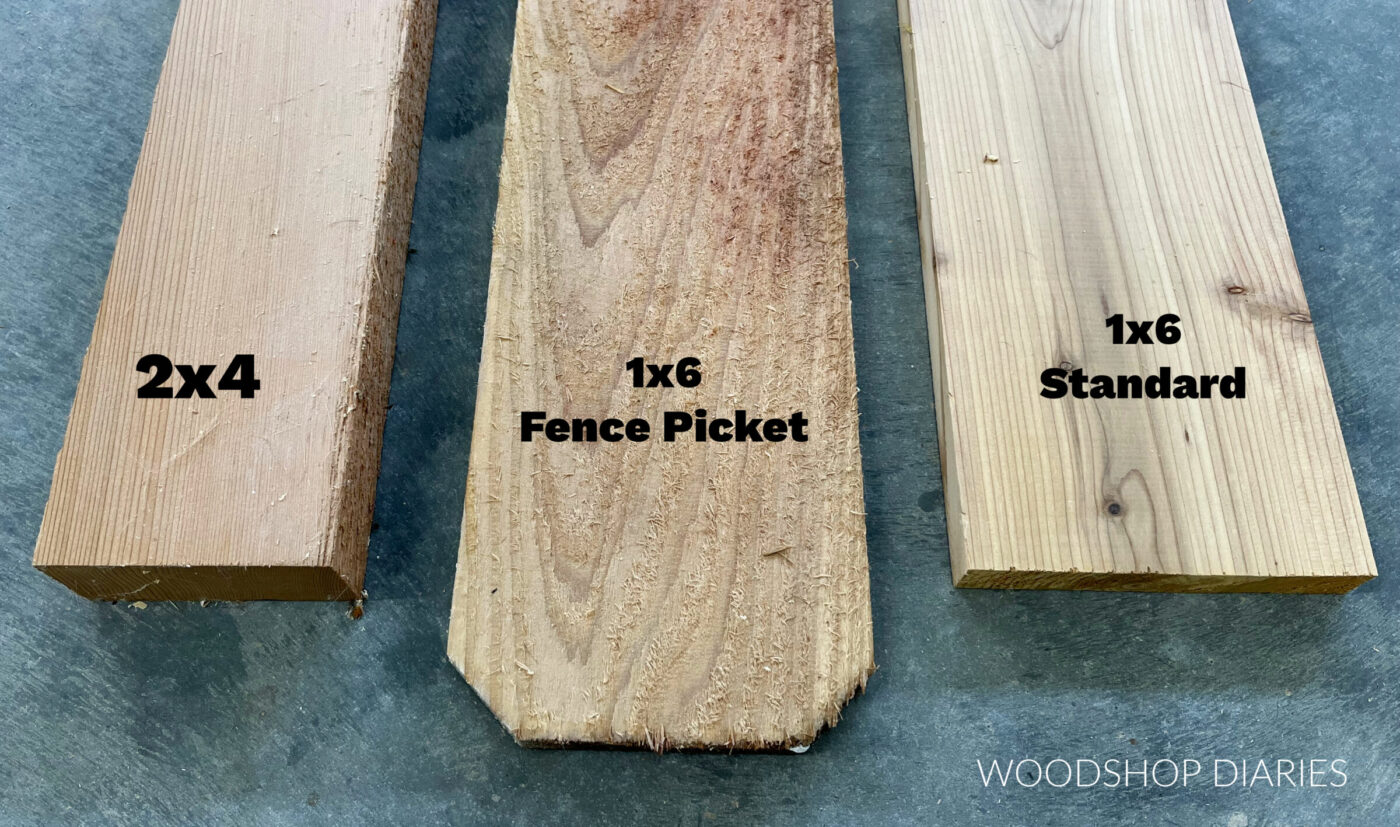
Cedar fence pickets in my area are about $4 each (for a 6 foot picket) and cedar 1x6s are about $34 (for an 8 foot board).
However, fence pickets are a little rougher and come with a lot more variation in sizing. They are also ⅝″ thick vs the full ¾″ thick that you get with an actual 1×6 board.
If you’re worried about weight, go with the full 1×6 for the extra support. However, if you’re on a budget, try the fence pickets–just be sure to sand them well.
I cut four cedar fence pickets for the back slats and evenly spaced them onto the back frame. I used 1 ¼″ screws to secure them in place.
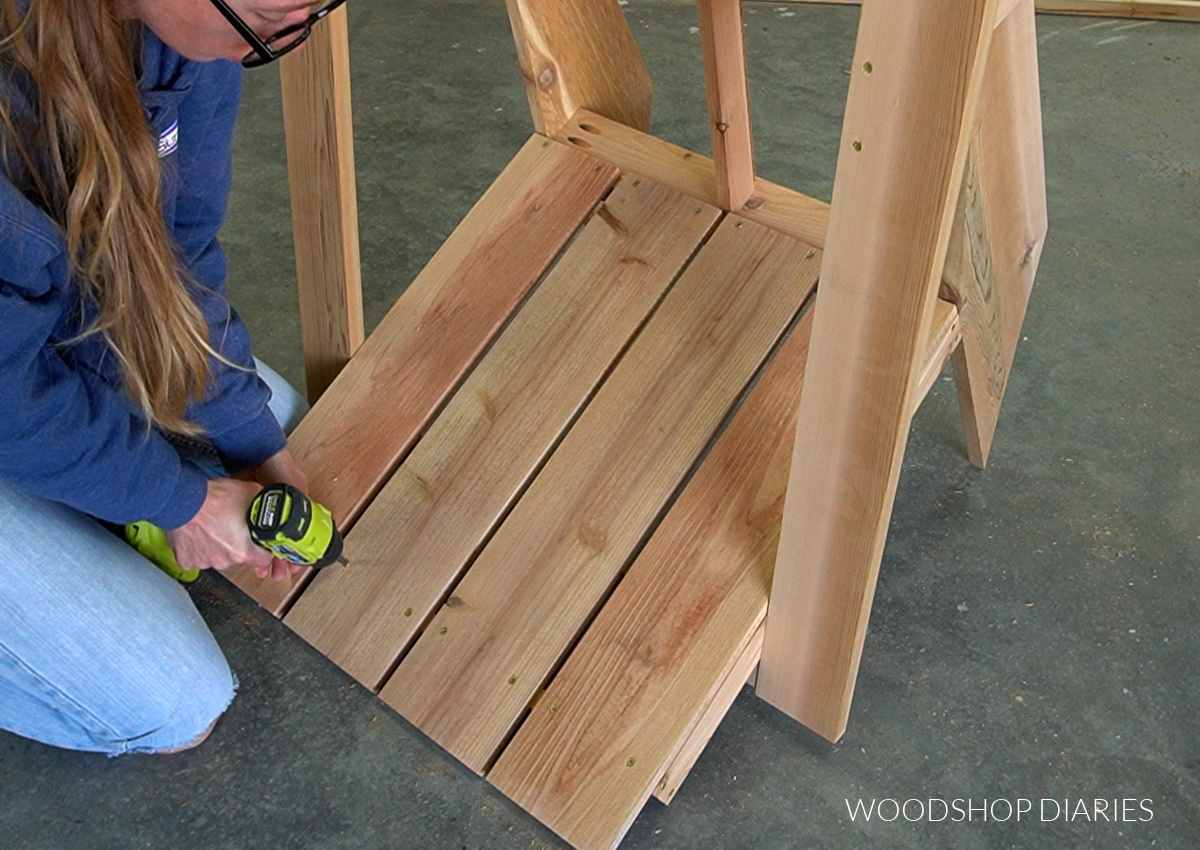
Once the back slats were installed, I cut four more pieces of fence picket for the seat slats. I ripped the fourth piece in half so that the seat was three full width pieces and a half strip.
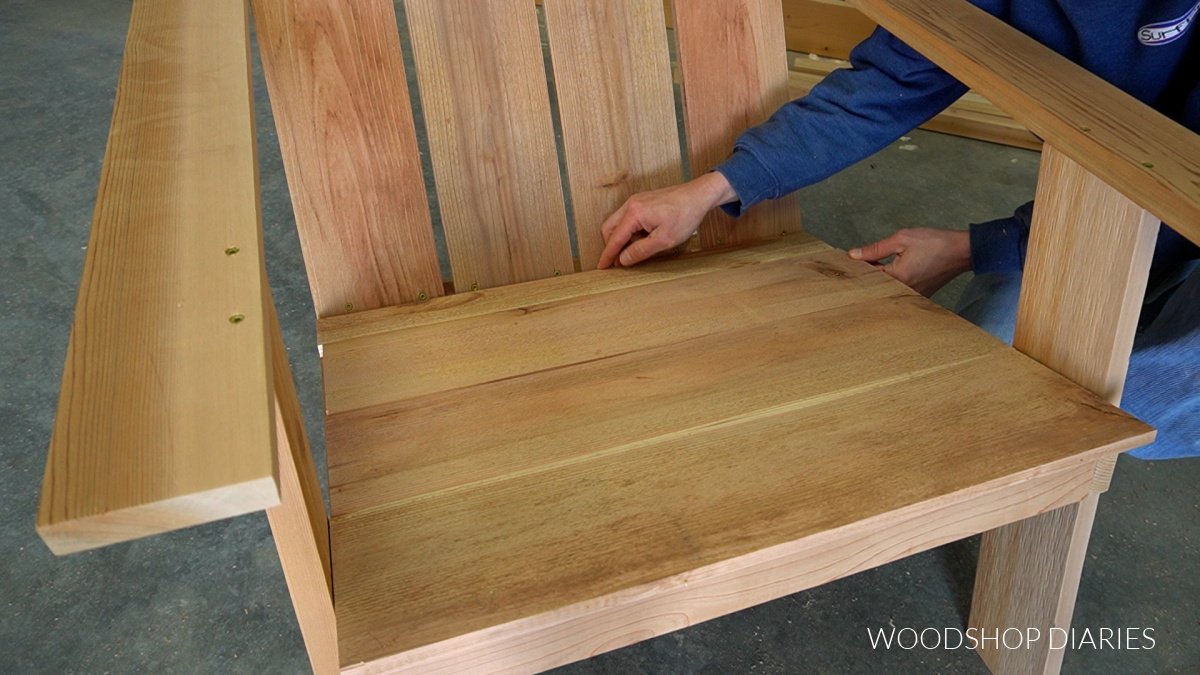
I left about ¼″ space between each seat slat and secured them into the back legs below using 1 ¼″ screws. Make sure to predrill before driving the screws to prevent wood splits!
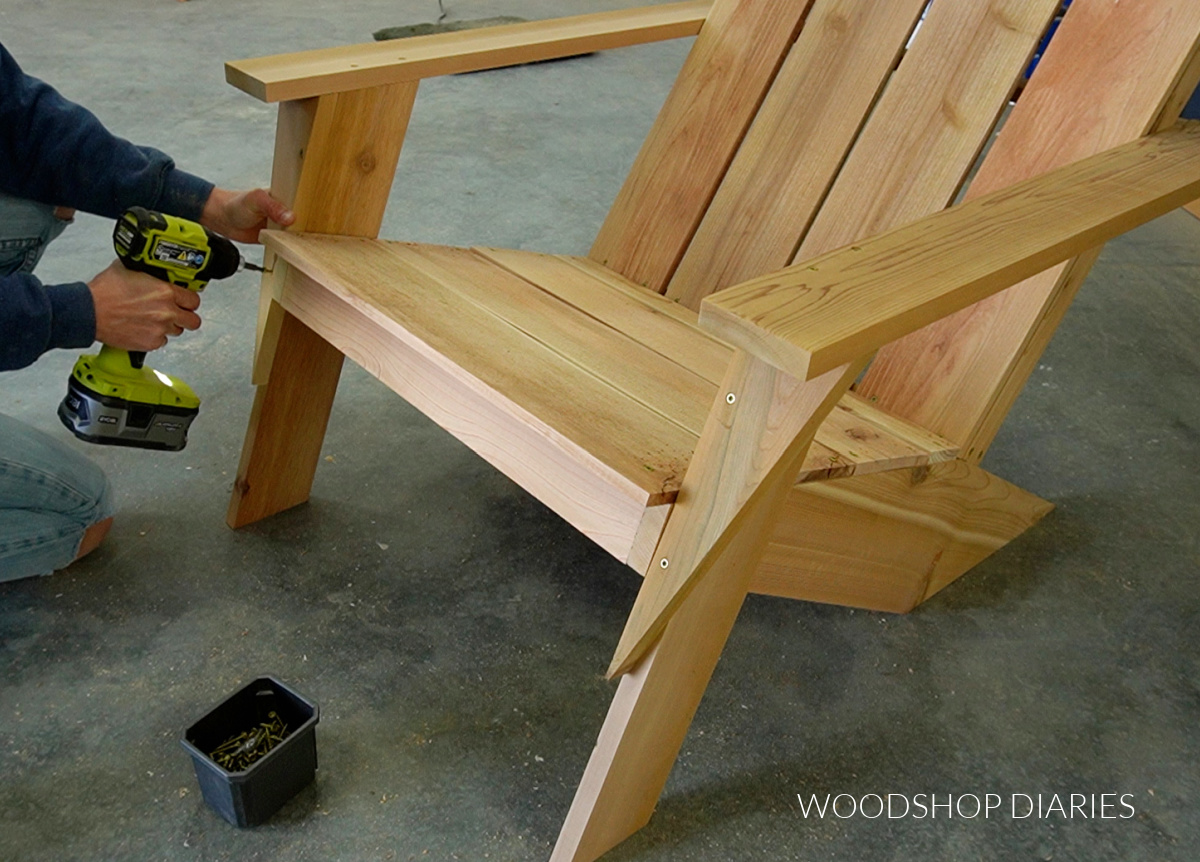
Step 6: Install Arm Rest Supports
Remember those triangles left from cutting the back legs in step 1? I brought those back out to add as the very last piece of this DIY Adirondack chair.
I used a speed square to find where the width of the triangles was 3 ½″ and marked this line.
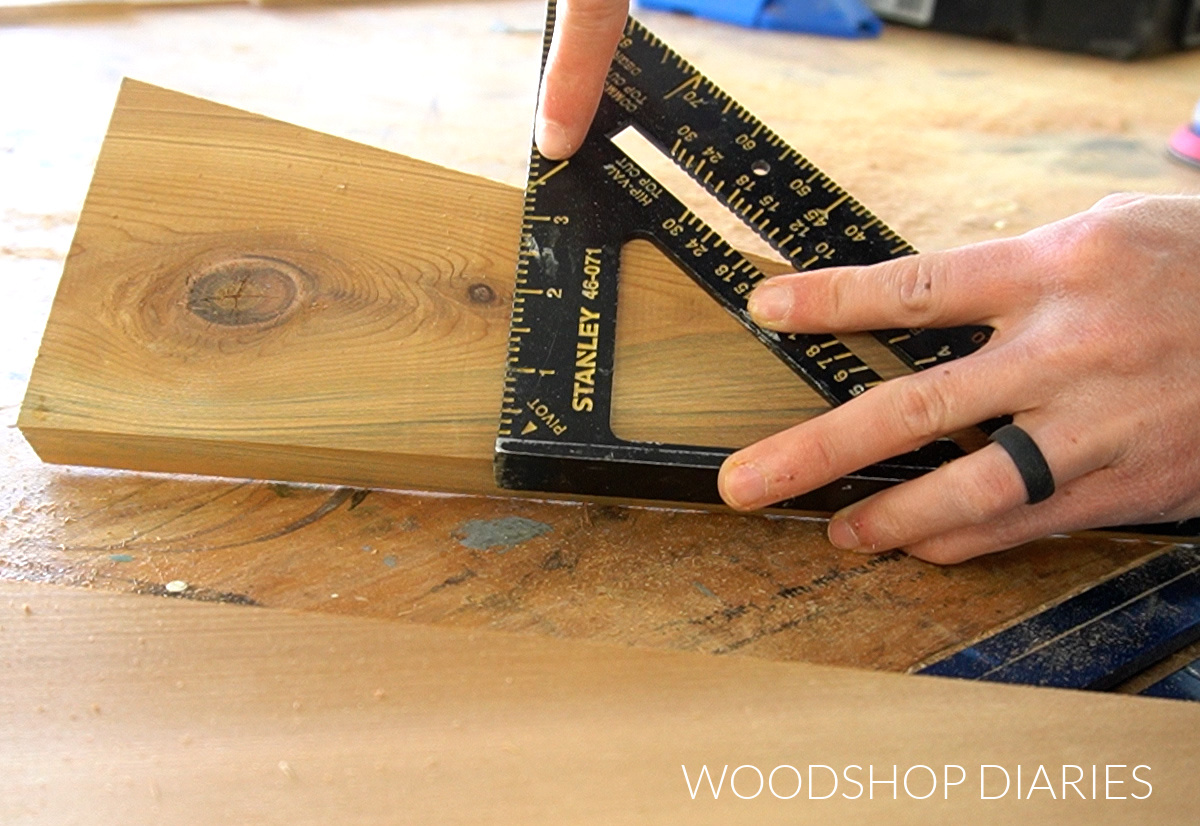
Then, I adjusted my miter saw’s bevel angle to 20 degrees and cut along this line so that the front of the triangle was shorter than the back.
I repeated this on the other triangle making sure to swap my bevel sides so that the triangles mirrored each other.
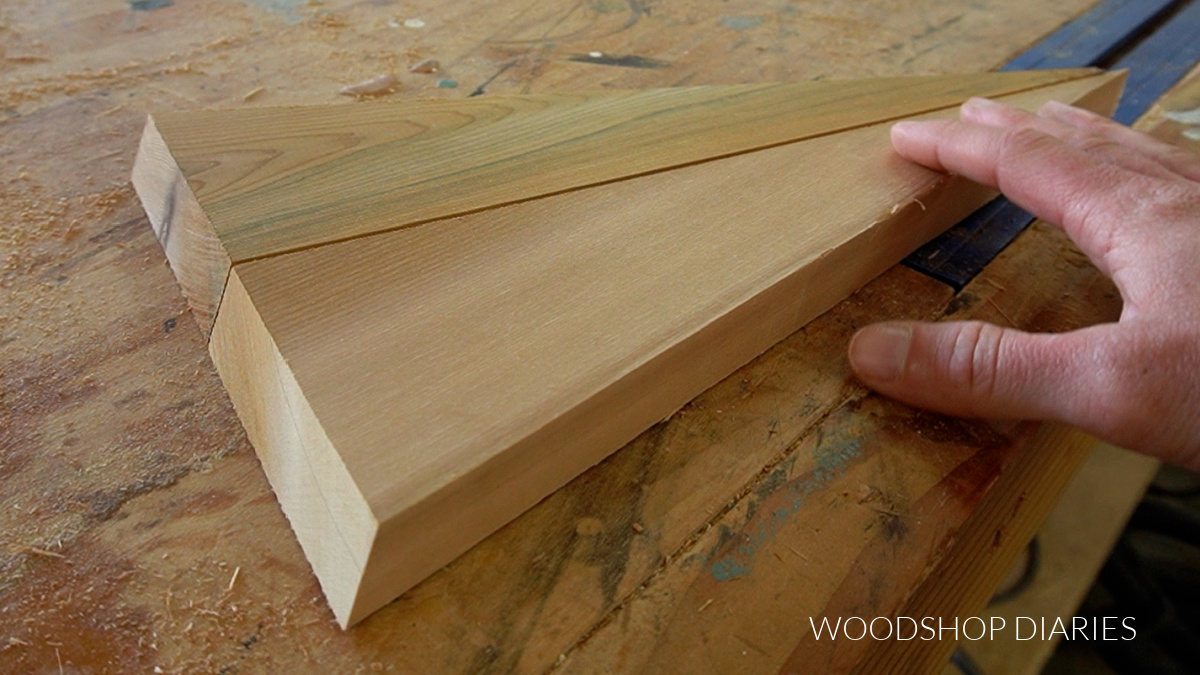
Once these were cut, I installed these on each side of the chair directly underneath each arm. The beveled cut should allow it to sit nice and flush up against the bottom arm rests.
I used 1 ¼″ screws to secure them into the front legs. And with that, the build was complete!
Step 7: Finish
The final step, if you so desire, is to apply an outdoor finish or sealant to protect the wood.
If you use a naturally rot resistant wood like cedar or red wood, this isn’t really NECESSARY as the wood will still hold up well. However, sealing it will help it continue to look nice and make it easier to clean after being out in the weather for a time.
Left unsealed, the wood can quickly turn grey from the sun and the moisture can cause it to feel rough.
To keep the natural color, but provide protection, I like to use Minwax Helmsman Water Based Clear Coat.
Paint, stain, and seal as desired, and once dry, enjoy your new DIY Adirondack chair!
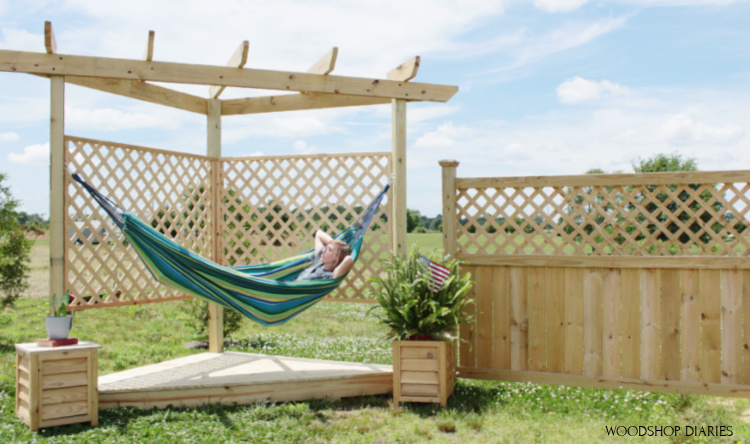
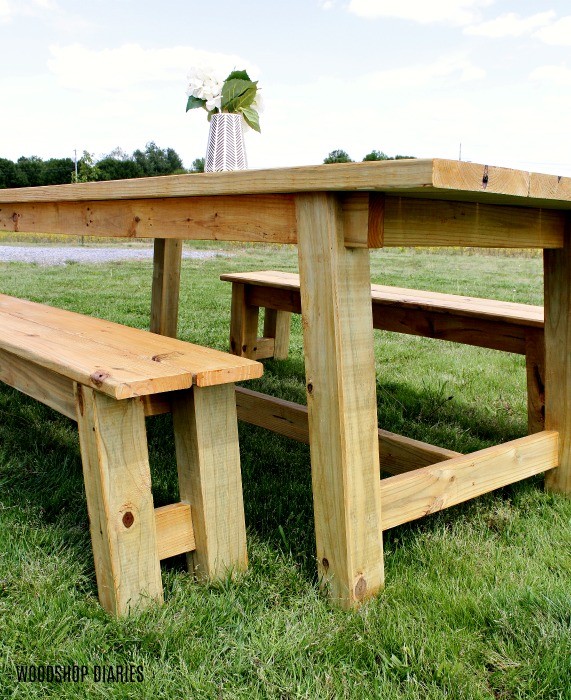
Looking for more outdoor project ideas?
When you’re finished building these fun chairs, check out these other awesome outdoor projects to build this summer!

If you enjoy the projects, be sure to sign up for the FREE newsletter for priority access to the latest new projects and plans below!
Don’t forget to save this project for later by pinning it or sharing to your favorite social media channel!
Until next time, happy building!