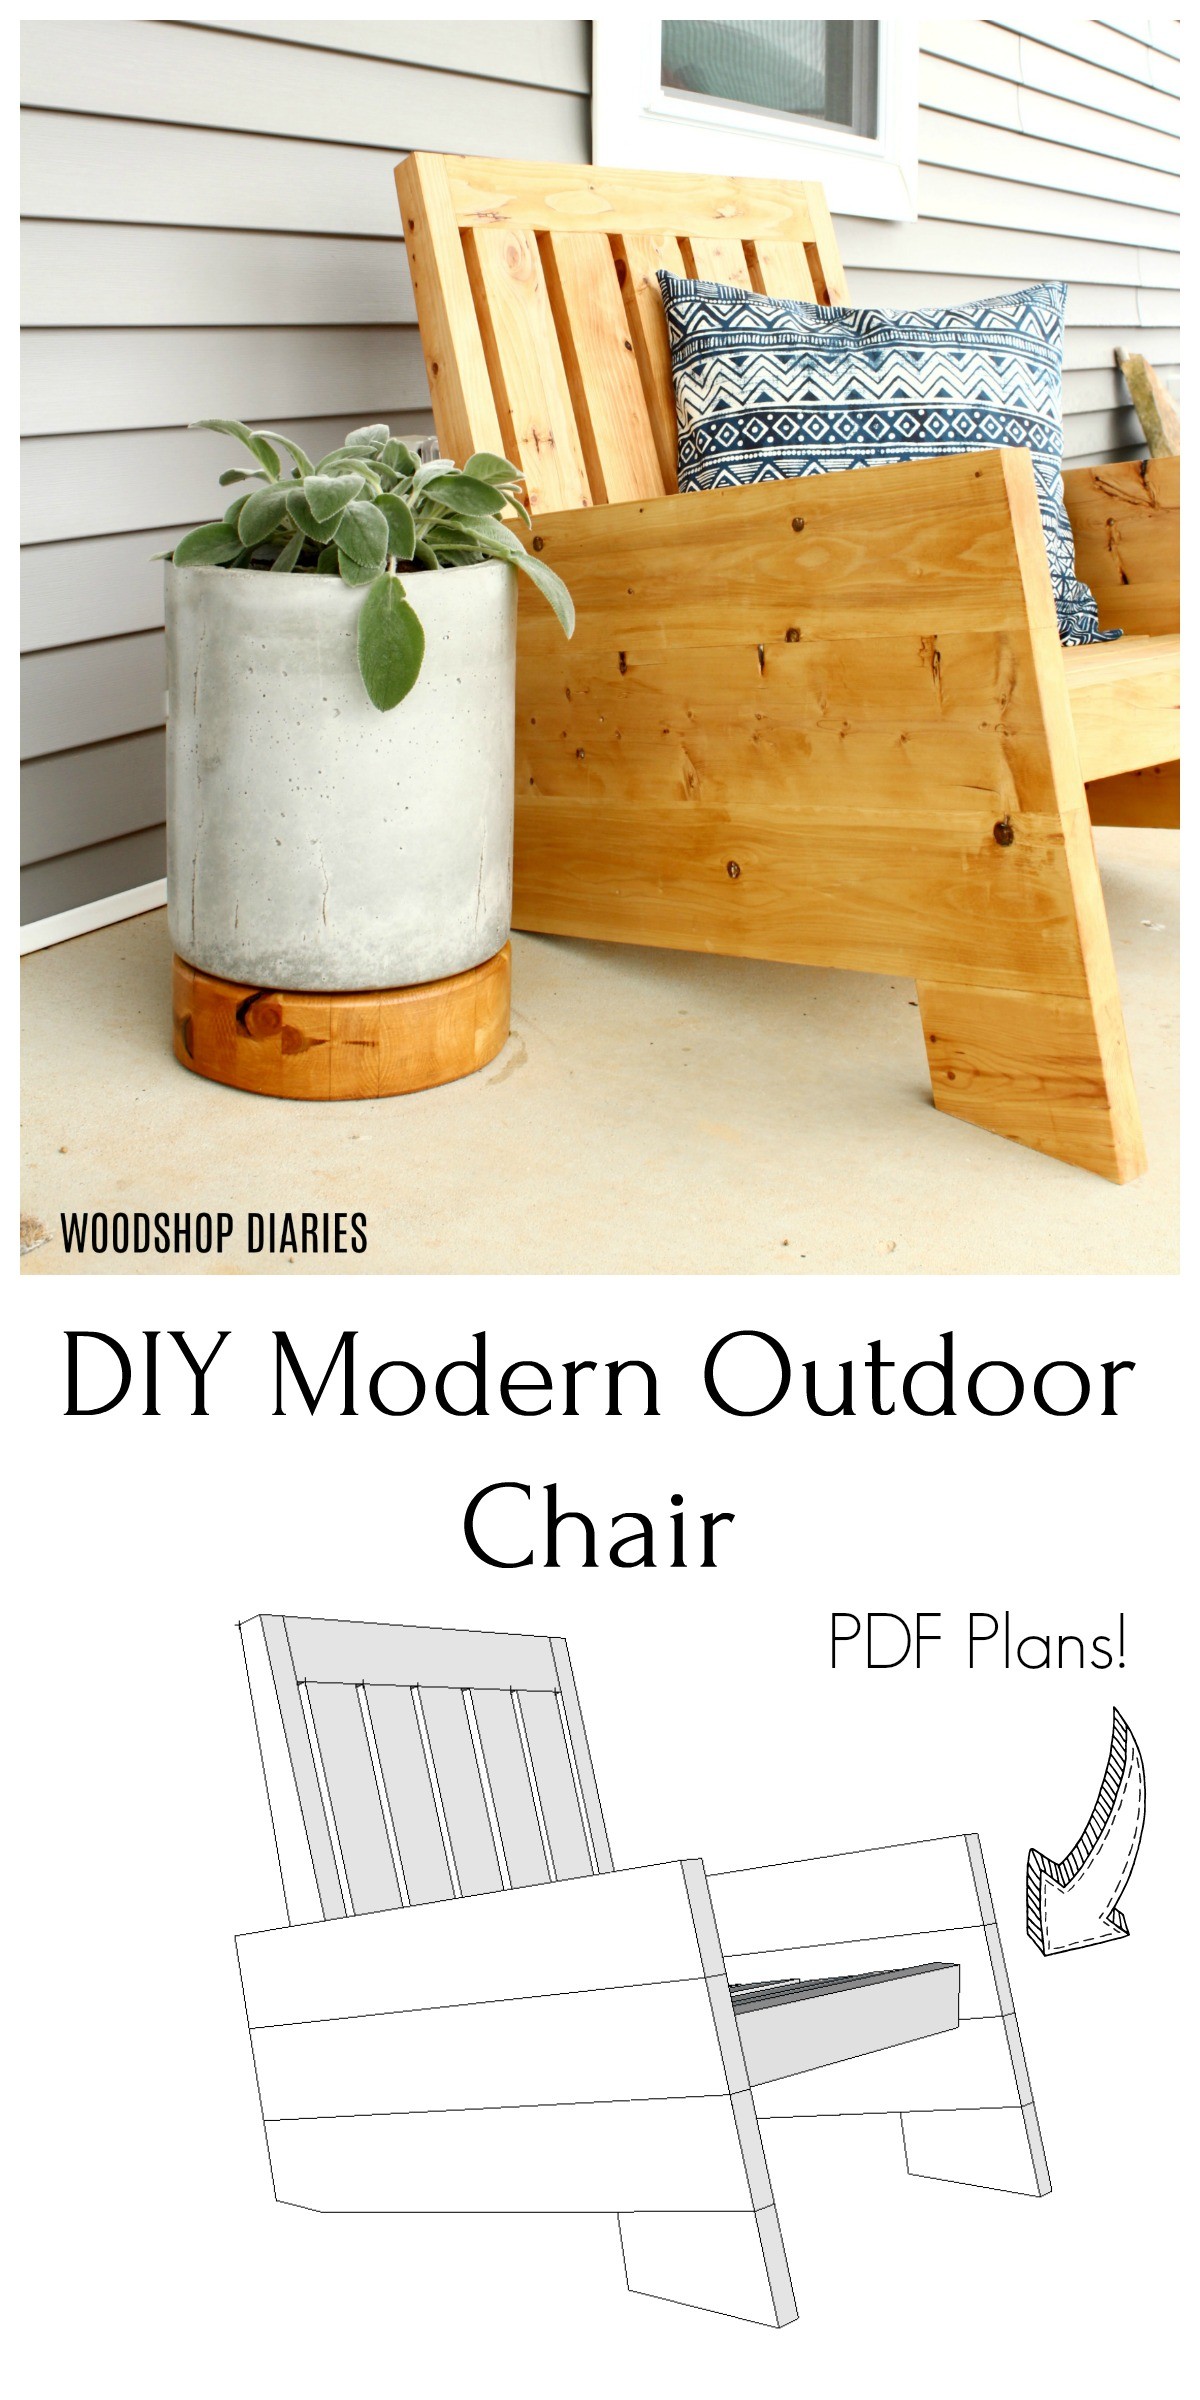
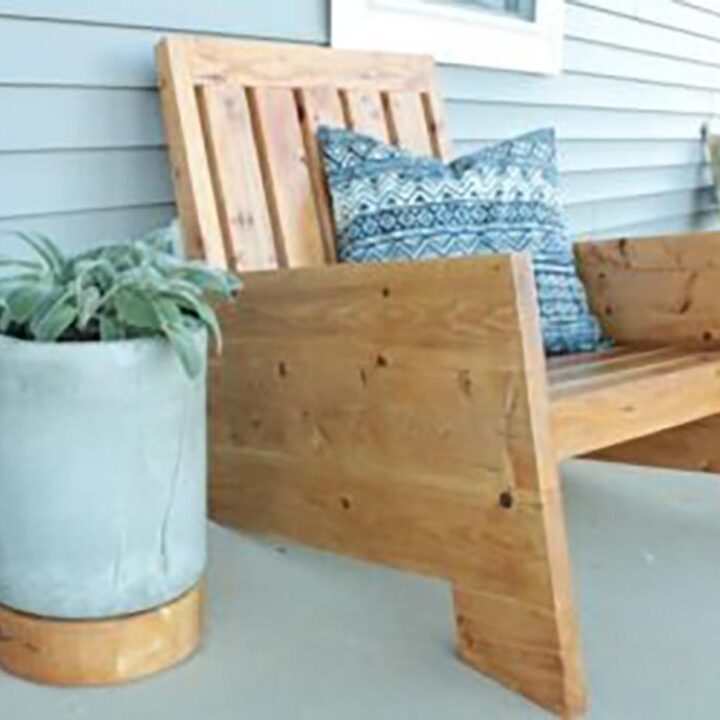
Want to see how to build this DIY Modern Outdoor Chair? Learn how to build your own DIY modern outdoor chair for your porch or patio with this tutorial, video, and plans. It’s an DIY weekend project using construction lumber!

If you’ve been following along, you know that last year we built a garage apartment house.
.
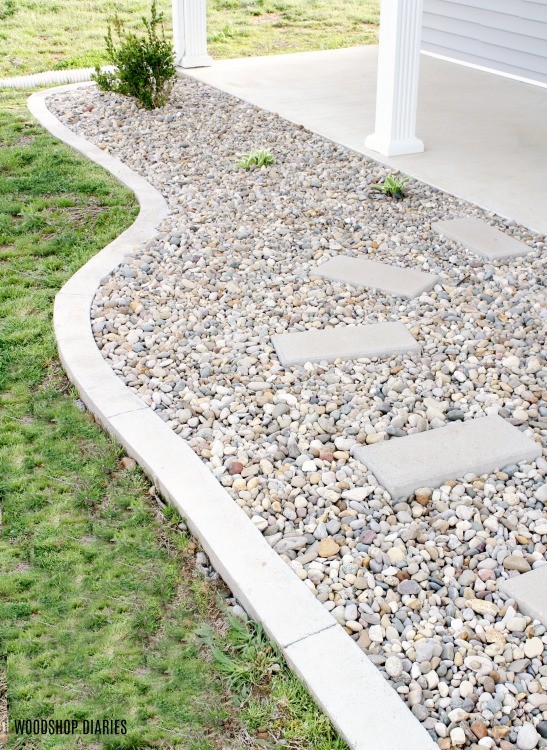
Even though this was just a temporary home, one of the things I was adamant about was that we had to have a porch.
.
I like to do my computer and blog work outside when it’s nice and at the end of the day when we lived in our old house, we would sit on the front porch and unwind after work. Those times were some of my favorite parts of the day.
.
Our old house had a couple of steps that we would sit on, but our new place is just a slab on grade. So I’ve been sitting on the concrete or in the bed of my truck lately to work outside and I think the neighbors are questioning my sanity haha.

I thought maybe I would look less like a crazy person (do keep in mind that looks can be deceiving haha) if I built us a set of chairs to enjoy the outdoors in, now that the weather is starting to get nice. So I built a pair of sturdy and inexpensive chairs out of standard construction lumber.
.
I’ve got the downloadable plans here and all the details and tutorial below. But first, check out my video tutorial below. PS if you aren’t subscribed to my YouTube channel, you’re missing out. Head over and click subscribe to be one of the cool kids 😉
Before we build, check out these related projects:
How to Make a DIY Modern Outdoor Chair
This post contains affiliate links. See policies for details.
For this build, you will need:
- (1) 2x2x8 board
- (2) 2x6x10 boards
- (4) 2x4x8 boards
- Wood Glue
- Wood Dowels
- 2 ½″ wood screws
- Speed Square
- Straight Edge
- Miter Saw
- Circular Saw
- Dowel Jig
- Drill
- Sander
- Clamps
Step 1: Assemble Sides
I built these chairs from 2x4s and 2x6s. The first thing I did was plane and square the rounded edges of all the boards. This isn’t necessary, but it makes the surfaces of the boards much cleaner and the glue joints more seamless.
.
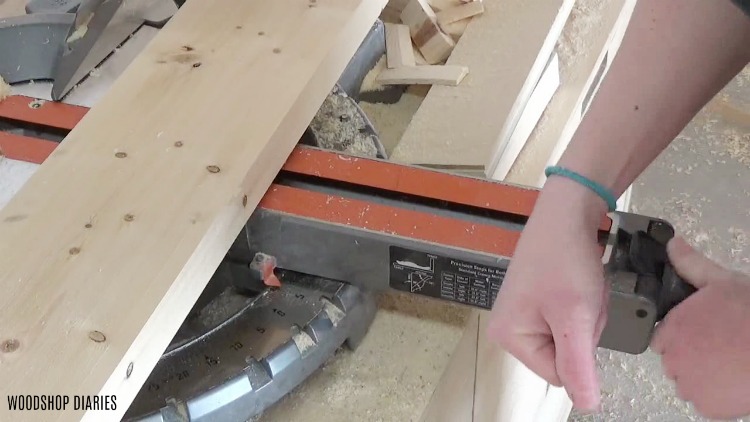
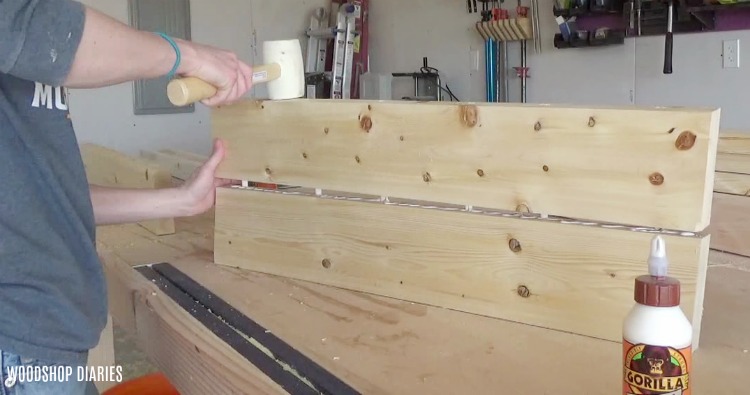
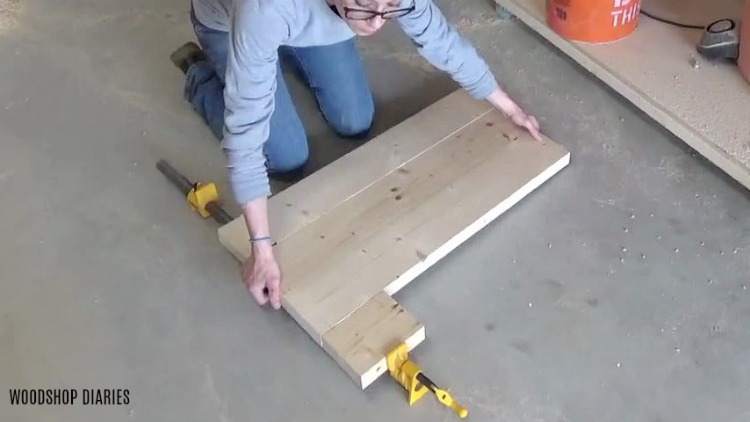
Once all the boards were prepared, I took the 2x6s over to the miter saw and cut them with a slight 5 degree miter on each end. Each side of the chair used 3 2×6 boards plus a smaller “foot” piece at the front. But I’ll explain the foot piece a little later.
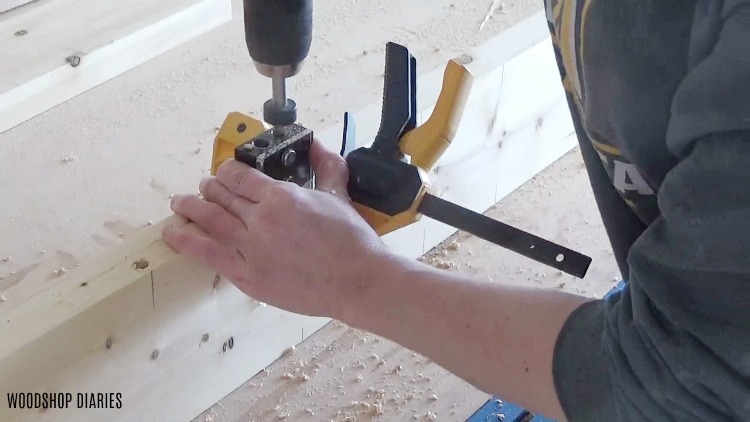
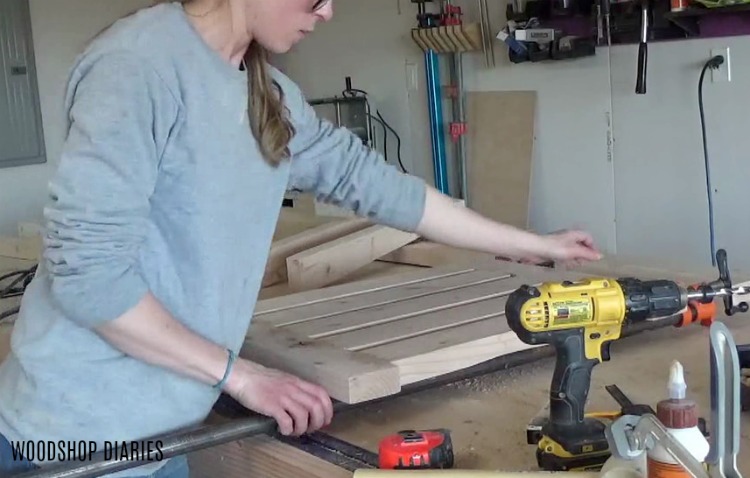
I laid the boards out on my workbench and used a square to mark where I would be putting my dowels. I didn’t measure this exactly to space them any specific distance apart, but just simply eyeballed it and marked.
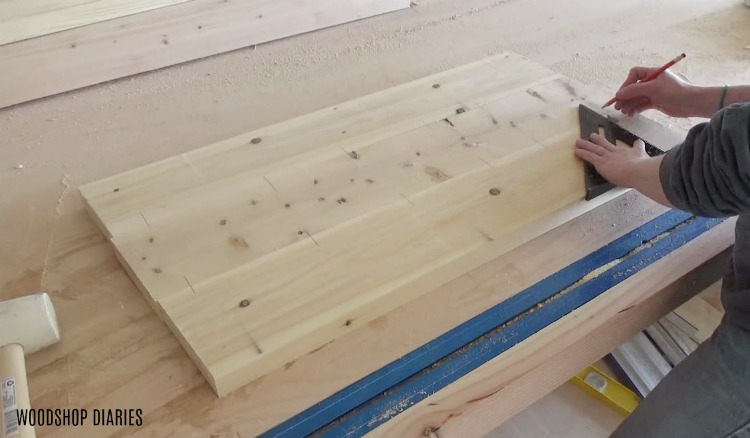
Then I used my dowel jig to drill dowel holes at each mark on the boards and assembled them with wood glue and dowels.
.
I like using dowels and it’s a pretty simple method of joinery, but if you prefer another option, pocket holes and screws would also work. Bear in mind that you will see the pocket holes unless you plug them.
I made two of these pieces…one for each side of the chair. While those dried, I cut two smaller pieces of 2×6 to use as the “foot pieces” of the chair.
.
I cut these with the same 5 degree miter as the other boards and once the glue had dried on the main sections, I laid the foot out and marked again where I wanted to put the dowels to attach this piece.
Then I used dowels and wood glue to attach the feet to the main sections.
While that dried, I moved on to making the back of the chair. I get a little out of order from the building plans here, but I mixed a few of the steps around to save time while the glue was drying.
Step 3: Cut Back Side Pieces
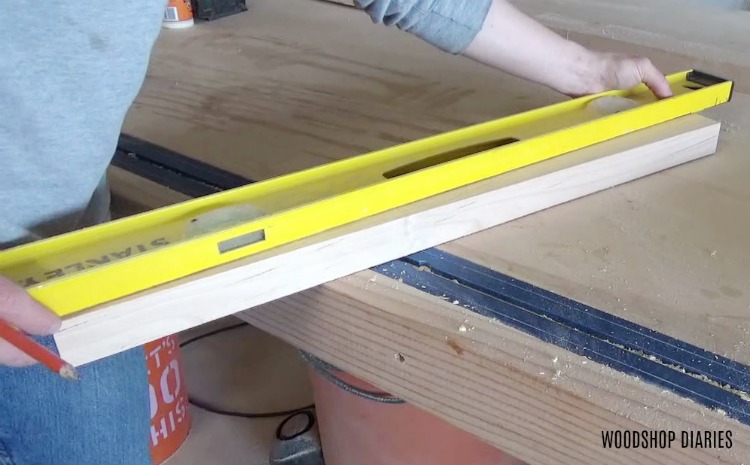
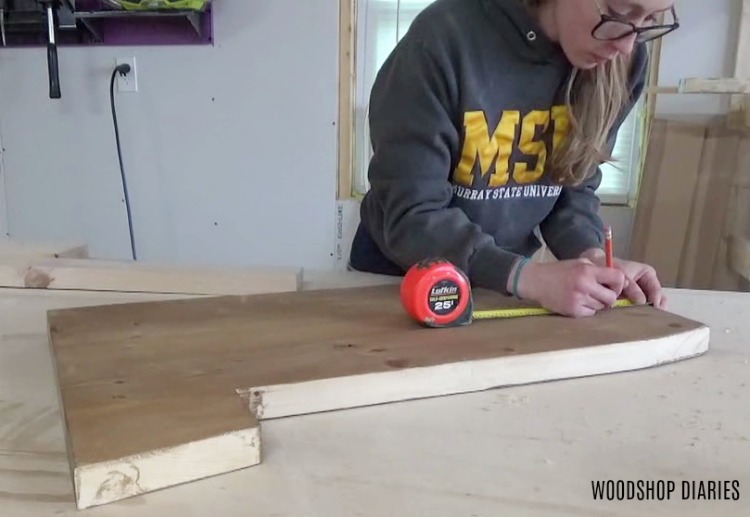
The remainder of the chair was assembled using 2x4s. I cut two pieces for the sides of the back first. Then I tapered them. This is totally optional, I just liked the way the taper looked.
.
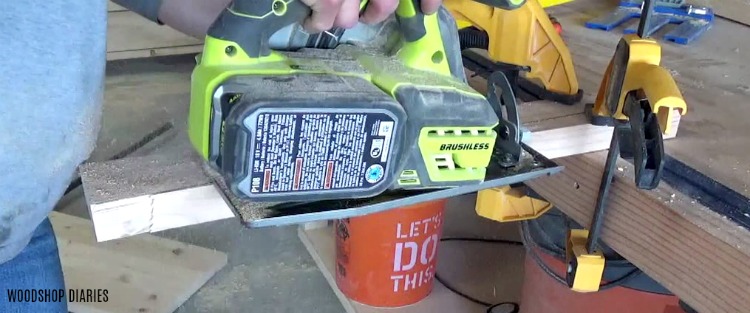
I don’t have a tapering jig for my table saw, so for this, I just drew a line where I wanted to taper it and carefully cut it with my circular saw.
.
A jigsaw would have worked better, but I didn’t have a blade long enough for the 2x material. Next time I’ll try to be more prepared. But the tapering idea was a last minute design decision and I didn’t think it through all the way haha.
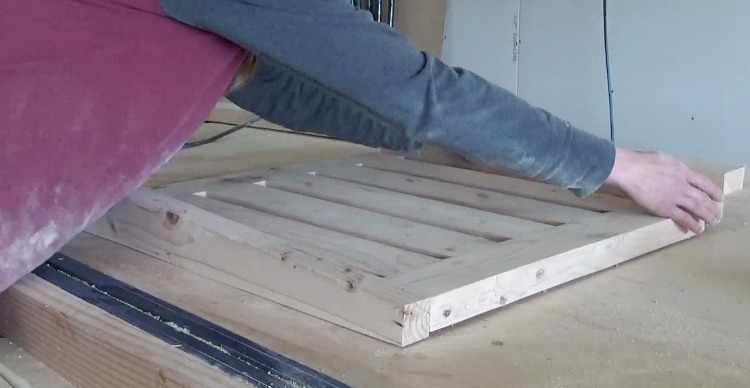
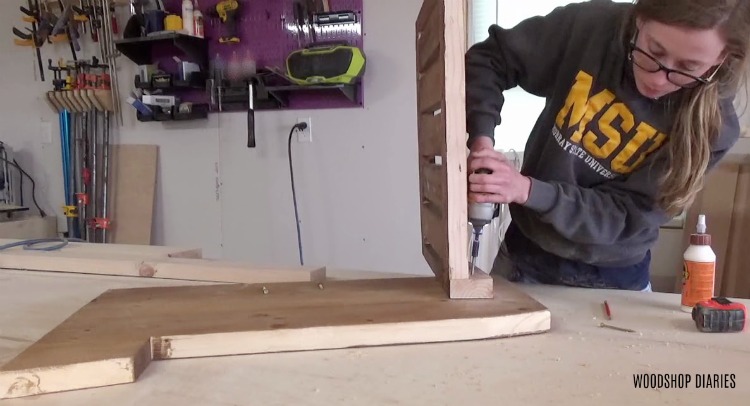
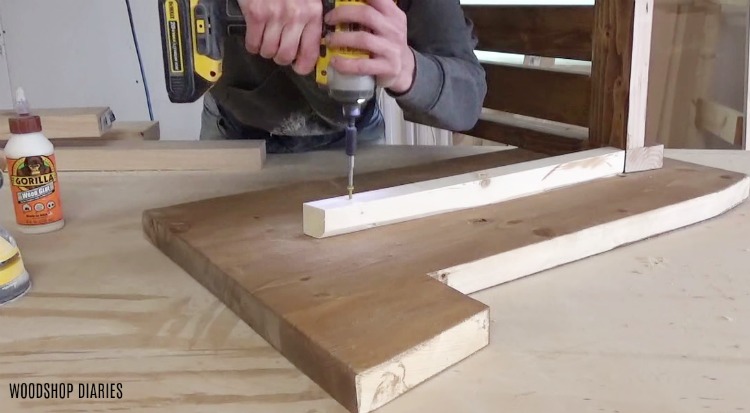
Step 4: Assemble Back Slats
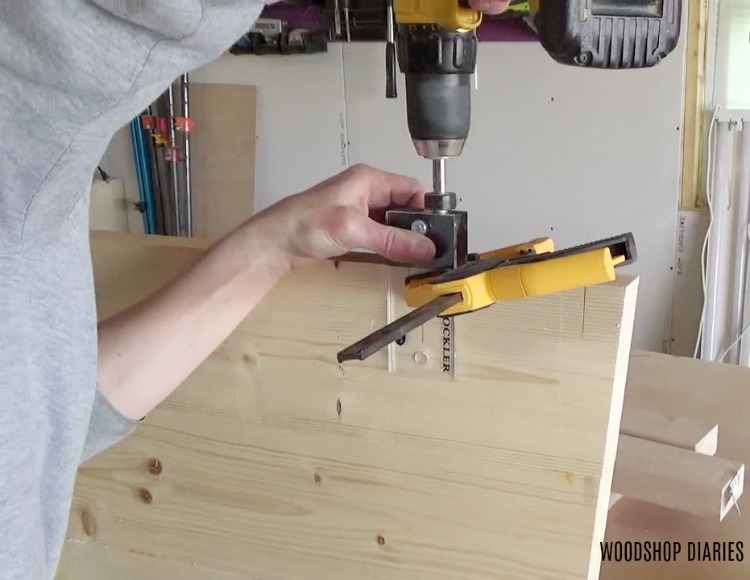
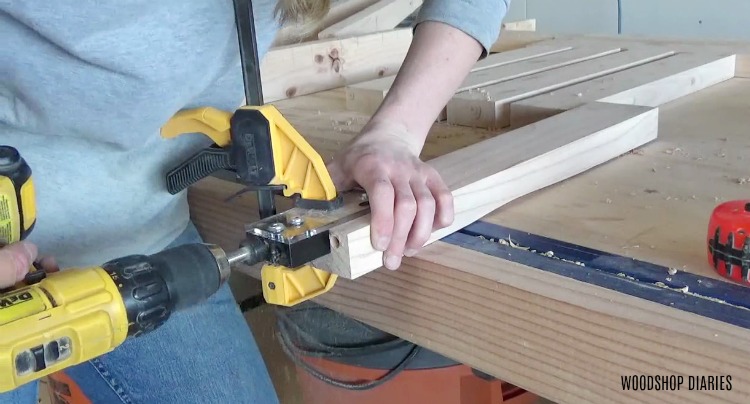
Once both side pieces were tapered, I laid out the back design on my workbench to make sure everything fit, then started marking where to place the dowels for the back vertical slats.
.
Then I used my dowel jig to drill dowel holes at all the marks and assembled the back as shown using wood glue and dowels.

By the way, if you like my workbench, planer stand, or miter saw stand that you see in these pictures and in the video, be sure to check out those tutorial posts as well here on the site 🙂
Step 6: Finish Back of DIY Modern Outdoor Chair
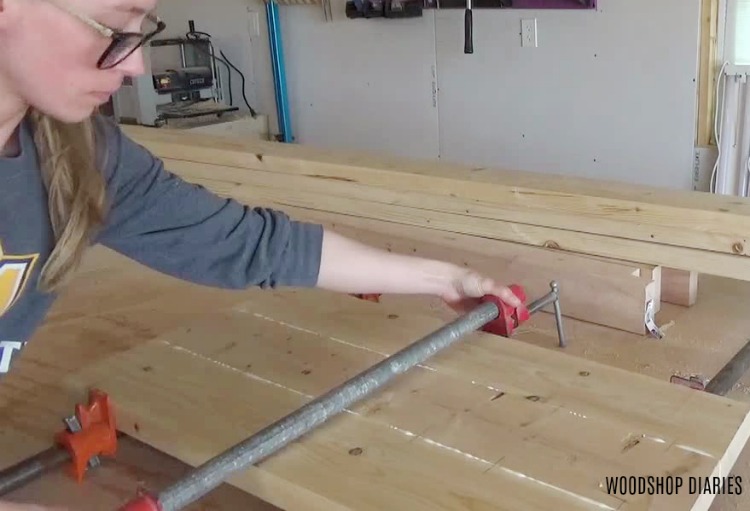
Once the back slats were glued and dried, I added the tapered side pieces. I used dowels at the top and screws at the bottom since the screws would be covered later. You could use either dowels or screws for both if you wanted.
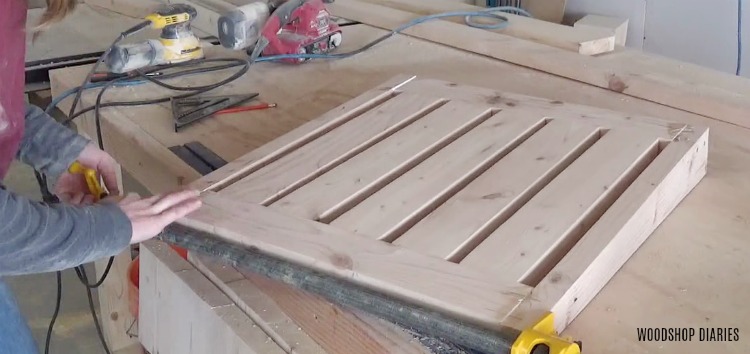
I clamped the back while the glue dried and moved back to the chair sides. This is where we go back to step 2 of the building plans.
Step 2: Mark and Trim Sides
I marked ⅝” from the bottom back corner and drew a straight line from that mark to the front corner as shown. Then I used my circular saw to cut along these lines so that the chair side would slant a little backward.
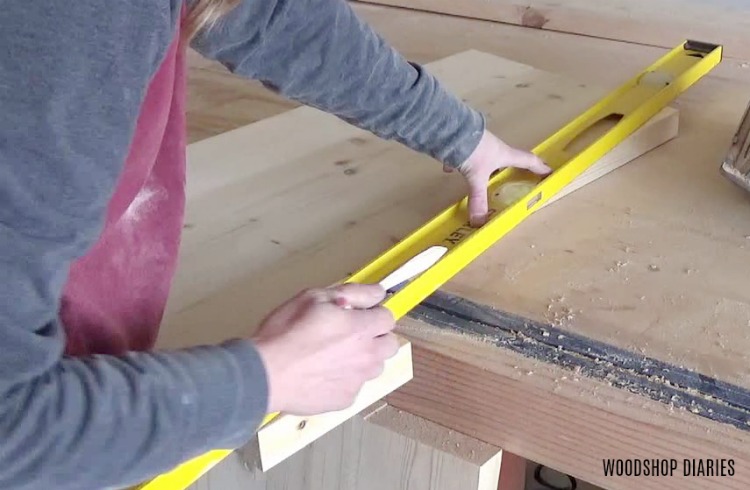
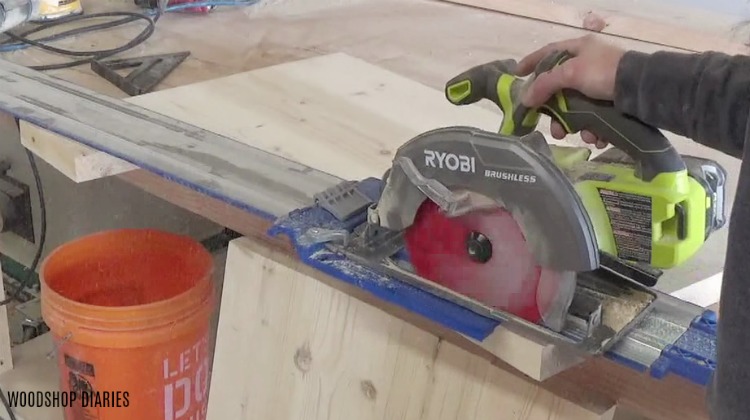
I also used my circular saw to trim up the front and back edges so the boards were nice and flush and gave them a good sanding.
Step 7: Assemble DIY Modern Outdoor Chair
Once all the glue had dried and everything had been sanded well, I started assembling. No, wait, just kidding. I stained the sides and the back first because that will make things way easier on me later haha. Also, I used an indoor stain for this but will finish it with an outdoor sealant later to protect the wood.
.
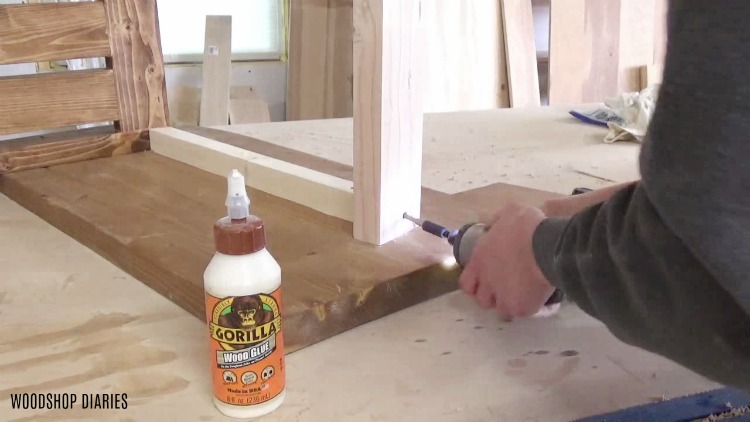
THEN, it was time for assembling. I made a mark 3” in from the back of the side of the chair and lined up the chair back along this line. Then, I glued and screwed it in place.
Step 8: Add DIY Chair Seat Slat Runner
The chair seat slats will have to be attached somewhere, so I used some 2x2s along the sides to attach the slats to the final step. I just glued and screwed these 2×2 runners in place keeping it parallel to the top of the chair sides.
.
I mitered the ends of the 2x2s so that the front apron piece will be perpendicular to the ground. That’s just a personal preference.
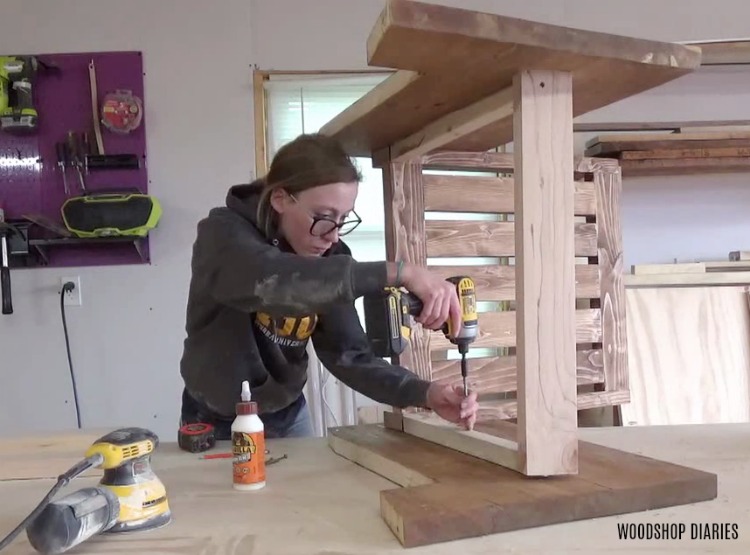
Step 9: Add Front Apron
For the front apron piece, I glued and screwed a 2×4 into the front of this runner leaving 1 ½” of it above the top of the 2×2. That’s so when I add the seat slats, it’ll sit flush.
I flipped the chair over and attached the back piece, the runner, and the front apron the same way using wood glue and screws.
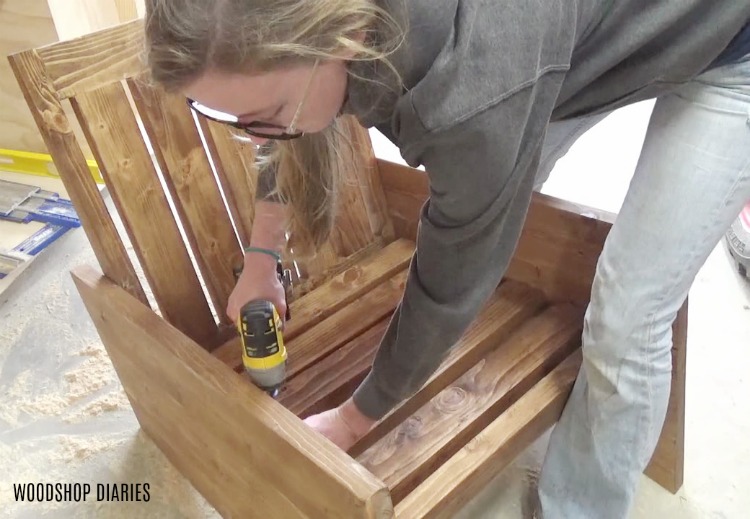
Step 10: Add Seat Slats
Once this was done, all that remains are the seat slats. Before adding those, I went ahead and stained the apron and the runners, then added 2×4 seat slats, staining as I went.
.
It’s a lot easier to stain before everything is assembled. I eyeballed the spacing of the slats, then screwed them in place.
Then I brought it out to the porch to see how it looked. I built two and stained them different colors (the lighter is Varathane Summer Oak and the darker is Minwax Early American) because I didn’t know which I liked better. *facepalm*

That was a dumb idea because I had to go back and stain both the opposite color to blend it in and get them to match. And remember when I said it would be way easier to stain before they were assembled?? AND you’ll notice they STILL don’t match HAHAHAHA I laugh to keep from crying HA.
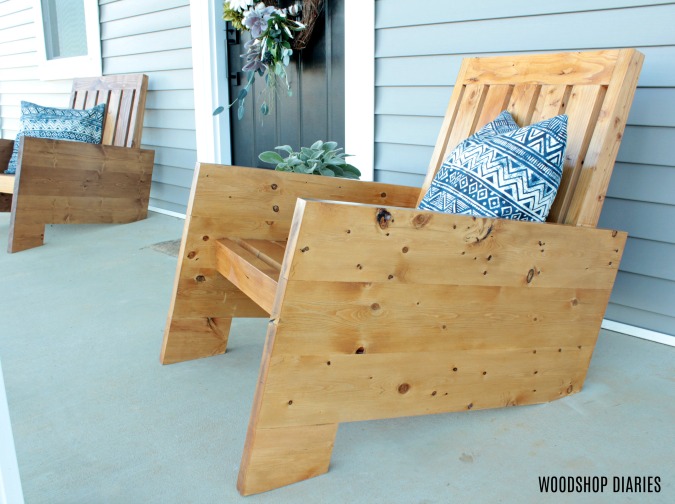
Whatev…it’s fine. Totally fine. I’m just going to leave them and pretend I totally did that on purpose as a design element 😉 In other words, I don’t have time to do anything about it right now, so I’m leaving it 🙂 I’m only telling you this so you don’t make the same mistake.
.
To finish them off and protect them from the elements, I gave them a couple of coats of an outdoor polyurethane. And now they are ready for those nice summer evenings and all my summer blogging/video editing sessions. This has got to be way better than hanging out in the bed of my truck, right??
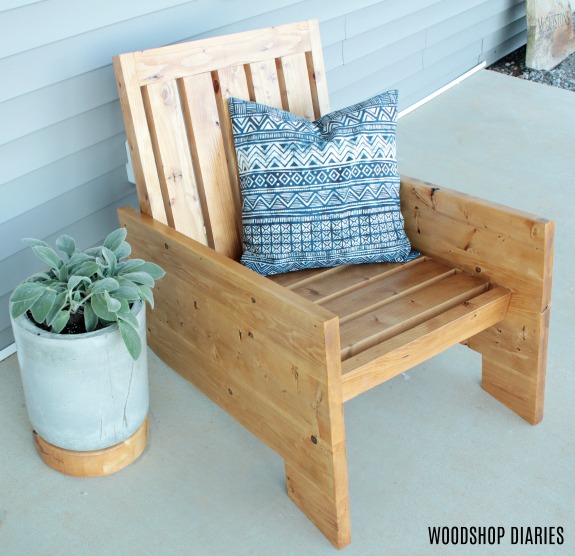
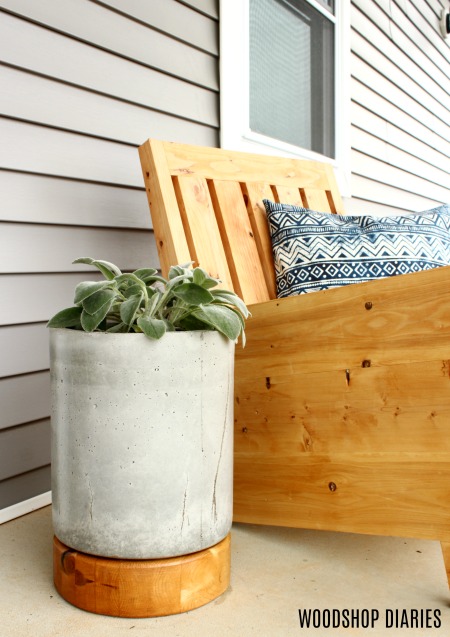
I’ll probably be adding a small side table to the to do list so I’ll have a place to set my plate of Oreos and tea while I’m chilling here. But for now, I’ll survive without one. I’ve got plenty more projects to get done in the meantime. And by the way, if you like the concrete planter pot, be sure to check out this post to make your own!
So, if you’re ready to get building, be sure to head over and grab the downloadable plans and pin this for later!

Until next time, happy building 🙂
Need more outdoor project inspiration? Click here for plenty more outdoor projects!
DIY Modern Outdoor Chair
How to build your own DIY modern outdoor chair for your porch or patio.
Materials
- 6x10 boards
- (4) 2x4x8 boards
- Wood Glue
- Wood Dowels
- 2 ½" wood screws
Instructions
- Make cuts according to the plans and assemble the chair sides using wood glue and dowels.
- Once the glue dries, trim the bottom on the chair sides.
- Cut the back side pieces using a jigsaw or circular saw.
- Assemble the back slats wood glue and dowels and finish the chair back.
- Assemble the chair using wood glue and 2 ½" wood screws.
- Add seat slat runners using glue and 2 ½" wood screws.
- Add front apron.
- Add seat slatts using 2 ½" wood screws.
- Paint or stain in the color of your choice!