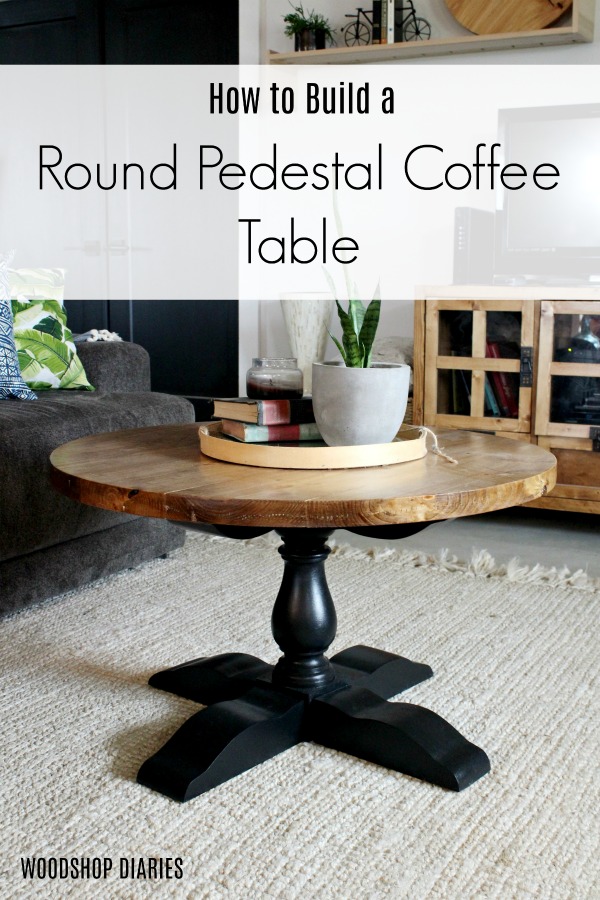
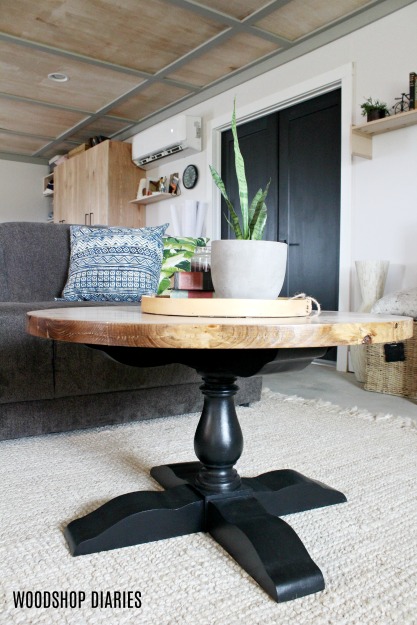
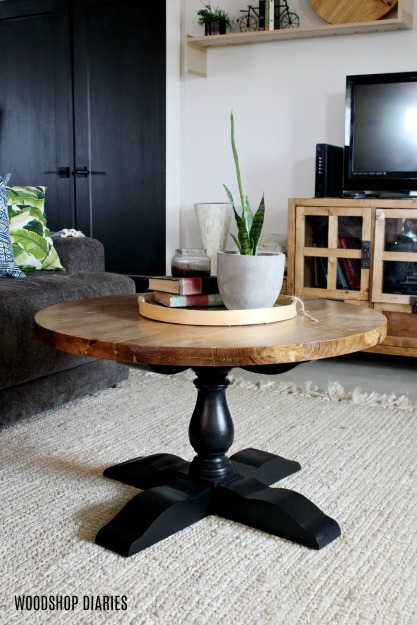
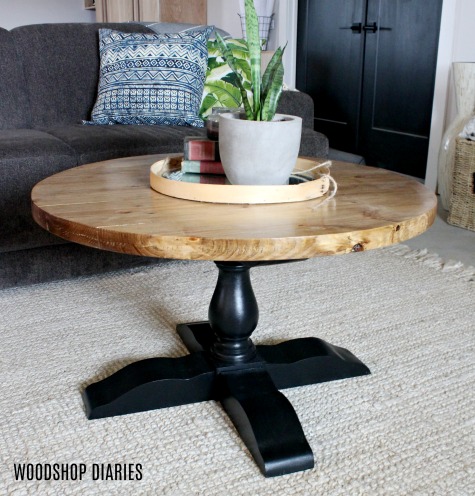
Want to see how I built this DIY round pedestal coffee table from a simple leg, a couple 2x4s and a couple 2x10s? (And also see a prime example of why we should measure twice and cut once?? HA!) Then read on 🙂
I recently built this coffee table mostly because it’s been a while since I made a coffee table and I thought it was probably time to make one. I mean, I doubt anyone else is counting the years it’s been, but just in case someone is, I figured I’d make one so they can restart the clock haha. (PS if you want to see all the DIY projects over the years, be sure to check out my new projects page)
.
Anyway, when I started thinking about design ideas I wanted to try, I immediately thought of this really old orangey oak pedestal coffee table my granny has in her living room–the room you’re only allowed to hang out in when it’s time to open presents at Christmas. Weird.
.
Her table was probably made by someone who’s been woodworking for 40 years and had to walk uphill both ways in the snow to buy a chisel. You know…FANCY.
.
So, I set out to make my own version, a little less fancy, but with the same general idea in mind–a big trunk with four big “feet” at the top and at the bottom with a round top. And also, a great project for someone who hasn’t necessarily been woodworking for 40 years 🙂 We can still build amazing things. YOU can still build amazing things.
So if you’re ready to see how I did it, let’s get building. This post contains affiliate links. See policies for details.
.
Check out my video here first, then the tutorial and materials list below 🙂
[adthrive-in-post-video-player video-id=”LpRmD3Mf” upload-date=”2019-05-12T18:55:41.000Z” name=”How to Build a Pedestal Coffee Table ” description=”How to Build a DIY Round Pedestal Coffee Table”]
For this build, you will need:
(1) Table Leg (Use code WSD10 for free shipping if you purchase anything from Highland Manor Wood Products site)
(3) 2x4x8 boards
(2) 2x10x8 boards
Router (optional)
Step 1: Find a Good Trunk for the DIY Coffee Table
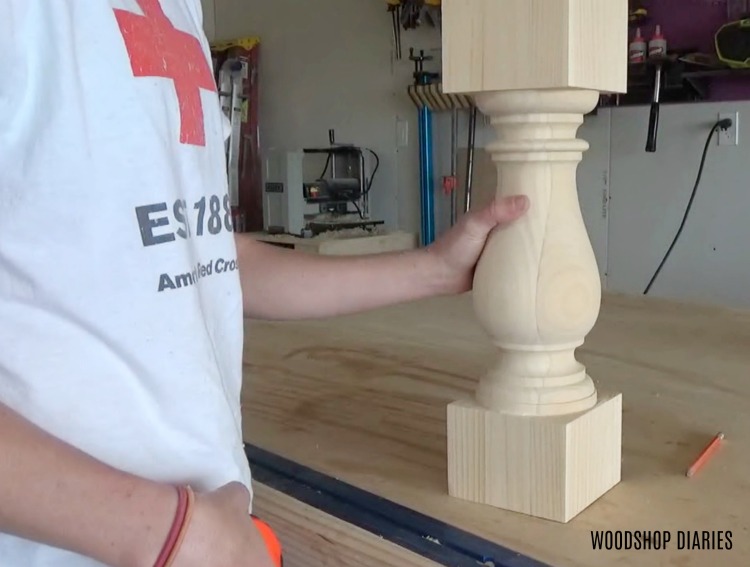
The first thing I did was find a good “trunk” for the table. Highland Manor Wood Products reached out to see if I’d like to use one of their products for this project and I was able to find the perfect short, thick table leg on their website.
If you’d like to order one (or any other product they offer), be sure to use the code WSD10 for free shipping 🙂
.
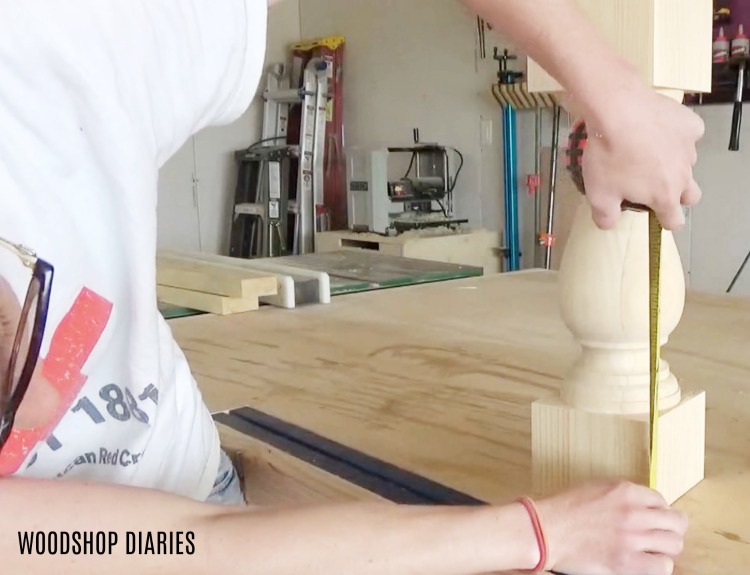
Once the leg arrived, I measured the height and width of the flat areas at the top and bottom. I wanted to make sure I made the feet the right size to look nice proportionally and also be able to fit when I started assembly.
Step 2: Glue up Coffee Table Feet
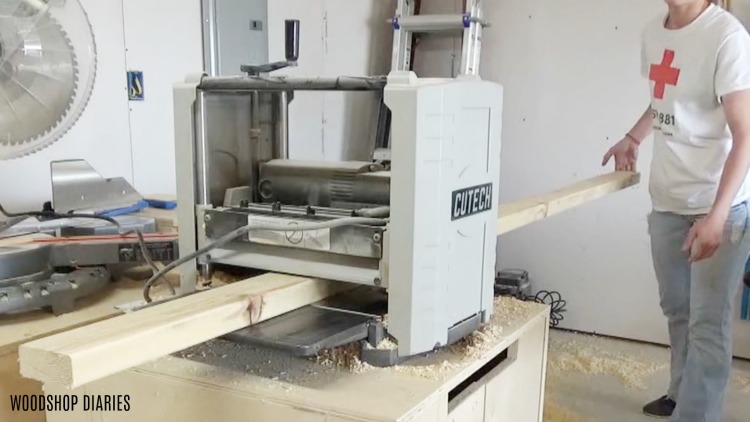
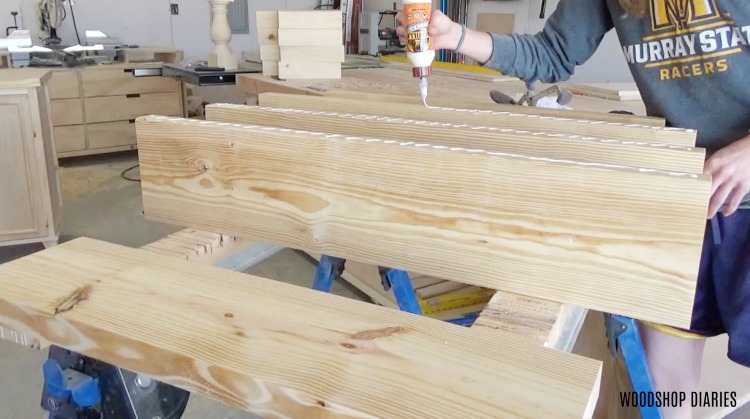
After I had my measurements checked, I started preparing the wood to make the feet. I made my feet from standard 2x4s, but I was going to be gluing them together to make a wide foot. Standard construction lumber usually doesn’t have the smoothest surface right from the store, so I like to plane them down first, especially if I’ll be gluing. If you don’t have a planer, you don’t HAVE to smooth the edges before gluing, but if you have a sander, sanding would work well, too.
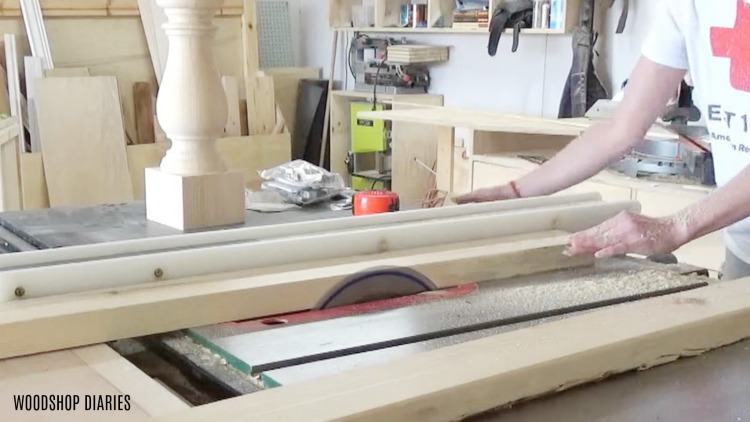
Once the boards were planed, I also cleaned up the sides a little by running them through the table saw to get a nice square edge. Of course, this is not necessary either if you don’t have a table saw. It just makes the joints a little cleaner when it’s glued up.
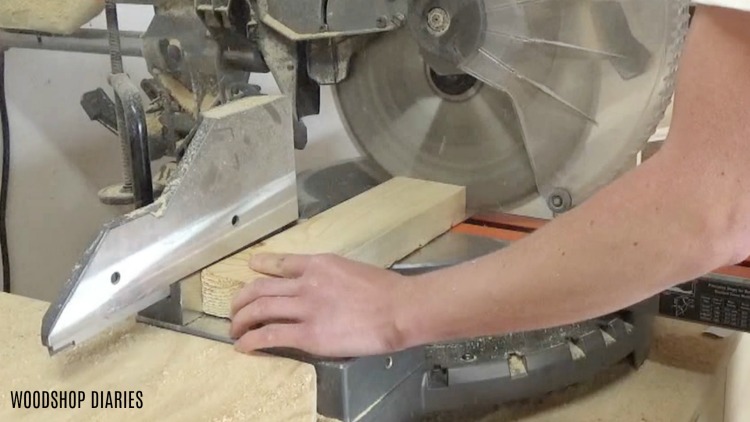
Now that the boards are nice, smooth, and square, I cut them down to 12” long pieces at the miter saw. Actually, I cut them about 11 ⅞” long because you have to account for the blade width in your cuts—I’ve learned that the hard way multiple times.
I used three pieces for each foot and four feet for the top and four for the bottom. So I needed twenty four 12” boards.
.
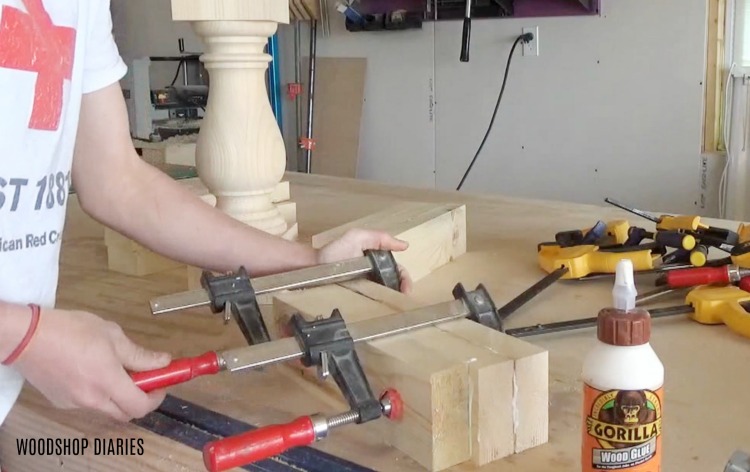
This is the part where I really wish I had more clamps. I brought all the clamps I had over and started gluing the boards together in threes. It took several rounds of gluing since I didn’t have a million clamps. But eventually, I had 8 glued up feet.
Step 3: Glue Up DIY Round Pedestal Coffee Table Top
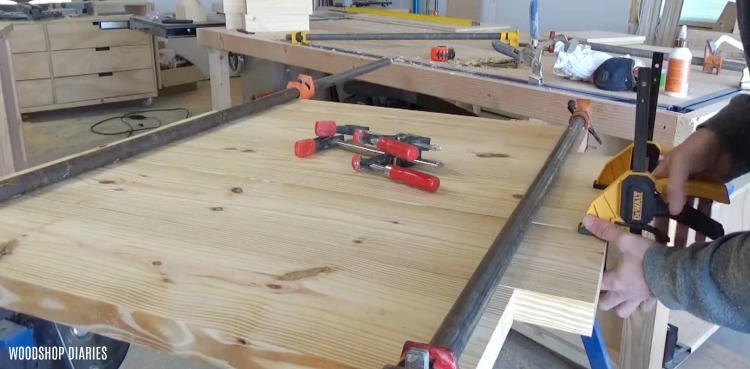
While the glue was drying, I started working on the table top. For this, I planed and squared up some 2×10 boards, then glued them together. I found a top about 34” diameter worked well for my leg plus about 12” long feet. But, you could also go a little smaller or even larger if you wanted.
For the table top boards, I cut my middle boards about 35″ long and the two end pieces were about 27″ long. Since It’s going to be cut in a circle, the end pieces didn’t have to be as long as you can see.
While the glue was drying on my table top, I moved back to the feet.
Step 4: Cut out DIY Pedestal Coffee Table Feet
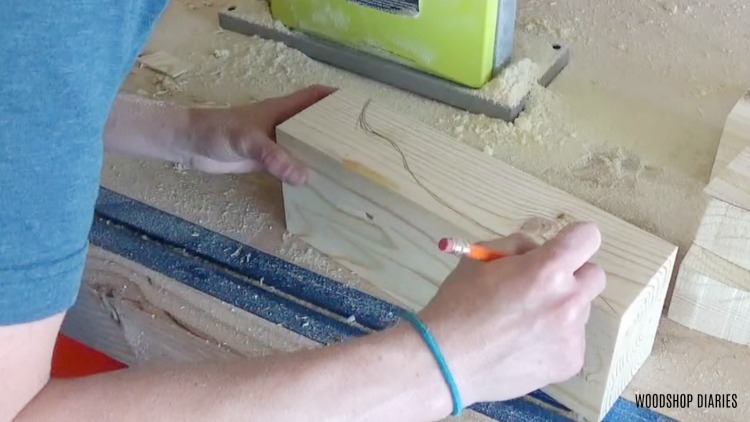
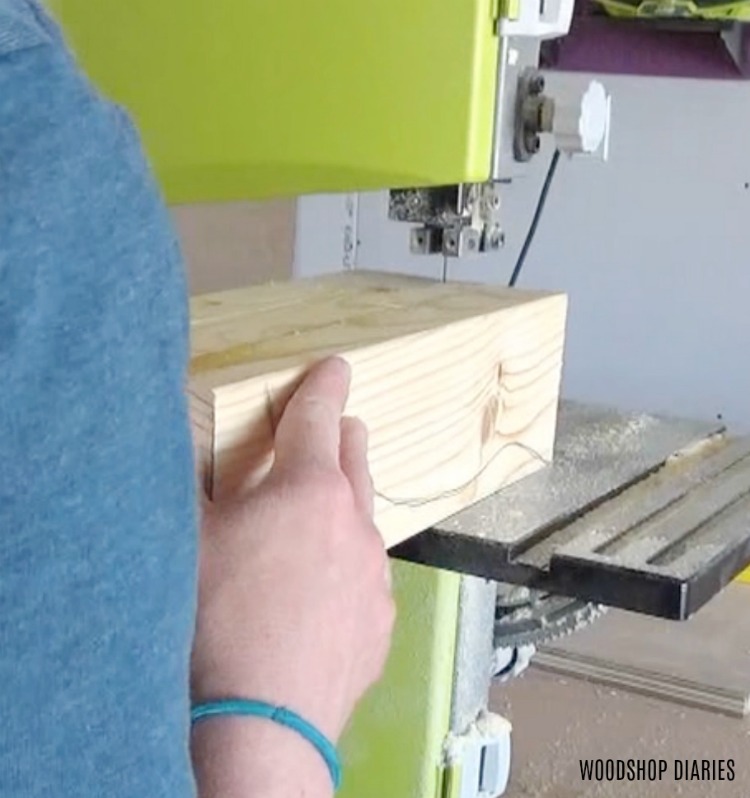
Now here was where things got really frustrating. I needed to cut out the curvy shape on these feet. So I kind of freehanded a design I liked on one of the feet.
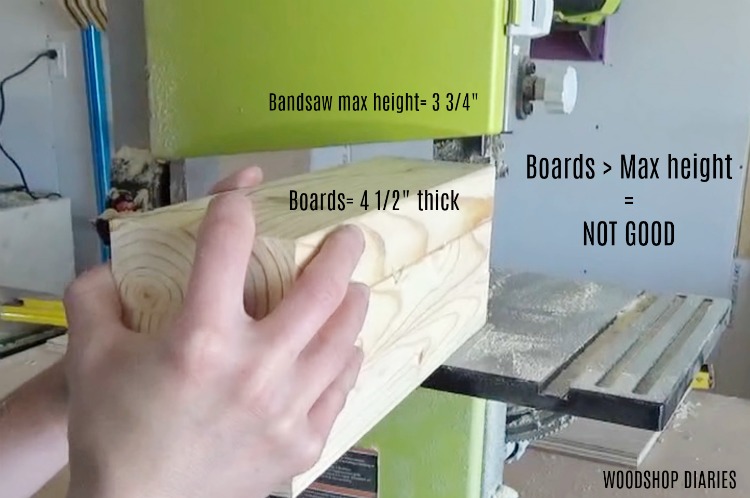
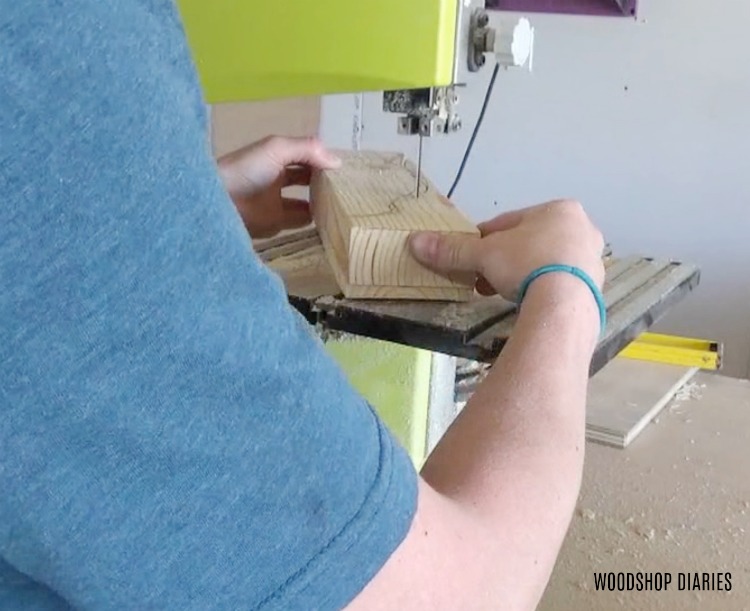
Then, I pulled out my bandsaw and realized they were too thick to cut on my tiny saw. Side note: I REALLY need a bigger bandsaw, but…you know….lack of funds haha. Anyway, I didn’t even check that first before I started this project. Let that be a lesson, friends. MEASURE twice and cut once. The key here is you have to measure in the first place haha.
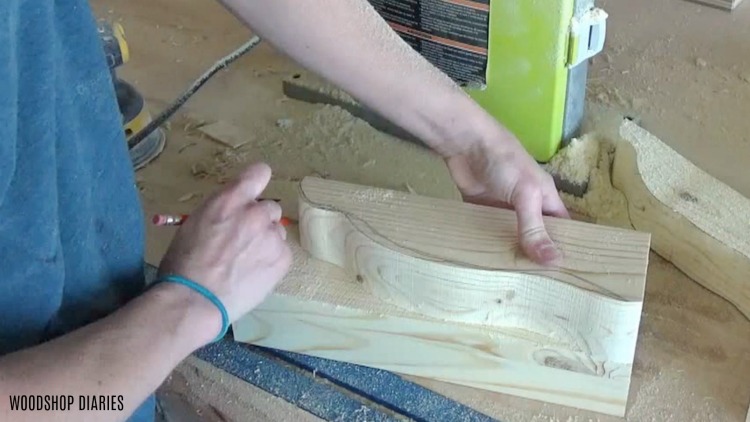
So, after trying to figure out any other way imaginable I could cut these pieces out, I decided my best option was to cut them in half, then cut the curve out twice for each foot. I knew that this would require gluing them back together, AND a TON of sanding, but I didn’t see any other way around it. So I ripped each foot in half down the middle, then cut the curve on the first half, traced that onto the second half, then cut out the second half to match.
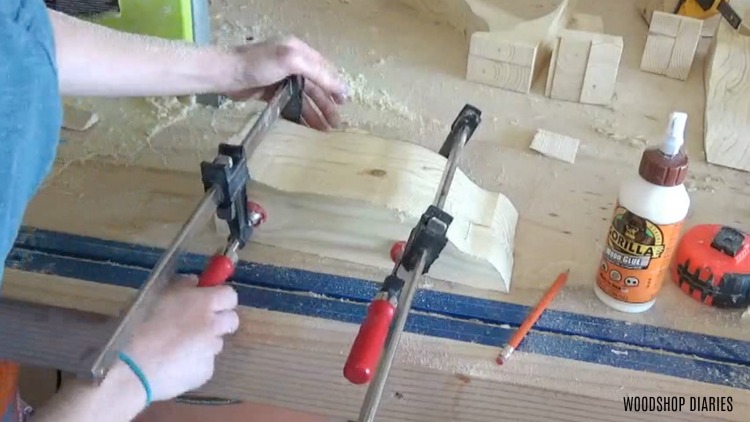
And of course, then I had to glue them back together. This took several rounds again because, you know…lack of clamps haha.
Step 5: Cut out Round Coffee Table Top
So while the glue dried on those, I moved back to my table top. Are you seeing a pattern here? Glue one thing, work on another. Glue that thing, move back to the other thing. Over and over. The majority of this project is just gluing things.
.
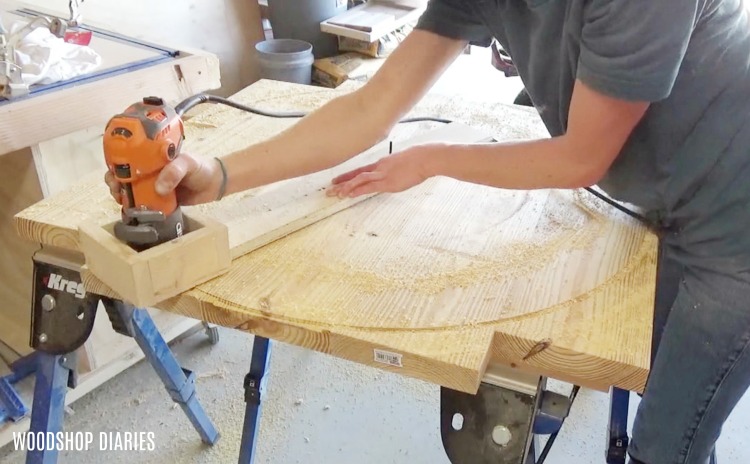
So once the top was dry, I used a homemade circle jig for my router to cut out the round table top.
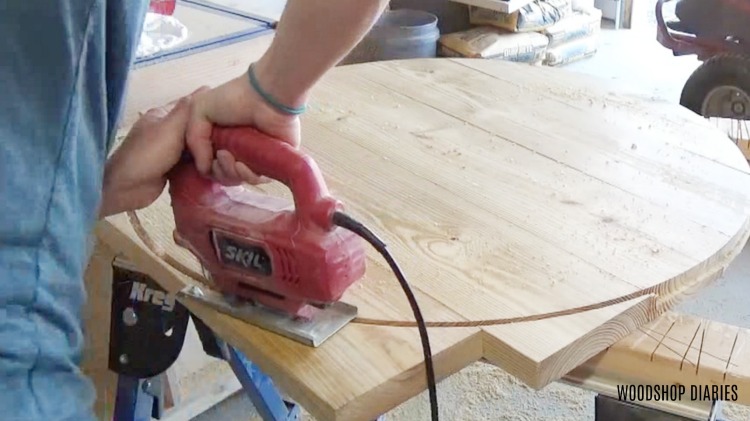
I used a ½″ straight bit to cut and cut a little at a time in multiple passes. However, my router is a little too small for cutting such a big piece, so once I cut through most of the material, I finished off by cutting the rest with my jig saw.
This left a lot of sanding work to smooth out the edges, but it was easier to do that than keep wrestling with my router. In addition to a bigger bandsaw, I also need a bigger router. Looks like I need a third job HA.
.
Anyway, you could cut the entire top with a jig saw OR use a larger router. You could even use a band saw if you had an extra set of hands to help hold it while you cut.
Step 6: Sand Coffee Table Feet and Top
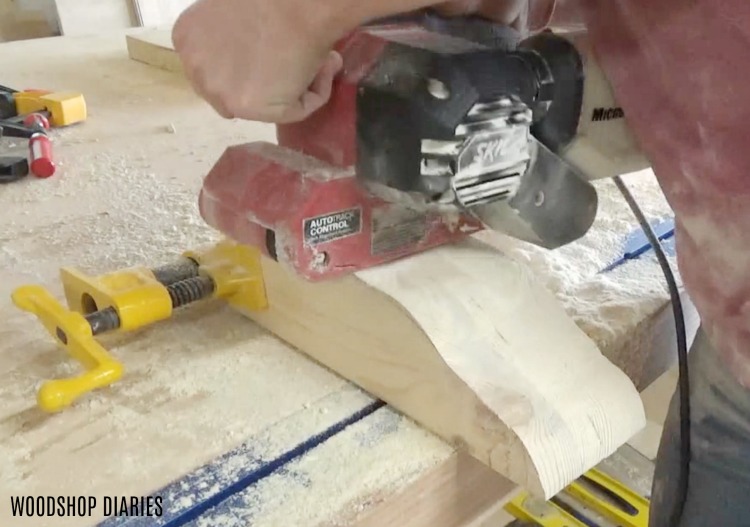
Now back to the feet. I used my belt sander to clean up and smooth out the glue joints from gluing them back together after the bandsaw adventure.
Because of all this chaos, all of the curves on the feet weren’t 100% exactly the same, BUT they’re close enough that you can’t tell unless you are really looking for it. I’m just calling it character haha.
.
I also sanded the edges of the table top smooth after the router and jig saw adventure.
Step 7: Attach Feet to Coffee Table Leg
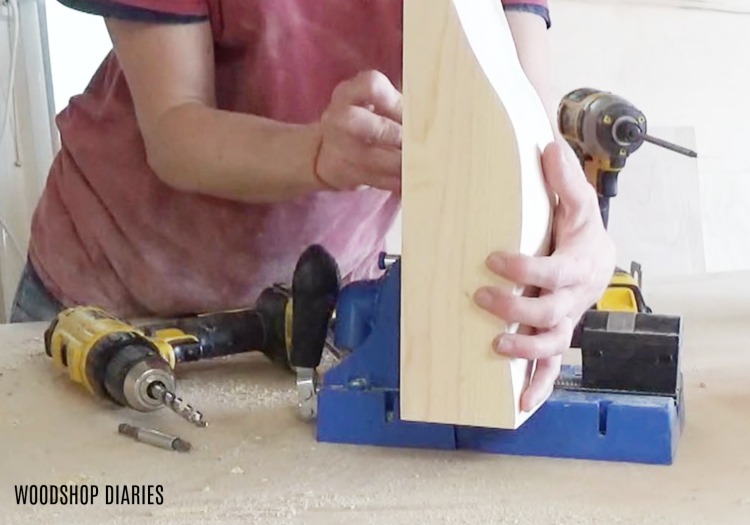
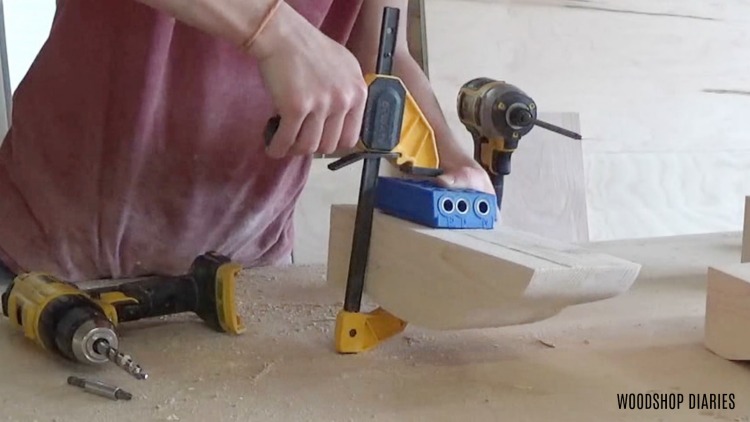
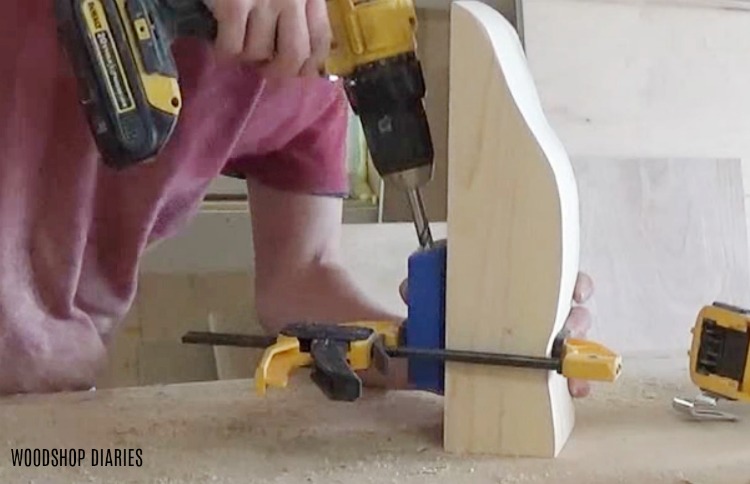
To attach the feet, I used my Kreg pocket hole jig to drill pocket holes into the flat sides of the feet and attached using wood glue and pocket hole screws. I was worried that with the feet being so long, they would be a little wiggly, but with the screws and glue, it was solid as a rock.
.
One thing to note here, as you can see, these feet wouldn’t fit into my pocket hole jig, so I set up my Kreg Jig for drilling in 1 ½″ material and just marked the height on the foot that the jig needed to be placed, then removed the adjustable drilling piece and clamped onto the foot to drill the holes.
I worked my way around the trunk attaching feet with 2 ½″ pocket hole screws and wood glue.
Step 8: Attach DIY Coffee Table Base to Top
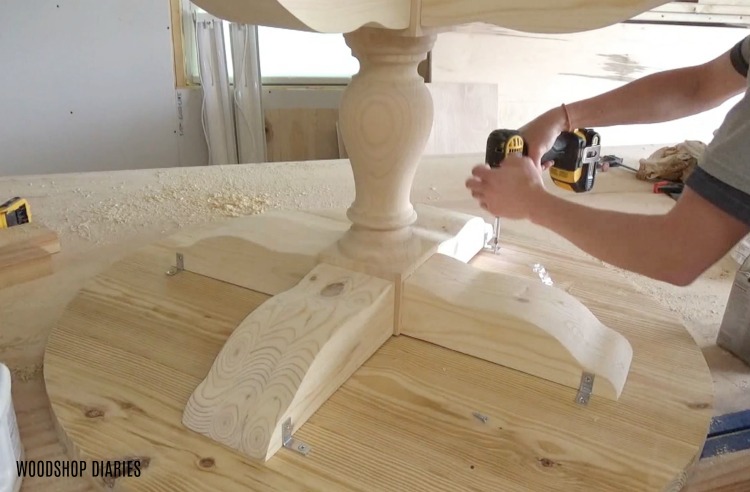
Once the legs were attached to the trunk, and the table top was sanded to perfection (or as close as I will ever get it haha), I flipped everything upside down to attach the base to the top using some small L brackets like shown.
I may have gone overboard with the brackets. I think just four or five would have sufficed, but I went ahead and added like 8 or 10 just for kicks and giggles. There may be a better way to attach this, but I found this SUPER easy and once it’s painted, you’ll never notice the brackets.
Step 9: Finish DIY Coffee Table
After the table was in one piece, I started the finishing process. I hate finishing. Anyone else like the building process, but HATE when it’s time to start finishing??
.
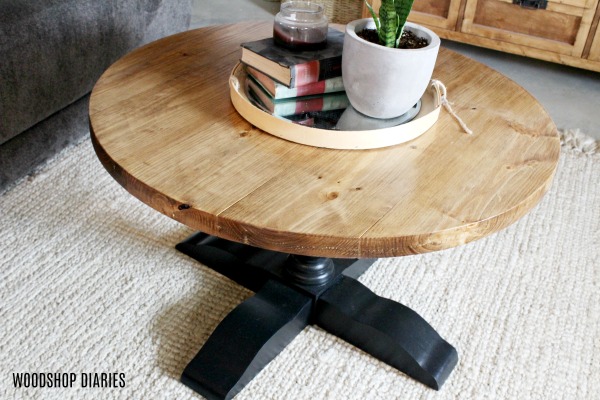
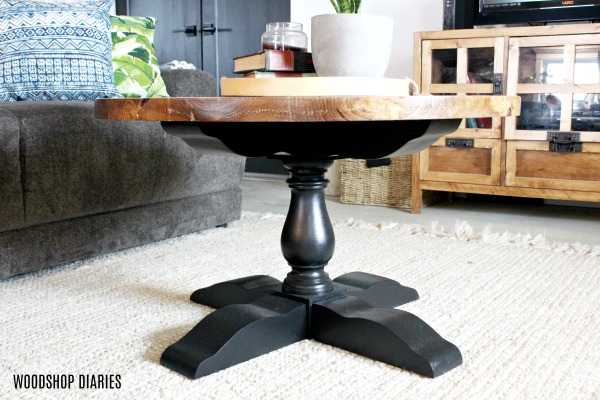
I gave the top a coat of stain and some poly, and primed and painted the base a nice pretty black.
Then I carried that bad boy inside and set it up. I think it’s a pretty close match to the one my granny has–only much more my style and my budget 😉
My mom actually came over and noticed the similarity, then decided she would like to have it. So being the nice daughter I am, I let her have it. I mean, I’m always needed another project anyway, so I’ll just build another one haha.
I really love how this one simple table leg and a couple 2x4s made such a neat looking coffee table base when you get a little creative.
So I hope you guys enjoyed this project and if you’re looking for a new project idea, be sure to head over to my YouTube channel or projects page for more DIY projects and how tos. Until next time happy building! 🙂



So,so, beautiful! You are so talented! Lucky Mom
Thank you so much <3
Shara:
Gorgeous and tasteful again! When are you quitting your day job to teach us neophytes? I’m still holding my breath…….
Kristin
HA! Thank you! And I’ll quit my day job when the bills stop rolling in haha. One day maybe 😉
If I were you’re mom I’d want it too!!
Thank you so much 🙂
Love your West Kentucky humor! You are very talented with the power tools and I enjoy your builds.
Thank you so much!