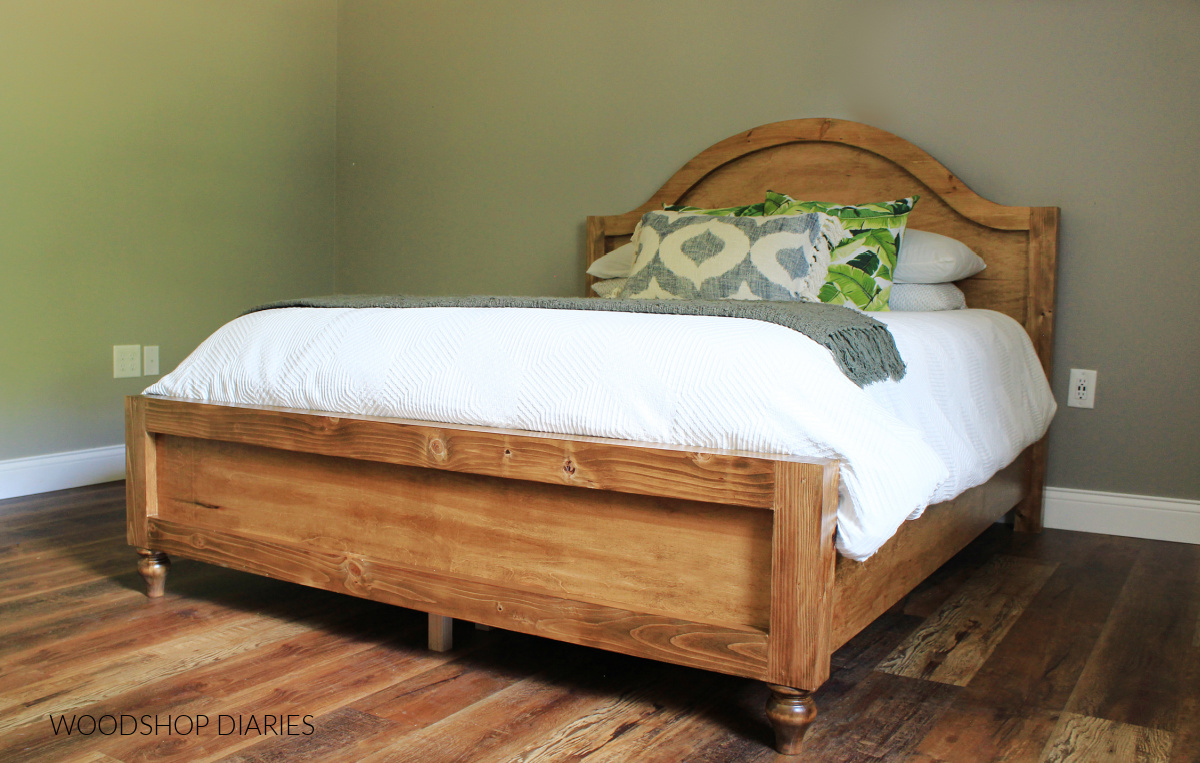
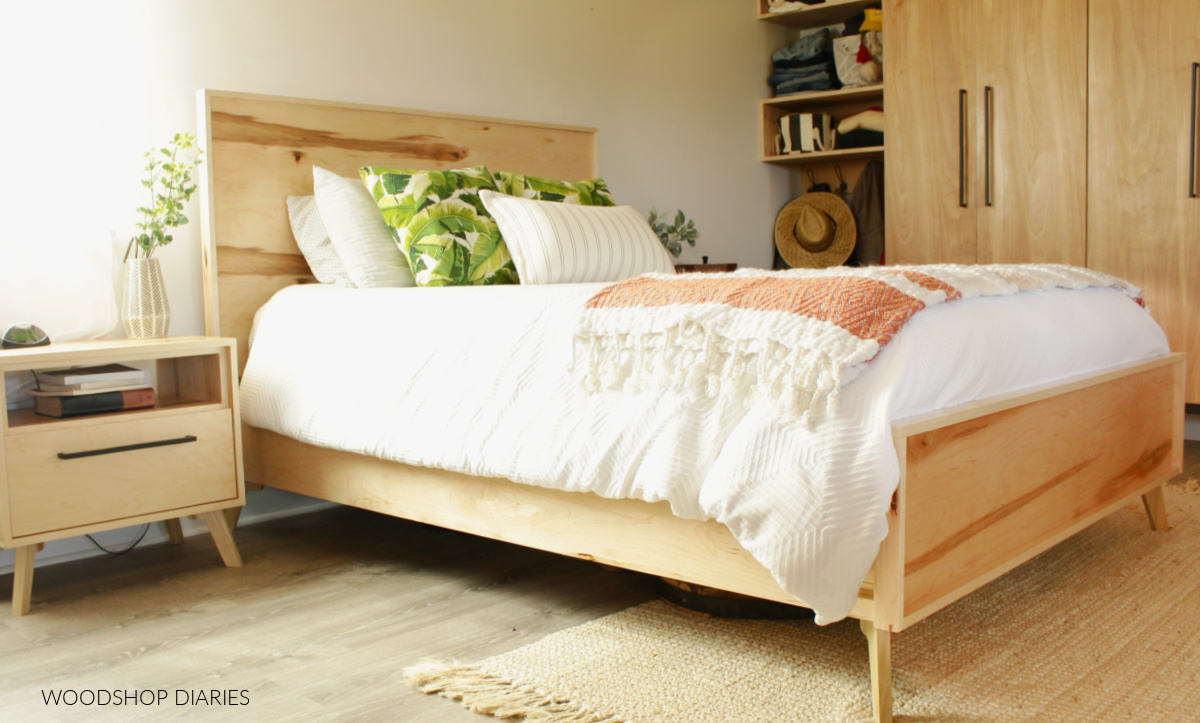
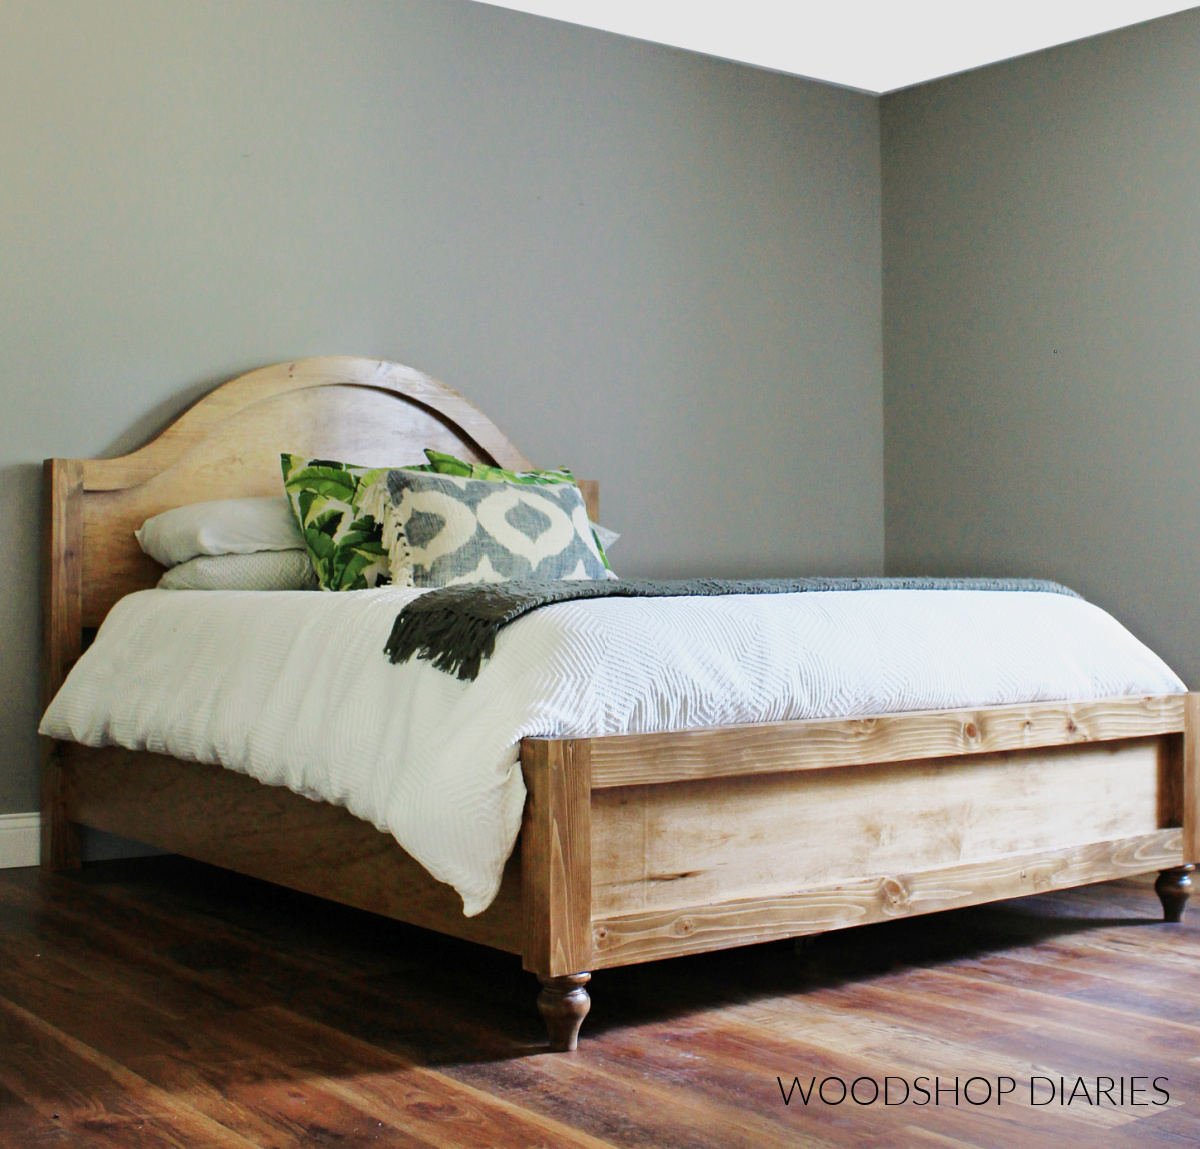
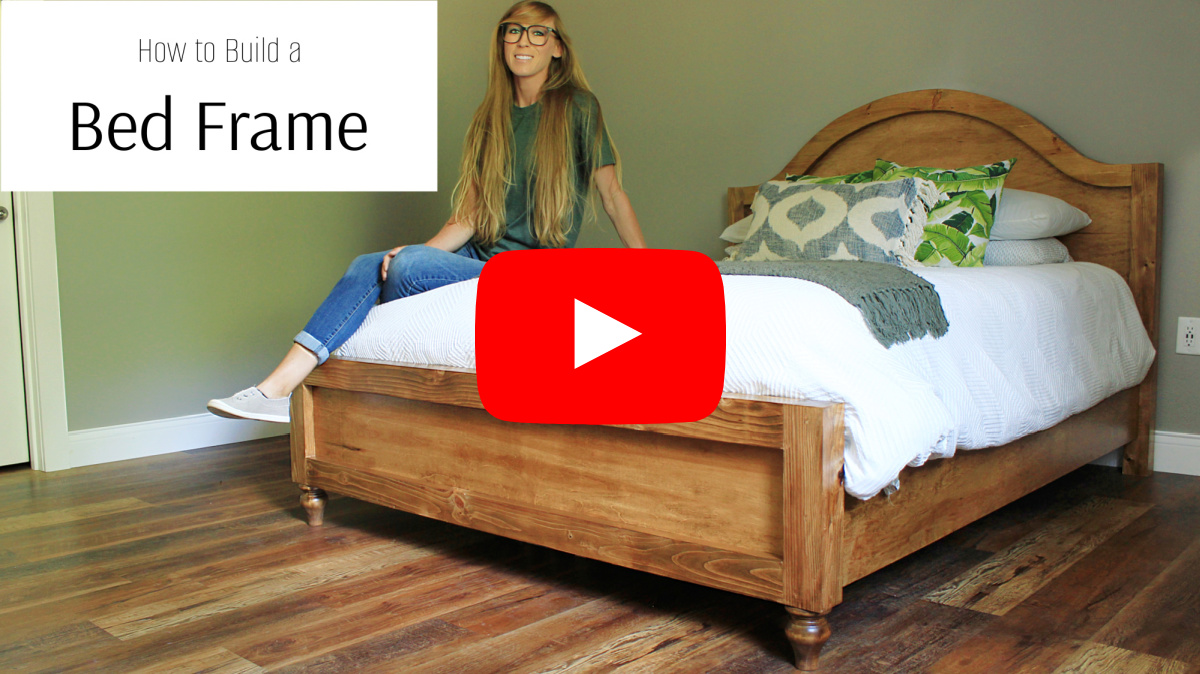
In this post, I’m sharing how to build a bed frame with an arched head board!
I’ve built a few beds over the years, and to be honest, they’re all pretty similar. Most beds are built basically the same “structure-wise,” but making some small design changes on each one can make them look completely different.
.
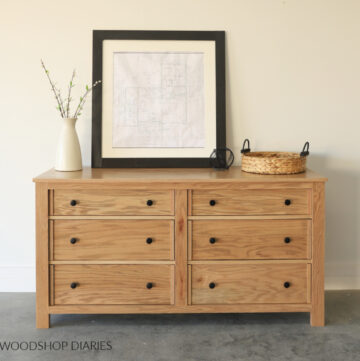
This time, I’m building this curved head board bed for our guest bedroom. This is actually the kick off to a whole matching furniture series I’ll be sharing for that space–bed, dressers, nightstands.
.
If you want to follow along and see the whole bedroom furniture building series, be sure to subscribe to the newsletter to be the first to know when new plans and projects come out!
The Basic Parts of a Bed Frame
To build a bed frame, you basically need a head board, a footboard, two side rails, and some slats or supports for the mattress to rest on.
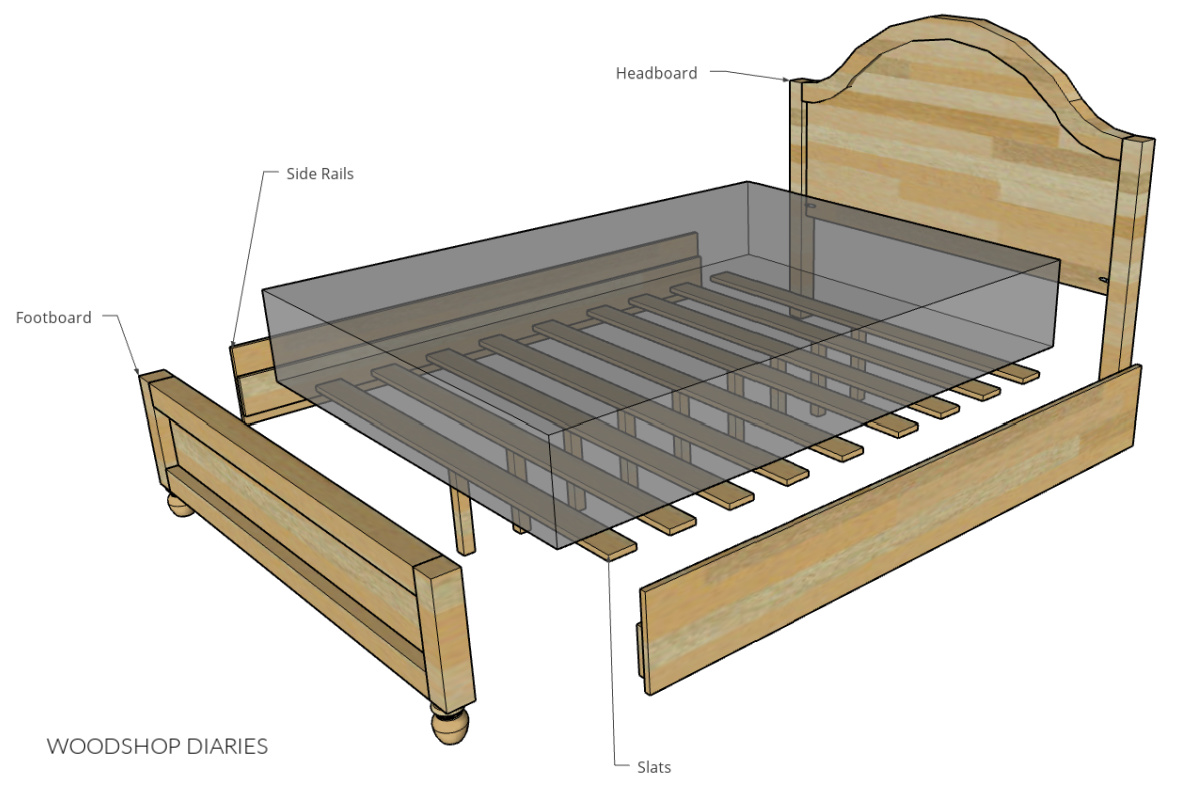
However, you can customize the details on each section to make it look different.
.
So, I’m breaking down this bed build in these sections below to keep things simple.
.
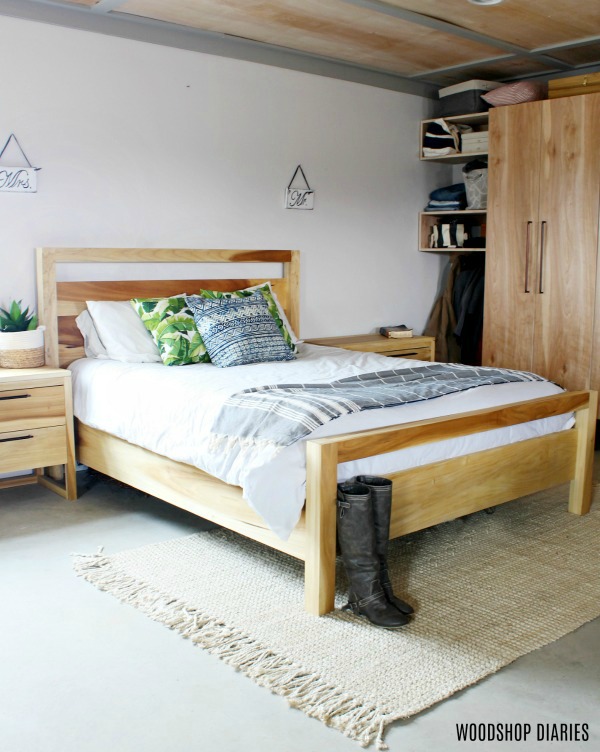
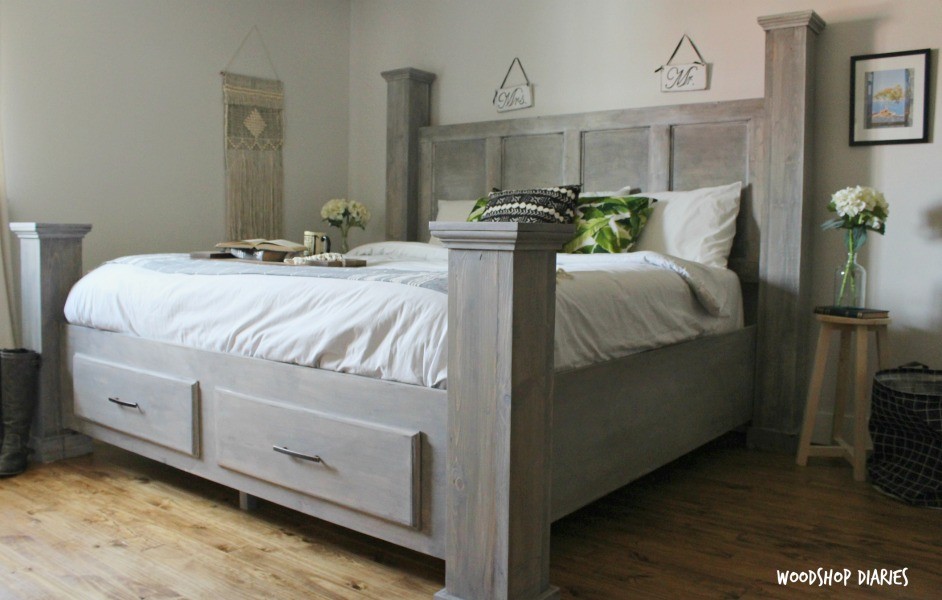
If you’d like to check out other bed builds, here’s a few favorites:
How to Build a Bed with Arched Head Board
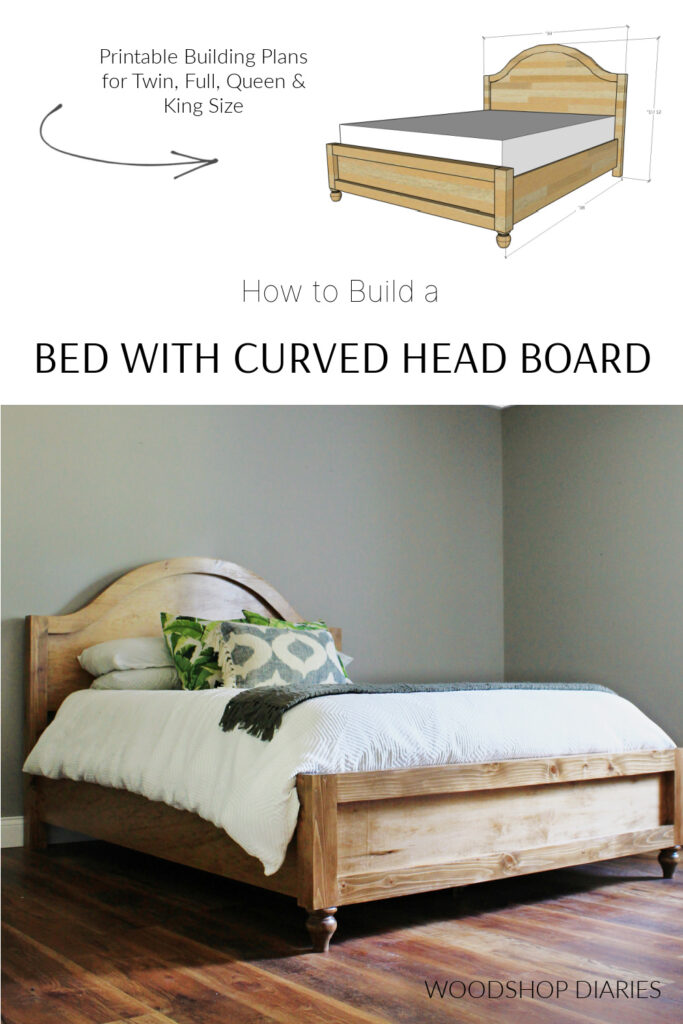
Obviously, there are different size options when it comes to beds, so overall dimensions and material amounts will vary based on the size you’re building.
.
But, don’t worry! I’ve got you covered with the detailed plans for a twin, full, queen, and king size bed frame here, so you can grab whatever size you need:
Tools & Materials:
**This post contains affiliate links. See website policies.
Tools:
- Circular Saw and straight edge (or cutting guides)
- Miter Saw
- Table Saw
- Jig Saw
- Drill/Driver
- Pocket Hole Jig
- ⅜″ dowel Jig
- Router and Rabbeting Bit
- Clamps
- Sander
Materials:
*Amounts will vary based on bed frame size. Refer to plans for specifics.
- 2x8x8 boards
- 2x4x8 boards
- 2x2x8 boards
- 4×8 sheets ¾″ plywood
- (2) 4 ¾″ tall furniture feet
- (2) threaded inserts for furniture feet
- ⅜″ diameter x 1 ½″ wood dowels
- Wood Glue
- 1 ¼″ pocket hole screws
- 1 ¼″ & 2″ wood screws
- Edge Banding (optional)
- Bed Rail Brackets
- Wood finish (as desired)
Part 1: Building the Head Board
The Head Board Frame
For the headboard curve, I used basic 2×8 material.
.
I trimmed the boards down into more manageable lengths on the miter saw, and squared off the rounded edges on the table saw.
RELATED: How to square off board edges
.
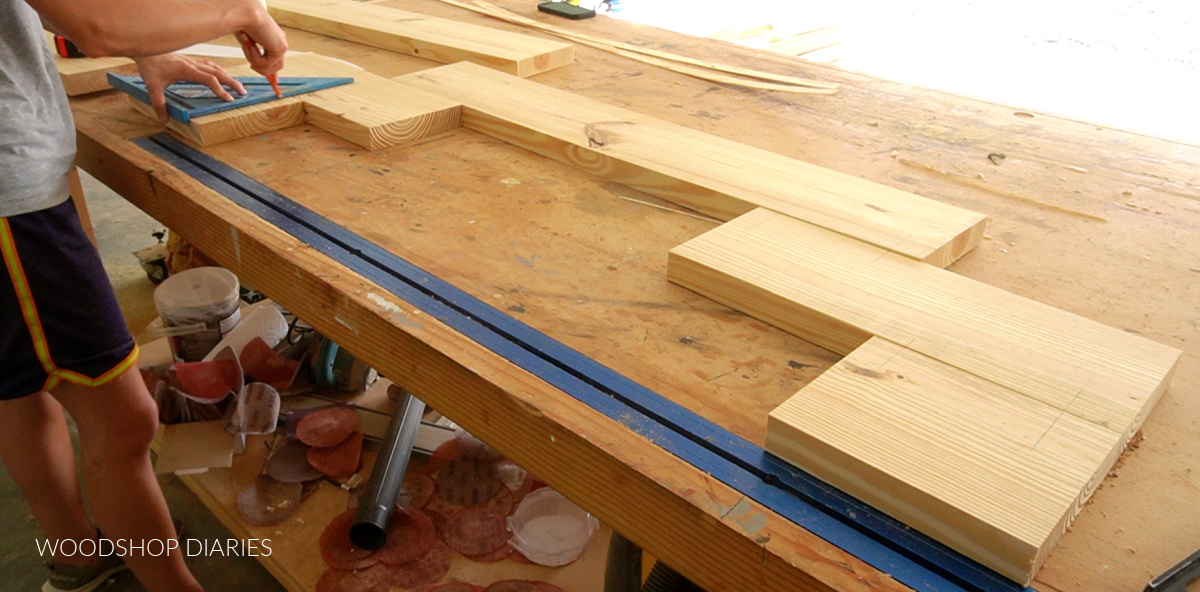
I’ve detailed the lengths of these pieces in the building plans and they will vary based on the size bed you’re building, but I basically cut pieces to form kind of a “U” shape.
.
For the curve, I drew up a template in SketchUp, took a screen shot of it, put it in a Word document, blew it up to actual size, printed it out on a few sheets of paper, taped them together, and cut it out with scissors.
.
It was pretty rough and ended up not being really nice, smooth lines, so I actually don’t recommend doing that ha! Instead, you could freehand your curve, use round objects to draw it, whatever.
.
But, in the build plans, I’ve noted the radius of each curve and if I had to do this again, I’d put a screw in a scrap board, clamp this glued up panel to the workbench, and position the screw on the scrap board at the pivot points noted in the plans.
.
Then I’d use a pencil on a string or a tape measure to trace my radius about that screw.
RELATED: Check out this post for 3 ways to draw a circle of any size
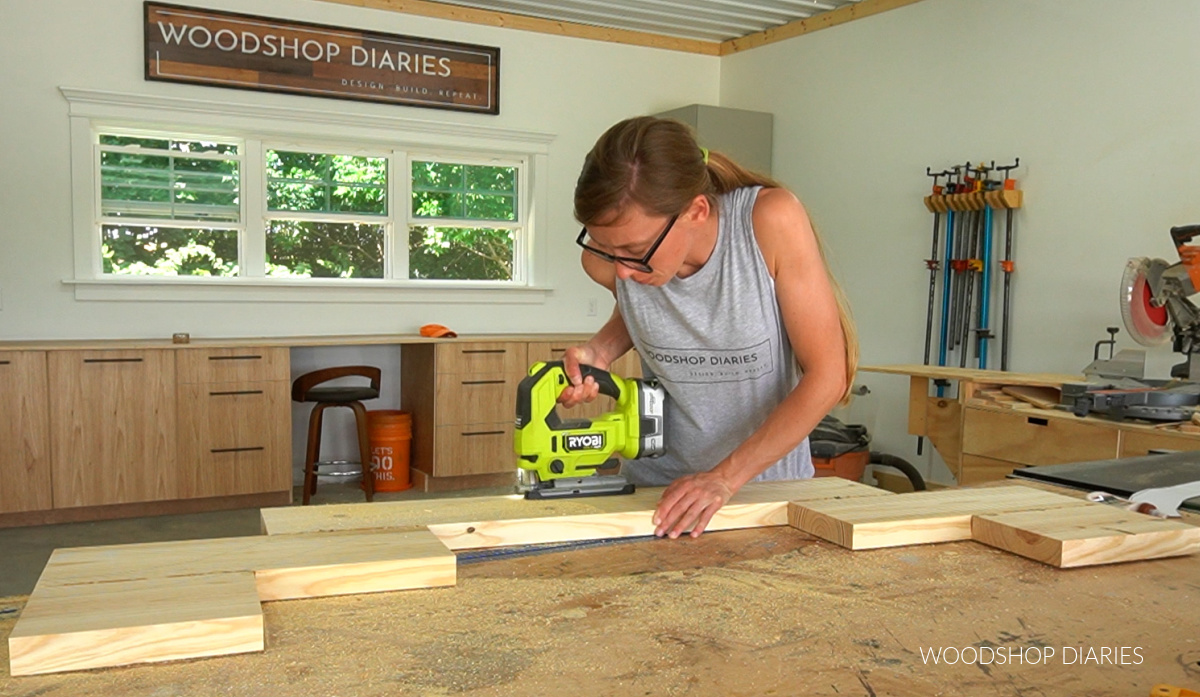
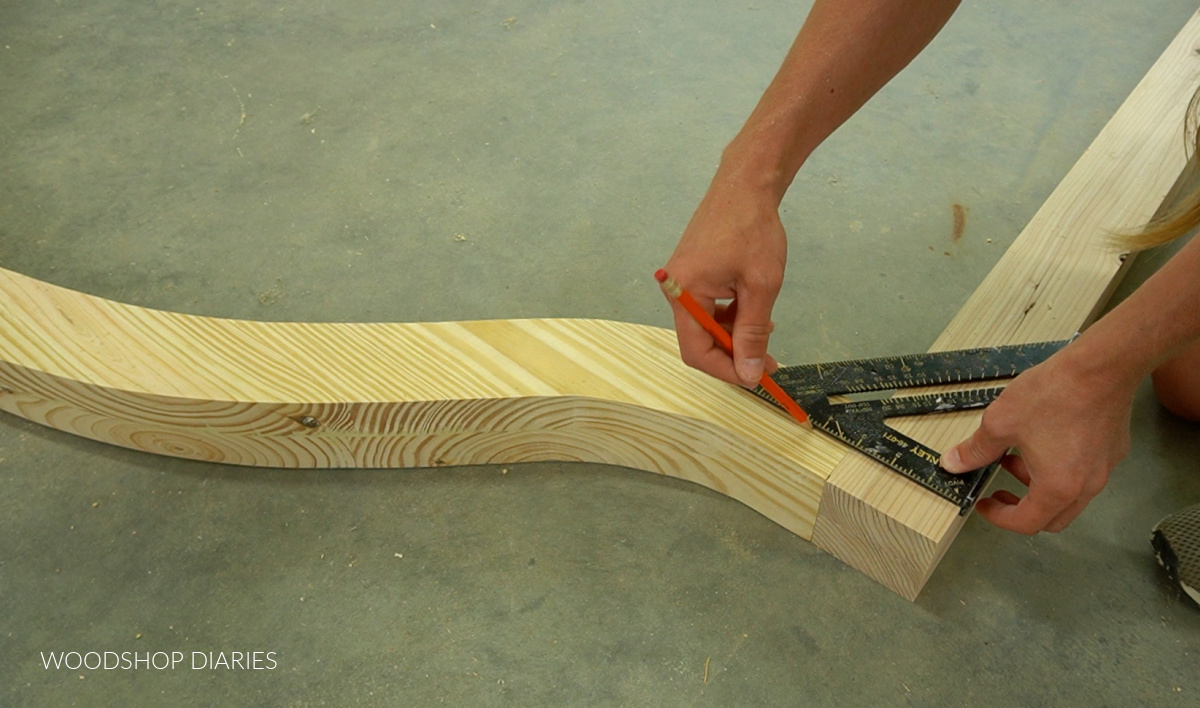
Either way, once the curve shape was drawn, I used a jig saw to cut it out.
.
I used a belt sander to help me smooth things out a little on the edges, then used this to trace my curve onto the second glued up panel and cut it out.
These curves will be glued together to give me a 3” thick piece, but before gluing them up, I used a rabbeting bit in my router to cut a rabbet along the inside edge.
RELATED: How to set up and use a router
.
I knew I’d never be able to perfectly cut a curve on the headboard panel to match the curve on the frame, so instead of wasting my time trying, I cut this rabbet. This way, I can slide the top of the headboard panel into it later and not have to worry if it’s a perfect cut.
.
Since my headboard panel will be ¾” plywood, I made multiple passes to cut this rabbet to ¾” deep to make sure my plywood would fit into it.
Then, I glued my curve pieces together so that the rabbet was in the middle.
.
After the glue dried, I used my belt sander to get all these edges nice and flush and smooth. There was a lot of sanding haha.

I made the headboard legs from 2x4s glued together. If you saw my matching office furniture series, this process looks familiar.
.
I cut 4 pieces of 2x4s to a little over 40″, then squared the edges off on the table saw so the boards were just over 3” wide.
RELATED: How to square board edges
.
Then, I glued them together to make two legs.
.
After the glue dried, I ran these through the table saw again just to clean up the glue edges and give me 3” x 3” posts. Then, I trimmed them to a final length of 40”.
.
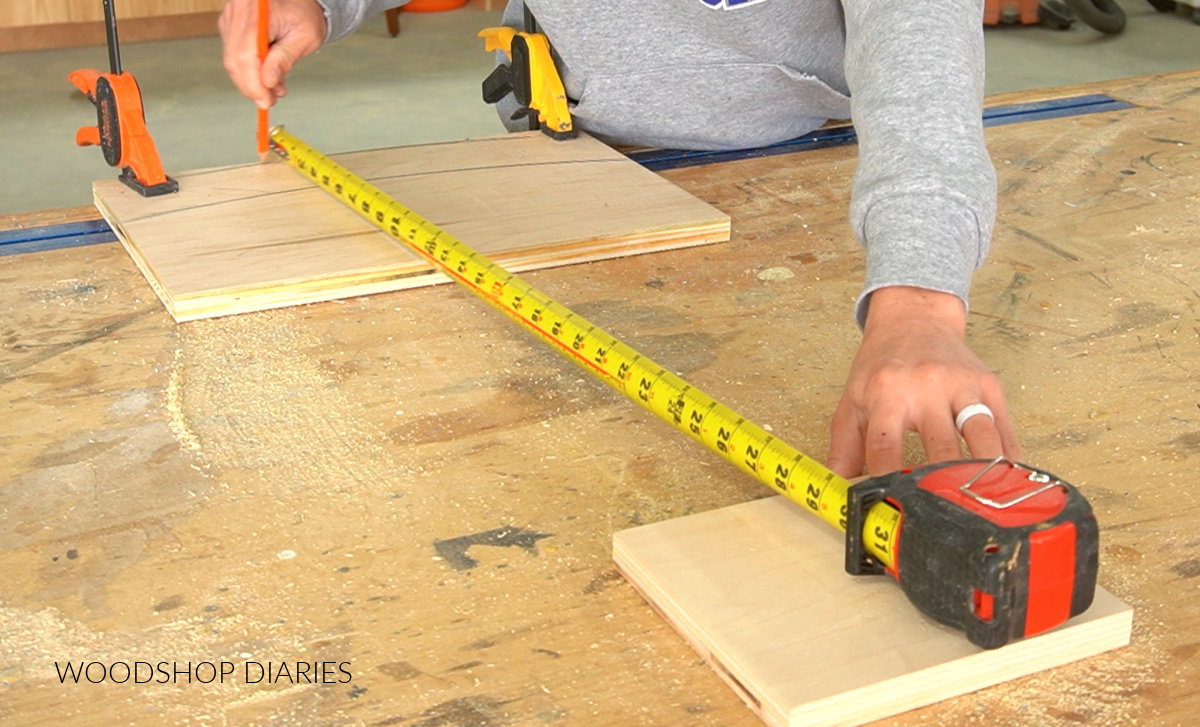
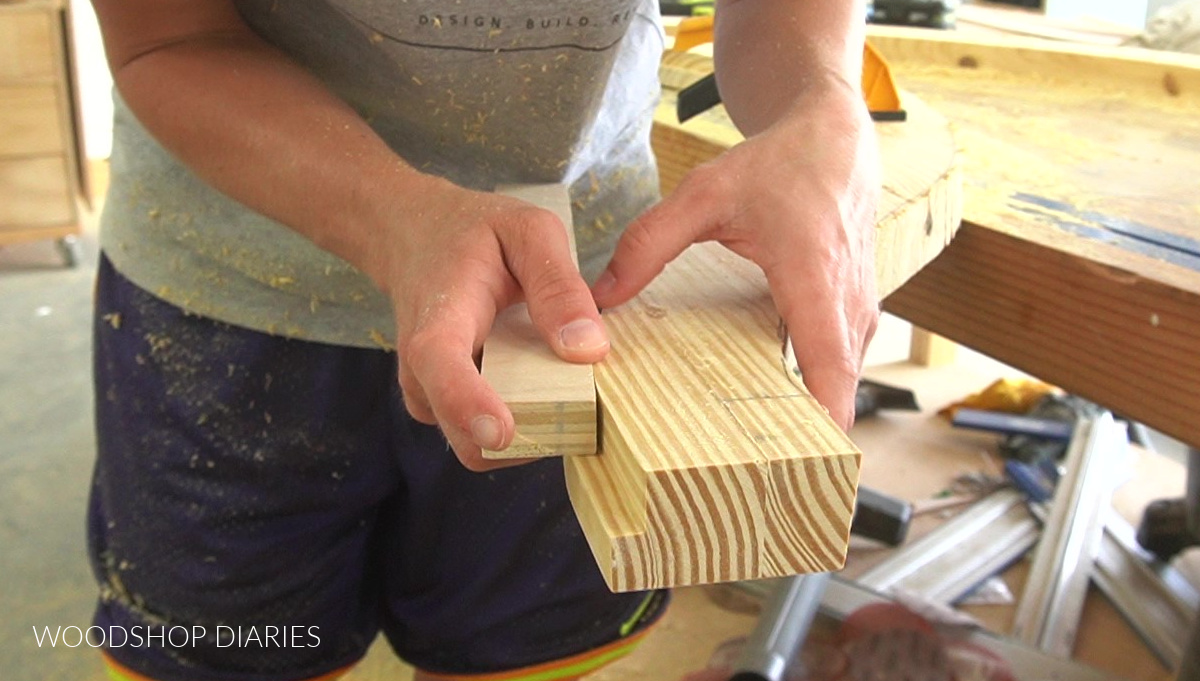
I laid these two posts, and the curve out on the floor and used a square to mark some lines at the joints on both the front and back.
Then, I used a dowel jig on these marks to drill dowel holes.
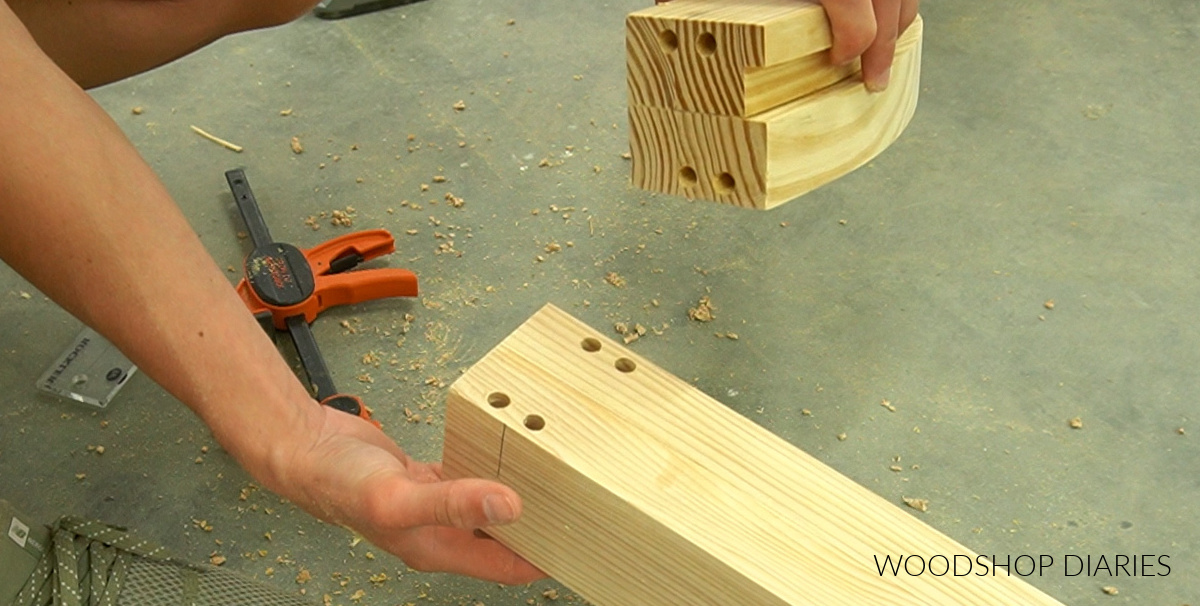
If you didn’t want to use dowels, you can definitely use another joinery method you feel comfortable with.
.
I used wood glue and dowels to assemble this frame and did some creative clamping to hold it together while the glue dried.
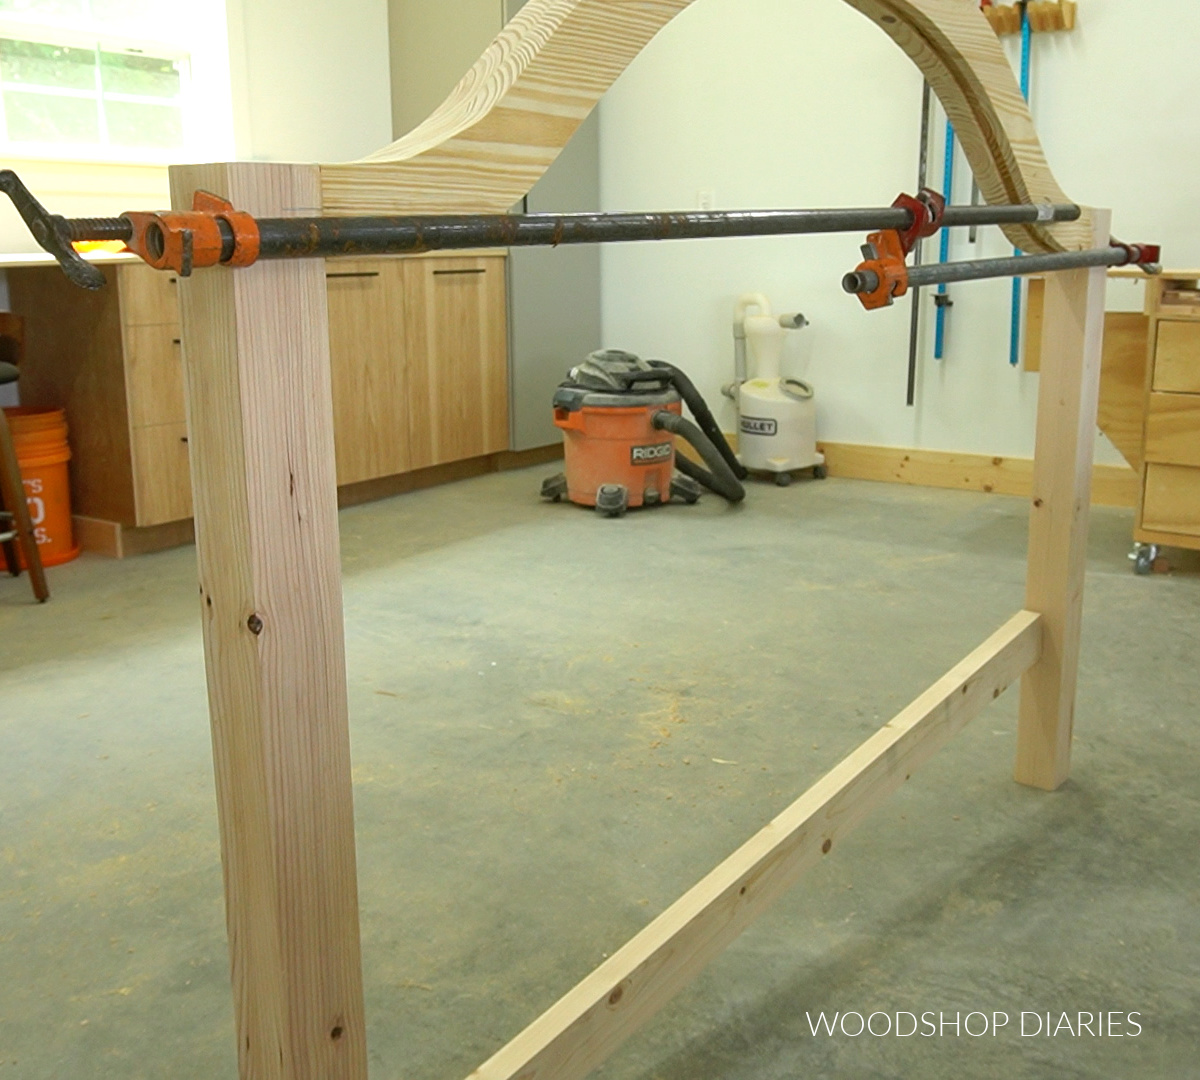
To make sure my headboard legs stayed parallel while the glue dried, I used a 2×4 board at the bottom. I just kind of tapped it in at an angle until the legs were the same distance apart at the top as they were at the bottom. Then, I let it dry.
The Head Board Panel
While the glue dried, I cut a panel to fit between the head board legs.
RELATED: How to cut plywood sheets
.
Once the headboard frame was dry and all the glue squeeze out was sanded off, I laid this panel on the floor and placed the frame on top of it. I set the inside of the curve about ¼” down from the top edge of the panel and traced it out.

Then, I used a jig saw to trim about ¼”-⅜” on the outside of this line. This will go up into the rabbet, so that’s why I cut a little outside the line. These edges will be hidden.
.
I drilled ¾” pocket holes into the sides of this panel, and slid it into the frame so that the top curve slides into the rabbet on the frame.
RELATED: How to use a pocket hole jig
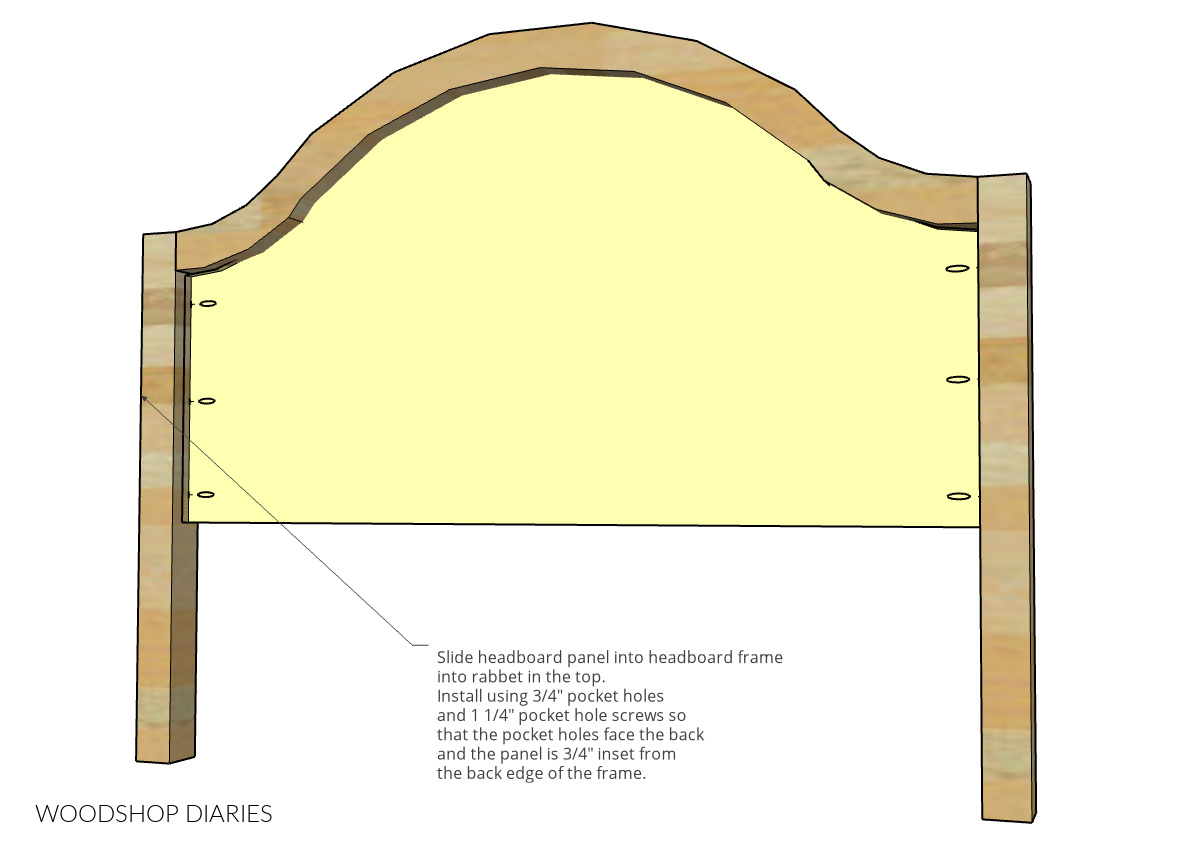
It really doesn’t matter which side you make the front and which side you make the back, but I installed this so that the headboard panel was ¾” inset from the back edge and 1 ½” inset from the front edge. You could flip flop it if you wanted.
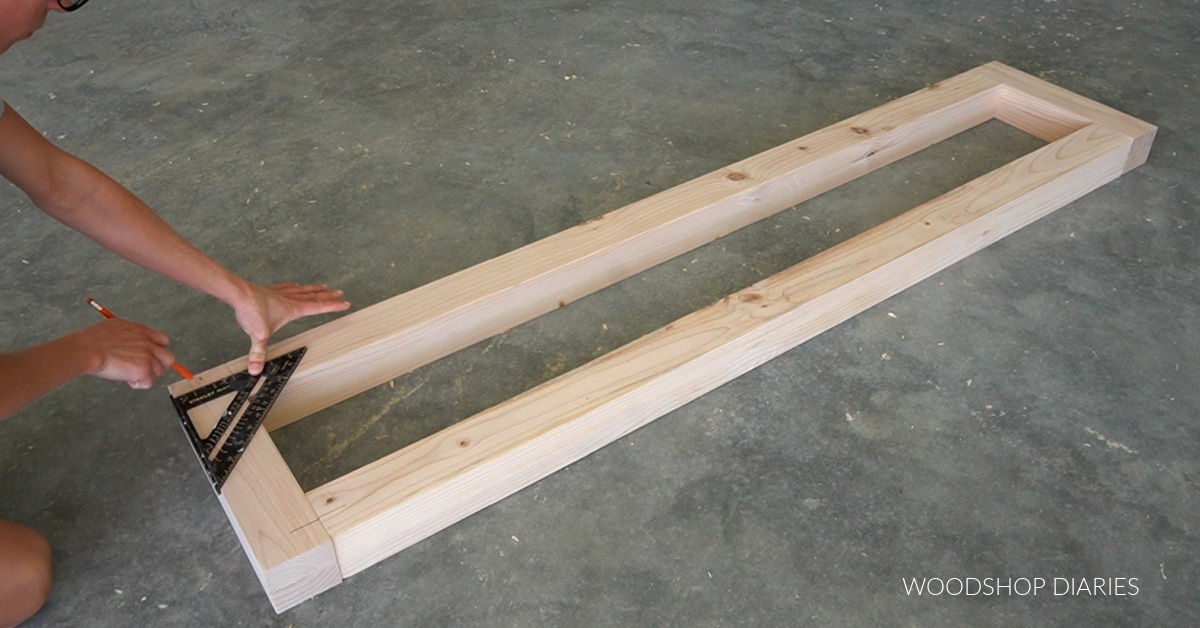
Part 2: Building the Foot Board
For the footboard, I repeated the process for making 3” x 3” posts from 2x4s. I made two long ones for the top and bottom, and two shorter ones for the sides. The plans detail the lengths these should be based on the size bed you’re building.
.
Just like with the headboard, I laid these out on the floor, and used a square to mark lines at each joint on both sides. Then, I used a dowel jig to drill out dowel holes at each mark.
Again, you can use another joinery method if you prefer.
.
I glued up this frame using wood glue and dowels, but you could also use pocket holes and screws.
.
Once this was dry, I sanded off all the glue squeeze out, and cut a piece of ¾” plywood to fit perfectly inside this frame.
.
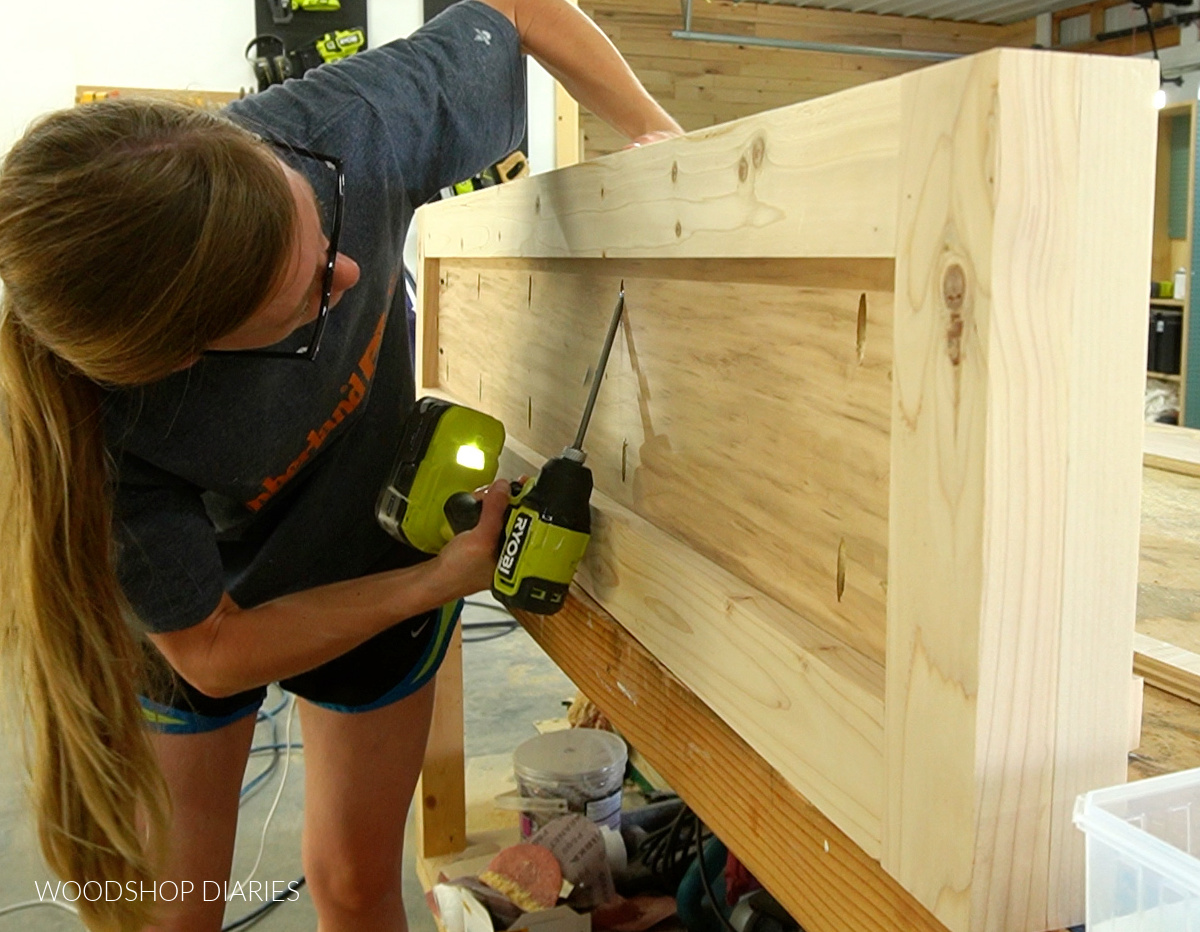
I drilled ¾” pocket holes around the edges, then installed this into the frame using 1 ¼″ pocket hole screws so that it was about 1 ½” inset from the front edge.
Now, I was installing some furniture feet onto the footboard. So I flipped it upside down, and kind of figured out how far in I wanted the feet to go.
.
I marked and drilled out a hole on each side to install a threaded insert to screw the feet into.
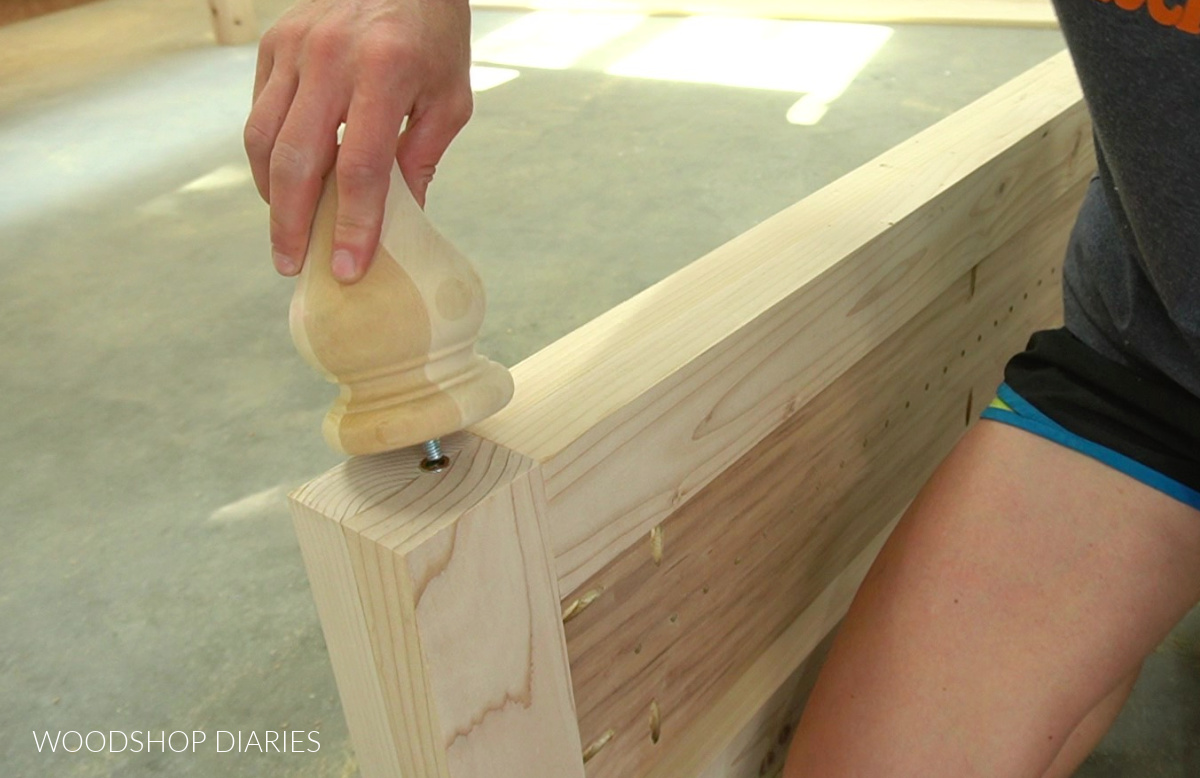
Once both feet were on, the footboard was complete and it was time to move to the side rails.
Part 3: Building the Side Rails
The side rails are probably the easiest part of the whole bed. I cut two strips of ¾″ plywood for this and applied iron on edge banding to the top edges just to give them a cleaner, smoother look.
RELATED: How to apply iron on edge banding
.
Now these side rails will need some supports to rest the bed slats on later, so for this, I used some scrap plywood strips I had in the shop.
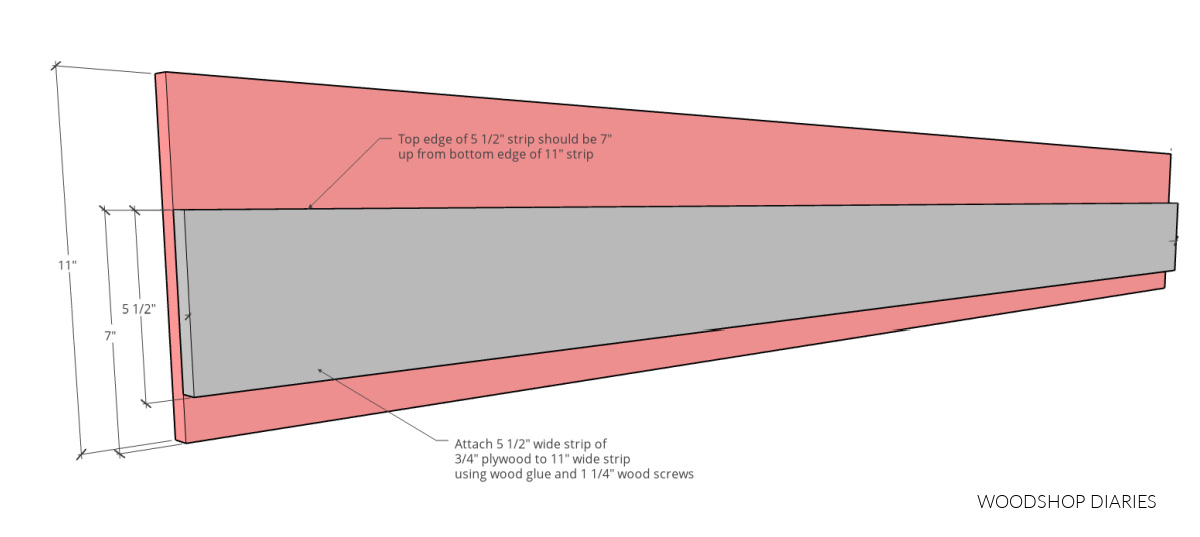
I didn’t have any long enough to run the full length, so I pieced them together—which is fine. I glued and screwed these support pieces along the inside of each side rail so that the top was about 7” from the bottom edge.
Part 4: Assembly Using Bed Rail Brackets
Now that all four sides of the bed are made, it’s time to put it all together. I used some bed rail brackets for this. There are several styles of bed rail brackets.
.
This is a new kind I haven’t used before, but they seemed simple enough. I attached the corner piece onto the head and foot board like shown the same distance up from the ground.
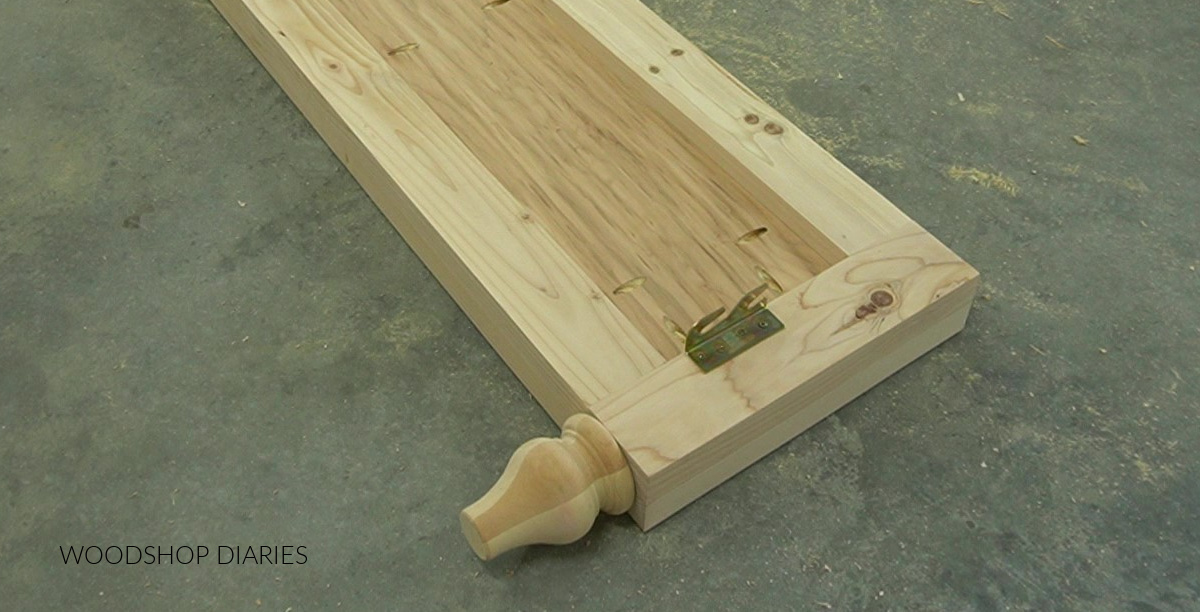
The plans will detail the location of the brackets.
.
I’m pretty sure these are intended to go the other way so that the “teeth” face the outside vs the inside, but if I flipped them, it would push the side rails further apart and leave way too much wiggle room on each side of the mattress.
.
So I installed them so that the teeth were flush to the inside of the frame.
.
I screwed the other part of the brackets in along the edges of the side rail supports so that they would fit together at each corner just like this.
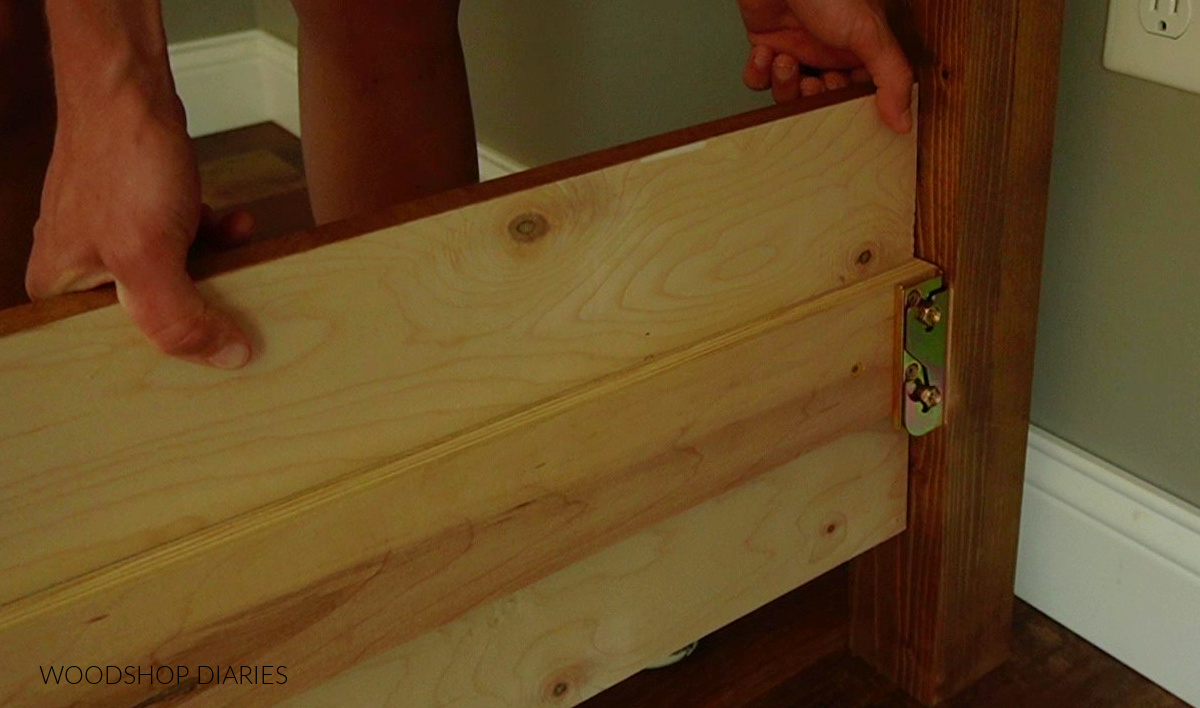
I installed these so that the bottom edge of the bed rail would come to the bottom edge of the footboard.
.
After installing the brackets and making sure it all fit together, I stained all four pieces in Minwax Early American and gave it a few coats of clear coat poly once the stain dried.
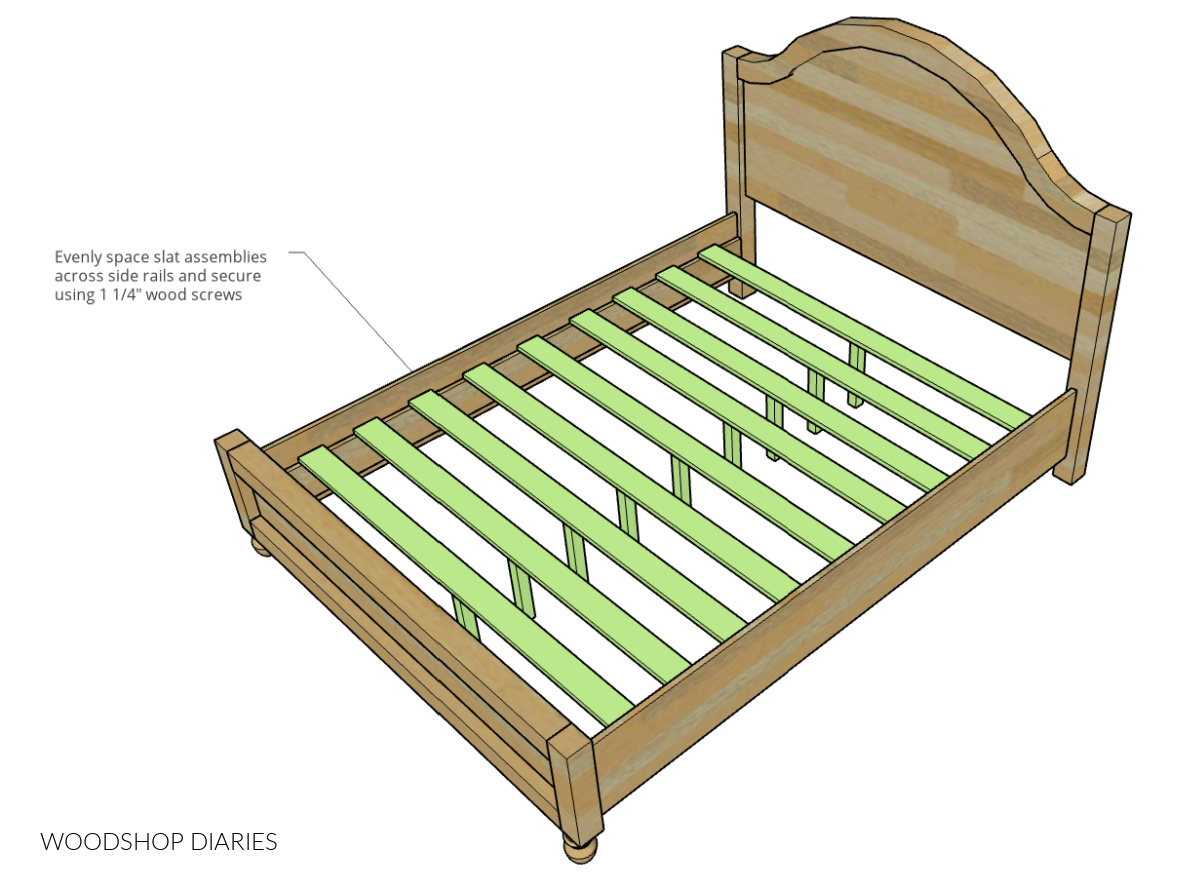
Part 5: Adding Bed Slats
I cut nine 3 ½” wide plywood strips long enough to span the width of the side rails and rest across the supports. (You could use 1x4s instead…or 1x6s…it doesn’t really matter as long as the mattress is well supported.)
.
Then, I cut nine 2x2s the height of the top of the side rail supports from the ground.
.
I screwed the 2x2s in at the center of each slat, and placed these evenly along the bed rail supports. Then, I screwed these in place.
And at this point, it was done and ready for a good nap haha!
.
Simply place the mattress (no box spring needed, but you can add one if you’d like) on top of the slats, add bedding as desired, and hop in!
.
I know this seemed like a big project, but building beds is more like building several separate projects that kind of all fit together.
So hopefully that helps make it a little less overwhelming when you think about building one 🙂
.
If you’d like to learn how to build a bed in a twin, full, queen, or king size, don’t forget to check out the plans and watch the full build video over on my YouTube channel.
If you’d like to keep up with how the rest of this matching bedroom furniture set comes together, be sure to subscribe to the newsletter here.
.
And if you’d like to save this for later, don’t forget to pin it or share it to your favorite social channel!
Until next time, friends, happy building!