
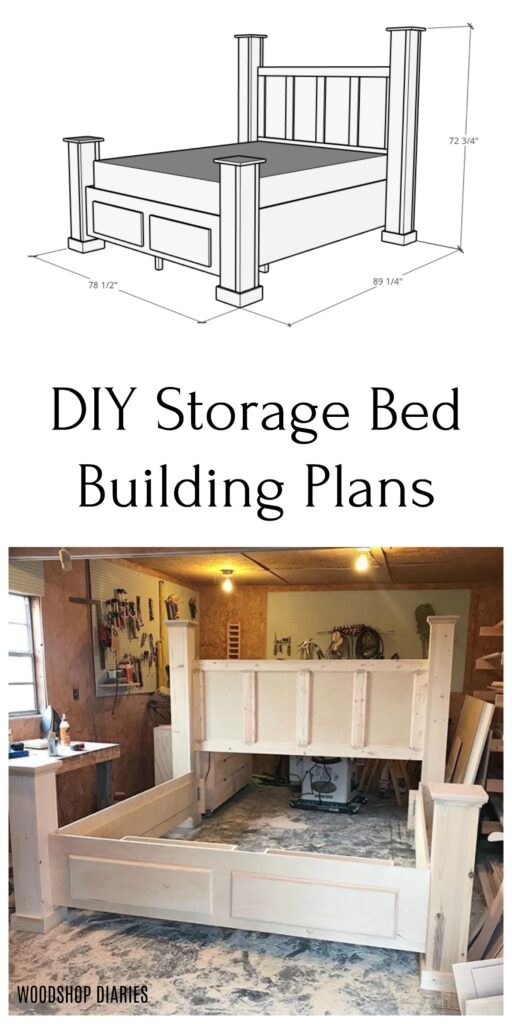
In this post, I’m sharing how to build your own DIY storage bed!
This post was sponsored by Build Something. This post also contains affiliate links. See disclosure policy for details.

I had “whoops moments” a lot with this project. Since this was the first time building a bed, I learned several things during the process and made several mistakes. I’ve since built a few more beds with a few less mistakes haha. I learn everything the hard way…
.
You might also notice that I learned it wasn’t the best idea to build a King Size bed in a one car garage workshop haha. Good thing it’s built in pieces for easy disassembly!
.
For more of my bed builds, check these out:

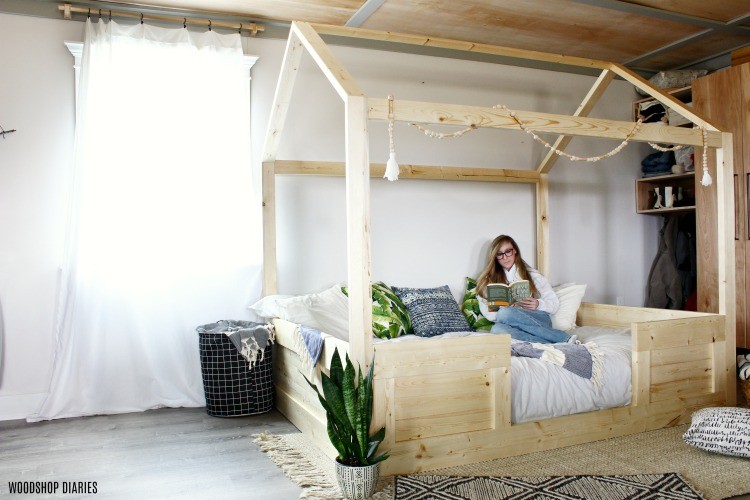
DIY House Bed 
DIY Modern Bed
The free building plans over on Build Something give you all the details on a King size bed. You’ll see the mistakes I made and I explain how to fix them in those plans.
.
And to help visualize the assembly better, I made a YouTube video for this bed build. It’s old, so don’t judge me too harshly 🙂 It’s still a really helpful instructional video. Here’s the DIY Storage Bed video.
Now, the printable plans can be found in the links above. But I’m sharing an overview of the build and some tips below.
.
I like to build my beds in sections to break it down a little and to make it easy to move around if you have to take it from your shop to the bedroom it’ll be placed in…or if you move houses (which we seem to do a lot).
.
I designed this DIY storage bed to be made in four separate pieces plus slats so that it would be easy to assemble and disassemble. First, I built the headboard. Then the footboard, then the 2 sides, and finally, the slats.
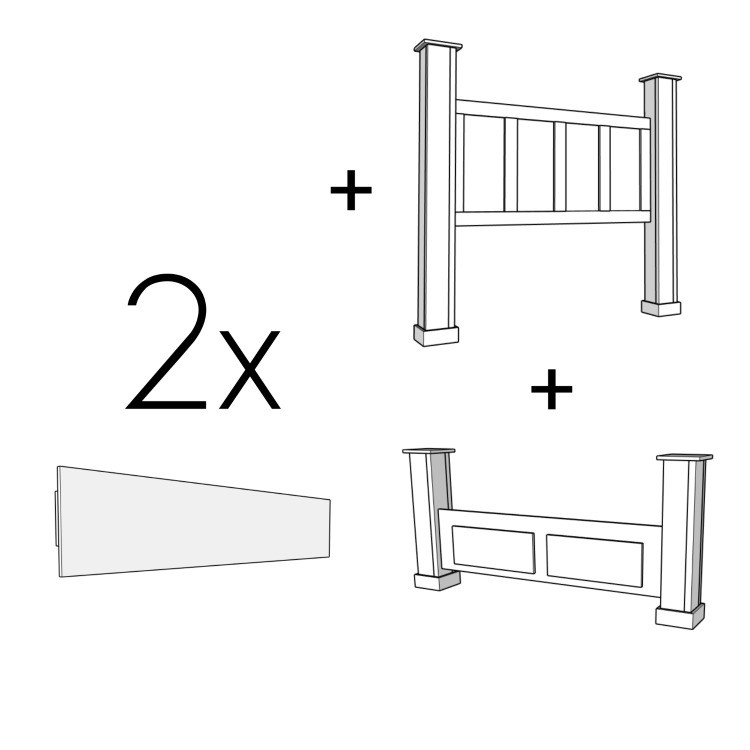
Building in parts makes the build more “digestible” and not so overwhelming
.
Okay, now, let’s get building 🙂
Step 1: Assemble Bed Posts
The first part of this build is assembling the bed posts. I actually made these to be hollow posts made from gluing and screwing 2×6 boards together.
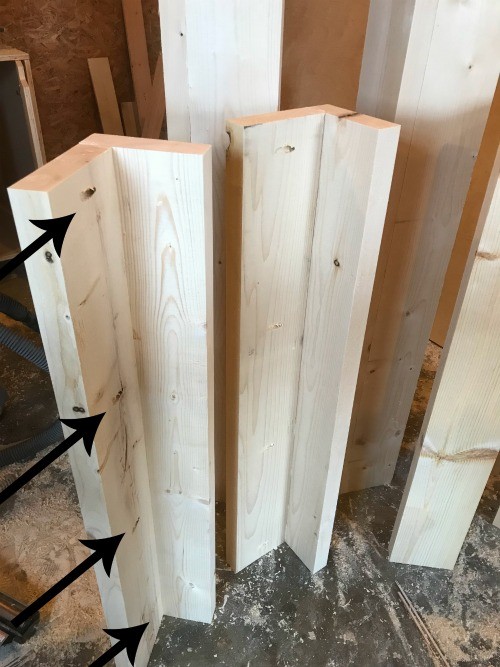
I used pocket holes to make “L shaped” pieces first, then used glue and 2 ½″ wood screws to attach two Ls together to make a post.
The headboard posts were six foot tall and the foot board posts were three foot tall for both the King and the Queen Size bed.
.
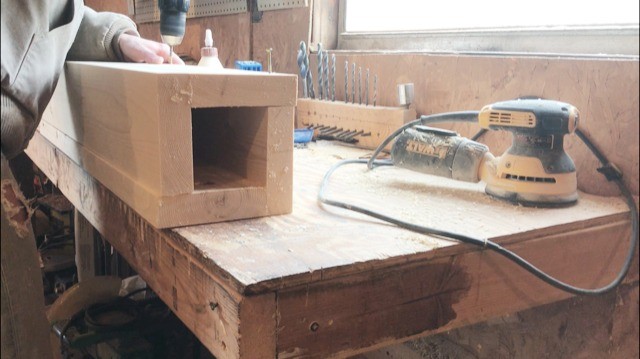
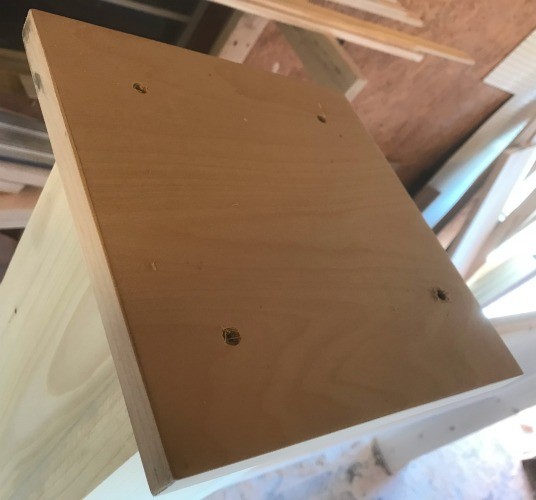
For the top, I glued and screwed a piece of 9″ square ¾″ plywood on the posts.
Then, just to give it a little more detail, I glued and nailed some small crown molding around the top and some 1×4 trim cut to fit along the bottom of each bed post.

Step 2: Build DIY Storage Bed Headboard
Once the posts were complete, it was time to add the headboard. Now depending on the size you’re building, the headboard pieces will vary in size, so refer to the plans for specifics.
.
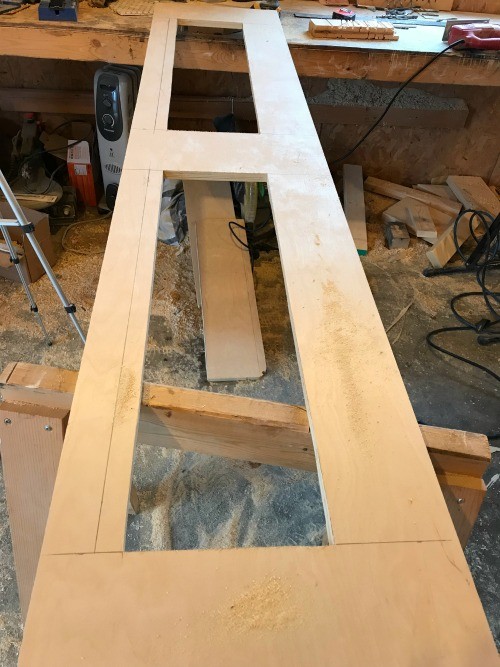
But I cut the headboard from ¾″ plywood and attached using pocket hole screws and glue.
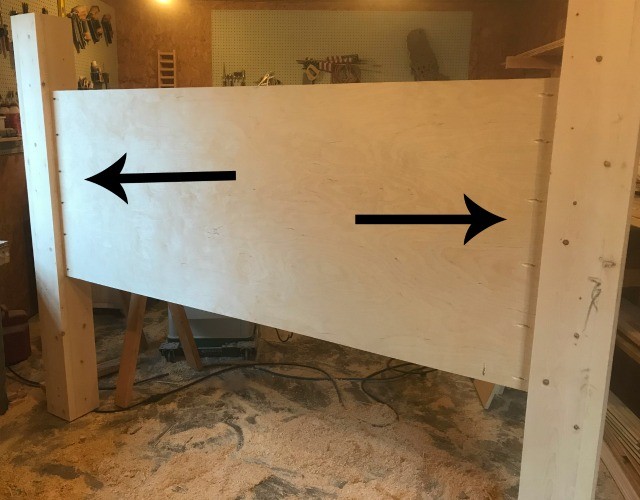
Then, I cut to fit 1x4s like shown to trim out the headboard. I lined the inside of the frames with cove molding for a little extra detail as well.
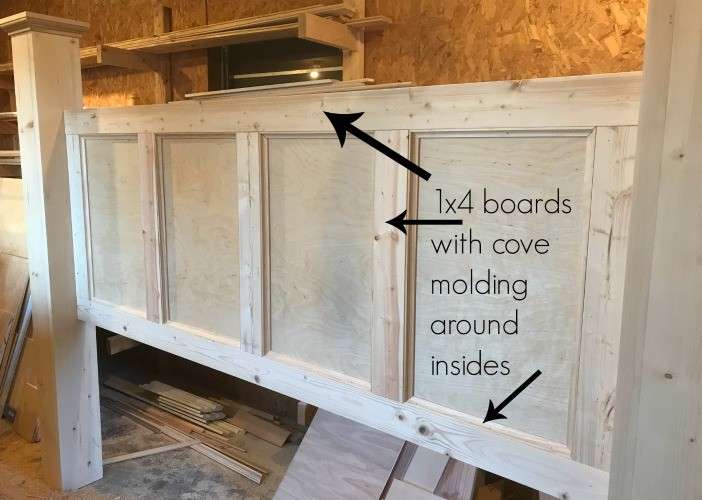
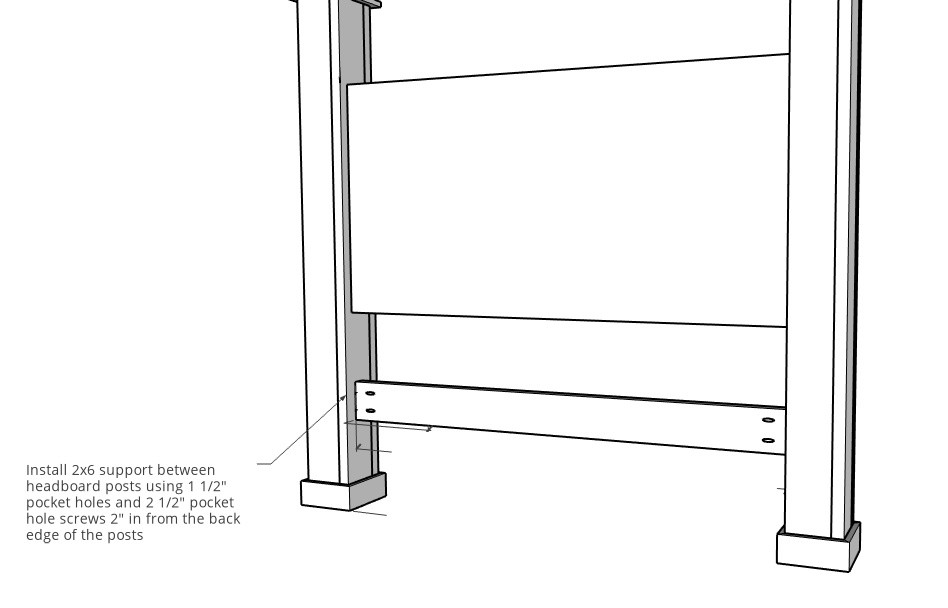
The last part is adding a support piece at the bottom to attach the sides onto once they are built. I used pocket holes and screws (plus glue) to add a 2×6 board at the bottom for this.
Step 3: Build Storage Bed Footboard Panel
Now that the headboard is assembled, it was time to move to the footboard. Since the footboard of this project has drawers installed in it, the footboard panel needs to be cut out for that.
.
Just like the headboard, I cut the footboard from ¾″ plywood.
.
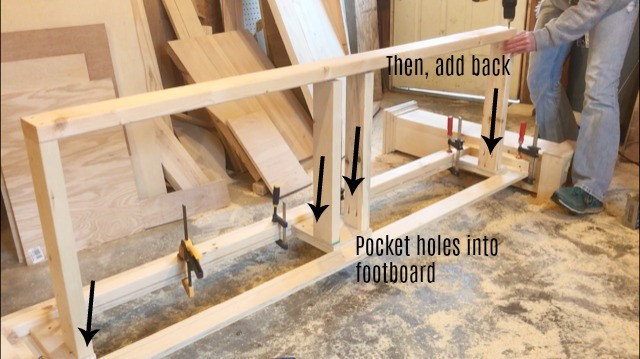
Then I laid out where to put the drawers and cut this out with a jig saw and attached to the footboard posts with glue, pocket holes, and screws.
In the next step, I’m going to be adding some framing for the drawers to mount onto made from 2x4s.
.
Now, when you’re working with pocket holes in 2x material, it’s best to use 1 ½″ pocket holes and 2 ½″ screws. But since the plywood was only ¾″ thick, 2 ½″ screws would be too long and shorter screws wouldn’t have as good of a hold.
.
So to “turn ¾″ plywood into 2x material,” I just glued and screwed some scrap blocks to it where the drawer framing will go.
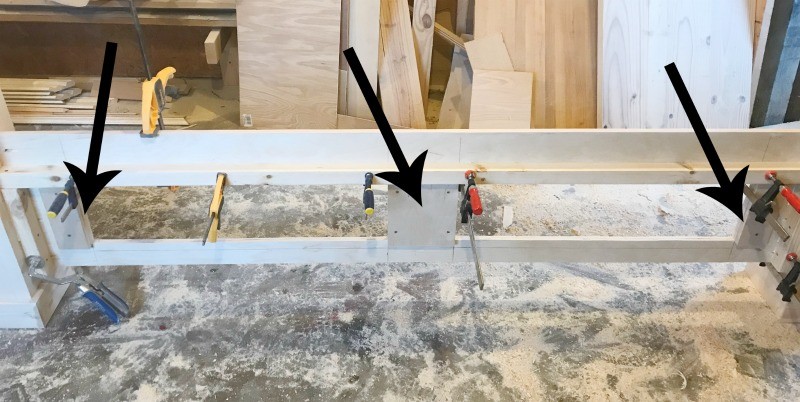
You’ll also notice above that I added a 2×2 board across these scrap blocks. This is to 1. help keep the footboard from bowing and 2. act as a support for the bed slats later.
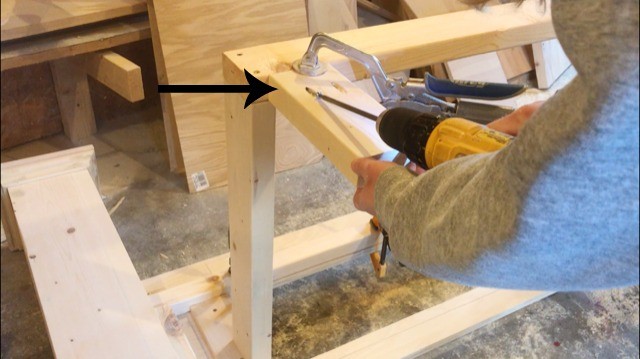
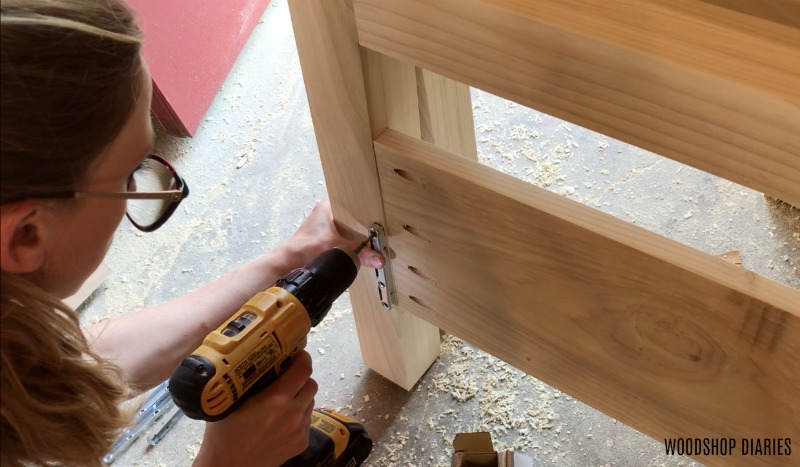
Step 4: Install Drawer Box Framing into Storage Footboard
The framing for the drawers to slide into was built from 2x4s and assembled with pocket holes and screws.
After the framing was installed, I added some little feet to support the back end once the drawers were installed.
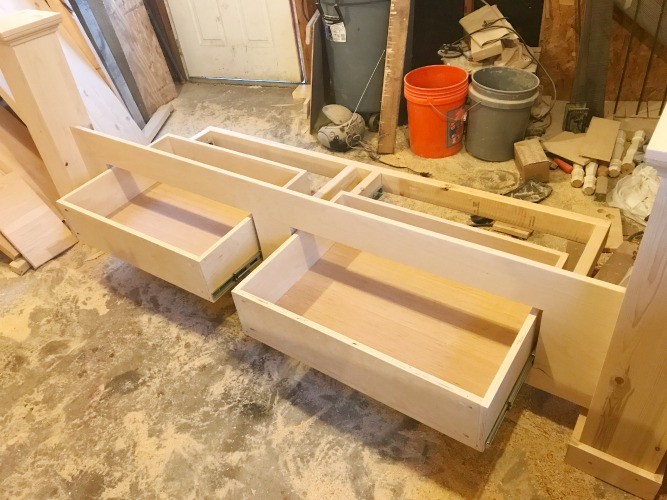
Step 5: Install Drawers into Storage Bed
I mounted 22″ ball bearing drawer slides onto the 2×4 framing for the drawers.
.
Then, I built the drawers from ¾″ plywood for the sides and ¼″ plywood for the bottoms.
.
I have a detailed guide on how to build drawers here that shows you how to install the slides, size and build the drawers, and install them.
.
Once the drawers were built, I installed them into the footboard.
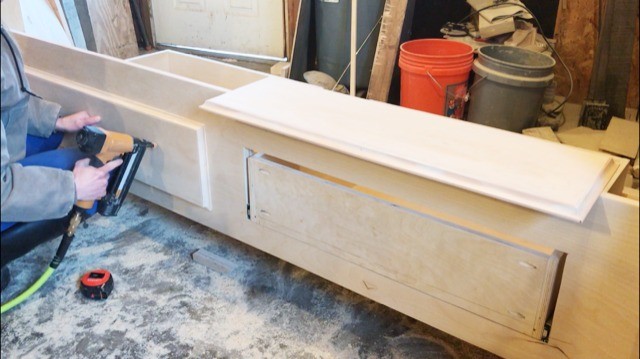
Finally, I cut ¾″ plywood pieces for the drawer fronts and added some cove molding around the edges (the molding is optional–it just adds some pretty detail).
.
I centered the fronts onto the drawer boxes and shot a nail to hold it in place while I securely attached it from the inside of the box with 1 ¼″ wood screws.
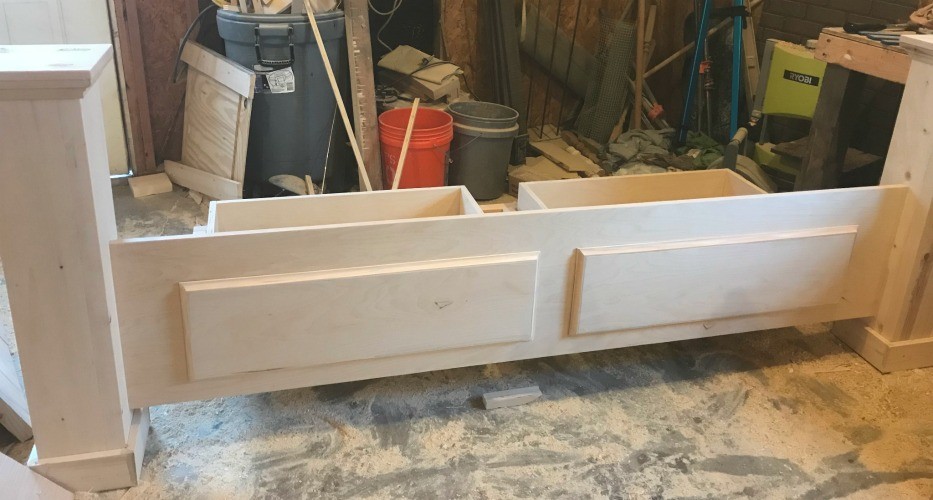
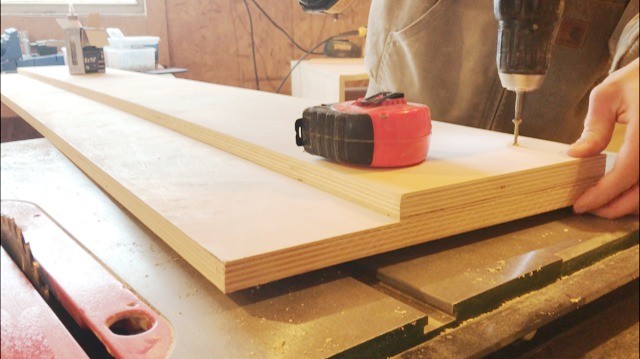
Step 6: Assemble Side Boards
The side boards are also made from ¾″ plywood. The outside is 16″ tall, but I glued and screwed an 8″ wide strip onto the inside for the slats to rest on.
Once the two side boards–which were just an 8″ strip attached to a 16″ strip–were together, I added the bed brackets.
.
As I mentioned earlier, I designed the bed to be built in four separate pieces. They assemble using these bed brackets.
.
You mount the bracket with slots onto the head and foot boards, and the brackets with “hooks” or “teeth” onto the bed sides. Below they’re shown on my modern bed frame build. But this is done the same way with this bed.

“Teeth” part of brackets 
“Slot” part of brackets
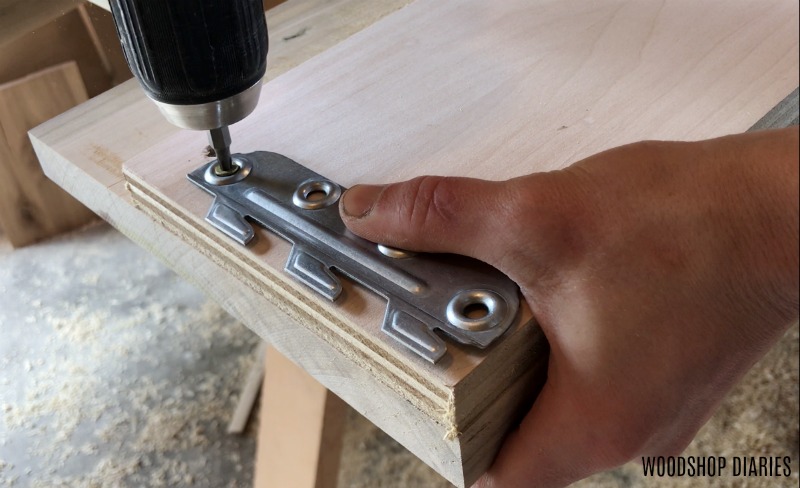
When you’re ready to assemble, it’s super easy to slide the teeth on the side rails into the slots on the head and foot board and the bed is assembled in about 60 seconds and if and when you need to pack up and move it, it also disassembled in about 60 seconds as well.

NOTE: When I originally built this bed, I didn’t use the 2×6 support I mention in step 2 on the headboard. I made it much harder than it needed to be by adding two support pieces on each side. That’s why you don’t see it above. Using the 2×6 is easier so I recommend it in this post and in the plans.
.
No fancy hardware or joinery needed. I highly recommend using these brackets when building beds.
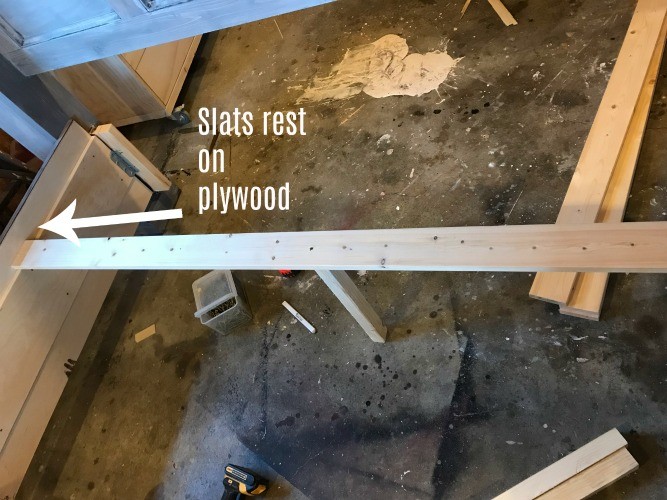
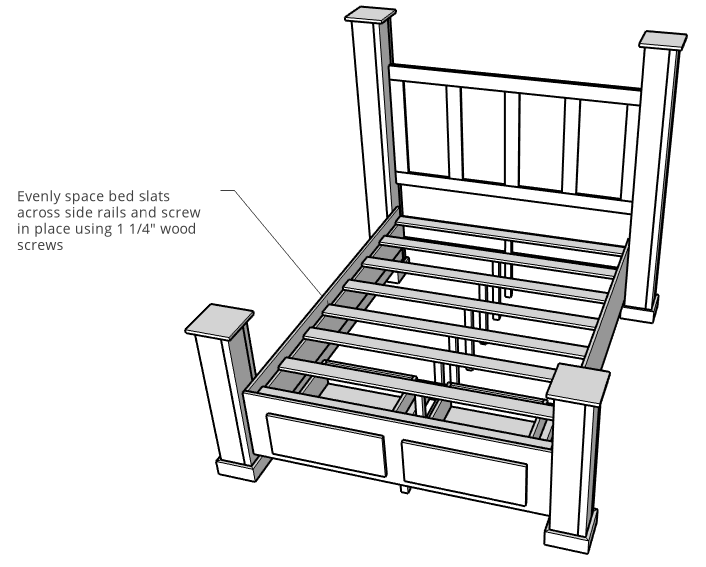
Step 7: Install Bed Slats
It’s almost done! All that’s left is the bed slats!
.
I used 1x4s for the slats and added some 2×2 posts in the center with 2 ½″ screws to prevent sagging. You could also rip plywood strips for the slats instead of 1x4s.
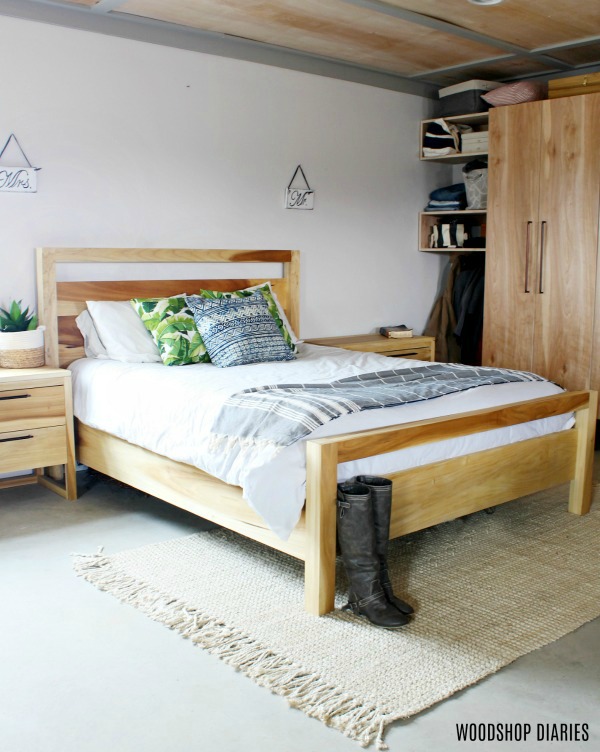
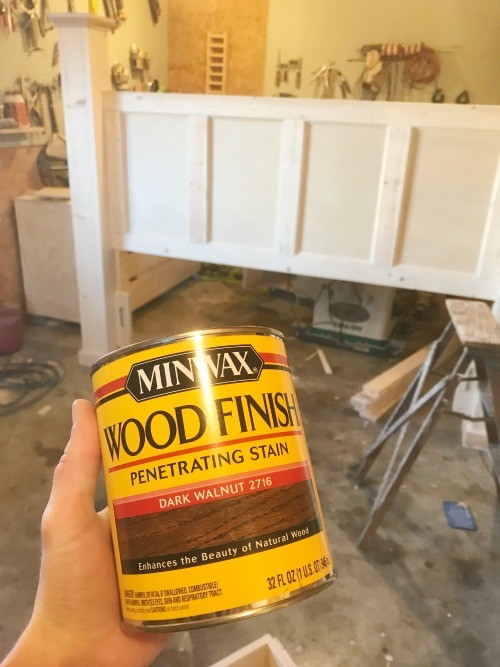
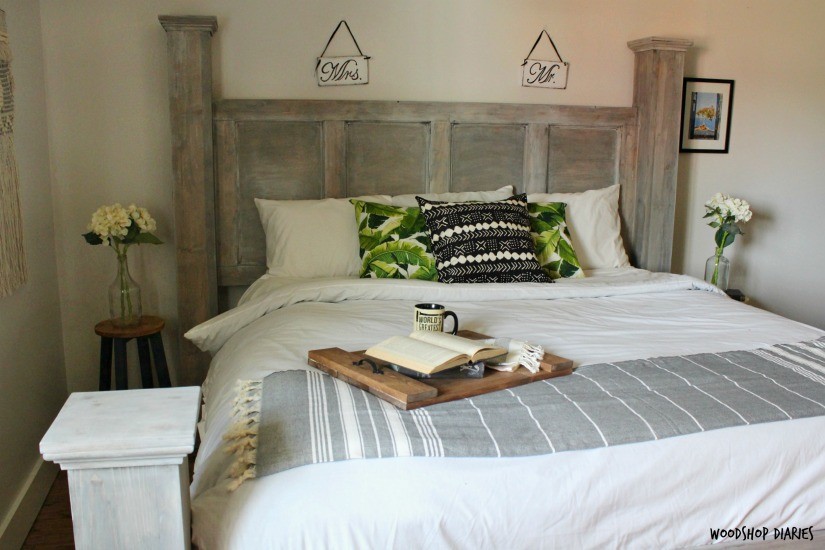
Step 8: Finish DIY Storage Bed
For this finish, I just applied a SUPER EASY whitewash technique. This is NOTE A SCIENCE and is super easy to do.
.
First, I stained the entire bed (well–all the parts you would see) in a medium to dark brown color. I used Minwax Dark Walnut.
After the stain dried, I took a plastic cup and a cheap paintbrush and mixed some regular latex (water based) white paint with water. I mixed it about 50/50. The exact color and type of paint you use here doesn’t matter as long as it’s water based (latex).

I brushed it on, let it sit about 10 minutes, then took an old towel (or t shirt works, too) and wiped it of/smeared it in. It’s easiest to work in sections.
.
So, I did one headboard post, then wiped it off. Then did half the headboard, wiped it off. Then the other half of the headboard, wiped it off. The other headboard posts, wiped it off.
.
If you want it lighter, let it sit longer before wiping. If you want it darker, don’t let it sit as long. If you wipe it off and it’s darker than you wanted, just brush on another coat.
.
DON’T MAKE THIS COMPLICATED–it’s literally wipe on, wipe off 🙂 You’ll get the hang of it as you go.
If you’re interested in a black wash vs a white wash, I did this same method with black paint on this desk.
.
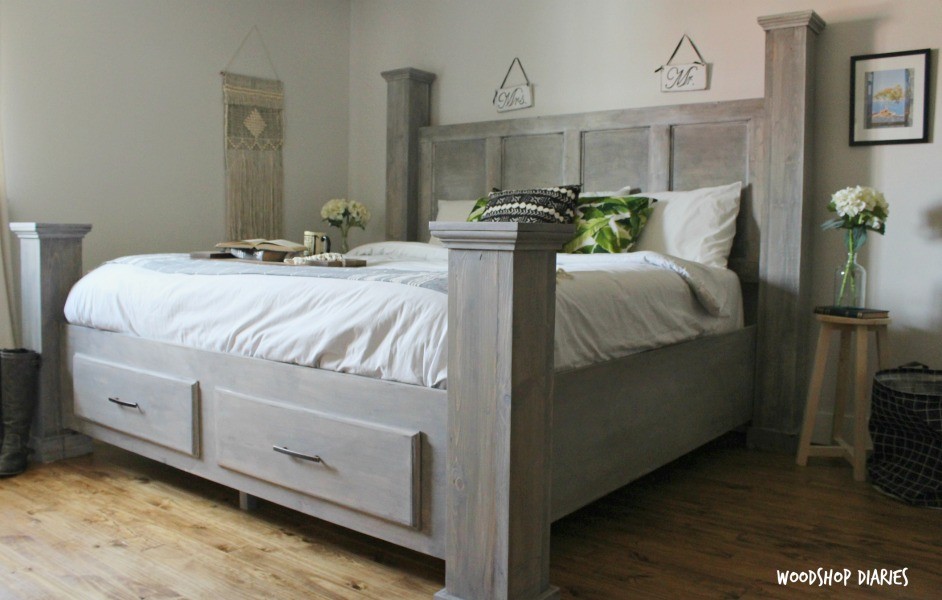
Now, just add some handles to the drawers, a mattress, some bedding, and take a nap–bed building is exhausting 😉 haha.
What’s cool about this build is that since it’s built in separate pieces, you can build only the headboard if you want, leave the storage off the end, and modify the size pretty easily.
.
Now, go grab the free plans over on Build Something for a King size, OR head over here for the updated King OR Queen Size, and get out there and get building!


And if you’d like to save this for later, feel free to pin this graphic to your favorite Pinterest board!
Until next time, happy building! 🙂


Jason says
What wood did you use to build this?
Shara, Woodshop Diaries says
I used pine boards and birch plywood
Brian says
What is the stain/finishing process that you used?
Shara, Woodshop Diaries says
I stained the bed in Minwax Special Walnut, then mixed some white paint and water (50/50) and brushed on, then wiped off. This is how I whitewash. Once you wipe it off, if you want it lighter, just brush some more on and wipe off again. It’s kind of trial and error, but its really easy to do.
Mike Fantini says
Tring to match the finish, if you could tell me how you did the finish that would help greatly, Thanks
Shara, Woodshop Diaries says
I used Minwax Special Walnut, then mixed white paint and water (50/50) and brushed that on top, then wiped it off. You want to work in smaller sections and not let it dry all the way. This is called whitewashing. If it’s too dark still after you wipe it, you can do another coat to make it lighter. It’s trail and error and personal preference. It’s really fun to do.