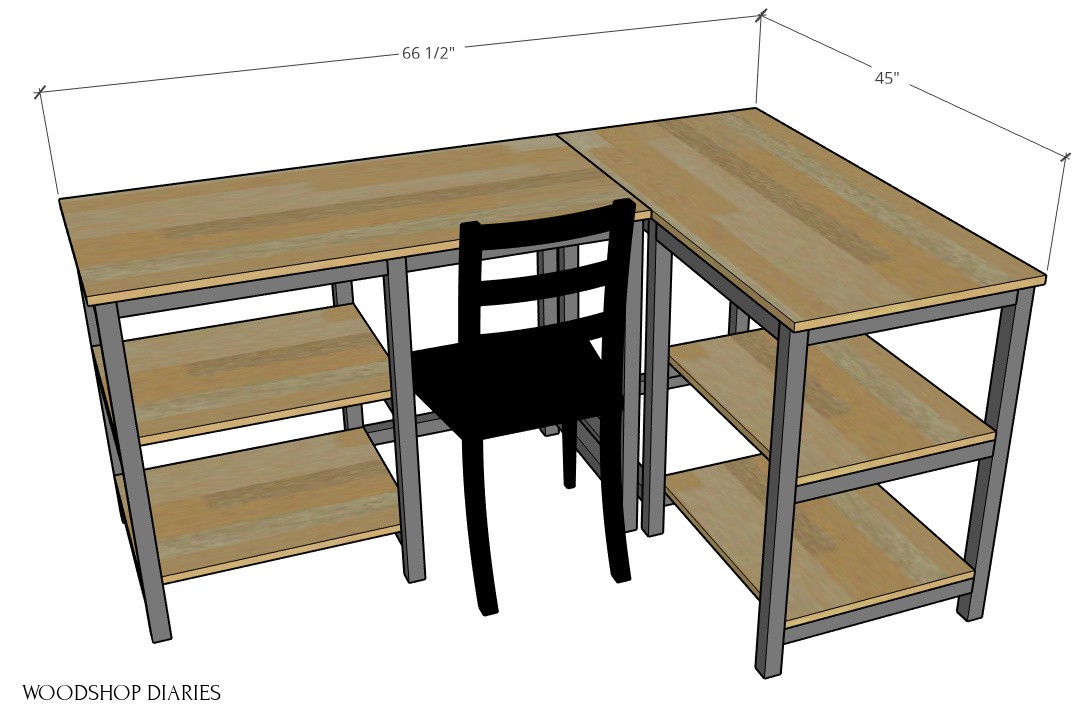
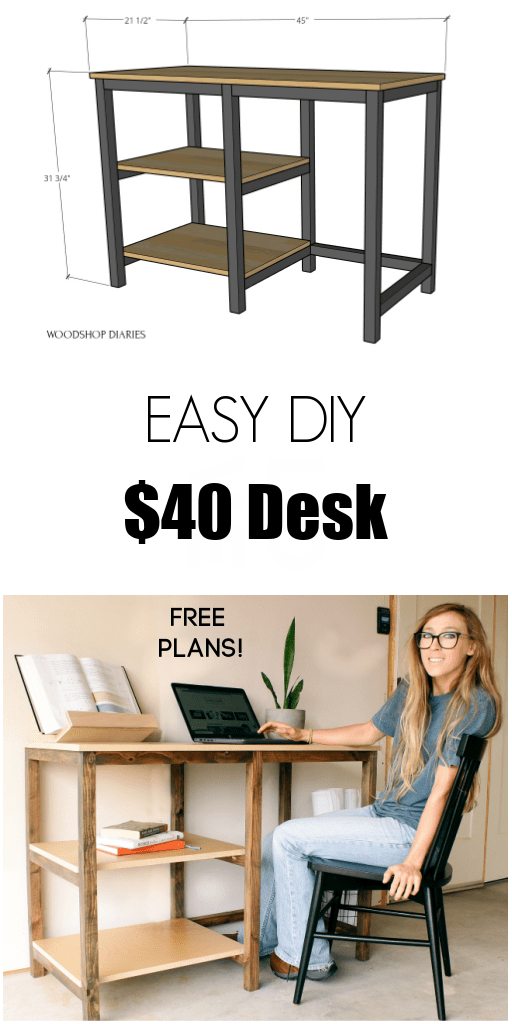
This SUPER EASY DIY Desk design can be built with just $40 in lumber and is designed to be able to easily configure into a “desk pod” of 2, 3, or 4 desks–which is perfect for families!
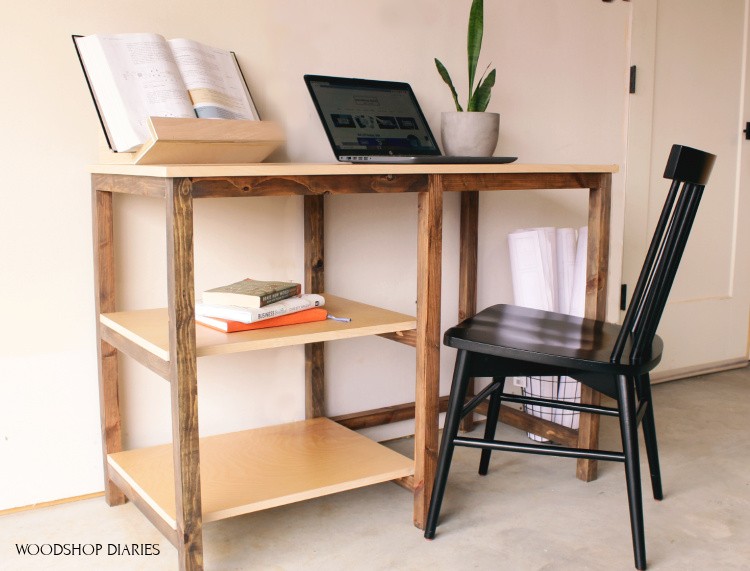
I built these simple desks for a friend who has four kids that sometimes want to work in close quarters and sometimes want to work apart. These desks are easy to arrange in different configurations of up to four—and in that case, it’s like everyone gets their own L shaped desk.
.
See later in this post for other configuration ideas!
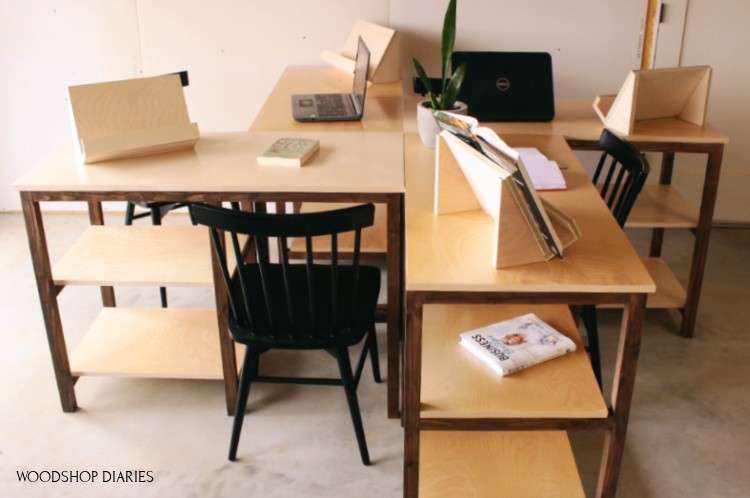
Oh, and see those handy little book stands? There’s enough plywood leftover from the build that you can make one of those as well…and I’ll show you how 🙂
.
I’ve got the plans for this project below and a fun video here, too:
This post contains affiliate links. See policies.
To Build this Easy DIY Desk, You Will Need:
- ½ sheet ¾″ plywood
- (5) 2x2x8 boards
- Circular Saw
- Miter Saw
- Drill
- Pocket Hole Jig
- 2 ½″ pocket hole screws
- 2″ wood screws
- Edge Banding (optional)
- Wood Glue
RELATED: If you want a few more fun desk ideas, here’s a few of my favs 🙂
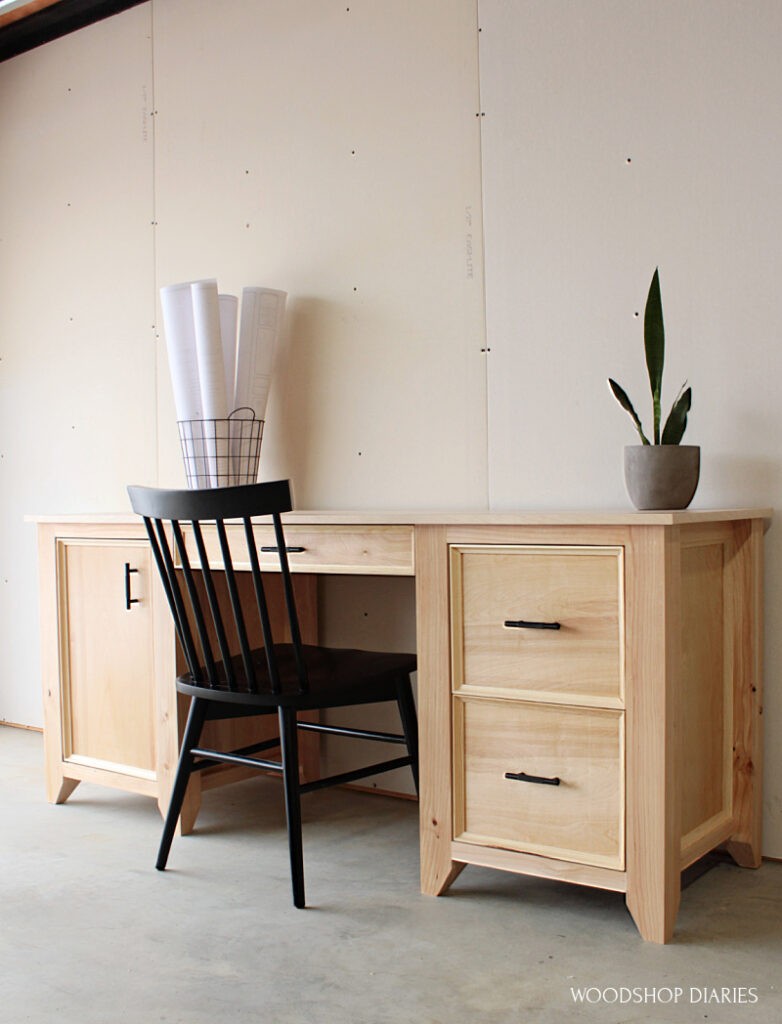
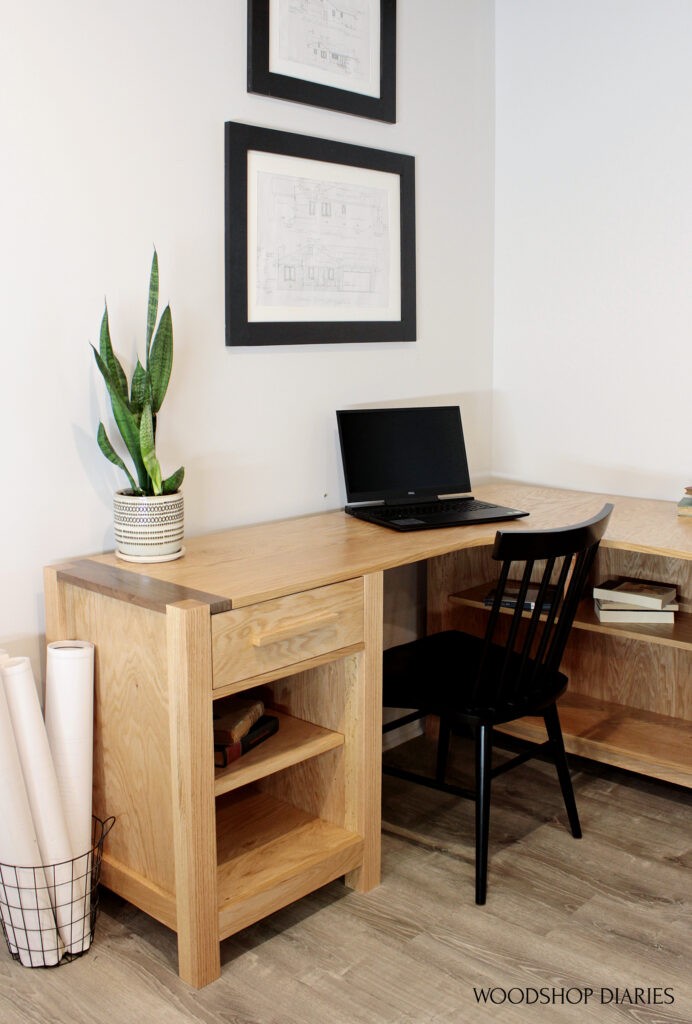
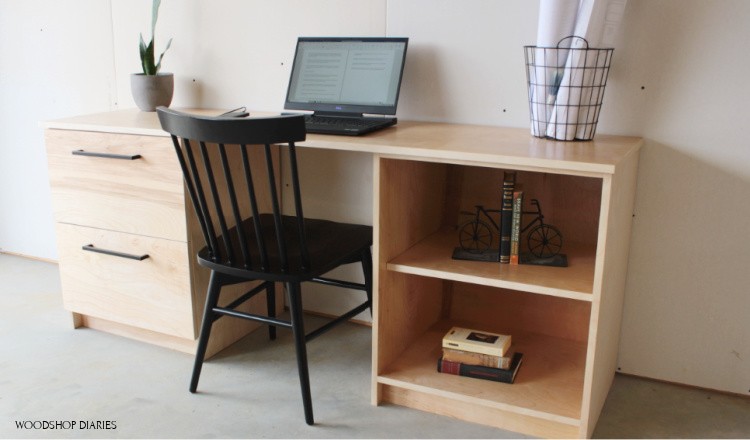
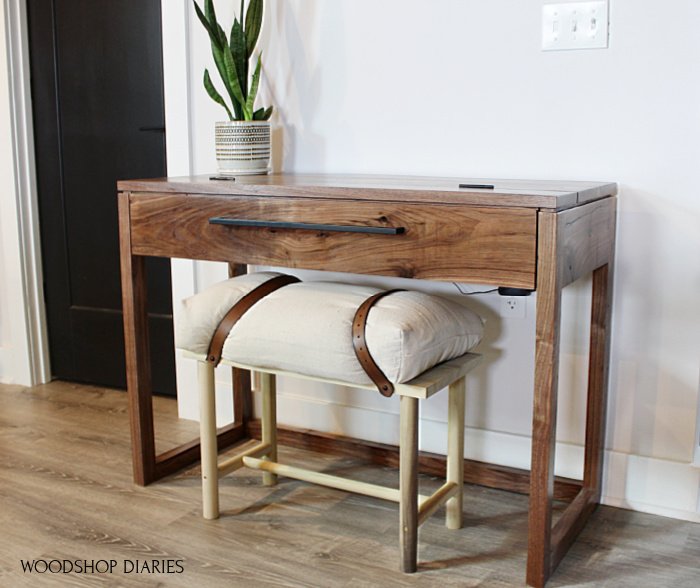
Okay, now here’s the step by step 🙂
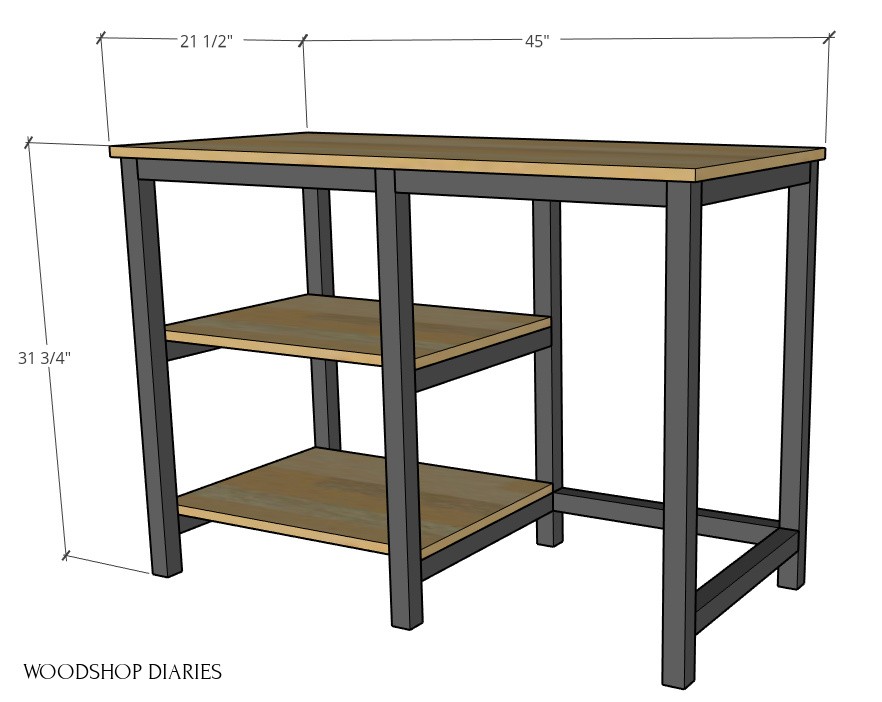
You can find all the details you need to build this project below, but if you want a printable copy to take with you to the shop, you can purchase this in printable form here:
Step 1: Cut 2x2s to Build DIY Desk Frame
To kick off this project, I began by ripping some 2x2s. You can purchase precut 2x2s if you don’t have a table saw, but I like to make my own from 2x4s—they’re cheaper and usually a lot straighter. Here’s how I cut them.
.
By the way, I found out on TikTok that most people don’t know that a 2×2 is actually 1 ½” square. So just in case, you didn’t know, now you do 🙂
.
And if you want to follow along over on TikTok, you can find me here.
.
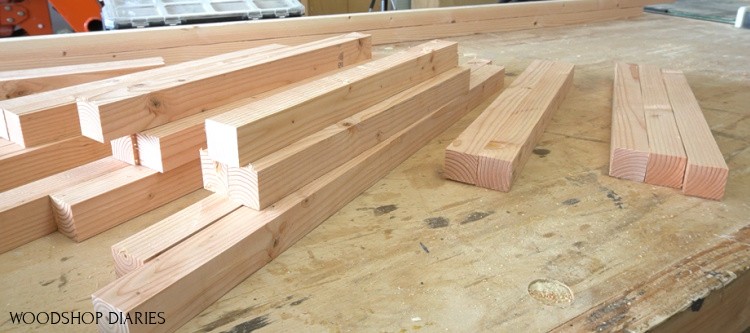
Anyway, once I had all my 2x4s trimmed to 2x2s, I cut the pieces to length on my miter saw. You’ll need:
- (6) 2×2 @ 31″ long (legs)
- (8) 2×2 @ 18″ long (rungs)
- (3) 2×2 @ 19″ long (chair side frame)
- (2) 2×2 @ 20 ½″ long (shelf side frame)
Step 2: Assemble Left, Middle, Right Side Desk Frames
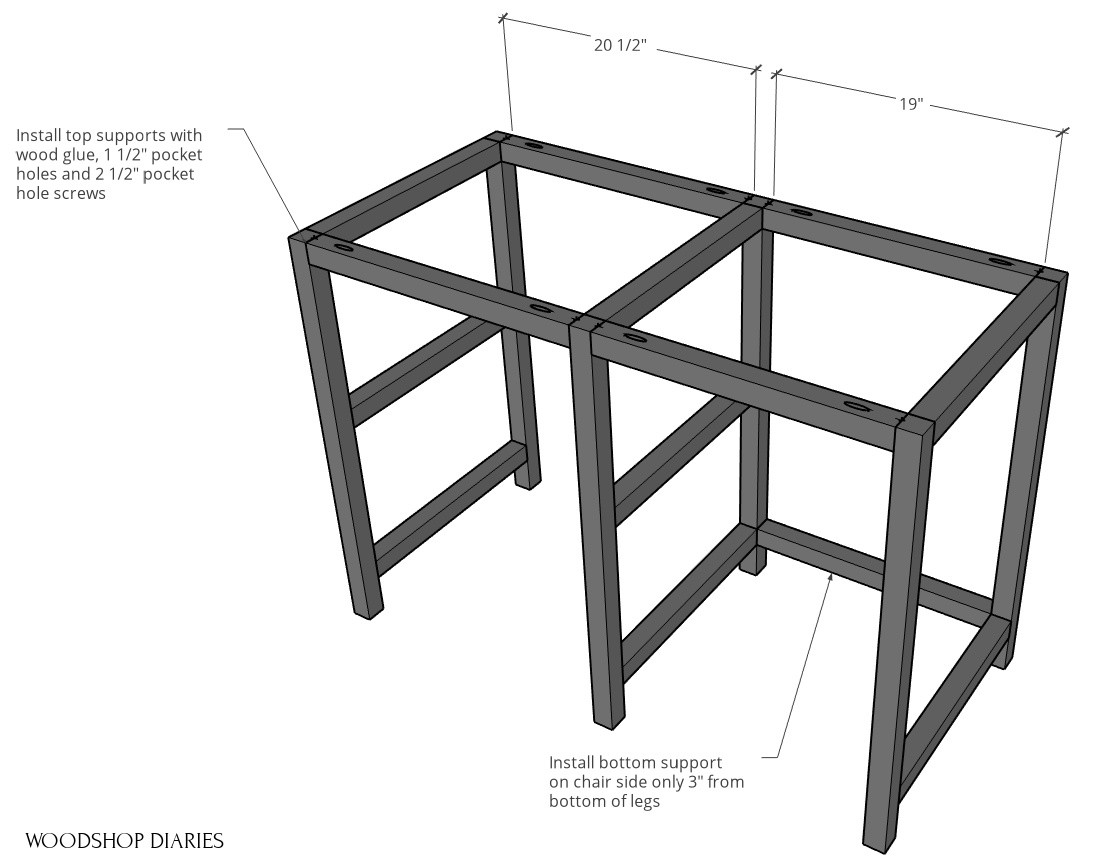
I was trying to keep this desk as simple as possible, so I assembled the frame with wood glue and 1 ½″ pocket holes and 2 ½″ pocket hole screws.
.
I first assembled two identical side frame sets with three stretchers between two legs. I installed the bottom rung 3” from the bottom, and centered the middle rung between the top and bottom.

I made two just like this—one will go on the left and the other in the middle. The shelves will stretch between the rungs.
.
Then I made one set just like the other two except without the middle piece on it. This will go on the right side.
Step 3: Assemble DIY Desk Frame
I attached three pieces between the right side—which will be the “chair side”—and the middle. Then, I attached two pieces between the left and middle.
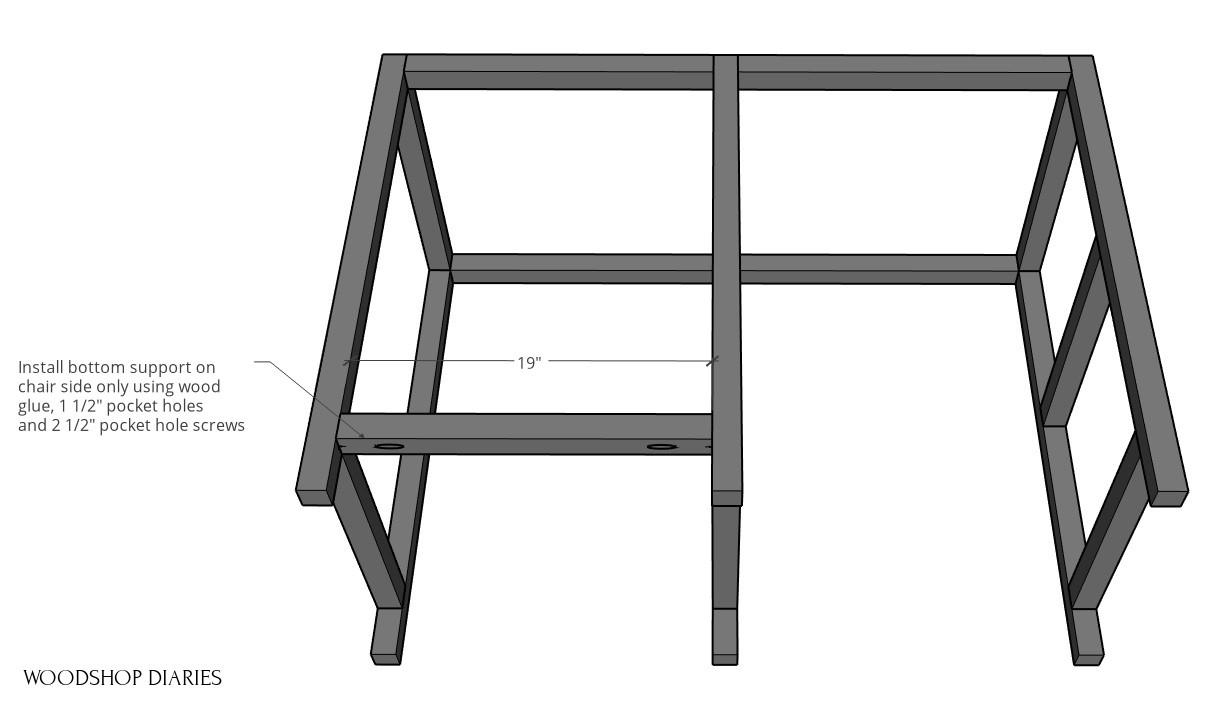
Because this design is a bit tricky to get lined up perfectly, before I let the glue get dry, I moved the entire frame over to my table saw to ensure all the legs touched the table.
.
I knew the table saw top was perfectly flat (you could also use a workbench for this), so I adjusted as needed to ensure the frame wasn’t twisted while the glue dried on the pocket hole joints.
Step 4: Cut Desk Top and Shelves
While the glue dried on the frames, I moved on to cutting the plywood for the tops and the shelves. Each desk can be made from a half sheet of ¾″ plywood (48″ x 48″ piece).
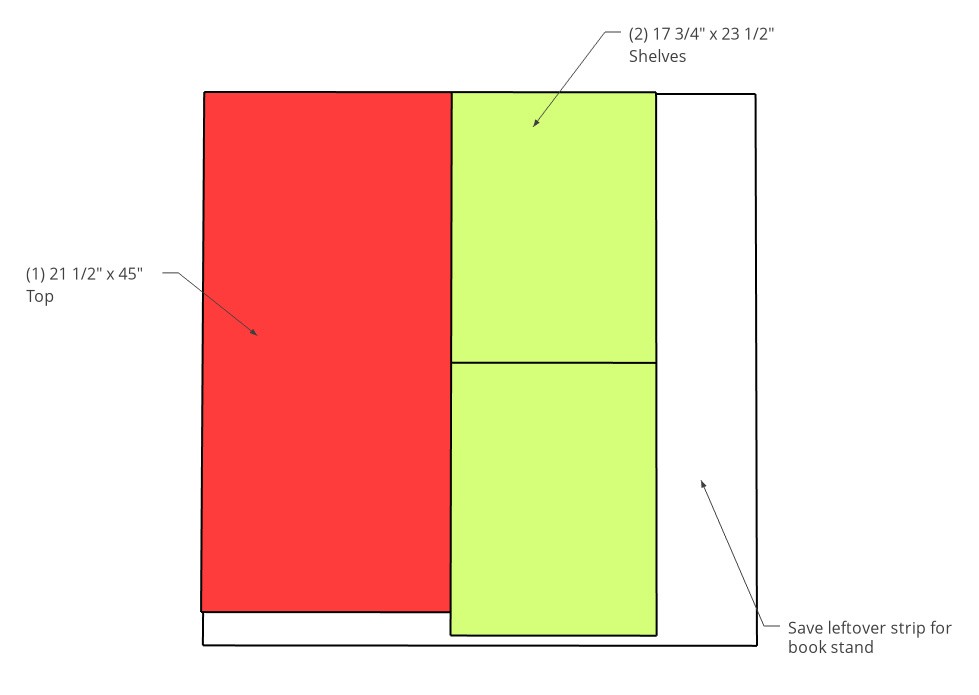
Rip one 21 ½” strip to use for the top and one 17 ¾” strip to use for the shelves.
I’ve got a post here on how I cut down my plywood sheets using the Kreg Rip Cut and Kreg AccuCut, but if you don’t have cutting guides for this, a couple clamps and a straight edge works fine, too.
.
Once I had the two strips cut down, I trimmed the 21 ½” strip down to 45″ for the top and the 17 ¾’ strip down into two 23 ½″ pieces for the shelves.
.
Okay, now, to finish up the plywood part of the build, I applied glue on edge banding to make the edges look a little cleaner—which is totally optional. Then, I gave everything a good sanding, and started staining.
Step 5: Finish Desk Frame, Top, and Shelves
Once I stained the frame with Minwax Early American, I kind of hated the color, so I tried something different.
.
I gave the piece a black wash coat to darken up the color and it ended up looking really cool. I just mixed some black latex paint 1-1 with water, then brushed on, let it sit about 5 minutes, then wiped it off.
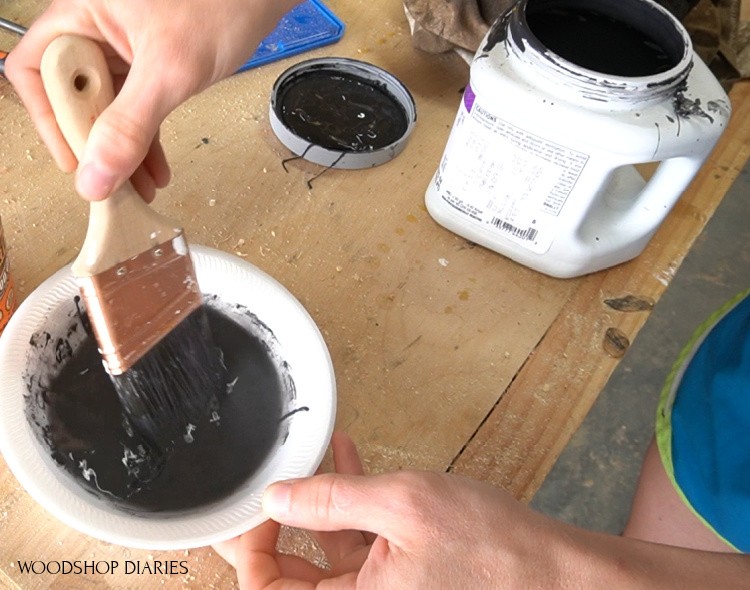
It looked much better—at least I liked it much better and I was so happy I didn’t have to end up priming and painting over the whole thing haha.
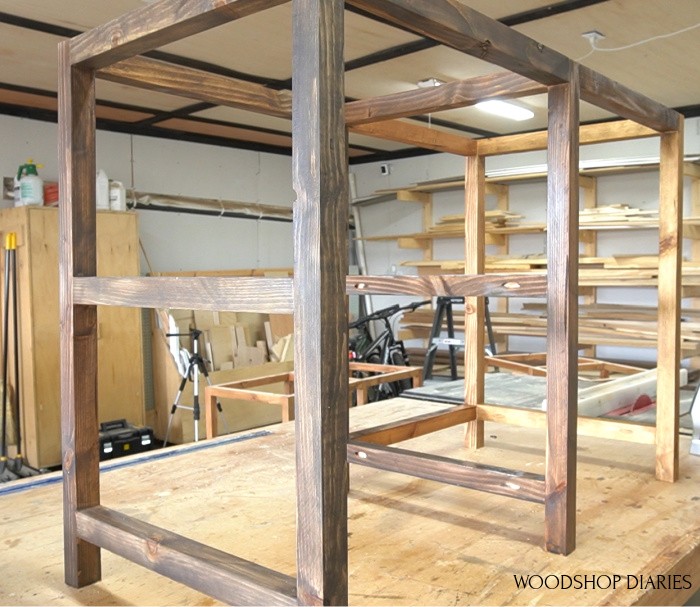
RELATED: I did this same thing only with white paint on this storage bed–you can check it out to see the difference in black and white washing.
.
I also gave the top and shelves a couple coats of Minwax Polycrylic and let them dry. You can finish however you wish, but if you are doing the top and frame two different finishes, it’s easiest to do it separately before attaching them all together.
Step 6: Attach Top and Shelves
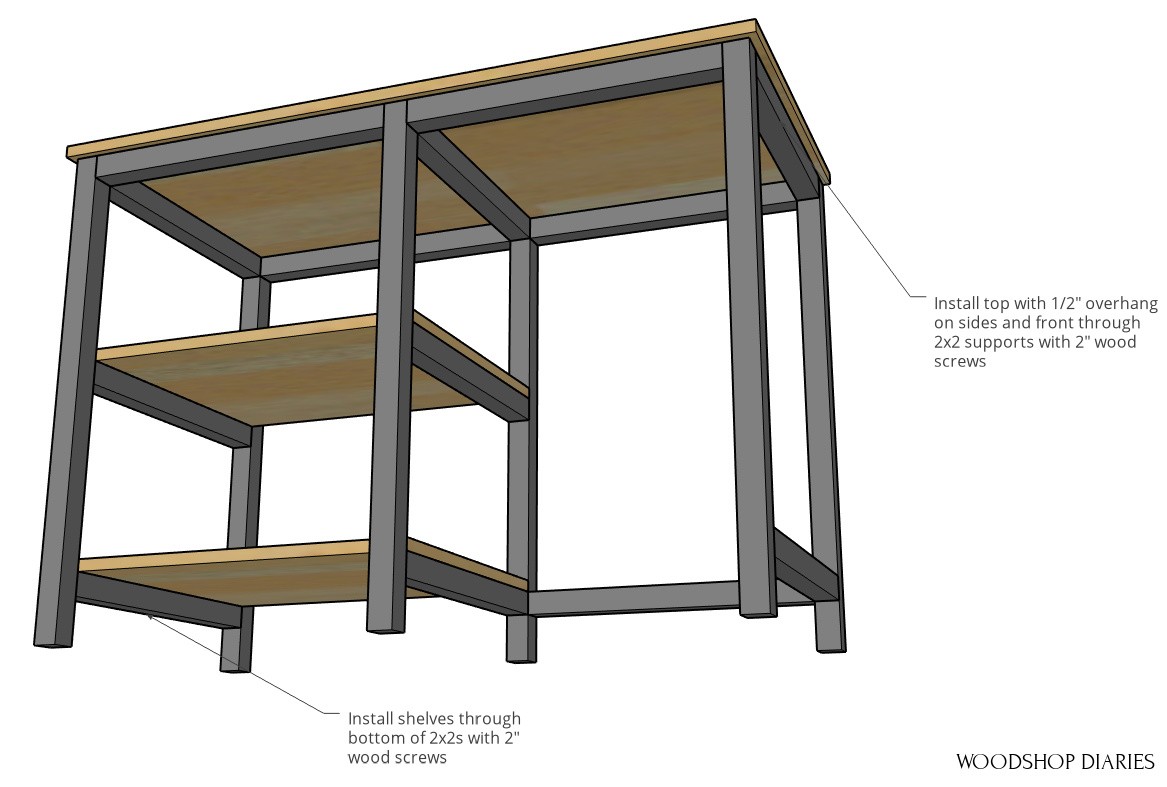
After everything was dry, I applied glue along the top of the frame, and flipped it upside down onto the top. I screwed it into the top using 2” wood screws.
.
Then I installed the two shelves using 2” wood screws as well. The middle shelf was easy to get to, but I flipped it over to screw in the bottom one.
DIY Desk Pod Ideas
These desks were SO easy to build. And I think my friend will be happy that her kids can put their desks together and work on the good days…and she can separate them out on the bad days haha.
.
Here’s an example of how to put them together into “pods:”
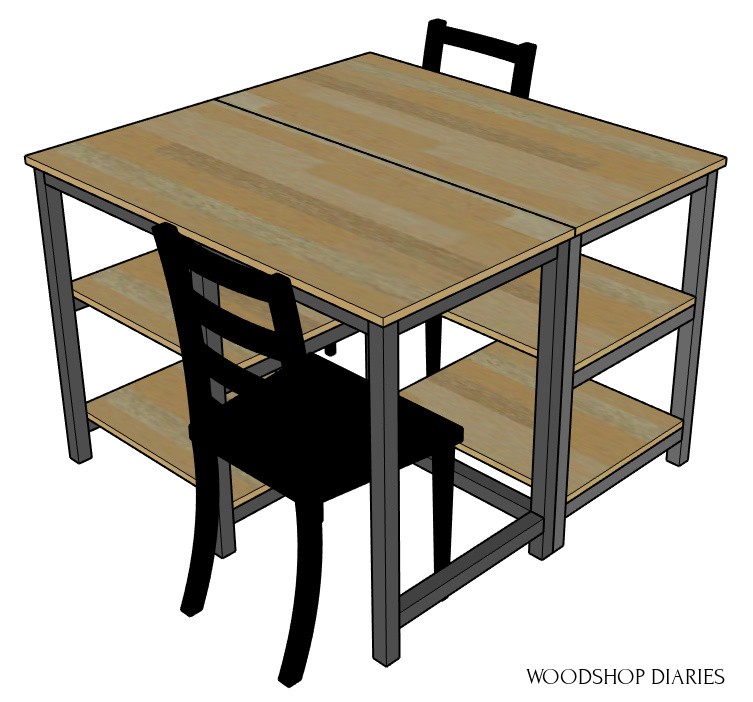
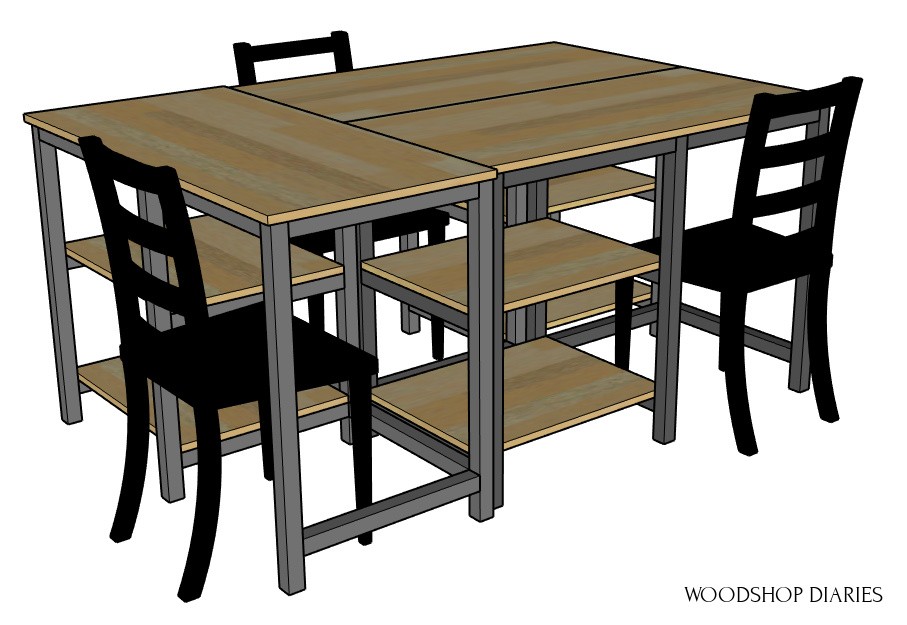
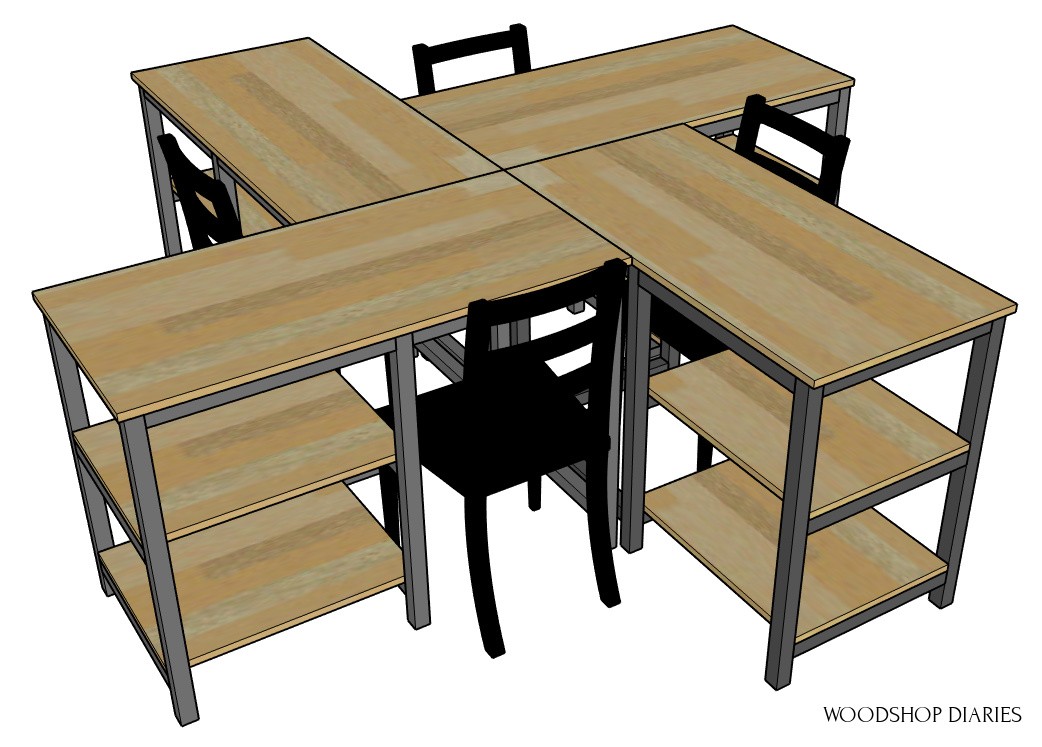
And if you wanted an EASY L shaped desk idea, you could put two of these together like shown below, too:
Leftover Plywood Book Stand
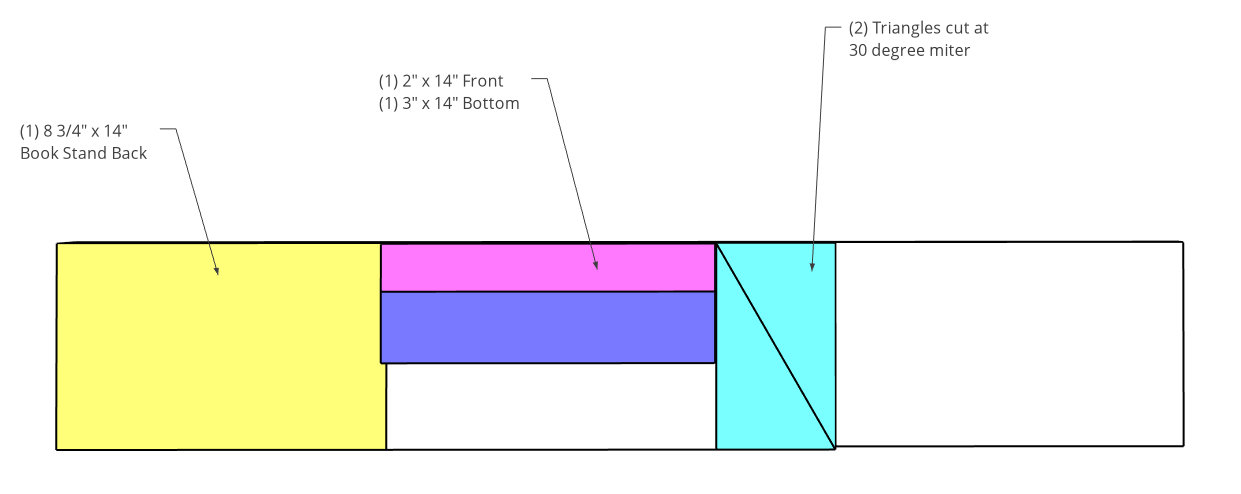
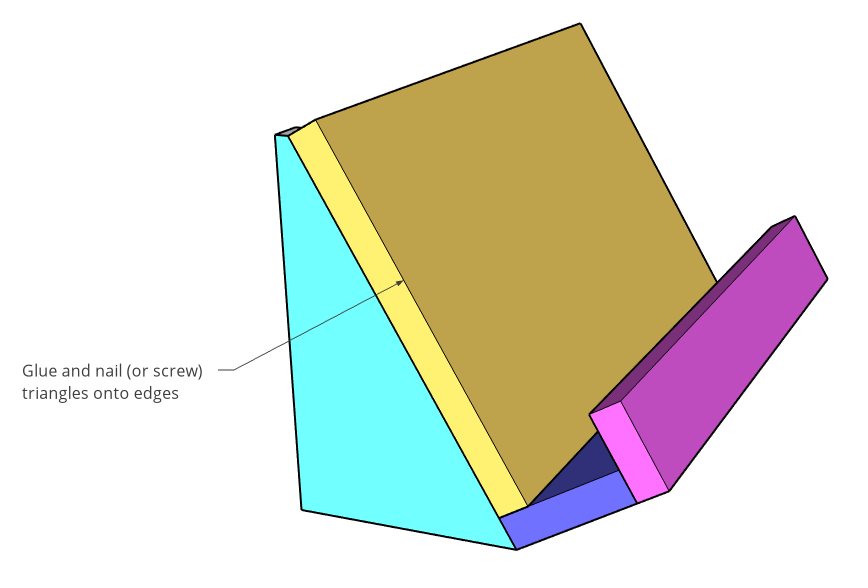
Oh, and I almost forgot to show you how these little book holders came together. After I ripped the plywood, I had an 8 ¾” strip leftover.
.
So I cut two 14” long pieces from that strip. I set one aside and cut the other one down into a 3” and a 2” wide piece. Then I adjusted my miter saw to 30 degrees and cut two triangles.
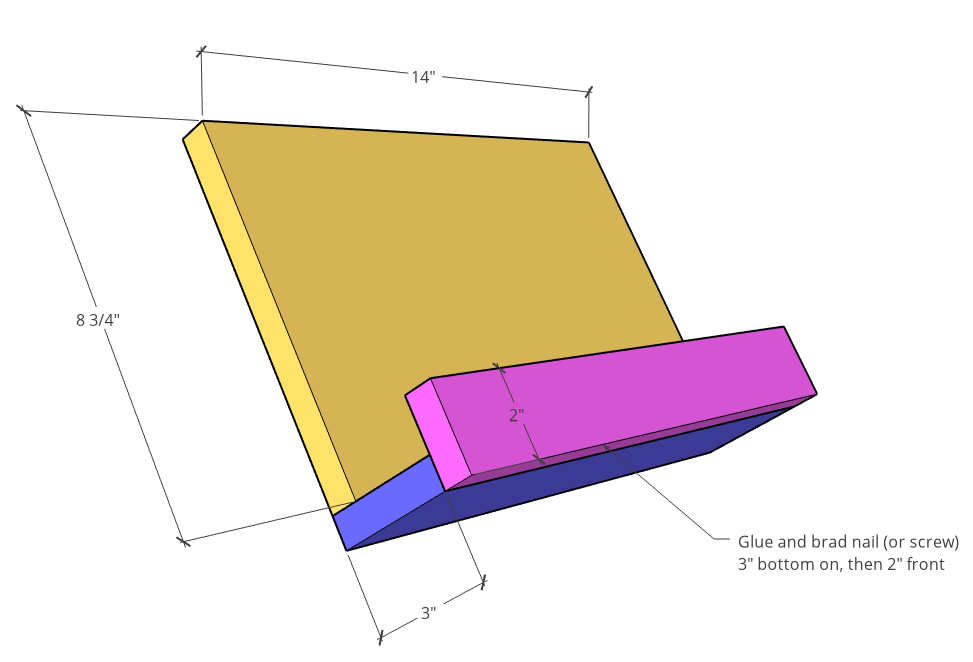
I brought them all over to the workbench and grabbed my nail gun and glue. I nailed the 3” piece along the bottom of the large board, then glued and nailed the 2” piece onto the front.
The triangles go on the back side, but they needed to be trimmed a little first.
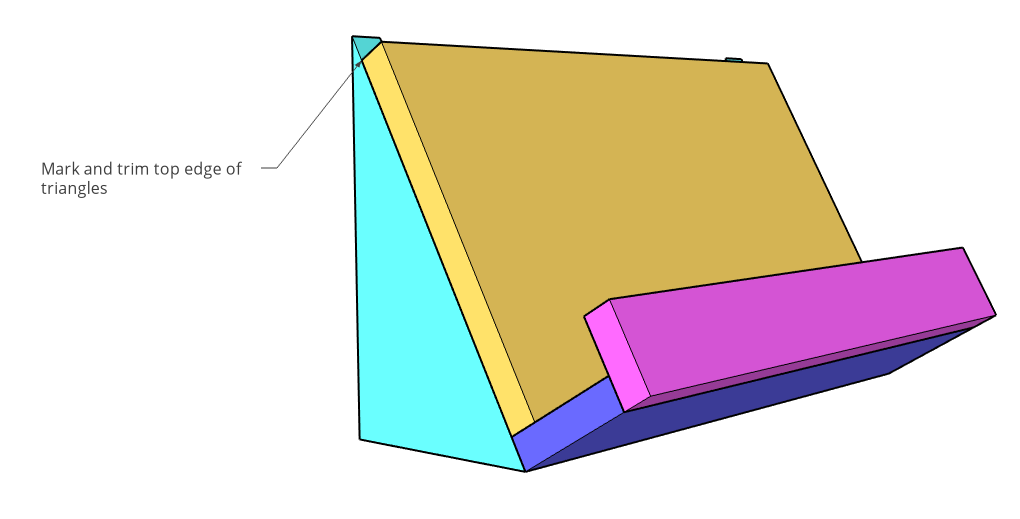
Once they were trimmed down, I could glue and nail these onto the edges at the back and ta da! Super easy book stand. Obviously that’s totally optional, but scrap plywood should never go to waste haha.
And that’s it—desk and book stand in one easy weekend project.
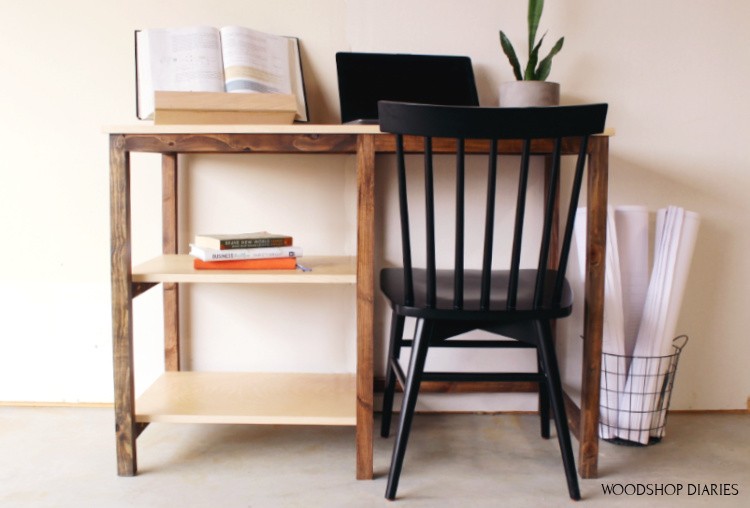
I love that you can build this with just 4 tools and $40 in wood. But I also love that these make great desks for families with multiple kids who sometimes want to work together…and sometimes don’t 🙂 Just arrange as needed for the day and get to work.
.
So if you’re ready to get building or you need to save this for later, don’t forget to pin!
And until next time, happy building 😊


