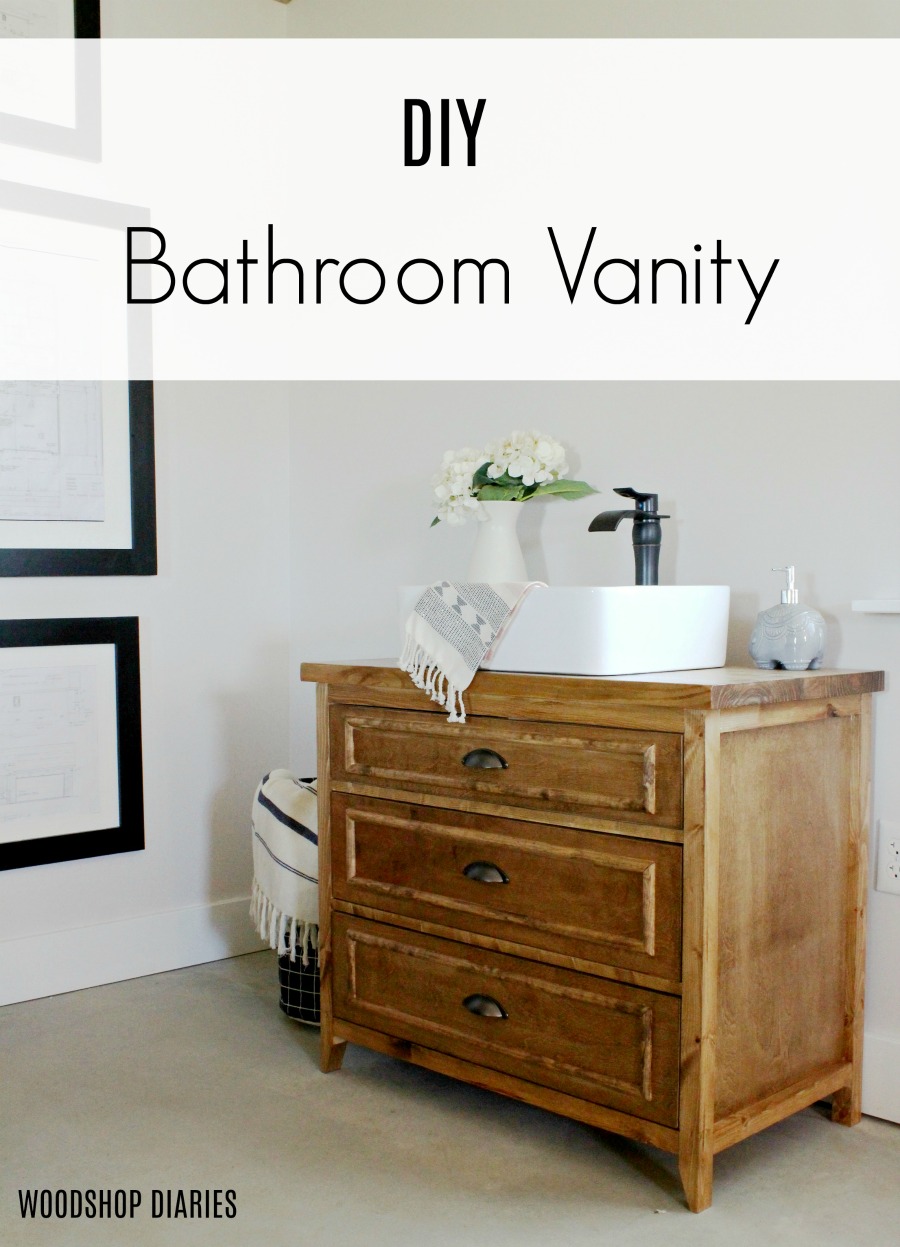
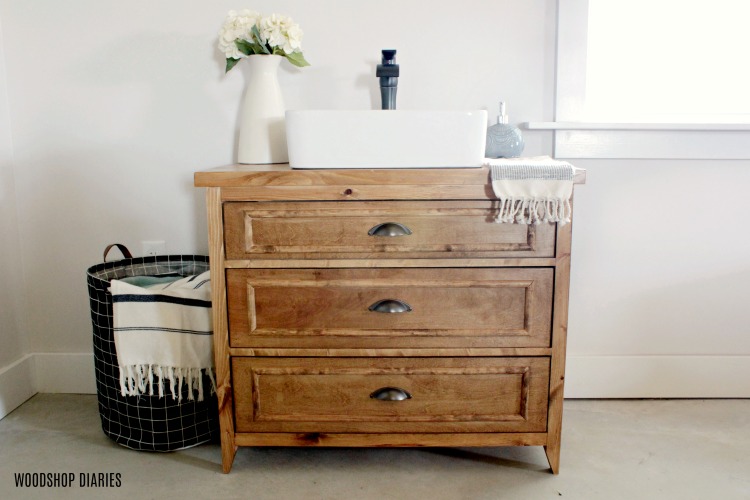
Want to learn how to build a DIY three drawer single sink vanity? You’re in the right place.
This post is sponsored by Build Something and The Home Depot and contains affiliate links. See policies page.
My parents built their current house 20 years ago. It’s still a really nice place, but obviously, in twenty years, a few of the things inside have gotten a little…out of style. And also, in twenty years, some things have gotten a little worn out.
.
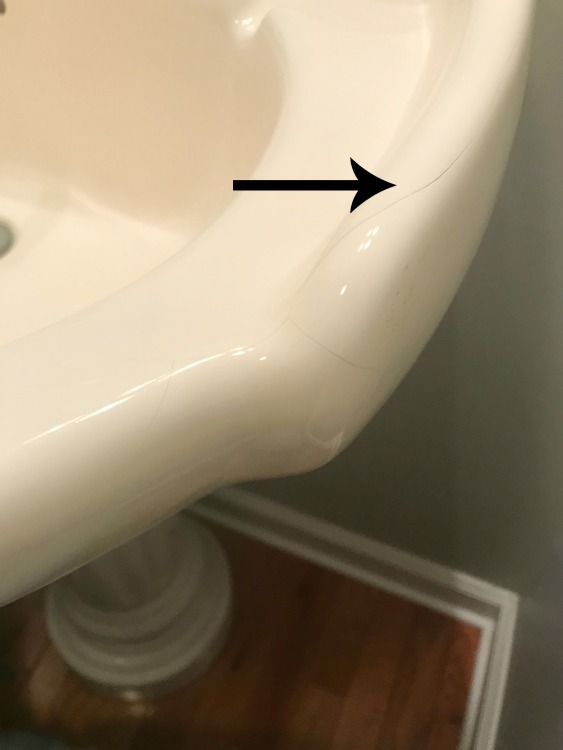
One of those things that has become a little out of style AND worn out is the biscuit colored, sea shell shaped ceramic pedestal sink in their guest powder room. It’s had a good run, but it’s finally started to develop a small crack in the sink bowl and they decided to replace it before it gets worse. (THANK GOODNESS…HA!) That’s where I come in.
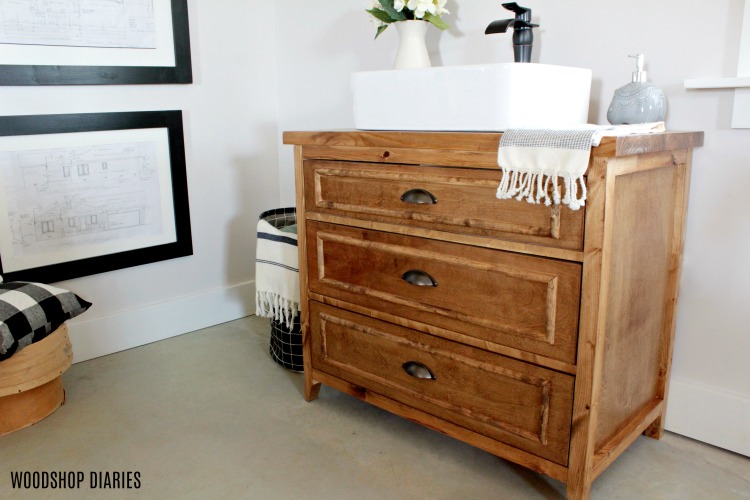
So I partnered with my friends at Kreg Tool and Build Something to build this DIY three drawer single sink vanity for their bathroom and am sharing the free plans so you can build your own over on BuildSomething.com. Click here for the plans and you can also browse around and find hundreds of other free building plans while you’re there.
.
But before you go, I’ve got three important tips to help you build this vanity. Oh, and as usual, a video 🙂
[adthrive-in-post-video-player video-id=”aEX9ZUvO” upload-date=”2019-06-09T11:35:45.000Z” name=”How to Build a Single Sink Three Drawer Vanity” description=”DIY Single Sink Three Drawer Vanity”]
Check your plumbing locations
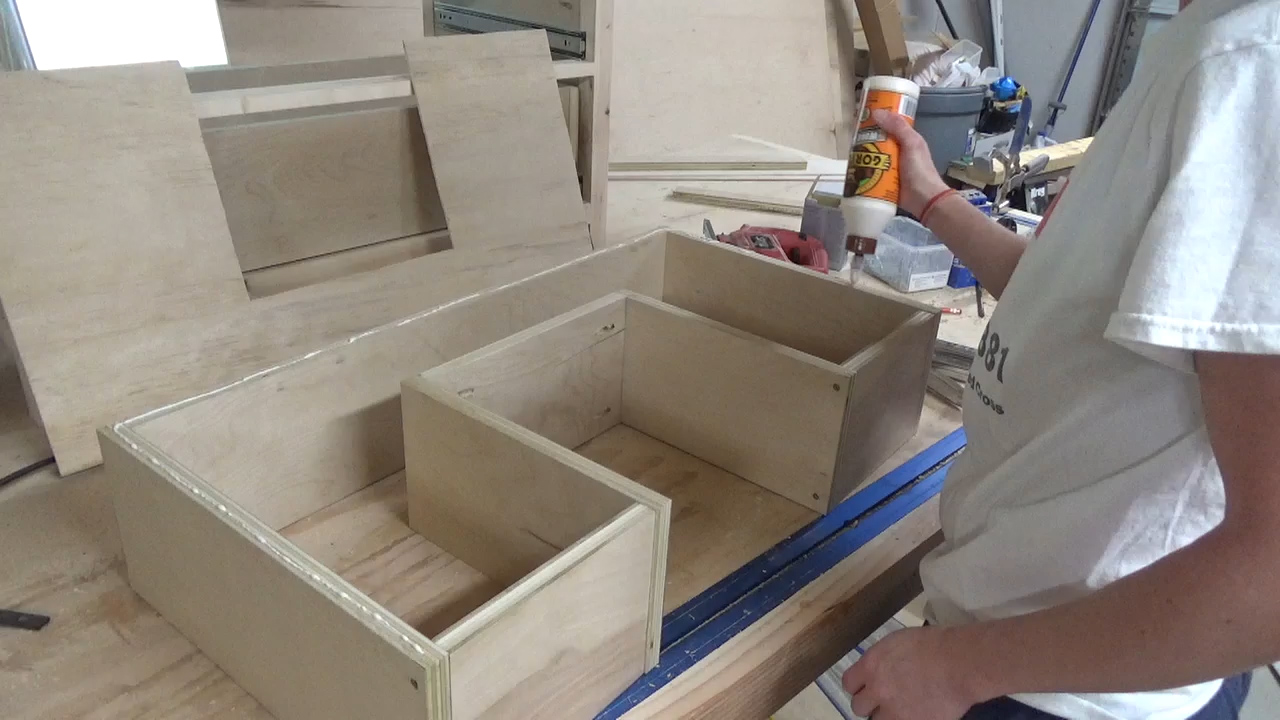
Because this piece is a functioning vanity, it will have supply line hookups and a p-trap for the drain. Because of this, the drawers will need to be cut out to fit AROUND the plumbing when they are closed. In my case, I was able to leave the bottom drawer whole, but had to cut out the middle drawer and I made the top drawer fake just for safe measure.
Before building, you will need to check your plumbing locations to see how you will need to cut out your drawers to fit properly. You may need to cut out your bottom drawer as well OR you may not have to cut out any of the drawers. Likely, the measurements I provide in the build plans will fit most standard plumbing applications.
Grab a 90 Degree Drill Attachment
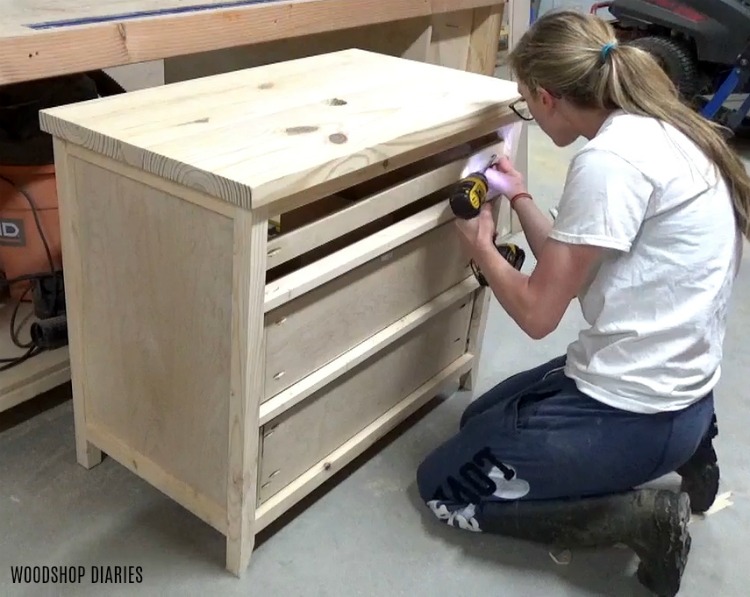
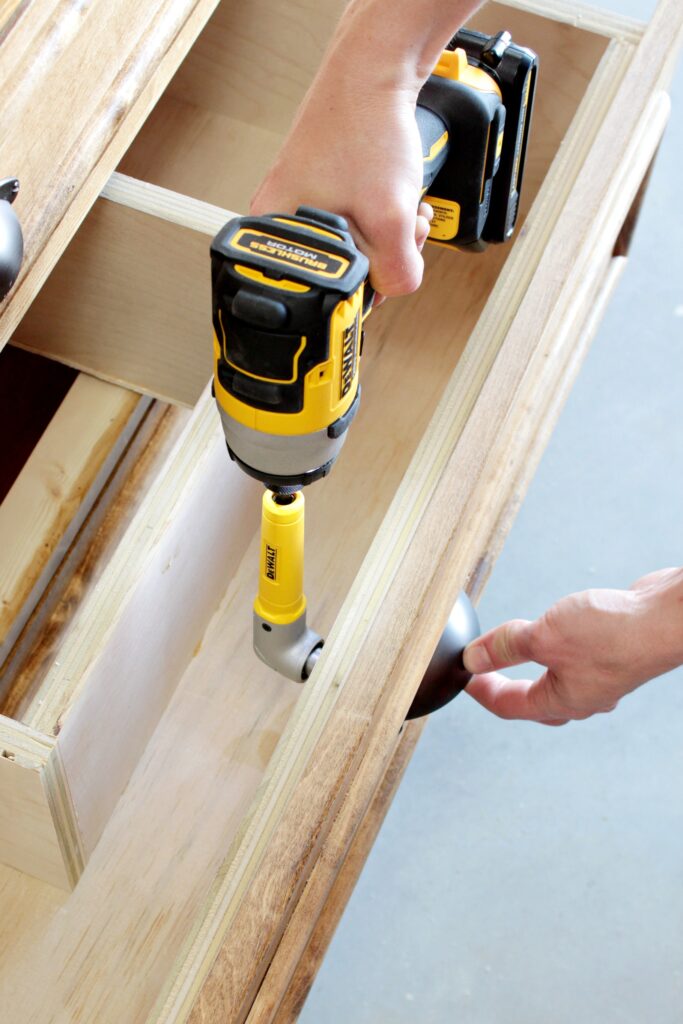
Because I had to cut out my middle drawer, it was a SUPER tight squeeze to get a screw driver in to tighten the screws on the middle drawer pull. Actually, “tight squeeze” sounds like it was possible, just a little difficult. No, it was 100% impossible.
.
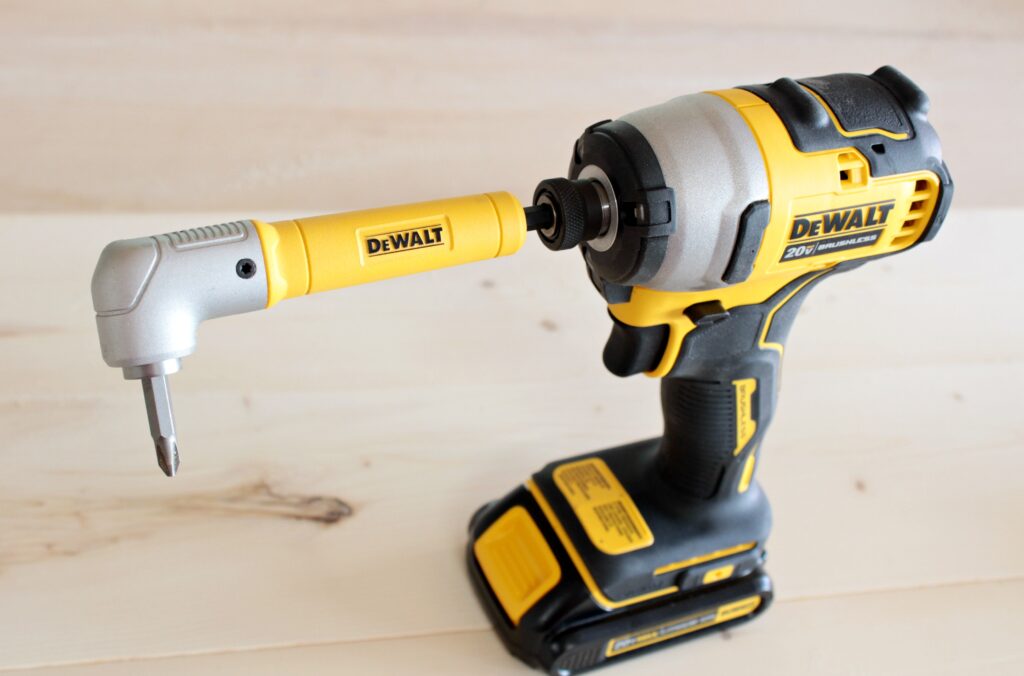
So this DeWalt MAX FIT Right Angle Magnetic Attachment was a life saver. It’s magnetic for faster retention and has a super compact 1 ½″ front to back design. So it fit easily in this tight space to help drive my screws.
It’s a great little handy attachment to have around the shop. Plus, it’s designed to be impact resistant so you can use it in your impact driver. Get one for your shop here. I’ve used mine a thousand times since I got it.
Dry Fit Faucet Before Installation
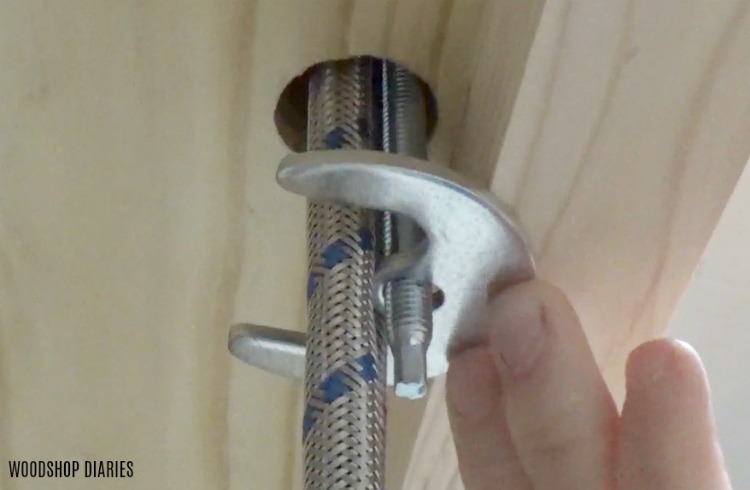
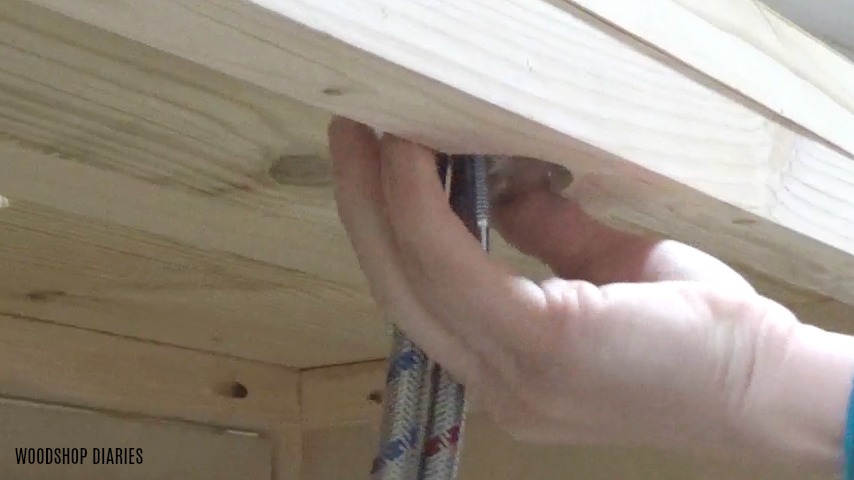
Because this vanity had a large vessel sink, it didn’t leave a lot of room to add the faucet hole in the back. Everything fit well from the top side, but when I started to install the faucet in the hole that I drilled, the washer that secures the faucet to the counter top wouldn’t fit because it was so close to the back frame.
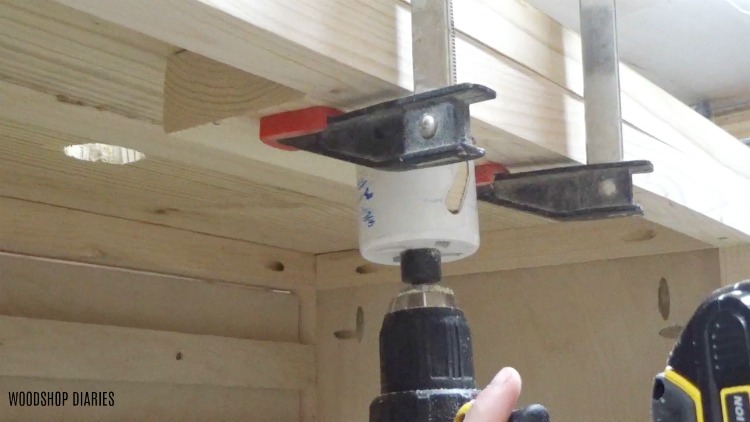
Instead of taking the whole thing apart and cutting this out, I used a hole saw to drill this section out. You could also use a large spade bit, or even a multi tool.
.
Hole saws usually have a drill bit in the middle of them to keep the saw from “walking” while it’s cutting. But in this case, I didn’t have any wood in front of this frame to drill into to keep it in place. SO I took a scrap 2×4 and clamped it in front of the frame piece (you can see this better on the video above) to drill into in order to cut out this section of the back frame.
This may not be a problem for you in your case, but in case it is, I wanted to give you that tip on how to handle it 🙂 It’s free, so I won’t charge you for the extra info if you don’t need it haha.
Check Your Vanity Height
Since this vanity has a vessel sink that sits ABOVE the counter top, I wanted to make the vanity shorter than standard. Typical vanity height is about 36″ tall. But I didn’t want my vanity to be 36″, then with the sink on top, make it 41″. So I subtracted the height of y m sink from 36″ and made it that tall. Depending on the type of sink you get (you may even want an undermount sink), you may want to adjust your height to make the total 36″.
Find a Bathroom Vanity Design You Love 😉
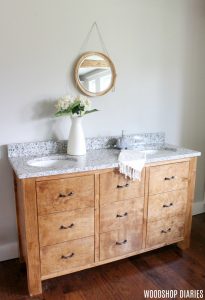
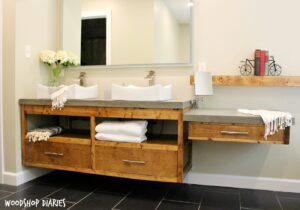
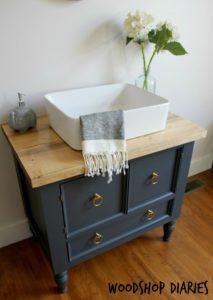
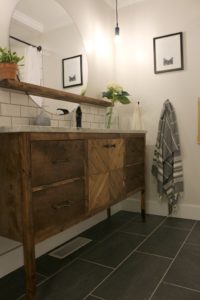
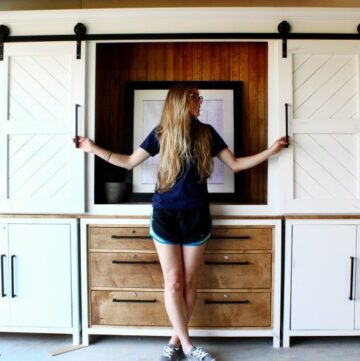
And if you just simply aren’t a fan of this particular design and want to see some other DIY bathroom vanity options, I’ve got a few more to choose from below 🙂
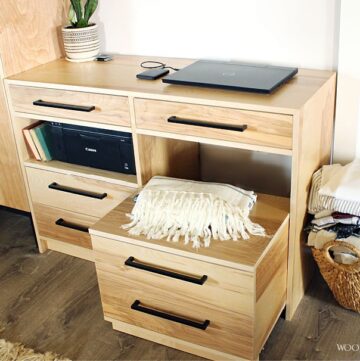
And if you like this design, but just didn’t want to use it as a vanity, it would also make a great nightstand or dresser or even a console in an entryway. It’s a pretty versatile piece.
And did I mention, you can totally customize the trim on the drawer fronts?? Leave plain or choose any trim you want. I’m just a big fan of the half round molding doors…also seen on another recent project I made for my parents–the DIY tilt out laundry hamper cabinet.
.
But if you like this vanity just as it is, be sure to head over to BuildSomething for these plans and hundreds of other free building plans. And don’t forget to check out the video and pin this for later 🙂
I’ve got so much more to share, but that’ll wait for another day. Until next time, friends, happy building 🙂


