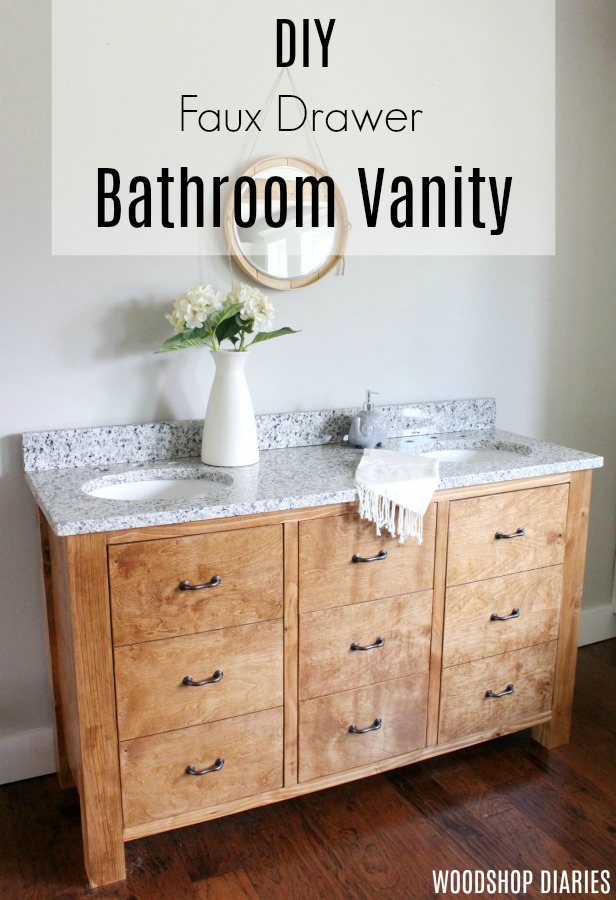
How to Build a Faux Drawer DIY Double Bathroom Vanity
*This post was sponsored by Build Something. See disclosure policy for details. This post also contains affiliate links.
I love a good drawer as much as anyone. They’re cute, they’re practical, they’re fun to make.
.
But, despite all the pros about drawers, there are also plenty of cons. Drawers require more hardware than doors (which can be pricey), and they also require more wood to make than doors. But the thing that most people don’t think about with drawers vs. doors is that drawers take up A LOT more space…which leaves you with a lot less space to actually put your stuff in.
.
Sometimes, that’s okay, like with this mid-century modern dresser and this modern nightstand and this mobile miter saw stand.
.
Other times, it’s not okay…like when you really need that storage space and a place to put your sink.
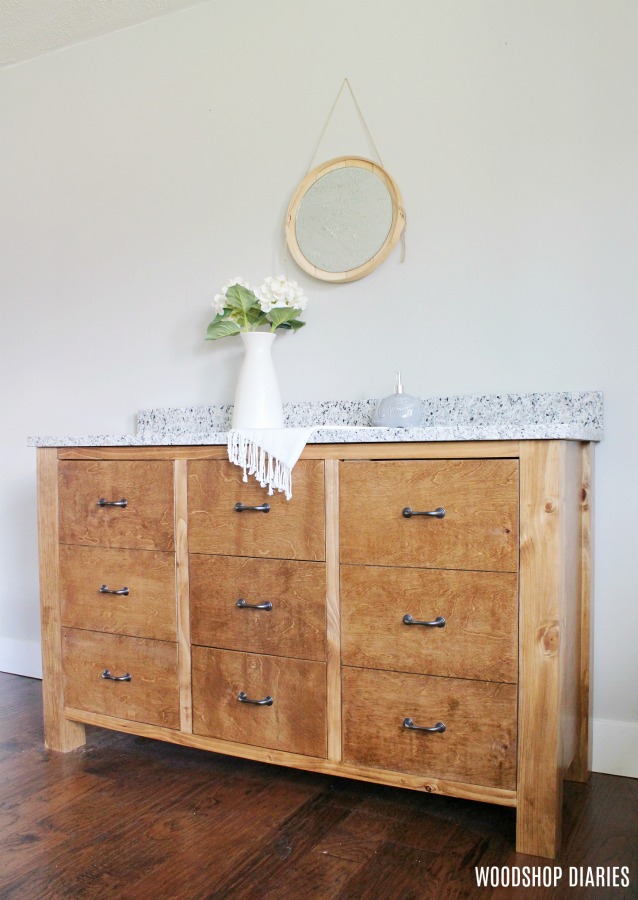
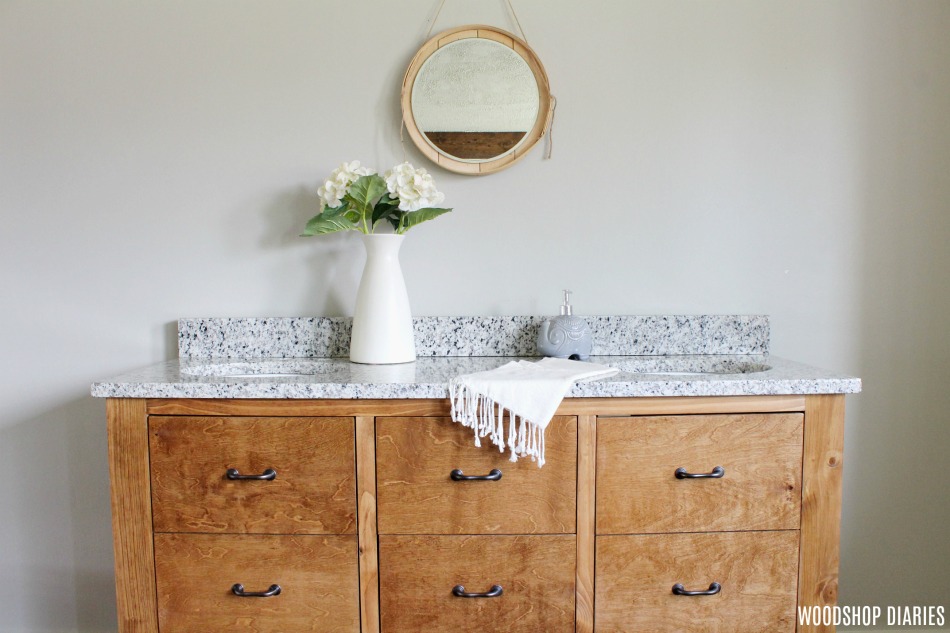
Think about it….you’ve seen all those people turn dressers into vanities, and I’m sure you’ve also seen plenty of vanities available to purchase that only have drawers. They’re so trendy and so pretty. BUT, usually the top drawer is fake…as in it doesn’t even open. AND the second drawer usually is cut out in some weird shape to fit around the plumbing.
.
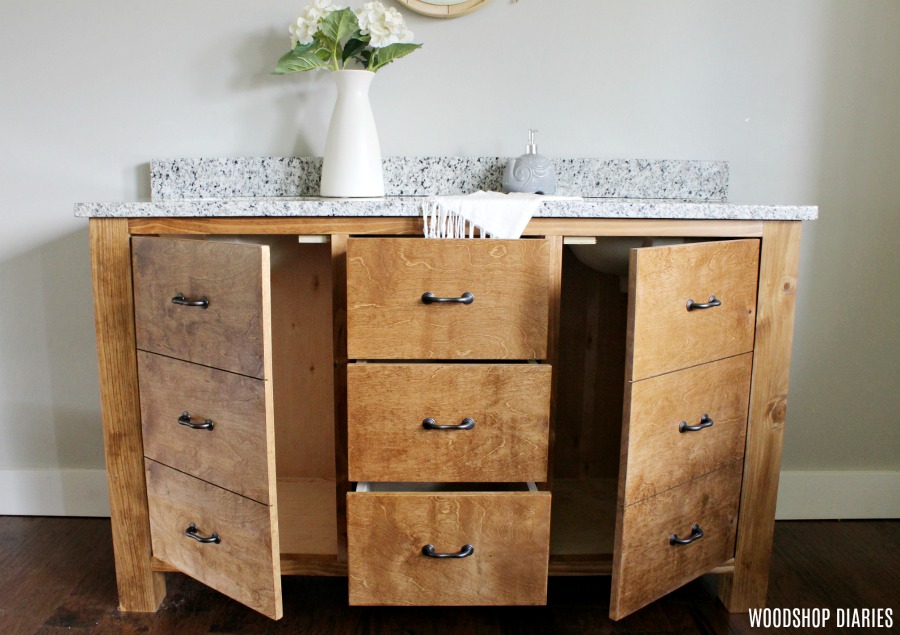
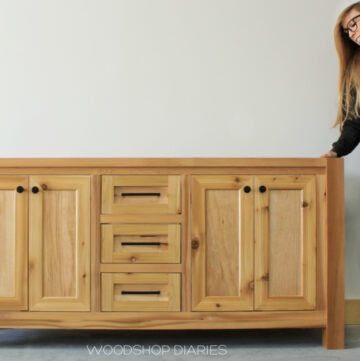
So now, basically, you just have one or maybe two bottom drawers that actually function. That’s just not practical. Why not make the under sink space LOOK like drawers, but actually be a cabinet where you can maximize your storage space??
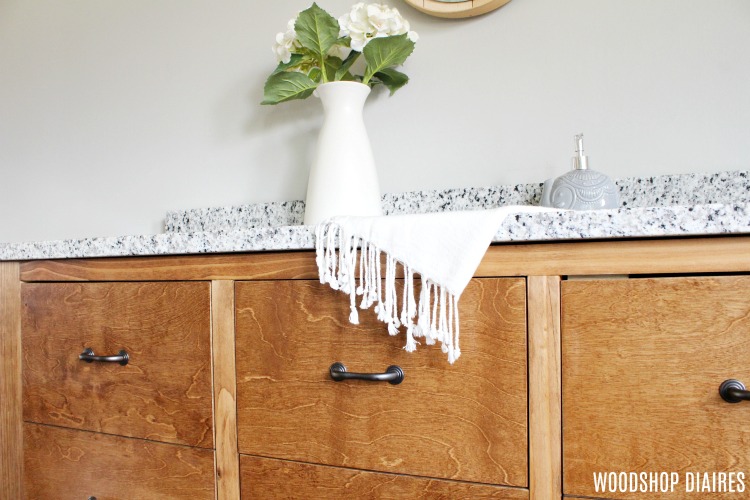
See all that space in there??? The drawers in the middle are still handy to have as actual drawers. But the two under sink cabinets can now store towels, toilet brushes, cleaning supplies, toiletries, etc. And you don’t have to cut out anything weird to fit around the plumbing (note: plumbing not installed yet here). You can stack your stuff all the way to the top of the cabinet! Maximum storage is always a good idea 🙂
.
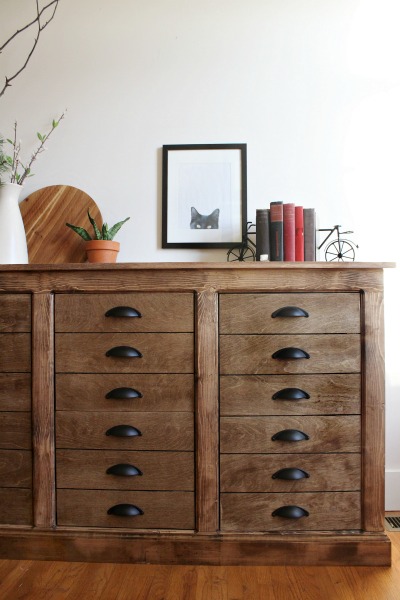
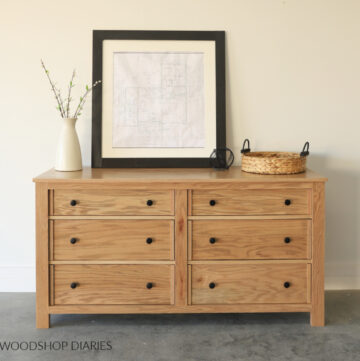
If you’re thinking this looks familiar, you may have seen this faux drawer dresser I built a while back using the same concept. I give a detailed explanation of how to cut the faux drawers using a Kreg AccuCut in that post.
This same idea works perfect for this project as well. The AccuCut is a tool I highly recommend getting. I use mine ALL THE TIME.
.
Anyway, if you’re ready to get building your own faux drawer DIY bathroom vanity, head over and grab the free plans on Build Something. Build Something (if you didn’t already know) is Kreg Tool’s website for free building plans from small decor items to large built ins and furniture pieces. With hundreds of creative and high quality plans, you’ll find plenty of projects you’ll want to get building 🙂
.
I’ve got a few tips and tricks below before you get building, and also check out my latest YouTube video of this build as well:
I know a few questions that will come from this project, so let me do a quick FAQ (maybe it should be more like QIAA–questions I anticipate answering HAHA) below:
.
What kind of wood did you use?
Typically, (due to price) I use standard pine wood for my builds. In this case, this build also used a lot of plywood. I love birch plywood. LOVE LOVE LOVE birch plywood. I think the grain is pretty and it stains very similar in color to the pine that I use with it.
Lately, I’ve been using PureBond plywood for a few reasons. It’s by far the best quality plywood I’ve used (and I’ve tried several). It doesn’t tear as easily and doesn’t have voids between the plys. It’s formaldehyde free, made in the USA, and I can grab a sheet while I’m at The Home Depot for cheaper than I can get the imported stuff at the local lumber yard. It’s a win-win. I’ll never go back to basic plywood.
Where did you get your granite and what color is it?
There’s a local granite place where I live that I use. I have no idea what color it is because they have scraps leftover from kitchens and I go and pick a piece of scrap large enough to cut out for a vanity top and that’s just what you get. I don’t look through catalogs and pick a color, I just pick from what’s there and I never know the color names. I just know it’s pretty. They cut it to the size I need and cut out the sink holes and attach the sinks.
Where did you get your hardware?
I got these drawer pulls from D Lawless Hardware. I highly recommend them. The link to the ones I used on this project are here. They fit the style I was going for perfectly.
What tools do you recommend using for a project like this?
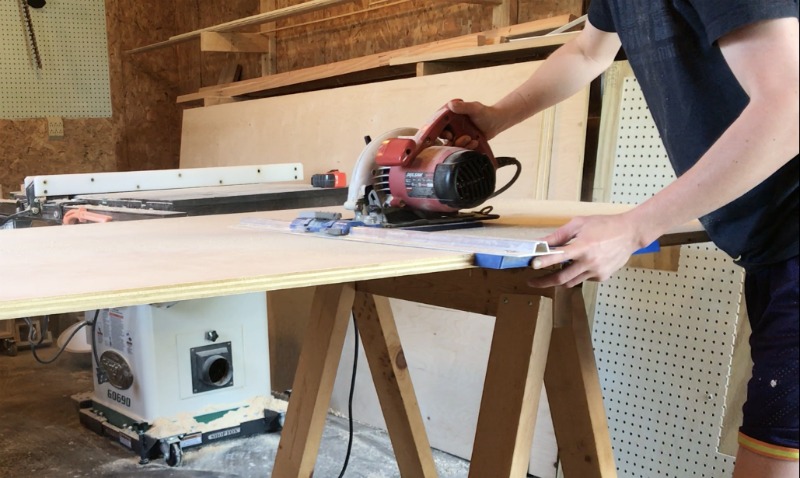
I am always a big fan of anything that makes my job easier. In this build, there was lots of plywood. Being a scrawny girl, it’s hard to maneuver a full sheet of plywood around my shop, much less CUT it. I know I always say this, but if you are cutting down plywood a lot, you NEED a Kreg Rip Cut and a Kreg AccuCut. It saves you so much time, gets you more accurate results, and keeps you from throwing out your back trying to move around those huge, heavy sheets.
.
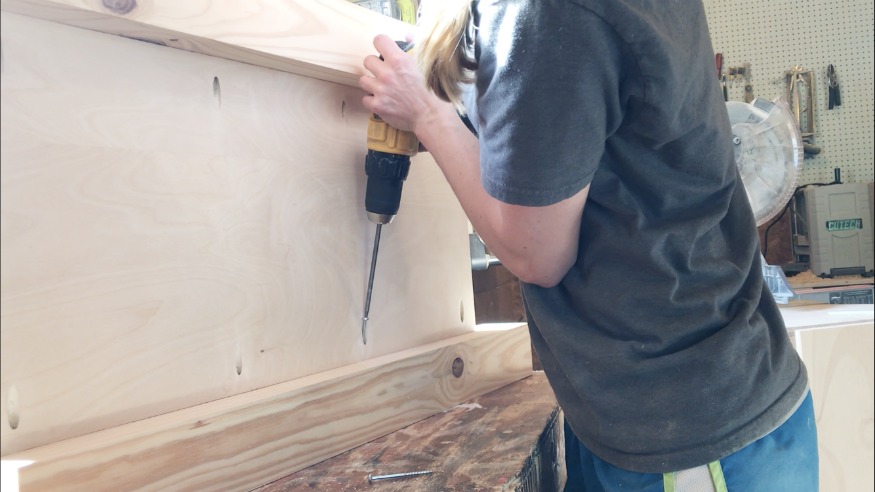
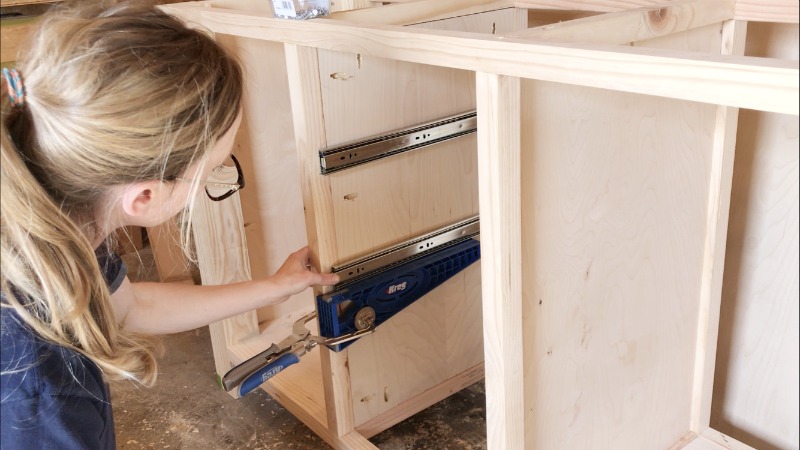
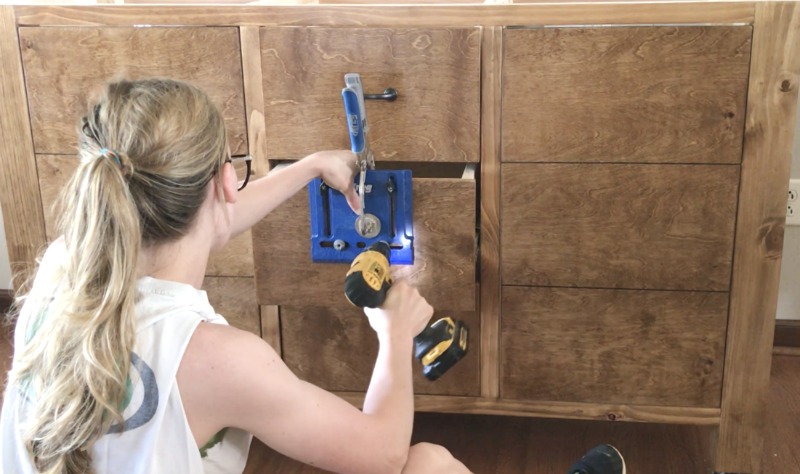
But, in addition to cutting plywood, I always recommend using a Kreg Pocket Hole Jig. Pocket holes make building (especially for DIYers and beginners) so much easier. I use mine on almost every project. But, two new jigs I used for this build were the Drawer Slide Jig and the Cabinet Hardware Jig.
They are both reasonably priced and do exactly what it sounds like–help you install drawer slides and hardware (drawer pulls). I’ve installed both in multiple occasions without a jig…but having the jig saves you about half the time…and time is money, so it pays for itself pretty quick 😉
And lastly, since you want your faux drawer doors to look as real as possible, you will need to use concealed hinges. They are easy to install, but require you to cut out a hole on the back side of the door for the cup to fit in. Luckily, Kreg also has a Concealed Hinge Jig that makes doing this a breeze. Plus, the little wood chips that come from it are fun to play with haha.
.
Kreg actually makes a kit that comes with all three here.
.
Now, if you have any more questions, feel free to comment below or message me 🙂 Otherwise, it’s time to head over to Build Something and grab those free plans, don’t ya think?
.
Don’t forget to subscribe to my YouTube channel for videos on my latest projects and follow along on Instagram for all the behind the scenes and sneak peeks! Oh, and sharing is caring so if you like this project, I would LOVE it if you’d pin it for later and share with your friends 🙂
Until next time, happy building 🙂


I am in the process of constructing a wooden wall clock. The only part that I am uncertain about is whether or not to put a piece of glass over the the face of the clock. If I have a wooden “case” around the clock, how would I install a panel of glass on the front of the clock. It may not be completely necessary, but I do think that it would make the finished product look better.
Your thoughts?
I am a new subscriber and I am anxious to read your response.
Thank you!
Glen
Hi! To install a piece of glass in a “case” you could route out a groove on the back side of the front of the case to insert the glass or cut a dado in the face frame for the glass. I am not sure exactly what you are building and how, so it’s hard to say exactly how to do it, but I’m sure there is a way to add the glass if that’s what you wanted to do