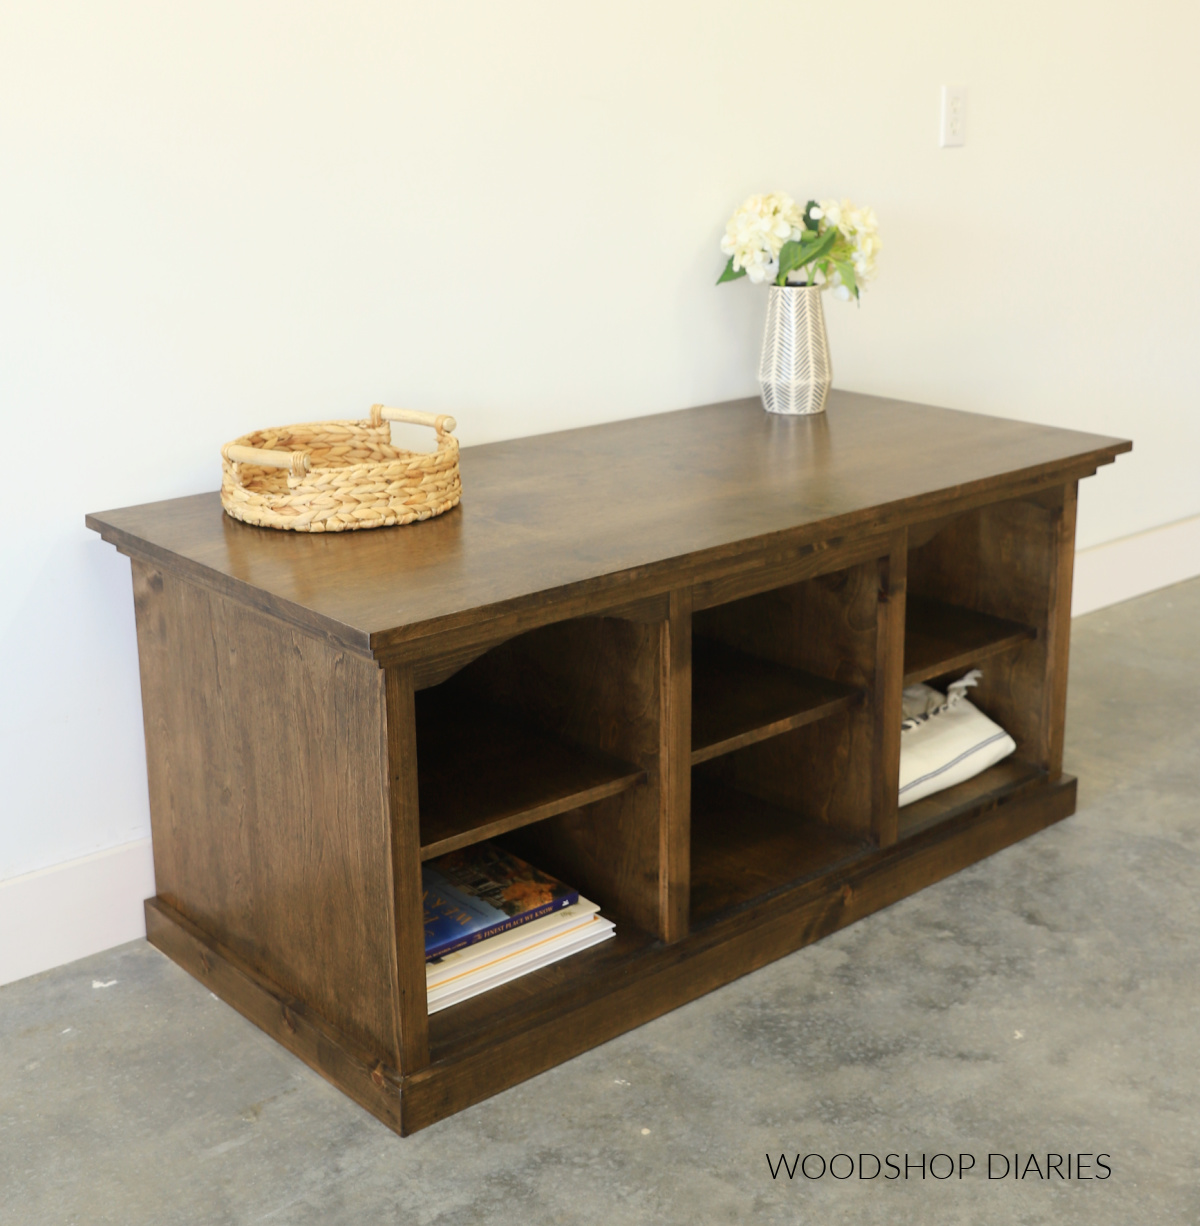
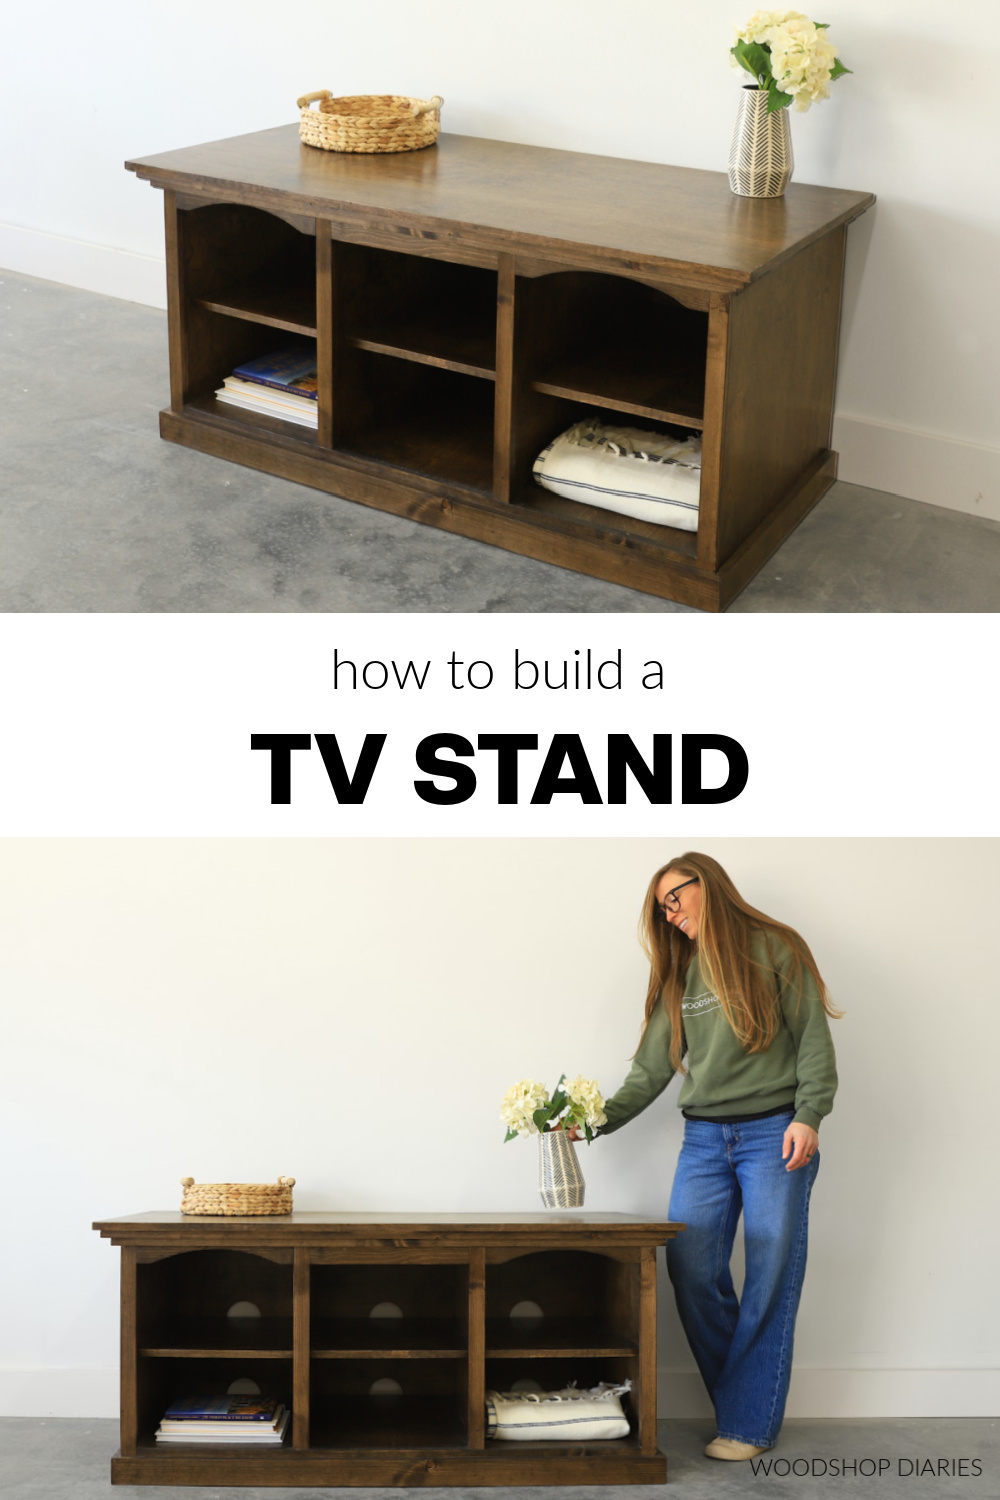
In this post, I’ll show you how to build a simple TV stand console with shelves!
This design is simple, but stylish and features six cubbies, perfect for storing DVD players, gaming modules, books, board games and other entertainment.
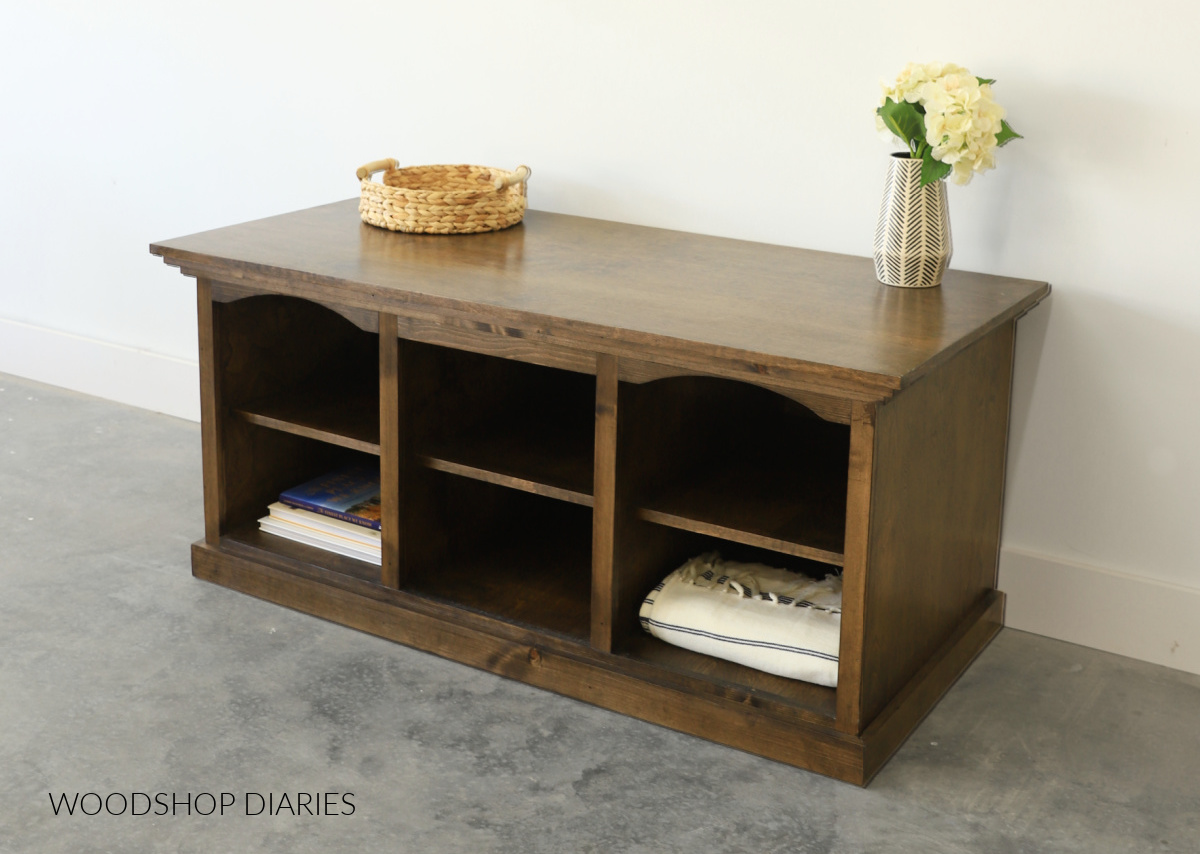
The subtle details, like stairstep trim at the top and arches on the face frame, help keep this piece modern, but certainly not plain. It could even work well in an office or as toy storage in a playroom.
No matter how you use it, it’s a great weekend woodworking project, so let’s dive into how to build your own below!
*This post contains affiliate links. See website policies.
What to know before building
This project is an easy beginner to intermediate woodworking project that comes together quickly. So it’s a great choice for a weekend DIY project.
It’s also easy to customize in both size and style. Feel free to swap out the plain 1x trim pieces along the top and bottom for something more curvy for a more traditional look.
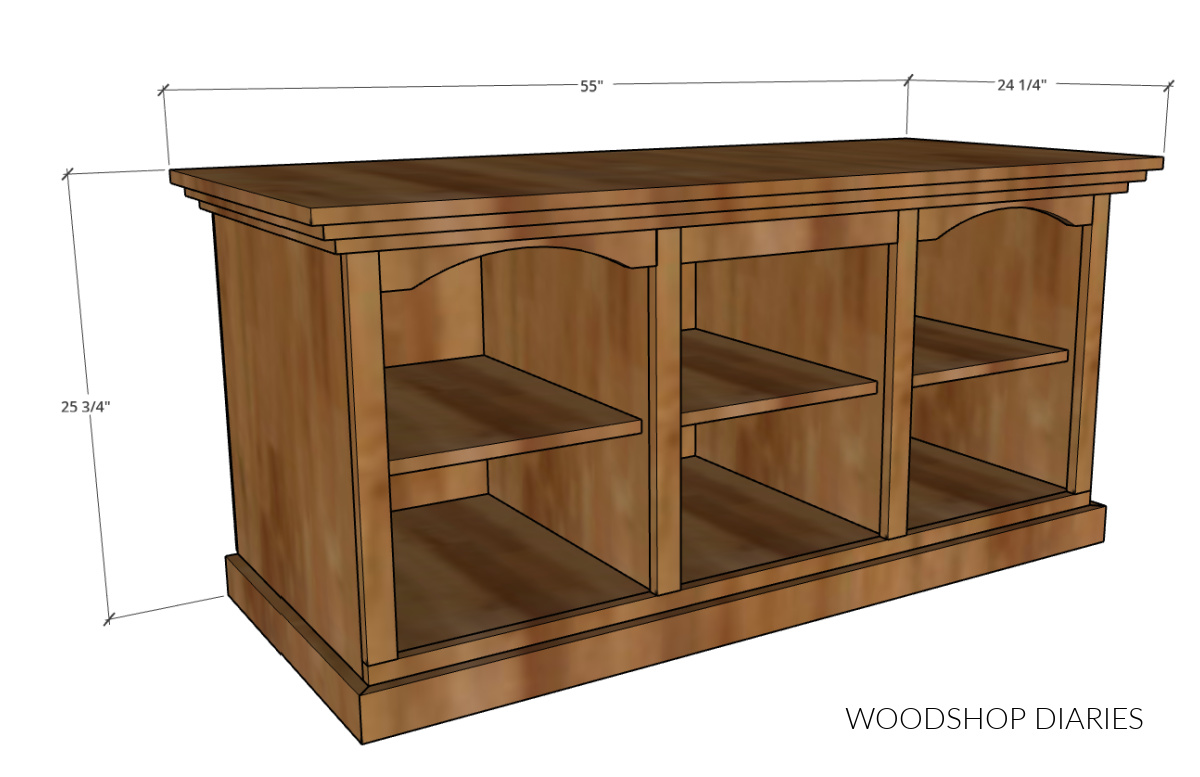
Overall dimensions
The overall dimensions of this TV stand console are approximately 24 ¼″ deep x 25 ¾″ tall x 55″ wide.
You may find these resources helpful throughout the build:
Enjoy DIY projects and woodworking plans? Sign up for priority access for the latest posts on Woodshop Diaries!
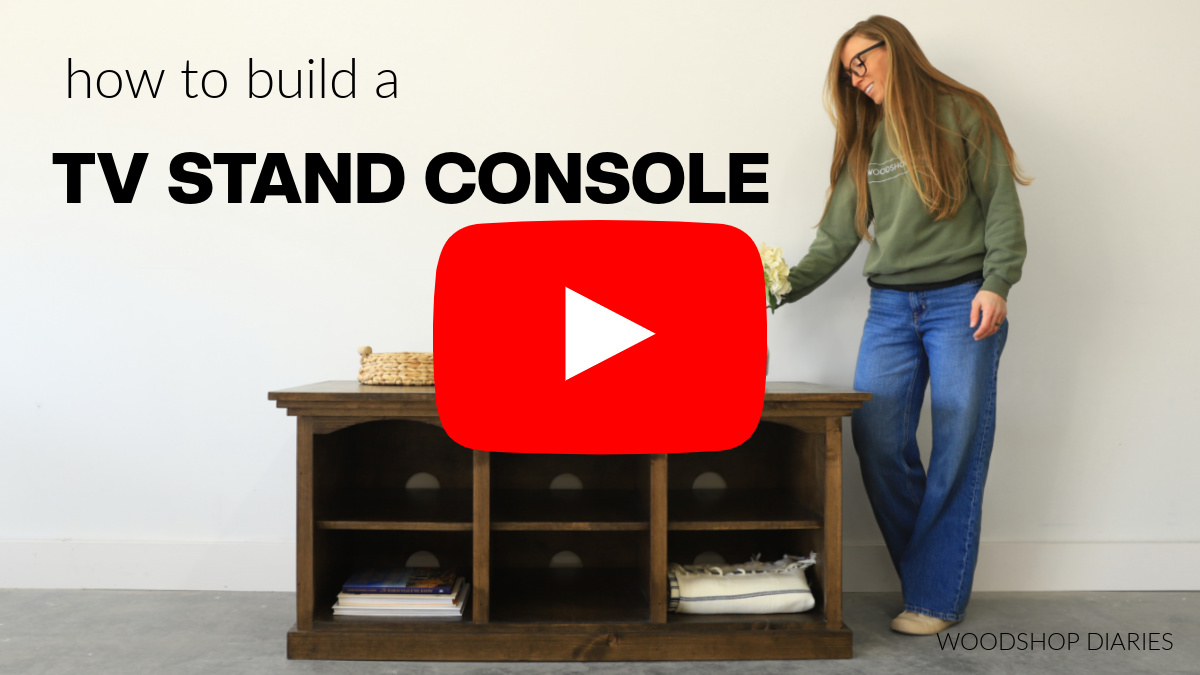
How to build a TV Stand Console
If you prefer to watch, I’ve shared the full build video with tons of tips, behind the scenes, and additional details on my YouTube Channel here.
Love watching how-to videos? Subscribe to my YouTube channel for plenty more where that came from!
Prefer to print? Grab the printable TV stand building plans available here:
Tools & Materials
Tools:
- Drill/Driver
- Circular Saw and Plywood Cutting Guides (Kreg Rip Cut & AccuCut)
- Miter Saw
- Jig Saw (optional)
- Pocket Hole Jig (standard size)
- Kreg Micro Pocket Hole Jig (optional)
- Brad or Finish nailer
Materials:
- (2) 4’x8′ sheets ¾″ plywood
- (1) 4’x8′ sheet ¼″ plywood
- (2) 1x2x8′ boards
- (1) 1x3x8′ board
- (1) 1x4x8′ board
- (1) ¾″ x ¾″ x 10′ square dowel OR other trim
- 1 ¼” pocket hole screws (100 count box)
- (12) 1 ¼” wood screws
- 1 ¼” long brad or finish nails
- Wood glue
- Edge banding (optional, but recommended)
Not sure what type of wood to use for this project?
1x LUMBER & TRIM: If painting, preprimed pine, spruce, or poplar are great budget friendly options. And if staining, usually, you want to use the same wood type as your plywood or something that will stain similarly so that they match. Check out this post to learn how to shop for and purchase lumber for your project.
PLYWOOD: I recommend using cabinet grade hardwood plywood (like birch, maple, oak, etc). Check out this post to learn how to choose the right plywood for your project.
This project was built with pine/spruce 1x lumber and birch plywood.
Step 1: Assemble TV Stand Cabinet
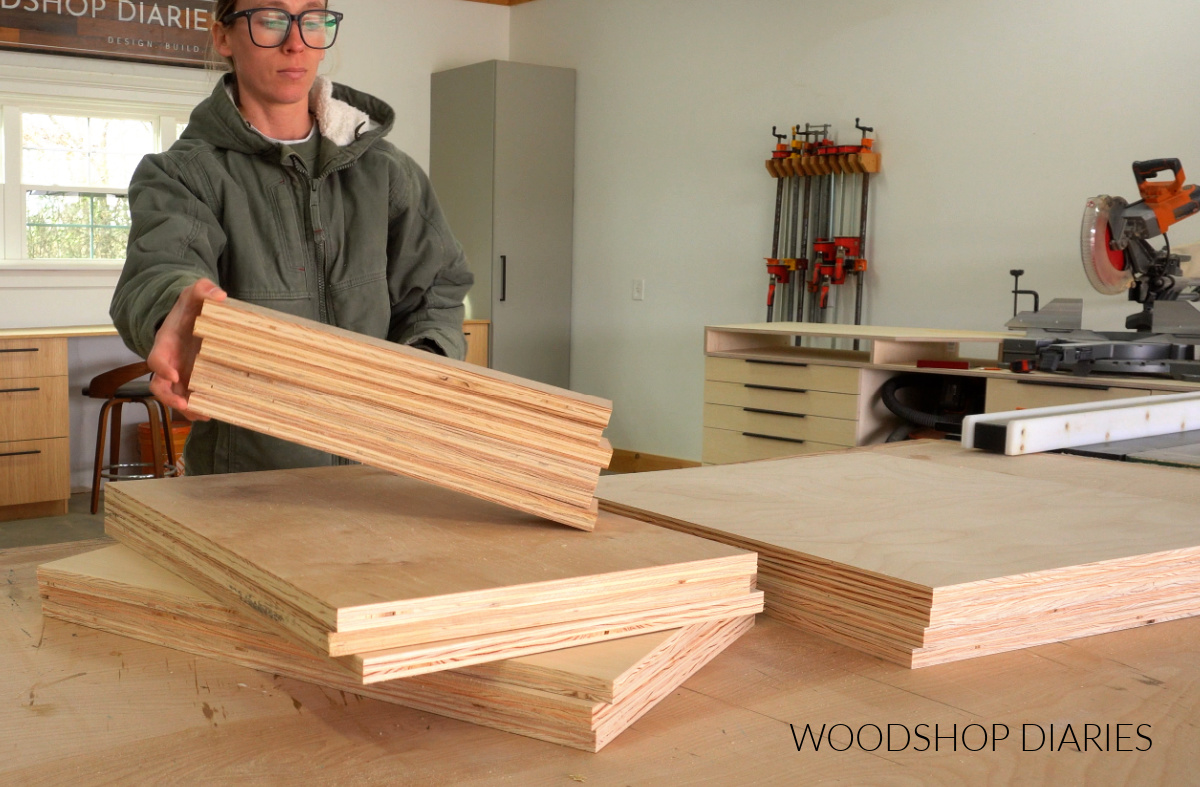
To get started, I cut down the plywood to build the main cabinet. This cabinet is built using ¾″ plywood for the body and ¼″ plywood for the back panel. So for now, I just cut the ¾″ pieces…I’ll get to the back in a later step.
RELATED: How to cut down plywood sheets
I cut four side/divider panels, three bottom shelves, three middle shelves, and six strips to use for the top supports (two strips for each section).
The full cut list and plywood cut diagrams can be found in the printable plans.
Once the pieces were cut, I drilled pocket holes into both ends of the support strips and along both sides of each shelf.
RELATED: How to drill pocket holes for woodworking
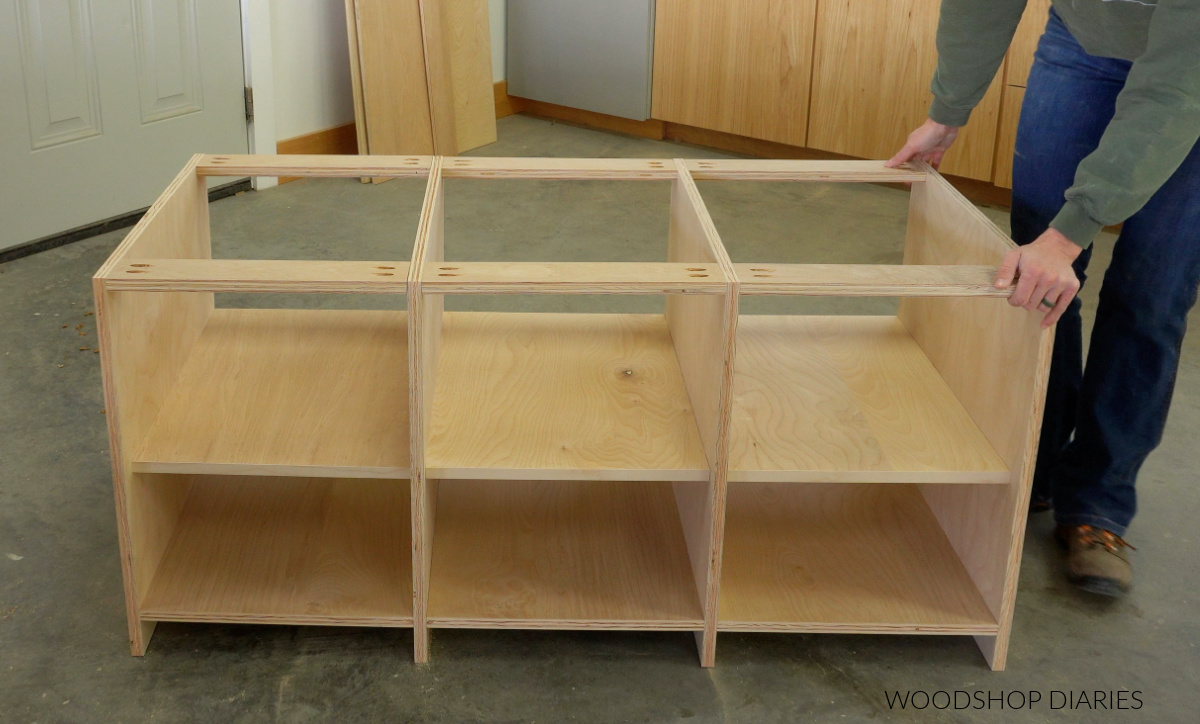
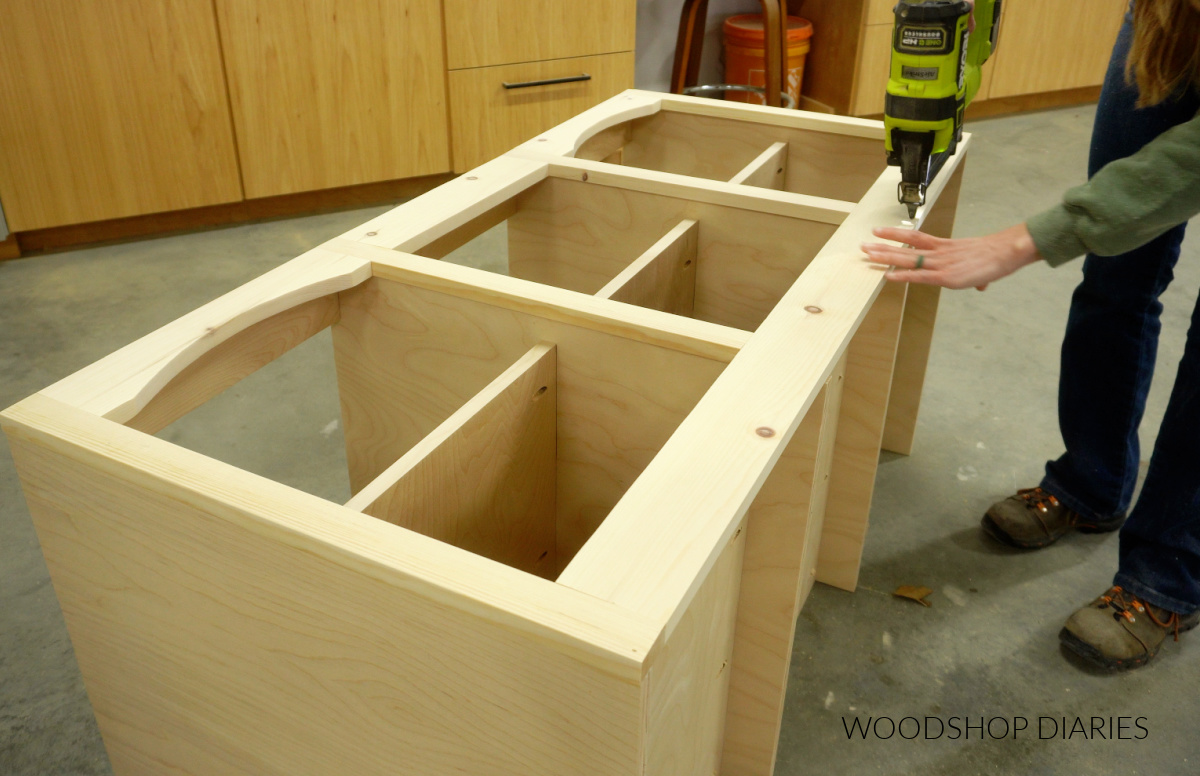
Then, I assembled the TV stand body using pocket hole screws. This stand is basically three sections, so I kind of assembled it in three parts.
First, I installed one bottom and one middle shelf plus two top supports between two of my sides.
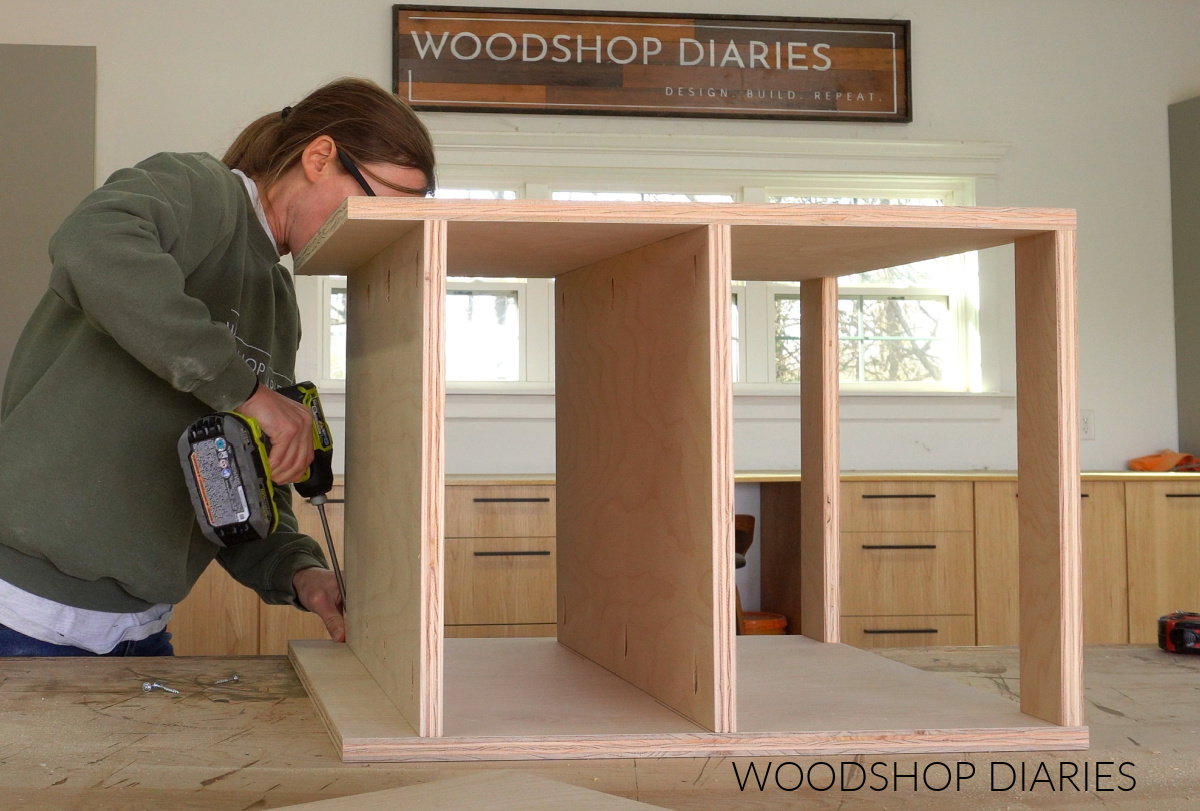
Then, I installed the other two sections the same way to complete the body. I faced the shelf pocket holes down and the top support pocket holes up that way they’ll all be hidden in the finished project.
Prefer to print? Grab the printable building plans for this project here.
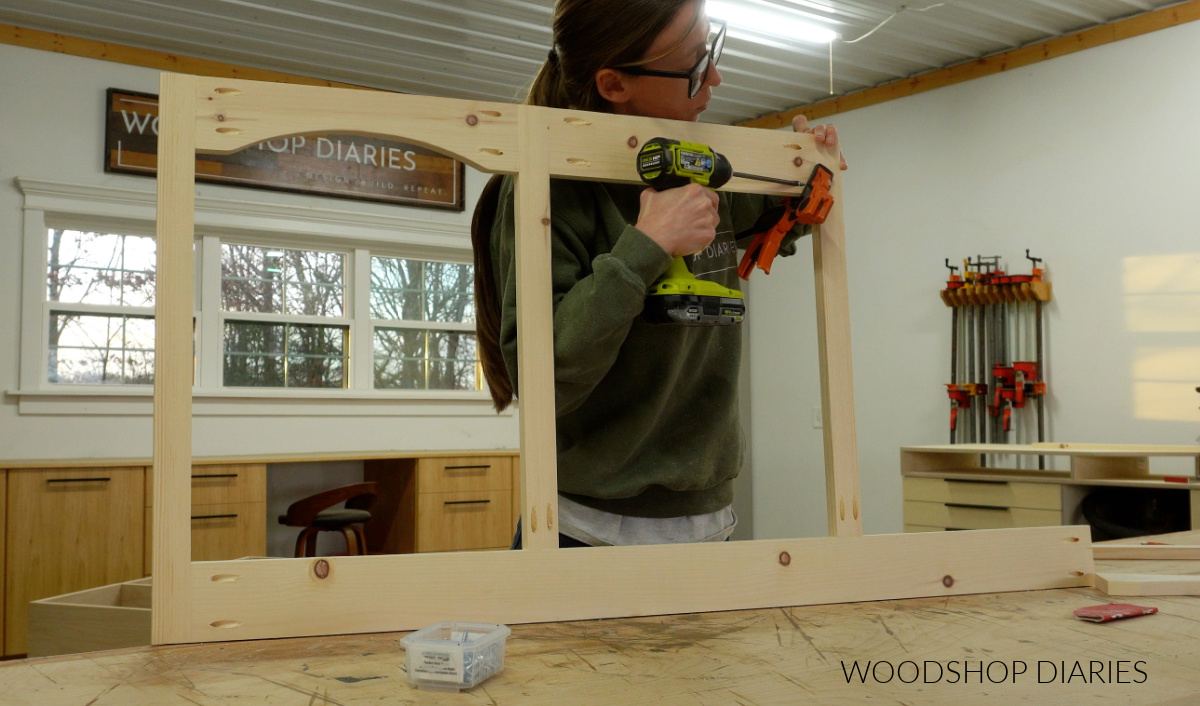
Step 2: Add Face Frame
Next, I needed to add the face frame. I built the face frame from 1x2s and 1x4s (just your basic construction lumber from the big box store). I used 1x2s for the vertical pieces and 1x4s for the top and bottom pieces.
Why did I use different size boards? I wanted the top and bottom to be a bit “chunkier” because I’m adding trim in the next step.
To give the top a little extra detail, I decided to cut some arches in the top left and right sections of the face frame. (You could totally do this for all three sections, but I left the middle section as is.)
So I used an old lazy susan from a base cabinet (I always like to search the shop for round objects to trace for things like this) to trace a curve on the top left and right face frame boards.
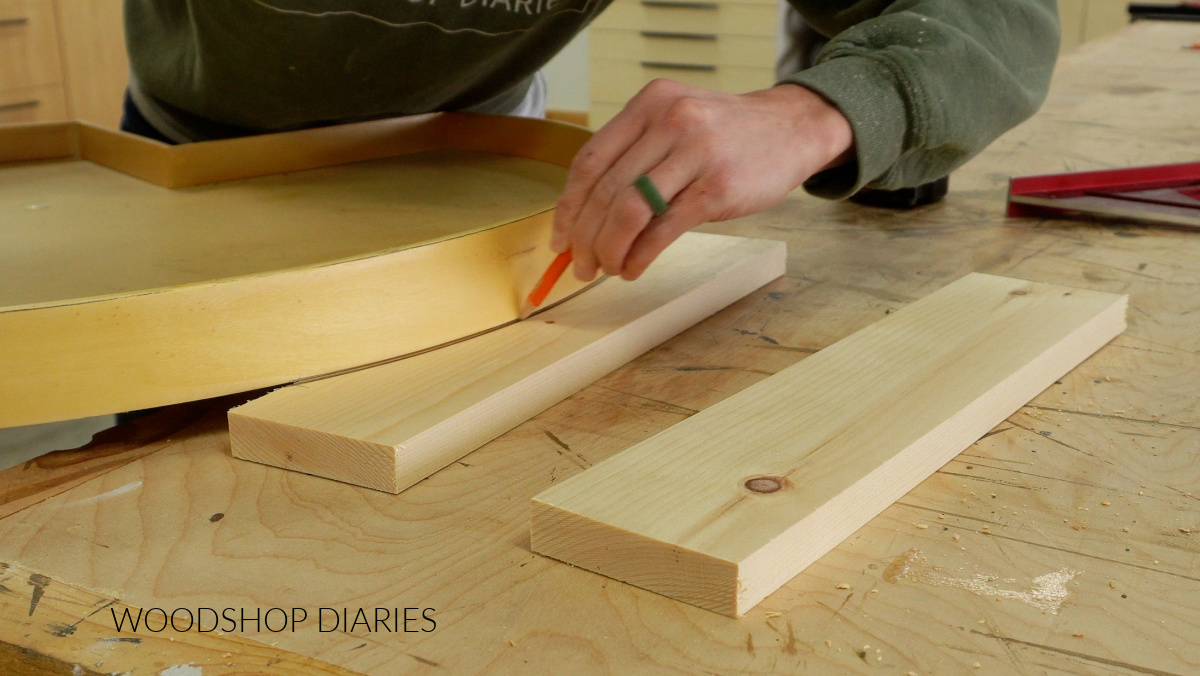
Then, I cut the curves out with a jig saw and assembled the face frame using pocket holes and screws.
TIP: A standard size pocket hole jig can work if you’re careful, but I recommend using a Kreg Micro Jig for these face frame pieces with pan head pocket hole screws. The smaller holes and screws are less likely to cause splits.
Learn how, when, and why to use the Kreg Micro Pocket Hole Jig here.
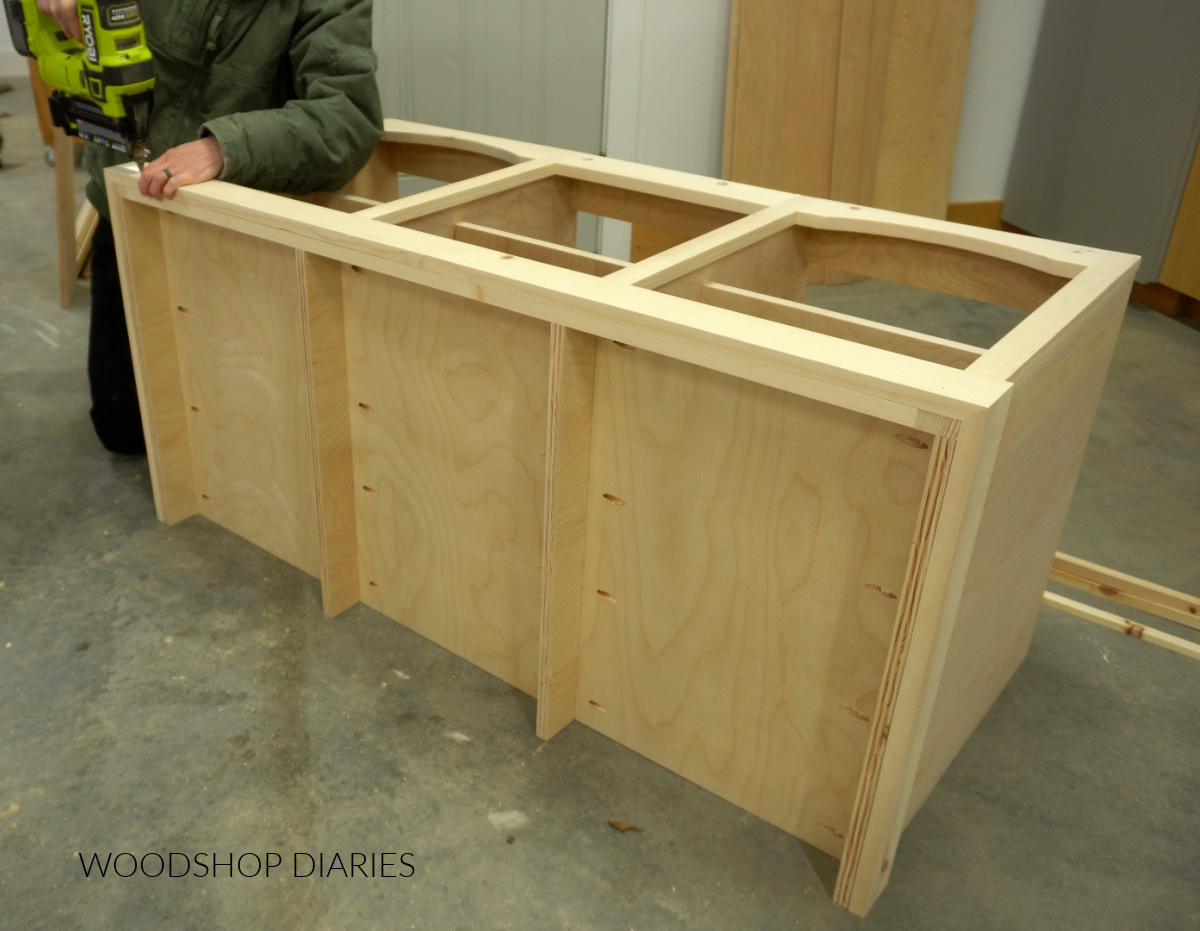
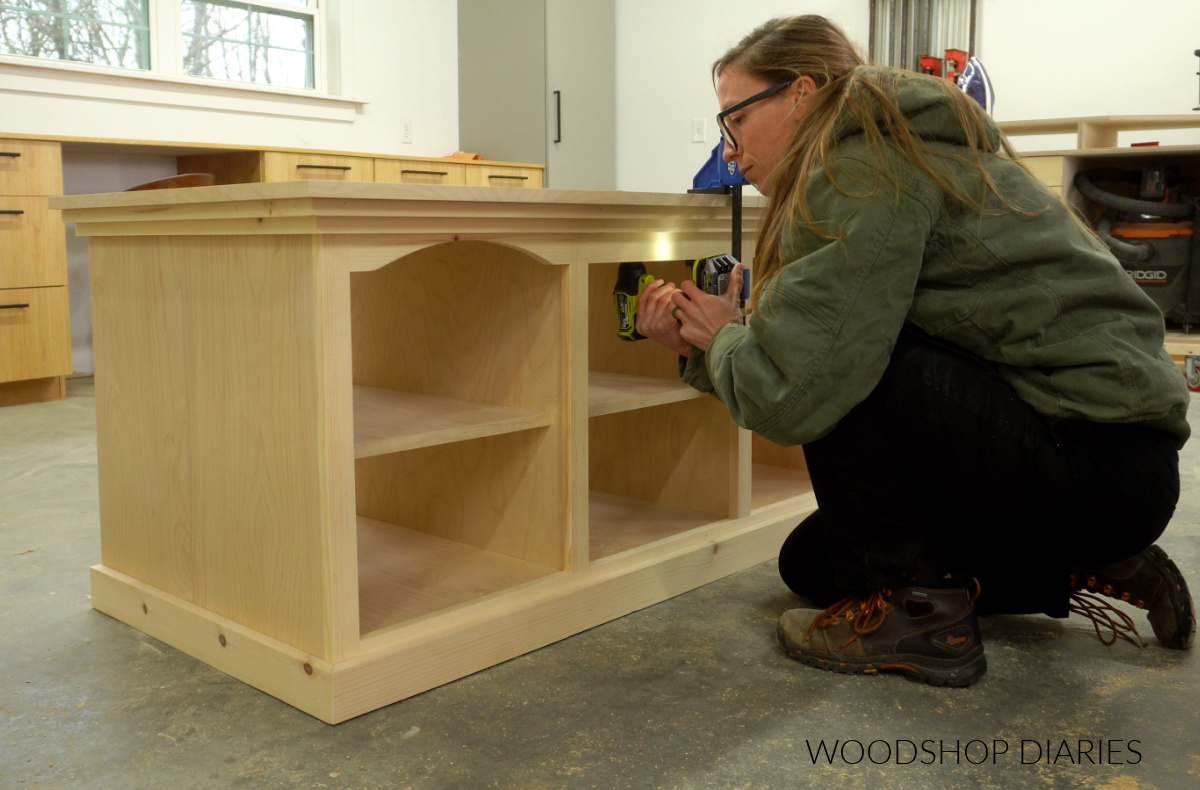
Then, I glued and brad nailed the face frame onto the front of my cabinet. See the arches in the top? I think they add just the right amount of subtle detail. But–they’re totally optional, so if you’re not a fan, you can skip that part.
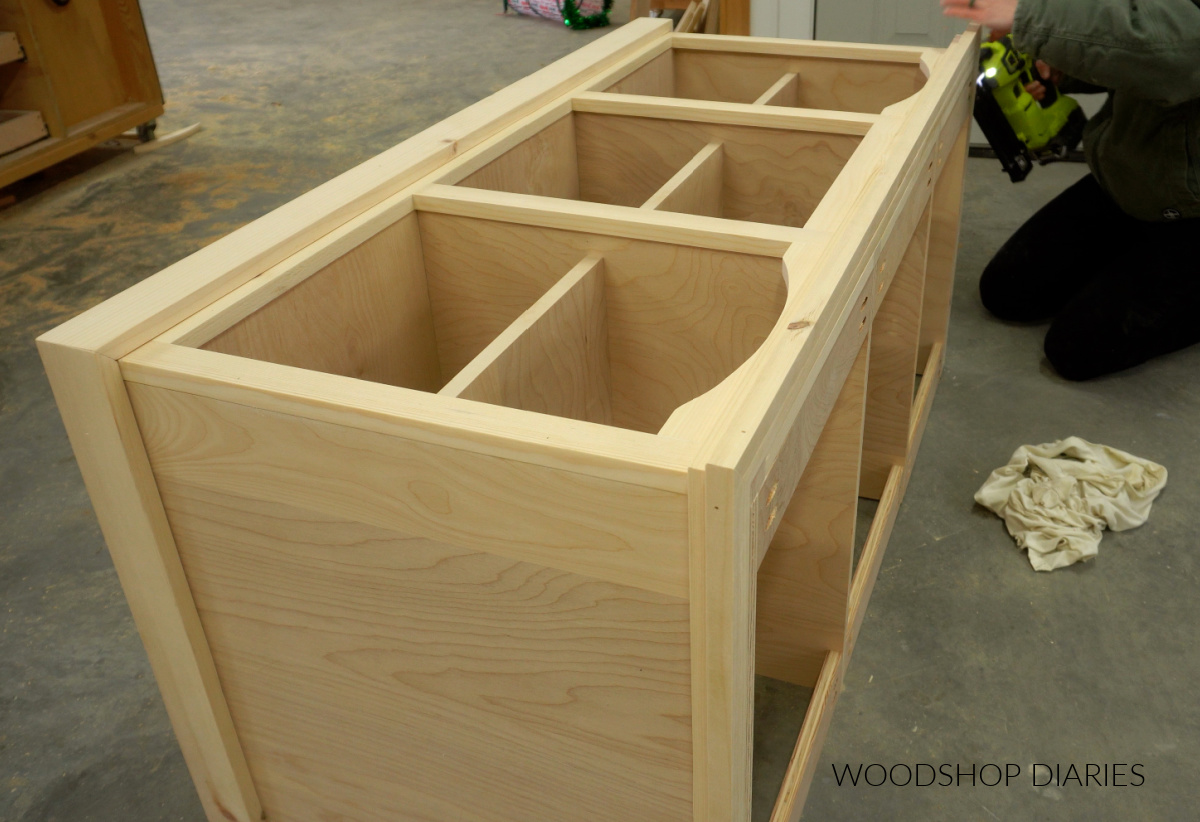
Step 3: Install Trim Details at Top and Bottom
To dress this up just a little more, I added some additional trim to the top and bottom. So I cut to fit 1x3s around the bottom…kind of like a baseboard…beveling the corners 45 degrees.
Then, I added 1x2s around the top the same way. I just glued and brad nailed each piece around the sides and the front.
After adding the 1×2 at the top, I wanted to add an additional ¾″ square dowel (just a ¾″ x ¾″ trim piece) on top of it. This just added a bit of extra dimension at the top and almost looks like a stairstep.
Of course, if you wanted your trim a little less square, you could go with a curvier trim, like cove or half round, or even a small crown molding.
Prefer to print? Grab the printable building plans for this TV stand here.
Step 4: Attach Top of TV Stand
I cut the top of the TV stand from ¾″ plywood to fit over my cabinet so that it overhung the sides and front ¾″.
I also edge banded the exposed plywood edges to make this look a bit more finished. You can learn how to cover plywood edges here.
I centered the top on the cabinet and used wood screws through the top supports in each section to secure it.
Step 5: Install Back Panel
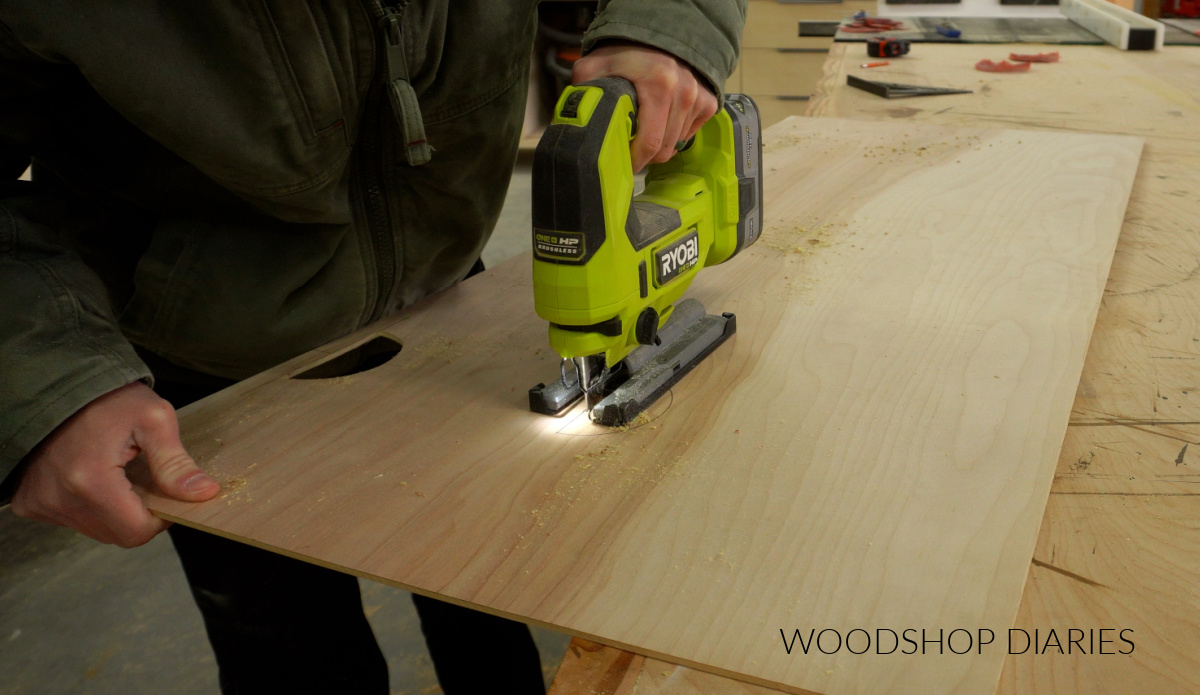
The last part was adding the back panel. For this, I cut a piece of ¼″ plywood to fit over the back. But I wanted to make sure there were holes in the back to be able to run cords to plug things in.
So I traced a semi circle (using a roll of painters tape!) onto the back panel so that there would be a hole in each of the six sections of the cabinet.
Then, I cut these out with a jig saw.
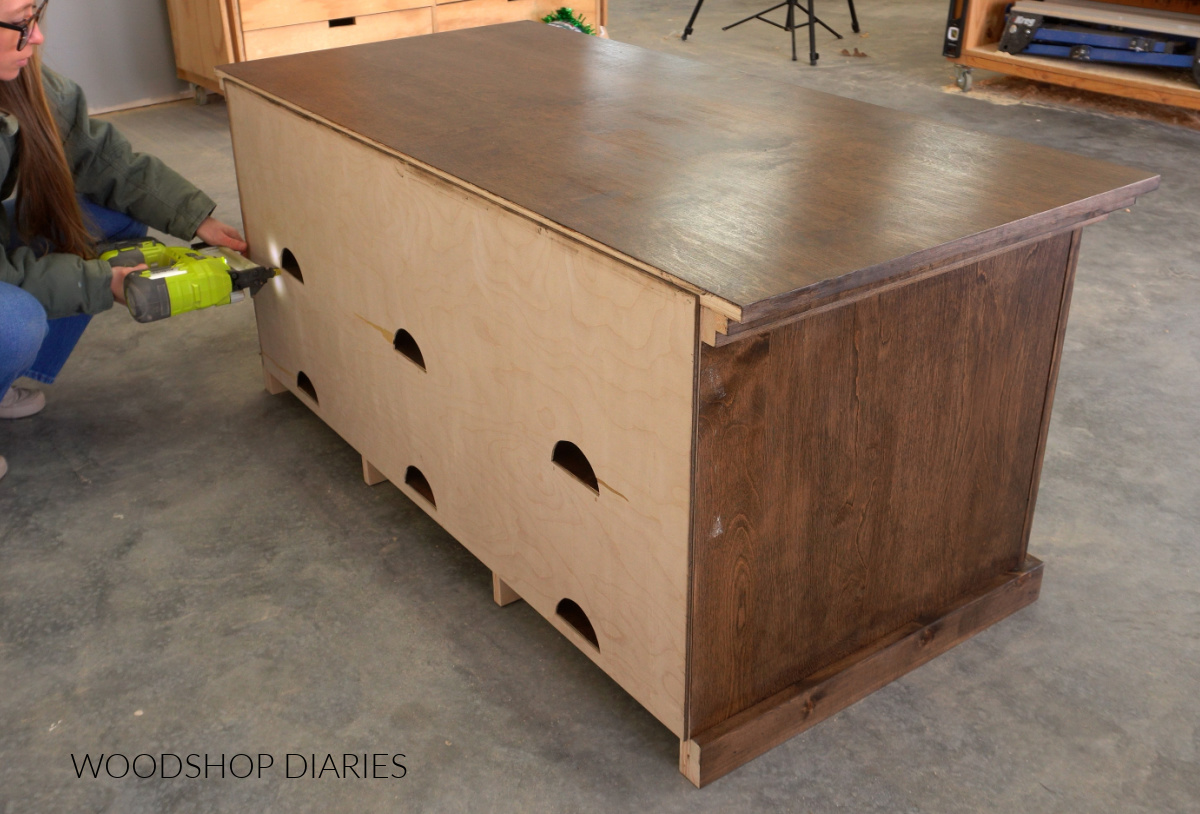
Before attaching the back, I decided to go ahead and stain the cabinet and the back panel separately. So I stained them in Minwax Mocha and applied a few coats of Minwax Polycrylic to seal them.
RELATED: How to stain wood furniture PLUS How to apply clear coat
Once they were finished, I tacked the back panel onto the cabinet with brad nails.
This simple modern TV stand cabinet is such a great little project and would make a great addition to the living room, home office, or bedroom.
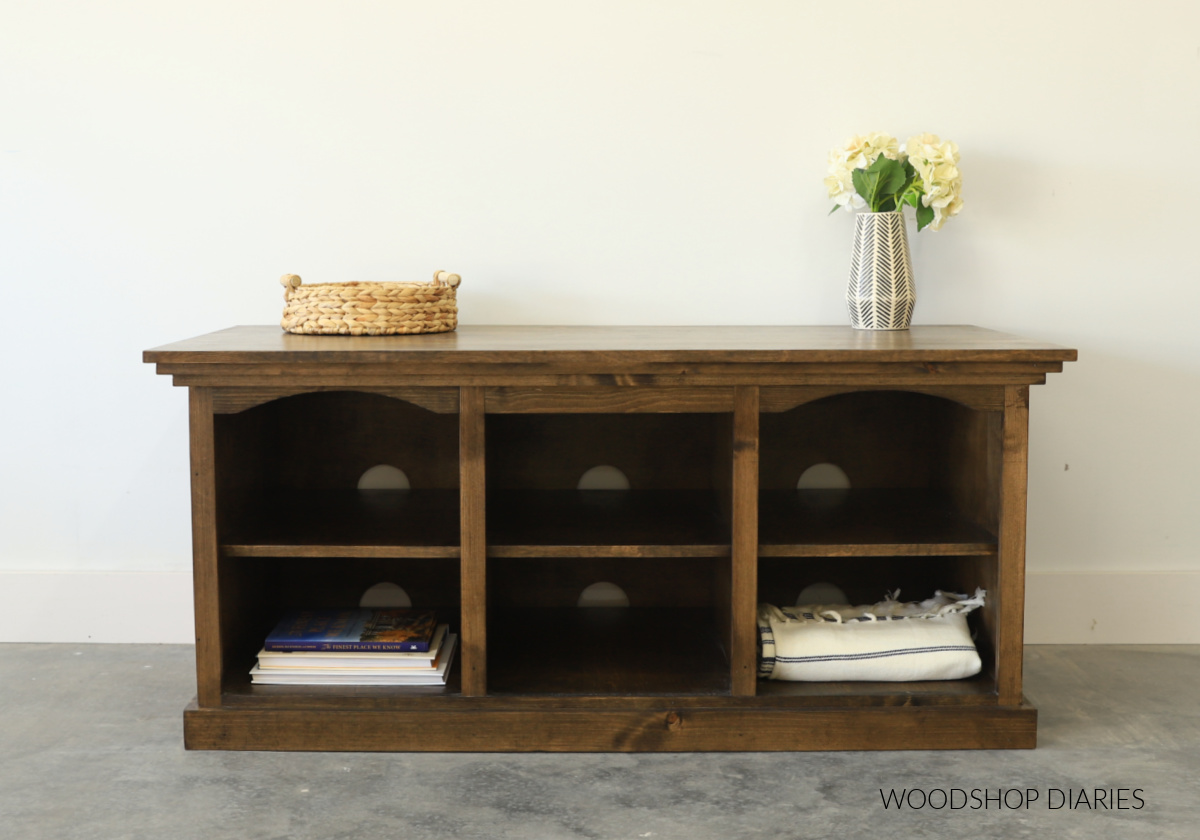
It provides plenty of storage, and is so very versatile.
If you’d like to build your own, you can grab the printable plans here!
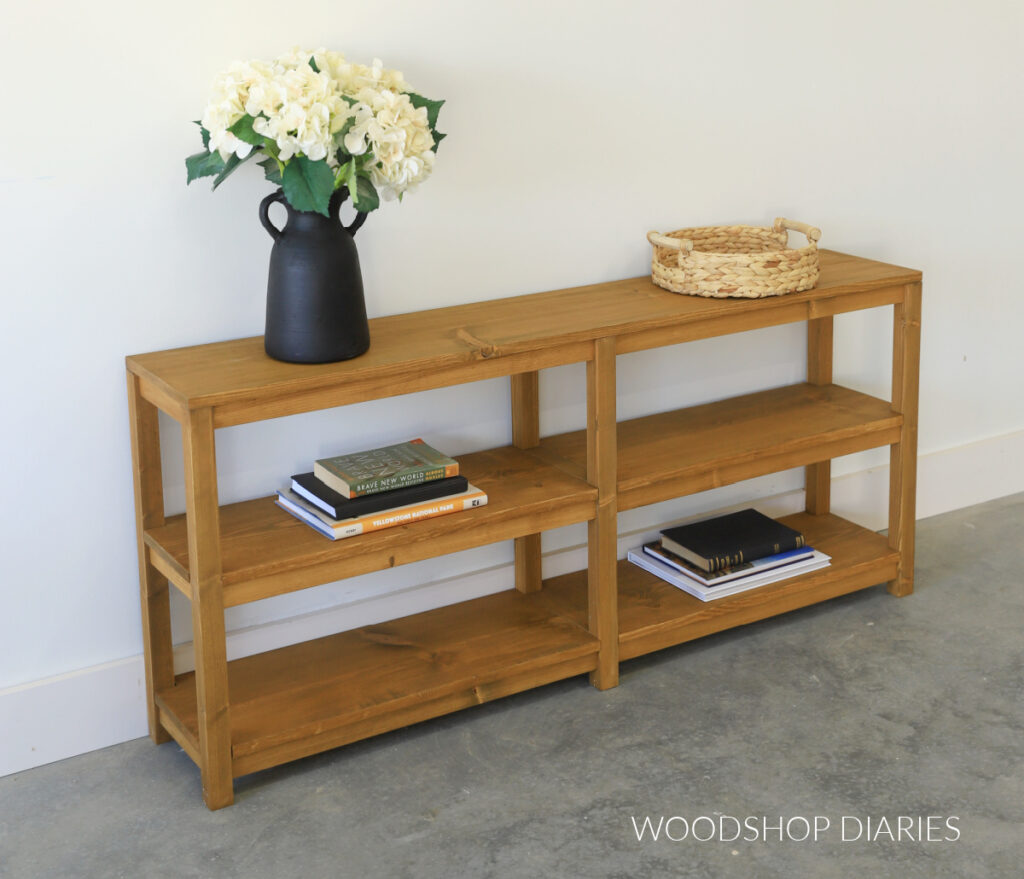
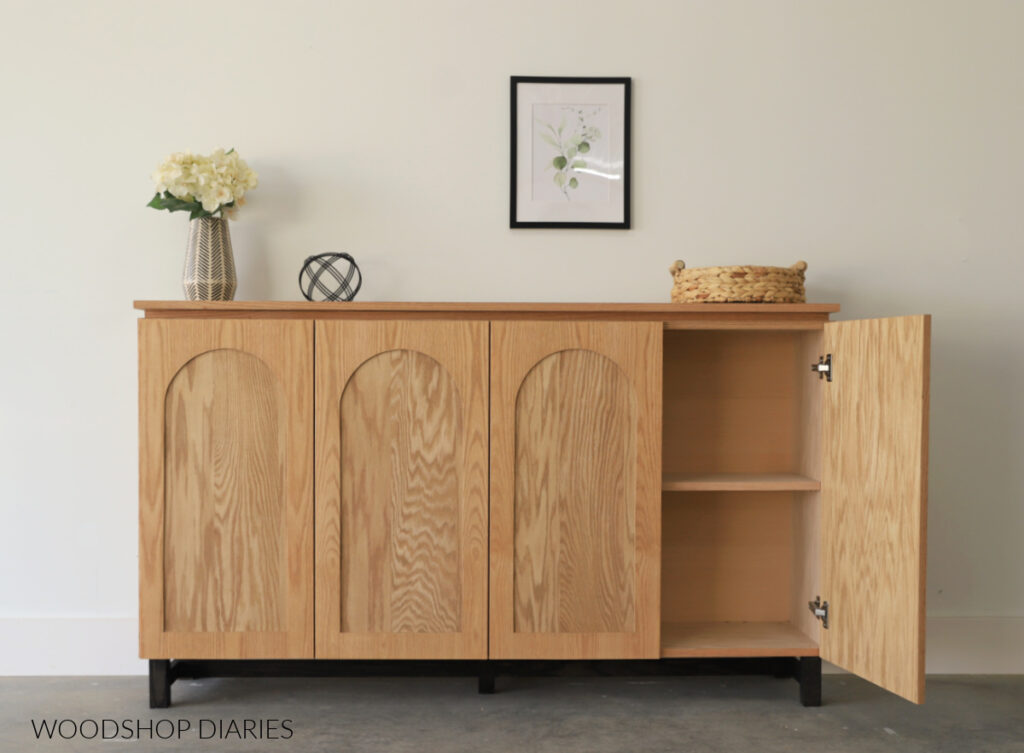
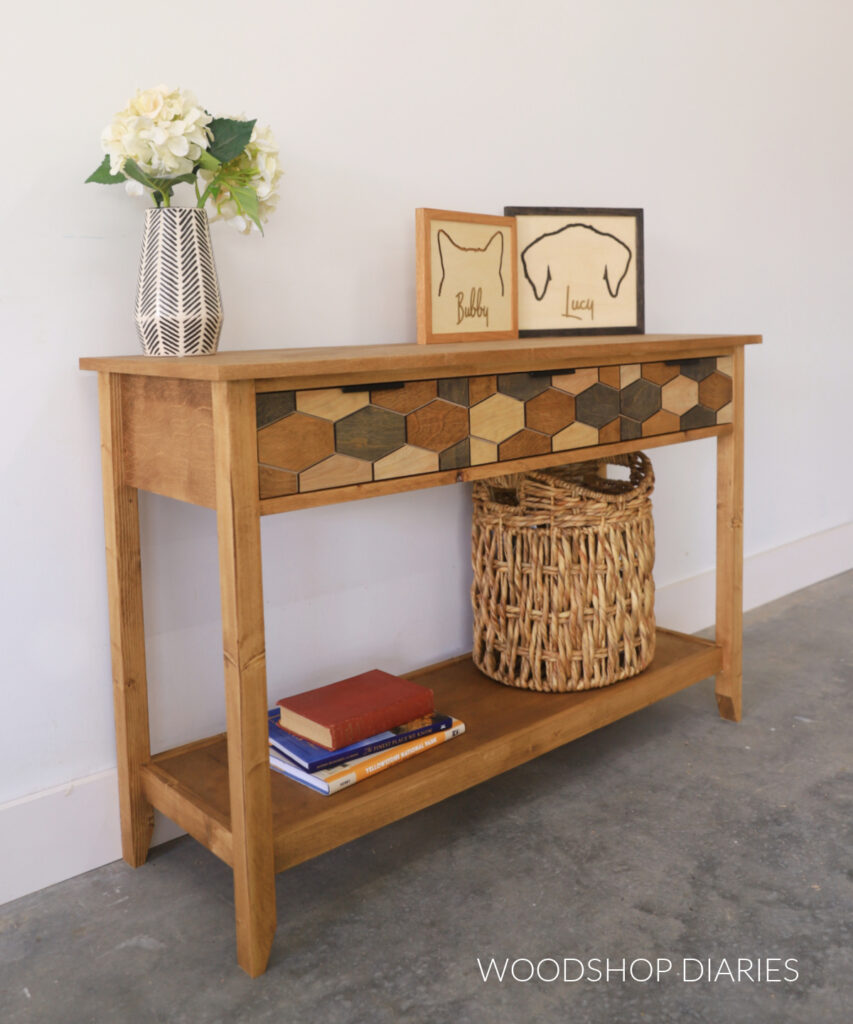
Looking for more DIY Furniture projects?
Enjoyed this build, but looking for more ideas? I’ve got you covered! Click on the image(s) below to learn how to build one of your own OR check out all our DIY furniture tutorials here.
If you enjoyed this post, be sure to save it for later by pinning or sharing to your favorite social channel!
Until next time, friend, happy building!