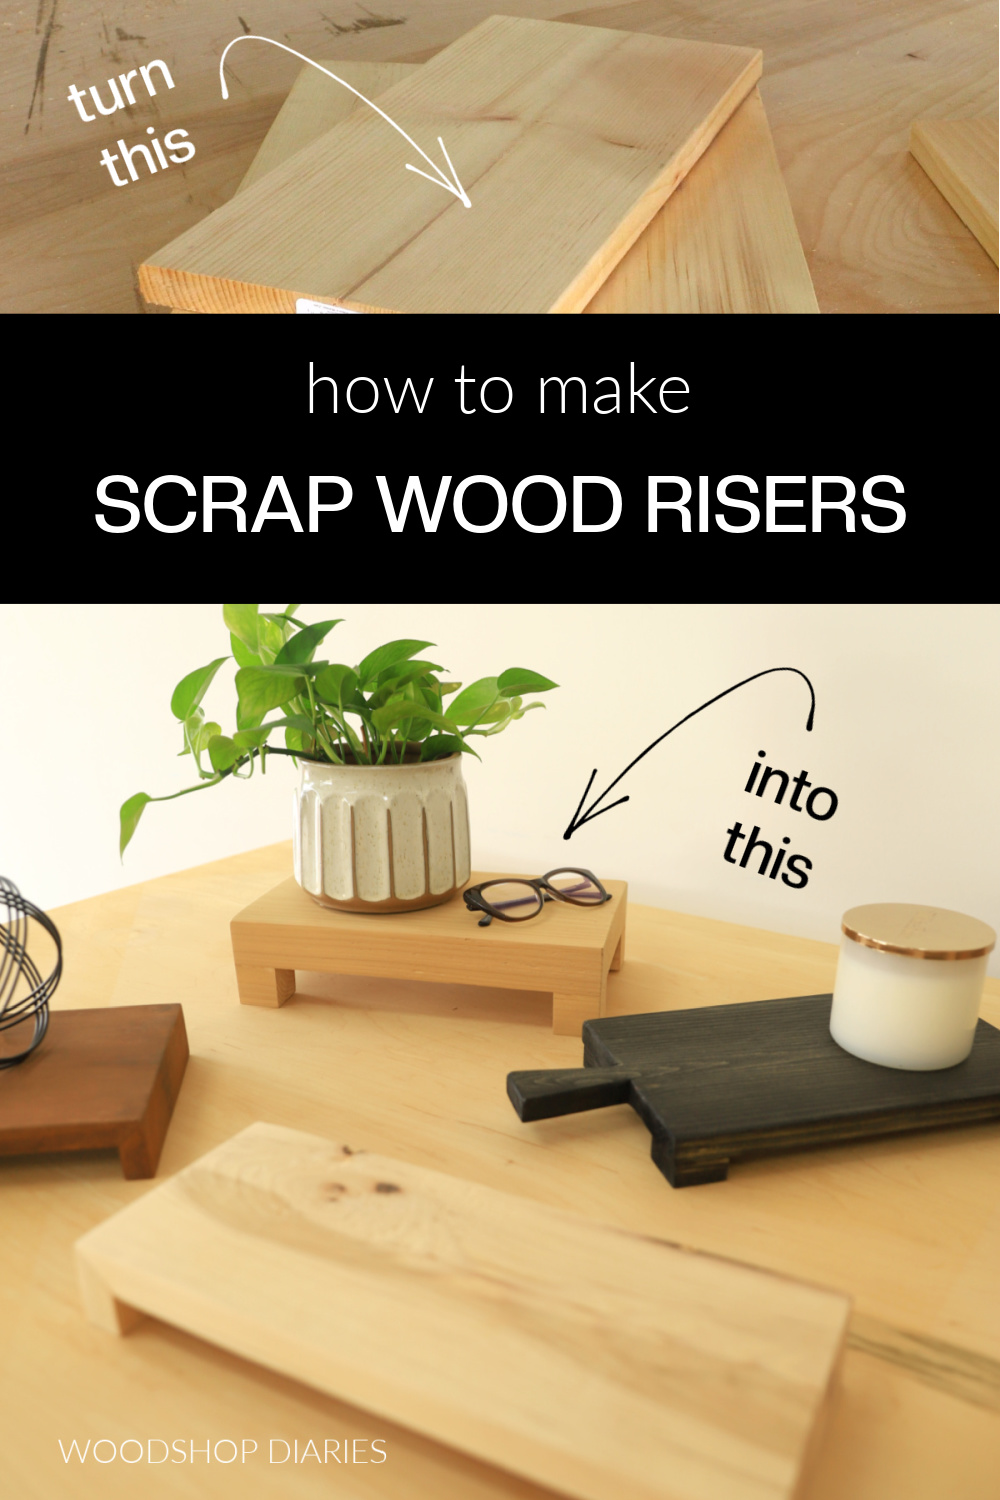
In this post, I’m sharing three easy ways to make a DIY wooden riser from scrap wood!
Lately, I feel like every time I go to the store, I see wooden risers all over the home décor section.
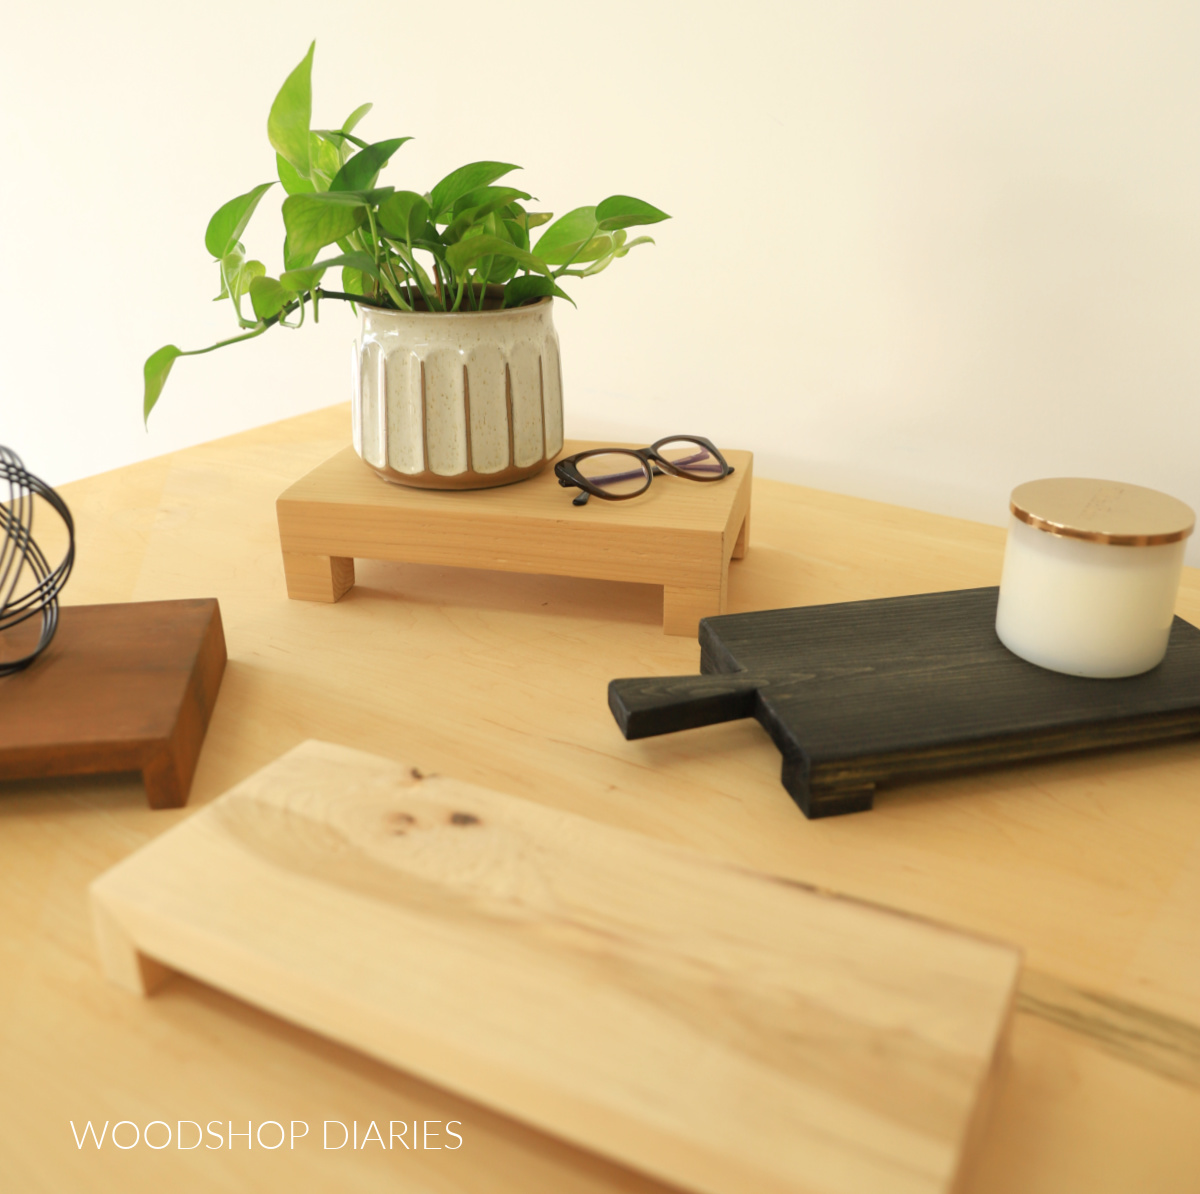
If you’re not familiar with a what a “riser” is, basically it’s like a tray on some kind of legs or feet so that it “rises” above the surface.
They make excellent plant stands, but are often used as a place to corral like items. You often seen them on kitchen countertops, on bathroom vanities, or coffee tables.
They’re super cute, but I have a hard time paying for one at the store when I know I could make a hundred of them from the scraps in my workshop for free!
So in this post, I’m sharing three easy ways to make a wooden riser from wood scraps and just a few minutes of your time.
*This post contains affiliate links. See website policies.
What to consider before building
There are a million ways (literally) to make a simple wooden riser. I’m sharing three basic options (plus some alternative customizations) in this post, but these certainly are not the ONLY ways to make them.
Depending on what kind of scraps you’re working with, you can make a wooden riser from practically any material, and just about any size (within reason) you can think of.
Since I was making a few different styles, I chose a couple of “specialty” options–a thick piece of red oak (leftover from building this dining table), some 2x cedar (leftover from building my driveway gates), and a thinner piece of hickory.

And I also grabbed a couple pieces of scrap pine leftover from building this hutch for my pantry.
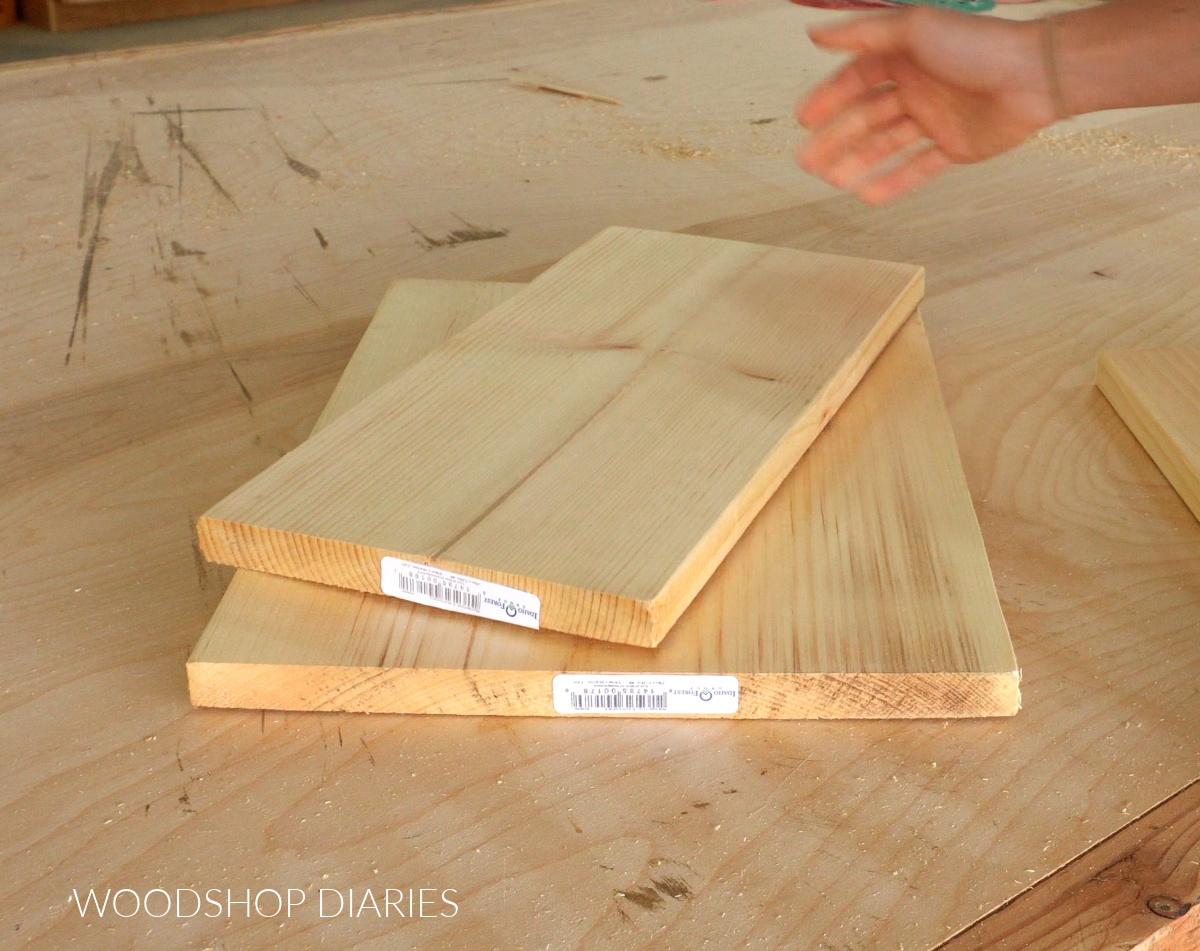
As you can see, there are no “rules” to the size of type of wood for this project, so feel free to pick just about anything.
Are DIY projects your thing? Sign up for our newsletter for priority access to the latest projects and build plans!
How to Make a Wooden Riser
If you prefer to watch, I’ve shared the build video with tons of tips, behind the scenes, and additional information here:
Love watching how-to videos? Subscribe to my YouTube channel for plenty more where that came from!
Tools & Materials
Tools:
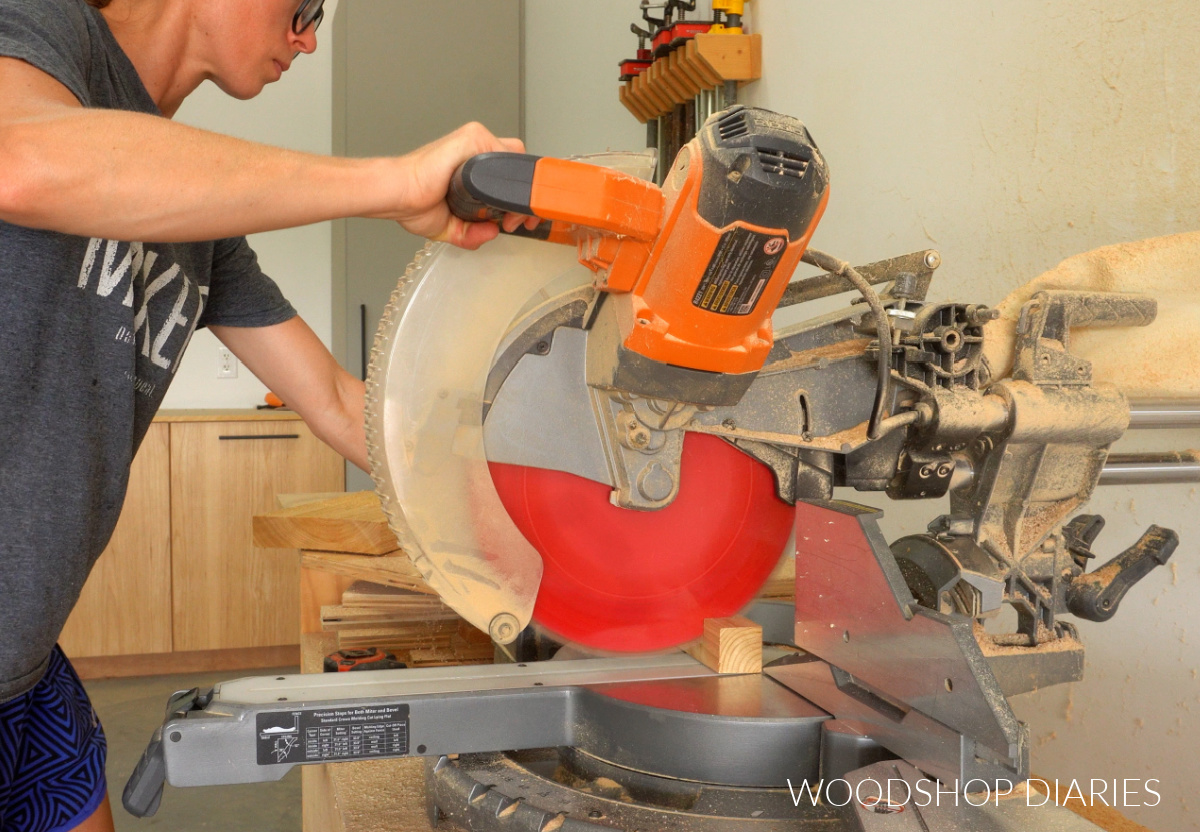
- Miter Saw
- Jig Saw (optional)
- Clamps
- Brad Nailer (optional)
Materials:
- Wood Scraps (various sizes can work fine)
- Wood Glue
- Painters Tape (optional)
Method 1: Making a DIY Wooden Riser with Feet
This way of making a wooden riser is one of the quickest and simplest options, but allows for plenty of customizations.
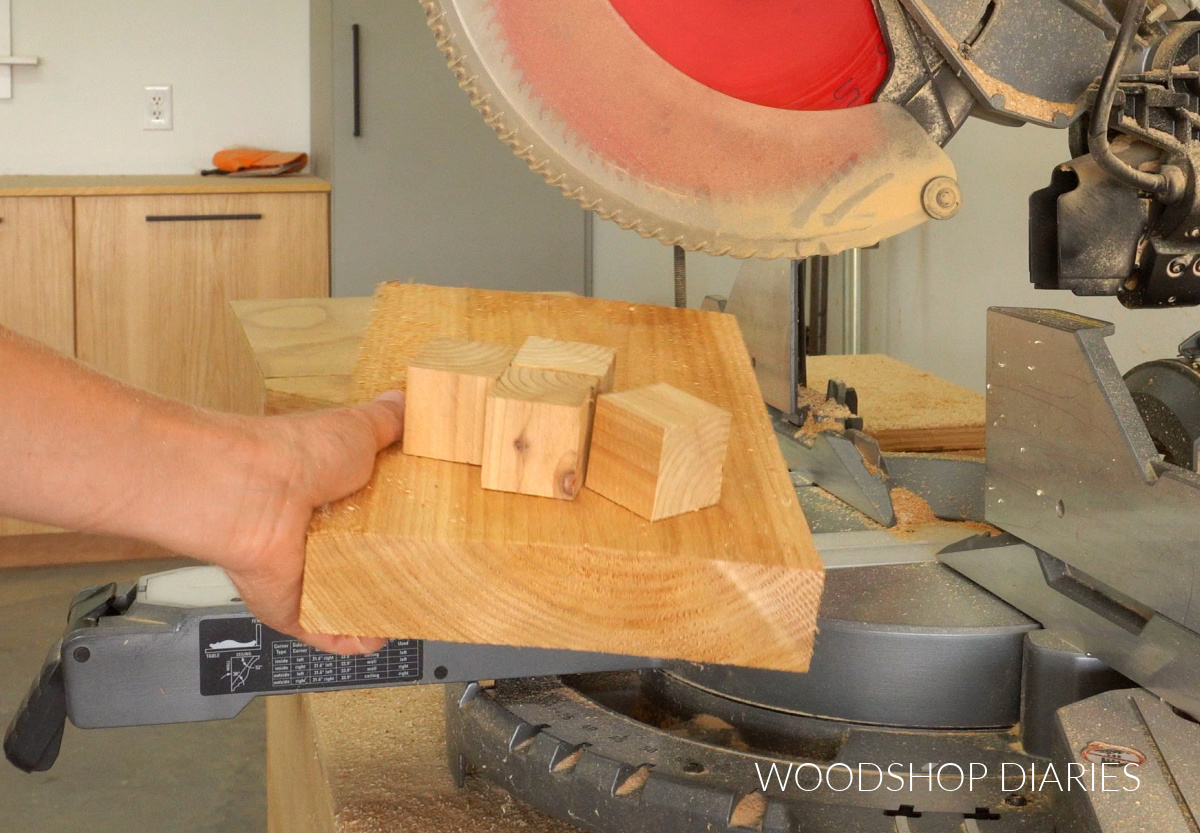
To make one, I cut four wooden blocks from a scrap piece of 2×2 to use as “feet.” Then, I cut a piece of scrap 2×8 board to use as the top.
I cut the 2x2s to 1 ½″ long to make them cubes ( because 2x2s are 1 ½″ square). Since I was using a thick top (2x board), I thought it looked right proportionately to use “thick” feet.
After sanding, I carefully glued the wooden blocks at each corner of the 2×8 board and allowed to dry.
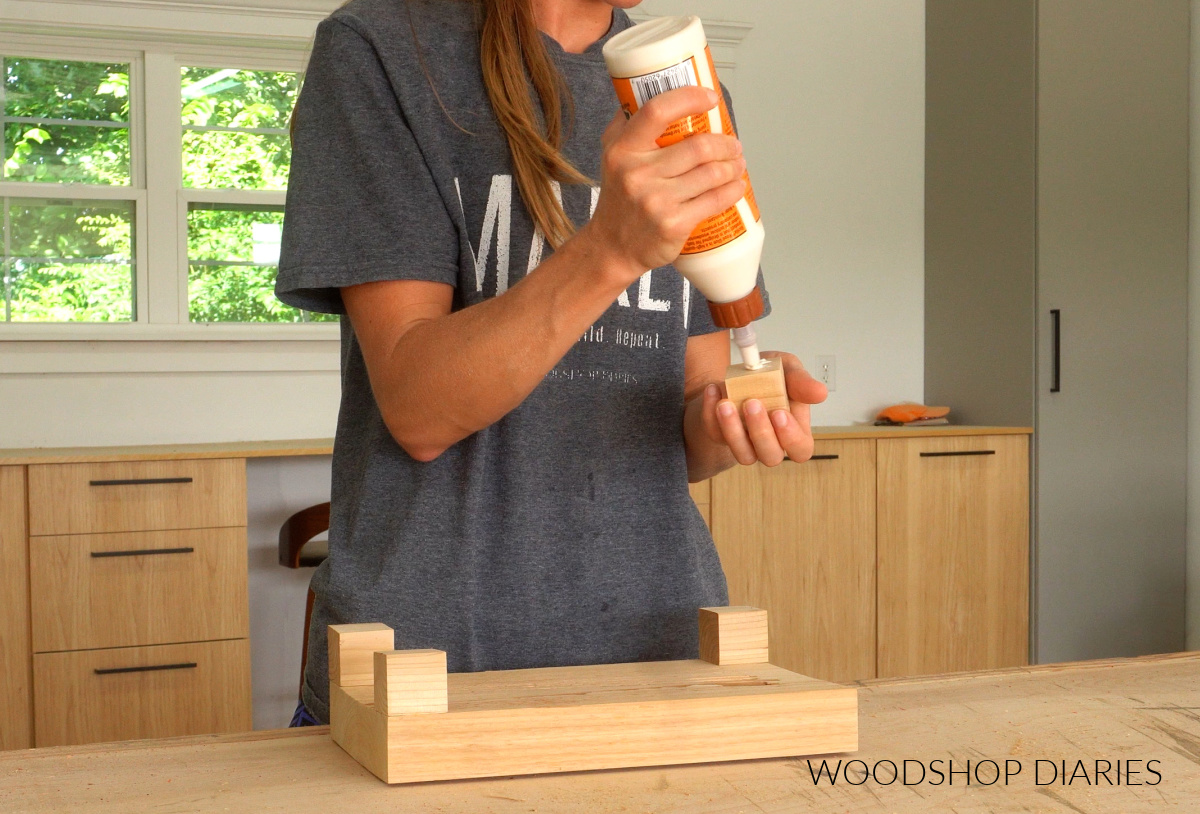
If you wanted, you could nail, screw or clamp these feet in place while the glue dries.
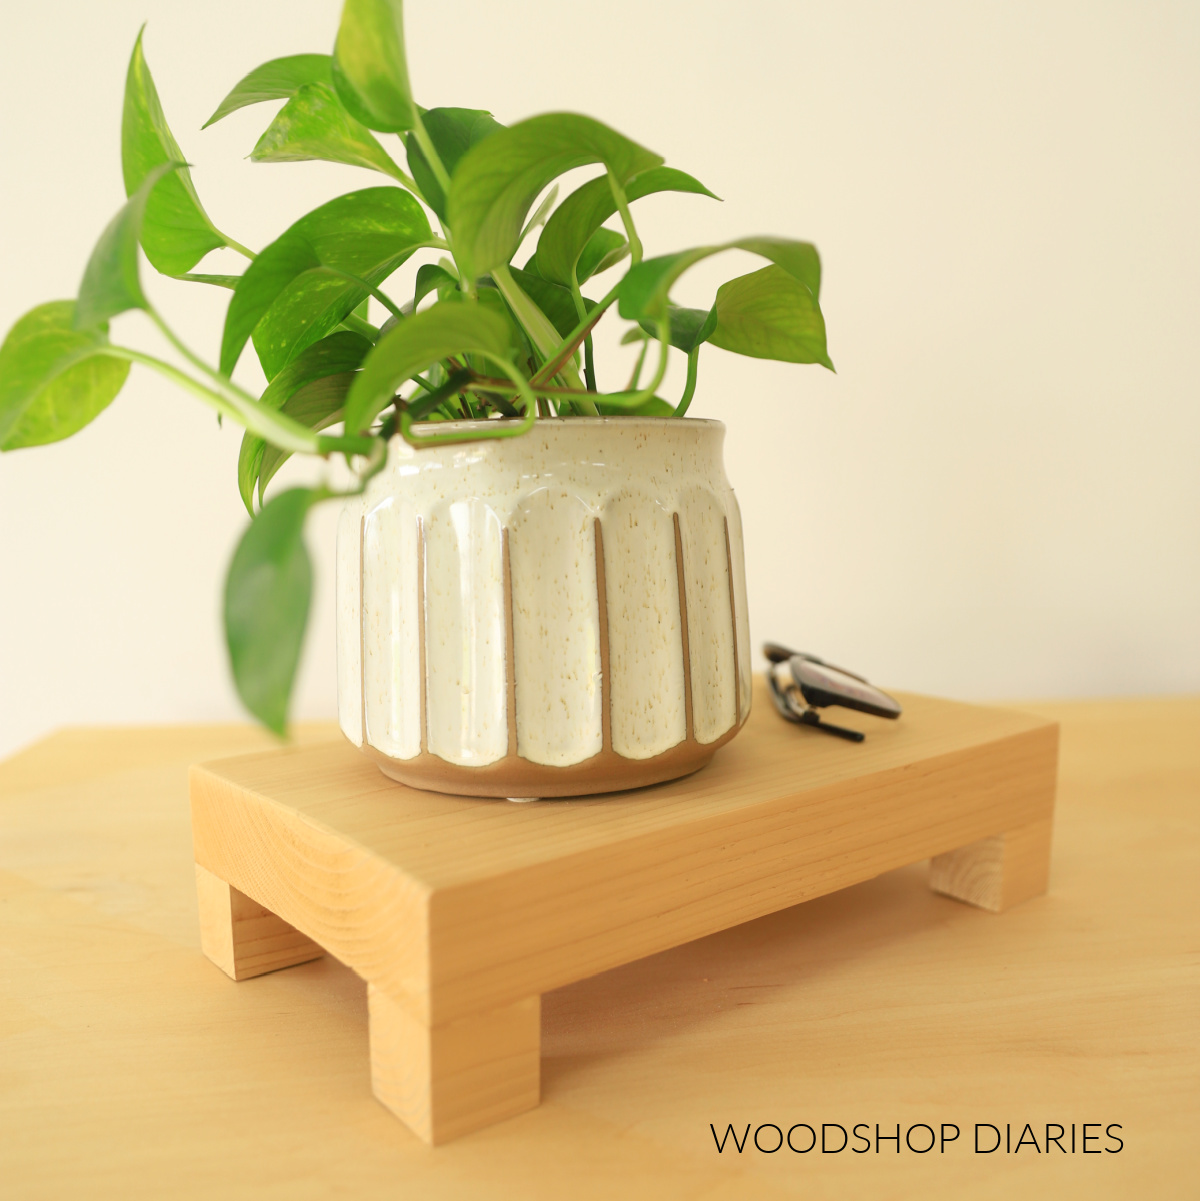
Once dry, I stained this cedar riser with Minwax Water Based Stain in Autumn Wheat to finish it.
Customization Ideas:
You can customize your riser several different ways, but one option is to use different items for the feet.
Swap the 2x2s for 1x2s to make it shorter, cut your 2x2s longer and turn them on end to make your riser taller. Or, use wooden balls, furniture feet, wooden dowels, or drawer knobs in place of plain boards for the feet.
RELATED: How to make a wooden riser with wood balls for feet
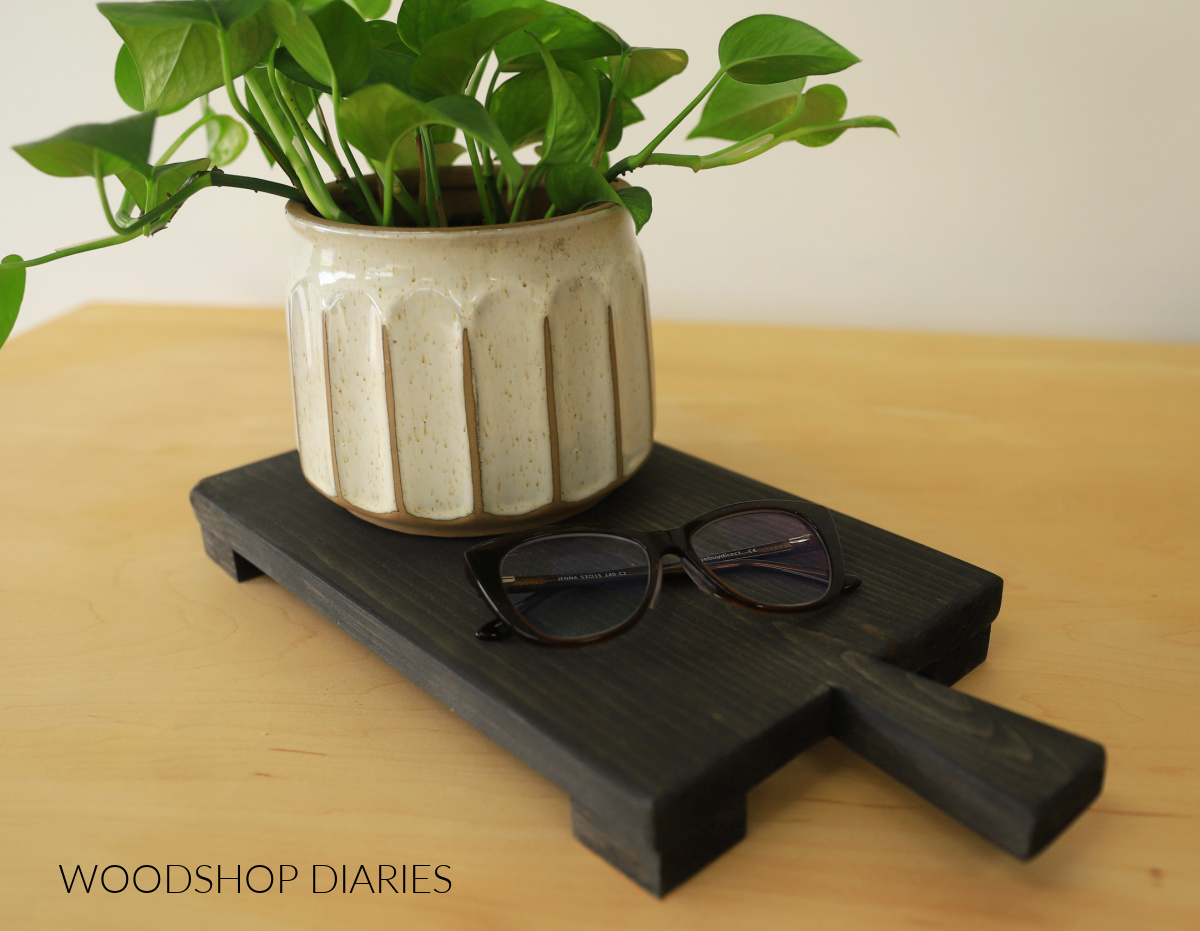
Another option to customize is to cut a shape or a handle in the riser top. For example, I made a second riser using this method out of scrap pine 1×8. Before gluing on the feet, I used a jig saw to cut a handle shape out of one end of the 1×8 board.
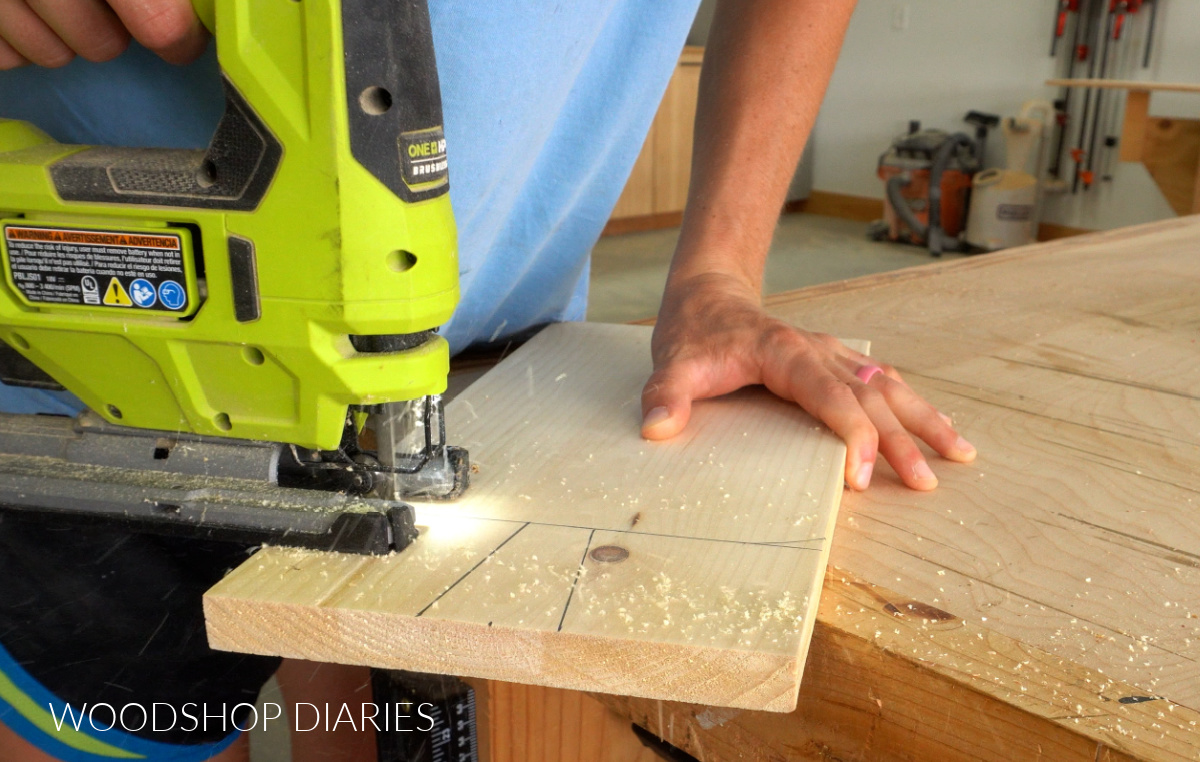
This is very similar to the handle I cut on these scrap wood serving boards.
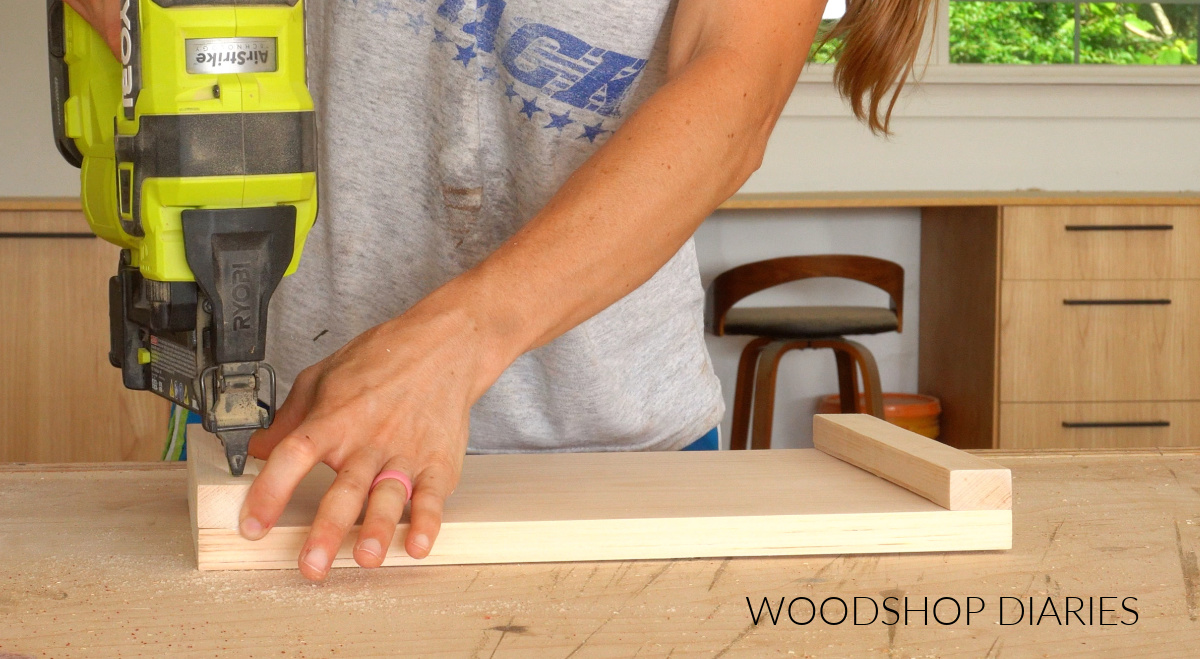
Once the shape was cut, I cut four pieces of scrap 1×2 to glue and nail onto the bottom for the feet.
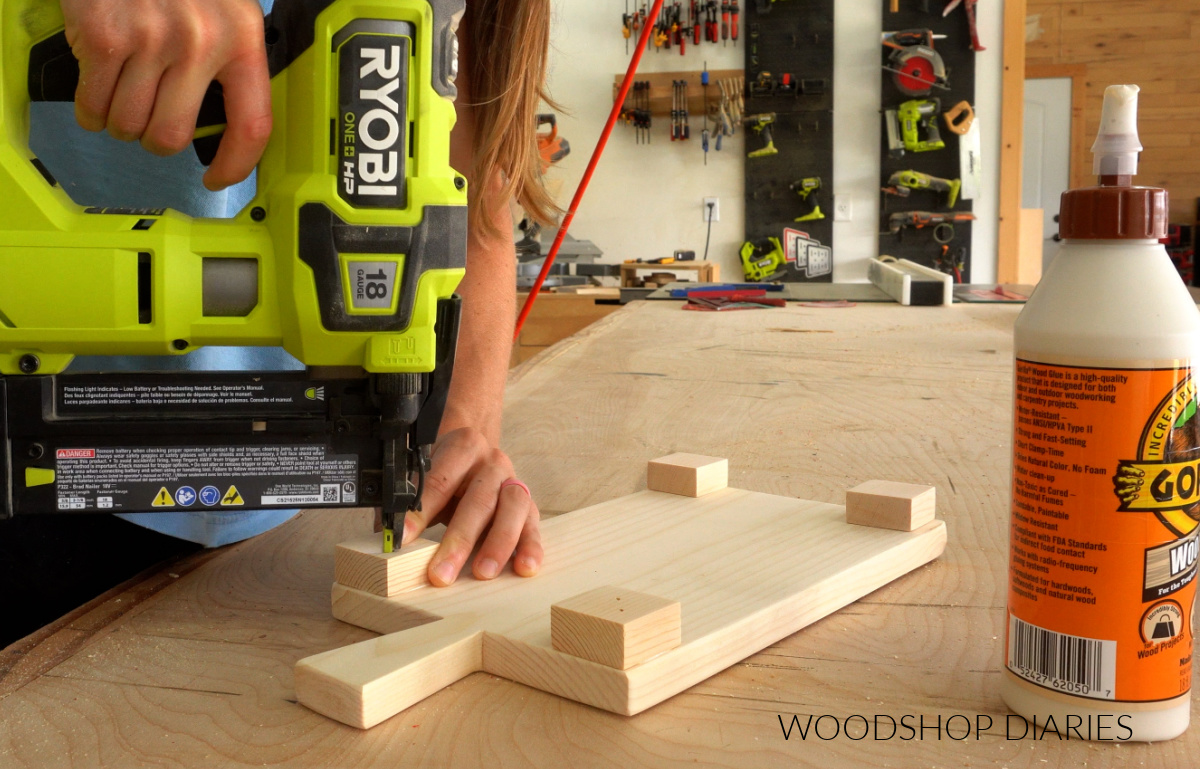
I stained this one in Minwax Water Based Wood Stain in Black. The handle gives this version a little more character.
So feel feet to get creative with this method. Essentially it’s just gluing some sort of feet onto a board to create a riser.
Method 2: Making a Wooden Riser with Waterfall Edges
This method involves cutting a board so that the grain creates a “waterfall” edge on each side.
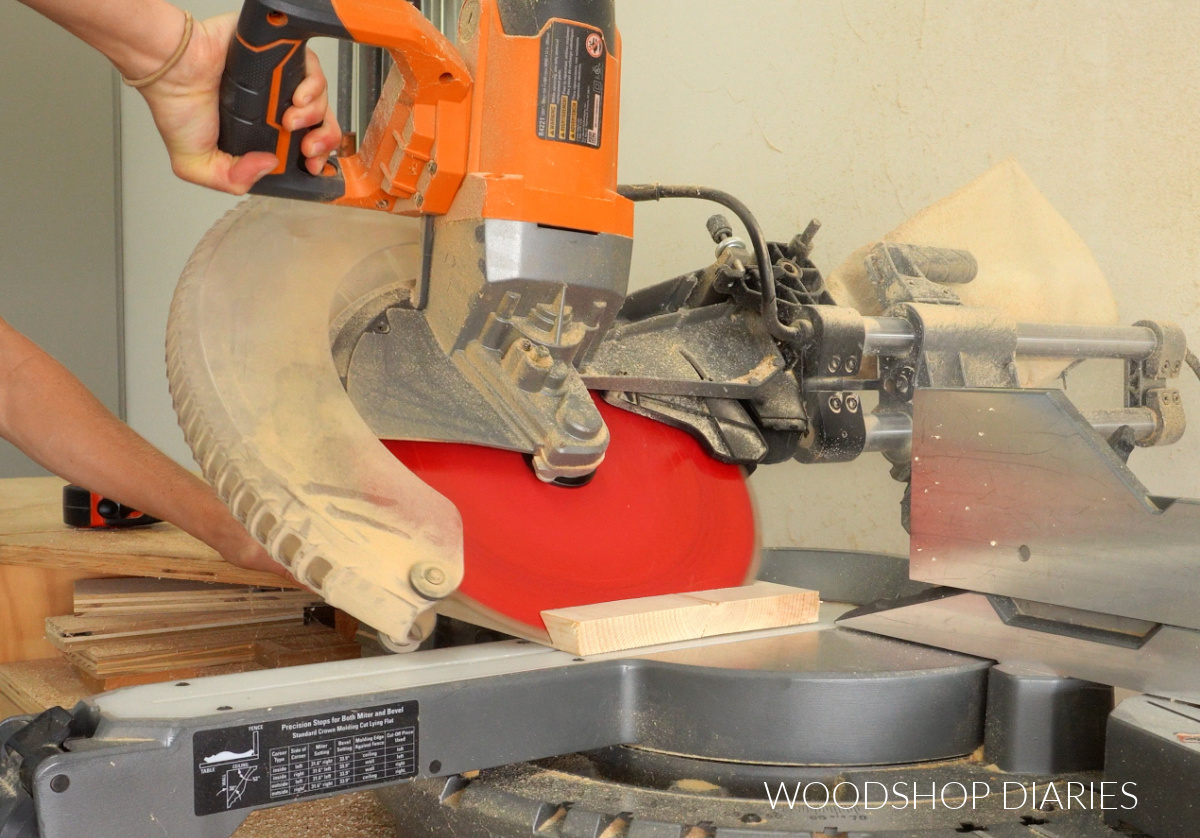
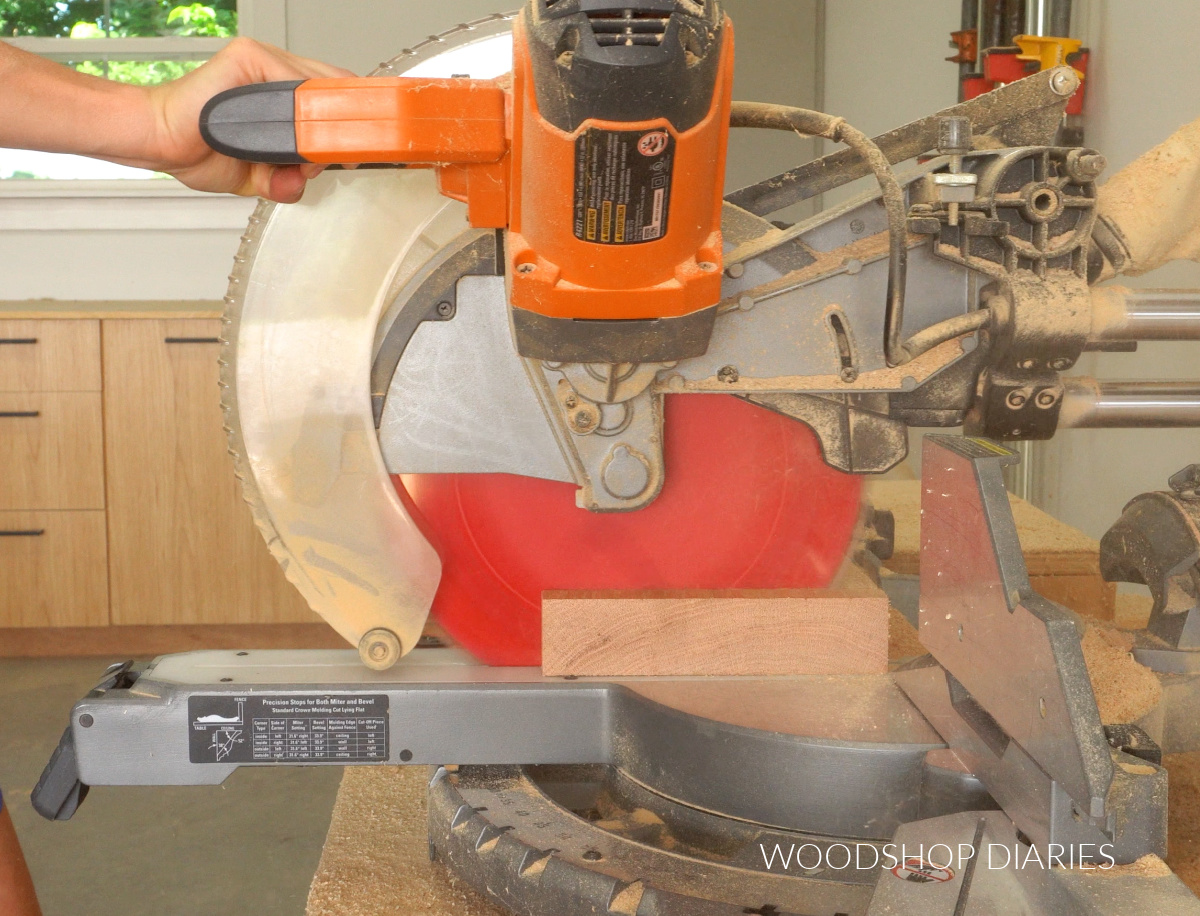
To make this type of riser, I adjusted my miter saw’s bevel angle to 45 degrees. Then I cut a piece off one end of a scrap 1×8 board. The length of this piece doesn’t have to be a specific dimension.
RELATED: How to cut angles on a miter saw
Cut a longer piece for a taller riser and a shorter piece for a shorter riser. I cut mine about 1 ½″ long.
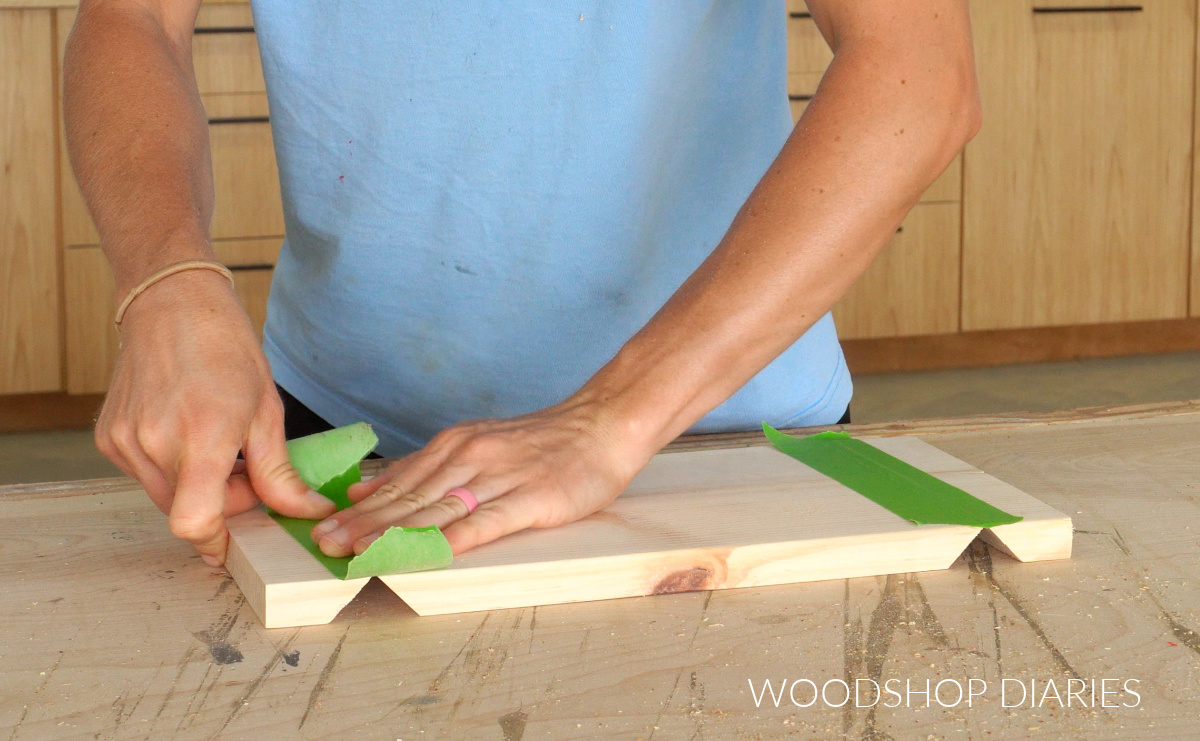
Once a piece was cut off one end, I flipped the board over to trim the beveled end the other direction. In order to have continuous grain, I basically needed to “notch” a triangle portion out of the bottom of the board (see image below).
Then, I repeated on the other end of the board so that I had two end pieces the same size and a center (top) board.
I placed these on my workbench like shown in the image below and used some painters tape to tape along the seams.
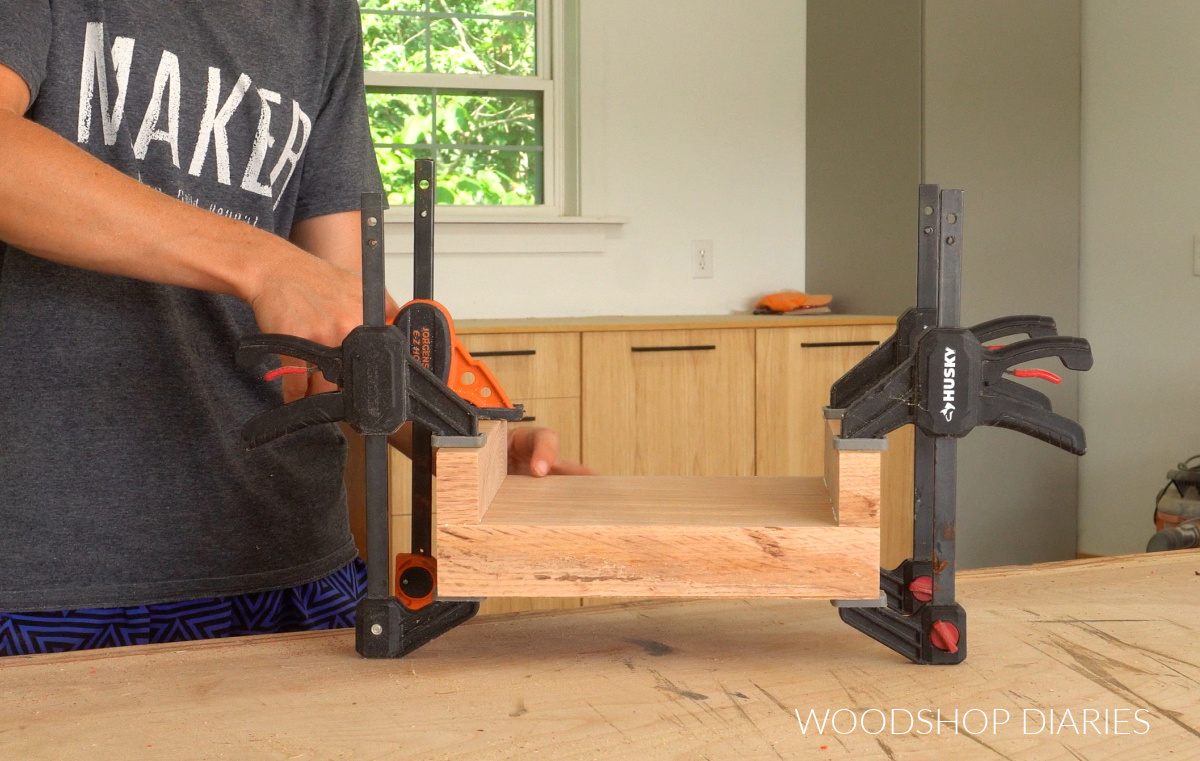
Then, I flipped this over and applied wood glue to the beveled edges.
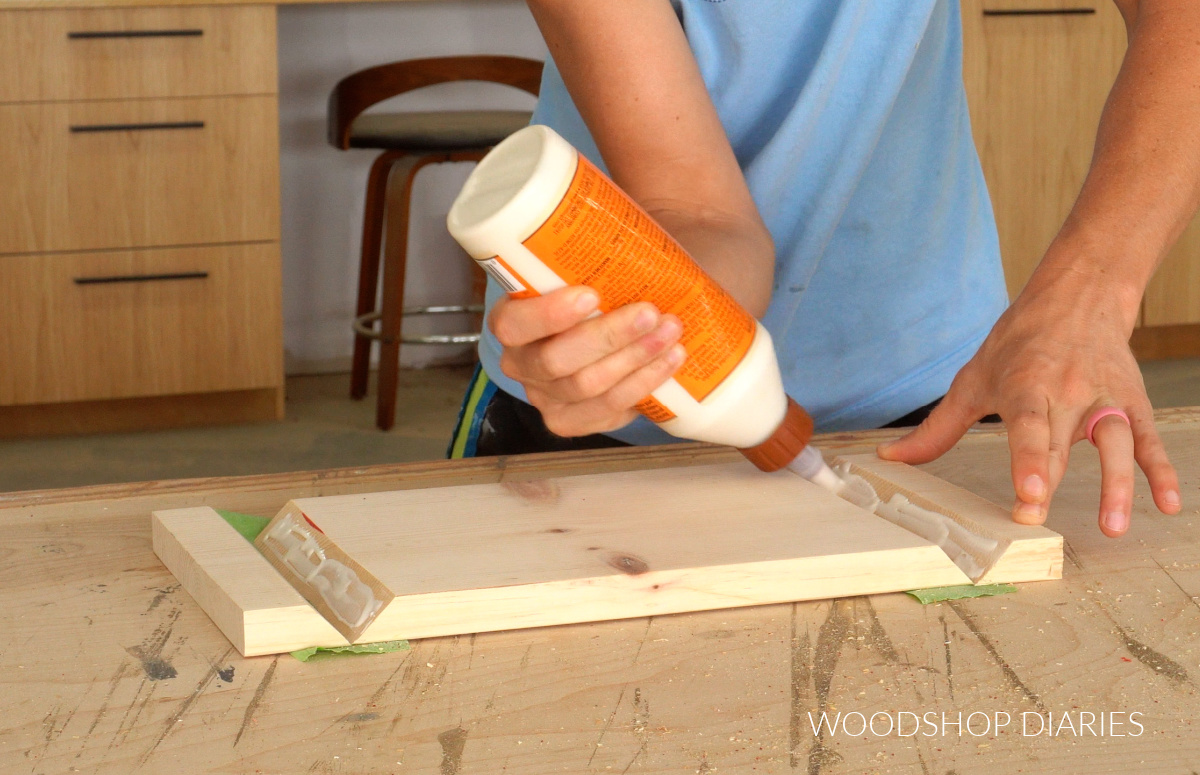
Then, I could fold up both ends and clamp to tighten the joints. I used an old rag to wipe away as much glue squeeze out as I could, especially on the inside corners, then allowed to dry.
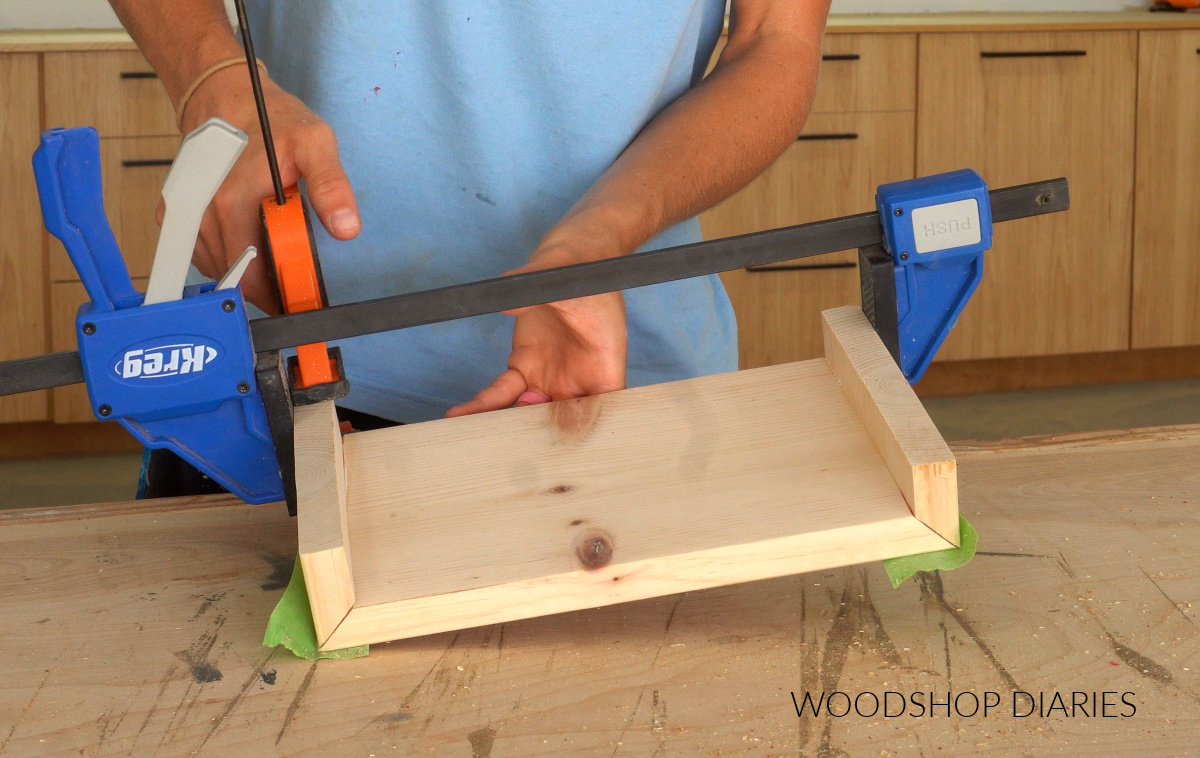
After the glue was dry, I removed the clamps and the tape and sanded the joints smooth before applying a finish (Minwax Water Based Wood Stain in Pecan).
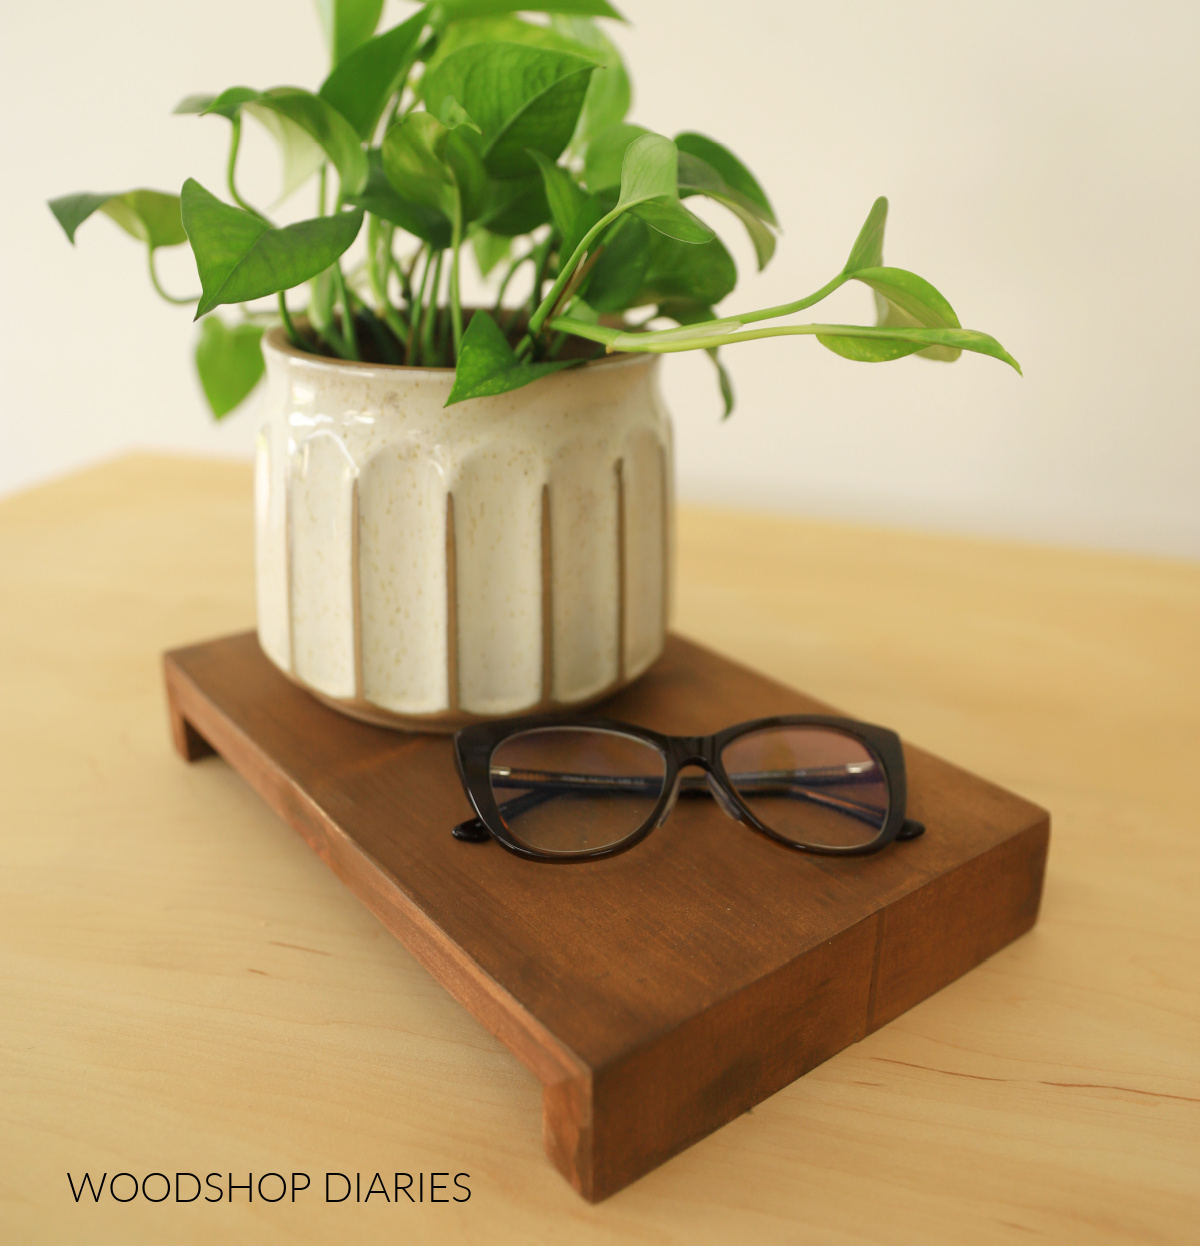
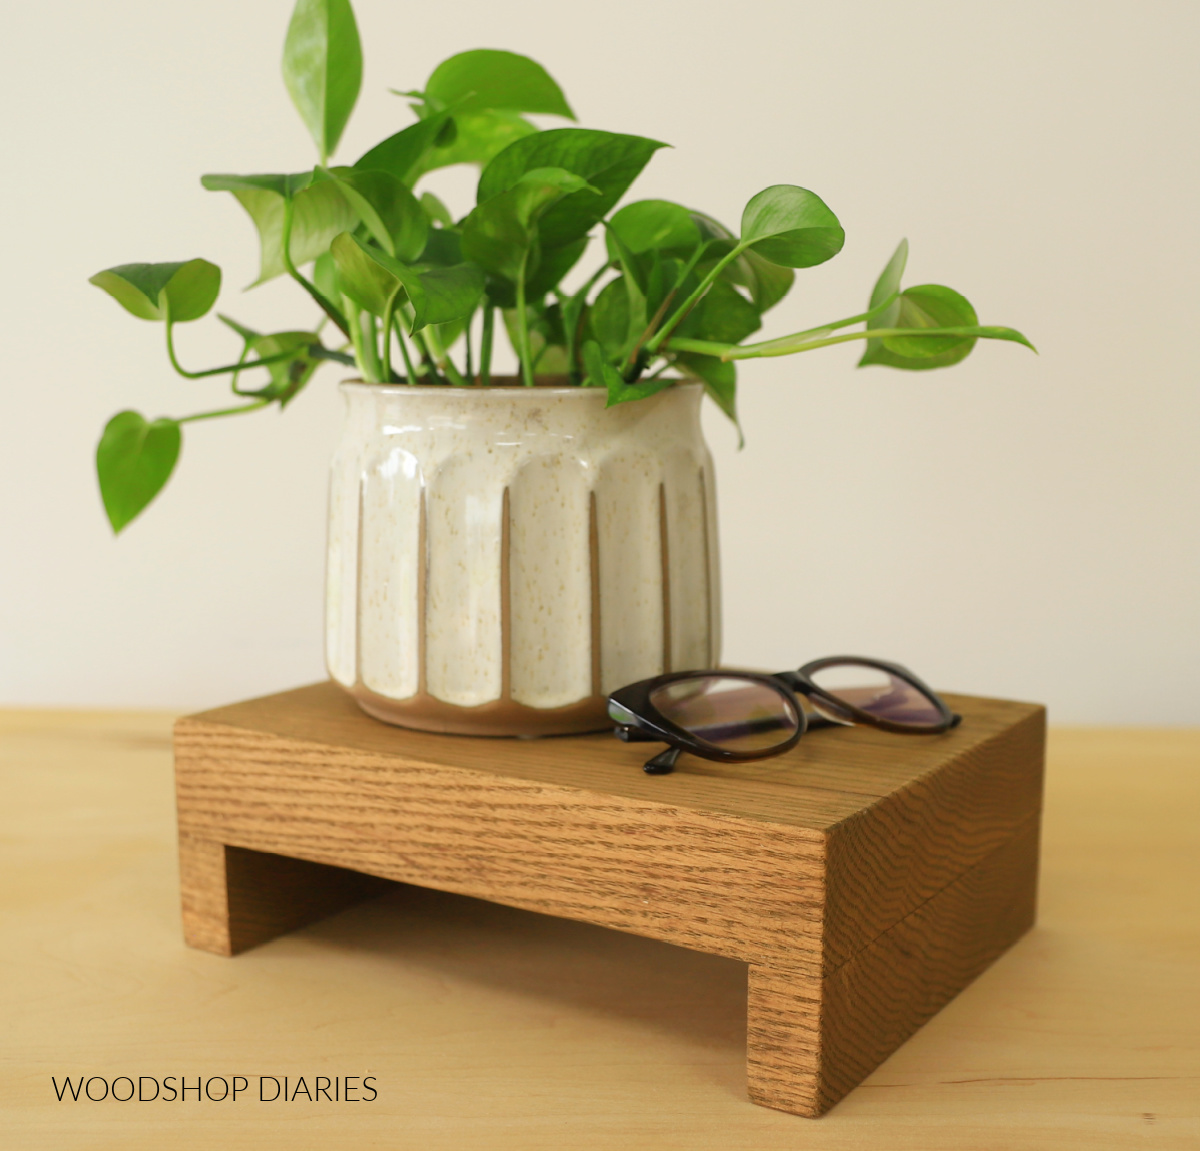
This method of making a riser is especially neat if you have a scrap board with a unique grain pattern so you can see it wrapped around all sides–like this version made from a piece of hickory.

Method 3: Making a DIY Wooden Riser on Runners
This method of making a scrap wood riser is similar to method 1 above, but this time, instead of cutting feet from a separate board, I trimmed “runners” from the same board to just glue along the bottom.
For example, I had a thick piece of scrap red oak lumber, and I trimmed 1″ long strips off each end of the board.
Then, I simply glued and clamped these on the bottom of the board–one on each end. With this method, it almost looks like you cut out the bottom middle section of a really thick board.
The wood grain lines up along the front and along the edges, so it blends together really well.
After the glue dried, and it was stained (Minwax Water Based Wood Stain in Driftwood), it kind of looks like an extra chunky wood block.
An alternative option is, if you have a wider board to work with, to rip strips off the edges of the board instead of the ends.
Then, trim these strips to fit and glue and brad nail them onto the bottom of the board as runners.
With this option, the wood grain doesn’t match up (edge grain and end grain aren’t all on the same edges), but it still creates a useful riser and is a great way to use up a piece of wider scrap wood.

Looking for More Scrap Wood DIYs?
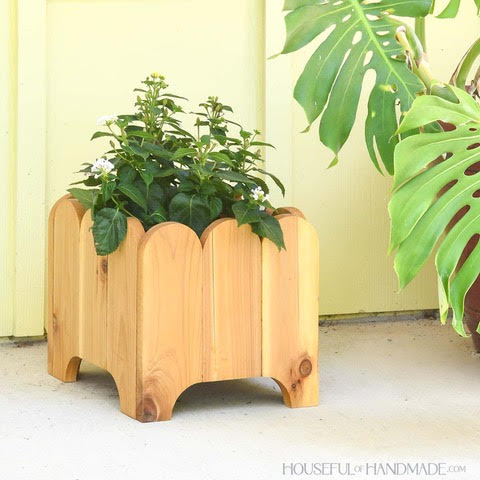
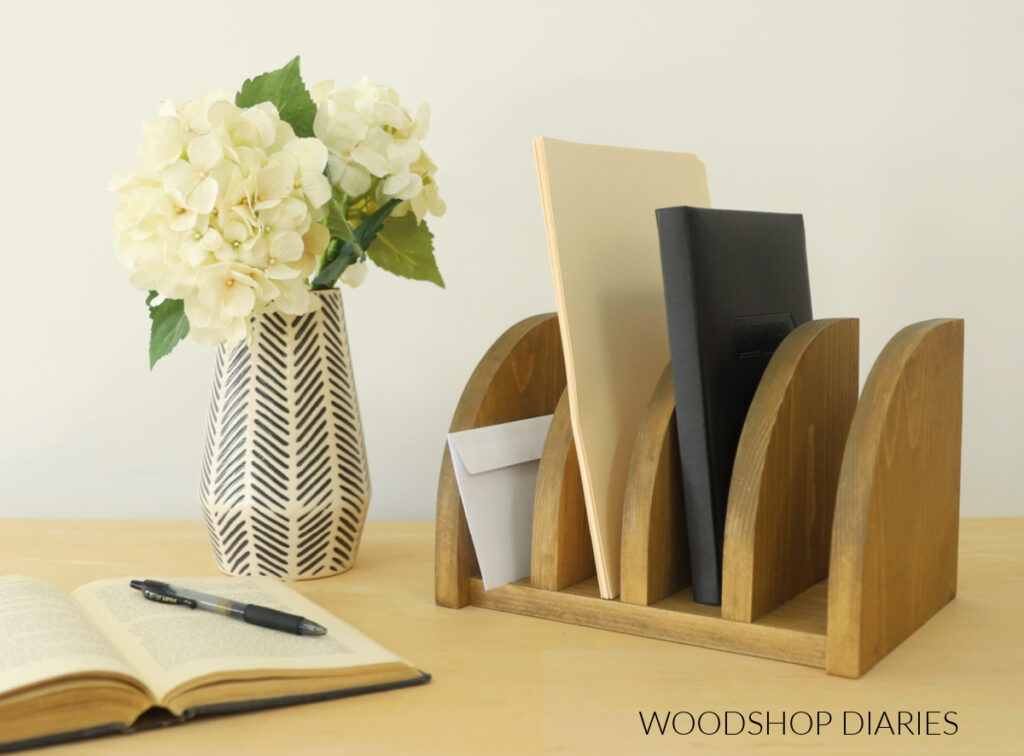
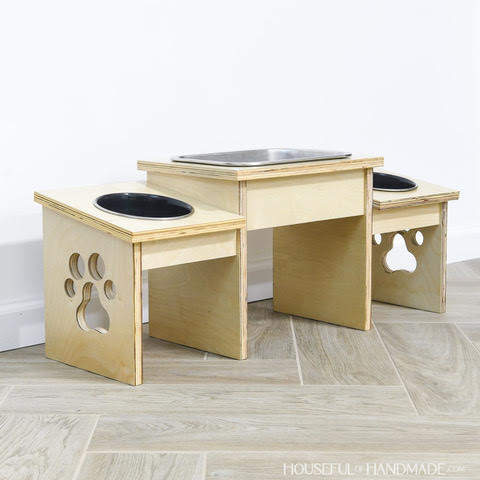
Can’t get enough scrap wood projects?? I’m teaming up with my friend, Kati, from Houseful of Handmade all month long for “Scrap Wood Summer!”
Check out all the projects in the series below. Click on the images to learn how to make each one!

This is our fourth year hosting Scrap Wood Summer and I enjoy it a little more each time. But, if you’ve never heard of it before, that’s okay!
Essentially, we each share a new scrap wood project every Tuesday throughout the month of August. So by the end of the month, you’ve got 8 new project ideas to try.
So stay tuned to see all the other fun ideas we are so excited to share with you!
Can’t wait? Check out previous Scrap Wood Summer projects plus other scrap wood ideas here.
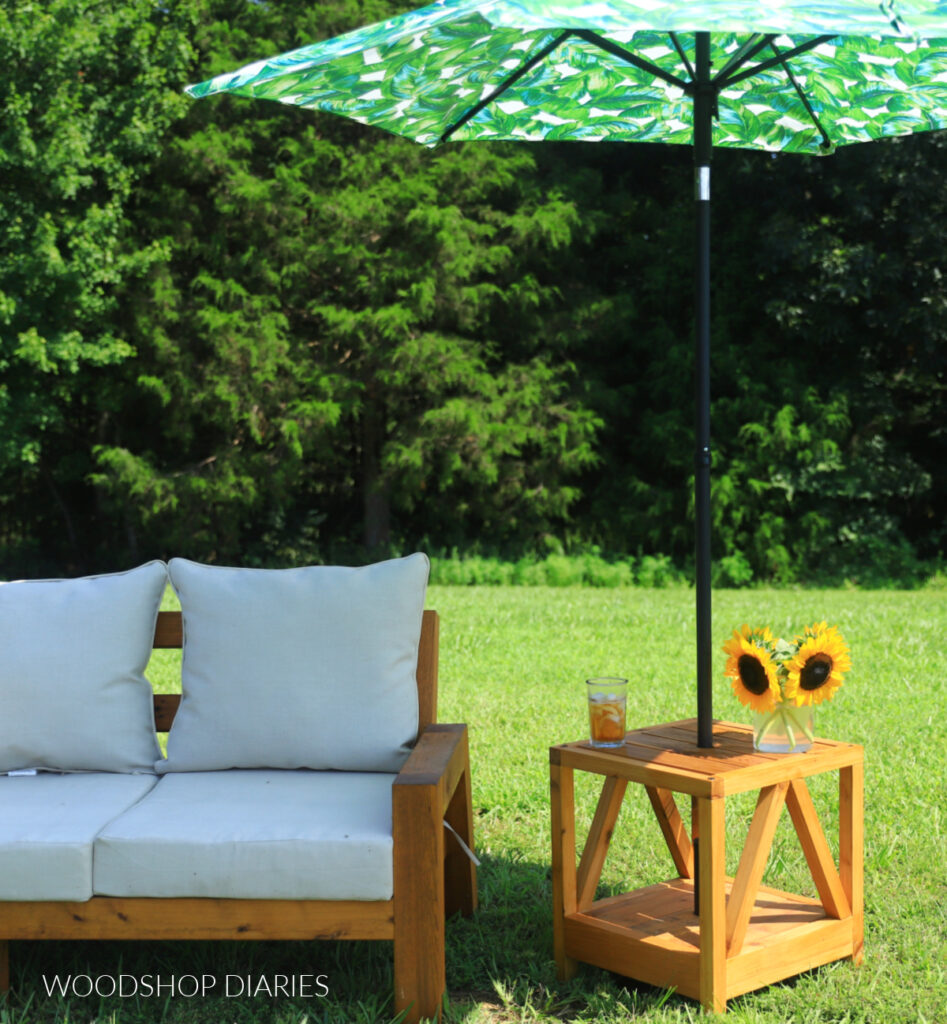
If you’d like to save this DIY umbrella stand table for later, be sure to pin it or share to your favorite social channel!
Until next time, friends, happy building!