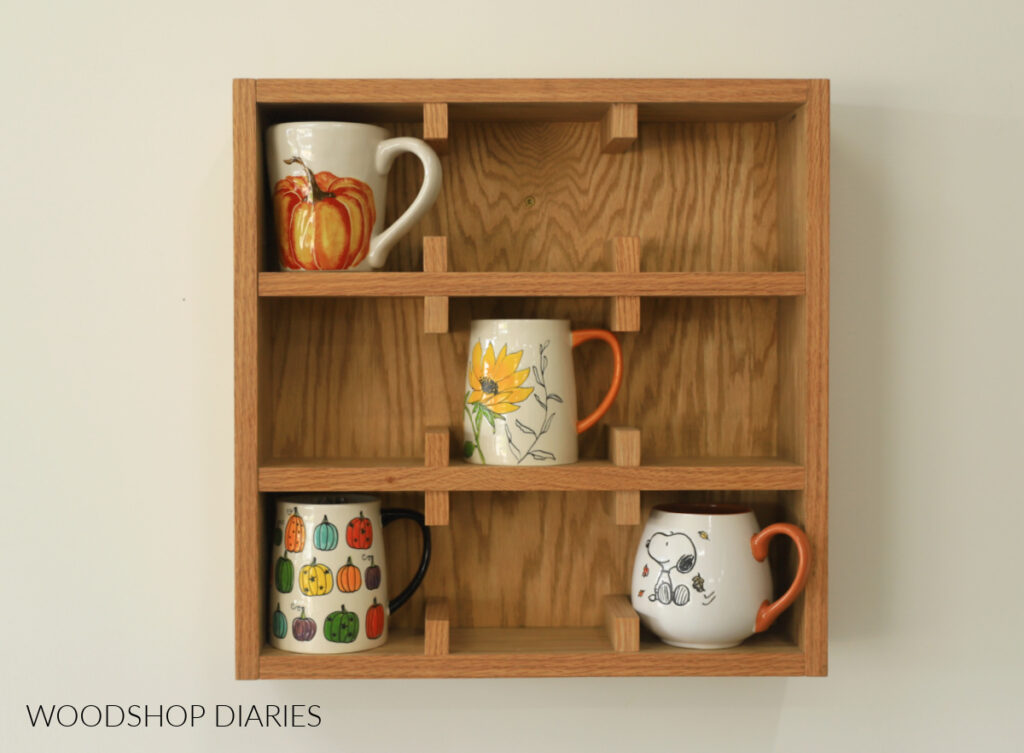
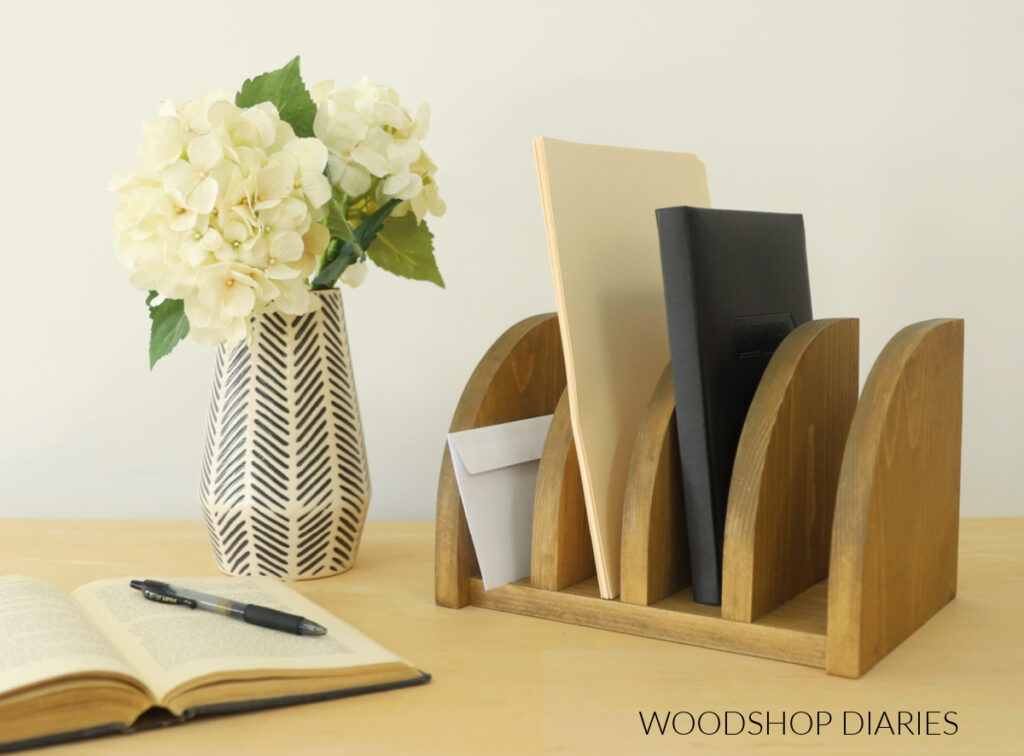
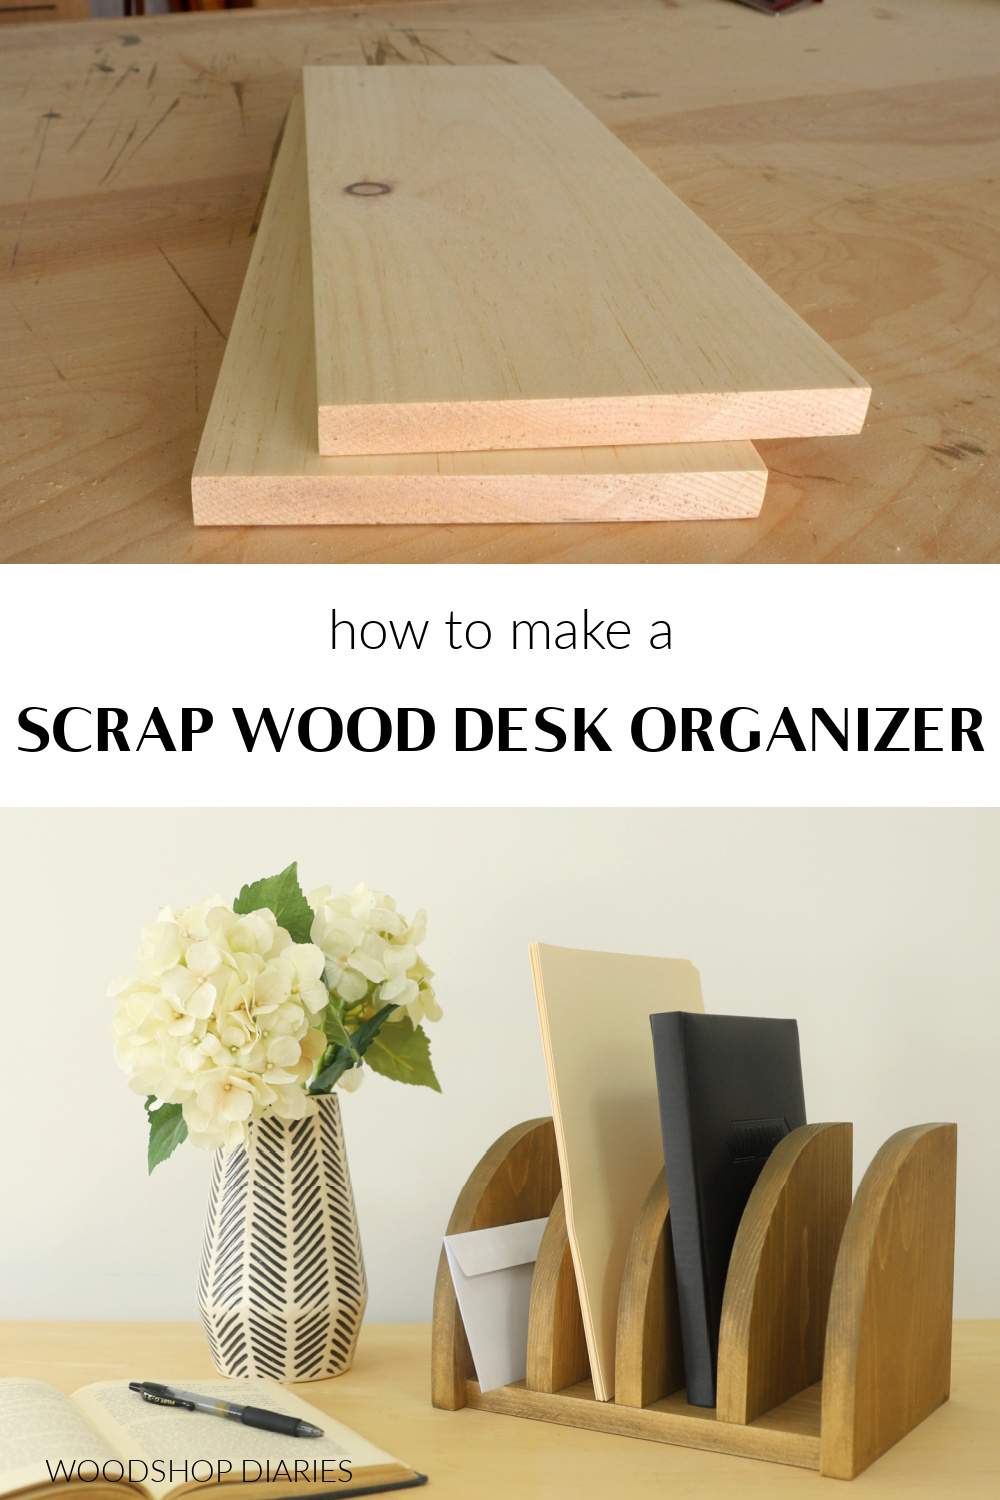
In this post, I’m sharing how to build a simple desk organizer from scrap wood.
I’ve been meaning to make one of these for a long time to help with the piles of mail, files, notes, and paperwork covering up my desk. (Please tell me I’m not the only one with that problem??)
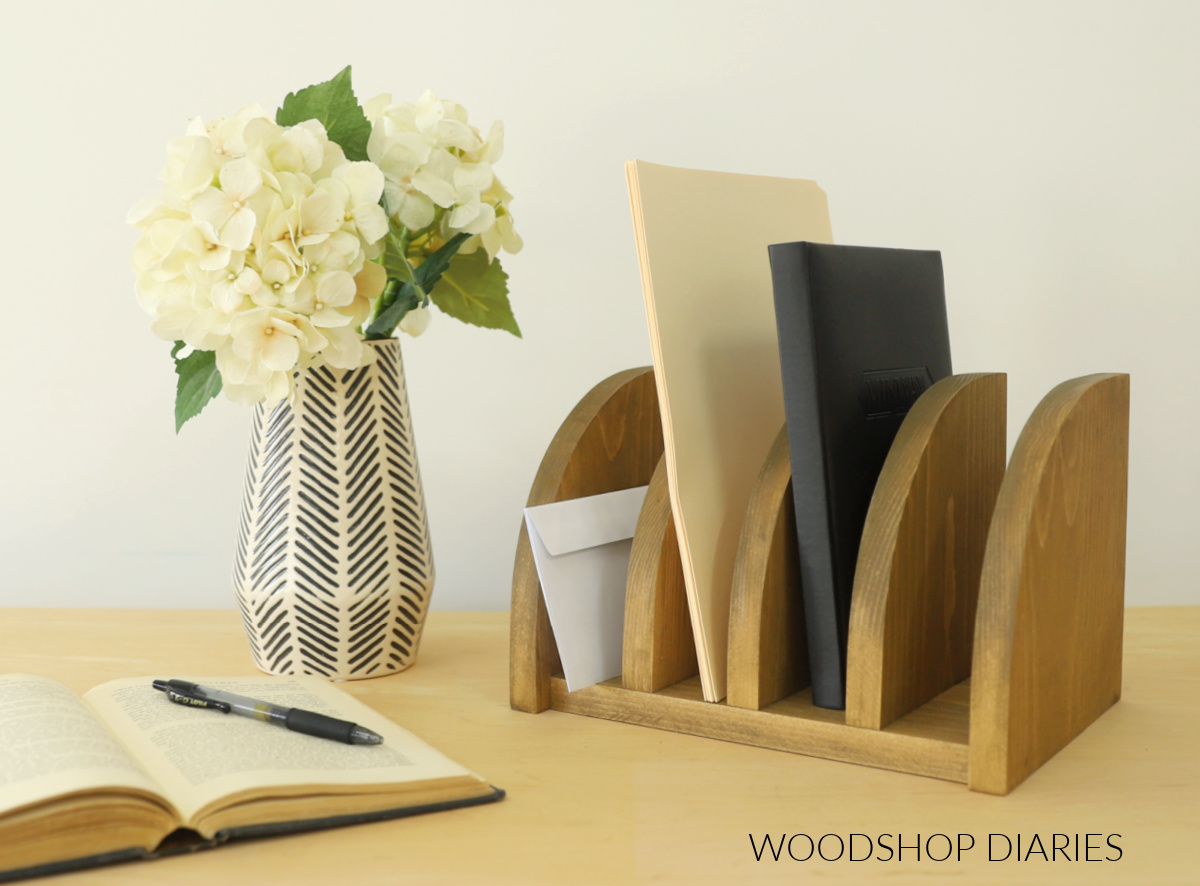
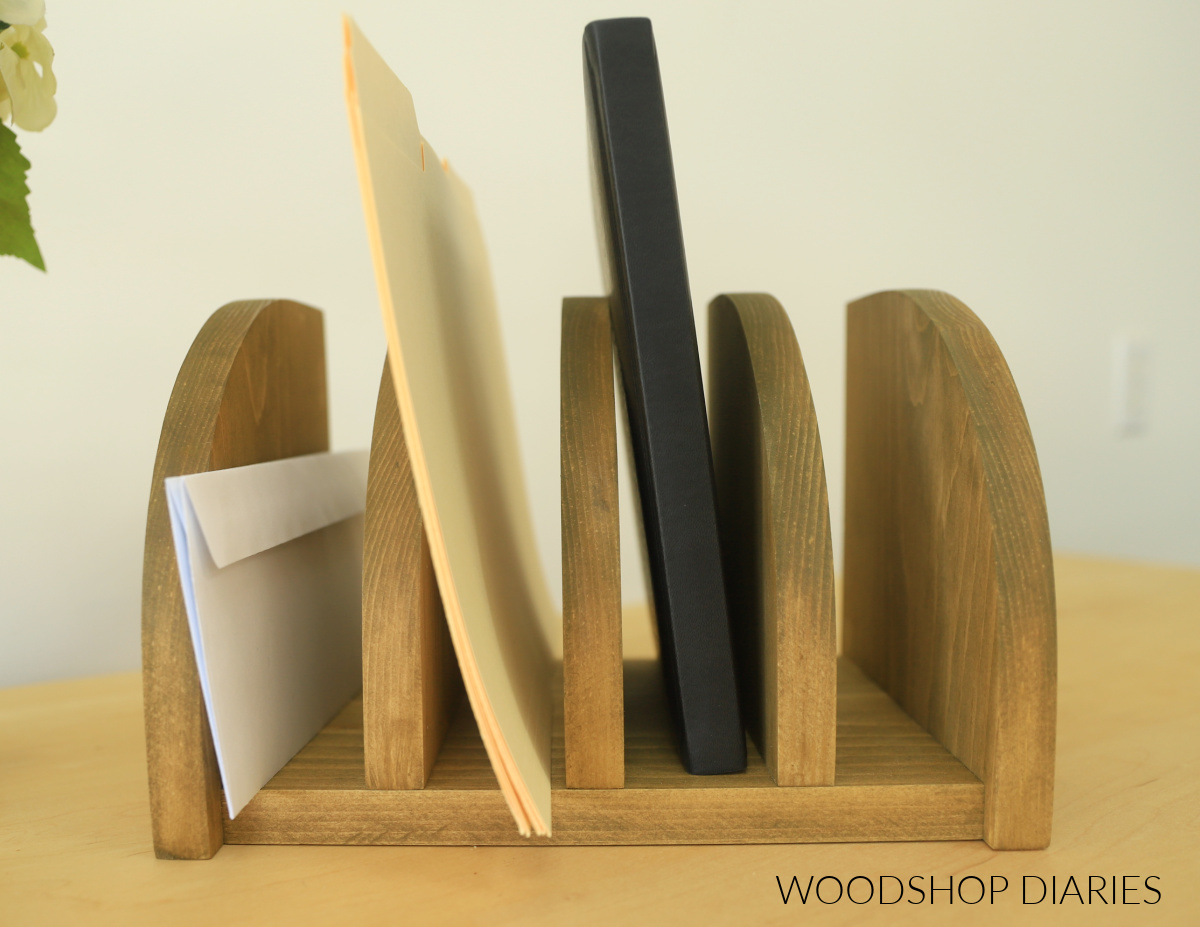
This simple solution allows me to keep my notes and important papers handy and accessible, but lets me to categorize them and store them “up” vs “out” so they take up less space on my desk.
You could also use this organizer as storage for books, cutting boards, and more.
The simplest projects are sometimes the most versatile. So if you’re in need of a little organization help, I’m sharing how to build your own below.
*This post contains affiliate links. See website policies.
What to consider before building
Building this simple desk organizer is a quick project that you can likely complete in less than an hour.
You only need a few small pieces of wood, so I highly recommend digging around in your scrap pile to see what you can use before buying any new material.
For this project, I used some scrap 1x construction lumber. I had a scrap board that was 7 ½″ wide and another board that was about 8″ wide. But these dimensions don’t have to be specific.
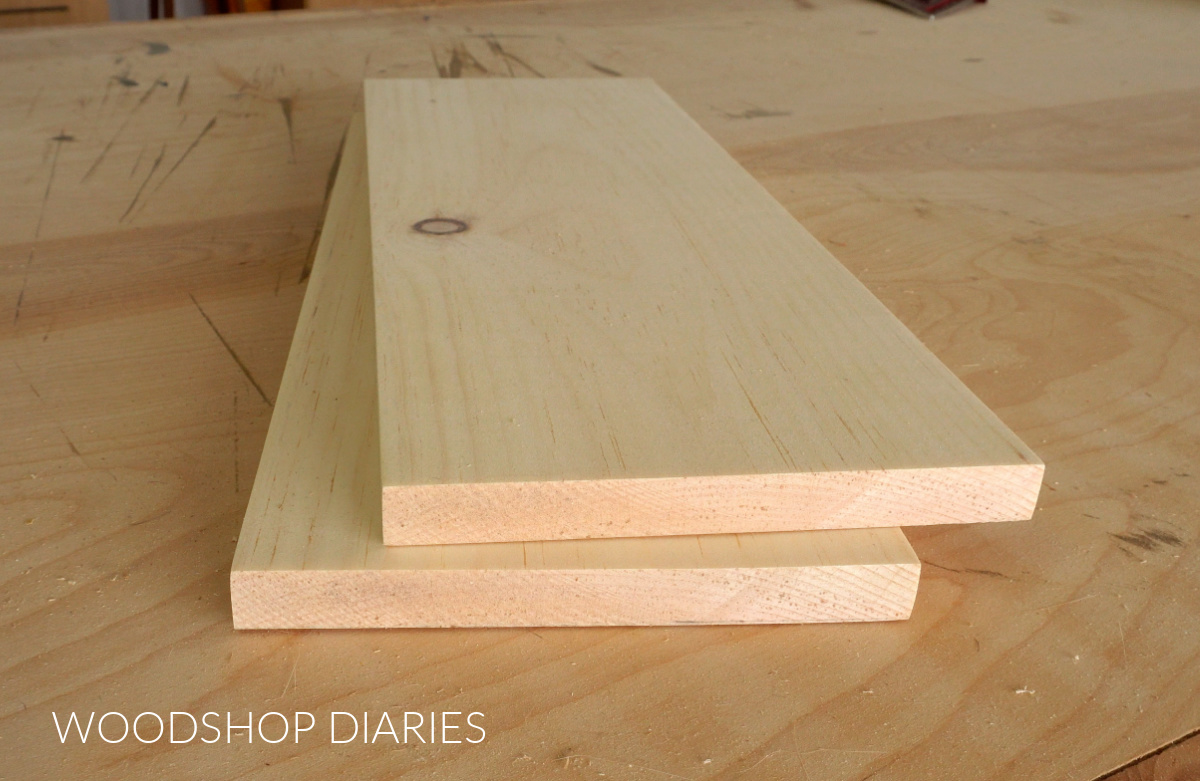
A 1×6, 1×8, 1×10 board or some ¾″ plywood could all work well, so feel free to use what you have on hand.
I used a combination of pocket hole screws and regular wood screws to assemble this organizer. But if you wanted to use wood glue and brad/finish nails instead, that could work fine, too. The pocket hole jig is totally optional.
Additionally, I used a miter saw to cut my pieces to size, then used a jig saw to cut the curves. But if you wanted to cut it all with a jig saw, you can. Or, if you didn’t want to cut the curves, then you don’t need a jig saw.
There are plenty of options in building this simple desk organizer, so, just like with the lumber, I encourage you to make do with whatever tools you have, too.
Are DIY projects your thing? Sign up for our newsletter for priority access to the latest projects and build plans!
How to Build a Scrap Wood Desk Organizer
If you prefer to watch, I’ve shared the build video with tons of tips, behind the scenes, and additional information here:
Love watching how-to videos? Subscribe to my YouTube channel for plenty more where that came from!
Tools & Materials
Tools:
- Miter saw (optional)
- Jig Saw
- Drill/Driver
- Pocket Hole Jig (optional)
Materials:
- Scrap 1×8 or 1×10 boards (or other as desired)
- 1 ¼″ pocket hole screws
- 2″ wood screws
Step 1: Cut Scrap Wood to Size
First, I used my miter saw to cut 6 pieces from my scrap boards. Like I mentioned earlier, these measurements don’t have to be exactly the same as mine, but my pieces ended up being:
- (1) Bottom: 7 ½″ x 9 ½″
- (2) Sides: 8″ x 7 ¾″
- (3) Dividers: 7 ½″ x 7″

One of my scrap boards happened to be 8″ wide and the other was 7 ½″. So I ended up cutting my sides from the 8″ wide board–that’s why they’re a bit wider than the rest of my pieces.
I could have trimmed them down to match so everything would be 7 ½″ wide, but I left them as is.
Step 2: Cut curve in Dividers & Sides
I wanted my sides and dividers to have a curve so I used a five gallon bucket to trace a curve on the top front corner of all three dividers and side pieces.
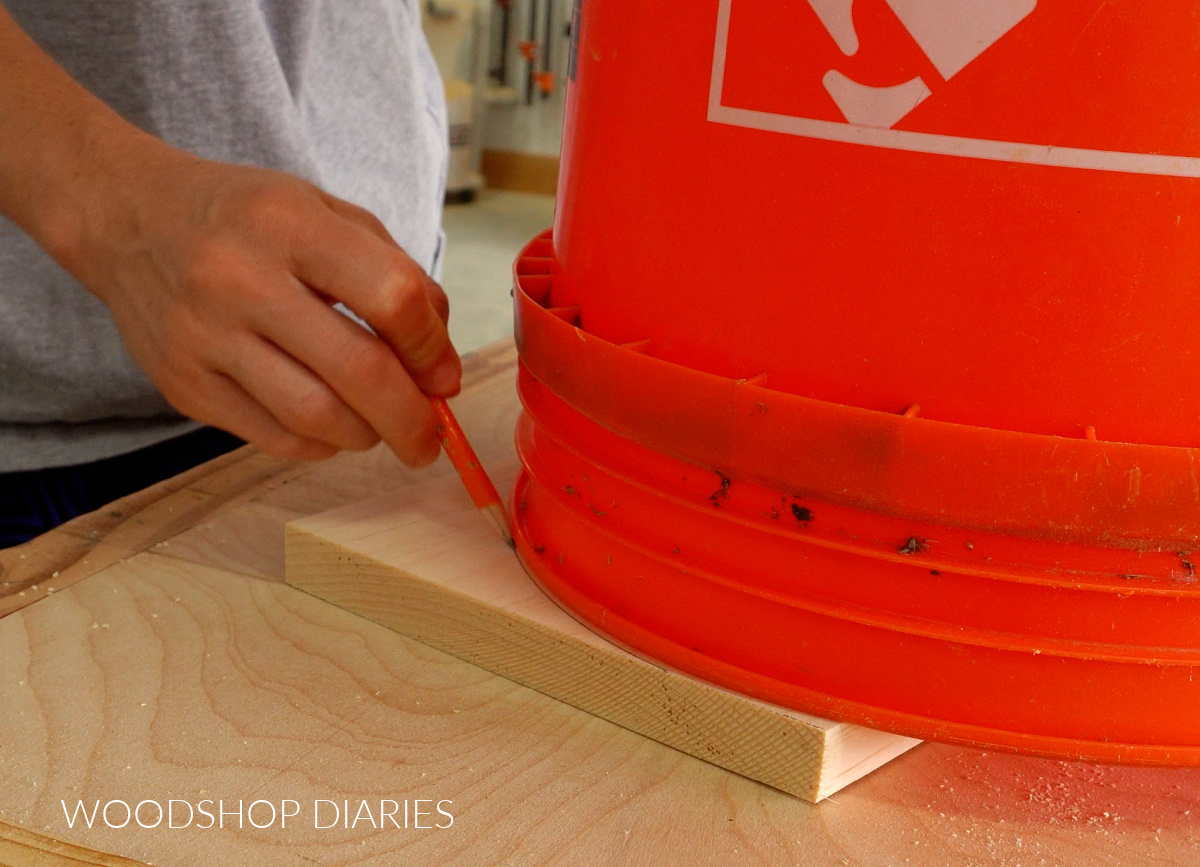
Once this was traced, I cut along the line with a jig saw and sanded them to smooth it out.
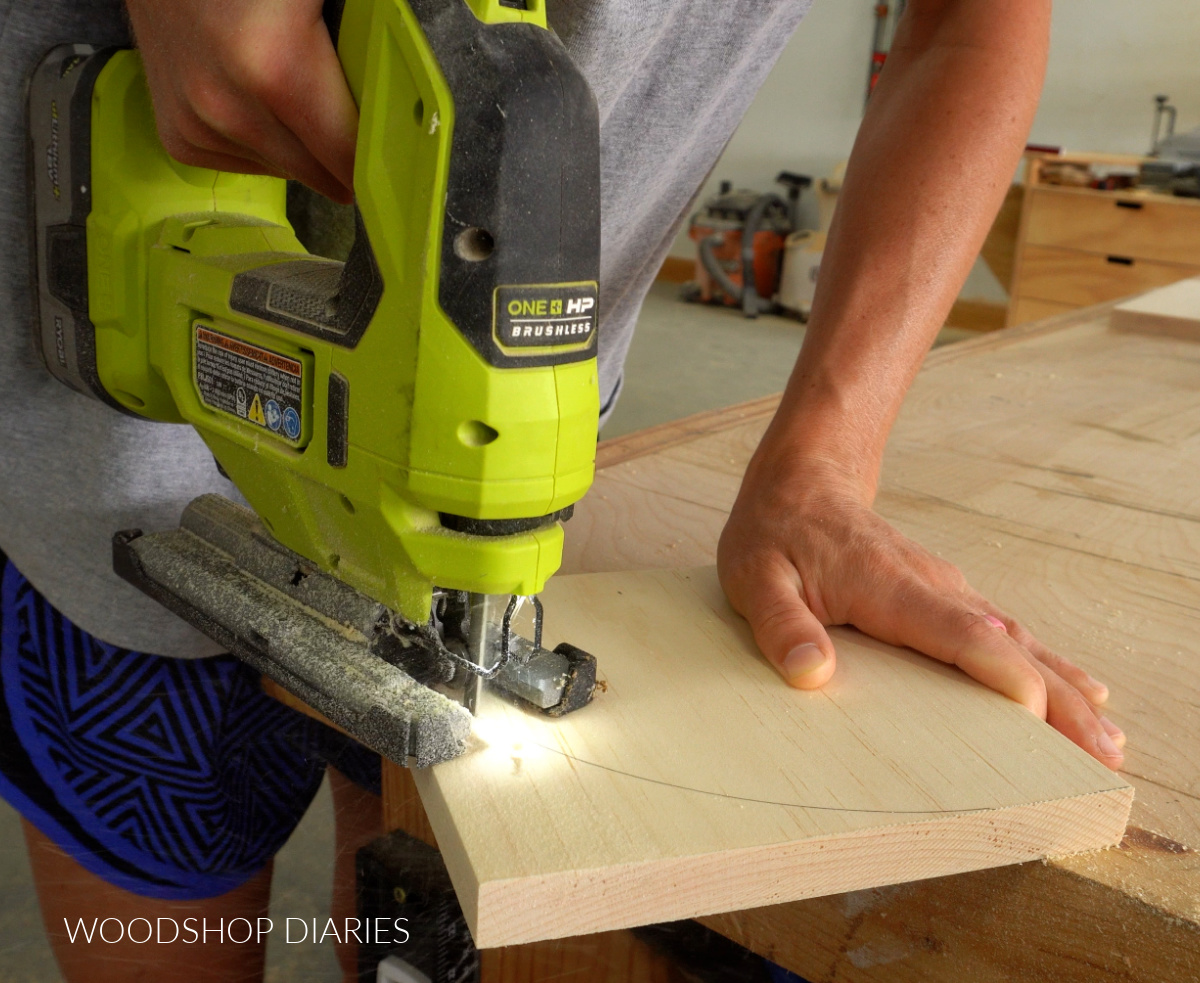
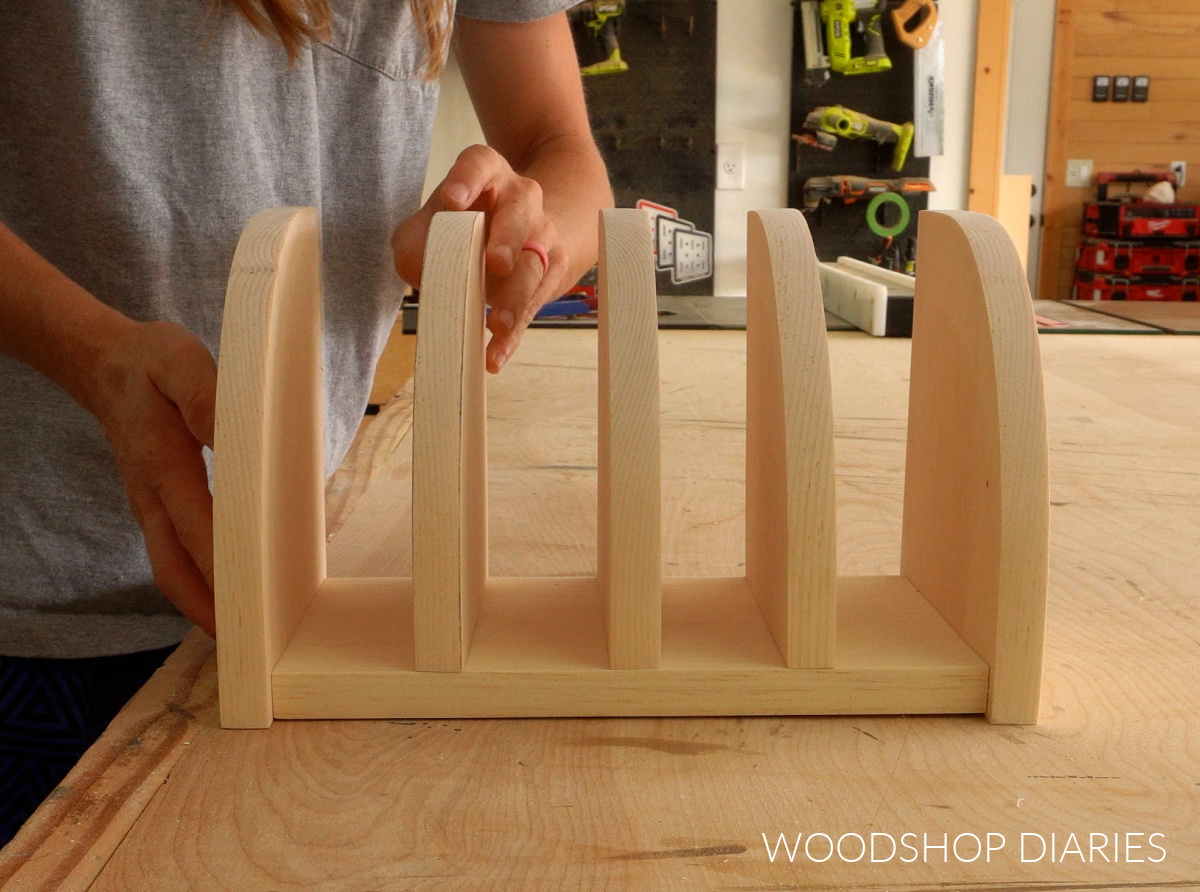
Then, I test fit my pieces together to make sure I liked the shape. If you want to modify the height or shape of any of the pieces to better fit your look or needs, now’s the time!
Step 3: Finish Organizer Pieces Separately
Before attaching anything together, I decided to go ahead and stain my pieces separately. I stained the bottom, sides and all three dividers with Minwax Water Based Wood Stain in Semi-Transparent Driftwood.
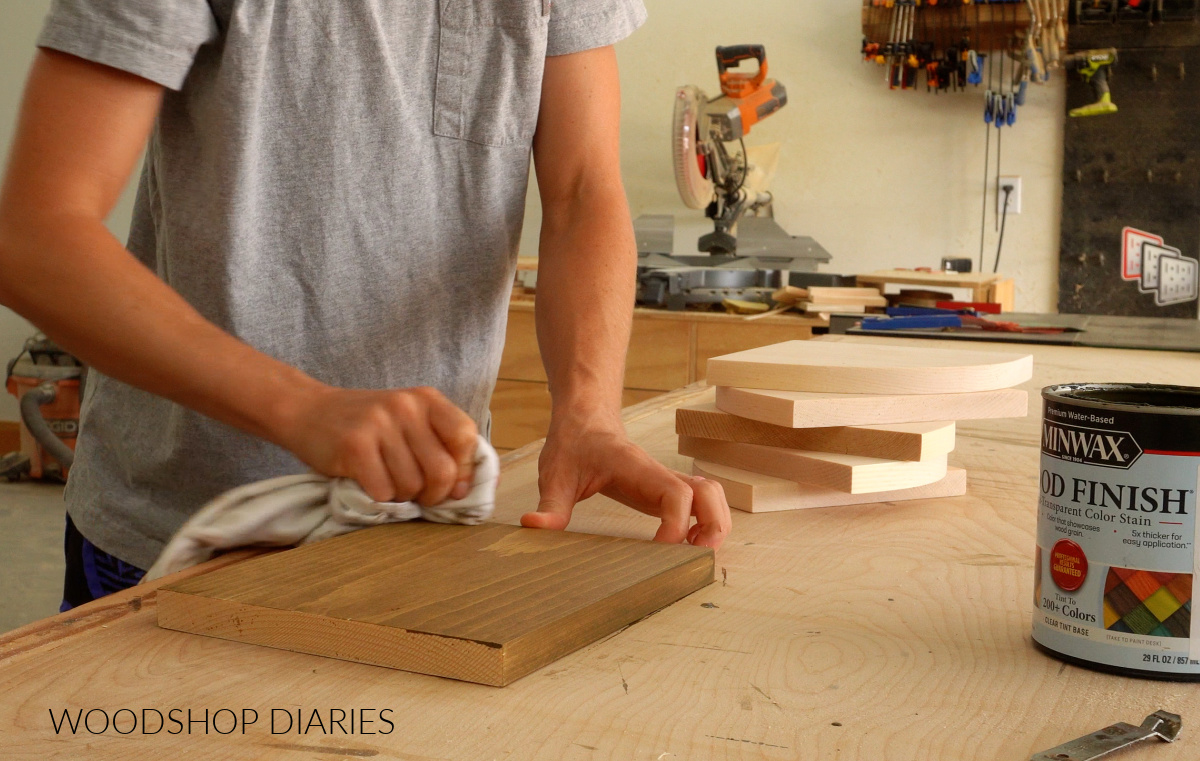
The great thing about water based stains is that they dry really fast, so I didn’t really have to wait after staining to start assembly.
RELATED: How to stain wood
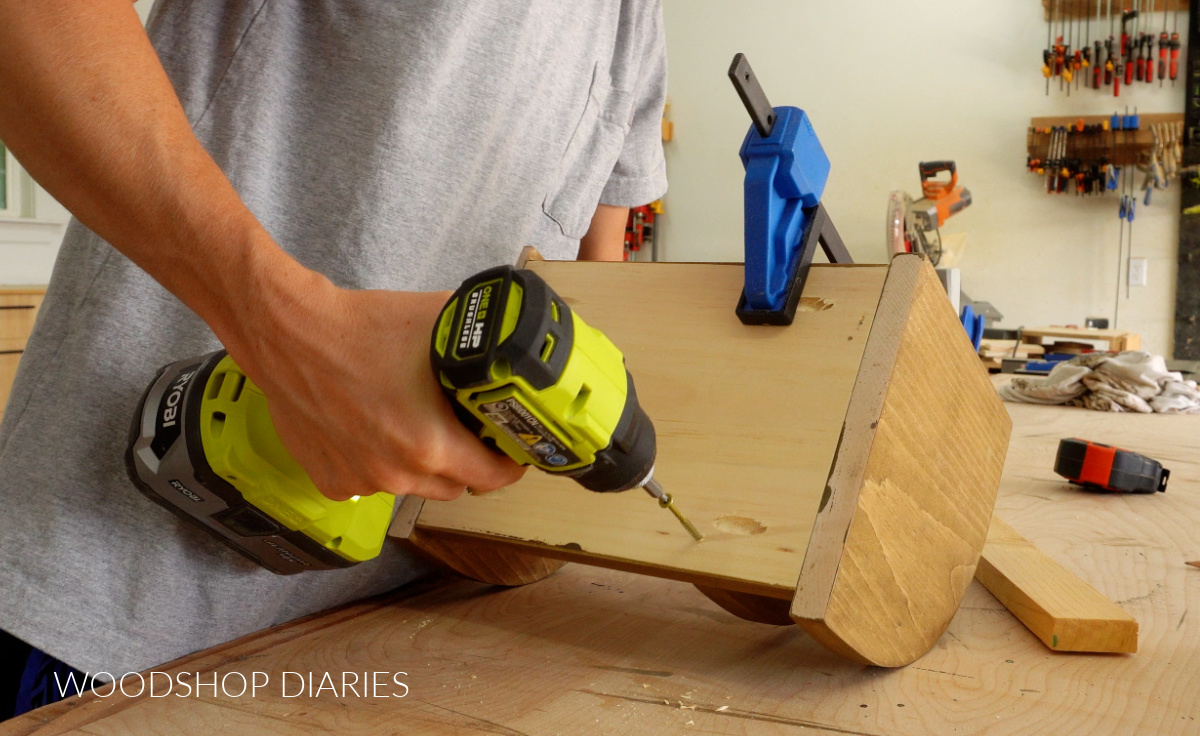
Step 4: Attach Bottom to Sides
I drilled pocket holes into the ends of the bottom piece and attached it between the sides with pocket holes and screws.
RELATED: How to use pocket holes

Since the sides were wider than the bottom piece, I just allowed them to overhang the front and back equal distance (about ¼″). You can see this in the image above.
TIP: If you wanted to use wood glue and brad nails or screws through the sides instead of pocket holes, that’s totally fine.
Step 5: Install Desk Organizer Dividers
Now that the sides were on, all that’s left is installing the dividers. I wanted them to be equally spaced, which ended up being about 2″ apart.
So I found a 2″ wide piece of scrap wood to help me keep my dividers spaced as I attached them (see image below). Once I clamped the divider into position, I removed the spacer block, flipped it over and drove 2″ screws through the bottom to secure it.
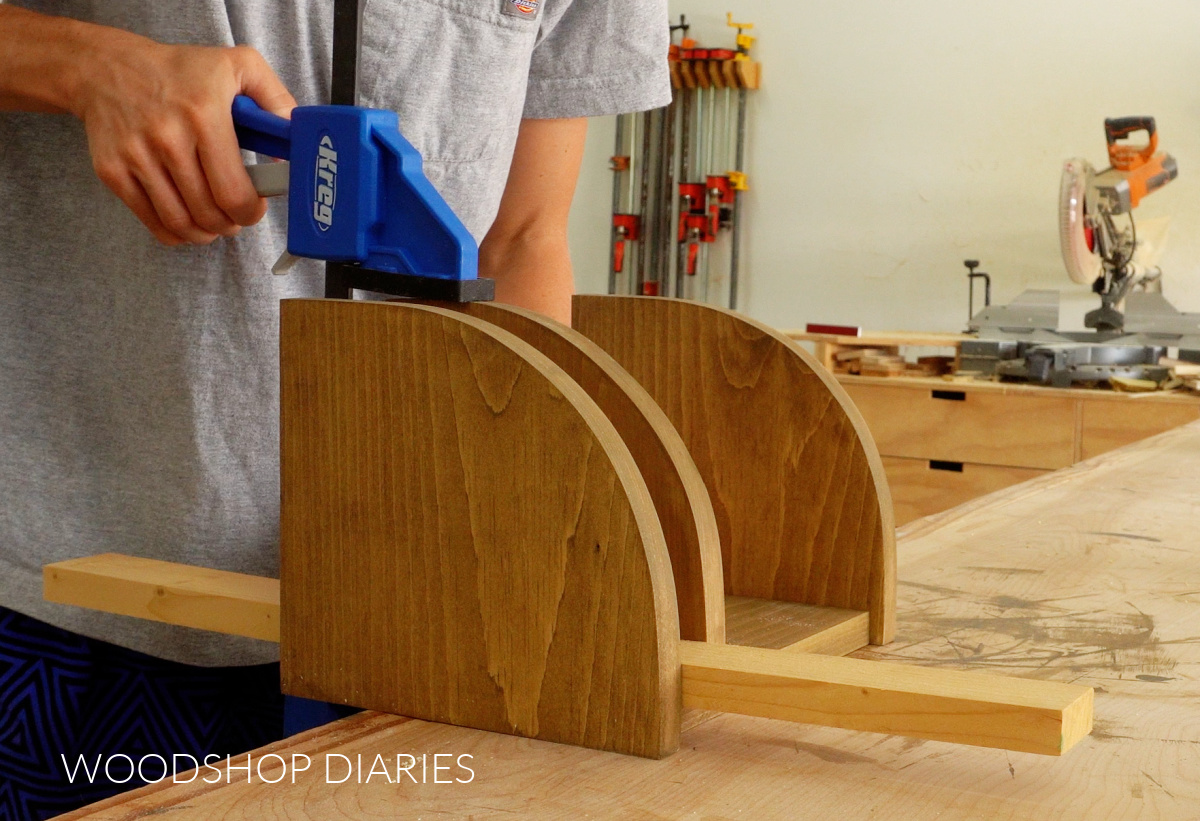
If you didn’t want to use screws, glue and brad nails could also work. Once one was attached, I used the spacer block to position the next one and repeated to add all three.
Then, it was ready for my desk! Each section is the perfect size for mail, a notebook, file folders and papers.
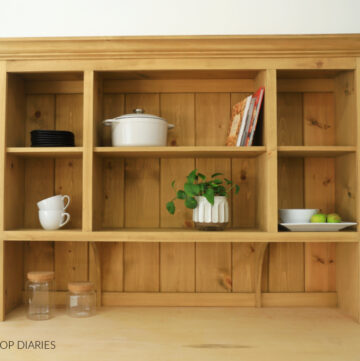
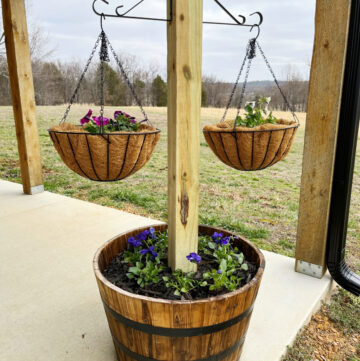
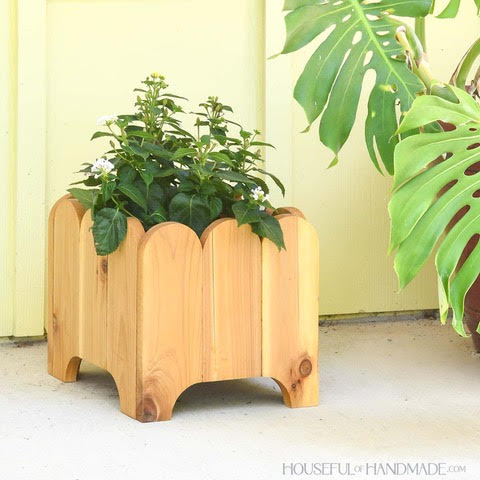
Looking for More Scrap Wood DIYs?
Can’t get enough scrap wood projects?? I’m teaming up with my friend, Kati, from Houseful of Handmade all month long for “Scrap Wood Summer!”
Check out all the projects in the series below. Click on the images to learn how to make each one!
This is our fourth year hosting Scrap Wood Summer and I enjoy it a little more each time. But, if you’ve never heard of it before, that’s okay!
Essentially, we each share a new scrap wood project every Tuesday throughout the month of August. So by the end of the month, you’ve got 8 new project ideas to try.
So stay tuned to see all the other fun ideas we are so excited to share with you!
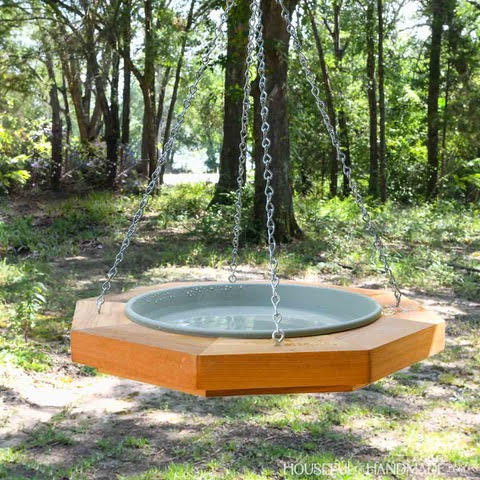
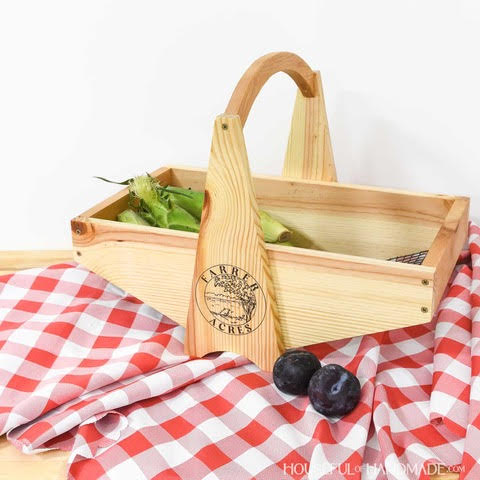
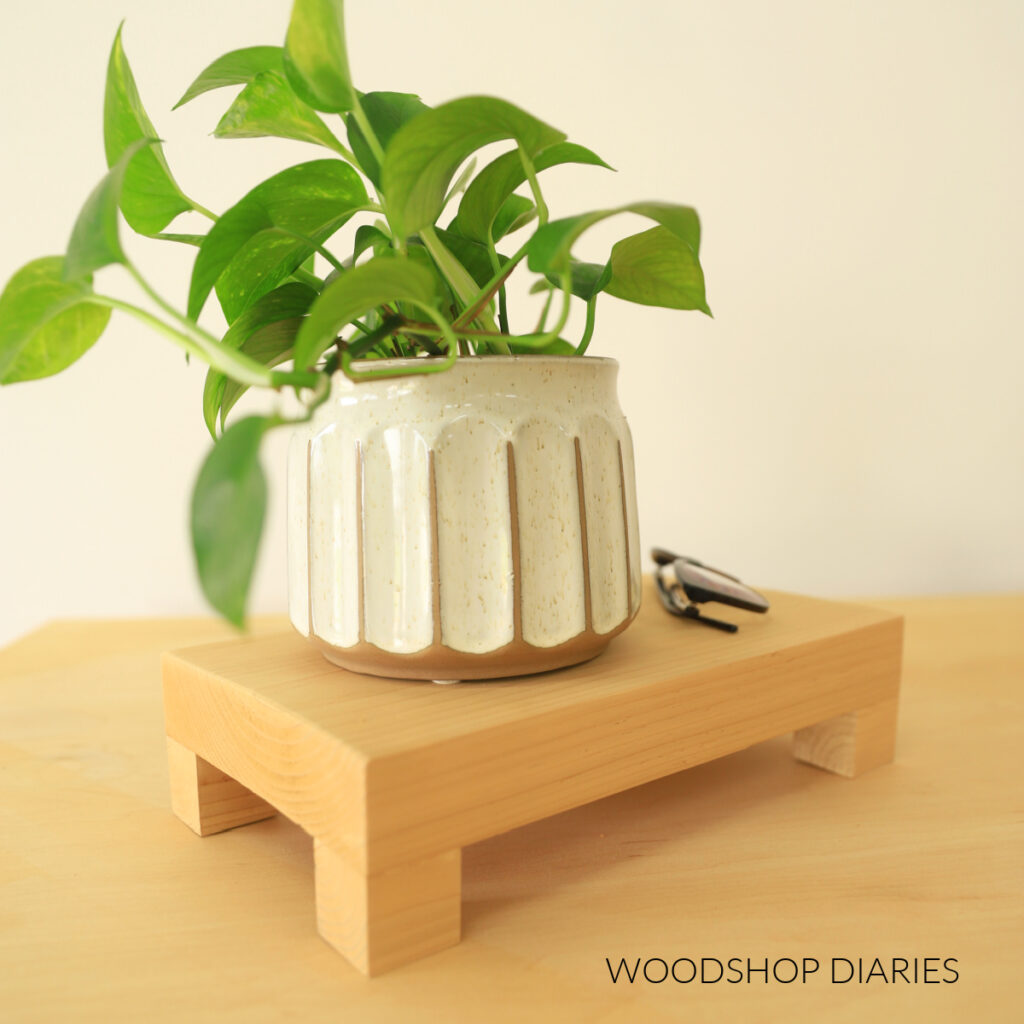
Can’t wait? Check out previous Scrap Wood Summer projects plus other scrap wood ideas here.
If you’d like to save this DIY umbrella stand table for later, be sure to pin it or share to your favorite social channel!
Until next time, friends, happy building!