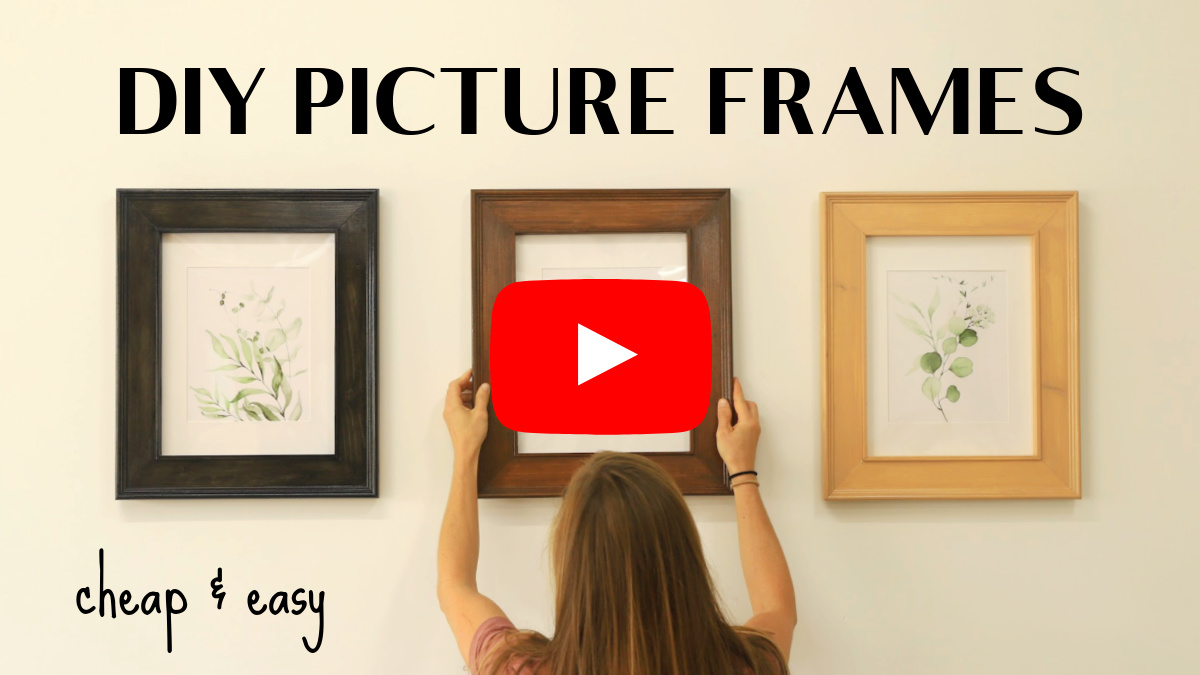
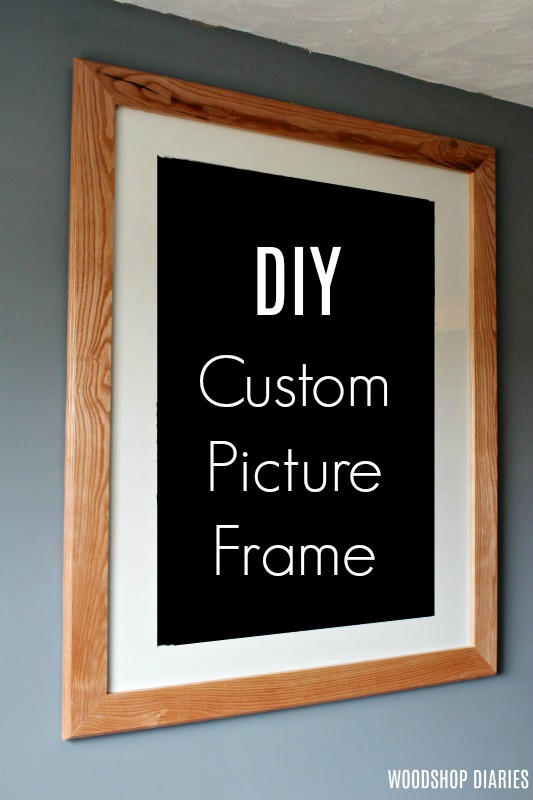
In this post, I’m sharing how you can make easy and inexpensive picture frames that look anything but “cheap.”
These classic picture frames can be made with just one power tool and a few pieces of common lumber.
So whether you’re framing brand new prints, or you have existing prints or frames that could use an nice upgrade, this is the tutorial you’re looking for.
*This post contains affiliate links. See website policies.
What to consider before building
This is a super quick and easy project you can easily complete in just an hour or two (and that includes the time for the glue and stain to dry).
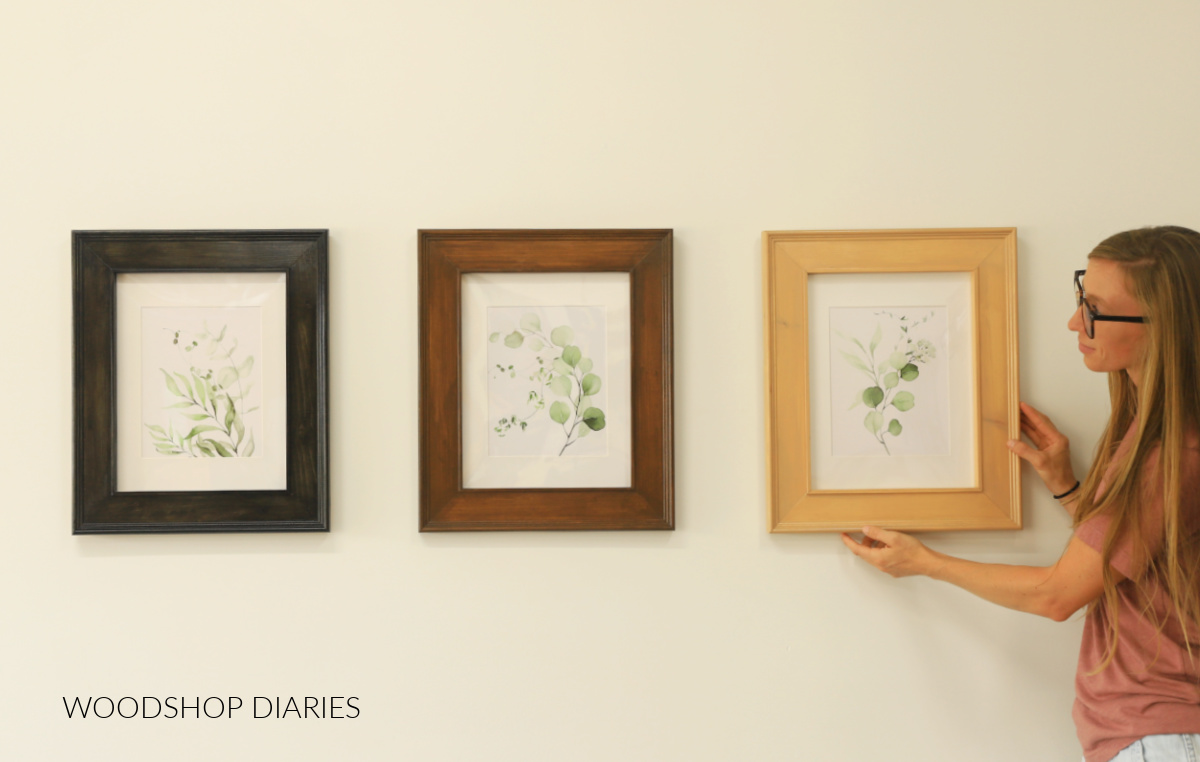
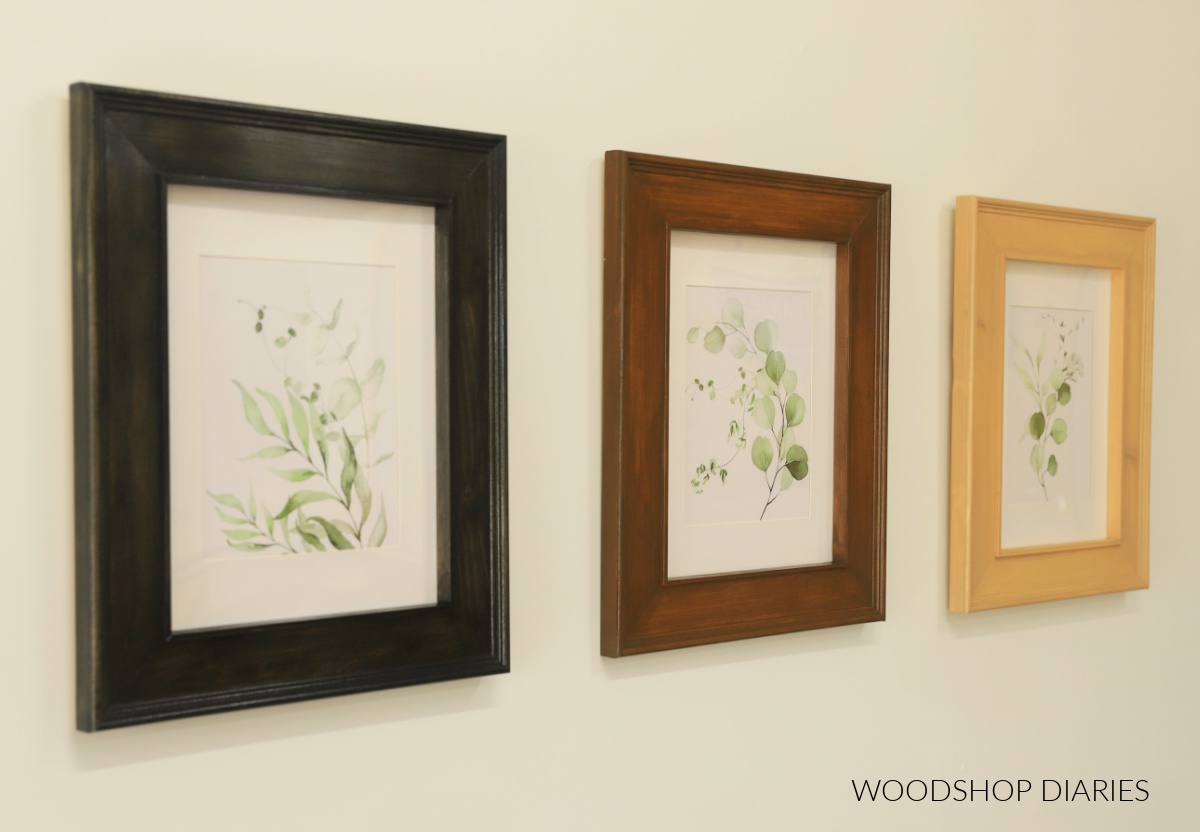
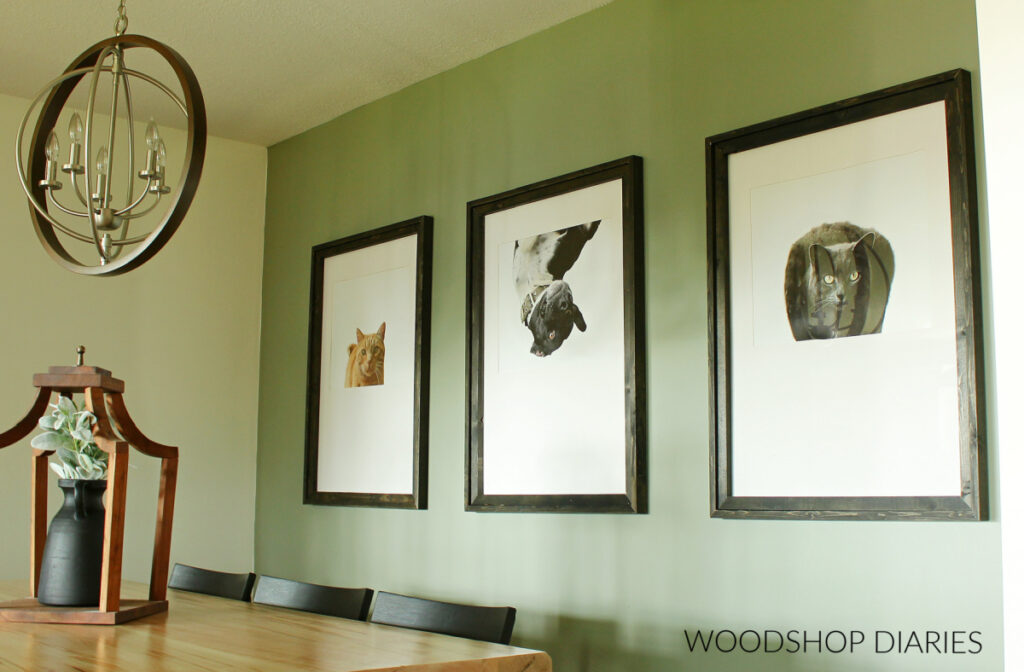
You can make a matching set if you have a coordinating set of prints, or you can make different sizes or stain them different colors for a unique gallery wall. Feel free to get creative!
Using an Existing Frame
I recommend either using an existing picture frame or buying some cheap frame sets for the “inner parts.”
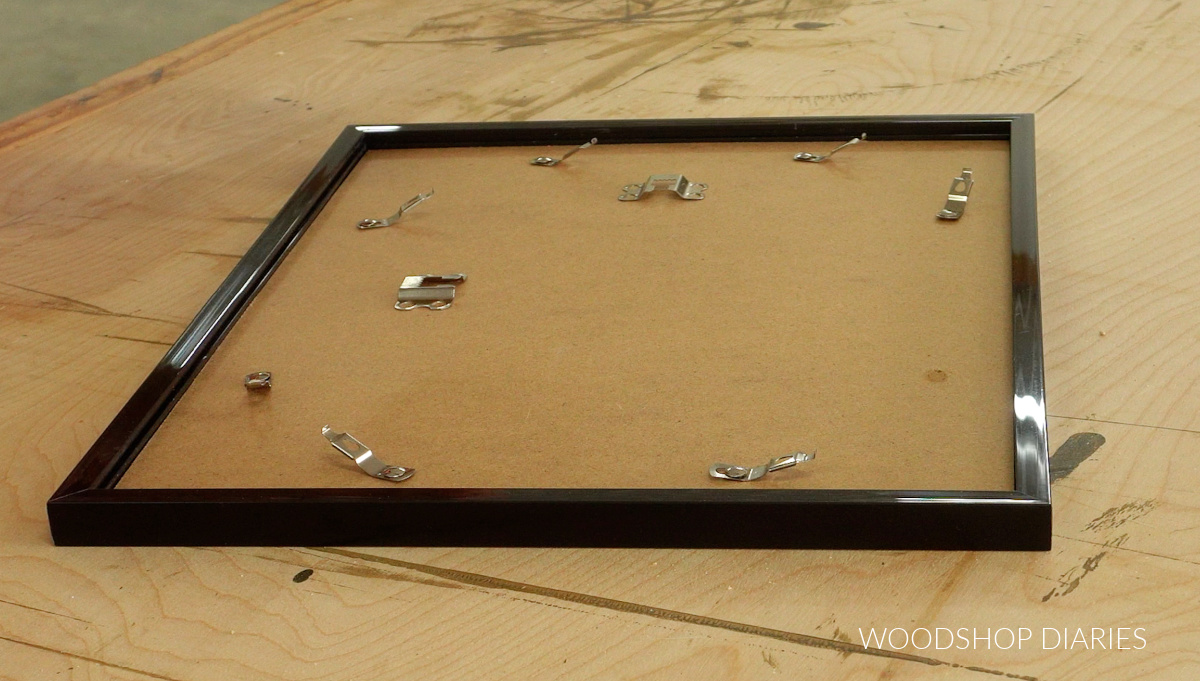
I opted to buy this 5 pack of inexpensive frames and I removed everything inside–the plexiglass, picture mat, and backer board. I’ll reuse these pieces in my new wooden frame and just toss this cheap black plastic frame.

If you wanted, you can certainly buy or cut the plexiglass, picture mat and backer board separately, but it’s often cheaper to just buy a cheap frame and “recycle” these parts if you’re making a small or standard size frame.
Plus, the backer on these frames already has hangers installed on it, so I won’t have to add those to my new frames when I build them.
Keep in mind that picture frames come in lots of sizes so make sure to select the size you’d like. The frames I bought were 11×14, but matted to 8×10.
Choosing trim options
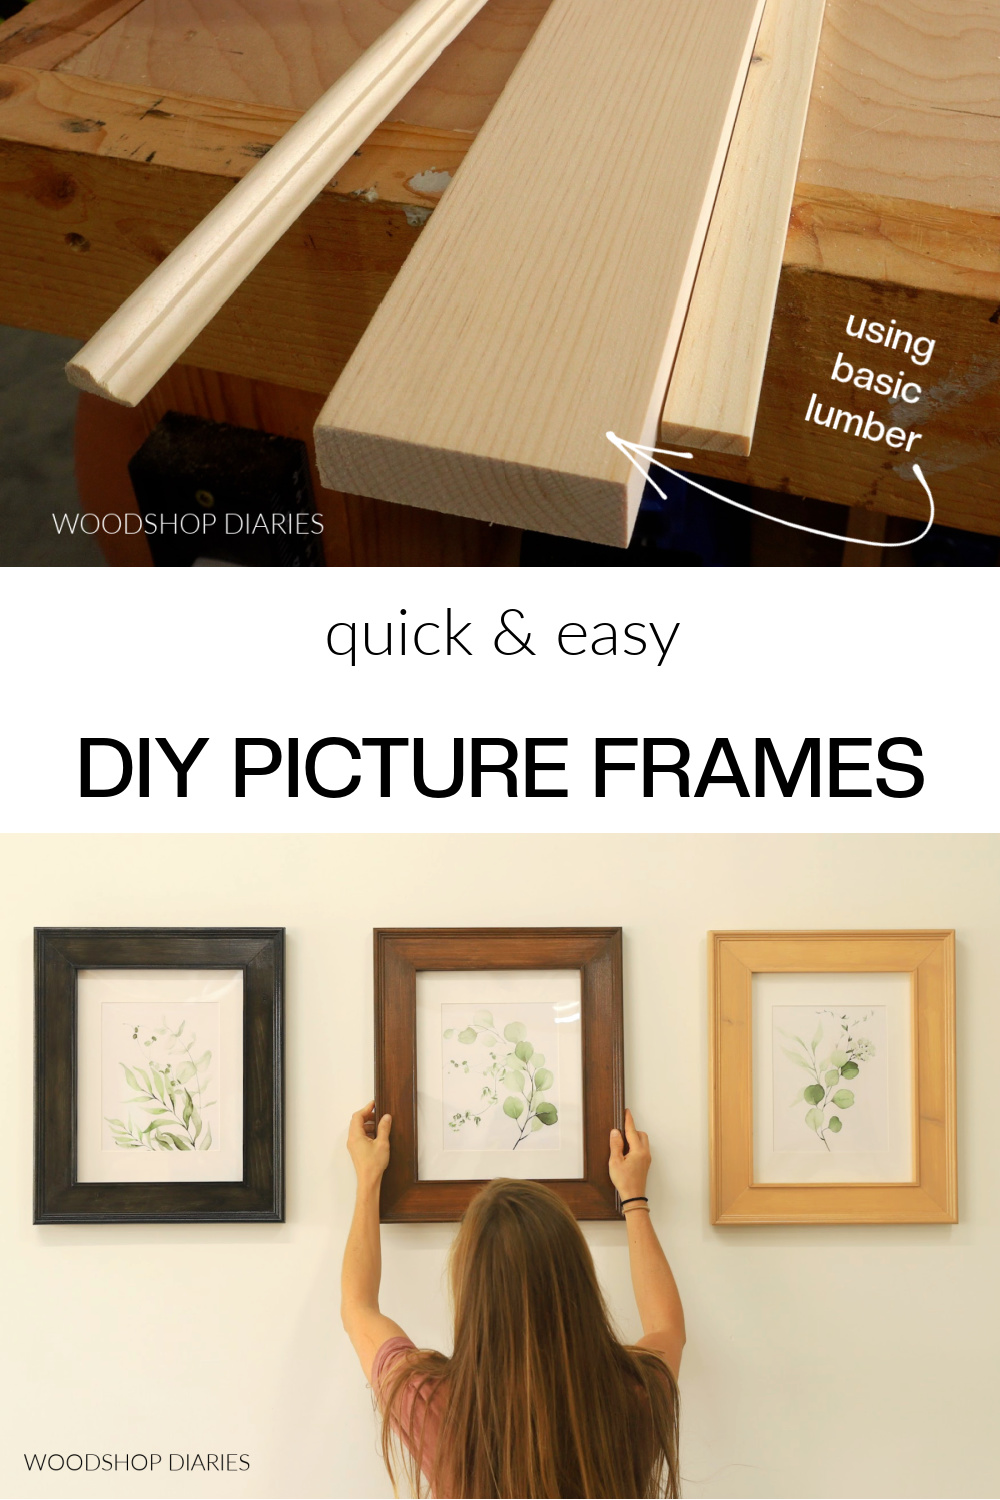
For these frames, I used a 1×3 for the main board, ¼″ x ¾″ lattice trim for the inside and small chair rail molding for the outside edge.
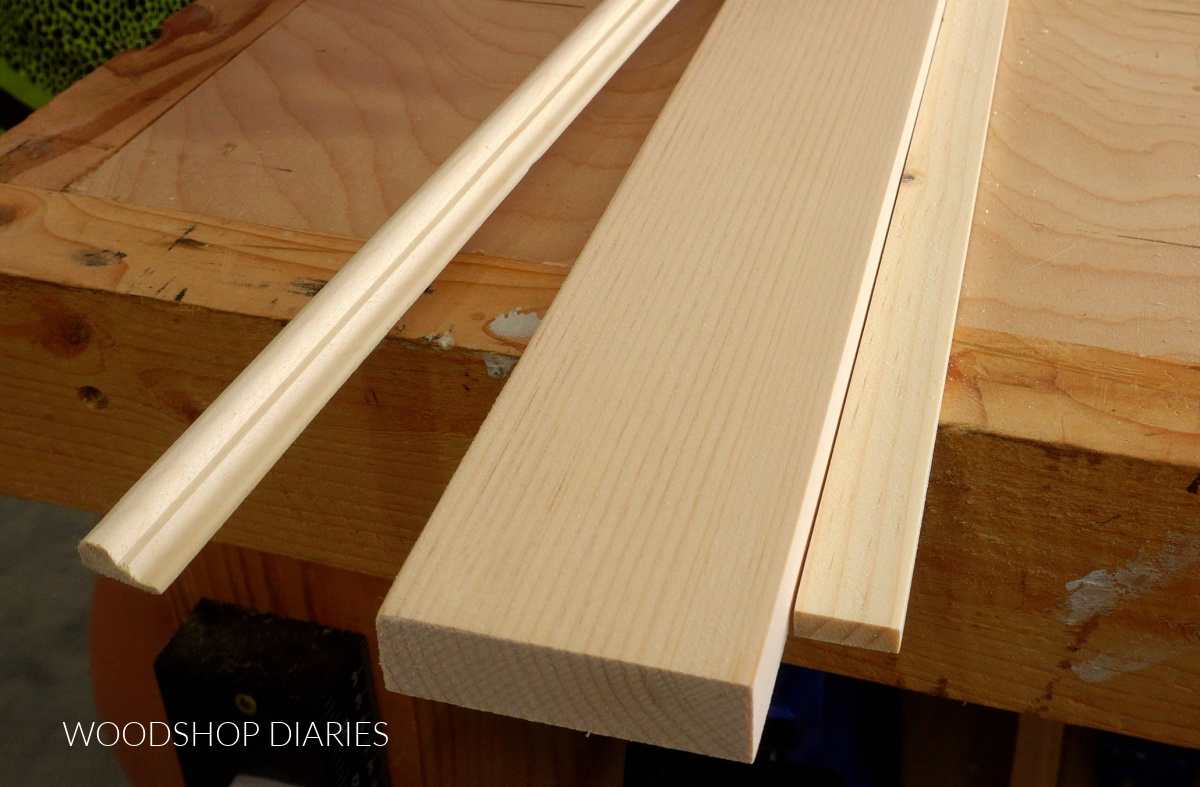
However, if you wanted a chunkier frame, you could use a 1×4 or 1×6 in place of the 1×3. Or, if you’re not a fan of the chair rail molding, you can swap that for half round, cove, or another small molding you like better.
Feel free to use whatever type of wood you’d like for this, but I kept it simple and inexpensive by using pine.
Picture Frame Sizing
Obviously picture frames come in a variety of sizes. Some of the more common sizes are 5×7, 8×10, 11×14, 16×20, and 24×36.
You can build these picture frames to just about any size you’d like, but the amount of material needed will vary based on the size frame you’re making.
For reference, I used about 6′ of board (1×3 plus trim–see notes above) to make one 11×14 frame. So if you go bigger, you’ll need more material and if you go smaller, you’ll need less.
Are DIY projects your thing? Sign up for our newsletter for priority access to the latest projects and build plans!
How to Make a Wooden Picture Frame
If you prefer to watch, I’ve shared the full build video with tons of tips, behind the scenes, and additional details on my YouTube Channel here.
Love watching how-to videos? Subscribe to my YouTube channel for plenty more where that came from!
Tools & Materials
Tools:
- Miter Saw
- Clamps or Ratchet Strap
Materials:
- 1×3 board (length depends on picture frame size–see notes above)
- Small Molding*
- ¼″ x ¾″ lattice trim
- Wood Glue
- Painters Tape
- Turn Buttons
- Sawtooth hanger (optional)
*You can choose any type of molding profile you’d like for this. Cove, half round, or small chair rail would all work well. See notes above.
Step 1: Glue up Picture Frame Boards
To get started, I cut a piece of 1×3, small chair rail molding and ¼″ x ¾″ lattice trim to about 72″ long. I applied a small bead of glue to the back of the chair rail molding.

Then flipped it over on the 1×3 and used some painters tape to hold it flush along the edge while the glue dried.
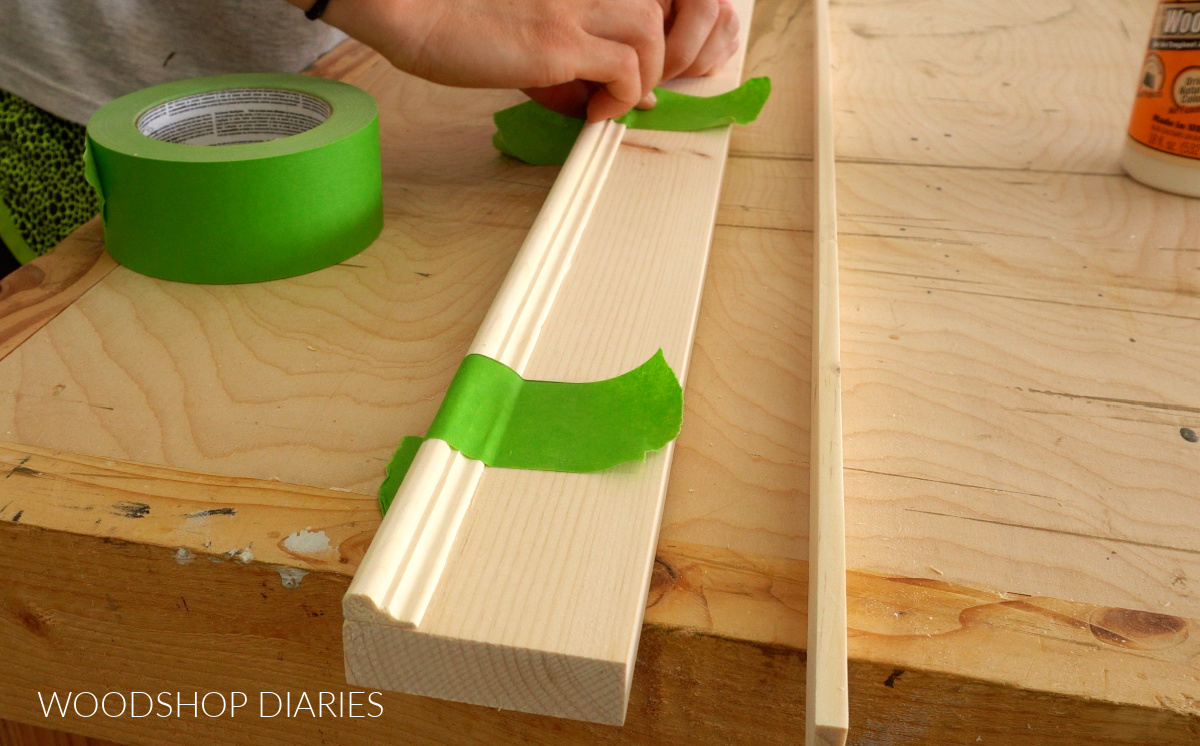
This chair rail molding is just for decorative purposes, but the lattice trim is what is used on the inside to hold the picture in the frame.
So the lattice needs to be installed inset from the back edge of the 1×3 about the thickness of the inside parts of the frame (the plexiglass, mat, and backer). That way the picture can be INSET the back edge and rest against the lattice. See image below.

So I found a thin piece of wood scrap about this thickness in my trash can and placed this underneath my lattice trim piece while I glued and clamped it to the edge of my 1×3 (see image below).

TIP: You could also use some shims, folded paper or pretty much anything about this thickness if you didn’t have a wood scrap.
I was making three 11×14 frames, so I repeated this step to make three 72″ long boards just like this. Remember, if you’re making a different size frame, you may need a longer or shorter board.
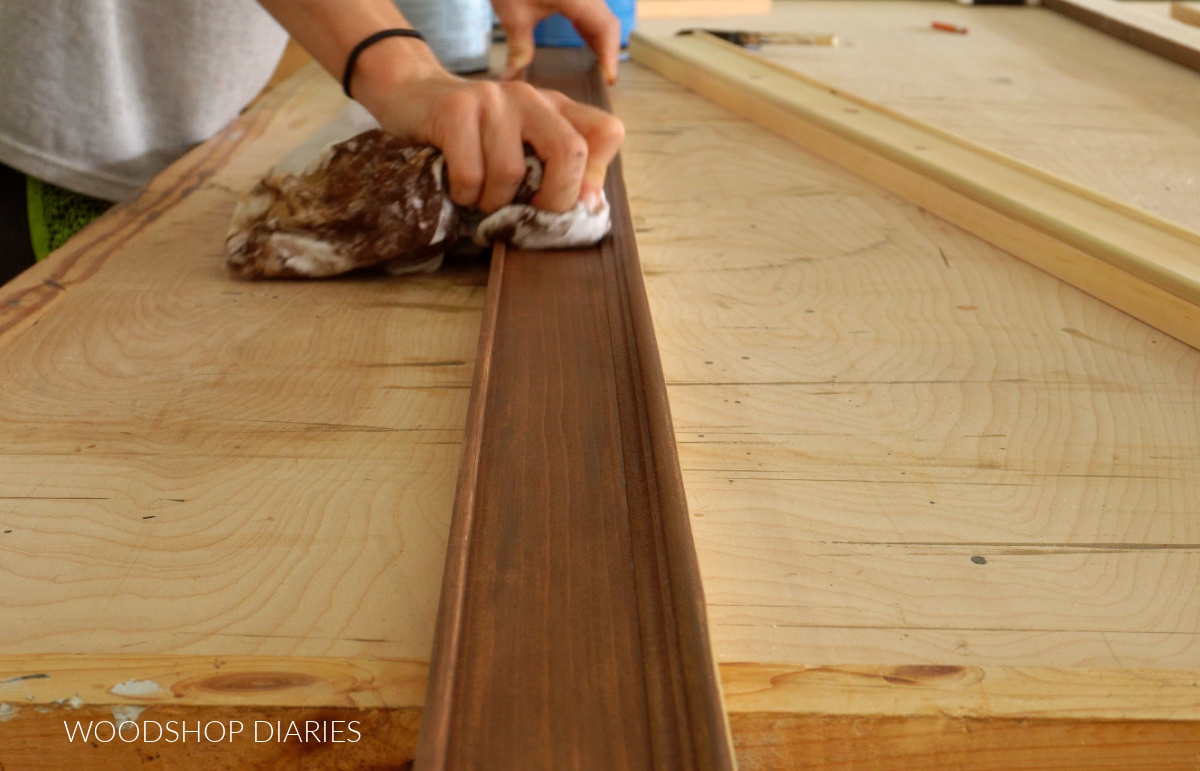
Step 2: Paint or Stain
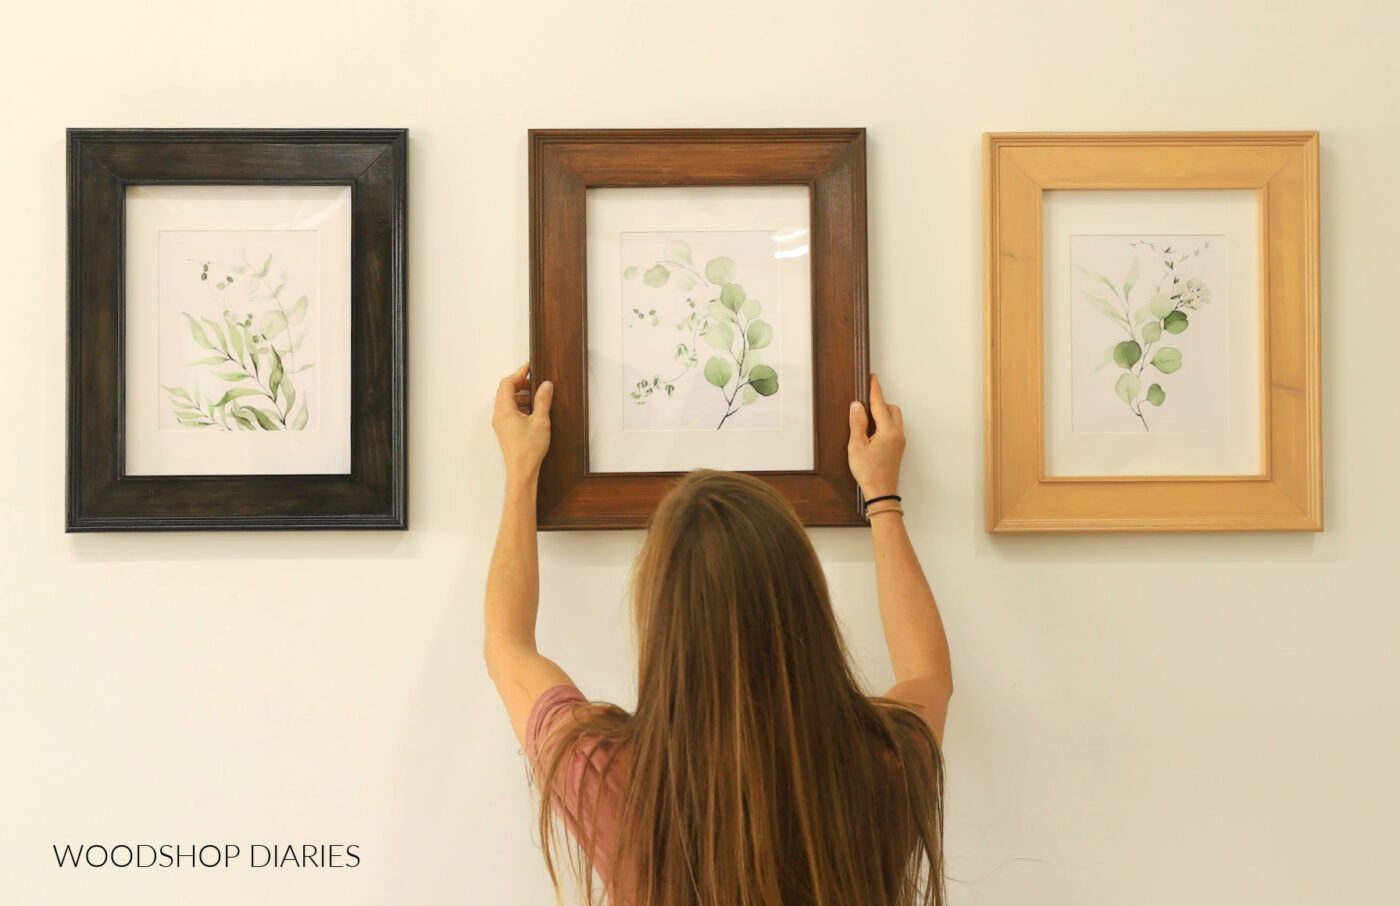
Before cutting and assembling my frames, I went ahead and stained each glued up board. I wanted my frames to be different colors, so I stained them:
- Minwax Water Based Solid Stain in Autumn Wheat (it’s like a light tan)
- Minwax Water Based Semi Transparent Stain in Pecan (shown below)
- Miwnax Water Based Semi Transparent Stain in True Black
You definitely don’t have to stain them before assembling, I just thought it might be a bit easier.
RELATED: How to stain wood
Step 3: Trim Picture Frame Sides
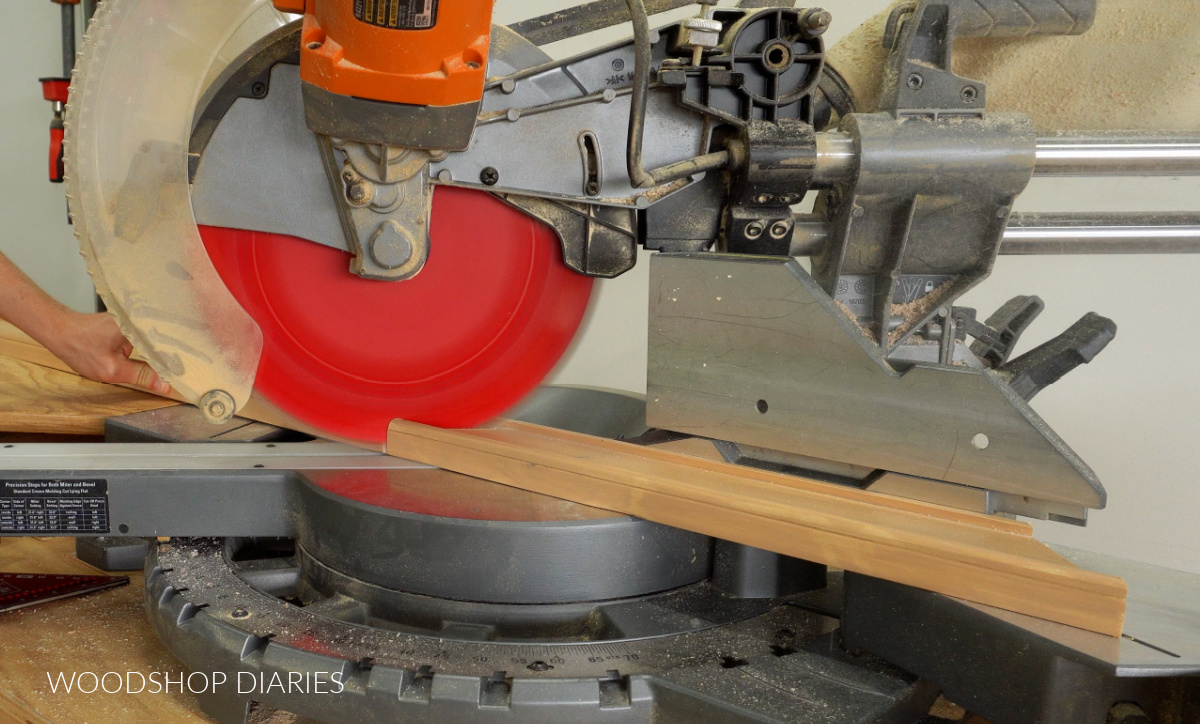
Once the stain was dry, I started trimming down my boards. Each piece of the frame should be mitered, so I adjusted the miter angle on my miter saw to 45 degrees and cut off one end.
The miters should all be cut so that the side with the lattice trim is the shorter side.
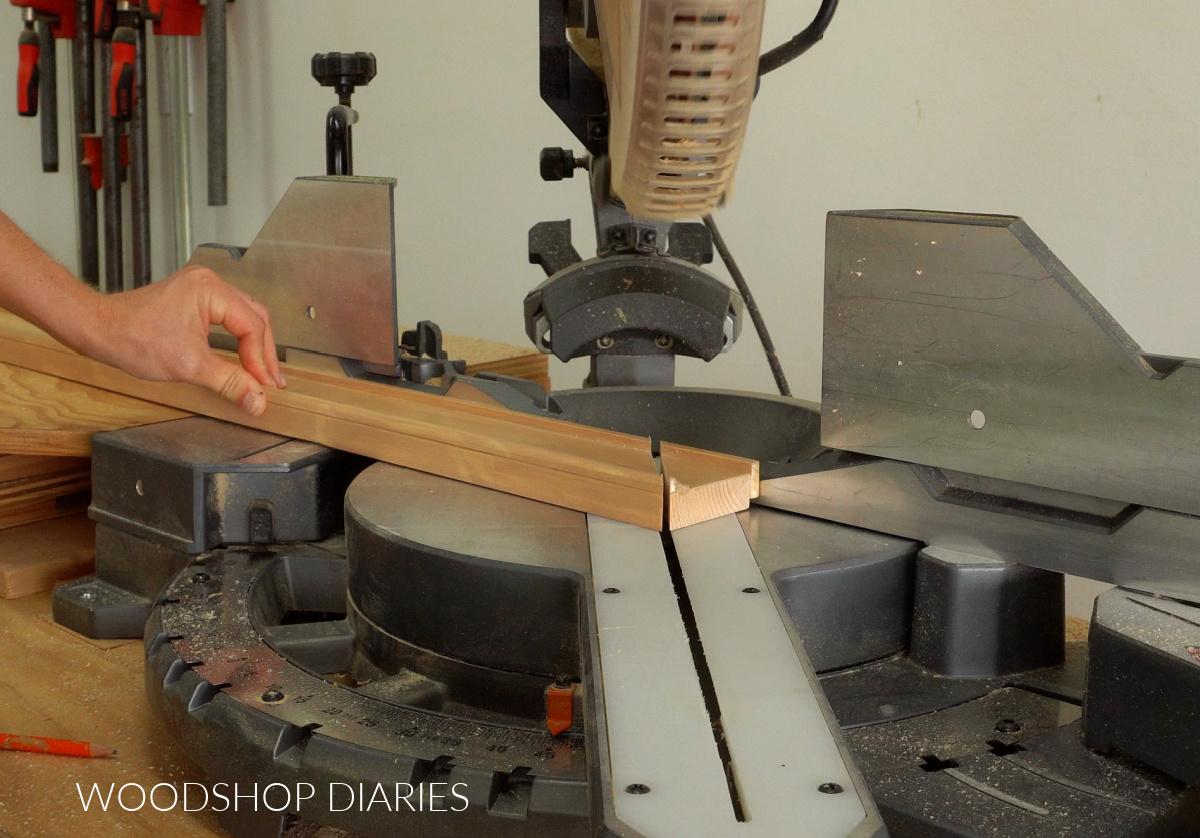
Once one end was cut, I adjusted my miter saw 45 degrees the other way to make the next cut the opposite way.
For each frame, I cut two pieces so that the INSIDE EDGE OF THE 1×3 (not including the lattice trim) was 11″ long and two more so that the inside edge of the 1×3 was 14″.
Then I test fit my pieces together. The opening should be a bit under the desired picture size.

I flipped these pieces over and made sure that the 11″ x 14″ picture frame backing I was using fit did, in fact, fit the frame.
It should fit inside the 1x3s and rest on the lattice trim.
Step 4: Glue up Frame
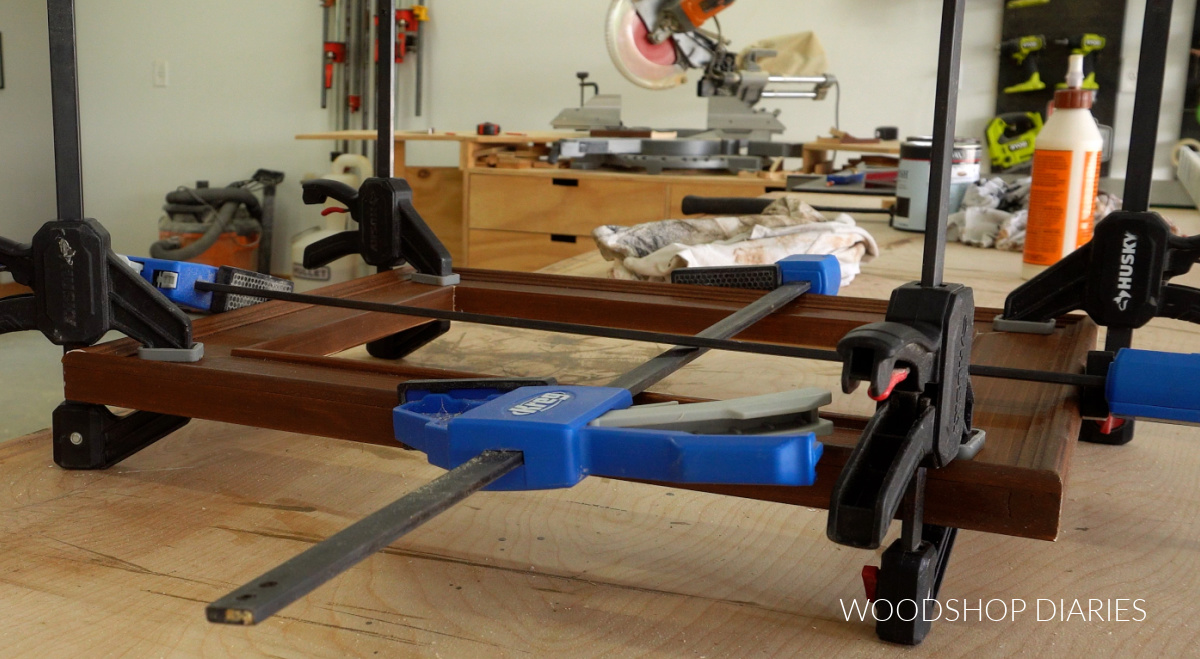
Once I confirmed my sizing, I applied wood glue on the ends of each board and clamped the frame together. If you wanted to also use some dowels. pocket holes or staples, you could.
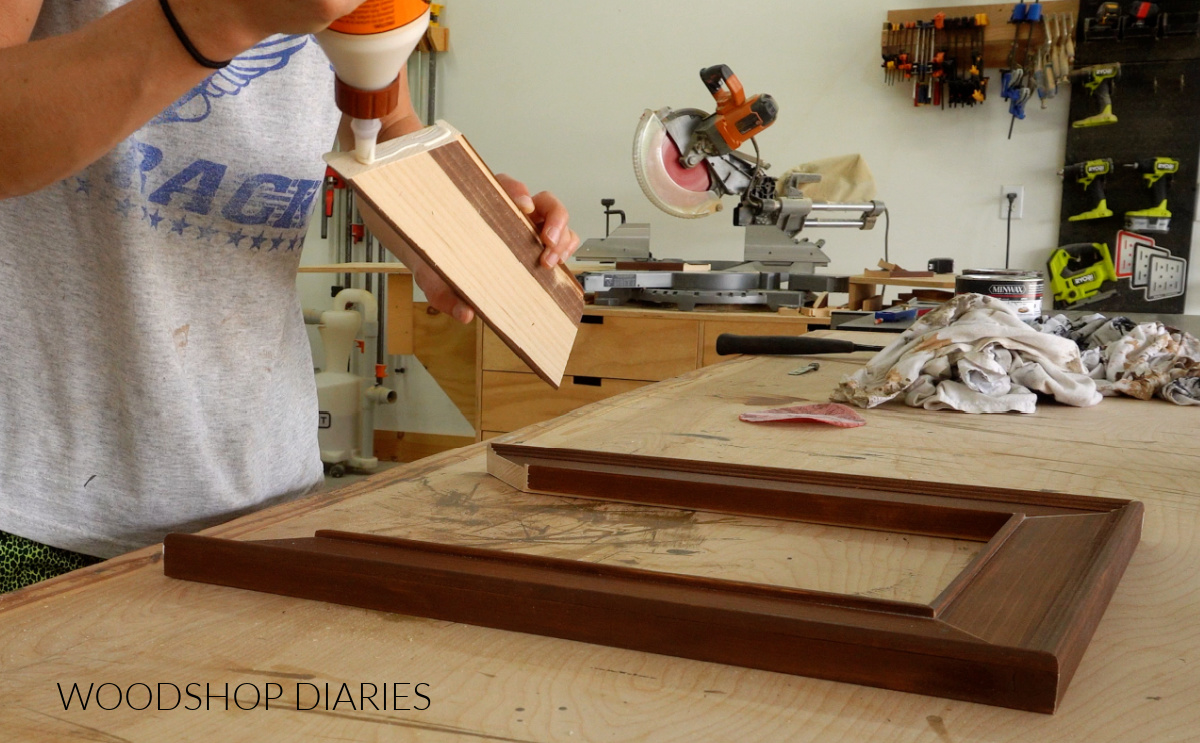
I clamped each corner flush, then clamped across each direction. If you don’t have regular clamps, you could use a ratchet strap around the edge as a clamp, too.
After the glue dried, I touched up the stain as needed at the corners.
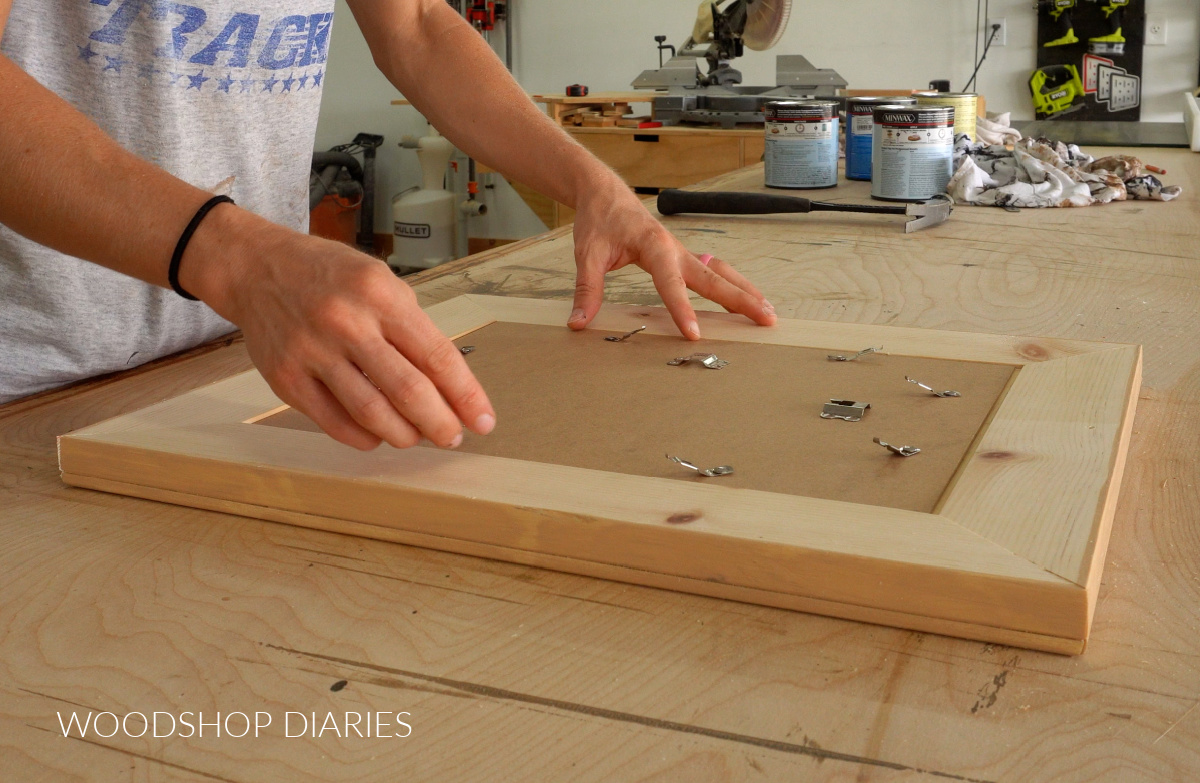
Step 5: Install Turn Buttons & Hang
Next, I installed some turn buttons on the back of each frame. These simply rotate to allow you to hold the picture inside the frame.

The existing backer piece from my frames had these little brackets to hold them in the frame it came with, but they’re not needed in my new frame, so I used some pliers to pop them off.
But I kept the hangers on the back that they came with. If your backer doesn’t have a hanger already installed, you can add a simple sawtooth hanger onto the wood frame to hang it from.

I placed my plexiglass, mat, photo, and backer into the frame, secured with the turn buttons, and now they’re ready to hang!
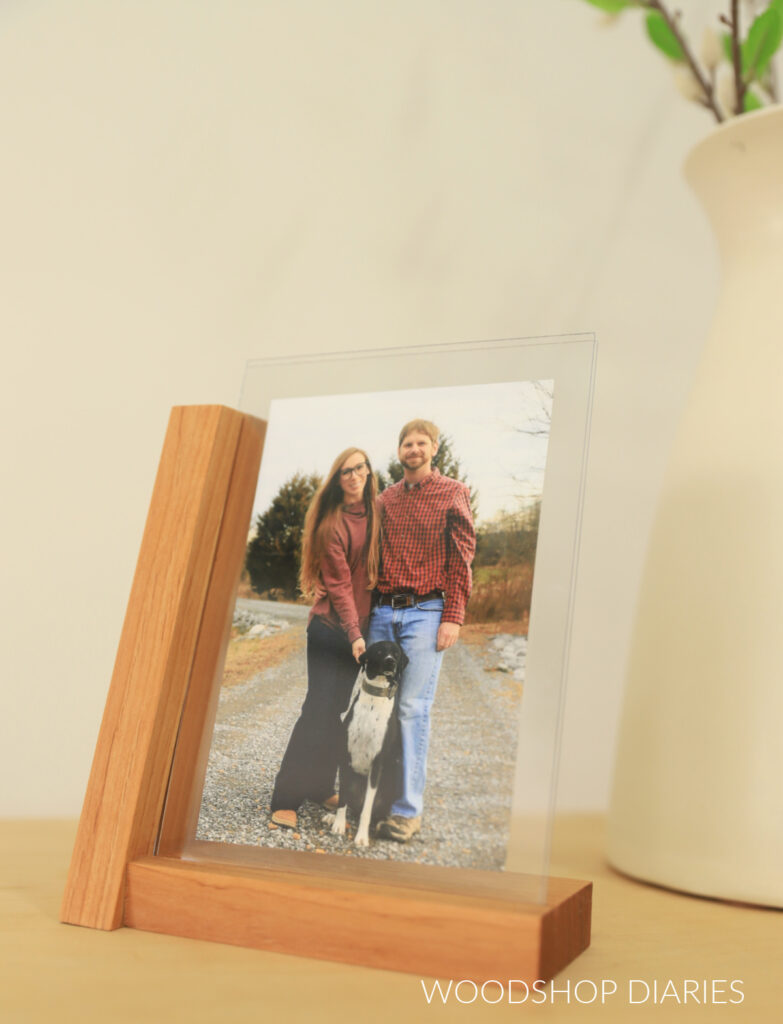
Looking for more DIY picture frame ideas?
If you’re still browsing for more picture frame ideas, here are a few of my favorites! Click on the image(s) below to see how to build each one:
If you enjoyed this project and want to save it for later, don’t forget to pin it or share it to your favorite social channel!
Until next time, happy building!