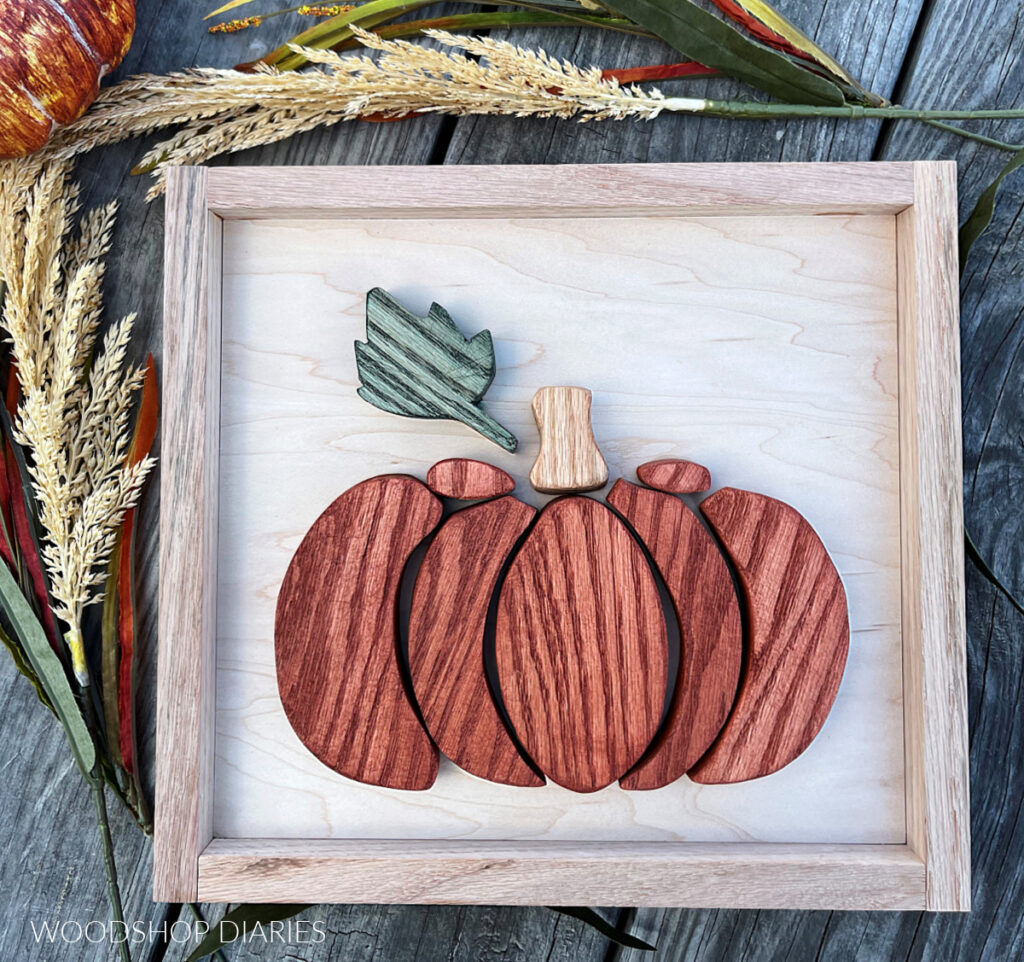
In this post, I’m sharing how to apply stain to new DIY furniture projects to give them a beautiful and durable finish.
Imagine you’ve just completed your latest DIY project. You step back and admire it with pride. The hard part may be over, but it’s not finished yet!
You still need to stain it! Staining your new furniture piece can enhance the grain and natural beauty of the wood while also giving it a color that fits your personal style.
I’ll be honest, I don’t love the finishing process of any project, but I do love staining much more than I love painting! Staining furniture is a little easier (in my opinion) than painting and seems to go a little quicker.
My process for staining raw wood furniture is pretty simple and can be summed up in three basic steps:
- Sand
- Stain
- Poly
I’ll discuss each part in detail below. If you’re looking for details on painting, check out how to paint DIY furniture here.
*This post contains affiliate links. See policies.
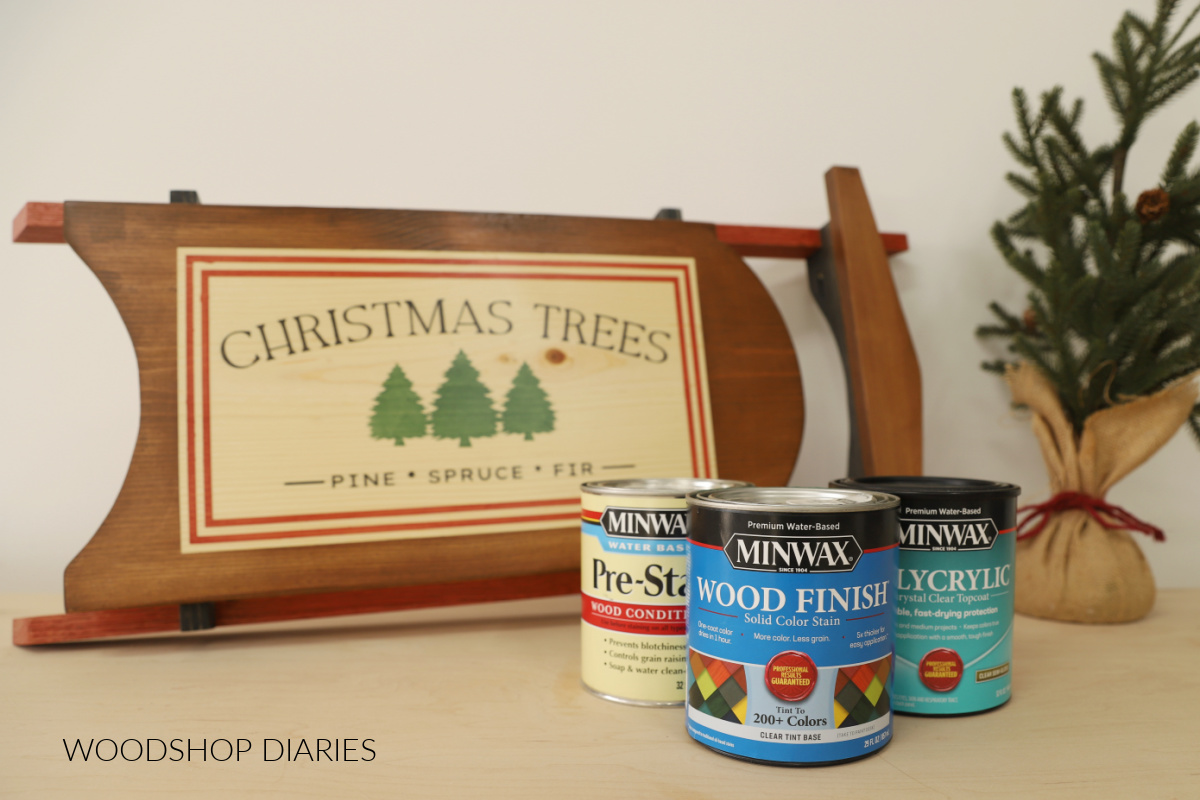
WHAT YOU NEED TO STAIN FURNITURE
You don’t need anything fancy to stain wood furniture. Since stain soaks into the wood it’s application is not as intricate as paint. You don’t have to be as careful applying it since you basically just wipe it on, then wipe off whatever doesn’t soak in.
Here is a basic list of the tools and materials I recommend when staining your DIY furniture projects.
- 220 & 400 grit sandpaper
- Wood Conditioner
- Stain
- Stain rag and gloves
- Poly/Clear Coat
- High Quality Brush
This post is focused on finishing indoor furniture. For staining outdoor furniture, the process is similar, but slightly different. For outdoor furniture, I recommend using an outdoor stain and sealant combo (these are often referred to as deck stains).
When using outdoor stains, you don’t usually need to apply wood conditioner or poly. So you can skip step 2 & 4 below. I’ll provide additional details on staining outdoor furniture at the end of this post.
NOTE: If you are staining an OUTDOOR project, you CAN use an indoor stain as long as you cover it with an exterior rated sealant. However, both are likely to fade over time.
WATER VS OIL BASED WOOD STAINS
Wood stains come in water based, oil based, and gel options. I don’t typically use gel stain because it only comes in very limited color options. So below I’ll discuss only water and oil based stains.
One isn’t necessarily better than the other, but they both have their pros and cons. The biggest difference between the two is dry time and color options. Personally, I use Minwax brand stains for most of my projects so that’s what I’m showing below.
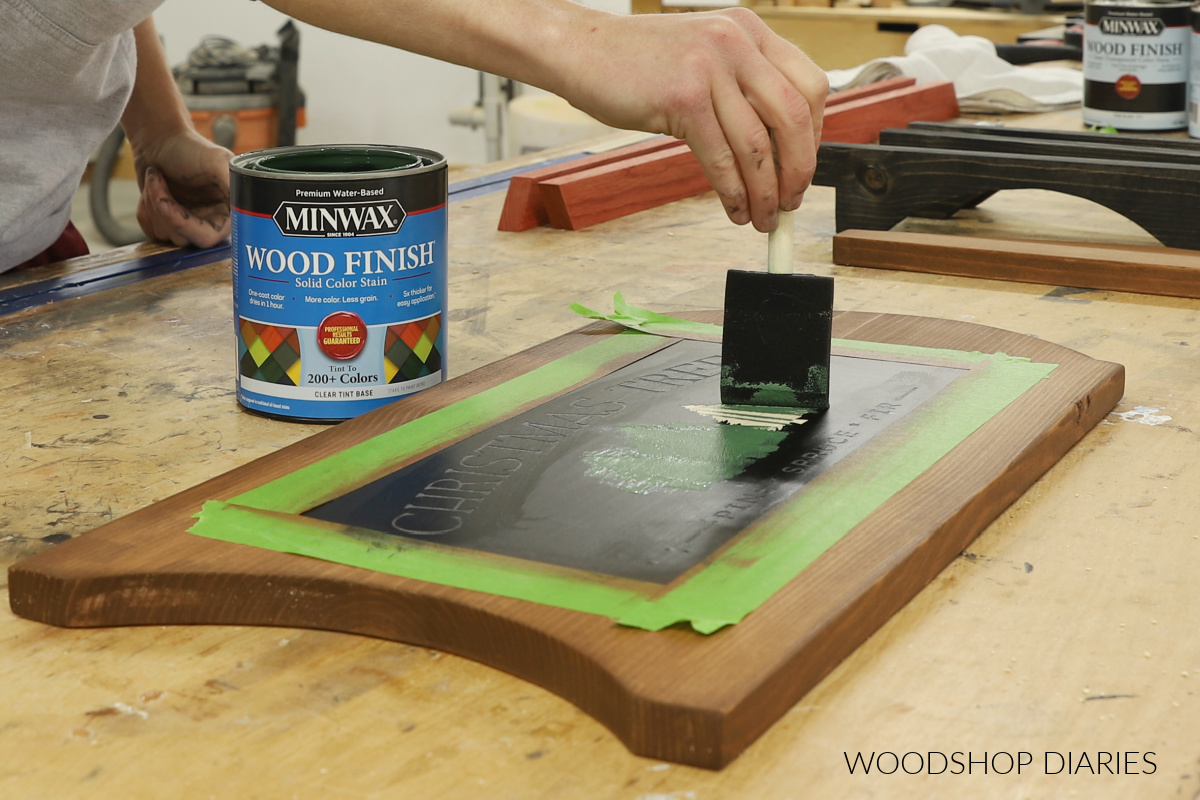
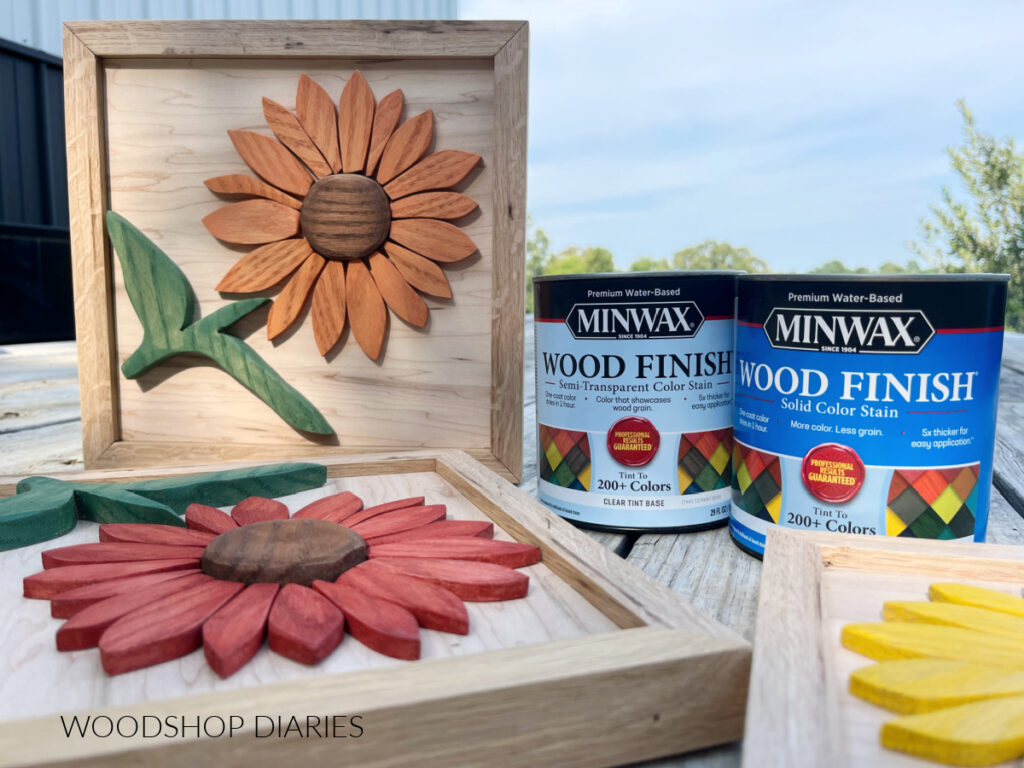
Water based stains come in hundreds of colors and can even be custom color matched like paint. It’s also thick like paint, so it’s perfect for staining stencils as it won’t seep underneath them.
Water based stains dry REALLY fast, so you have to wipe away the excess within minutes. This is fine for small projects, but difficult to do on large pieces. It definitely takes some practice.
You can get water based stains in semi-transparent and solid opacities. Semi-transparent will show more wood grain, but less color. Solid wood stains will have a deeper color, but show less wood grain.
Water Based Wood Stains
| PROS: | CONS: |
| No strong odors or fumes | Dries SUPER fast–not great for large surfaces |
| Hundreds of color options | |
| Easy clean up | |
| Best for staining stencils |
Oil based wood stains are a tried and true classic. They’ve been a go-to finish for years and are less expensive than water based stains. They come in several colors from several different brands, but are mostly only in natural wood color options.

Oil based stains have a long workability so you can work a little slower and not be rushed to wipe it off.
Oil Based Wood Stains
| PROS: | CONS: |
| Long workability–great for large surfaces | Strong odors and fumes |
| Richer, deeper color | Rags and brushes can combust |
| Fewer color options |
NOTE: Oil based stains have a strong smell during and after application. However, this smell will dissipate once sealed (see step 4 below).
HOW TO STAIN RAW WOOD FURNITURE
Once you’ve chosen your stain type and color, it’s time to apply it. If you’re brand new to staining and a little nervous to try it out on your brand new build, test it out on some small scrap pieces.
You can test different colors on different wood types and get a feel for how to apply it and what it looks like before tackling staining an entire piece.
Staining is really pretty simple, but you learn best by doing, so don’t be afraid to give it a try.
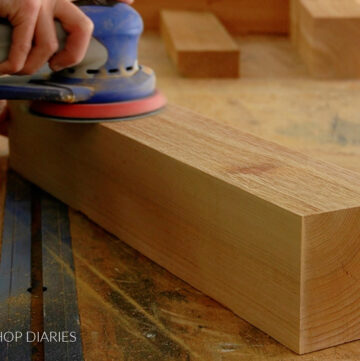
STEP 1: SAND
Just like with painting, it’s still important to sand before staining as well. Check out this post to learn how to properly sand your projects.
Before staining, I sand my entire piece to at least 220 grit WITH THE GRAIN. Sanding against the grain will leave scratches on the wood that will be noticeable when stain is absorbed into them.
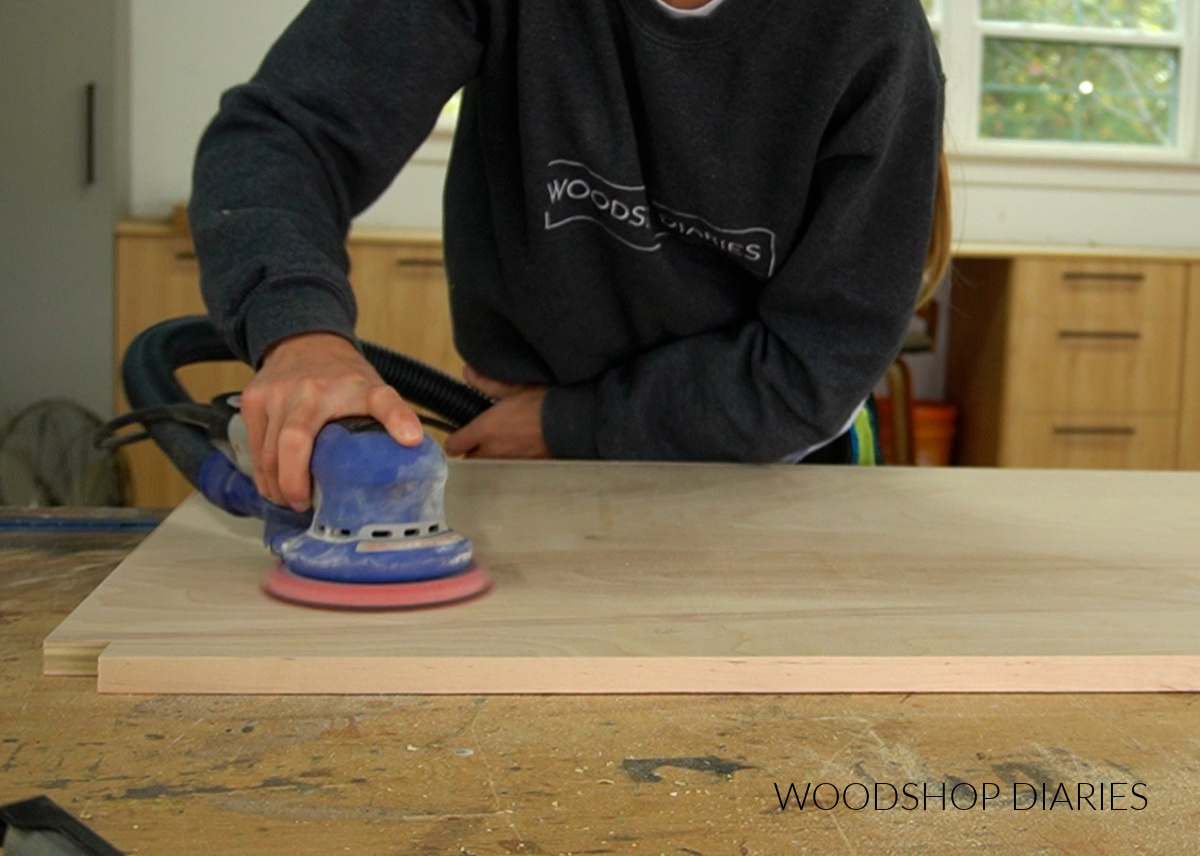
It’s important to sand EVENLY as uneven sanding can result in uneven staining. Don’t sand one spot for twenty minutes and another for just 5 seconds.
Make sure to remove ALL glue and glue residue from wood surfaces before staining. Glue seals the wood surface, preventing stain from absorbing.
STEP 2: APPLY WOOD CONDITIONER
I’ll admit that I don’t always follow this step and I didn’t used to ever use wood conditioner. However, I’ve grown to understand the importance of it more recently.
Wood conditioner (also called Pre-Stain) is like a primer for stain. You apply it before stain to prevent uneven absorption so you get a more uniform finish. This isn’t *quite* as important with hardwoods (like oak), but softwoods are notorious for splotchy-ness.

Note that if you’re using water based stain, use water based wood conditioner. If using oil based stain, use oil based wood conditioner.
When I apply it, I like to use a foam brush or a rag and just kind of wipe it over the surface.
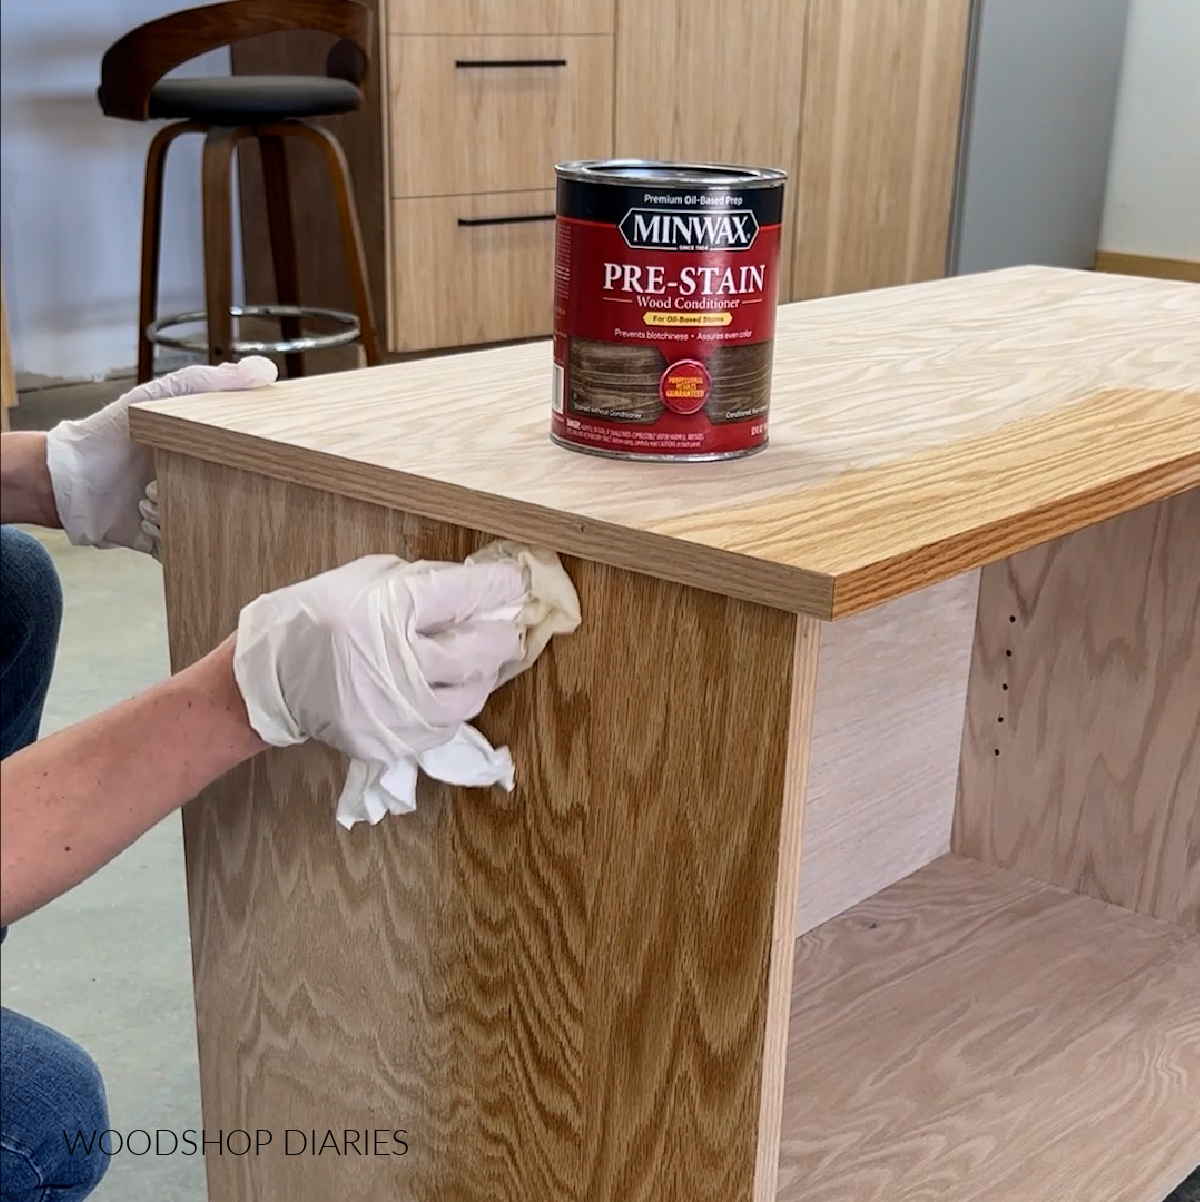
Make sure to read the label for exact instructions as dry times vary by brand, type, and temperature at application.
After a few minutes, you’ll want to wipe away the excess what hasn’t absorbed into the wood with a clean rag. DON’T SKIP THIS STEP–whatever hasn’t absorbed after a few minutes needs to be wiped off.
*OIL BASED FINISHES CAN SPONTANEOUSLY COMBUST. Make sure to discard brushes and rags appropriately. See product labels for details.
Then, allow the wood conditioner to dry the specified time according to the label before applying stain.
*If you used a water based conditioner, lightly sand with 220 grit sandpaper and remove all dust before staining.
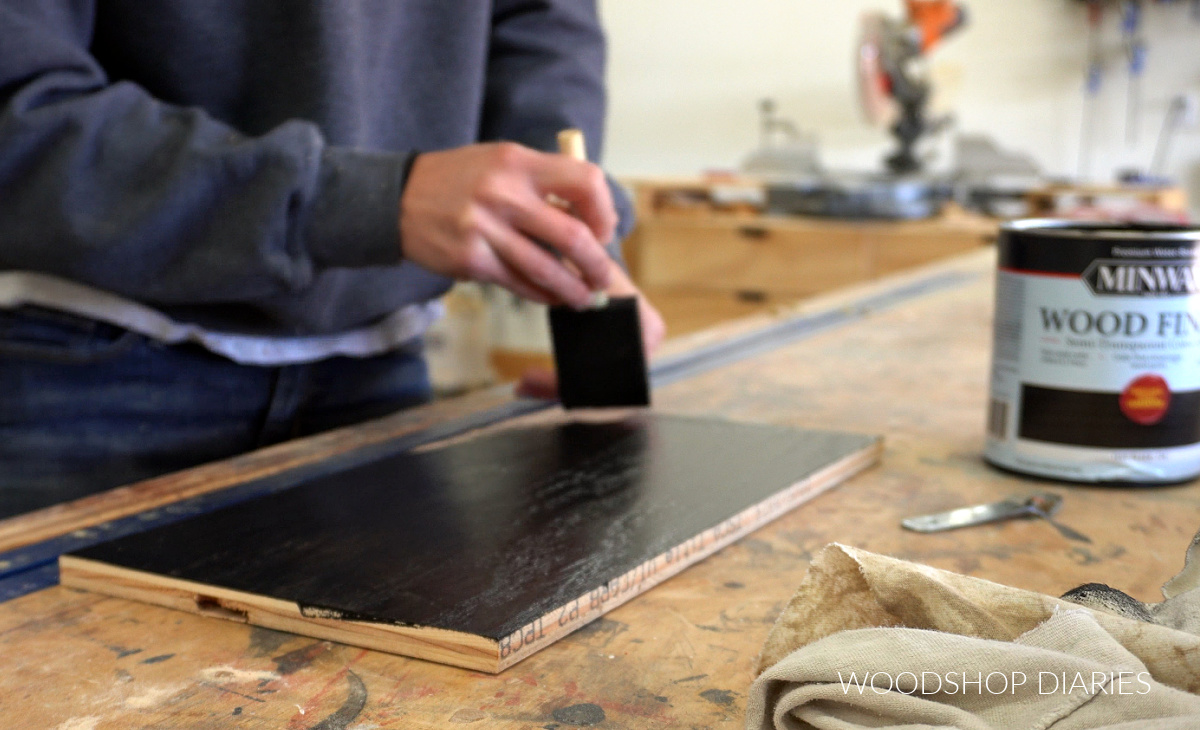
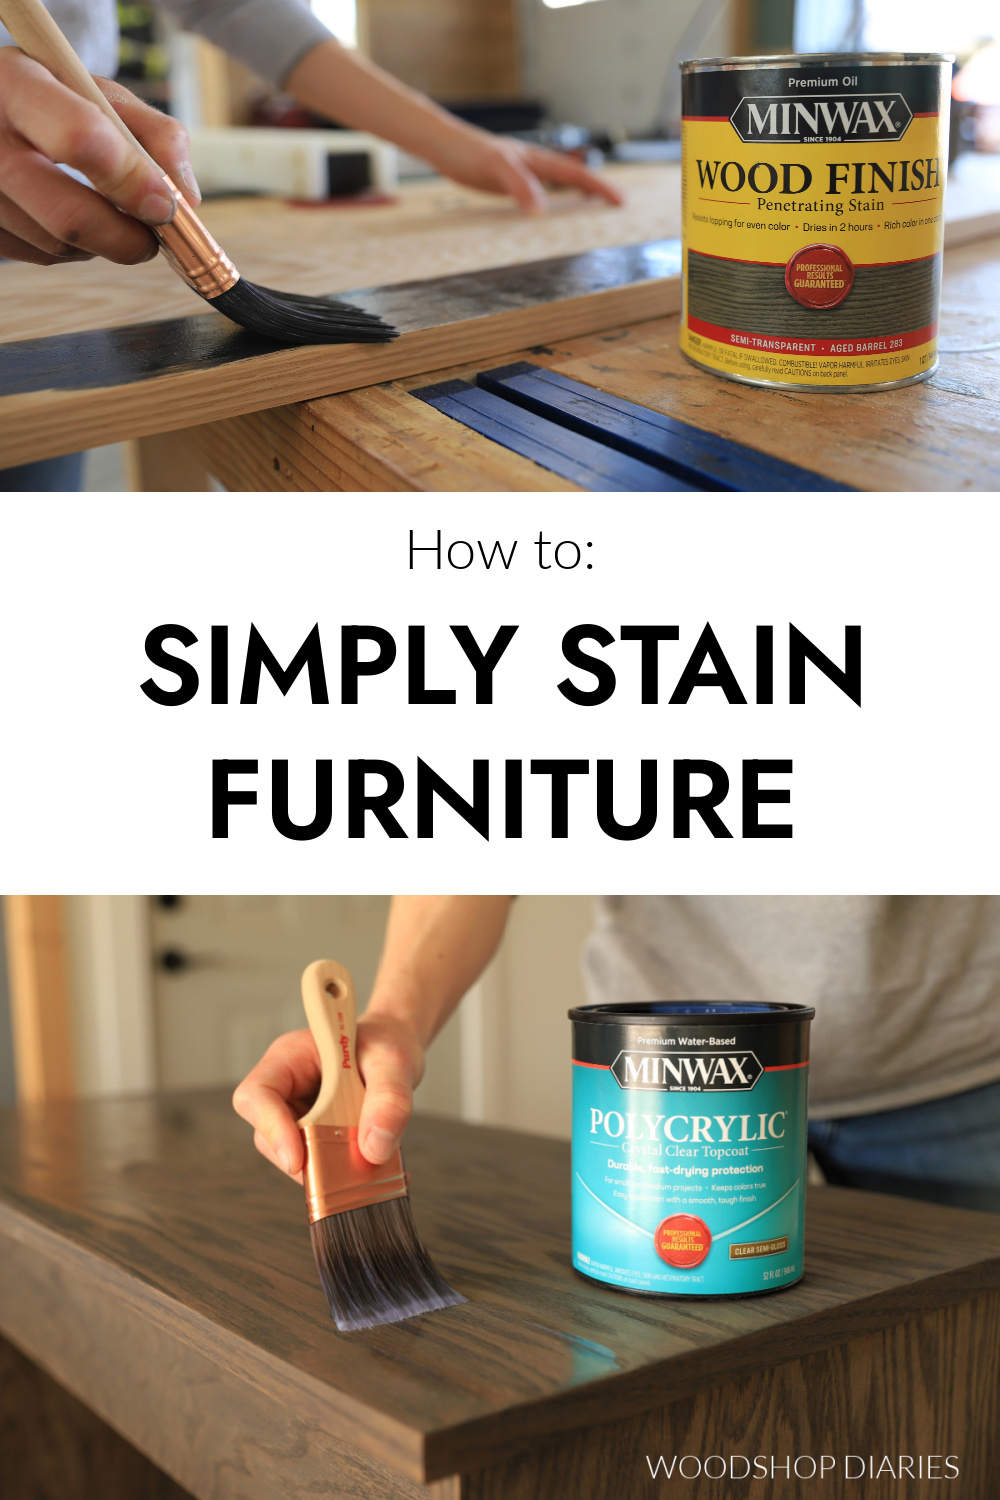
STEP 3: APPLY STAIN
Stain is absorbed into the wood when applied, so it’s not super critical what you apply it with. I’ve had good results from using a brush, an old t-shirt, a stain rag, a sponge. Just make sure to stir the stain before applying.
Wood stain is applied to the wood, allowed time to absorb/soak in, then wiped off. Unlike paint, the stain shouldn’t be allowed to just sit on the surface until it’s dry–the excess that isn’t absorbed should be wiped away.
For oil based stains, I simply apply the stain over the surface of the wood (using a brush or a rag) then come back and wipe away the excess after about 15-30 minutes. Oil based stains don’t dry very quickly, so you have a longer working time.
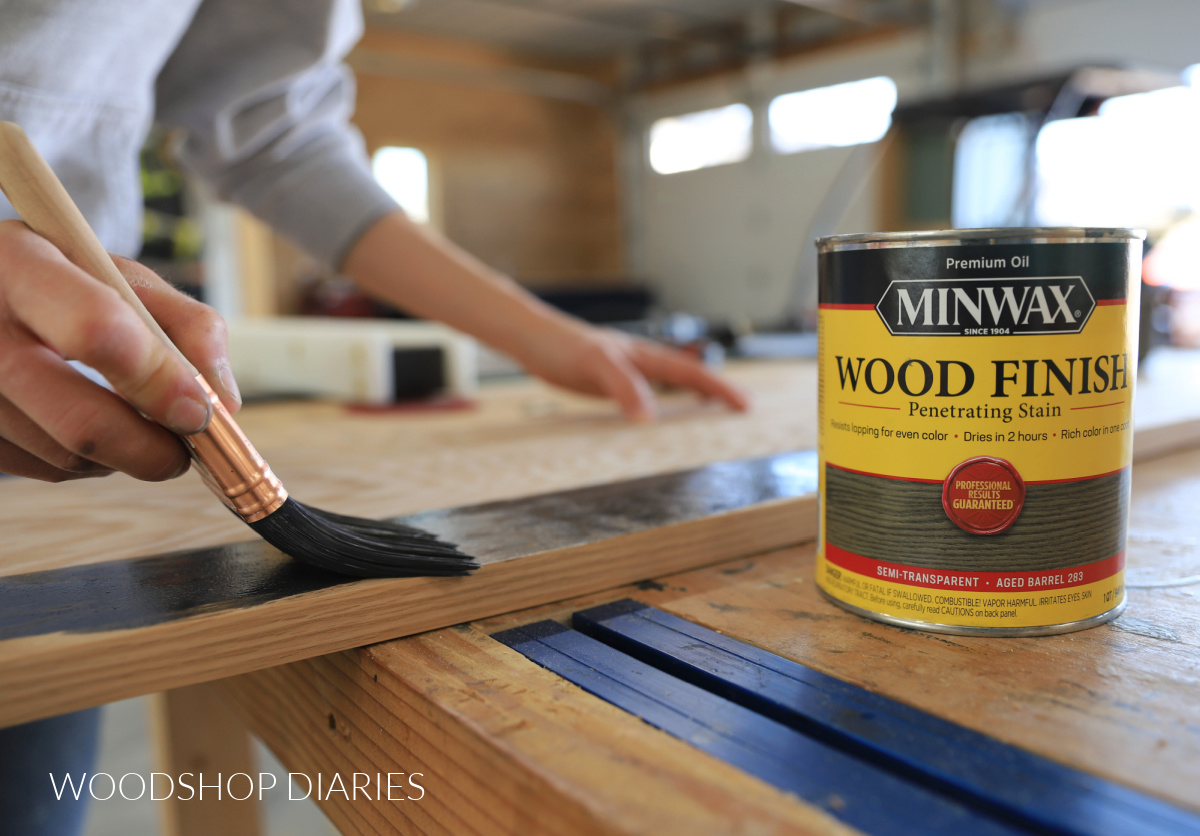
*If using a brush, make sure to use a brush designed for oil based finishes.
Since oil based stains can take hours to dry, you have plenty of time to apply, then come back and wipe away/smooth out the stain. This makes it really easy to kind of blend it all together for an even finish.
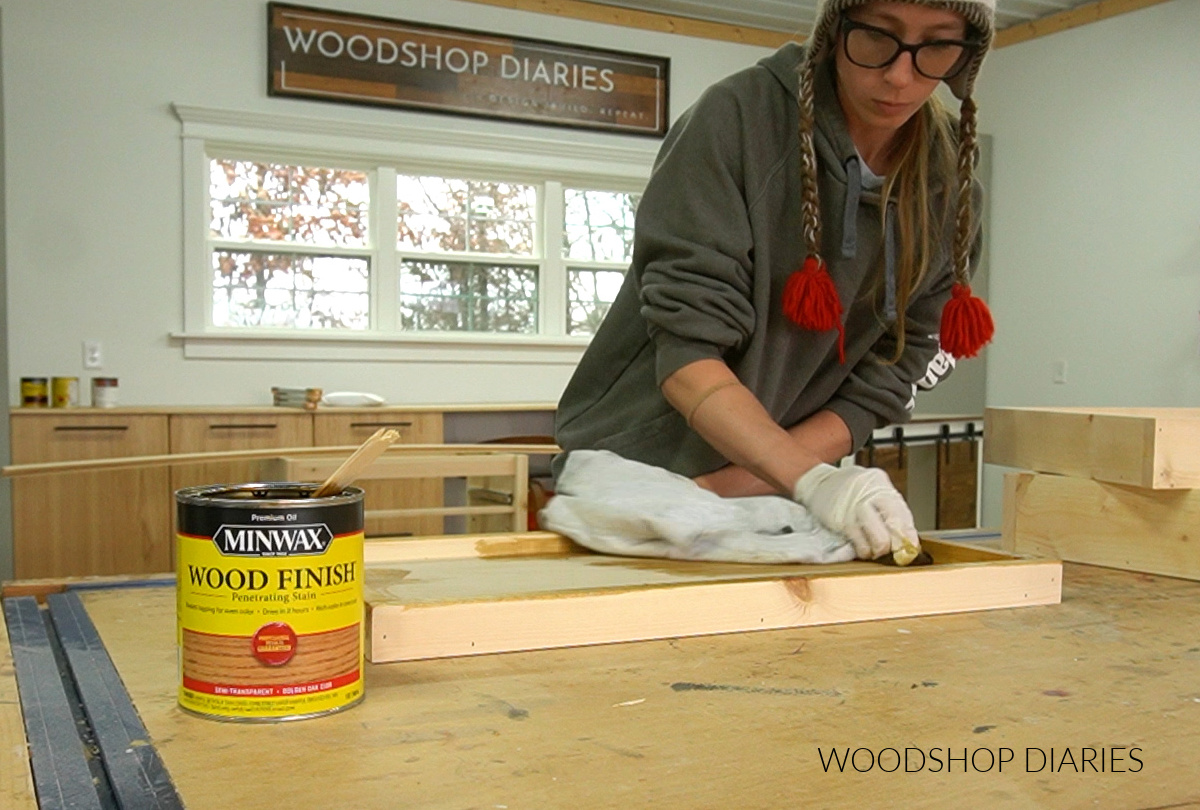
TIP: If you use an old t shirt or rag with oil based stains, I recommend using gloves as the stain can and will soak into your skin and is sometimes difficult to remove.
But for water based stains, they dry REALLY quickly. It’s important to wipe away the excess almost immediately. (This is why water based stains are tricky on larger projects–you can’t allow it to sit very long.)
I prefer to apply water based stains with an inexpensive foam brush. Once applied, quickly wipe away the excess with a clean rag in the same direction as the wood grain.
Water based stains are tricky to “blend.” So if you stain one section of a board, then move onto another section, where they meet, it may not blend together seamlessly. So when possible, it’s best to apply stain to one entire piece or board at a time (work quickly!), then wipe it off.
If you run into issues where the water based stain isn’t blending, if it hasn’t fully dried yet, you can apply a fresh (wet) coat of stain on top and try again. Adding a fresh coat kind of loosens up those dry spots to give you a little extra working time to smooth things out.

It’s difficult to smooth out water based stains on inside corners, so when working with water based stains, it’s often best to stain pieces individually before assembling.
Whether using water or oil based stains, the stain needs to dry before applying a clear coat on top. Check the can for appropriate dry times. Oil based stains need a much longer dry time than water based stains.
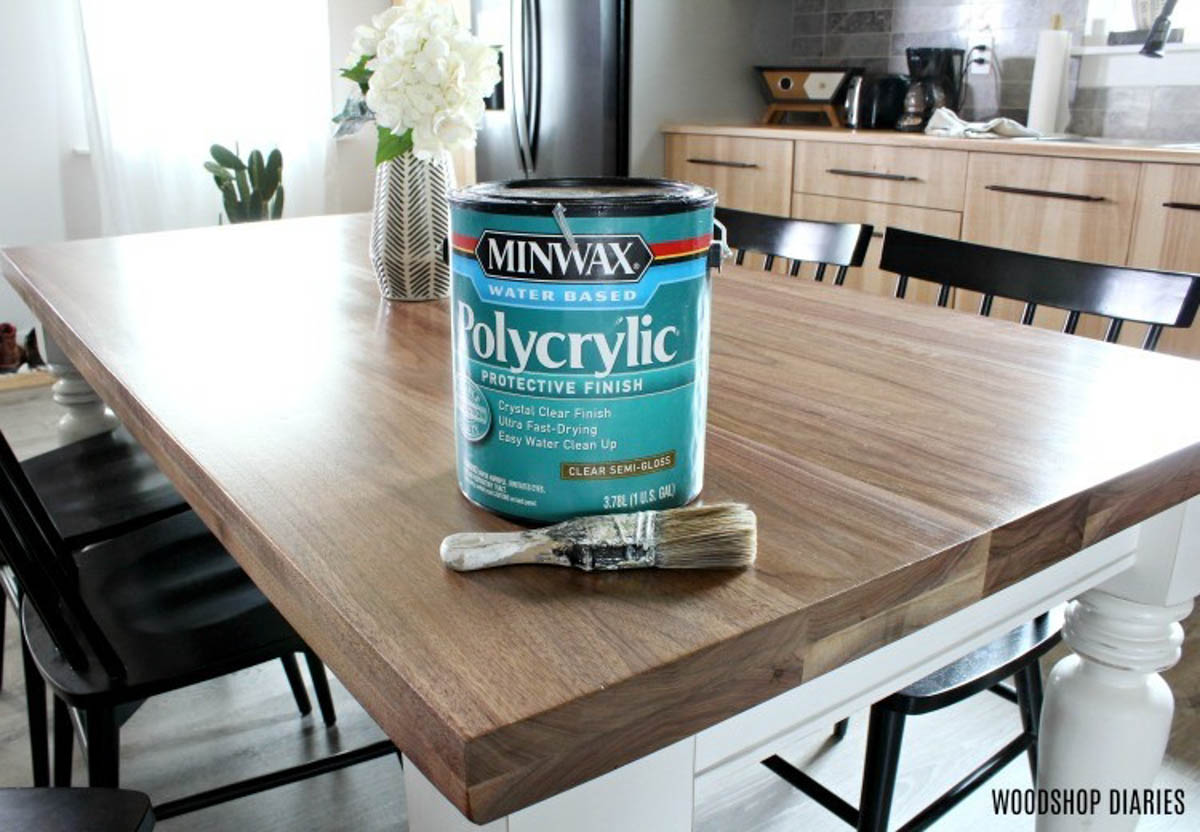
STEP 4: APPLY A CLEAR COAT
Once the stain is dry, I add a clear coat to protect the finish and brighten the grain.
You can apply waxes or oils as a clear coat, but when I use stain, I like to seal it in using a water based clear coat. Oil based clear coats tend to yellow over time. Water based stains stay clear.
Also, yes, you can apply a water based clear coat over an oil based stain as long as the stain has had adequate time to dry (check the label).
For indoor projects, Minwax Polycrylic works well and for outdoor projects or projects that will be exposed to water (like countertops or vanity tops), I use Minwax Water Based Helmsman.
Follow the directions on the can and stir well before applying.
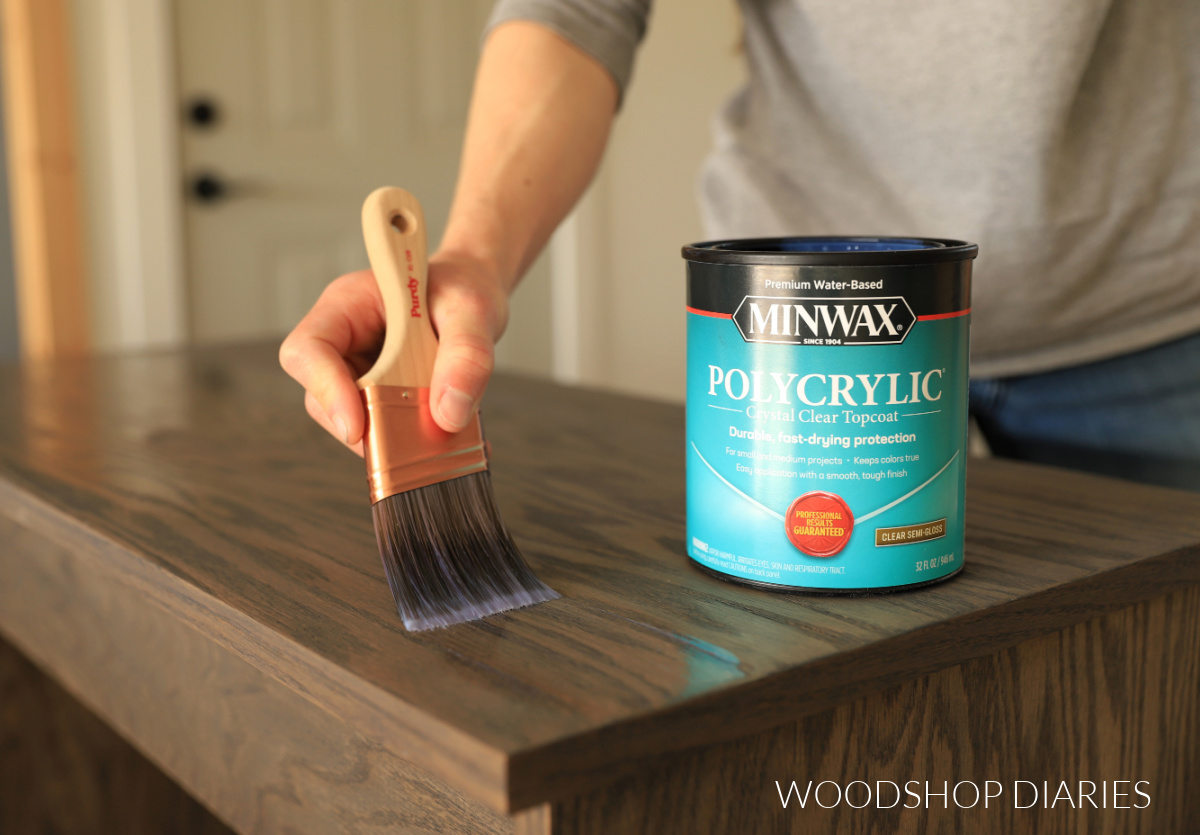
I brush with the grain in long, even swipes with a HIGH QUALITY BRUSH to minimize brush strokes. Then, I allow to dry and sand with 400 grit paper between coats. Apply 3-4 coats for best results.
You can learn more about finishing table tops with poly in this post.
As time goes on and the finish wears, you can reapply a fresh coat of poly by cleaning (remove any grease or dirt) and sanding the surface evenly with 400 grit sandpaper and applying 1-2 coats as needed.
Staining Outdoor Furniture
When you build a piece of furniture for use outdoors, you want to make sure it’s properly protected from weather damage from sun, rain, and snow.
The easiest way to do this is to apply an outdoor sealant. These come in a wide variety of brands, colors, and opacities. Thompson’s Water Seal, Olympic, Cabot, Valspar are all common outdoor stain and sealant brands you can find readily available in the big box store or local hardware stores.
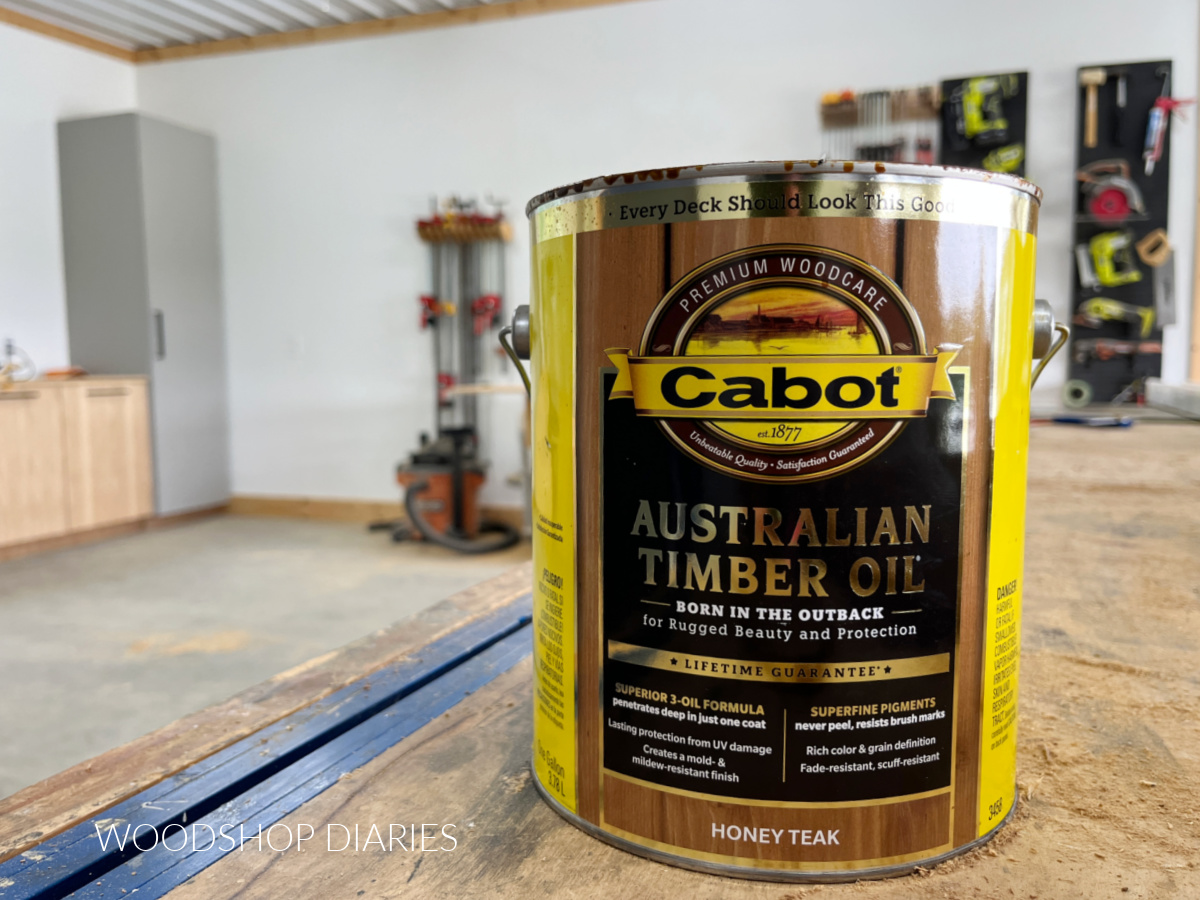
Most of the options you see available off the shelf come in a clear transparent, a tinted transparent, a tinted semi-transparent, and a tinted solid.
Basically anything with a tint is a stain and sealant all-in-one and the “less transparent” you go, the more protection it provides. Solids provide more protection than transparent. However, transparent allows you to see the wood grain more.
So choosing one is mostly based on how you want it to look and how often you want to reapply. Transparent stains will need to be reapplied more often than solids. But, none of these products will last forever, so be prepared to reapply every 2-5 years regardless.
Once water no longer beads up on the surface, it’s time for another coat.
To apply, follow step 1 above–you still need to sand outdoor projects! Then skip to step 3 and apply the outdoor stain and sealant. There’s no need to follow up with a clear coat since this is already built into the stain.
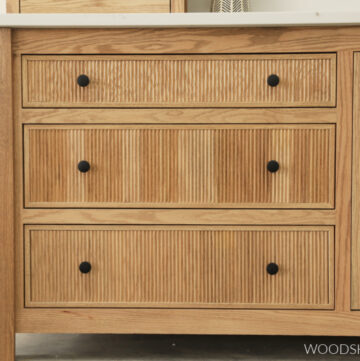
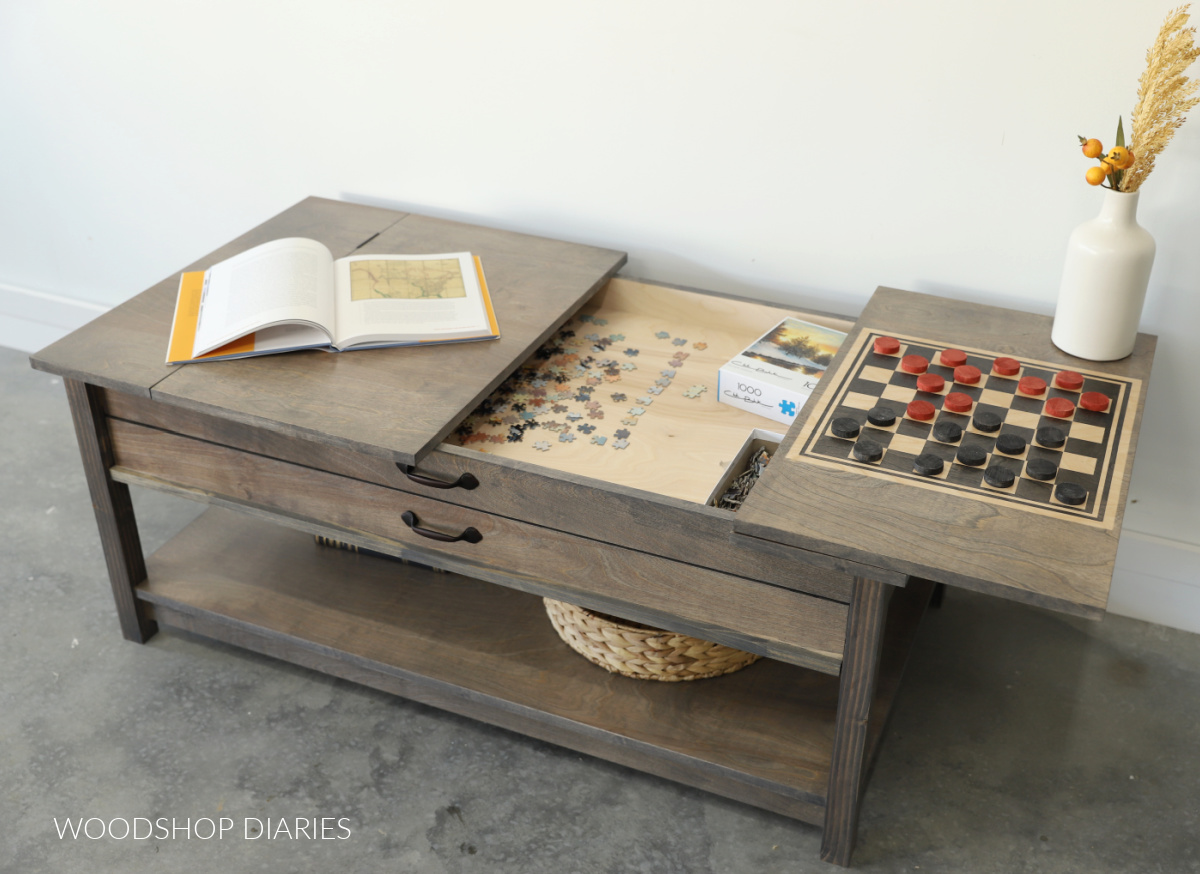
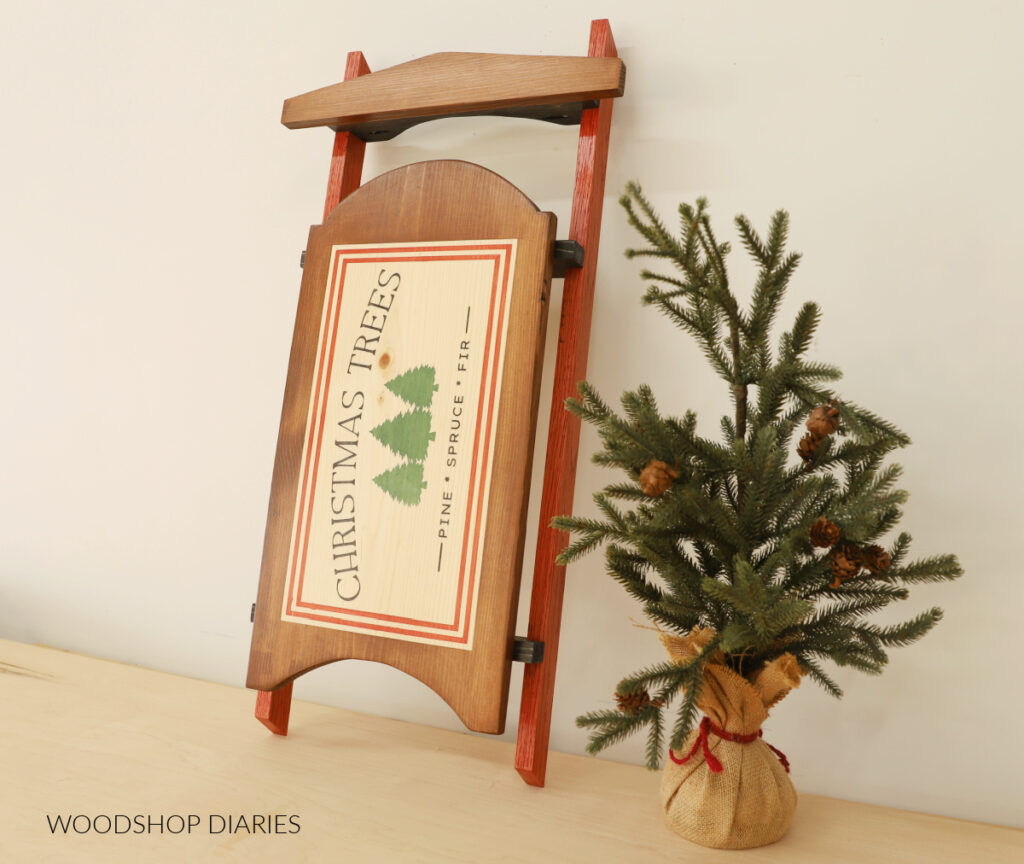
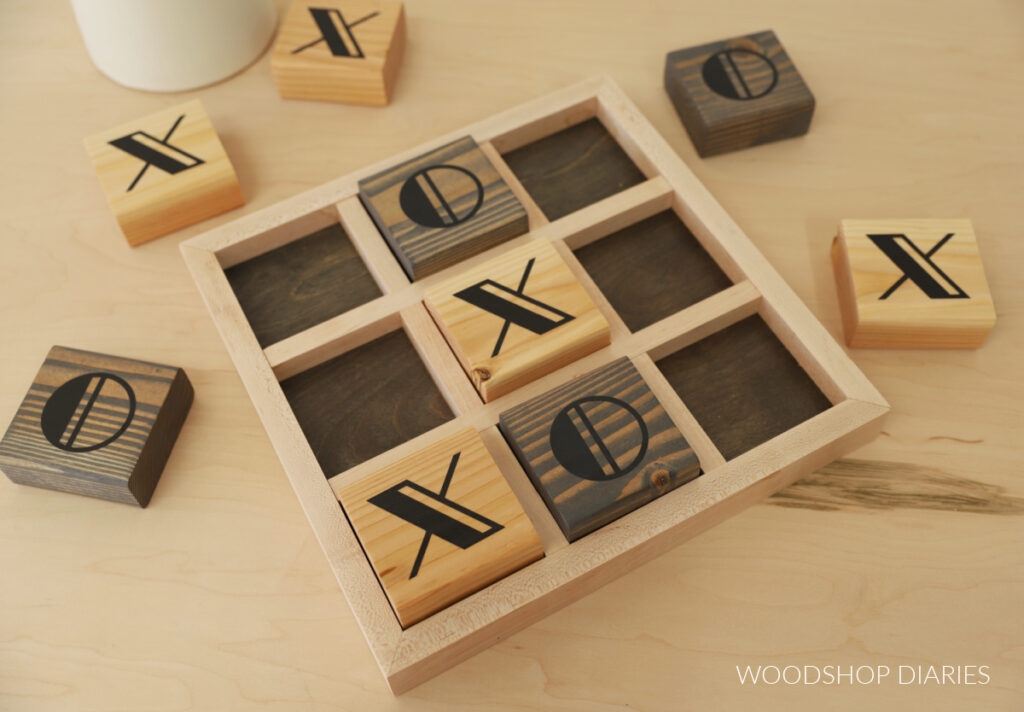
More Projects to Practice Staining
If you’re looking for some projects to practice your new staining skills, here are some unique project ideas!

If you’d like to save this post for later, be sure to pin it or share it to your favorite social channel!
Until next time, friends, happy building!