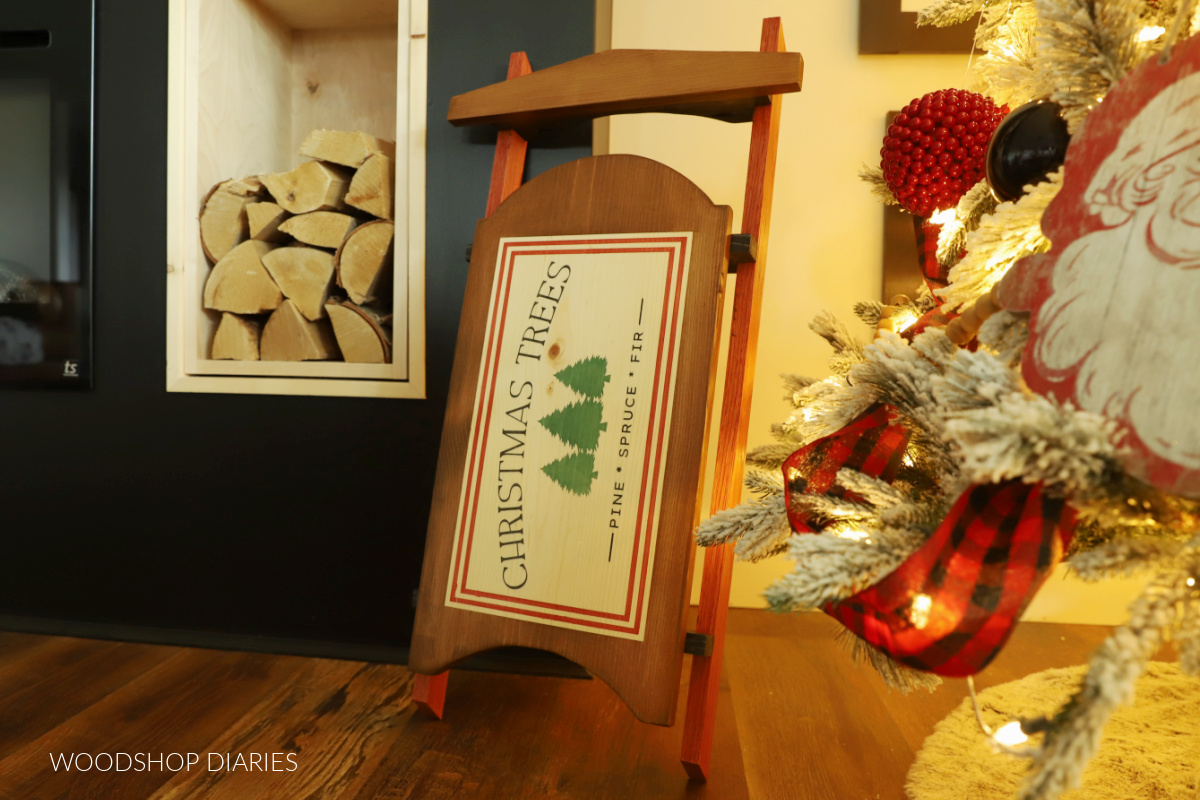
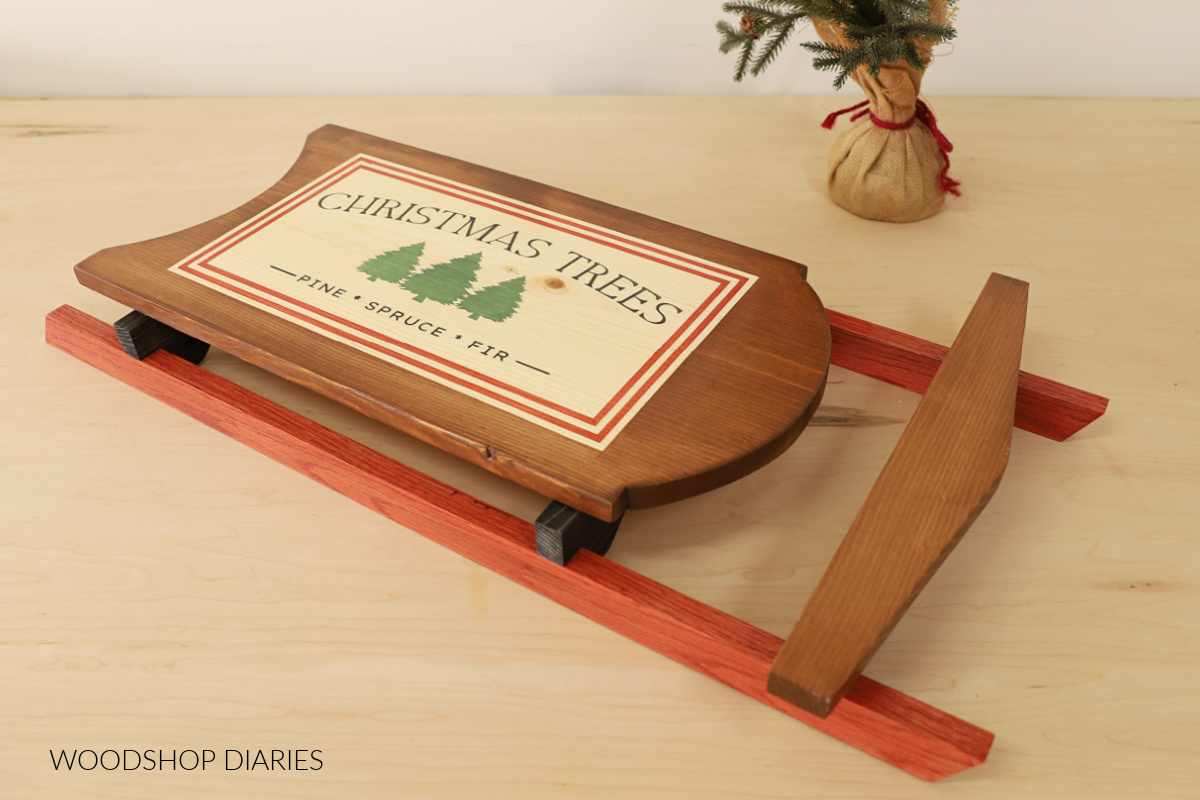
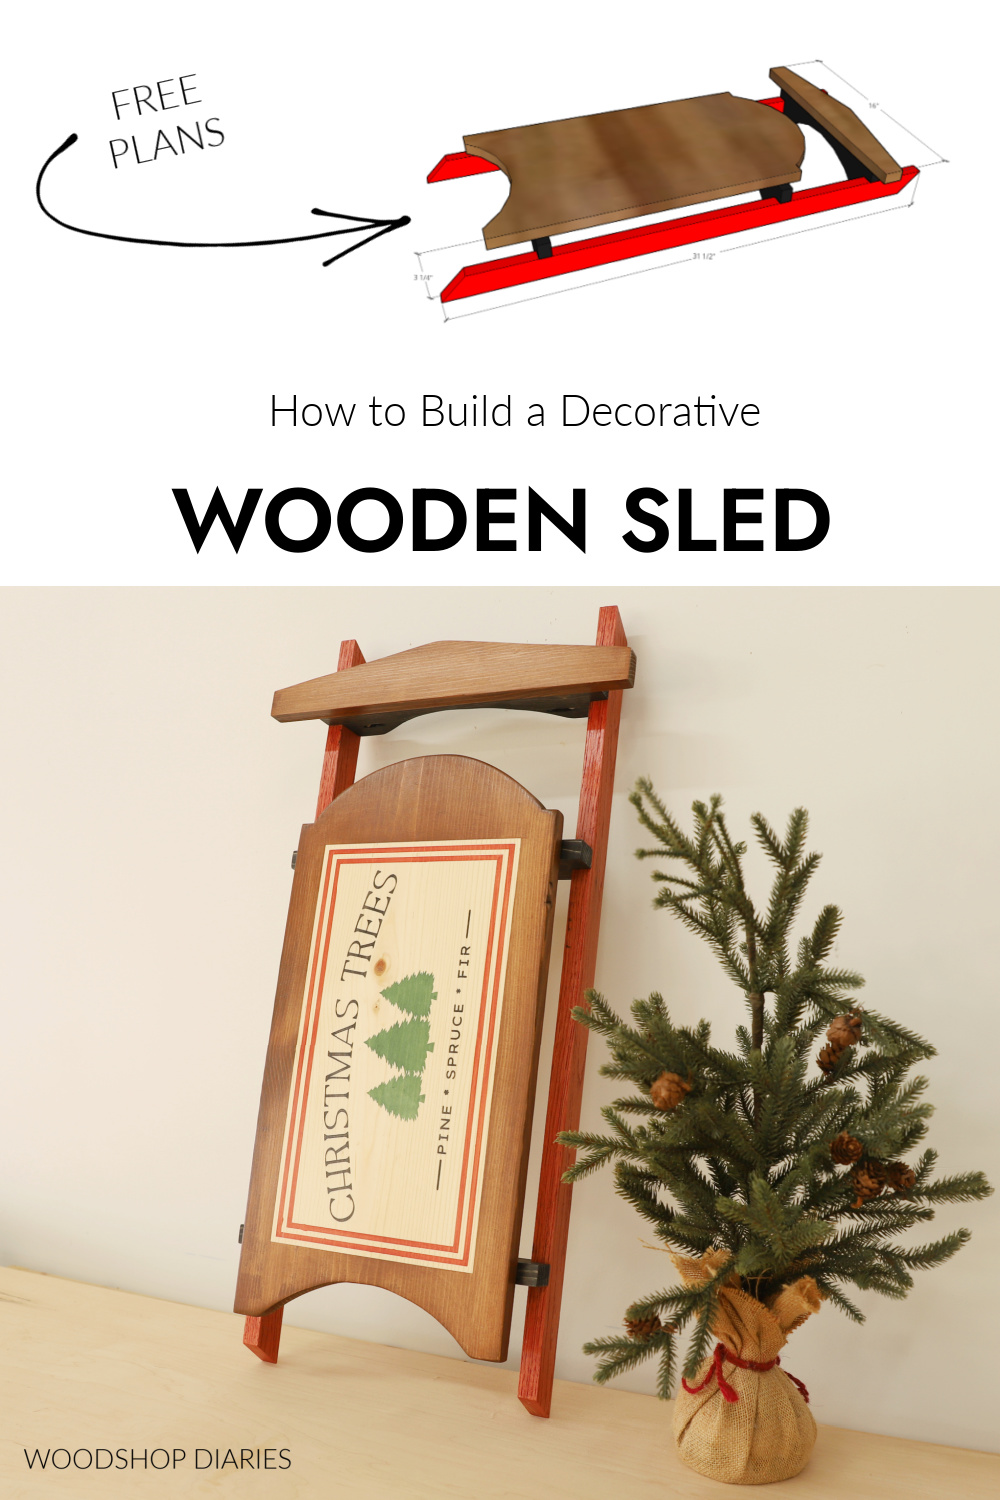
In this post, I’m sharing how to build a decorative DIY wooden sled perfect for use as a centerpiece, a door hanger, or décor by the Christmas tree!
Tis the season for all the fun Christmas DIYs. Even better if they’re made from scrap wood like this simple wooden sled!
*This post is sponsored by Kreg Tool and contains affiliate links. See website policies.
This adorable decorative sled is a super easy project and you can likely find everything you need to build it from your scrap pile with just a few basic tools.
Then once it’s built, feel free to add a custom logo, festive design, or monogram to make it your own. If you’re ready to see how you can build your own, let’s dive in to the how-to!
What to know before Building
This decorative DIY wooden sled is easy to customize to whatever shape, size, and style you’d like. Here, I used a jig saw to cut arches, and curves in the pieces to give it some extra details. Feel free to shape and style this however you’d like!
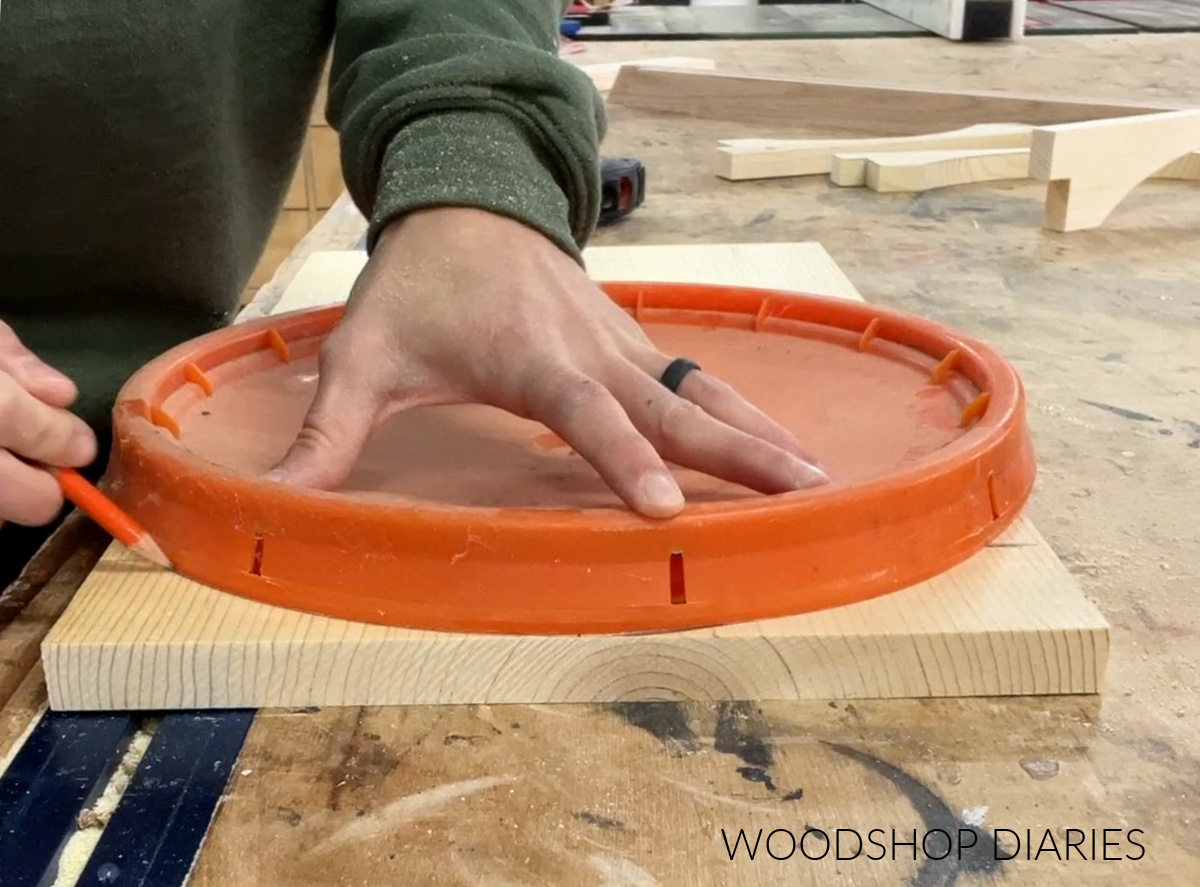
If you have a 5 gallon bucket (or the lid of a 5 gallon bucket), that works great as a template to trace these curves.
Most of the pieces needed are small (see step 1), so be sure to browse your scrap pile as you may find everything you need already there without having to purchase new lumber.
The boards I used here are all pine/spruce (the basic white board lumber from the big box store) except for the rails. I cut the rails from a scrap red oak 1×2 board I had in the shop (but pine would have worked fine for these parts, too!).
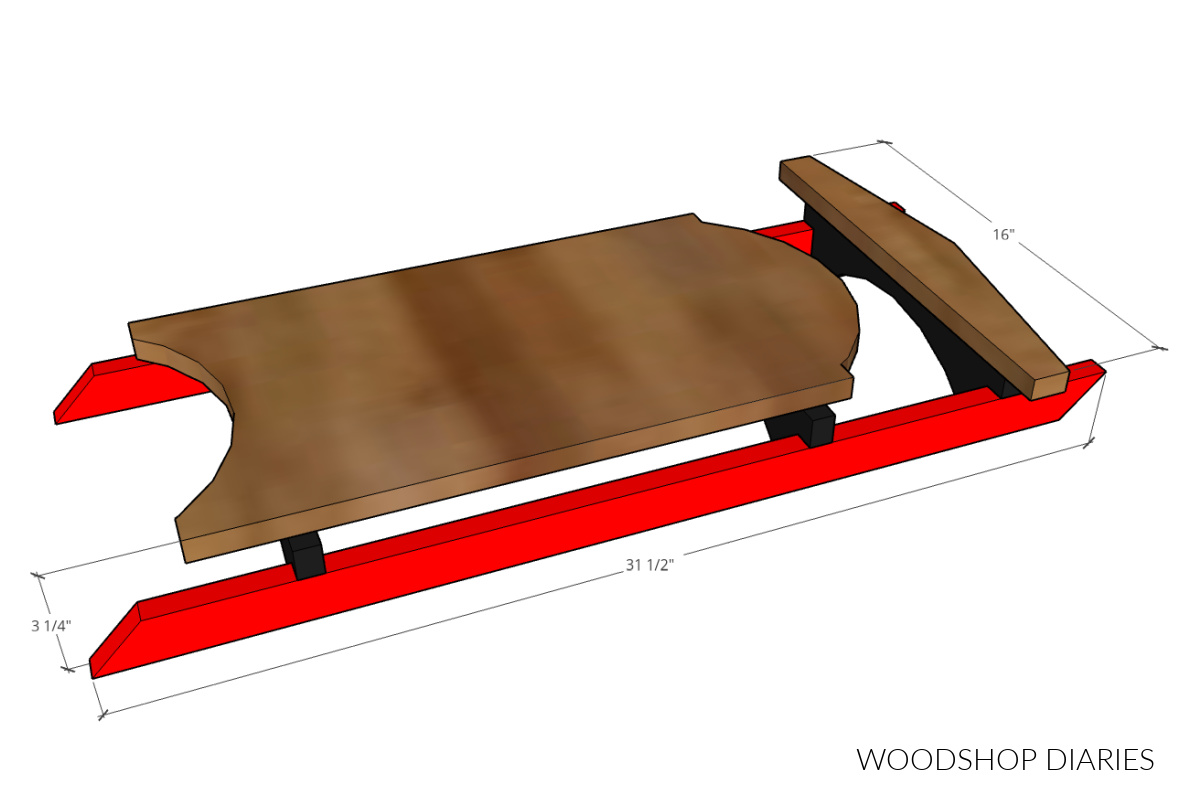
The overall dimensions of this wooden sled are approximately 3 ¼″ tall x 16″ wide x 31 ½″ long.
Are DIY projects your thing? Sign up for our newsletter for priority access to the latest projects and build plans!
How to Build a Decorative DIY Wooden Sled
This is a great beginner woodworking project that only takes an hour or so to complete. Add a little extra time if you plan to stencil it with a custom design, but the build itself is really quick!
Tools & Materials
Be sure to check your scrap pile before building. Most of these pieces are fairly small (see step 1), so you might find everything you need in your scraps.
However, if you’re starting from scratch, I’ve listed the length of each size board you’d need if you’re buying them from the store.
Tools:
Materials:
- (1) 1×12 board (2 ft long)
- (1) 1×2 board (6 ft long)
- (1) 1×3 board (6 ft long)
- 1 ¼″ pan head pocket hole screws
- Wood Glue
- 1 ¼″ long brad nails (optional)
Step 1: Cut Wood Sled Pieces
First, I cut down the sled pieces. Everything was cut from 1x2s, 1x3s and a 1×12 board.
Sled Rails:
I cut two 1x2s to 30″ long with ends mitered 45° parallel to each other for the sled rails. Mitered ends are optional, but it adds a little detail to the design.
RELATED: How to cut angles on a miter saw
Sled Runners:
Then, I cut three 1x3s to 12 ¾″ for the sled runners (the pieces that go between the rails). After these were cut to length, I used a jig saw to notch out the bottom two corners of each so they’d fit around the 1×2 rails.
To give it a little extra character, I used the lid of a 5 gallon bucket to trace an arch along the bottom of each and cut this out with a jig saw.
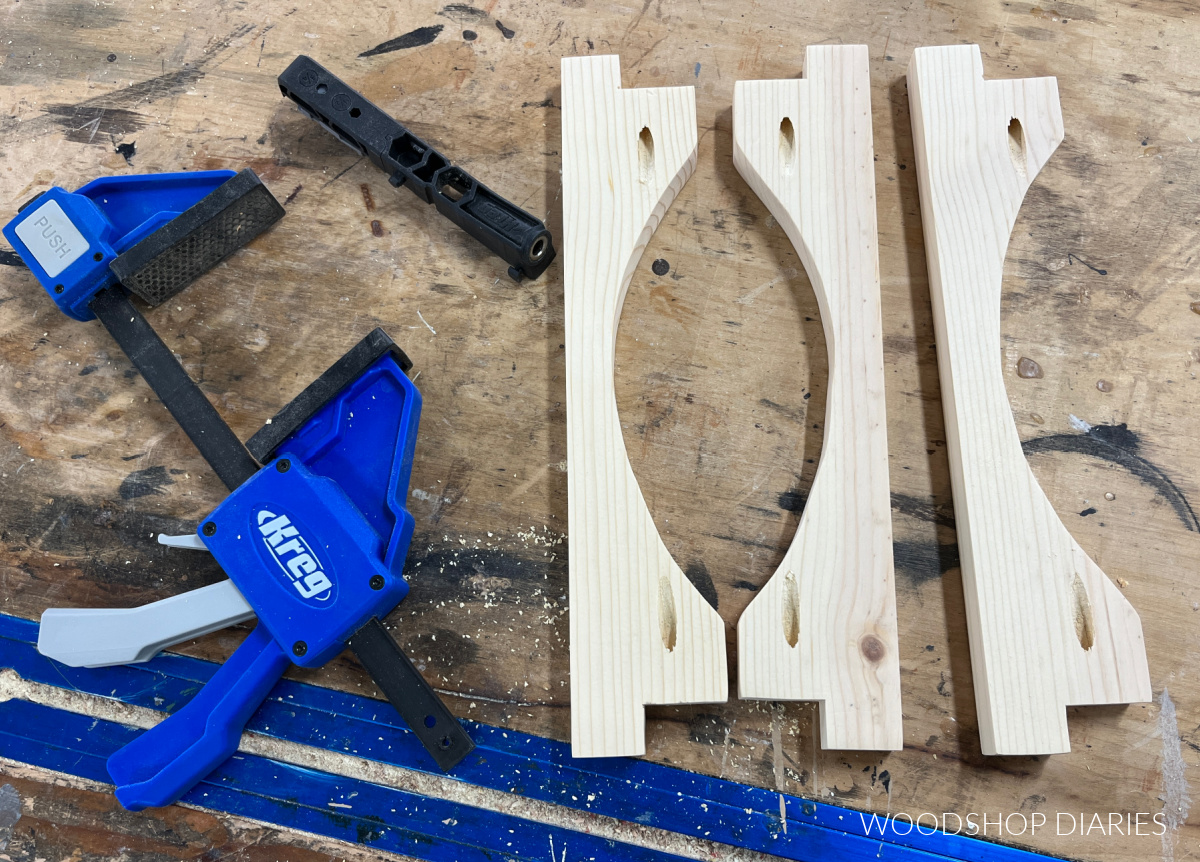
Then, I used the Kreg Micro Pocket Hole Jig (shown above) to drill ¾″ pocket holes into the ends of the three sled runners.
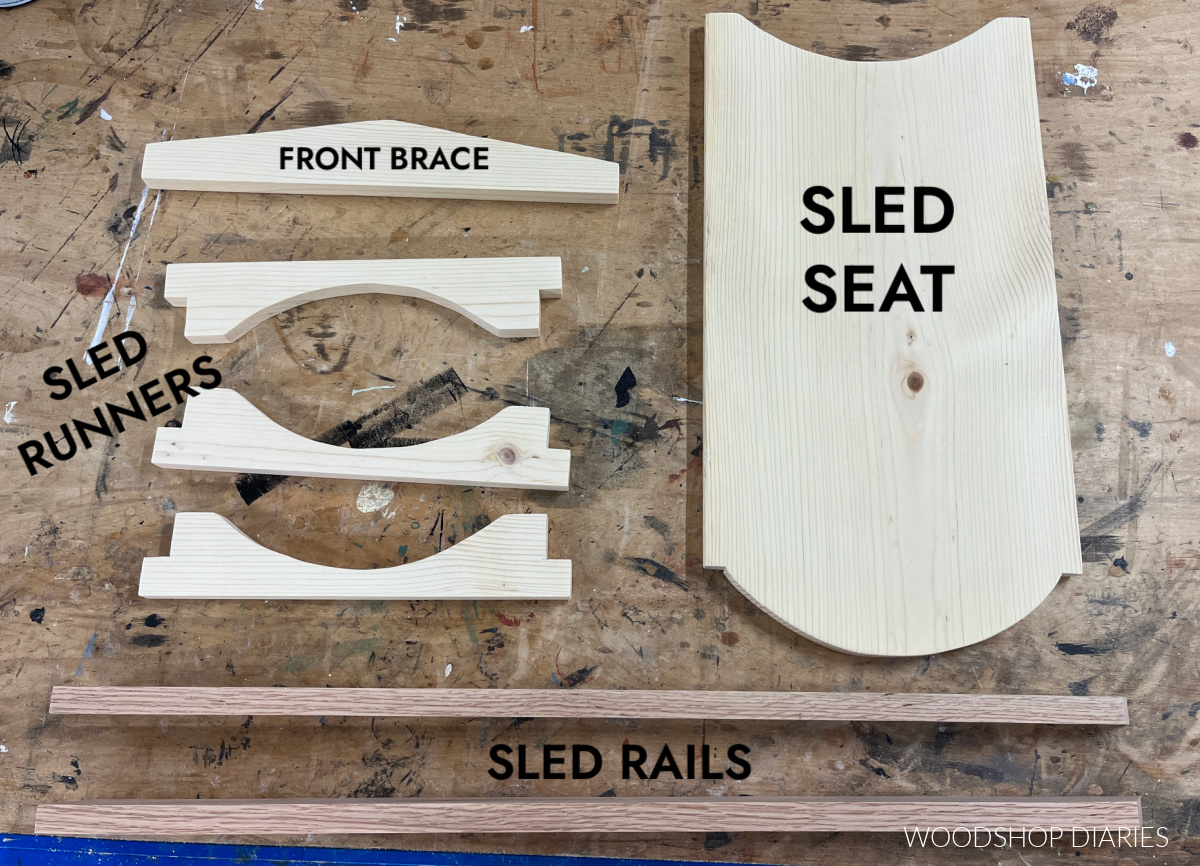
Sled Front Brace:
For the front brace, I cut another piece of 1×3 to 16″ long and used a jig saw to slope the top corners down from the middle like shown.

You can certainly leave it straight, but these cuts just gave it some extra detail.
Sled Seat:
Finally, I cut the sled seat from a 1×12 about 22″ long. I used the 5 gallon bucket lid again to trace some arches at the top and bottom of the board and cut these out with a jig saw.
Once all the pieces were cut, I sanded them well before assembling.
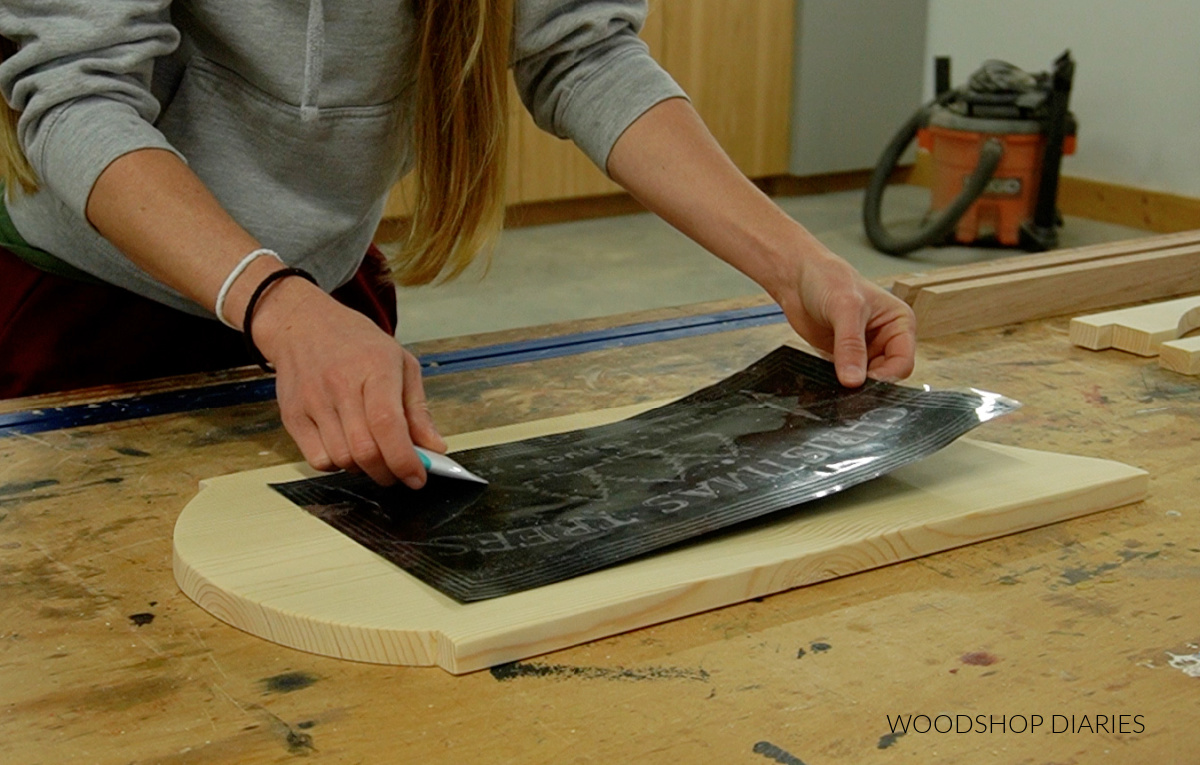
Step 2: Add Custom Design to Sled Seat (Optional)
To make it a little more festive, I applied a “Christmas Tree Farm” design to the sled seat. This is completely optional, but if you’d like to customize your sled, this is one way to do it.
Stain/Finish Products Used Here:
- Cricut Machine (to cut vinyl stencil)
- Cricut Vinyl (to cut staining stencil from)
- Cricut Transfer Tape
- Cricut Tool Set
- Minwax Water Based Stains
First, I designed my stencil in Cricut Design Space. I simply drew some boxes for the outline, added some text, and some trees. You can check out my design here. But feel free to create your own design instead.

Then, I cut it out on permanent vinyl using my Cricut Explore 3. The color of the vinyl doesn’t matter here since it’ll all be removed in the finished project–it’s just for stencil.
I used transfer tape to transfer the full vinyl stencil (don’t remove any of the parts yet) to the sled seat making sure it is centered. It should be smooth and well adhered to the wood.
Then, I stained sled seat in sections. (You could also paint, but I love to keep the wood grain, so I opted for stain.)
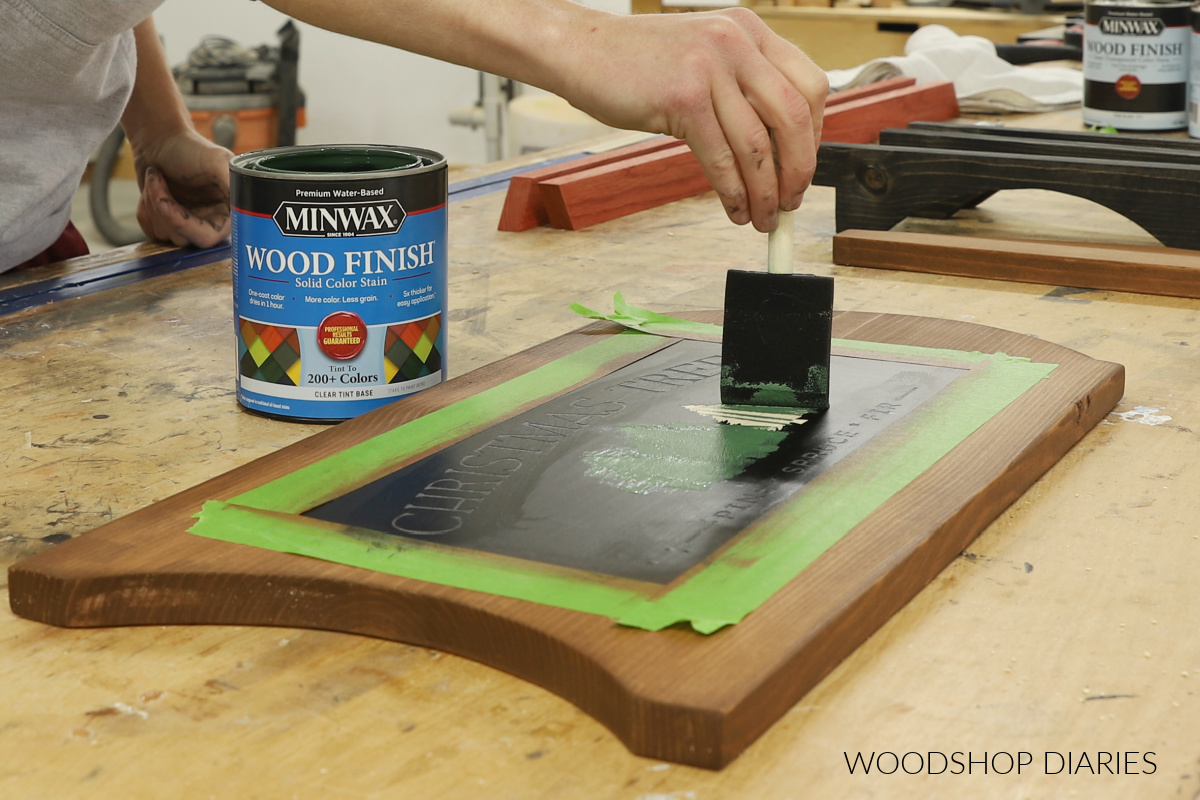
TIP: When using vinyl as a staining stencil, I’ve found that water based stains provide much crisper lines than oil based stains. They go on thicker, so they don’t tend to seep under the stencil as bad. A foam brush is a great way to apply these.
I stained the seat around the vinyl with Minwax Water Based Wood Stain in Semi-Transparent Pecan. Water based wood stains dry quick, so you want to apply, then wipe away the excess within just a few minutes.
Once the outside was stained around the vinyl, I removed the parts of the stencil I wanted to stain red, and stained these with Minwax Water Based Wood Stain in Semi-Transparent Spice.

TIP: Use some painters tape to protect surrounding parts from accidental stain overlap.
Then I repeated to stain the lettering with Minwax Water Based Wood Stain in Semi-Transparent True Black and the trees with Minwax Water Based Wood Stain in Solid Early Spring.
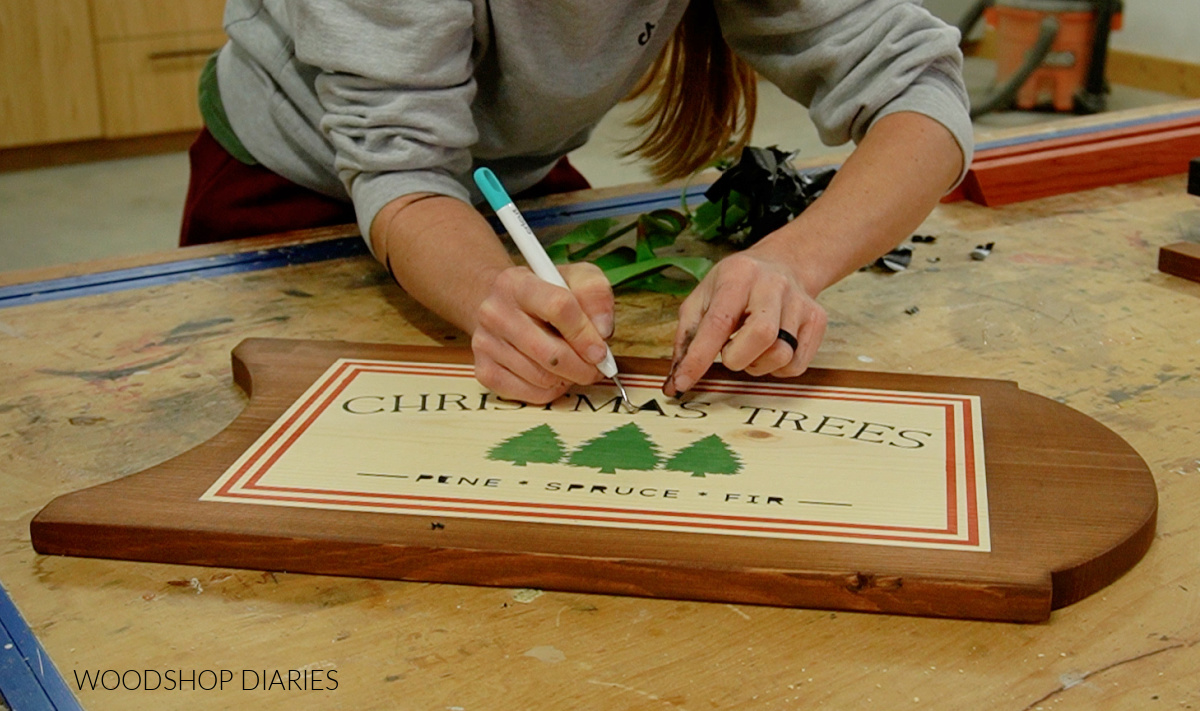
After the stain had been applied, I removed the rest of the stencil to reveal the whole design!
Step 3: Assemble Sled Frame
Before assembling, I finished the rest of the sled pieces. I stained the two rails the same red I used in step 2 (spice), the three sled runners the same black I used in step 2 (true black), and the sled front brace the same brown I used in step 2 (pecan).
Once these pieces were dry, I secured the sled runners between the rails using 1 ¼″ pan head pocket hole screws through the pocket holes I drilled in step 1.
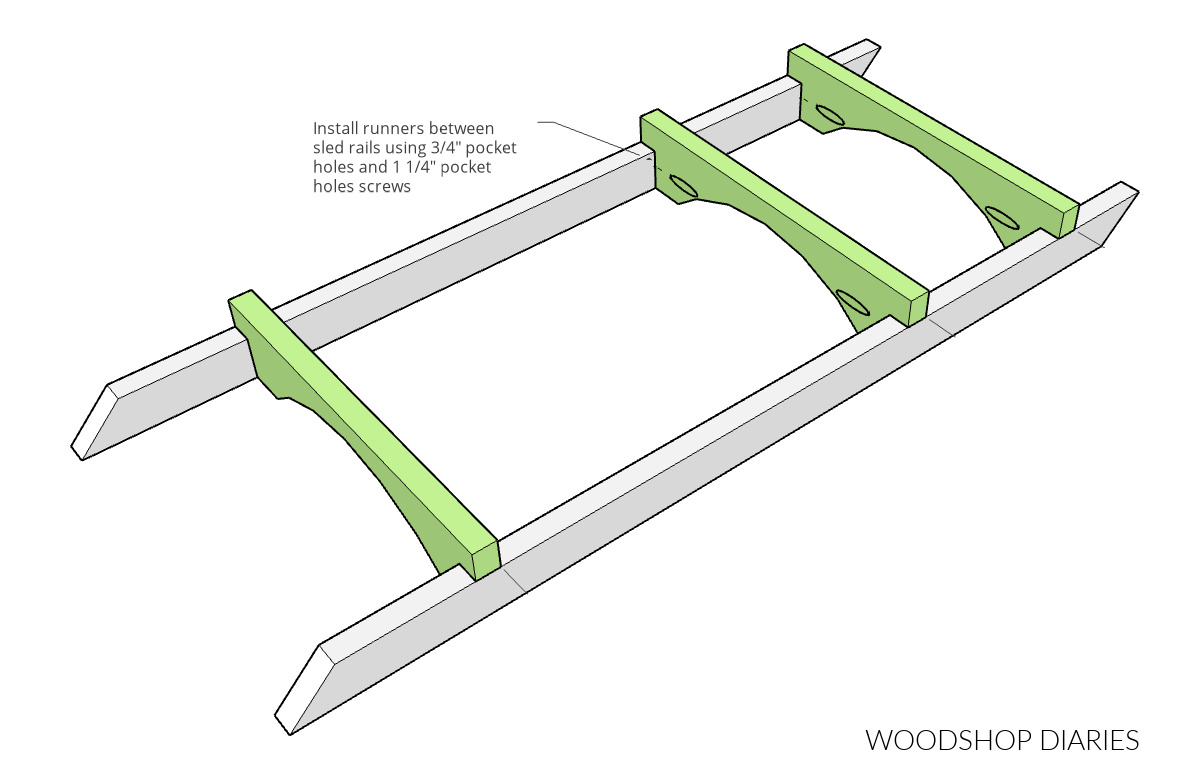
Check out the plan on KregTool.com for exact dimensions and placement of these pieces.
Step 4: Attach Seat and Front Brace
Once the runners were secured between the rails, I applied wood glue to the tops of them and placed the sled seat and front brace on top. I simply set them in place and allowed the glue to dry.
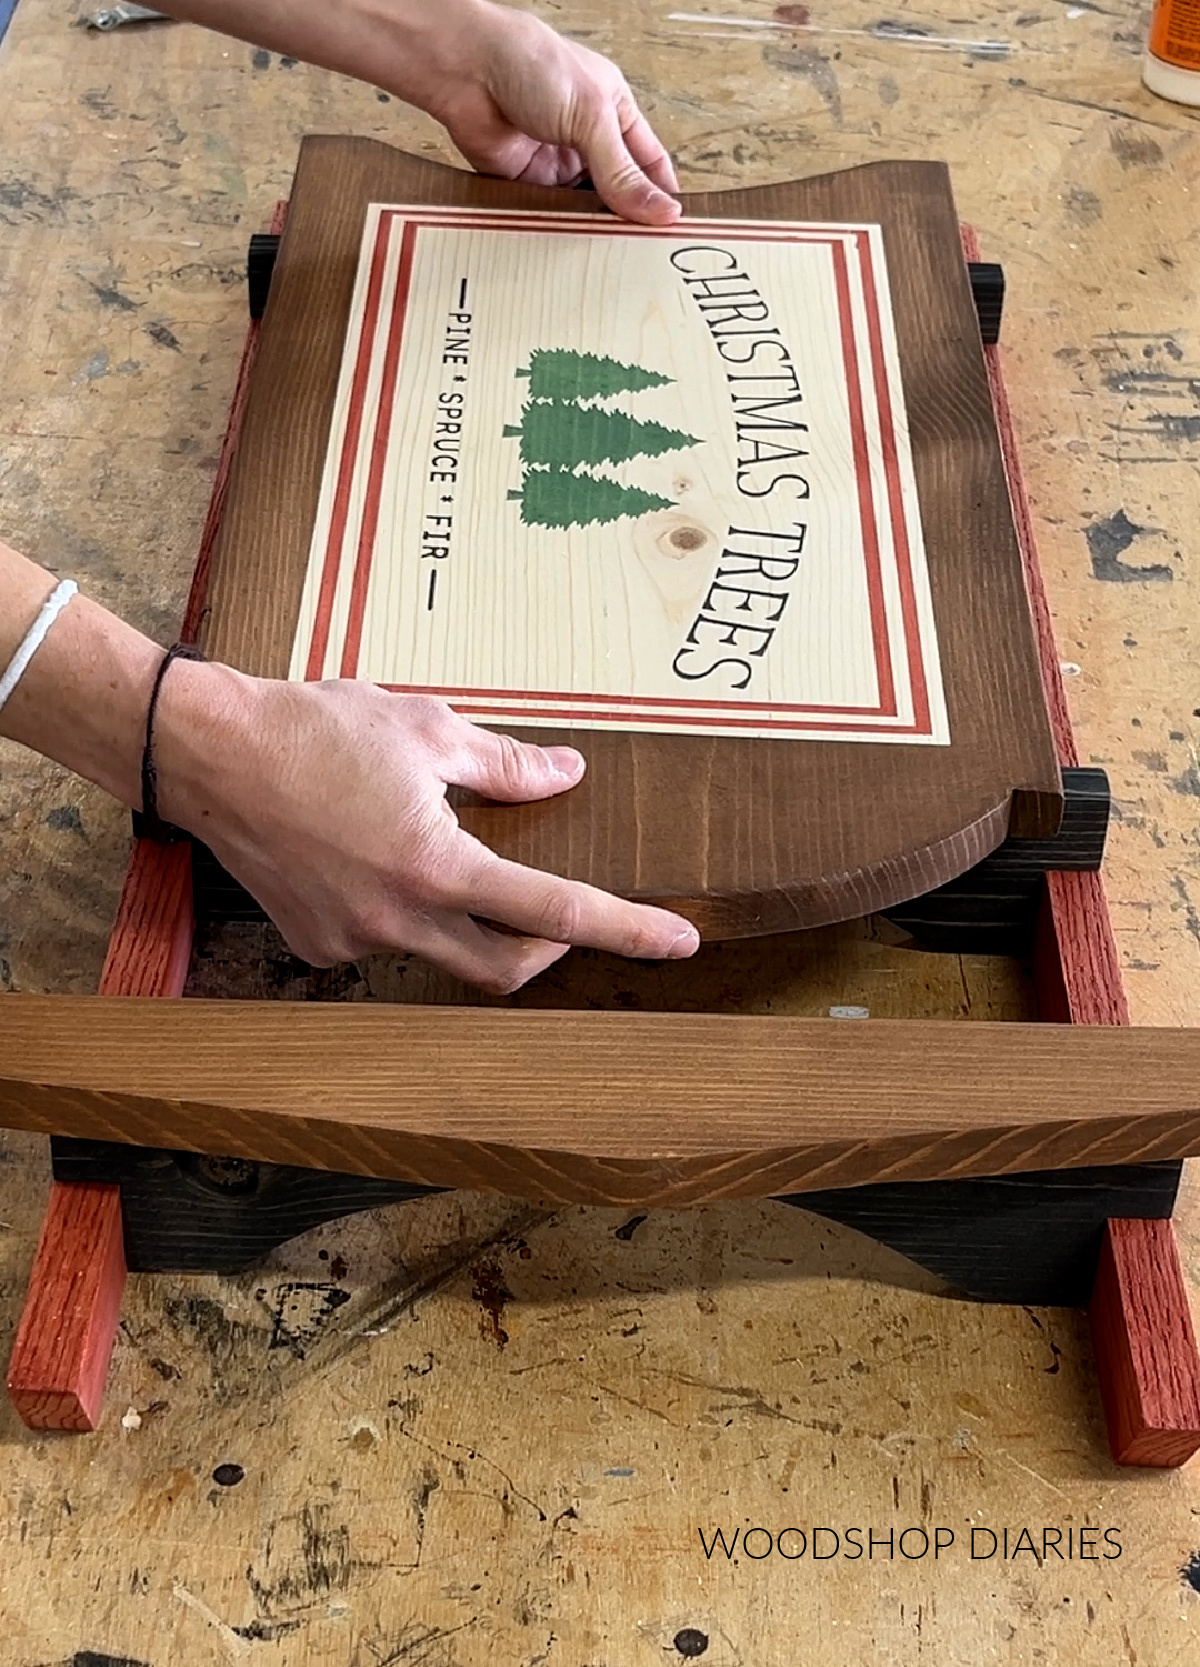
However, if you wanted to also add a couple brad nails to secure while the glue dried, that would be fine, too.
Once the glue was dry, I applied a couple coats of Minwax Polycrylic to the sled and it was ready to use!
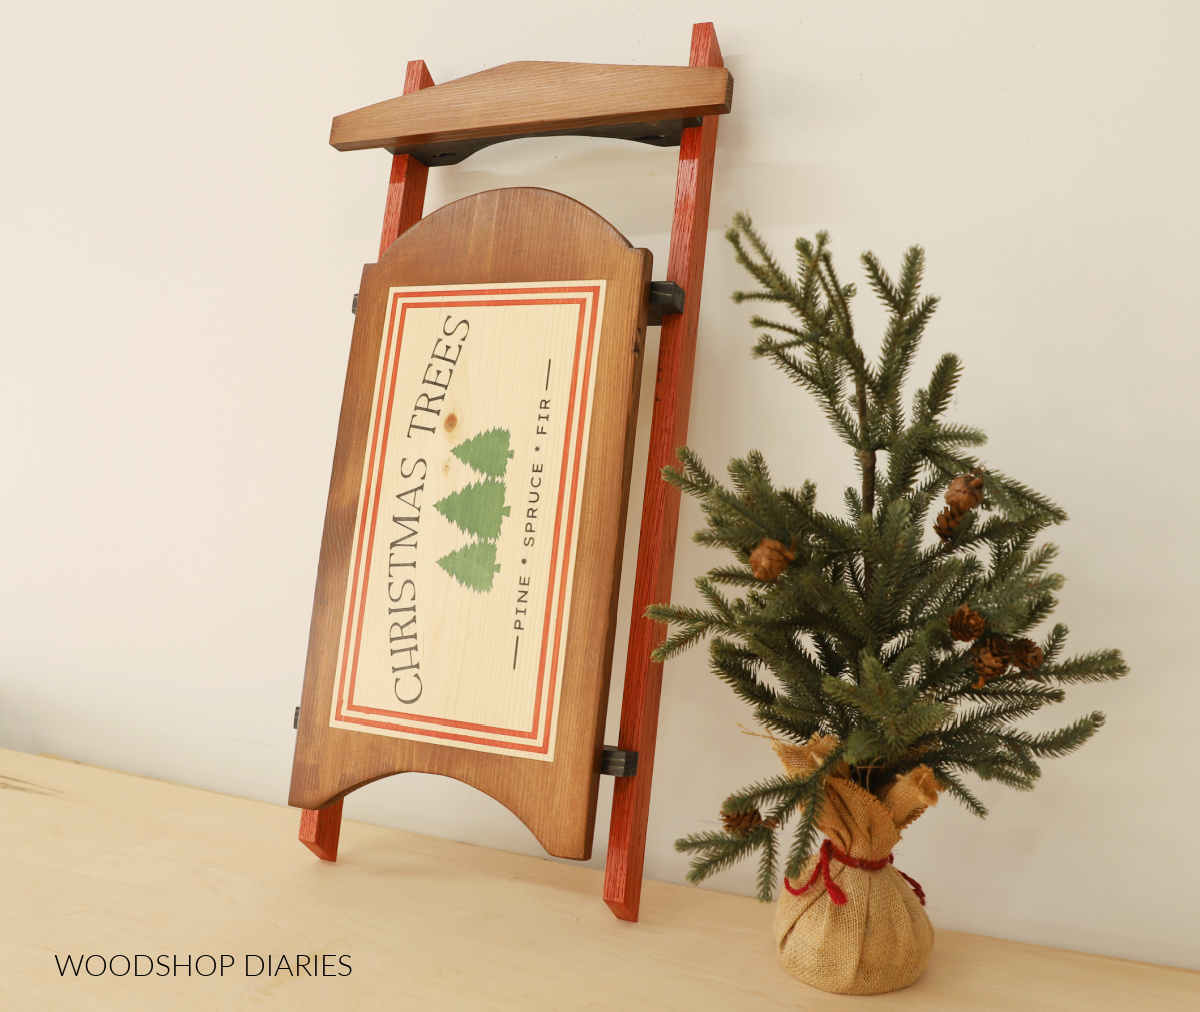
If you wanted, you could add a little rope at the top for some extra decoration. And now this sled is ready for the dining table as a centerpiece, beside the tree as fun décor, or hang it on the door or the wall for the winter season.
Grab the free plans to build this simple wooden sled on KregTool.com!
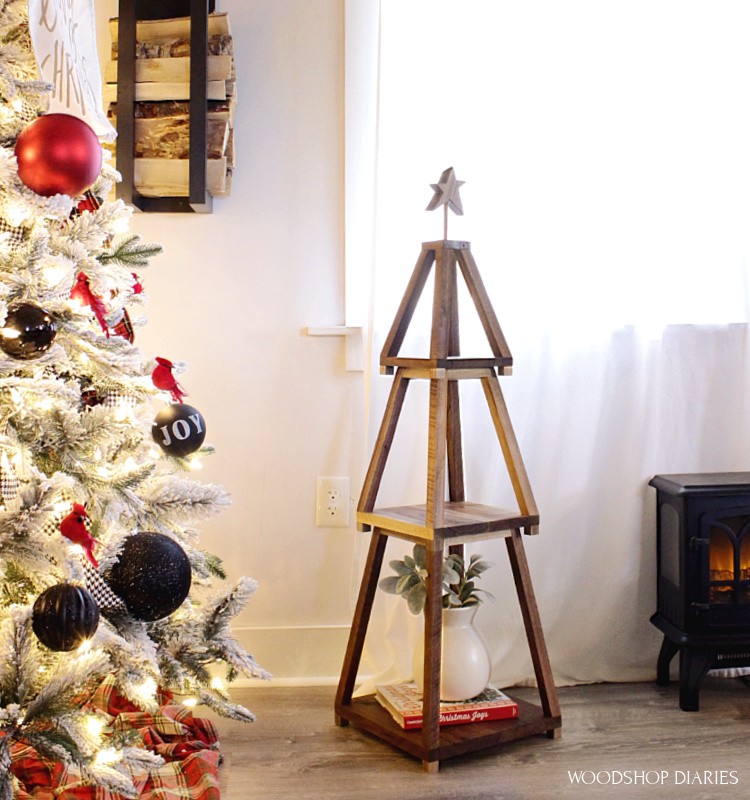
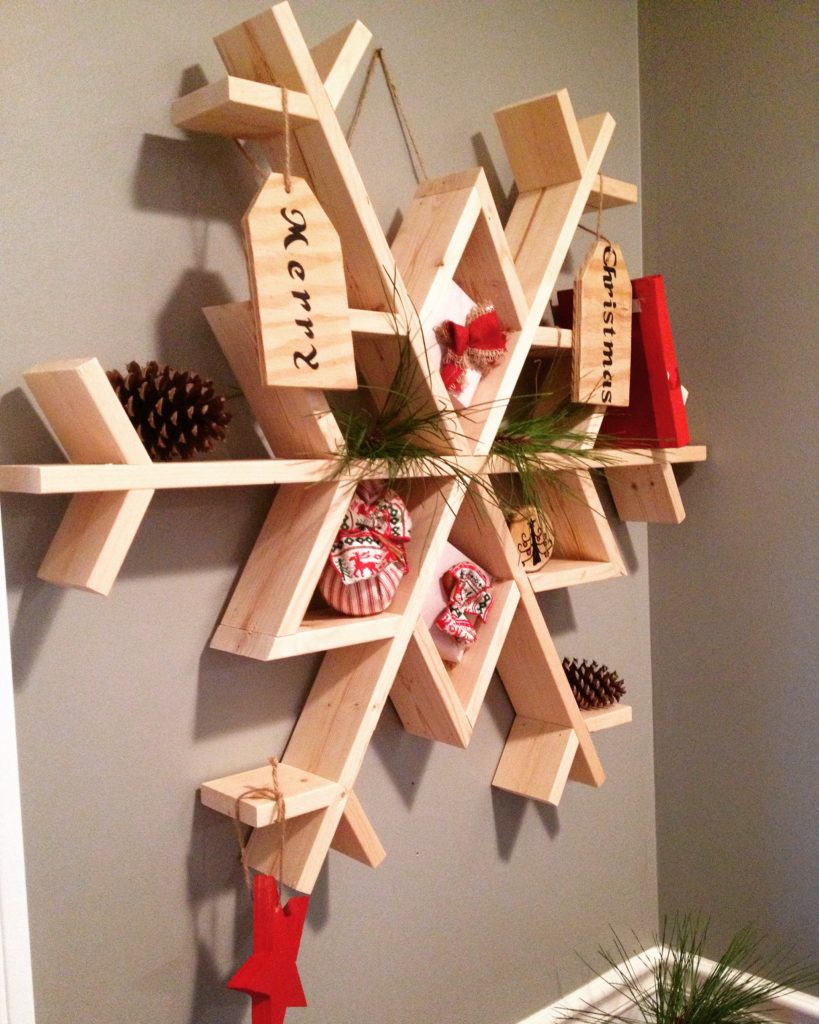
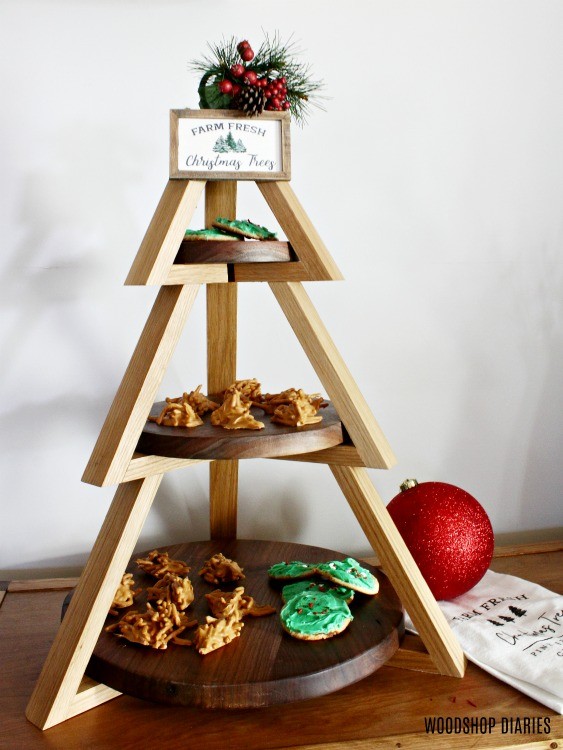
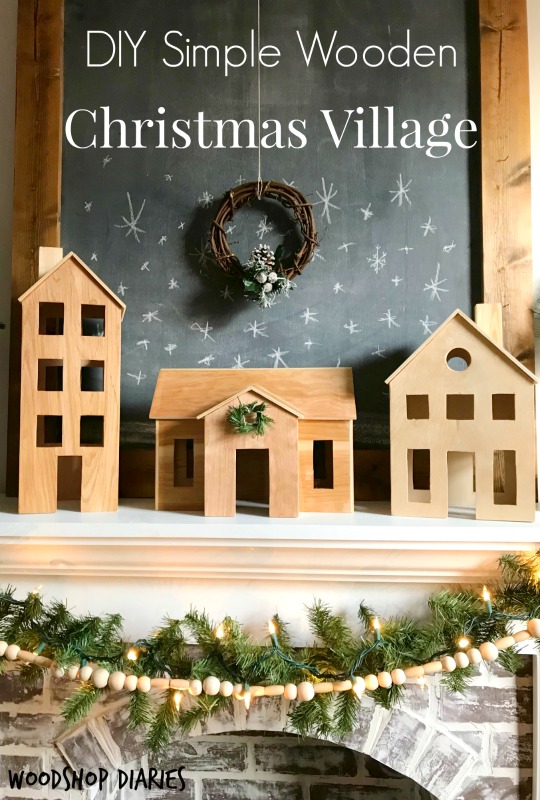
Looking for more Holiday DIYs?
It’s the best time of the year for some fun projects. Here are some more holiday themed DIYs you’re sure to love!
If you’d like to save this post for later, don’t forget to pin it or share it to your favorite social channel!
Until next time, friends, happy building!