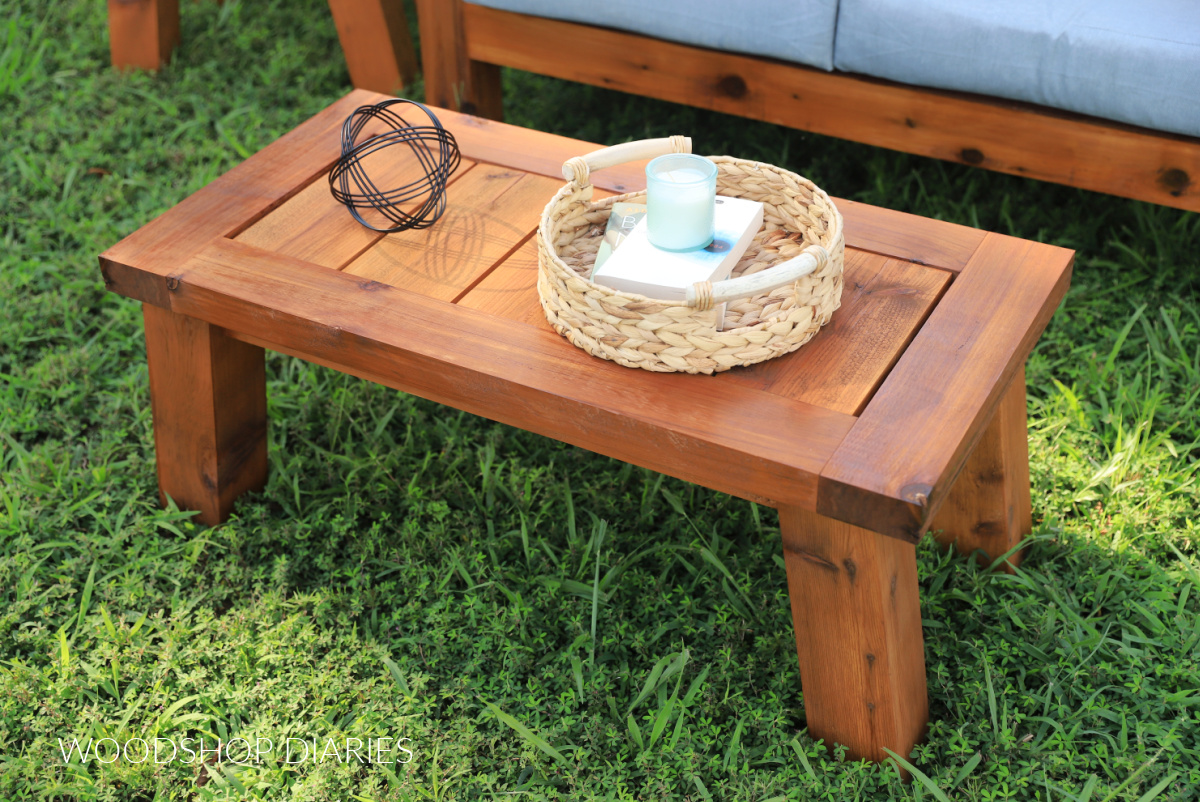
In this post, I’m sharing how to build a chunky style DIY outdoor coffee table!
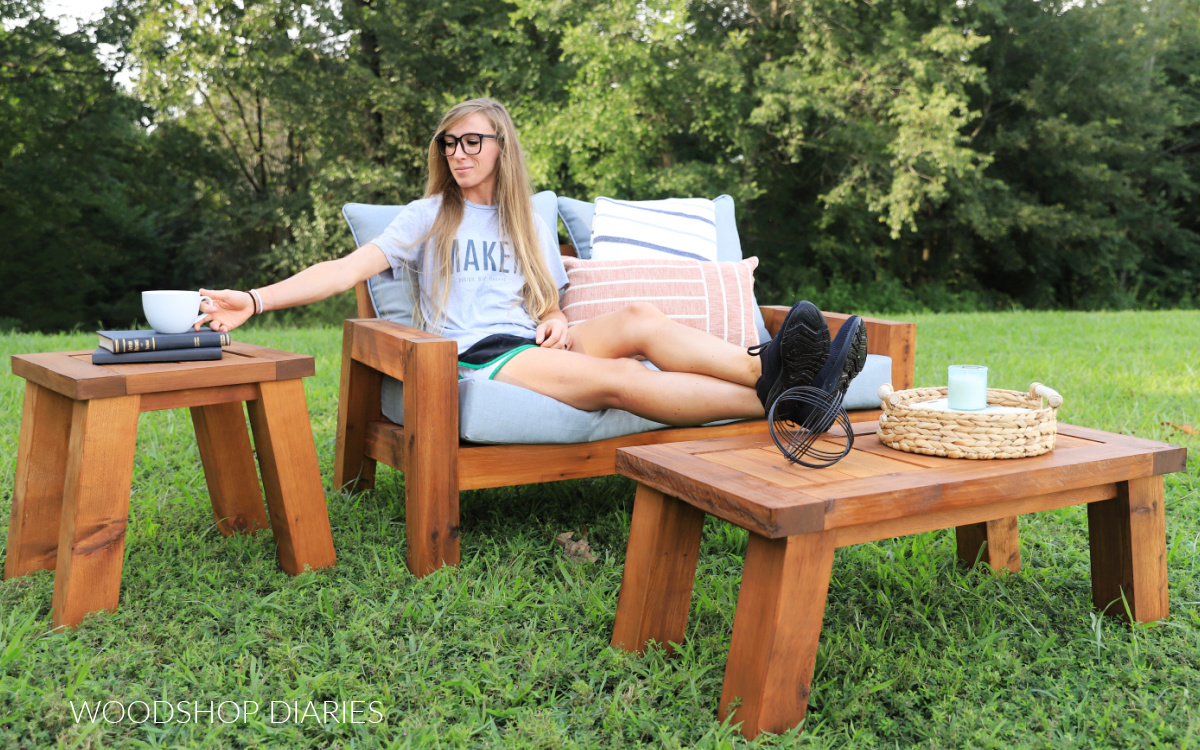
This coffee table is a simple, but adorable addition to the matching outdoor furniture set I’ve been putting together over the last few weeks.
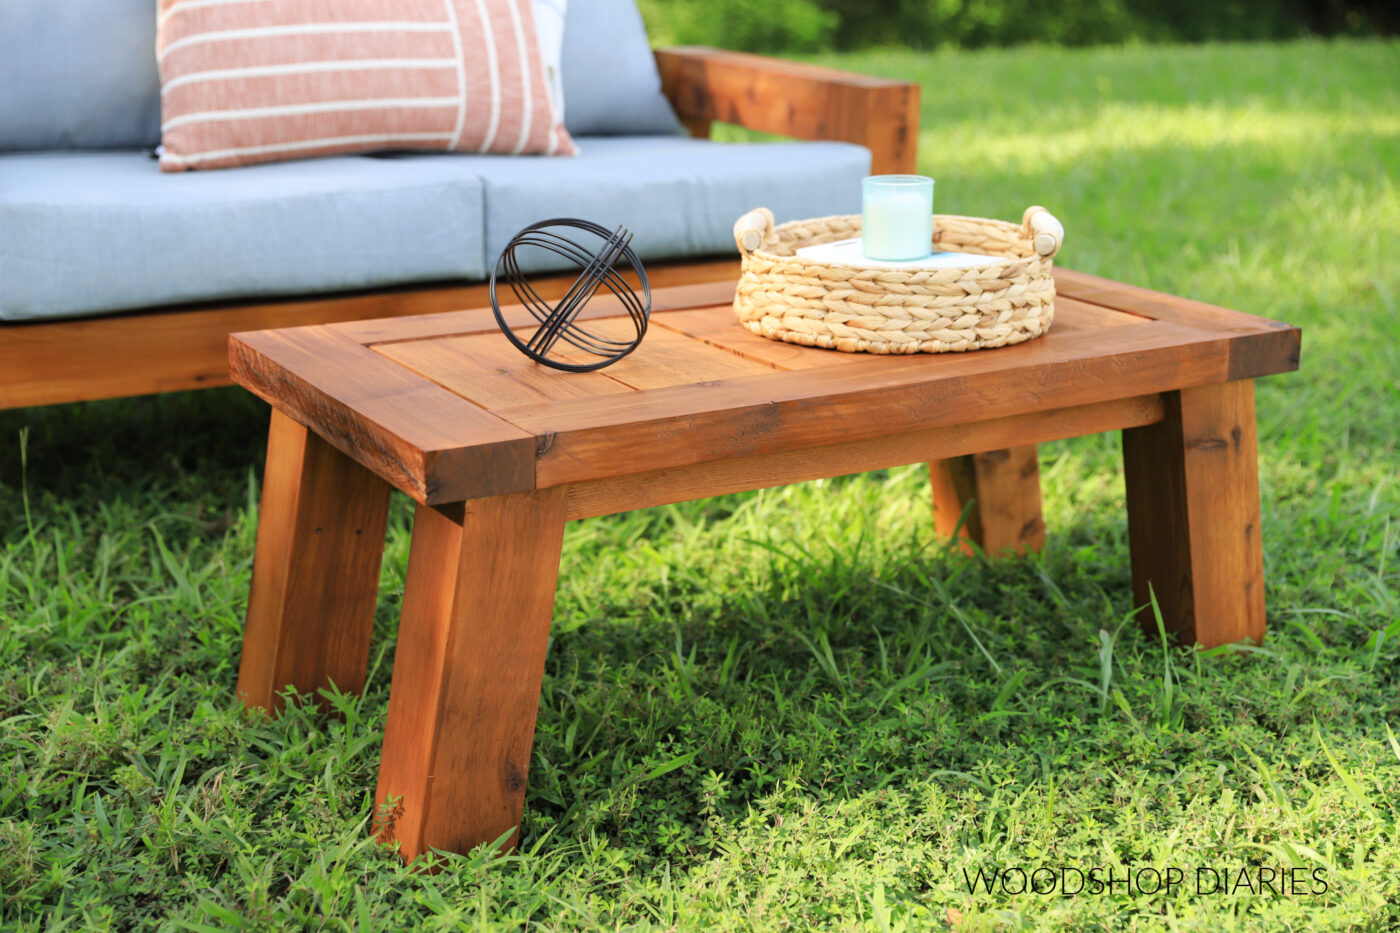
This coffee table may actually be my favorite piece of the whole set! It pairs perfectly with the DIY outdoor seating I’ve shared already and is the perfect combination of simple, modern, sophisticated and rustic.
If you missed it, check out these matching outdoor seating options:
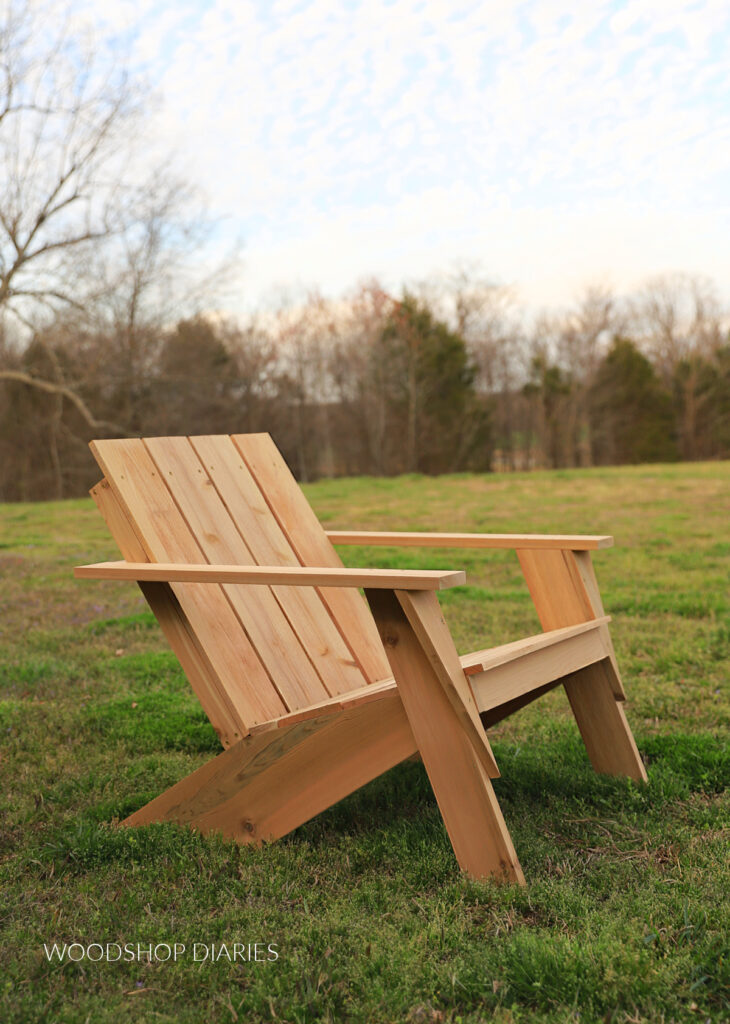
- DIY Outdoor Chair (seats 1)
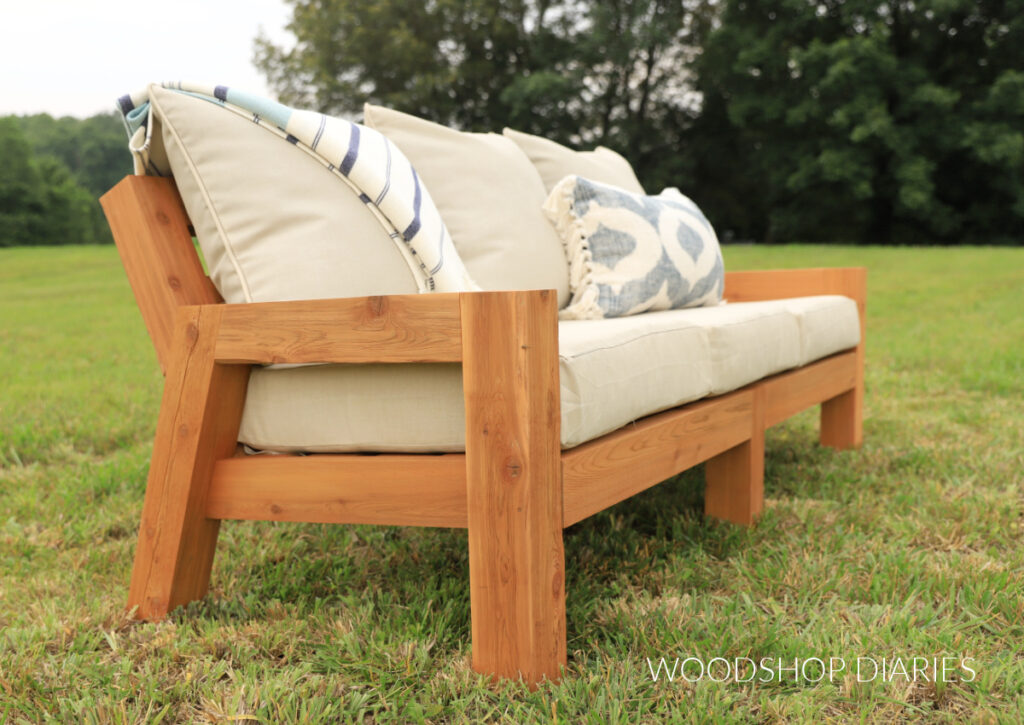
- DIY Outdoor Loveseat (seats 2)
- DIY Outdoor Sofa (seats 3)
After I shared the seating, I had so many requests for a matching table, and I’m SO excited to be sharing this one with you now.
This is a great weekend project that you can easily complete in about an hour with basic tools and materials.
So if you’re ready to get building, I’ll show you how to make it below!
*This post contains affiliate links. See website policies.
What to consider before building an outdoor coffee table
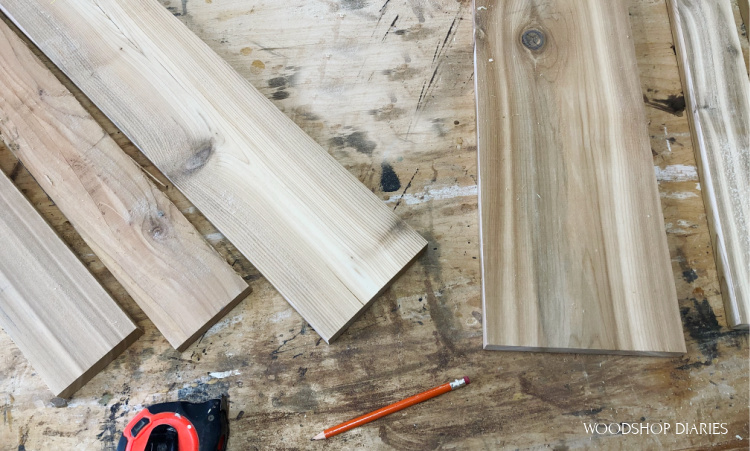
I’ve included the materials list in the tutorial and plans below, but I highly encourage you to check your scrap wood pile before buying any lumber.
Most of the pieces used to build this table are common sizes and fairly short lengths, so you may already have everything you need!
Enjoy building your own furniture and DIY projects? Sign up for priority access to the latest how-tos straight to your inbox!
What type of wood should you build an outdoor coffee table with?
When building outdoor projects, always consider the type of wood you use. There are several options, and like most things, there are pros and cons to each one.
You can use untreated pine for outdoor builds, but keep in mind that it doesn’t hold up great in the elements long term.

Untreated pine is the most budget friendly option, but will likely only last you a few seasons outdoors depending on how it’s finished and how much exposure to rain, snow, and sun it gets.
Pressure treated wood is intended for use outdoors and will last a long while. However, it’s not always the nicest to work with, it’s heavy, and it’s treated with special chemicals to prevent it from deteriorating so quickly. It’s a good low budget option for outdoor furniture that you want to last a while.
Cedar, red wood, and teak are all naturally decay and insect resistant wood options that look really nice. But, that comes with a price tag. These wood types can be quite expensive and sometimes hard to find depending on where you live.
For this entire matching outdoor furniture set, I opted for cedar as that’s what I had in my scrap pile to build with.
TIP: Don’t forget when building project for outdoors, make sure to use outdoor rated hardware (screws), and outdoor rated finishes!
Outdoor coffee table sizing
Much like indoor coffee tables, outdoor coffee tables can be made in various sizes to fit your needs. There’s no specific “standard size coffee table.”
Width and length vary quite a bit. Some of them are fairly small (like the one I’m sharing here) and some can be pretty massive. However, coffee table height tends to stay within a pretty small range.
Indoor coffee tables tend to average around 16″ – 18″ in height. Outdoor coffee tables tend to be a few inches shorter and average about 13-15″ tall. (At least from my observations…). But again, there isn’t a “standard,” so this isn’t a hard rule.
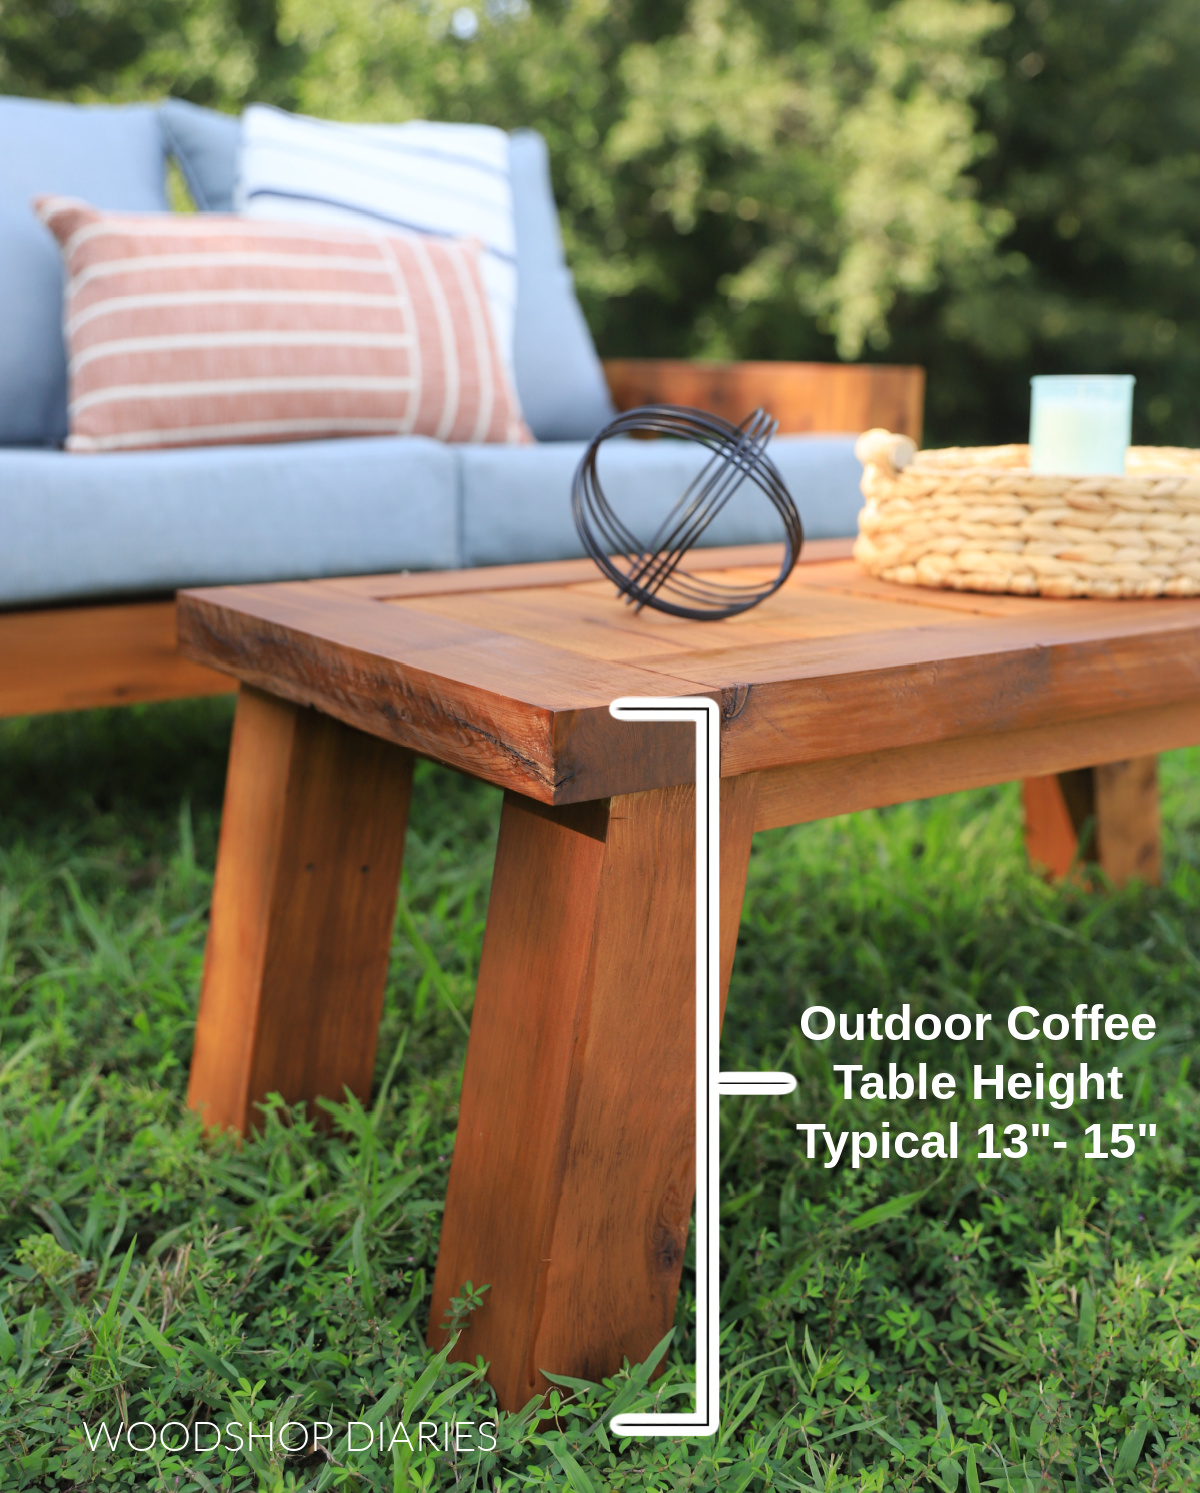
Why are outdoor tables shorter? Outdoor seating tends to be a little lower to the ground than indoor seating, so it’s common to see outdoor tables a little shorter than indoor tables.
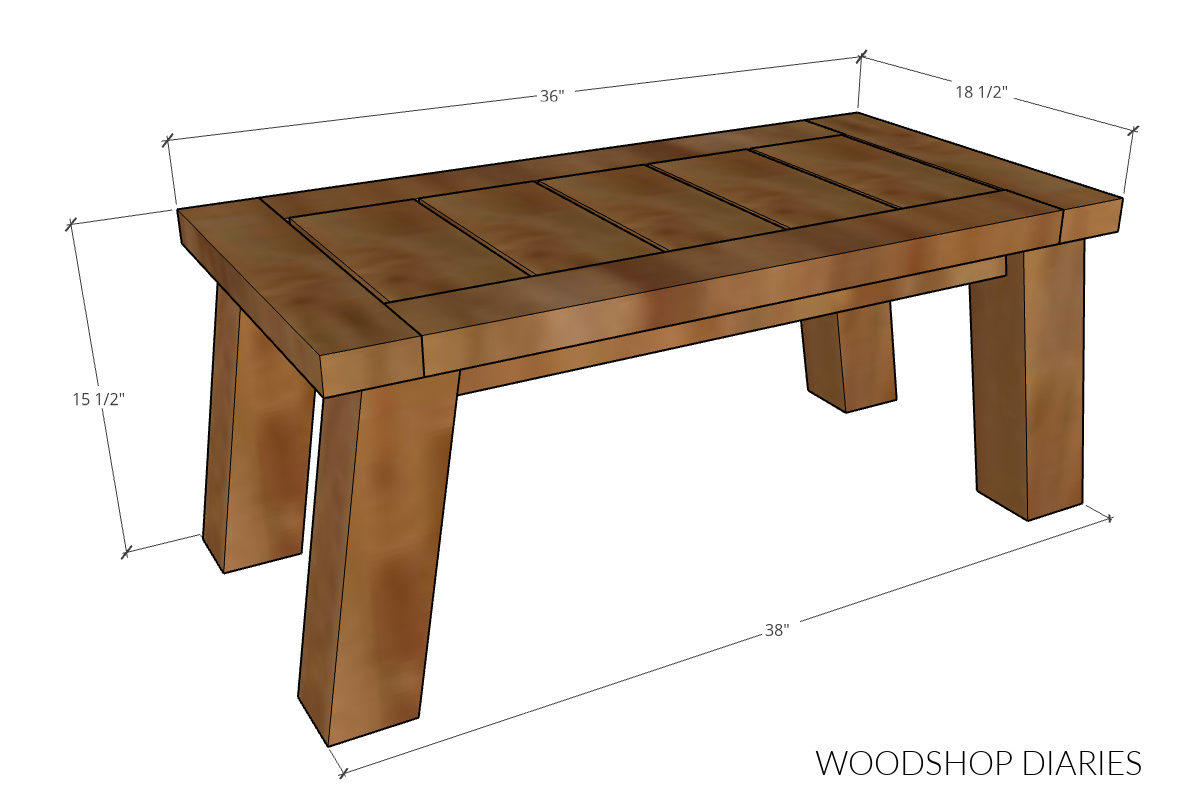
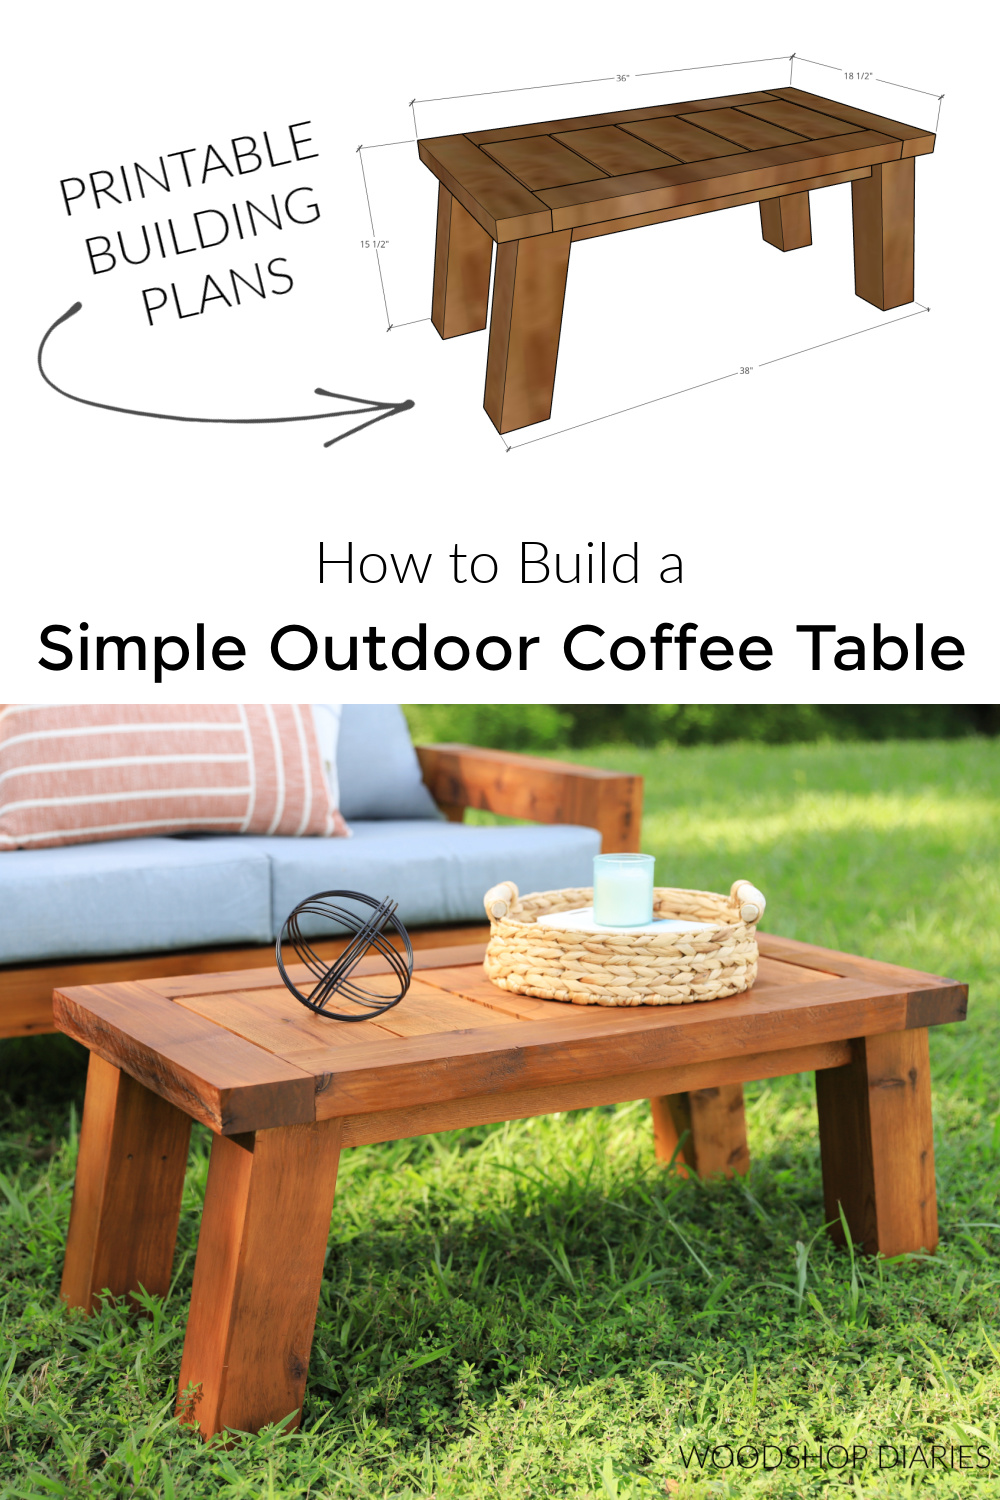
This simple DIY outdoor coffee table as shown in the plans below is 15 ½″ tall x 18 ½″ wide x 38″ long (note that the table top is 36″ long).
This simple coffee table is SUPER easy to customize to any size you’d like with just a few basic adjustments.
Finishing your outdoor coffee table
Once your project is built, you want to make sure it stays looking nice. But more importantly, you want to make sure it’s properly protected from weather damage from sun, rain, and snow.
The easiest way to do this is to apply an outdoor sealant to ALL surfaces (especially end grain). These come in a wide variety of brands, colors, and opacities. You can find many of them readily available in the big box store or local hardware stores.
Most of the options you see available off the shelf come in a clear transparent, and a tinted transparent, semi-transparent or solid.
Basically anything with a tint is a stain and sealant all-in-one and the “less transparent” you go, the more protection it provides. Solids provide more protection than transparent. However, transparent allows you to see the wood grain more.
So choosing one is mostly based on how you want it to look and how often you want to reapply. Once water no longer beads up on the surface, it’s time for another coat. For this project, I used Cabot Australian Timber Oil in Honey Teak.
How to Build an Outdoor Coffee Table
This build is simple and straightforward and can easily be assembled in an hour or two. It’s a great beginner to intermediate DIY project.
If you prefer to watch, check out the full build video here with helpful tips and along the way!
Are videos your thing? Subscribe to my YouTube Channel for more project and how to videos!
I’m sharing the step by step process to build this DIY outdoor coffee table below. But if you prefer to print it out and take the plans to the shop with you, I’ve got you covered! Grab the outdoor coffee table printable building plans here.
Tools & Materials
Tools:
- Miter Saw
- Drill/Driver
- Pocket Hole Jig
- Sander
- Brad Nailer (optional)
Materials:
- (1) 4x4x8 post
- (1) 2x2x8 board
- (1) 1x2x8 board
- (2) 2x4x8 boards
- (1) 1x6x8 board (or a 1x6x6 fence picket)
- 1 ¼″ exterior wood screws or brad nails
- 2 ½” exterior wood screws
- 2 ½” exterior pocket hole screws
- Wood Glue (exterior rated)
- Exterior wood finish
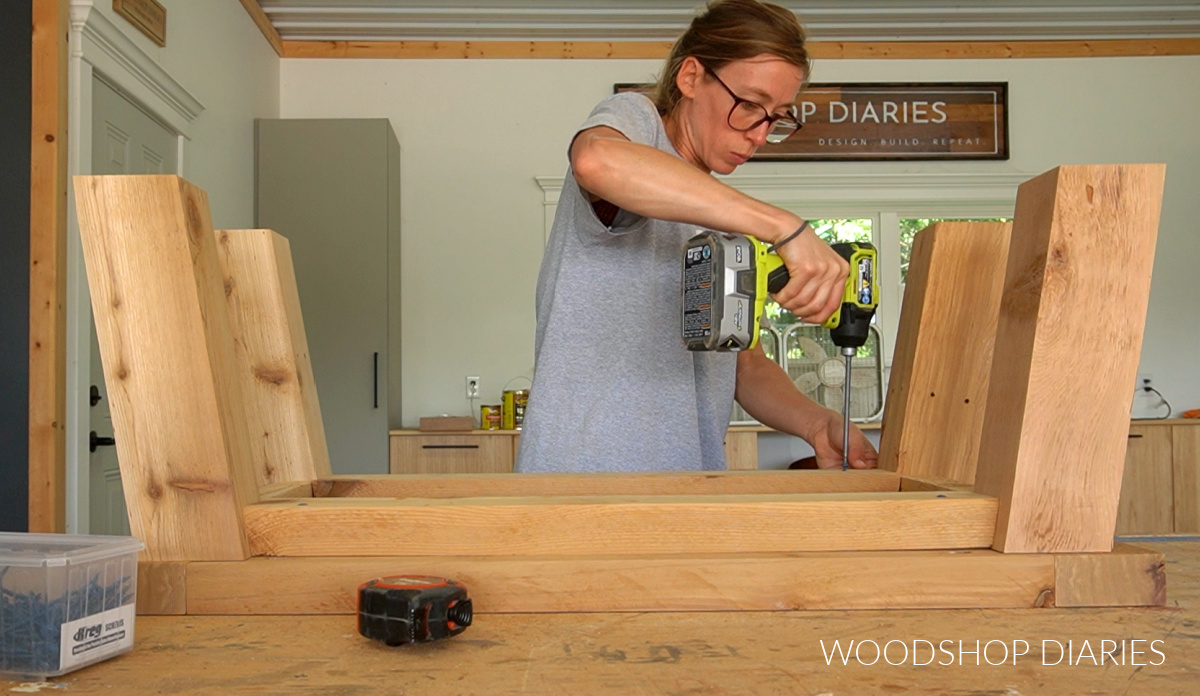
Step 1: Assemble Coffee Table Base
The DIY outdoor coffee table base is assembled with 4x4s for the legs, and with 2x4s for the long sides and 2x2s for the short sides of the base frame.
If you want to adjust the sizing of your table, here are some tips:
- To make the table taller/shorter: Adjust the length of the legs
- To change the table length: Adjust the length of the 2x4s
- To change the table width: Adjust the length of the 2x2s
I cut the 4×4 leg posts with 10 degree mitered ends so that they would slant outward slightly instead of just being straight up and down. Make sure to miter both ends parallel to each other.
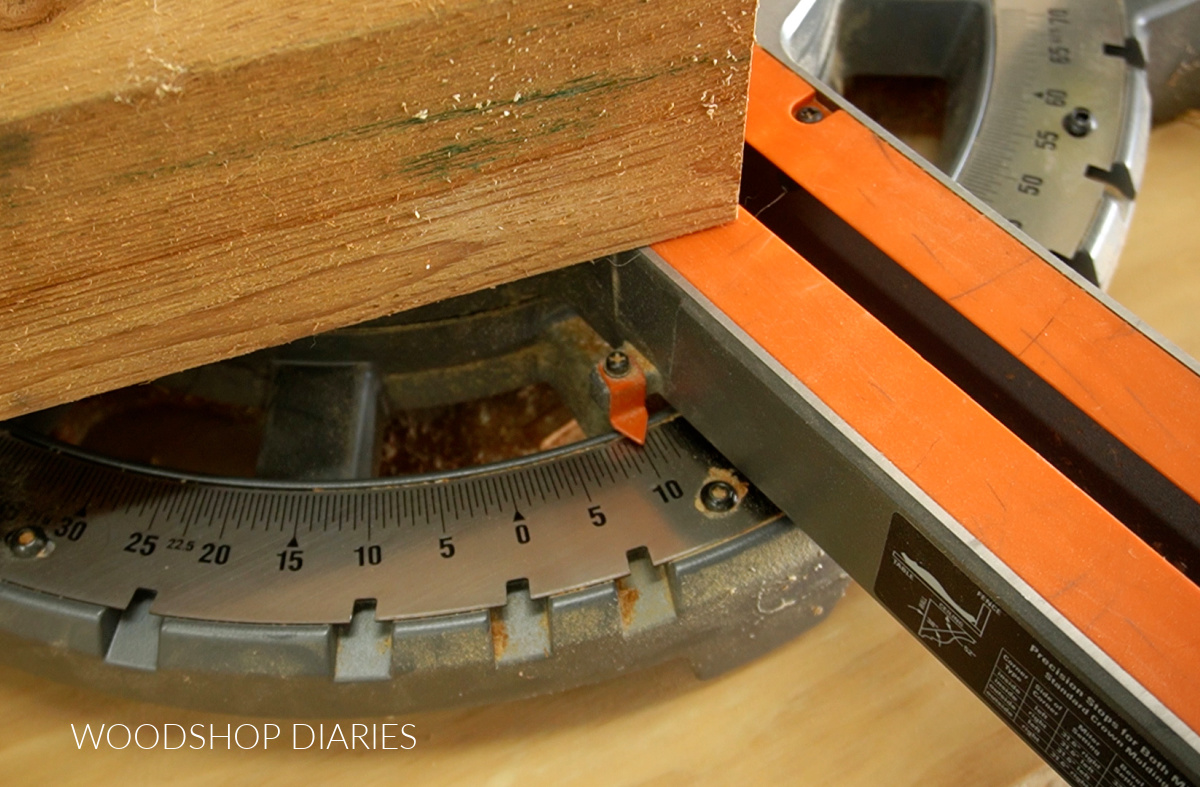
Since these legs were mitered, I also had to bevel the ends of the 2x4s that run between them 10 degrees. These need to be beveled so they are NOT parallel to each other.
All the dimensions and angle details can be found in the printable plans.
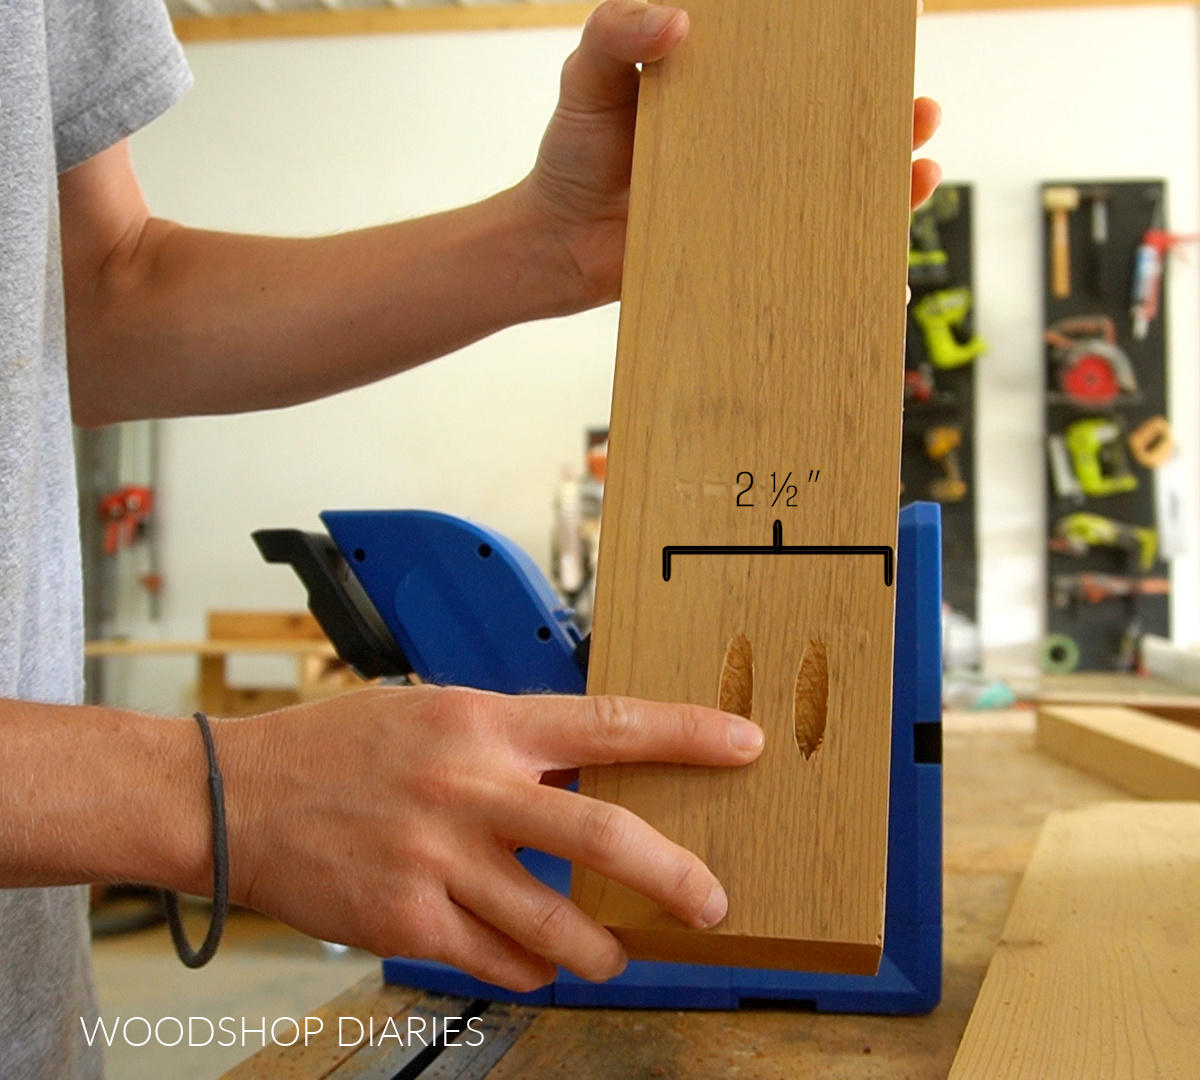
I drilled 1 ½″ pocket holes into the ends of the 2×4 boards and the 2×2 boards in order to assemble. Notice that the pocket holes in the 2x4s need to be drilled within 2 ½″ of the outside edge of the board. I know these seems odd, but there’s a reason!
RELATED: How to use a pocket hole jig
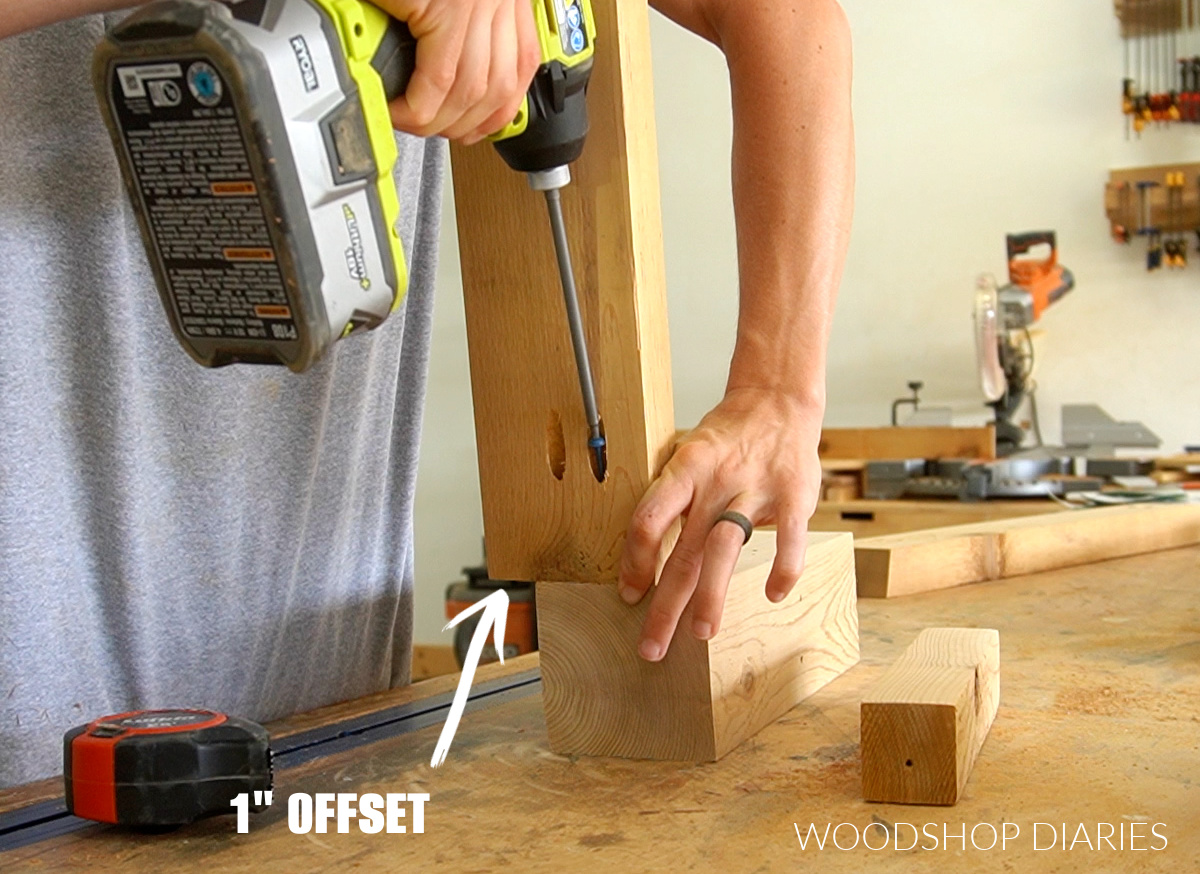
When I assembled the 2x4s between the legs, I installed them so that they were 1″ inset from the outside edge of the legs.
This added some extra dimension to the table base and also allowed a “ledge” to place the slats on later.
I made the two long sides of the outdoor coffee table base by securing the 2x4s between the 4×4 legs like shown above. Then I attached the two long sides together with pocket hole screws in the 2x2s like shown below.
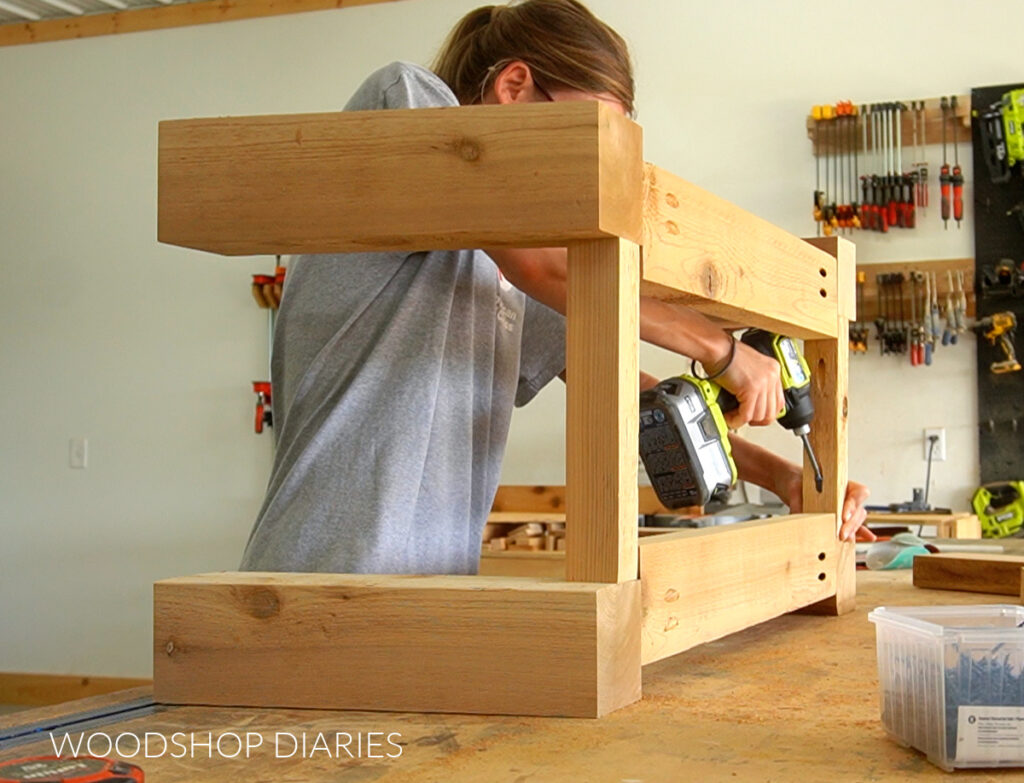
This completed the table base. Everything else from here is SUPER easy.
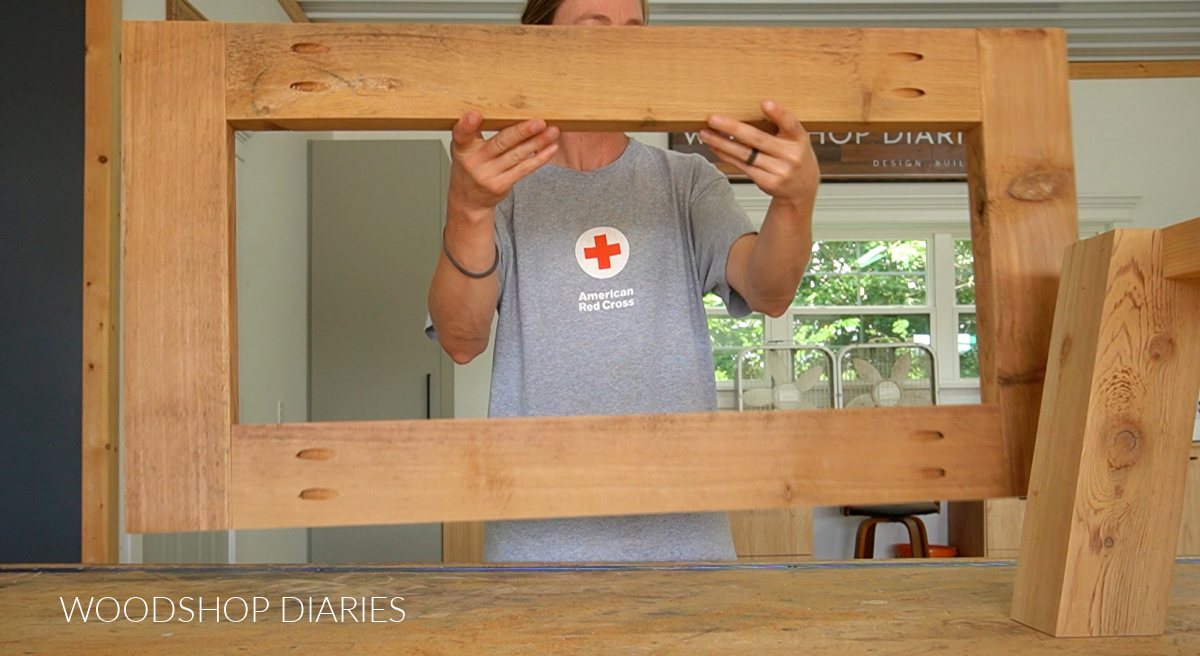
Step 2: Assemble Table Top Frame
The outdoor coffee table top consists of a simple 2×4 frame with slats running along the inside. Before I could add the slats, I needed to build the outside frame.
So, I assembled a basic 2×4 frame using pocket holes and screws. I made the overall size of this frame about 1″ wider and 3″ longer than the top of the table base. This will allow for some overhang on all sides.
Step 3: Attach Base to Top
Then, I flipped the frame from step 2 upside down on the workbench and flipped the table base from step 1 upside down on top of it.
I made sure the base was centered on the frame, then used 2 ½″ screws to secure them together through the bottom side of the table base.
Step 4: Add Coffee Table Slats
Now all that’s left is adding the slats in the top! The top frame from step 2 is made from a 2×4 so it’s about 1 ½″ thick. So, you could use 2x thick slats and simply cut these and place them inside the opening.
However, cedar 2xs are pretty pricey so I really didn’t want to do that. So instead, I used cedar 1×6 fence pickets (which are really cheap).
The downside is that cedar fence pickets are about ⅝″ thick. So if I just cut them and place them in the frame, they’d sit well below the surface, which isn’t ideal.
RELATED: Understanding lumber sizing for beginners
To fix this, I cut some 1x2s as “spacer blocks” to place inside this opening and screwed them into the 2×4 on the table base.
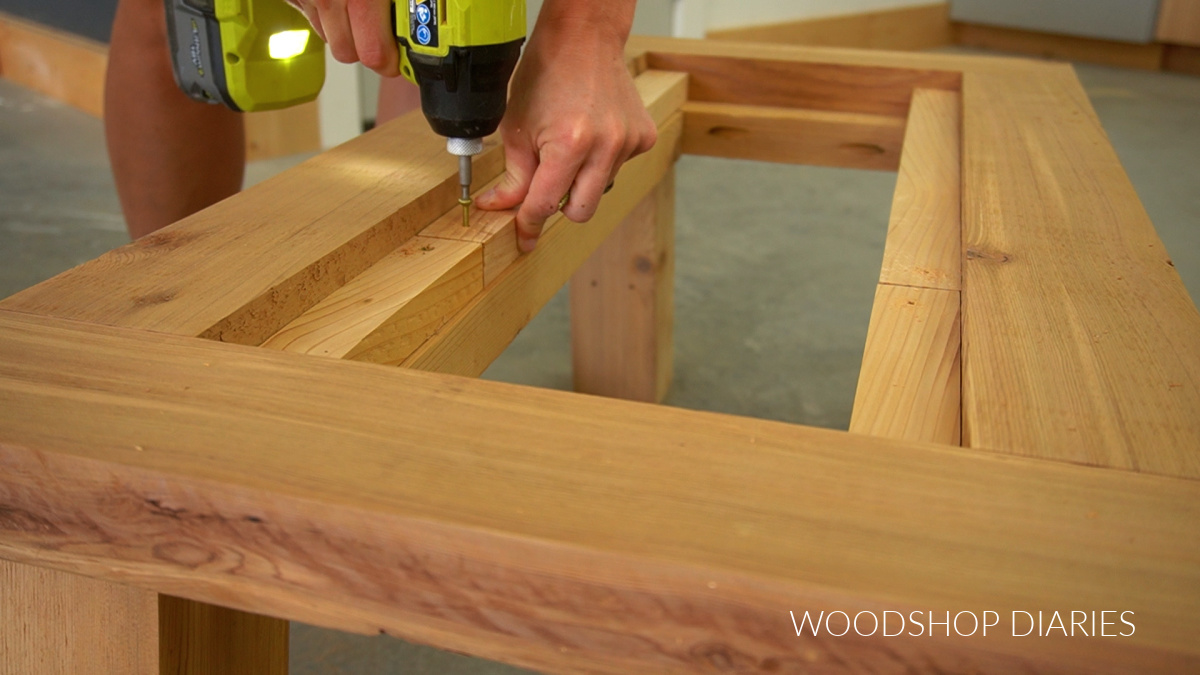
Then, I can cut my fence picket boards and place them on top. These may still sit a little lower than the frame, but just barely.
TIP: If you wanted to use a regular 1×6 board instead of a fence picket, that would work fine as well (but regular 1×6 cedar boards are pretty pricey too, so fence pickets are a great substitute).

I didn’t attach these just yet because I thought it would be a lot easier to stain before they were secured in place.
Step 5: Finish
I applied a coat of Cabot Australian Timber Oil in Honey Teak to the coffee table frame and the slats individually.
Once everything was sealed and dry, the slats were ready to attach. One way to attach the slats is to simply apply a bead of exterior rated wood glue along the 1×2 spacer blocks from step 4 and place the slats on top. Allow the glue to fully cure before moving.
Another option is to apply wood glue and use brad nails or wood screws to secure the slats to the 1×2. Personally, I suggest using brad nails as screws are more likely to split or crack the wood.
Once the slats are secured, it’s ready for your deck, porch, or patio!
Grab the printable building plans to build your own DIY outdoor coffee table here.
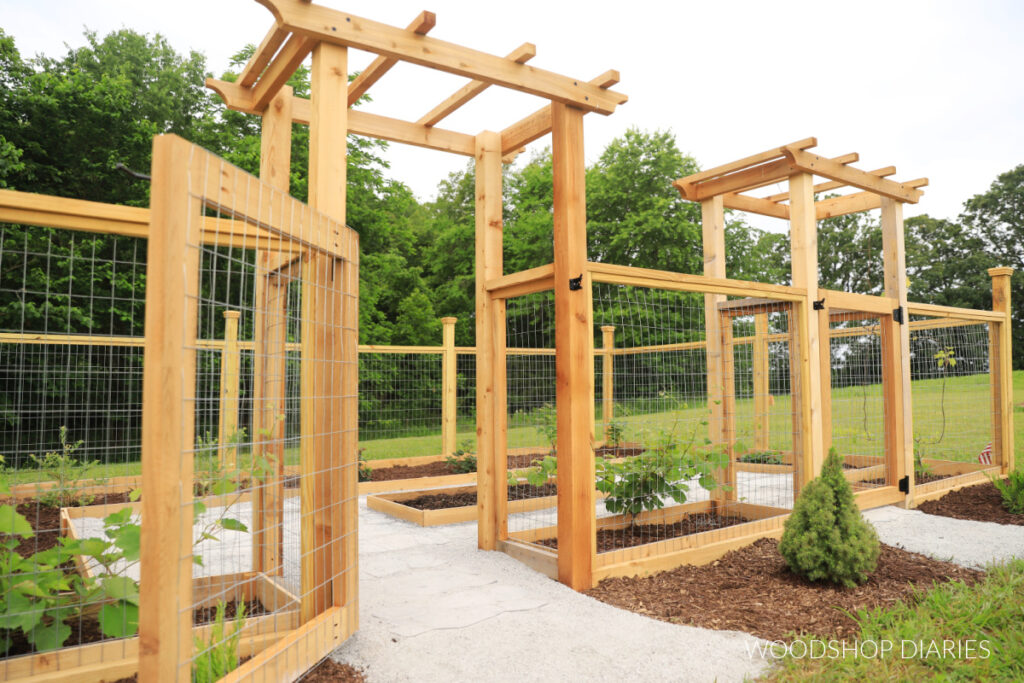
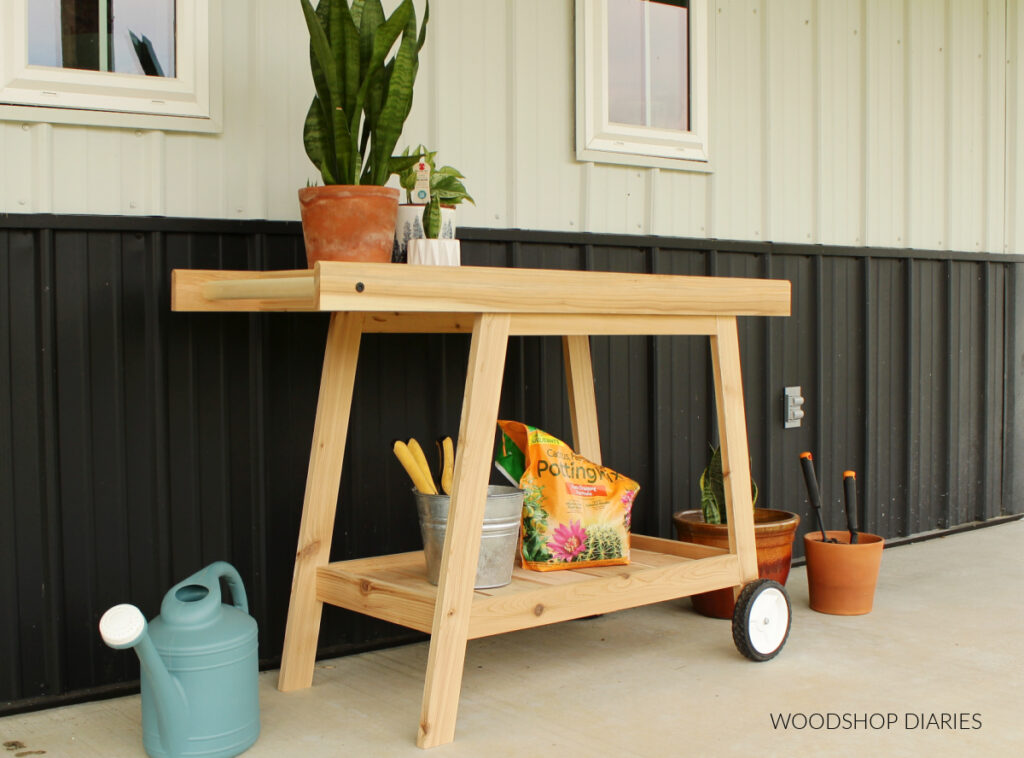
Looking for more outdoor project ideas?
It’s always a good time to build an outdoor DIY. Want to check out more outdoor projects to go with this? Here are a few of my favorites!
If you want to save this for later, be sure to pin it or share it to your favorite social channel!
Until next time, friends, happy building!