
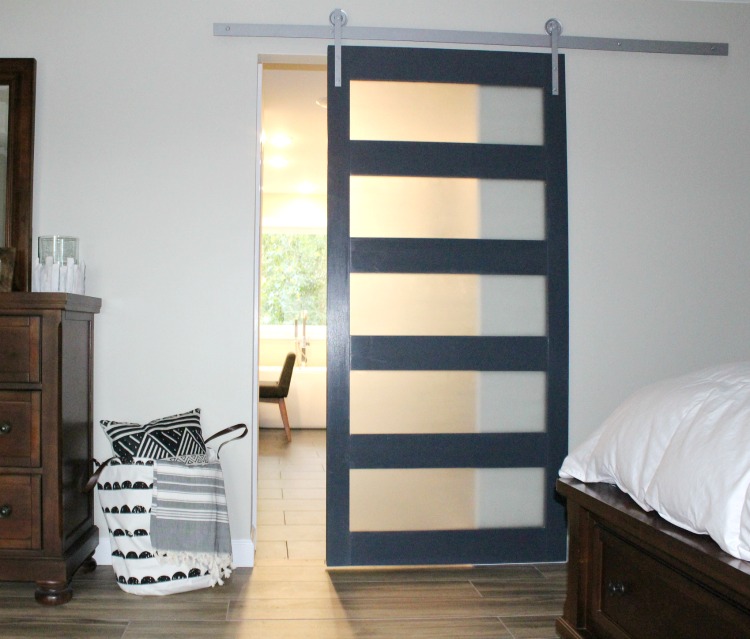
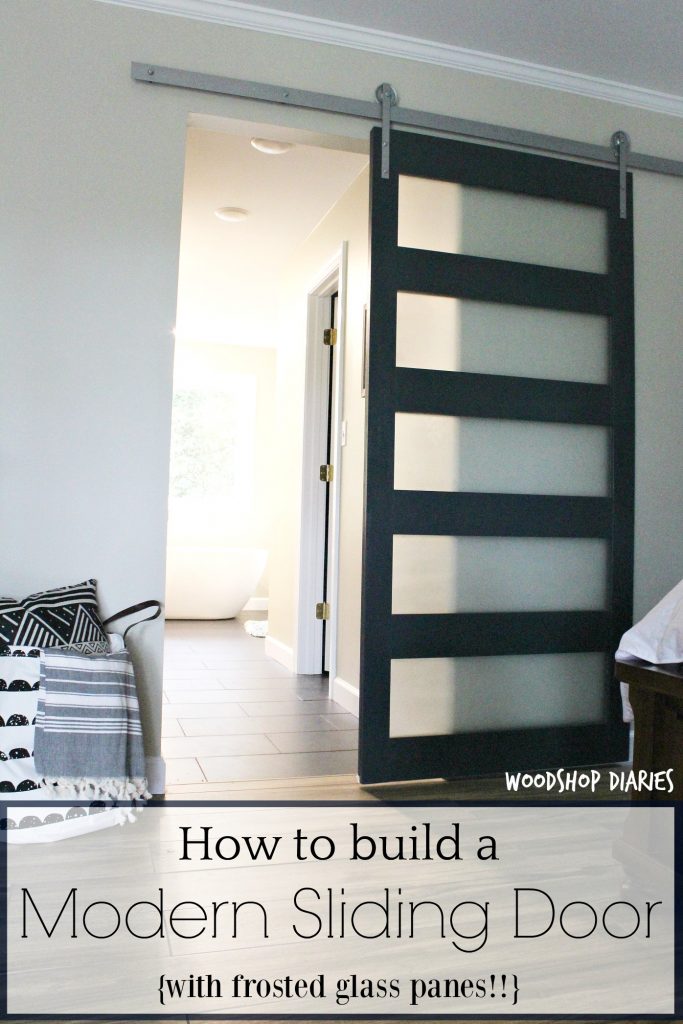
In this post, I’m sharing how to build a DIY modern sliding door with frosted glass panels!
Much like barn wood walls (remember this one??), DIY sliding doors are so in right now.
.
They’ve been in for a while, actually. I made my first set of DIY sliding doors over four years ago! But I’m not sure they’re going to go away any time soon.
.
Not only do sliding doors LOOK nice, but they also save space and could save you a lot of money if you need to replace an odd shaped door that they don’t make standard anymore. (Custom doors = $$$)
.
DIY Sliding Doors are a fairly easy DIY project and the possibilities are endless when it comes to style and size.
.
You can make them solid wood farmhouse style like these. Or you can make them more of a traditional look with some frosted glass like these.
.
But if you want to make a DIY Modern Sliding Door with glass panels, I’ve got the how to for you right here 🙂
.
This post contains affiliate links. See disclosure policy for details.
To make your own DIY modern sliding door, you will need:
- Miter Saw
- Kreg Jig for Pocket Hole Screws
- Drill
- Router
- ⅜″ Rabbet Bit
- Hammer and Chisel
- Clamps
- Tape Measure
- Speed Square
- (4) 1x4x8
- (4) 1x6x8
- (5) glass panels (for size, see step 4)
- Wood Glue
- 1 ¼″ pocket hole screws
- Frosted Glass spray paint for glass panels
- Sliding Door Hardware
OR, if you want to make your own DIY sliding door hardware, you’ll need:
- ⅛″ x 2″ x 7′ steel flat bar
- (2) ⅛″ x 1″ x 12″ steel flat bar
- (4) ⅜″ x 4″ lag screws
- (4) ⅜″ lock washers
- ⅜″ flat washers (get several for spacing adjustments)
- (4) ¼″ x 1 ¼″ lag screws
- (4) ¼″ lock washers
- (4) ¼″ flat washers
- (2) garage door pulleys
- Spray paint for hardware
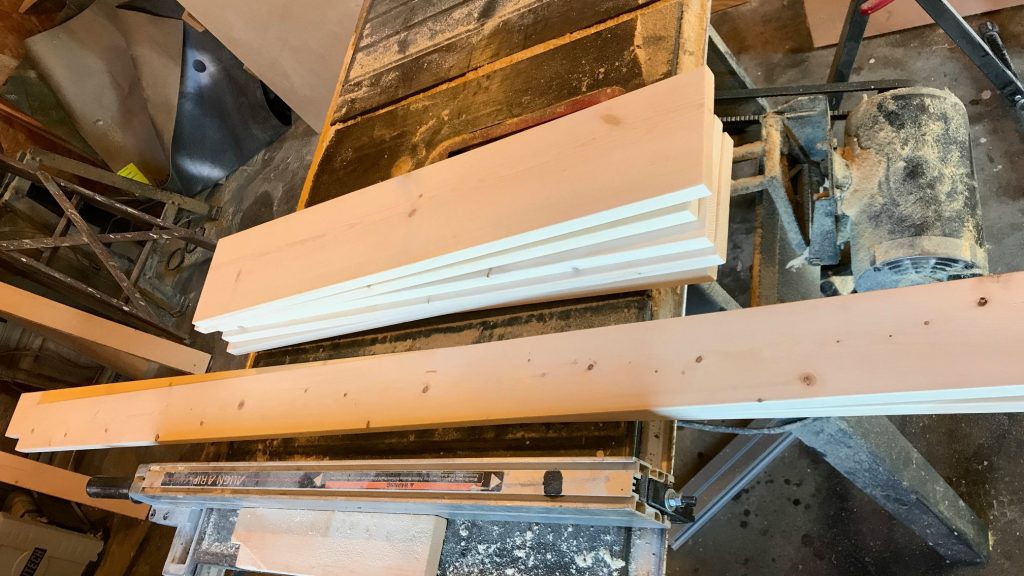
Step 1: Cut Pieces for DIY Modern Sliding Door Frame
First, I need to figure out the size I need to build the door. So, I measure the door opening and if the door opening is trimmed, I like to include the trim in this measurement.
.
Then, I add 2″ to the WIDTH. You can add to the height if you want but you don’t have to. This gives me the overall size the door needs to be.
.
Once I have this measurement, I can cut 4 pieces of 1×4 the length of the height of the door. These will be used for the vertical pieces on the sides of the door.
.
Since I’m using 1x4s for the sides, I subtract 7″ (which is 2x the width of a 1×4) from the total width of the door and cut 12 pieces of 1×6 this length.
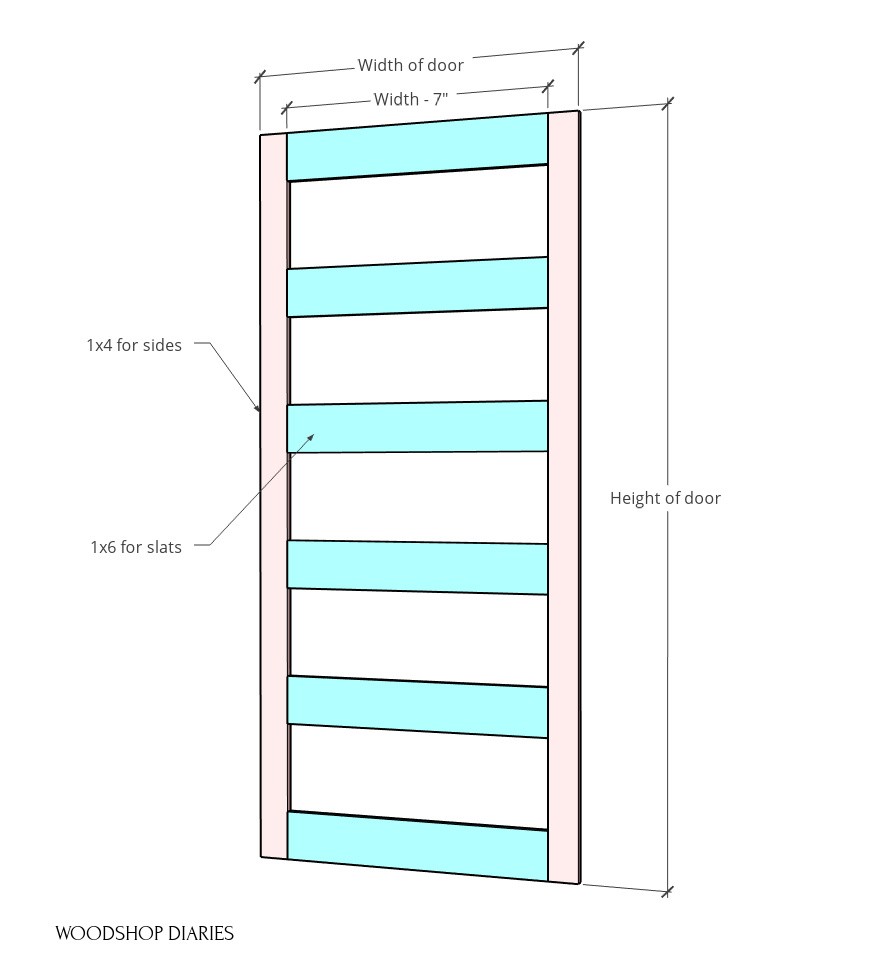
In this project, I’m basically gluing two door frames together to make the finished door–each frame will use two 1x4s for the sides and six 1x6s for the horizontal slats.
Step 2: Assemble the DIY Modern Sliding Door Frames
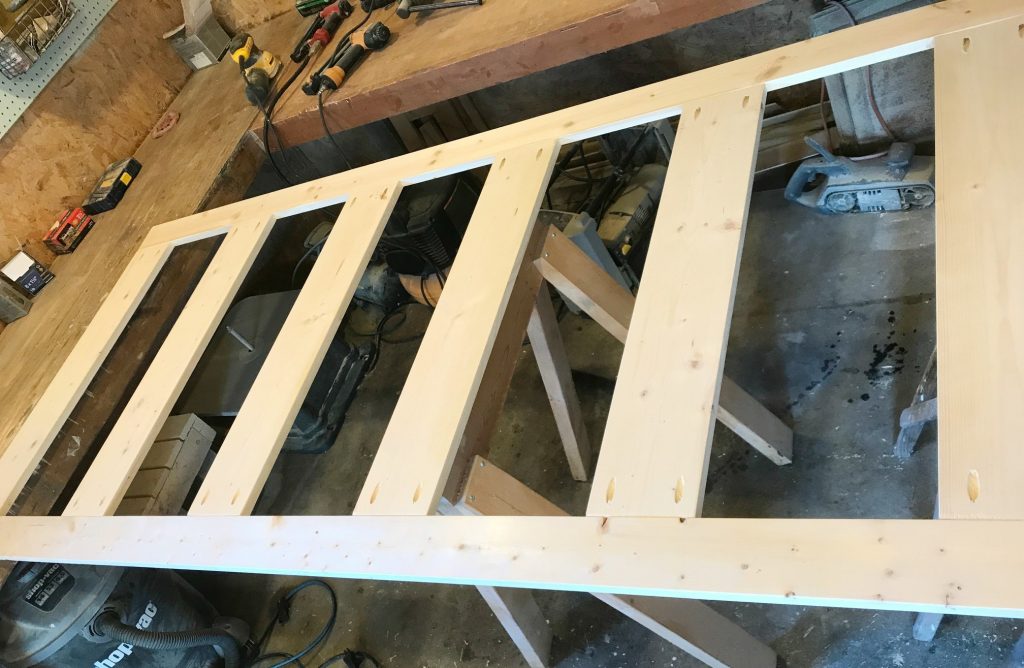
Now that the pieces are cut, I will assemble two identical door frames with them. I drilled ¾″ pocket holes in both ends of all the 1×6 boards.
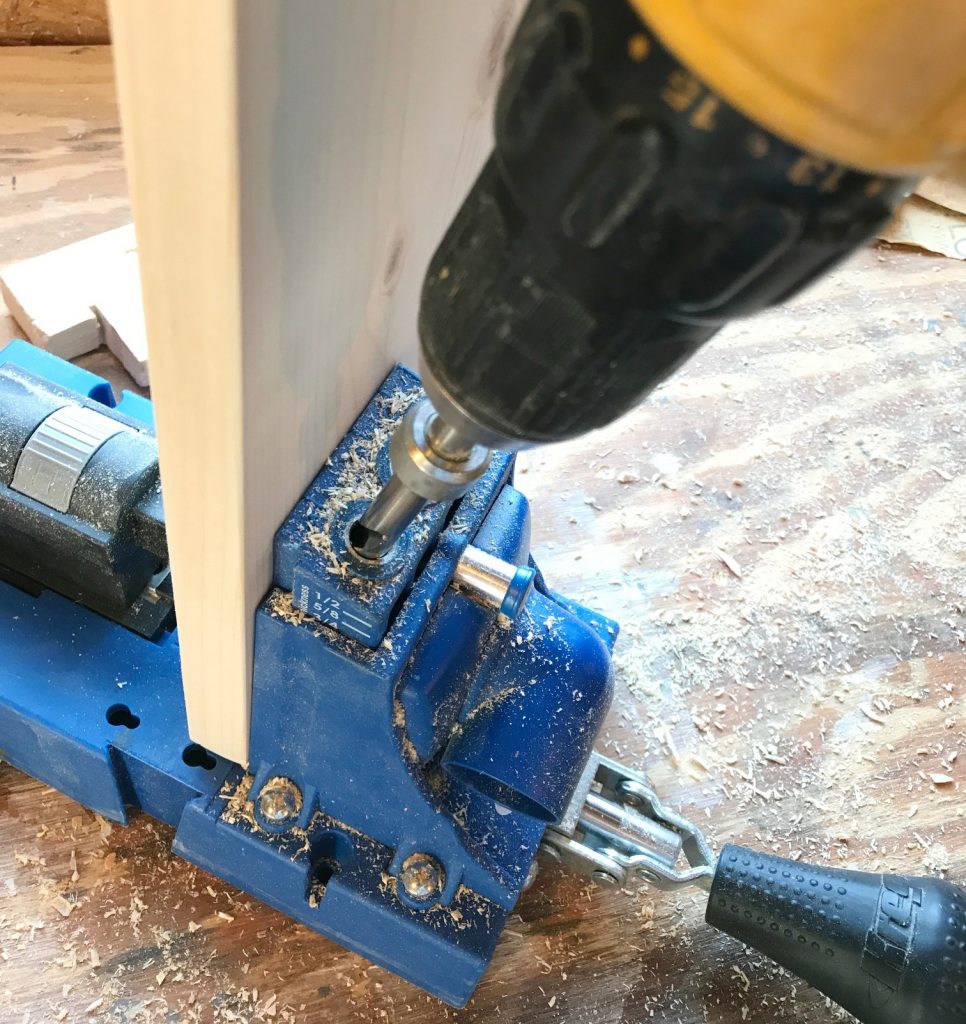
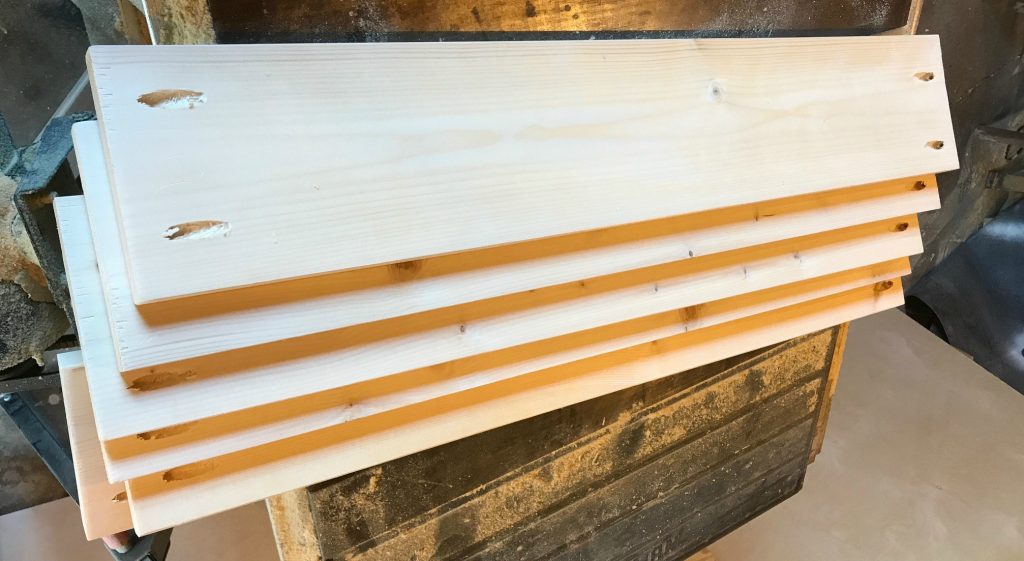
Then I assembled the frames using 1 ¼″ pocket hole screws making sure to space out the slats evenly.
.
Depending on the height of your door, your openings may be different than mine. Take your door height and subtract 33″, then divide by 5 (the number of openings) and that is how much space should be between the slats.
.
Make sure you space evenly! And use a square to make sure you attach everything square. This will be important once you get to inserting the glass panels.
Step 3: Route Out Rabbets for Glass Panels
I used a router and a ⅜″ rabbeting bit (you could use another size if you wish, I just use ⅜″) to cut some rabbets around the openings in one of the door frames to insert the glass panels.
RELATED: Check out this router guide for more info on using a router.
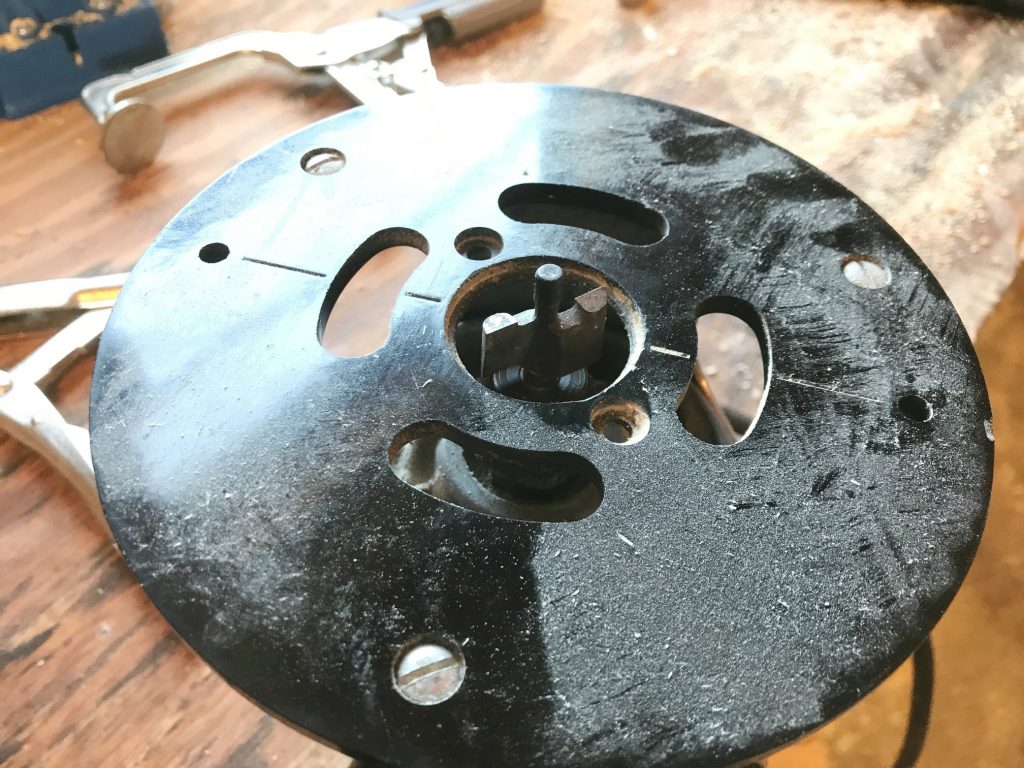
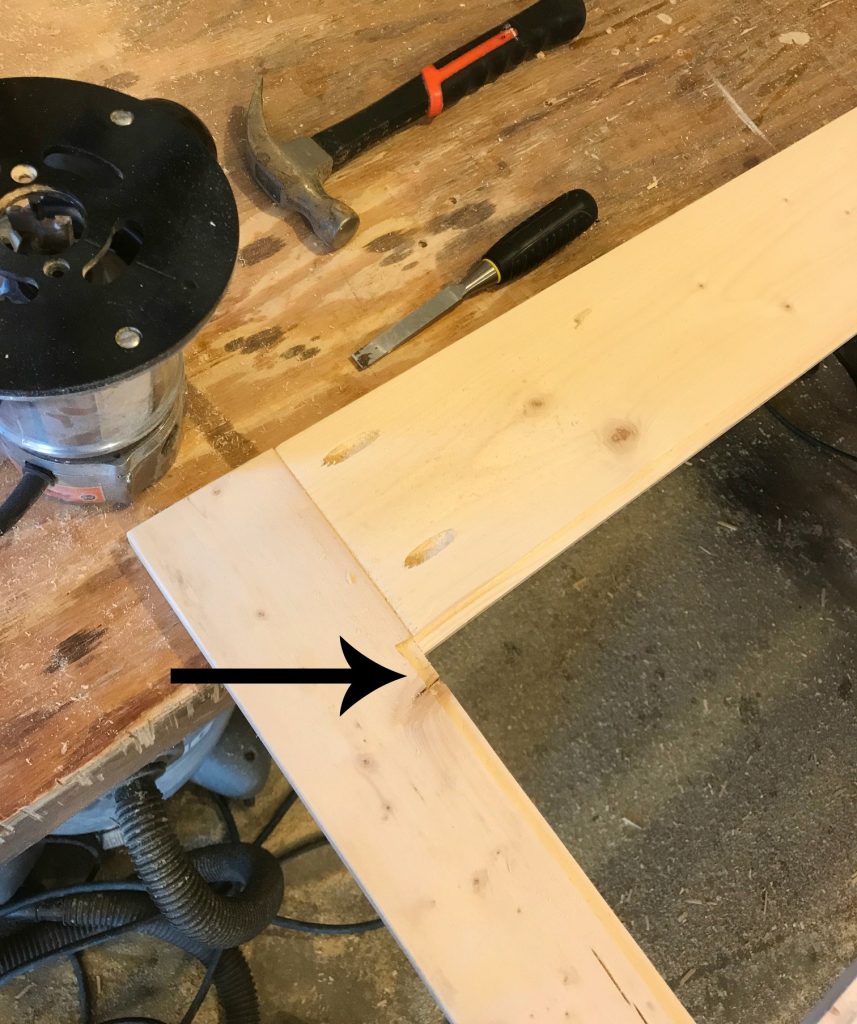
I adjusted the cutting depth of the bit to ⅛″ and routed the open panels of one door frame.
.
This should be on the back side–the side with the pocket holes. The corners will be rounded, so square them out using a hammer and a sharp wood chisel.
Step 4: Insert Glass Panels in DIY Modern Sliding Door
Now they’re ready for the glass. I measured the opening in all the panels INCLUDING the rabbet grove. Then I purchased ⅛″ thick glass panels to fit these openings.
.
NOTE: Leave a little wiggle room (⅛″ or 1/16″) to make sure they’ll fit–better a little small than a little too big.
.
I used glass panels in this project, BUT, if you wanted, you could also use plexiglass or acrylic and cut it yourself. Check out this post for how to cut plexiglass sheets.
.
I buy my glass from a local glass and windshield place, but sometimes big box home improvement stores will cut glass to size for you if you don’t have a local shop.
.
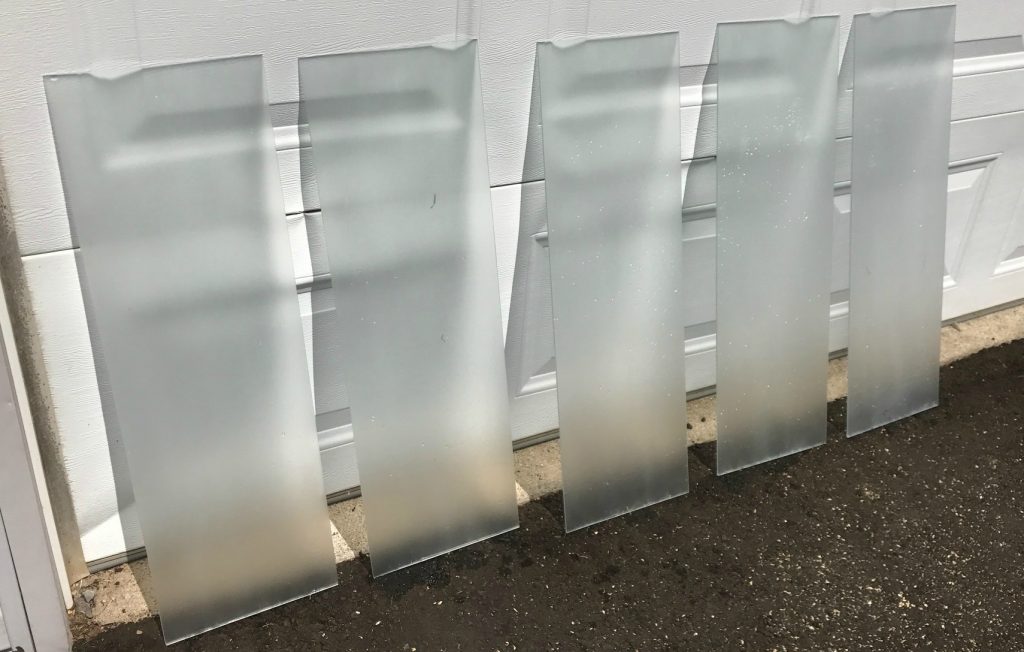
Once I got the glass panels, I checked to make sure they fit in the rabbet grooves cut from step 3, then spray painted them with frosted glass spray paint.
.
You don’t actually HAVE to do this, but it’s probably a good idea if you’re putting it on a bathroom and want some privacy. NOTE: Don’t do this against your garage doors…I just set them here after I was finished to take a picture haha.
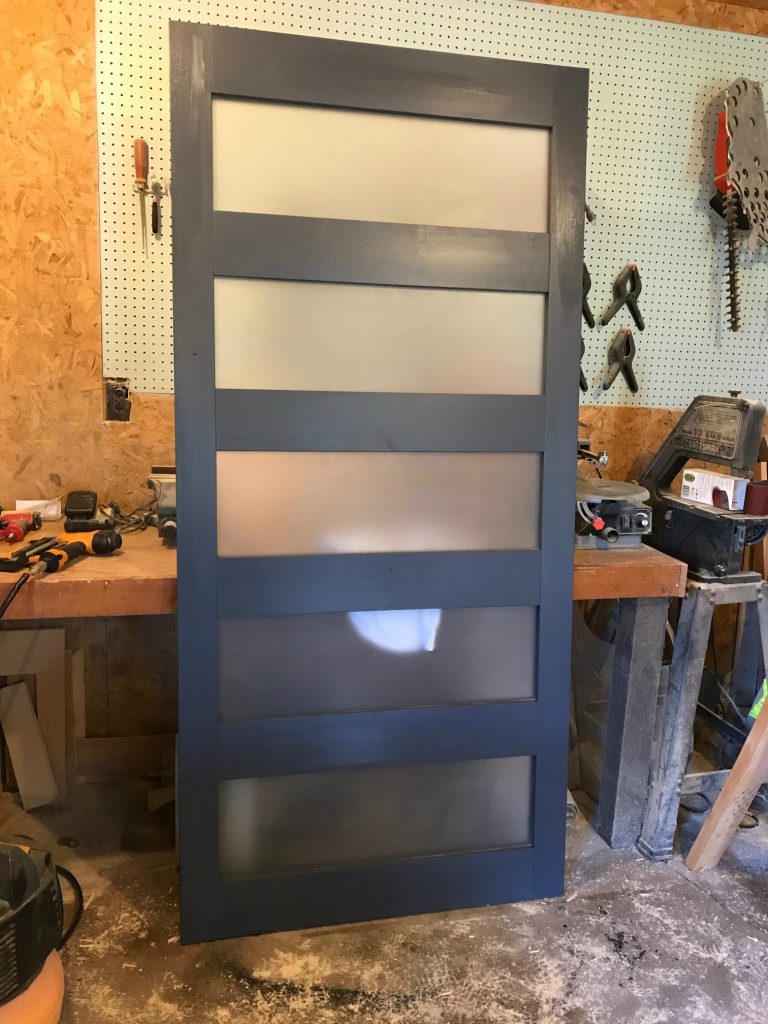
While the spray paint dried, I painted the two door frames. I painted mine in Sherwin Williams Naval. But you could also stain if you’d rather. You only need to finish the fronts, not the sides with pocket holes.
.
Once everything was dry, I laid the routed door frame face down on some saw horses and placed the glass panels in the openings.
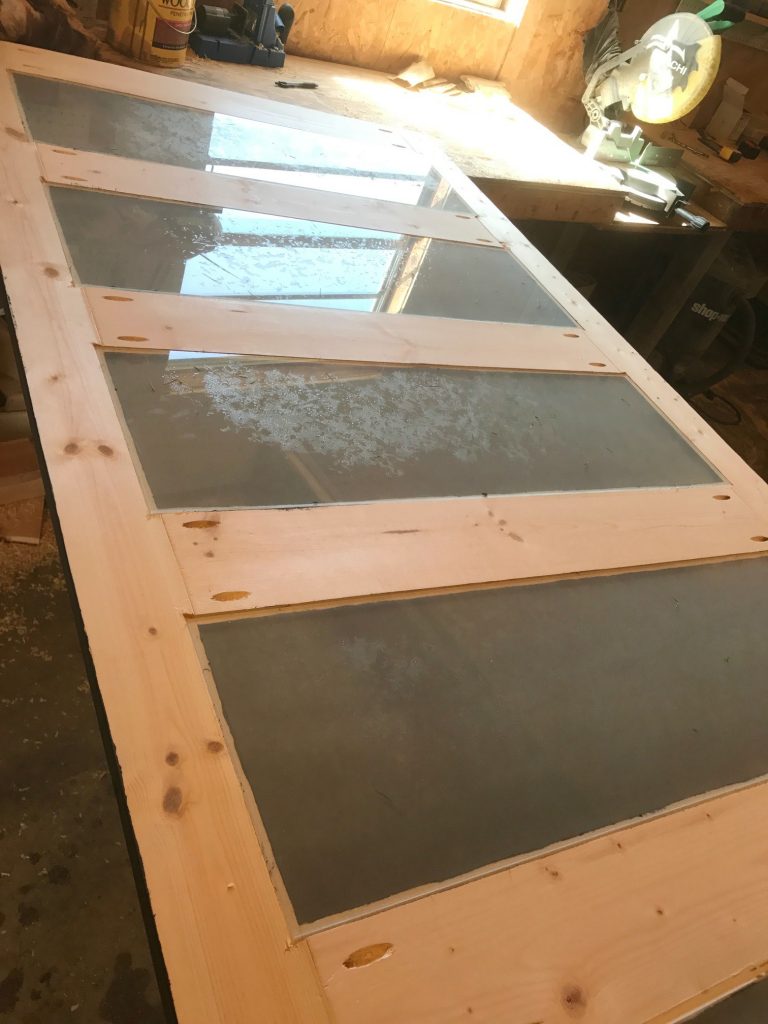
Now, I didn’t use any adhesive on this to keep the glass in place. I’m not sure whether it’s a good idea or not because of wood movement.
.
However, I have had luck over the years using Clear Gorilla Glue to attach glass panels in a few pieces. If you wanted to glue them, you could try that or try some clear silicone.
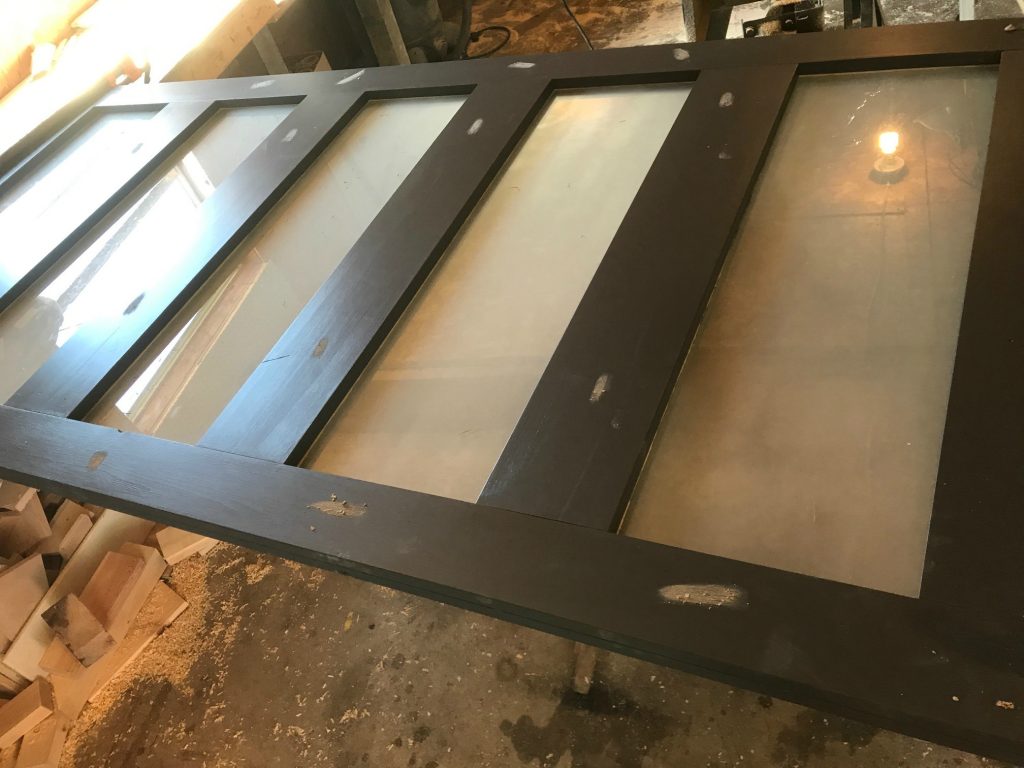
Step 5: Glue on the Back Frame of the Sliding Door
Once the glass panels were in place, I applied wood glue along all the wood pieces–down the sides and across all the slats.
.
Then, I placed the other door frame on top so I kind of “sandwiched the glass”. I made sure everything lined up well and clamped along the edges to hold in place while the glue dried.
.
If you have a nail gun, you can shoot a few nails to hold it, but if you don’t, clamps or a heavy object to hold it down should work fine.
.
Putty the nail holes if you used any. Once the glue was dry, I sanded and touched up the paint where I puttied.
Now the door is complete!
Step 6: Prepare the Sliding Door Hardware
You can certainly purchase your own hardware kit to hang the door. But I like to save a few bucks and make my own.
.
To do this, I double the width of the door and add about 3-4″. I purchase an ⅛″ thick x 2″ tall piece of steel flat stock this length from my local metal yard to use as the main sliding rail.
.
And while I’m there, I grab 2 pieces of ⅛″ thick x 1″ wide x 12″ long steel flat stock to use for the pieces that attach the pulleys to the door.
.
You can follow the tutorial in this post for how to mount it to the wall. The only difference will be that unless you have a large obstacle to clear behind the door, you shouldn’t need the long spacers and you also don’t have to have the wood piece on the back either.
.
As long as you can locate your studs, hanging the hardware isn’t too hard 🙂
.
Once it’s hung, you have a gorgeous new DIY modern sliding door!
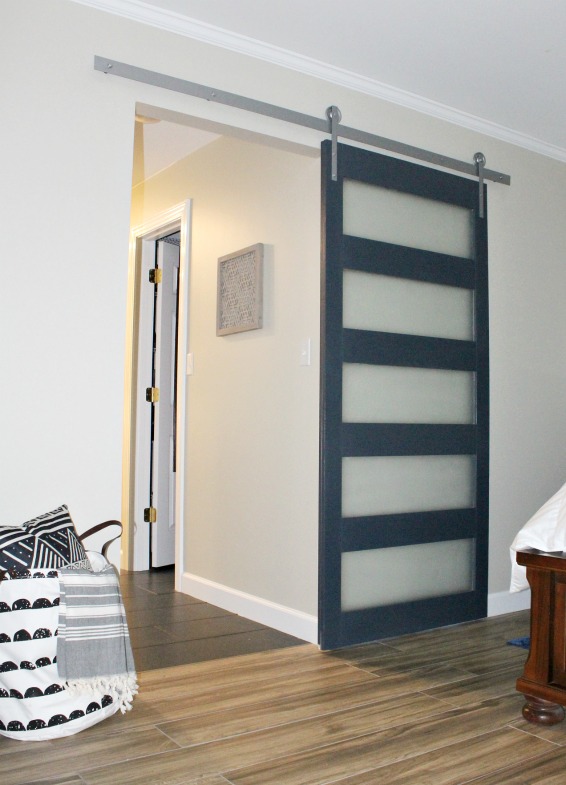
I love how the frosted glass lets the light through, but also provides privacy so it can still be used for this bathroom space.
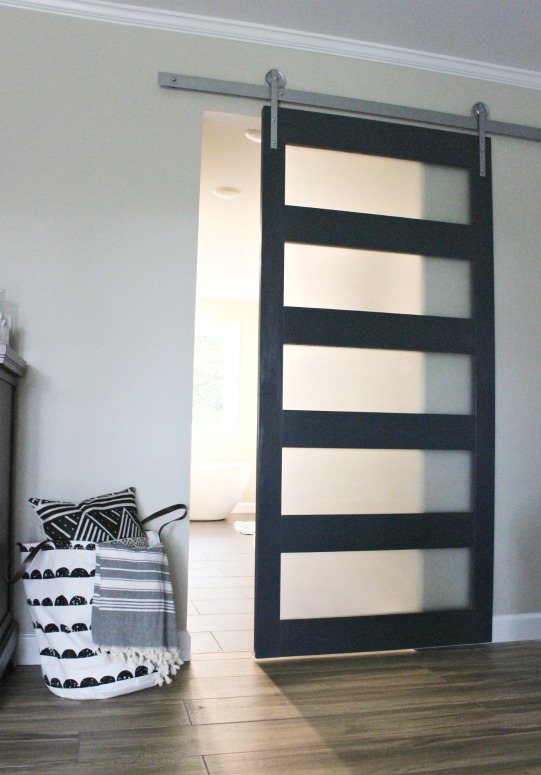
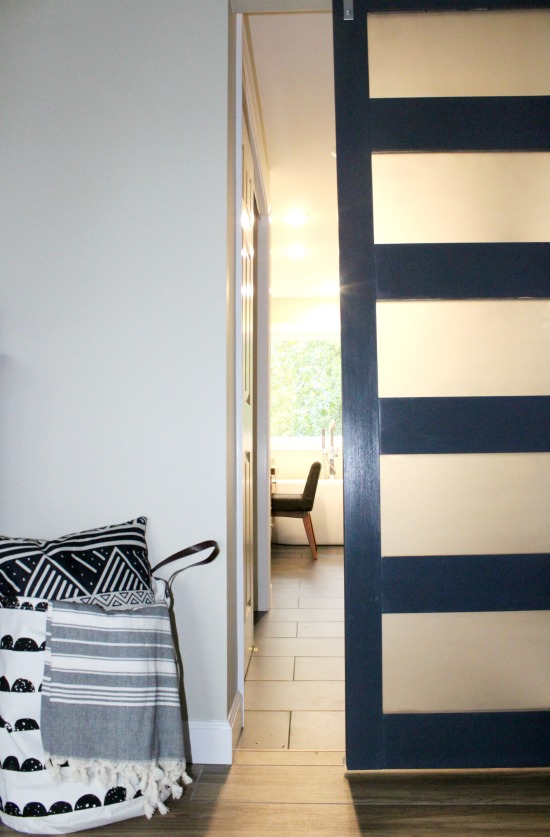
If you didn’t need the privacy, you could totally skip the frosted glass and leave them clear. That would be cute for an office space or dining room or even a kids playroom.
.
If you’d like to use this idea for a piece of furniture, check out this DIY sliding door entertainment center. And if you’d like to save this idea for later, I’d love if you’d pin it!
There are plenty more projects coming up, so don’t miss out on them!! Sign up below to receive email updates on new projects!
.
Until next time, happy building!! 🙂


mike says
Can this be mounted someway to the ceiling instead of a wall? I want to build sliding panels to hide a wall of tools.
Shara, Woodshop Diaries says
You can look into other ways to mount this possibly. Maybe use eye hooks screwed into the top of the door and they slide along a galvanized pipe mounted to the ceiling? I’ve never tried this before, but seen it done.
Ed K says
This is brilliant! I was looking for a solution to a mid century modern barn door problem and this is it! As for those concerned on glass breakage I see 2 possible mods. 1, I like how you do the double door frame to hide all screws, so using the same technique, they could NOT use a router, get glass cut to fit the actual opening, and use thin trim on both sides of the glass to hold it in. Or 2, build the frame with 2x, you would see the Kreig joints, and use the same thin trim style to hold glass in place.
Ivory says
Outstanding! I love this post. You. Alway do excellent work/design
Shara, Woodshop Diaries says
Thank you so much!! 🙂
Rex says
How do you fix the glass if it breaks?
Shara, Woodshop Diaries says
Since the pieces are glued together, it would be difficult to replace the glass without having to pry the door apart, which would likely cause some damage. If this was a concern, you could always screw the front and back together so that if that happened, you could unscrew, replace, then screw back together. However, since this is very inexpensive to make, if it was me and a glass broke, I would just remake the door. It would only cost $30 or so for the lumber plus one glass pane.
Andrea says
Thank you so much for this! I have a small office that currently has french doors (which it completely impractical for a small room). I wanted to replace them with a stationary door and then one that can slide behind it, both with frosted glass panels, but I wasn’t sure how I was going to make them. This is perfect. Thank you, thank you.
Shara, Woodshop Diaries says
Awesome! So glad this post was helpful 🙂 That frosted glass spray paint is awesome…I use it a lot!