Oops, I did it again. I played with your heart. Got lost in the games. Oh baby, baby.
Oh I’m sorry, I got carried away with that a little bit…I’m so embarrassed. Back in my day, Britney was not crazy and still had her hair. Of course, NSYNC will always have my heart and I liked Christina better. And my friends and I watched the Spice Girls movie like every weekend at sleepovers. I was Sporty Spice, but I got to rap all the Scary Spice parts in the songs when we sang them. Oh the early 2000’s. Those were the days.
But, anyway, I did do it again. I built sliding doors number two. Remember the first ones I made? They go to my newly remodeled laundry room. They are my fav. Even more than the Spice Girls 🙂
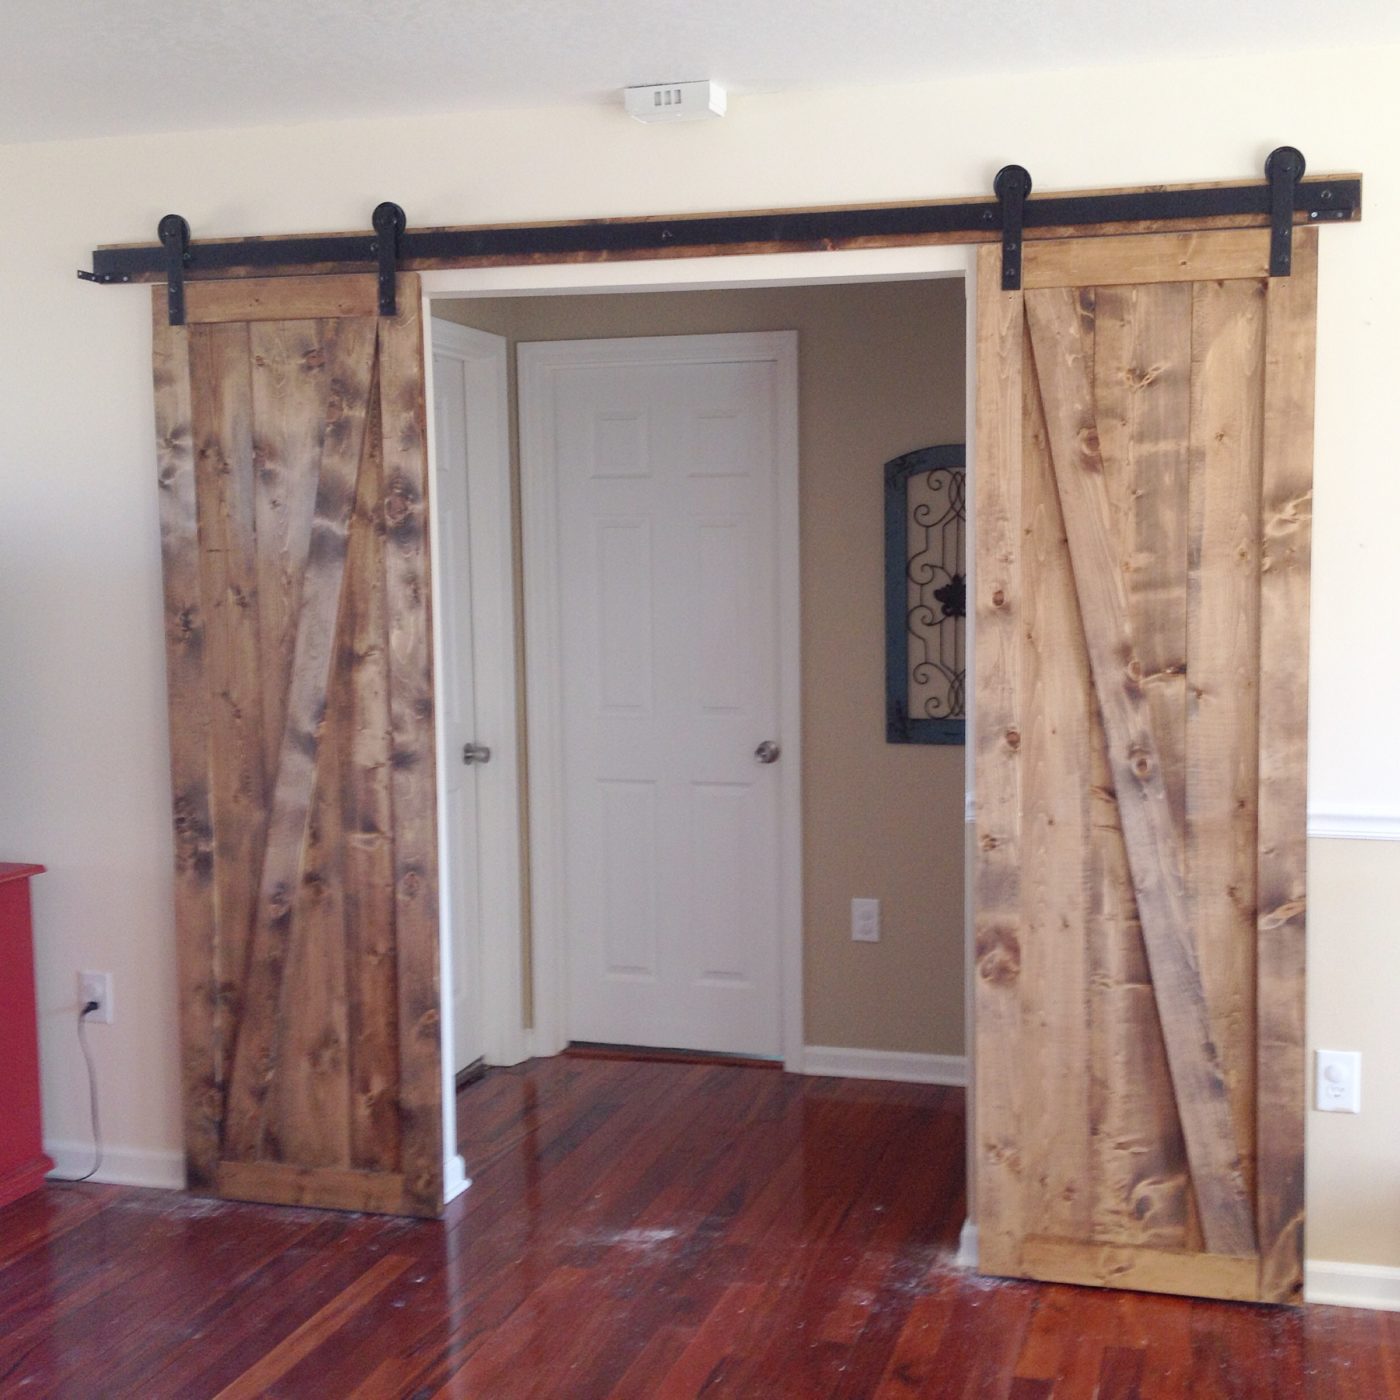
But I have this friend, Brooke, who has this friend, Katie, and now we are friends, too. Funny how that works. She wanted some sliding doors in her living room, so I was happy to make them…on my last snow day 🙂 PS I don’t get snow days. I work in a factory. I couldn’t get my car out of the garage, so I took a “snow” (vacation) day and built these in the shop. BEST. DAY. EVER. Seriously.
These are totally different than my doors, but super easy to make. First, I took the measurements of her door opening and added about 2″ to the width and about 1 inch to the height. That’s how big the door needed to be. Since she wanted French Doors, I divided the width by two and made two doors that size.
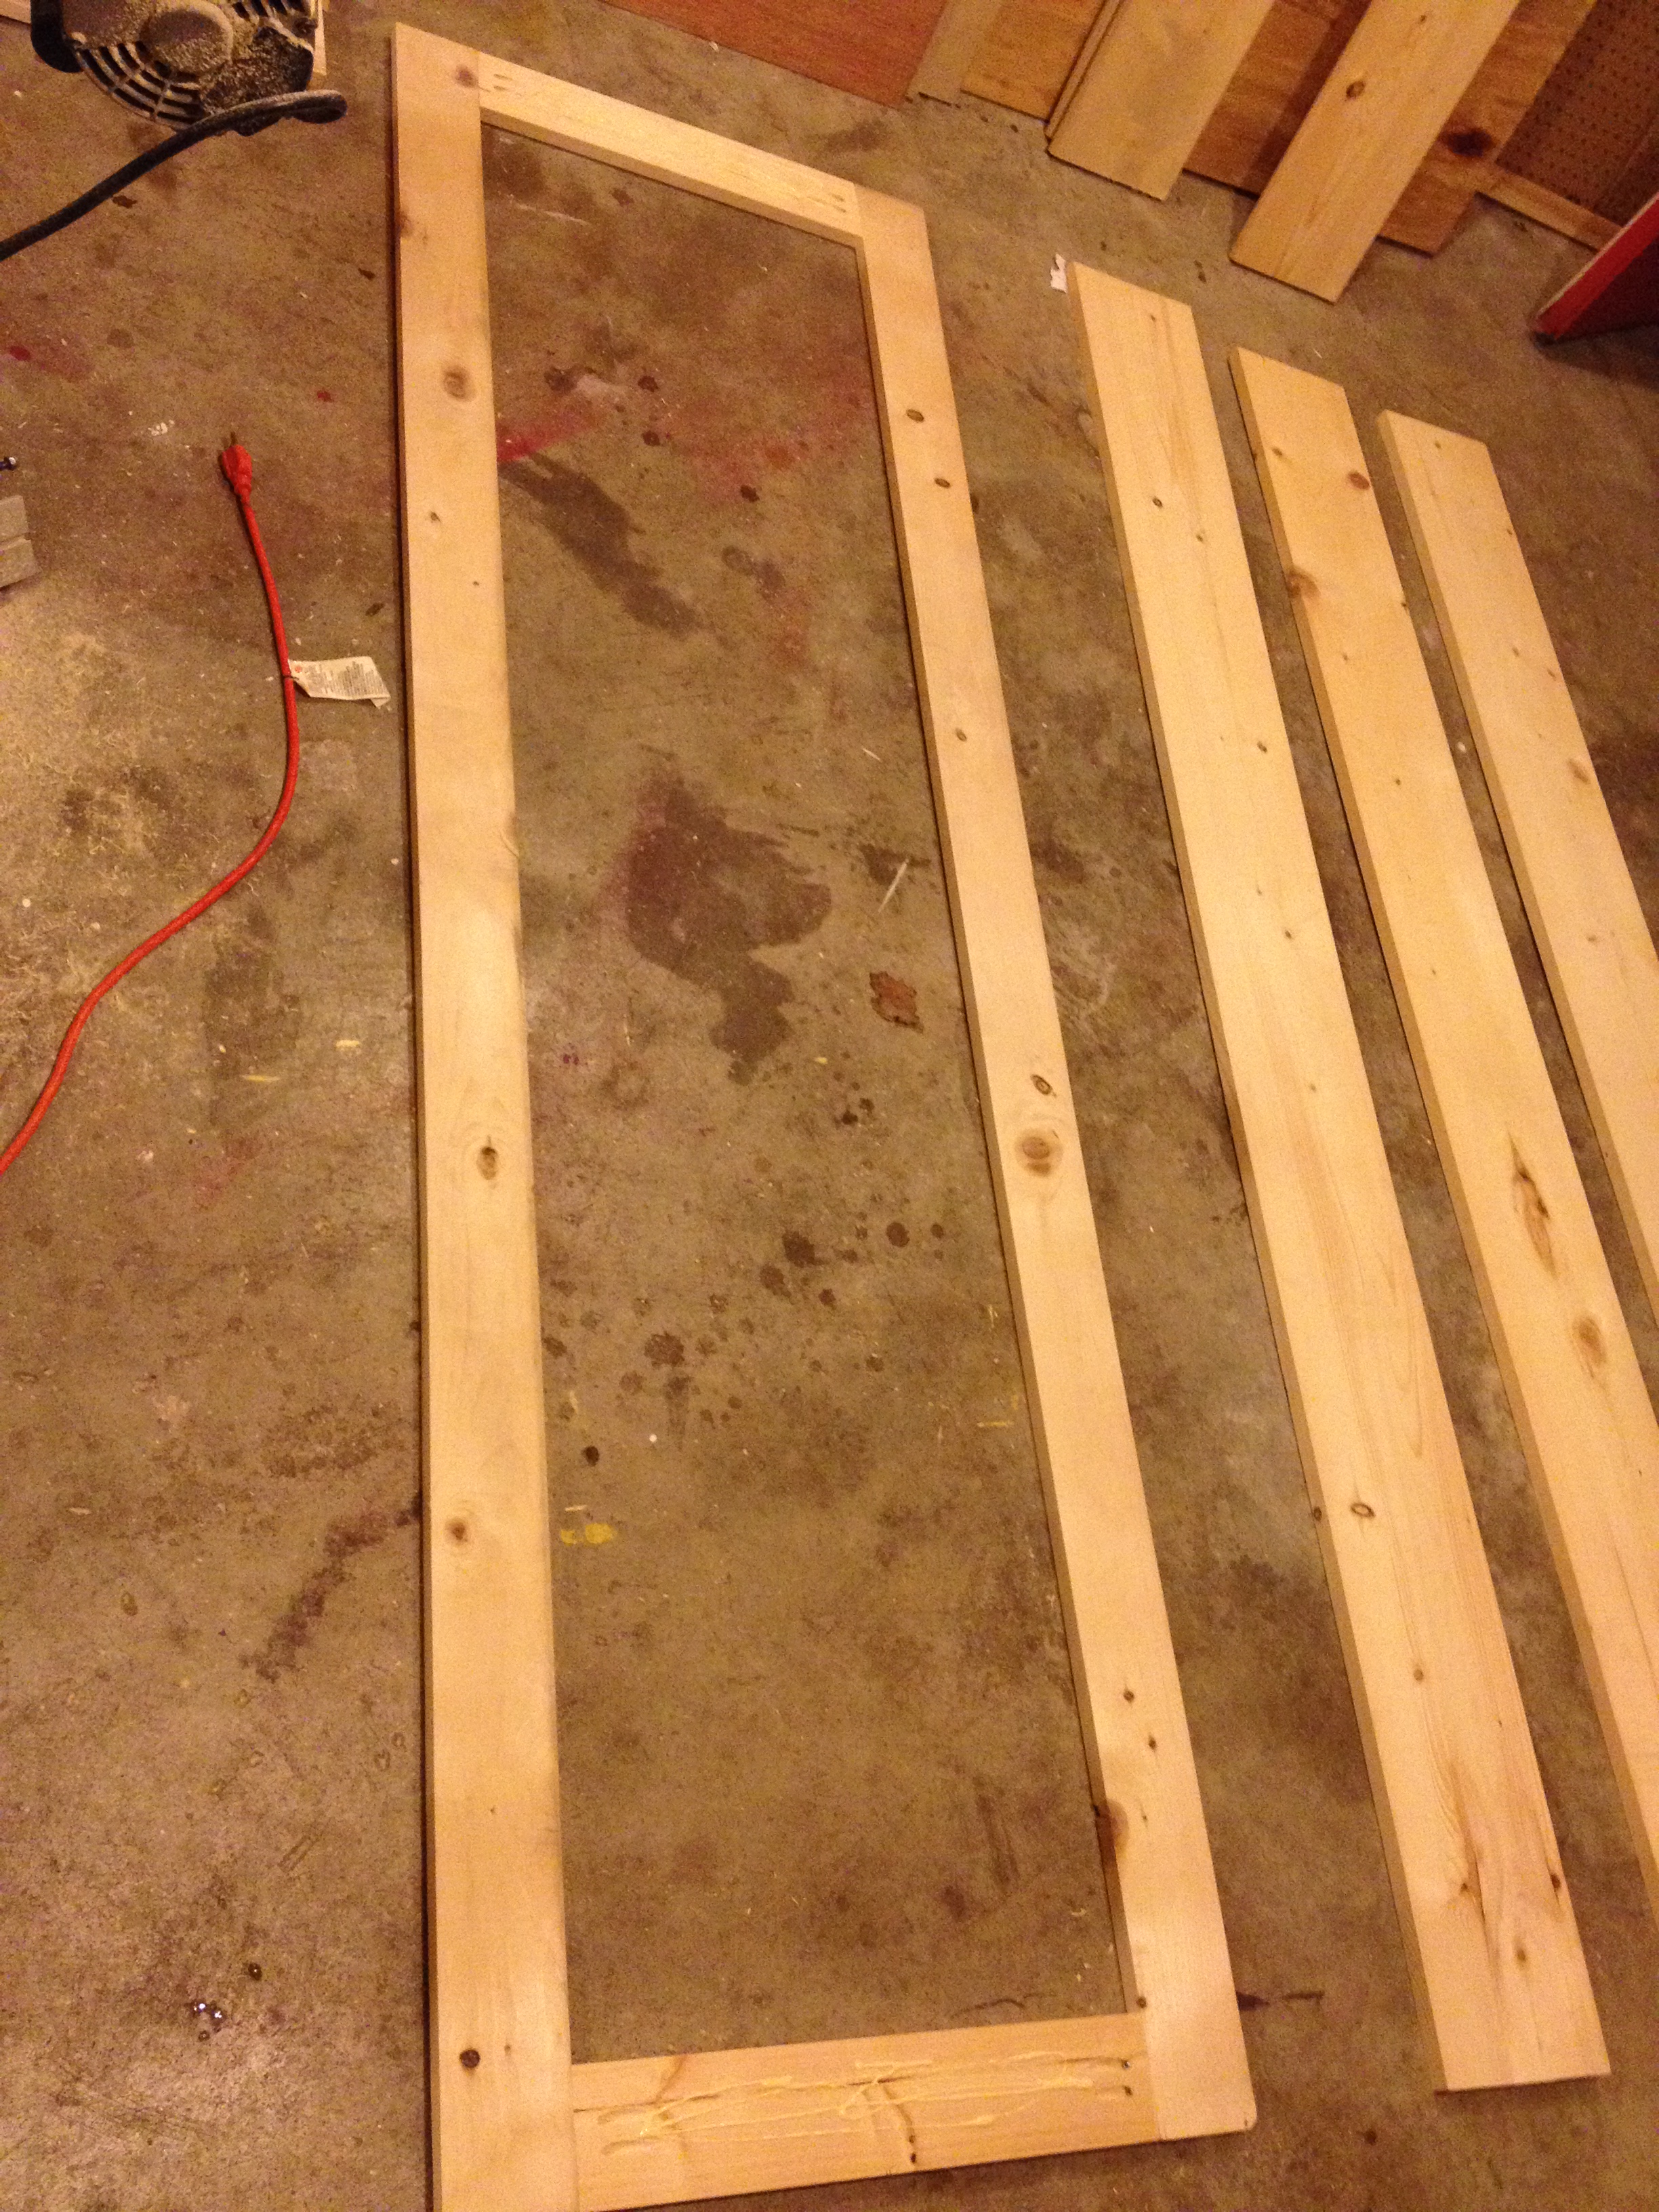
First I built the frame for the front using 1×4 lumber, pocket holes, and screws.
I nailed boards onto the back of the frame to match the exact width. I used 3 1x8s in the middle (I made sure they were centered), then ripped two pieces to put on each edge to sit flush with the frame.
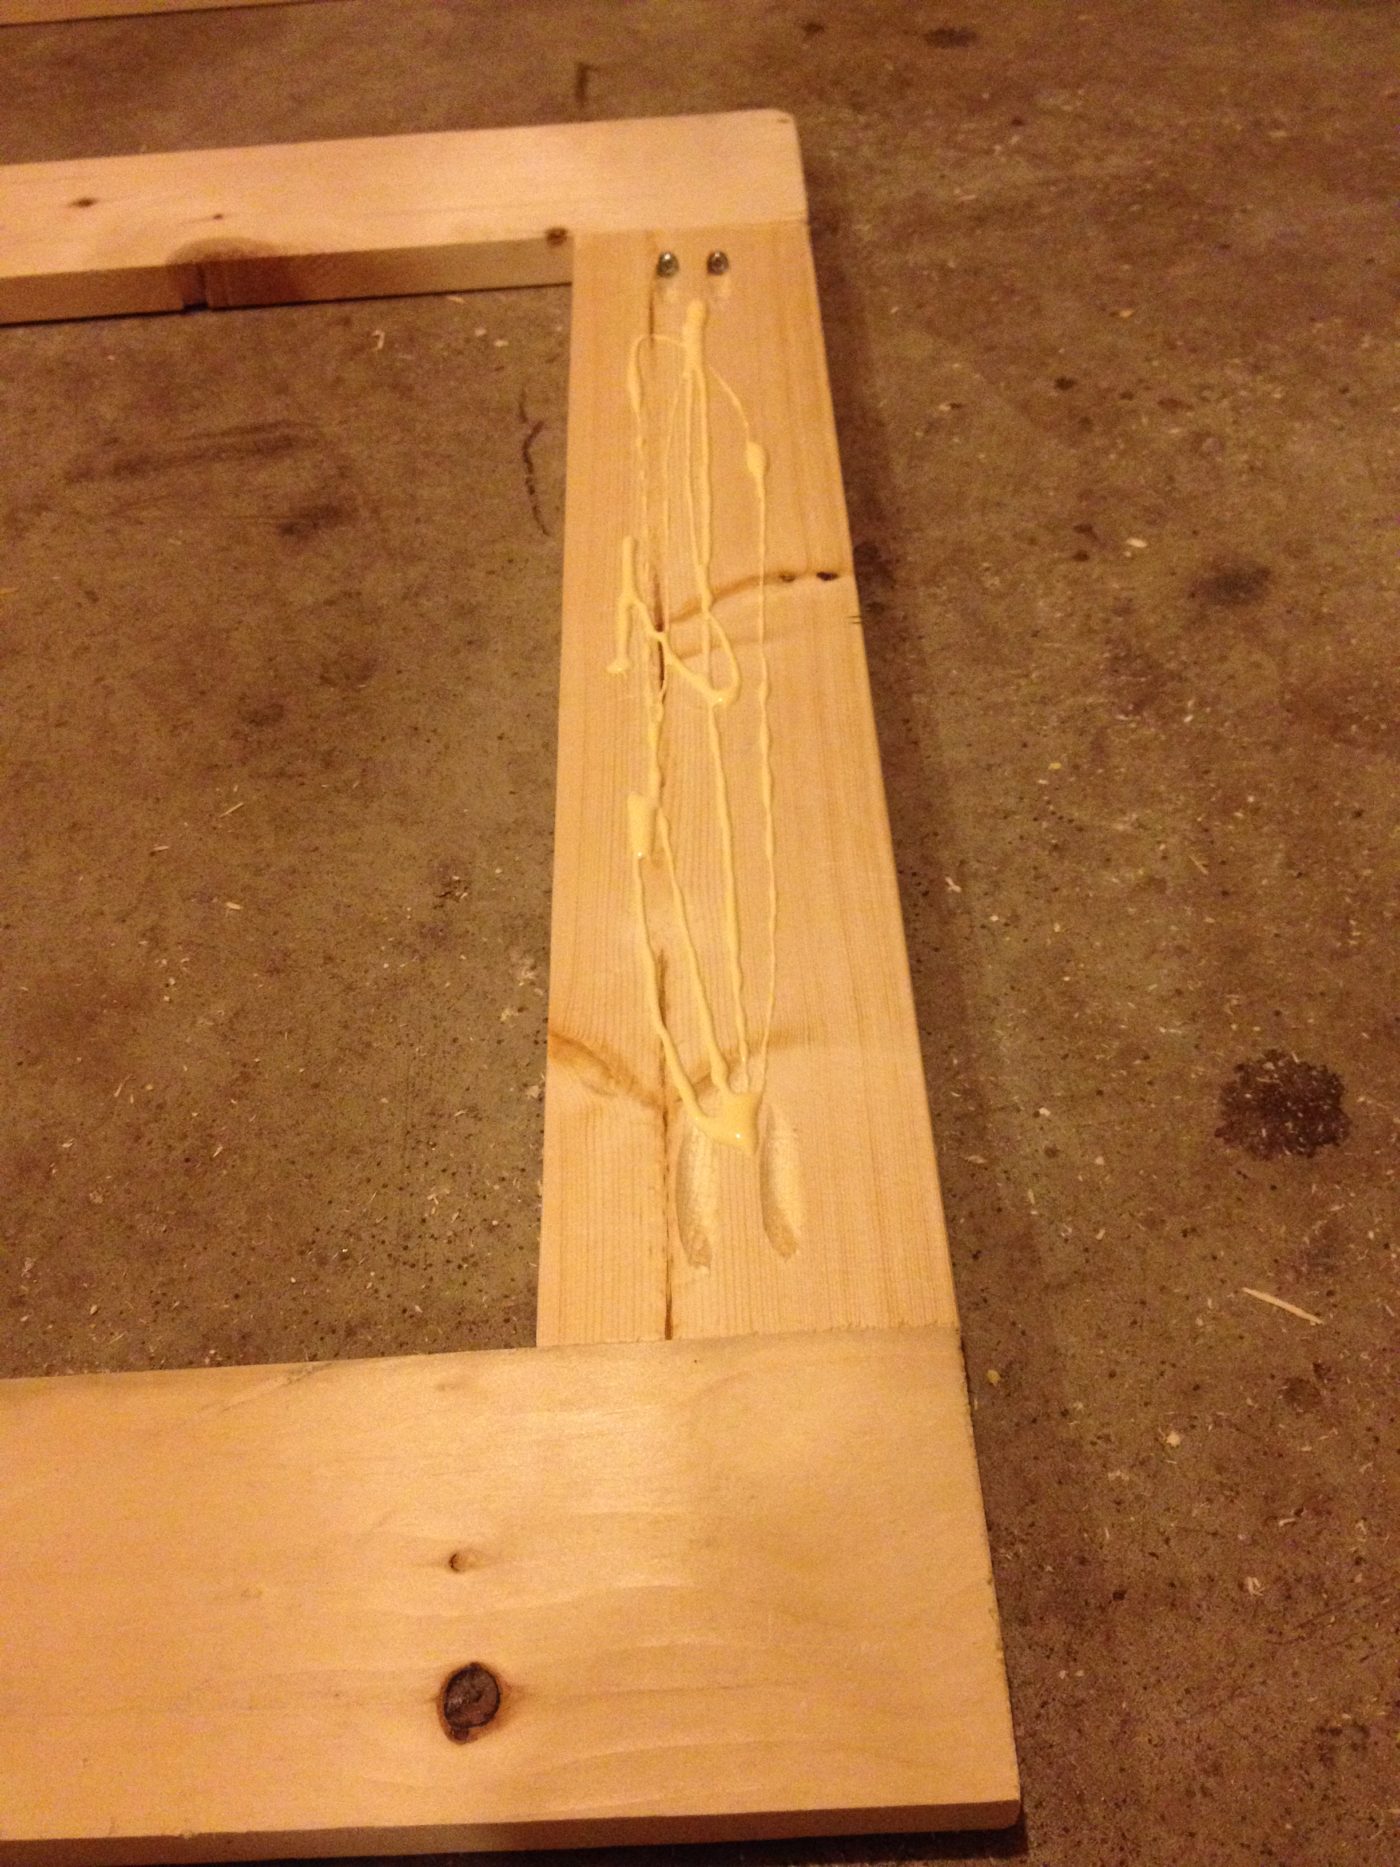
To attach the back, I turned the frame face down, put glue on the top and bottom, centered the boards and nailed them on with a nail gun and 1 ¼″ nails. That’s when I ripped the end boards and nailed them on each side from the back.
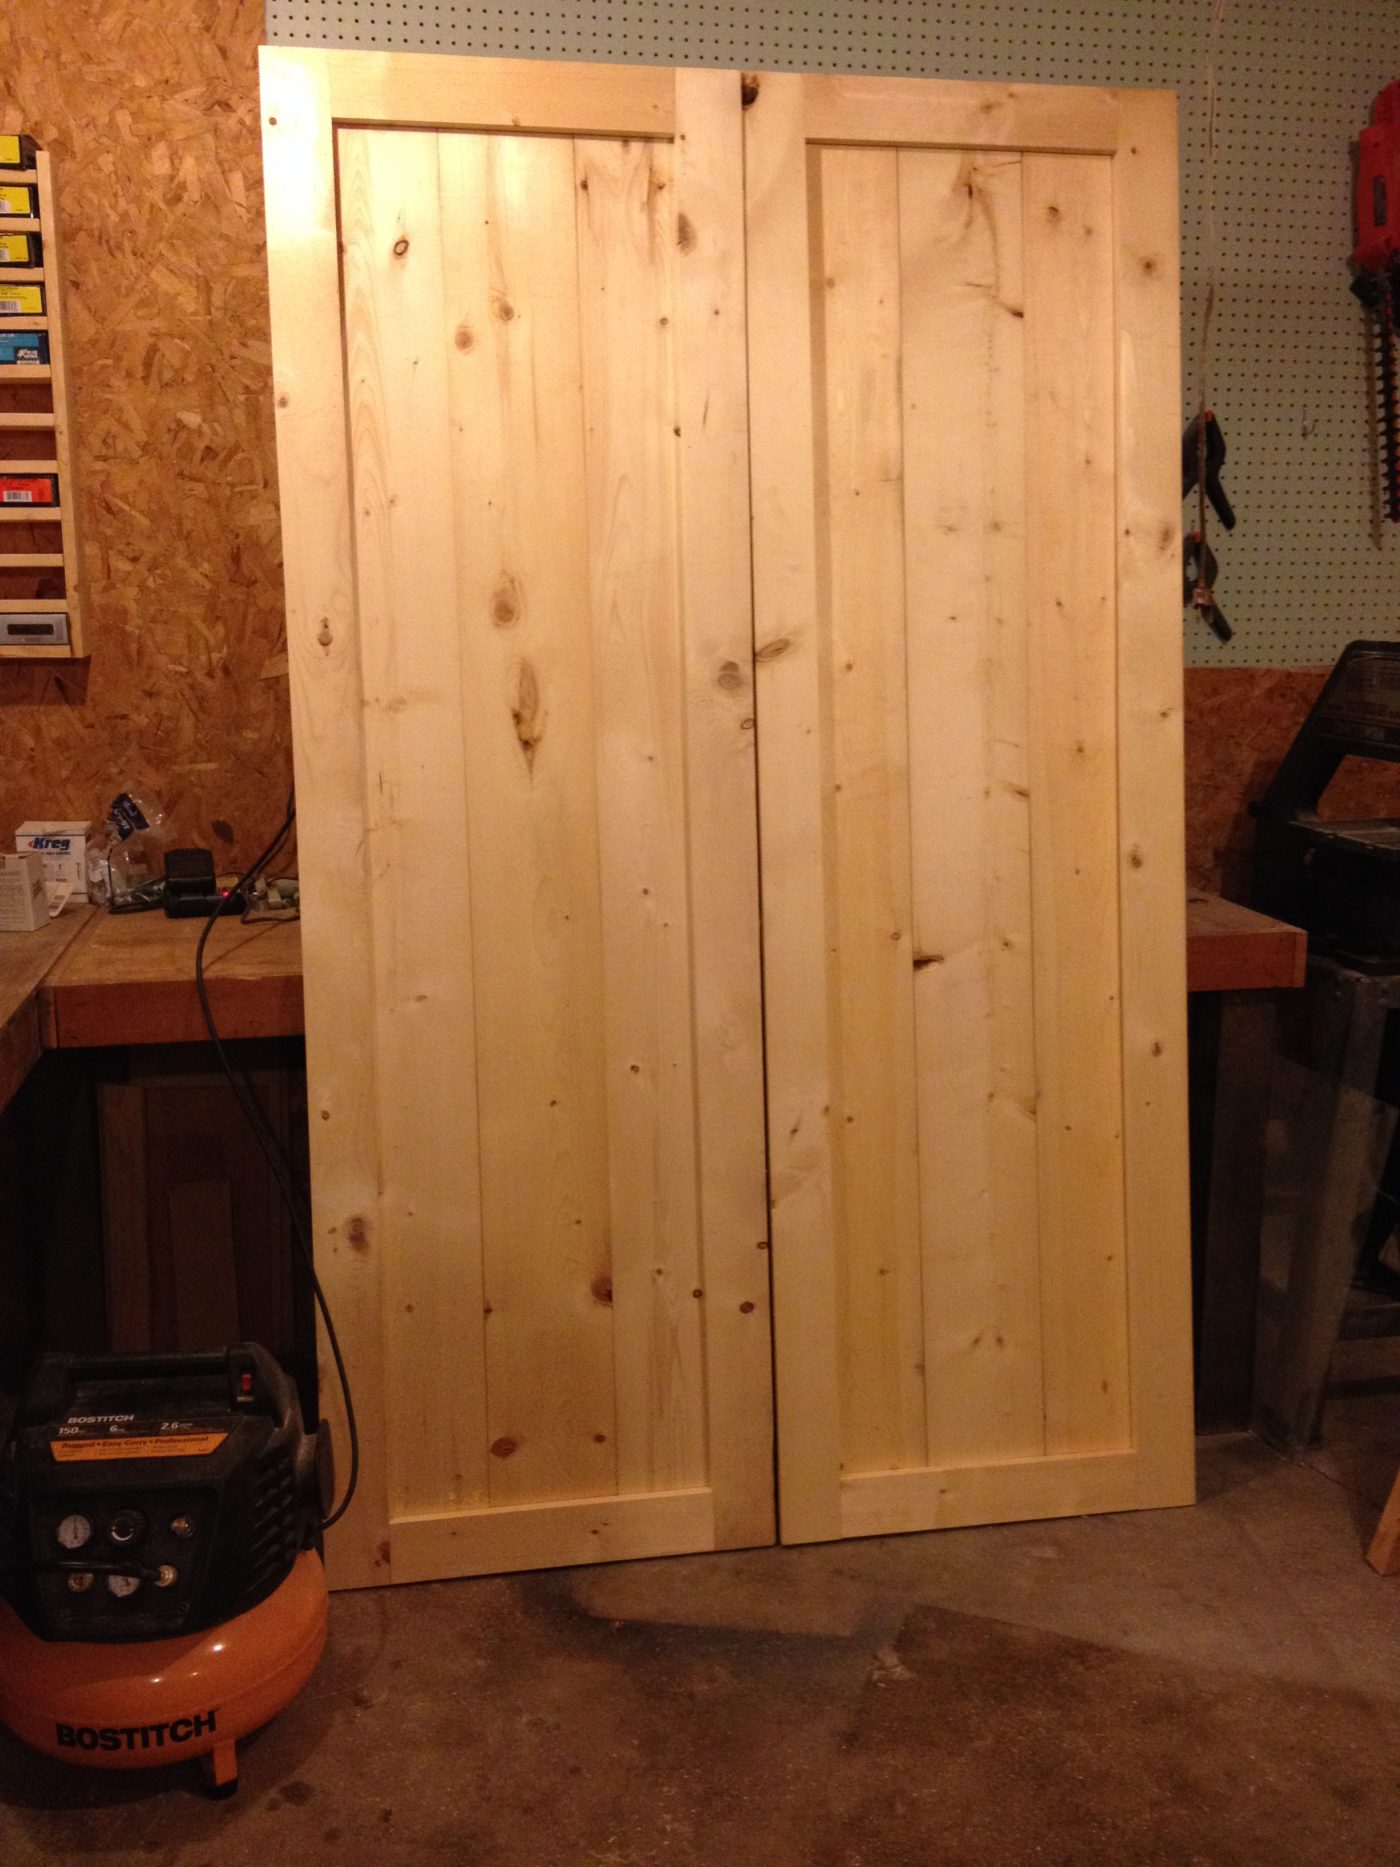
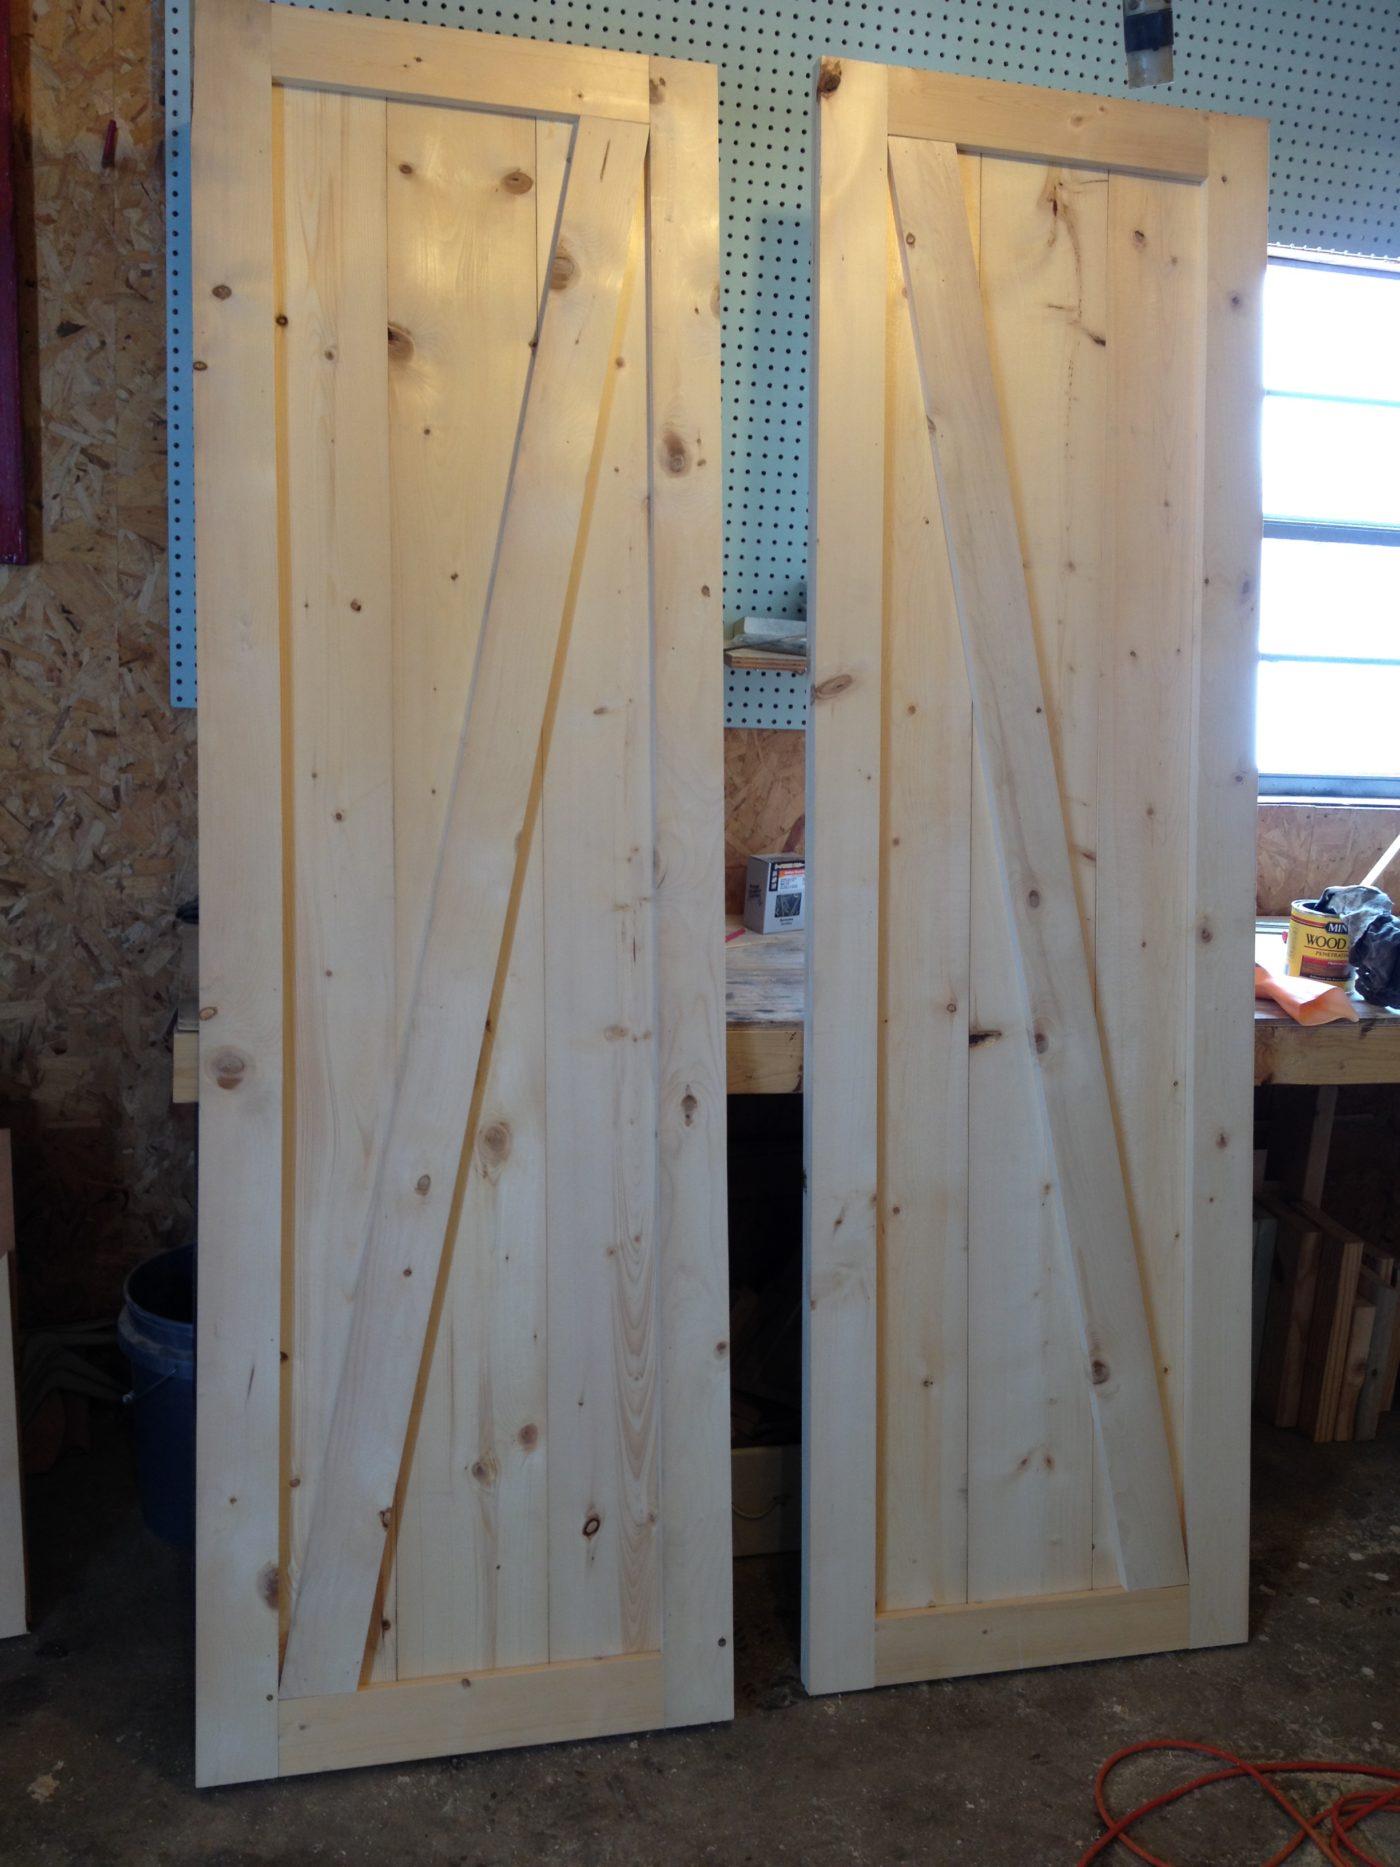
They will look like this from the front.
To cut the diagonals, I didn’t do the math (sorry to disappoint). I laid the doors down and placed a 1×4 across the front where I wanted the diagonal to be and marked where the cuts needed to be made. Then I worked with my miter saw to get the angle that matched. Once you get the first cut, all others are the same angle, so it’s pretty simple. I nailed those on the front.
Then I stained it in Minwax Provincial. One of my favorite colors 🙂
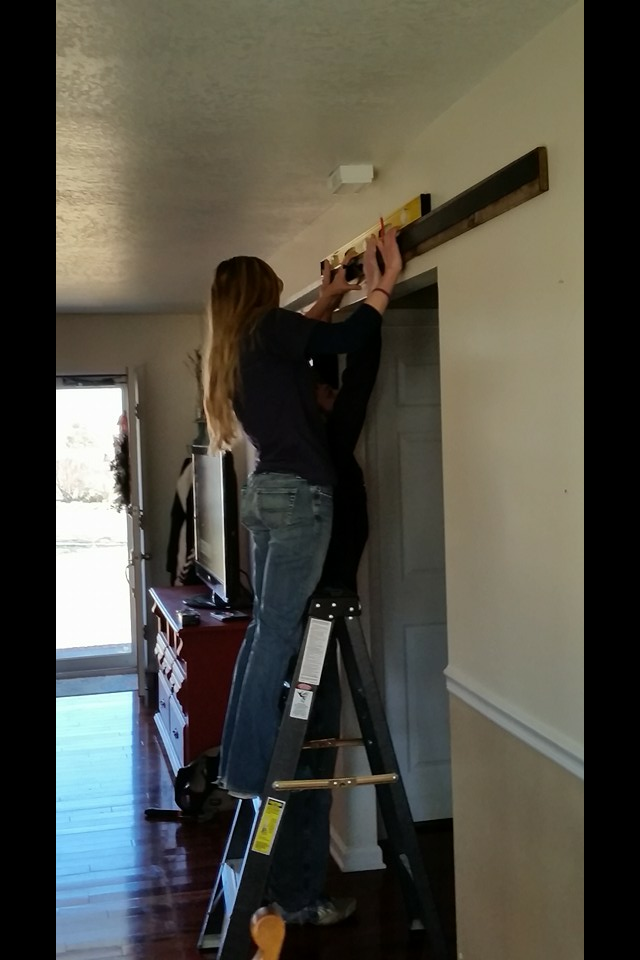
You can read my first post about sliding doors to see how to do the hardware. In this case, she didn’t need the spacers that I used the first time, so just take that piece out.
I waited to drill the holes in the metal bar until we got there and found the studs for sure. I went and measured before I built the doors, but got nervous and wanted to double check. See? I’m learning some things here 🙂 measure twice, drill ONCE. Because drilling holes in metal SUCKS.
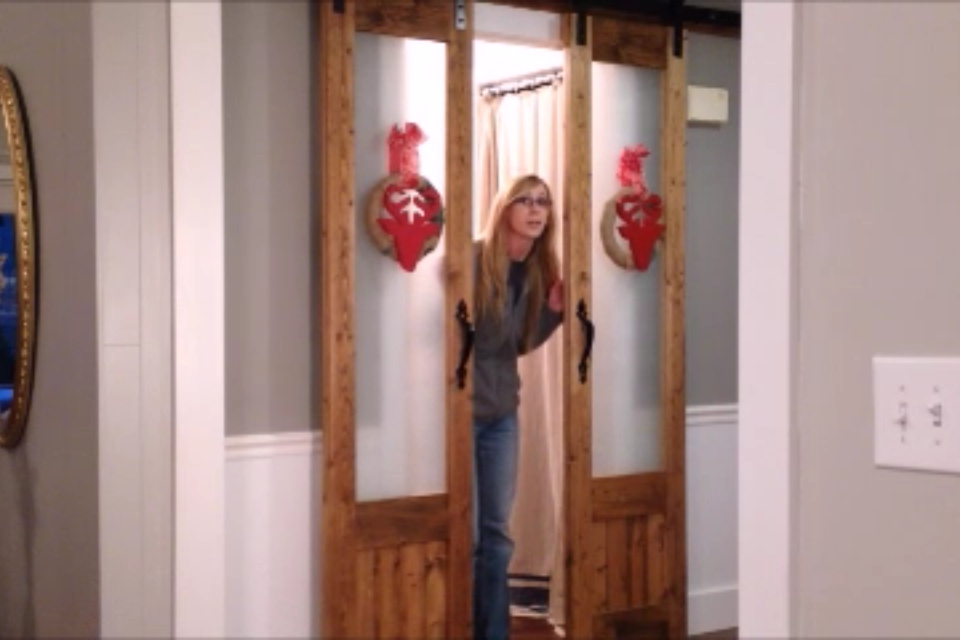
Danny and I installed them in a couple hours and I personally think they look awesome. Although, I could be slightly biased…
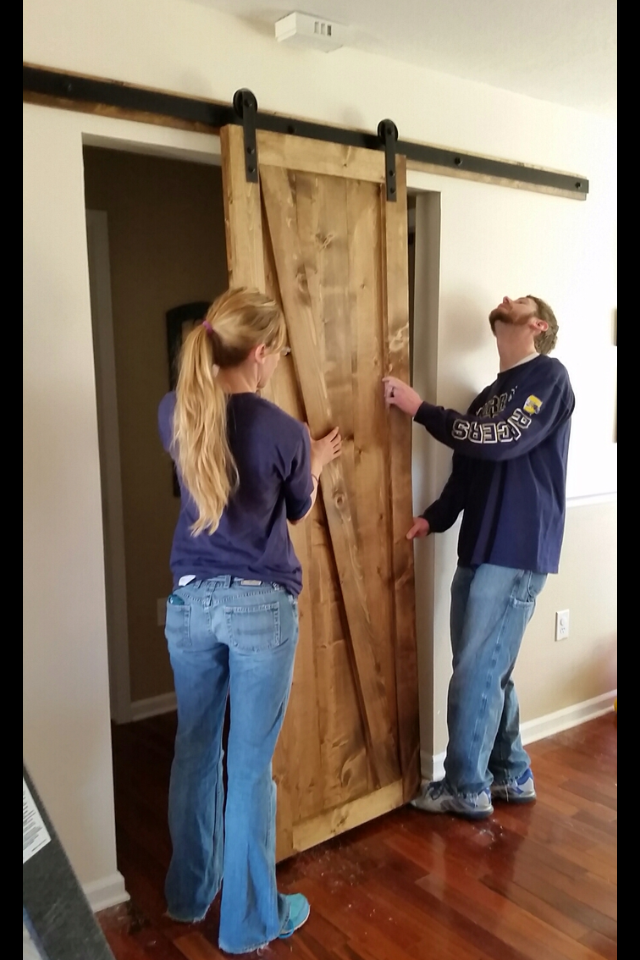
Side note, don’t attach the pulleys to the door until you get the bar on the wall…I did this to “save time” on installation and totally didn’t think to add enough space between the pulley and the door for it to actually fit onto the bar. This caused some frustration…
That is me being frustrated about this mistake…and me telling Danny that his idea to fix it is not going to work hahahaha. True story. He’s so sweet for putting up with me…but he’s a terrible assistant sometimes 🙂 I still love him…I just need a new assistant…
This is…ummm….the same thing going on…
But, finally, after adjusting the bars on the doors, everything went in and looks SWEET!
Except for the drywall dust mess I left in her floor. SORRY KATIE!
To see more finished project pictures, check out her post about them here.
So what do you think of the sequel? I hope I get to make more of these…they’re so fun and there are so many door styles to pick from!! Danny says I can’t do any more in our house…so anybody want me to come do some in yours?! Haha…just kidding…unless you’re serious 🙂
I want to say a huge THANK YOU to Katie for trusting me to make them for her!
YOU GUYS…one last thing. Don’t forget to go vote for me to be the First Ever Mrs. Meyer’s Home Maker!! Go here and vote for Shara M. Vote every day until the 15th!! You could be seeing more of my projects on their blog, too, if you vote 🙂
Until the next project, happy building 🙂





Shara, you could come be my friend in Las Vegas! And it would be at just the right time since we are moving soon and I really need a set of doors to put over the sliding patio door in my bedroom! 🙂
Las Vegas sounds like fun! I would love to travel around helping people install sliding doors haha! Good luck with yours! They really do add so much to a room!
great work….keep it up!! Love your creative thinking.
Thank you!
Where do you find the track?
This post gives a link to where you can see how I did the hardware on my sliding doors to my laundry room. You can also find the post about my laundry sliding doors on the projects page. The details on the hardware are in that post.
Crazy cool doors! I think I would use a pre-treat before staining though. You have to be fond of the irregular staining on the wood. Or paint them. 🙂
Thanks! I actually kind of like the irregular staining on the spruce wood. I think it gives more interest and makes it feel more rustic. However, I do see where pre conditioner would be useful in projects where you would want a more “perfect” and consistent coloring. I know a lot of people don’t care for the blotches, though.
I am interested in doing something similar in my long hallway to replace the doors to my laundry closet and utility closet. My question, though, is: how well do these doors seal? I’m concerned about noise potential if there are gaps between the door and the wall when closed.
I have these on my laundry room and they are really far away from the wall (because we had to clear the doorbell…you can read more about it by clicking the link in this post to take you to that one). When the washer or dryer is running, we hear it a little but not much. But we’d hear it a little even with a regular door on. I personally think they seal plenty to keep out normal laundry noise.
Geez! Found this on Hometalk! Crazy mad skills! Will you be my friend too! I’m real nice and I really like barn doors…a lot. And I live where it’s really warm if you want to come visit.
Haha thank you! I’m flattered! I would love to be your friend 🙂 and come visit where it is warm…especially on snow days! The weather here is crazy…one day it’s 70, and the next you get a foot of snow! Glad you liked the doors! 🙂