
Please tell me I’m not the only one who had no idea what cornice board was…
I mean, I was completely clueless! My sweet and talented friend, Brooke, texted me one night and asked if I wanted to make her some cornice boards. I was like “um, what the heck is a cornice board?” Then she sent me a picture and I was like “ohhhhh…well that’s different.” HAHA. Like where have I been? Obviously not on Pinterest…
So I asked her to send me some measurements and I got started. I have to admit, I was kind of hesitant that these were going to look good in her living room, but OMG for real. They look super cute and I kind of want my own 🙂 And the best part? They’re super easy to make, and install….AND they’re cheap!
First, you need to measure the width of the window including the trim.

Add about 6″ (if space allows) to that width and that is the length you want your cornice board to be. I used 1×12 boards, but you can use 1×10 or even 1×8 if you want your cornice boards to be shorter. Buy enough 1×12 (or whatever size you choose) for the width you just measured plus AT LEAST 7″. You will also need a piece of 1×4 and a piece of 1×2 the width you measured minus 1 ½″. Once you’ve got your lumber, let’s make the cuts.
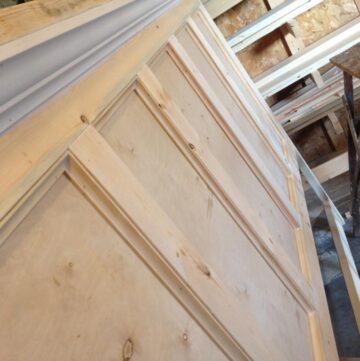
Cut two pieces of the 1×12 at 3 ½″ long.
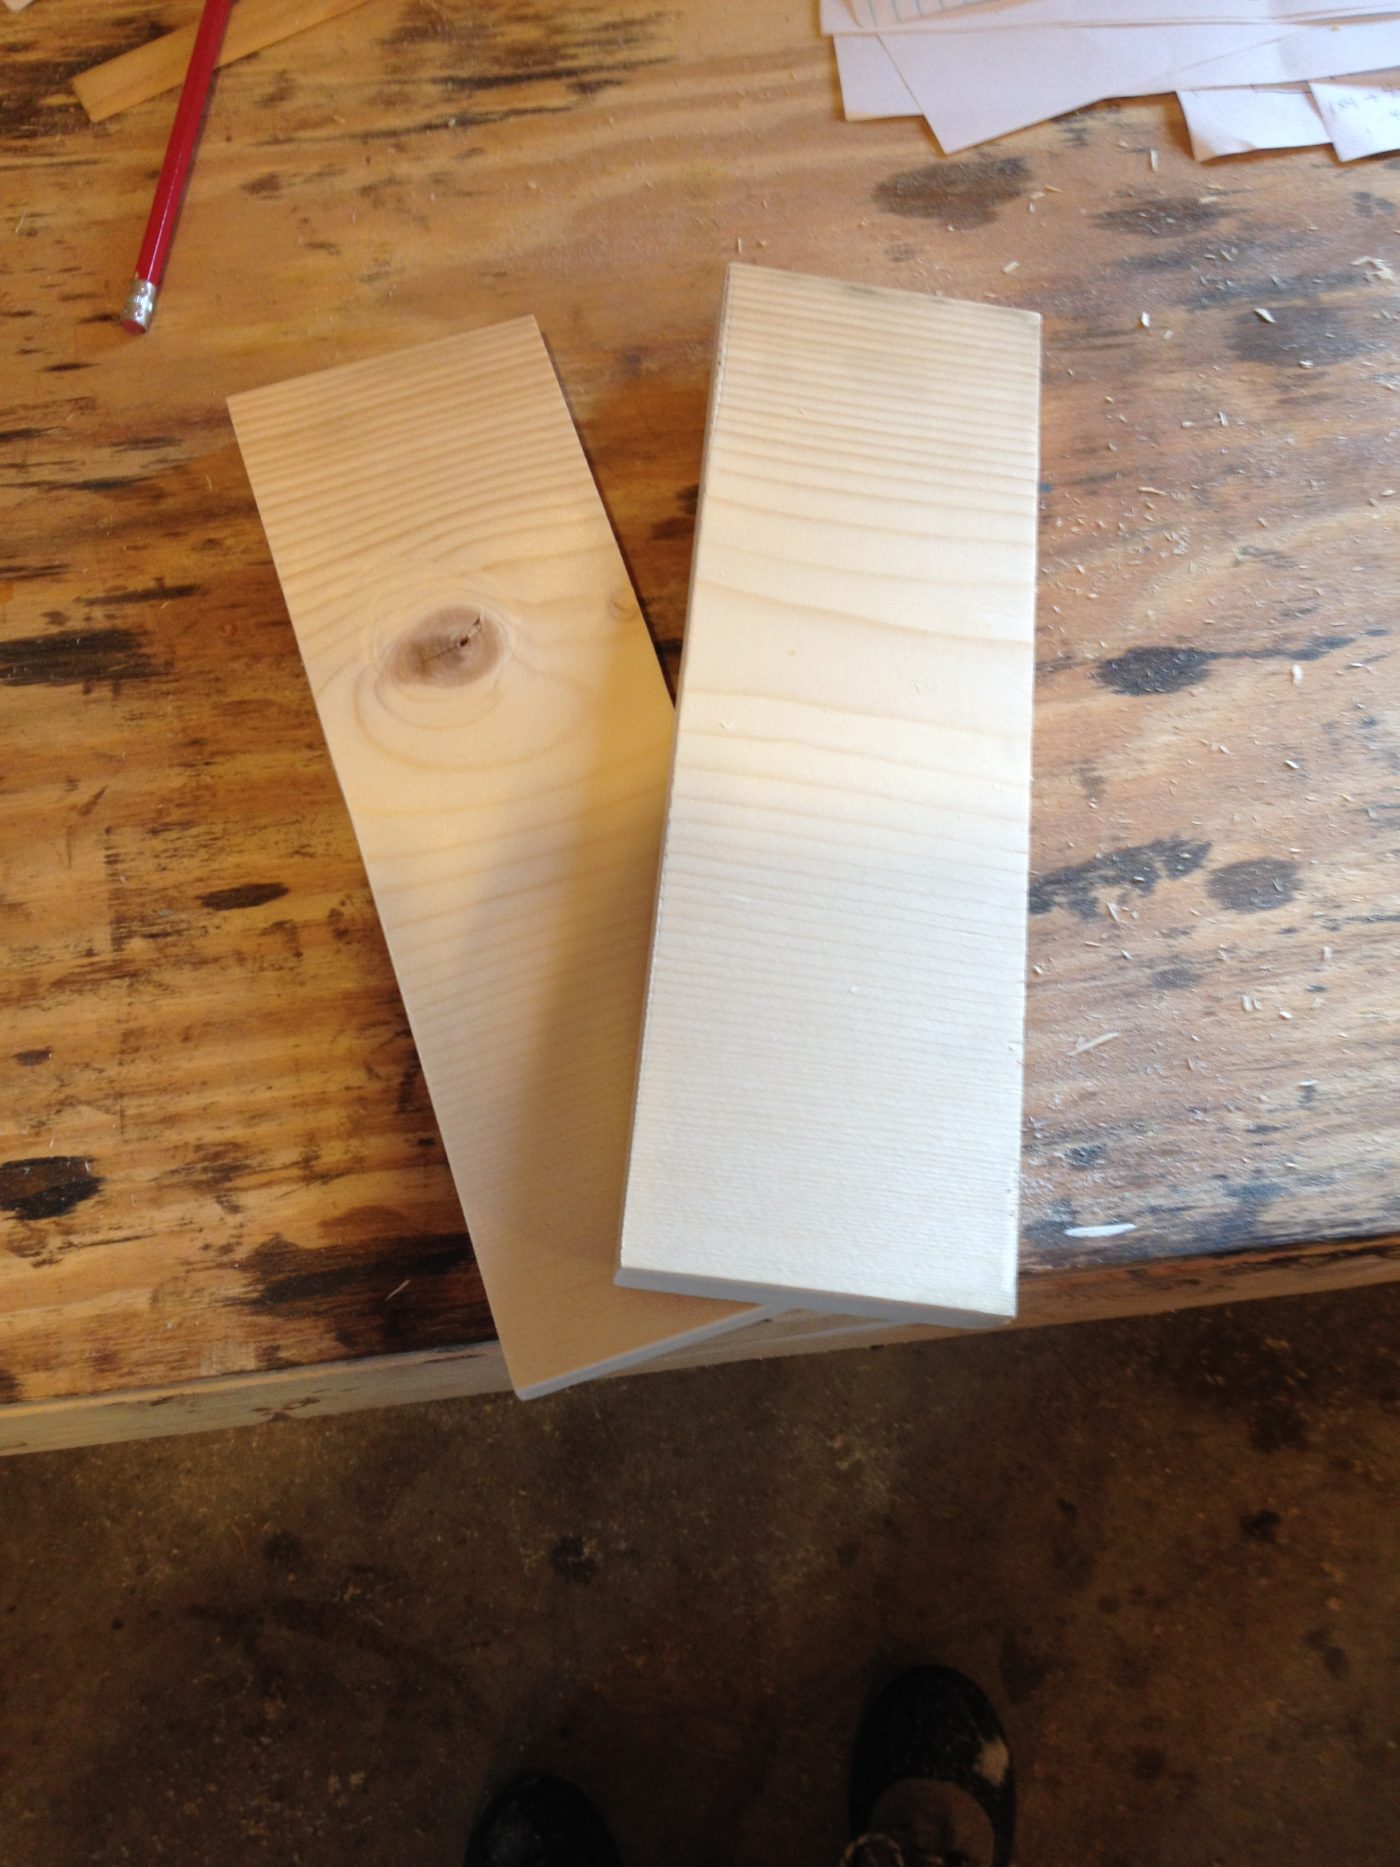
Then cut one piece of 1×12 the width you measured of the window trim plus 6″ (again, if space allows. If you don’t have room for 3″ on each side of the window, you may have to adjust and cut less than 6″). The piece on top here is the one I cut for this step.

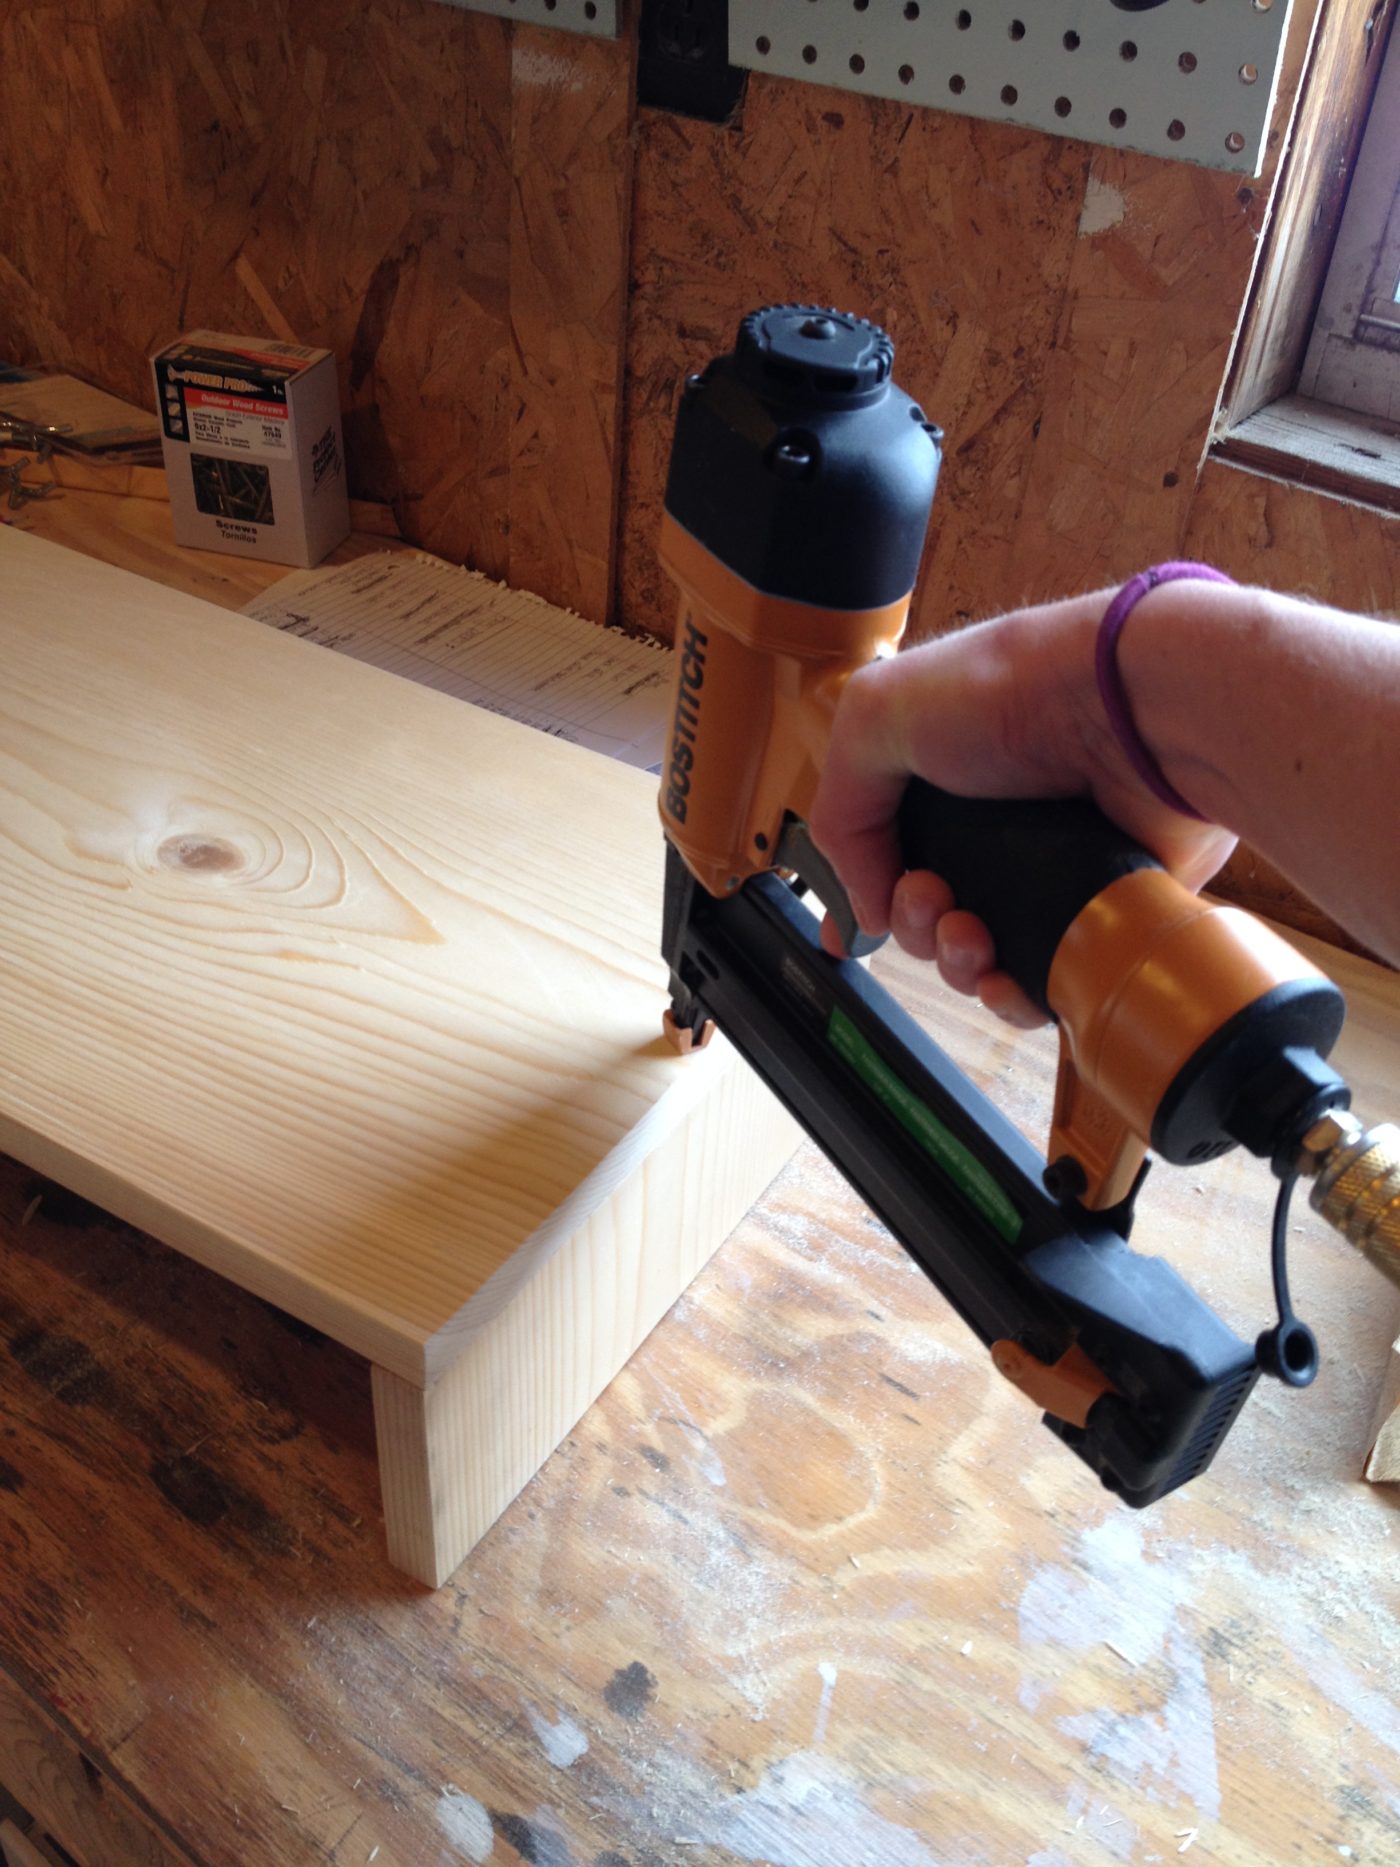
Using a nail gun (or hammer and nails if you don’t have a gun), nail the 3 ½″ pieces to the long piece (one on each side) like the picture below.
Measure the distance between the two 3 ½″ pieces. It should be the width of your front piece minus 1 ½″. Cut a piece of 1×4 this length and drill pocket holes on each side. If you don’t have a pocket hole jig, you can glue and nail this into place.
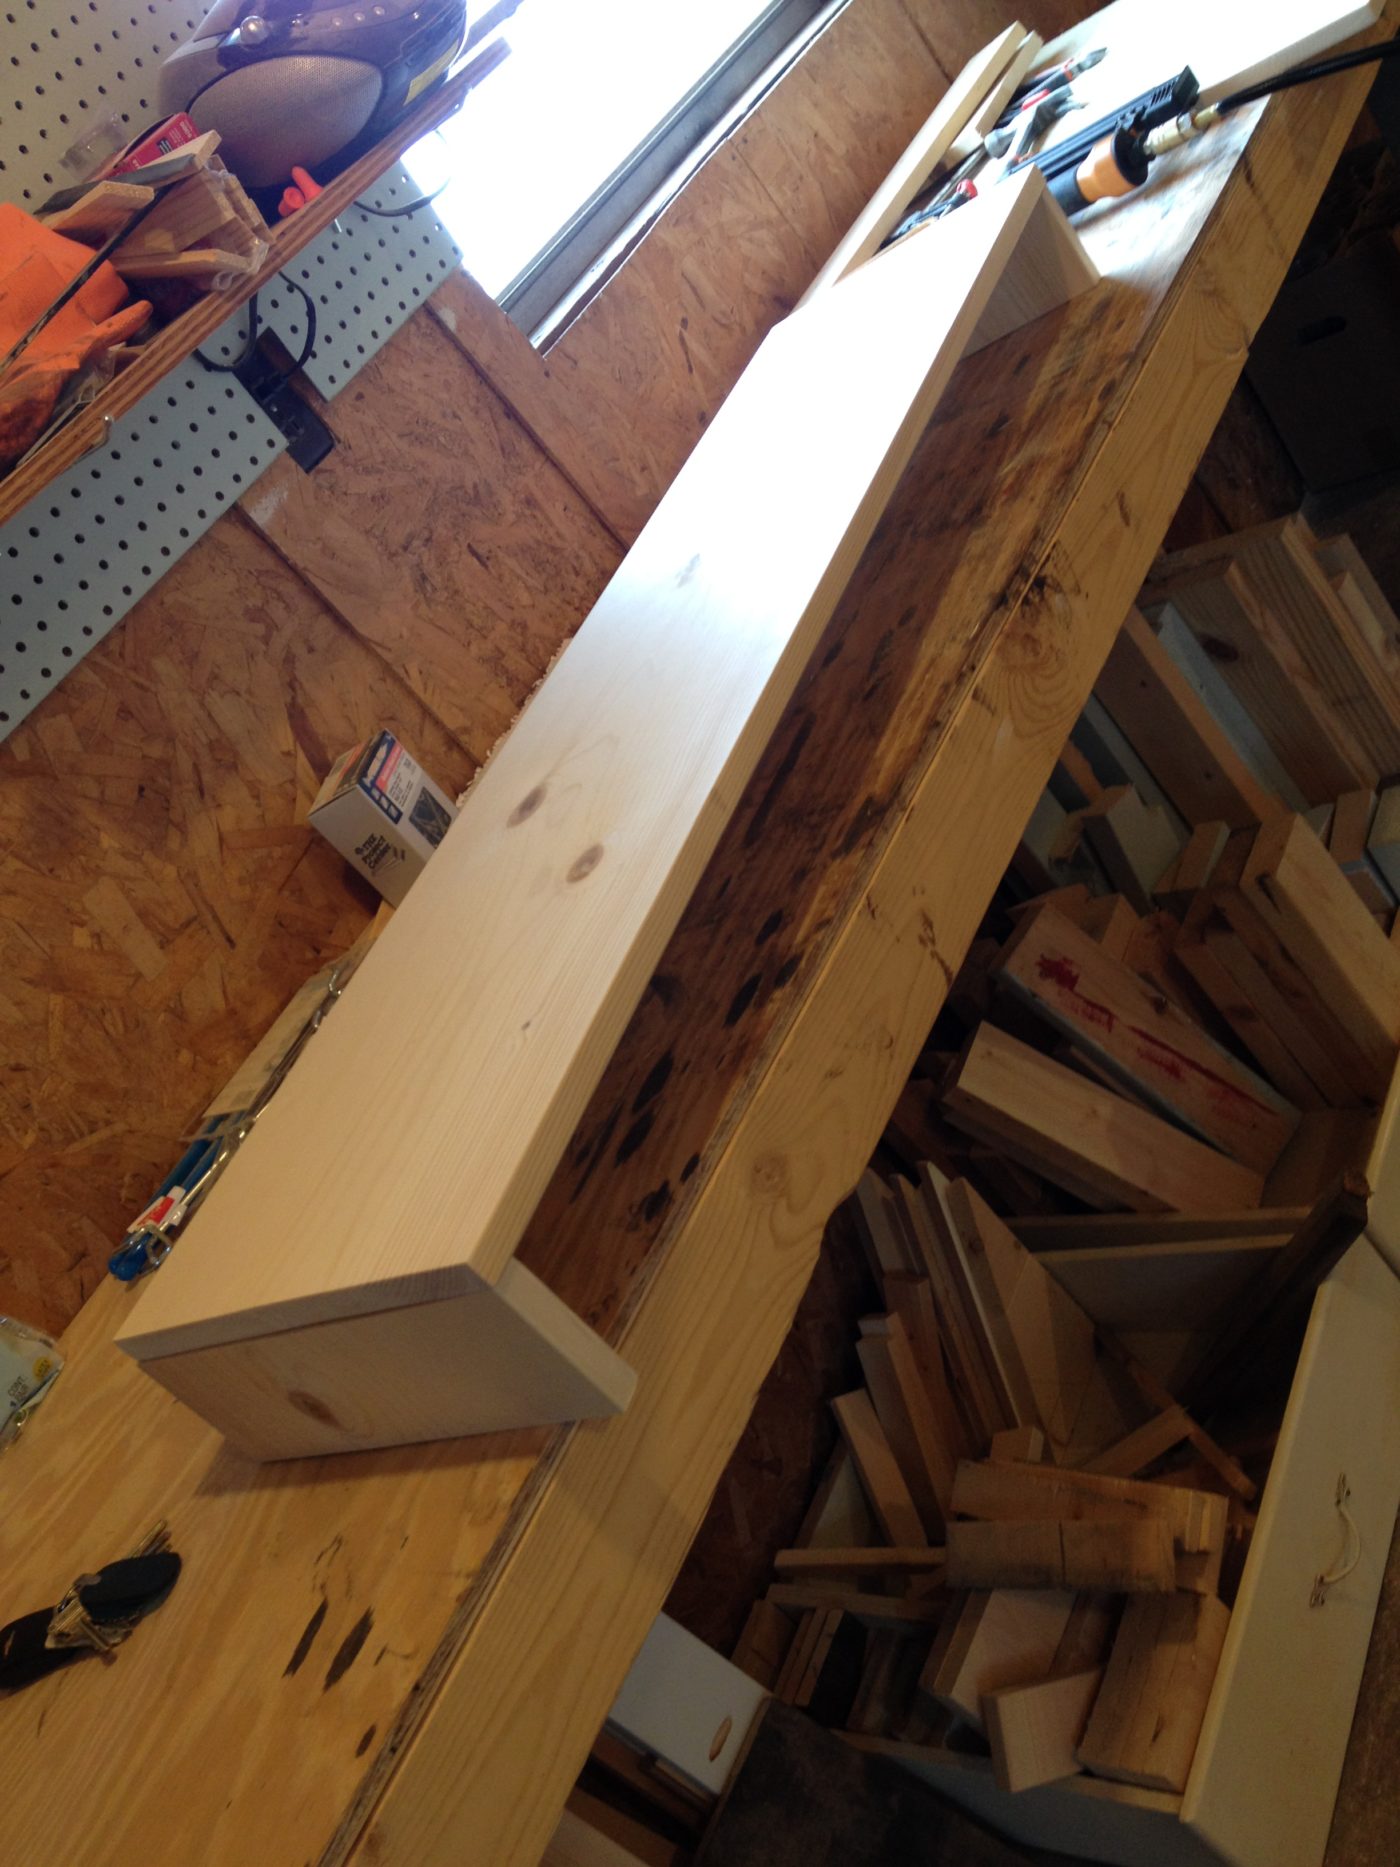
Attach this piece to the 3 ½″ pieces like the picture below.

Once it is attached to the 3 ½″ pieces, nail it from the front as well.

And there you go! Cornice board! I made five of these for Brooke and she wanted them whitewashed. In order to make the whitewash stand out better, I stained them all first (Minwax Provincial), then whitewashed after the stain dried.

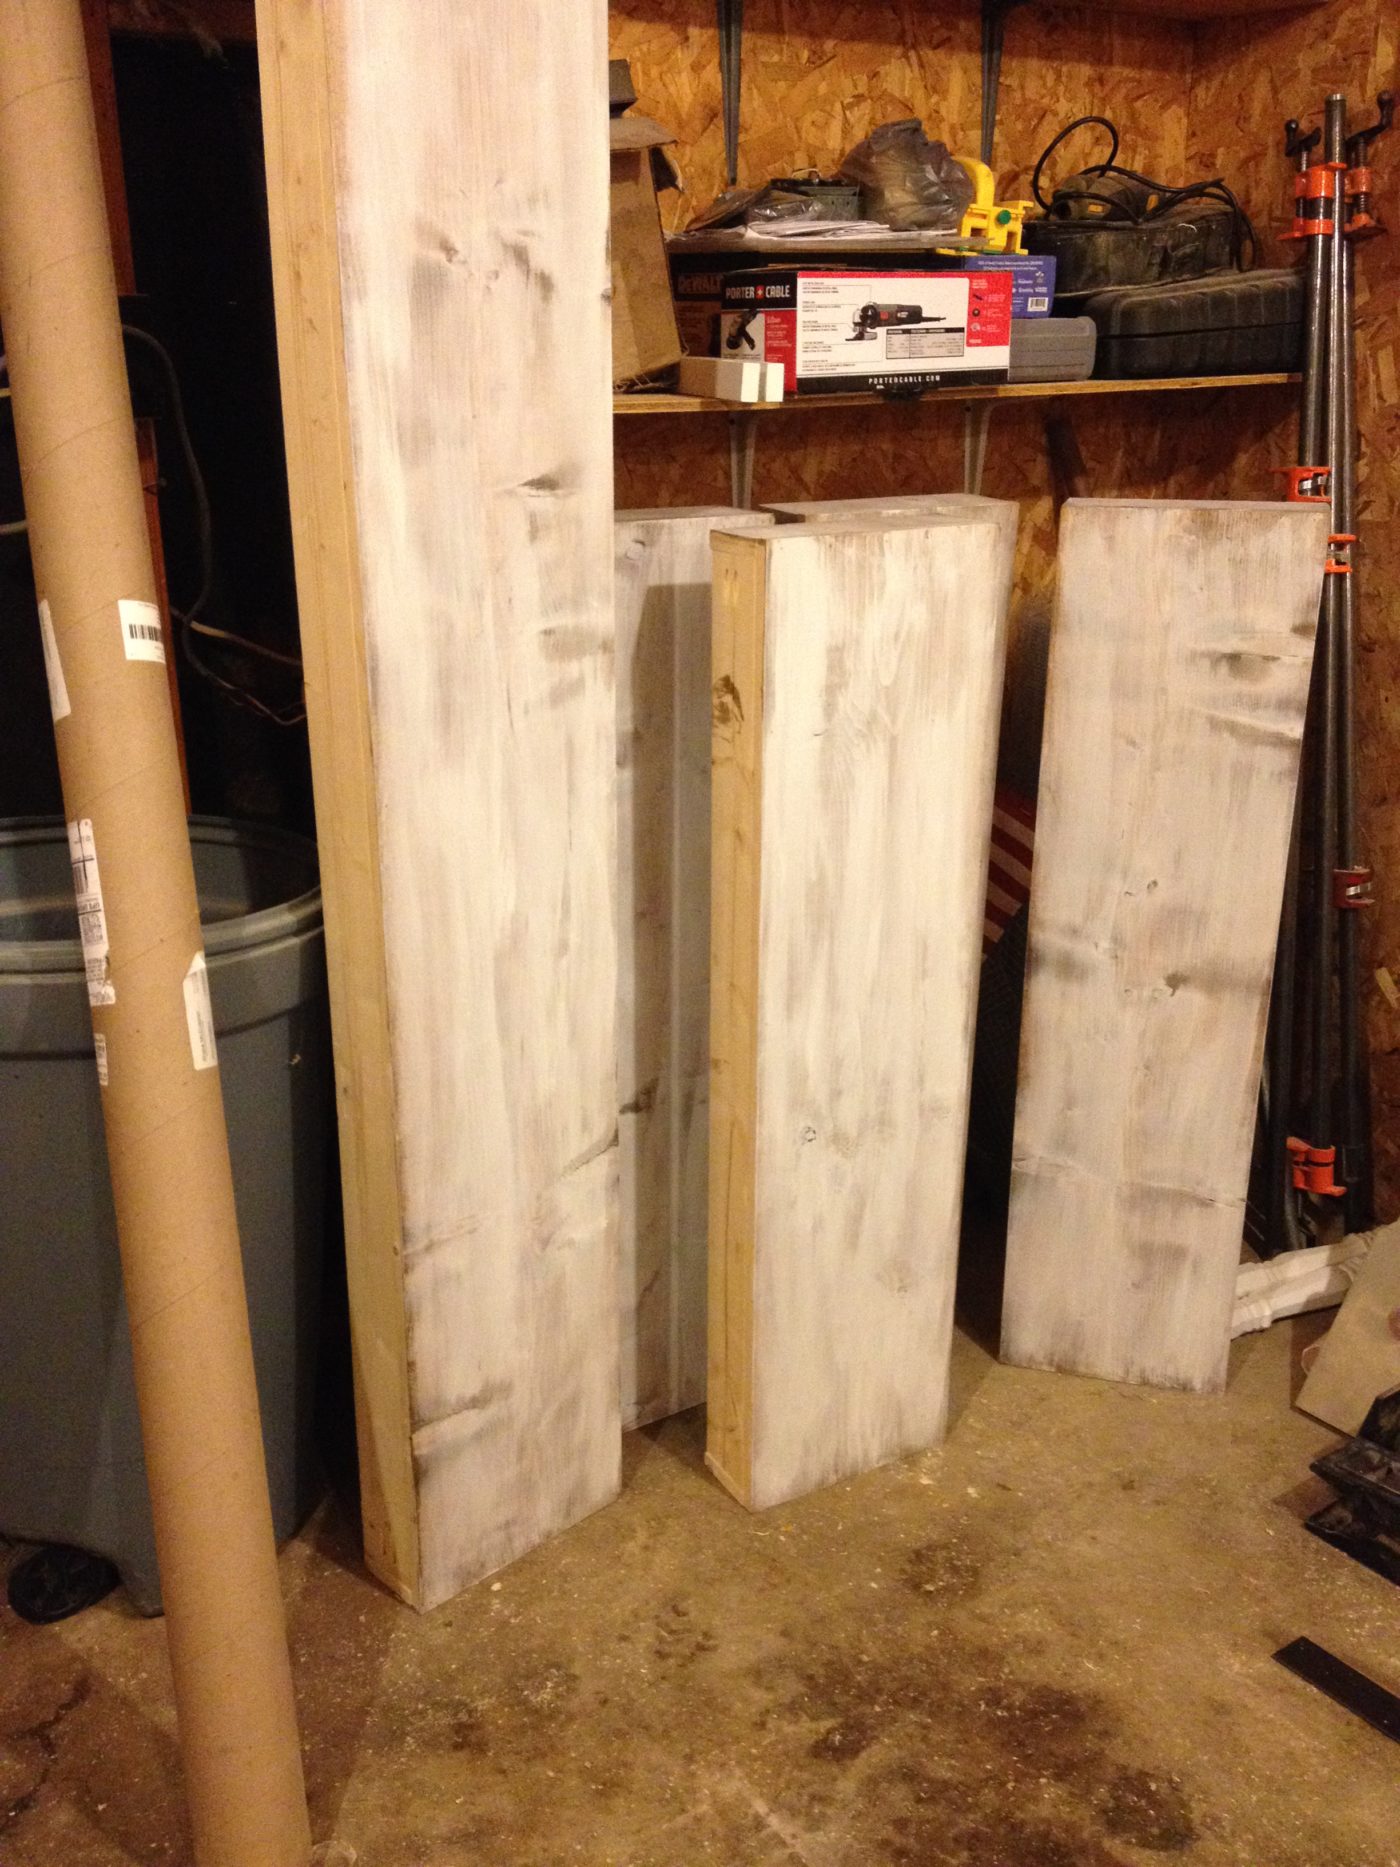
She wanted them really light, so I did several coats.
I apologize that I didn’t take any pictures of the install…mainly because I was the one installing. But it’s very simple. Brooke actually has a few pics of the install on her post if you want to see. And you know you do 🙂
Cut a piece of 1×2 the width of your 1×4 on the top of the cornice board or a little shorter. Set that on top of your window trim and make sure it is level. Screw it into the wall (don’t forget to predrill so you don’t split it) with a couple of 2 ½″ screws. Set the cornice board on the 1×2 and screw through the top into the 1×2 with a couple of 1 ¼″ screws. Again, don’t forget to predrill.
When you’re done, it will look like this:
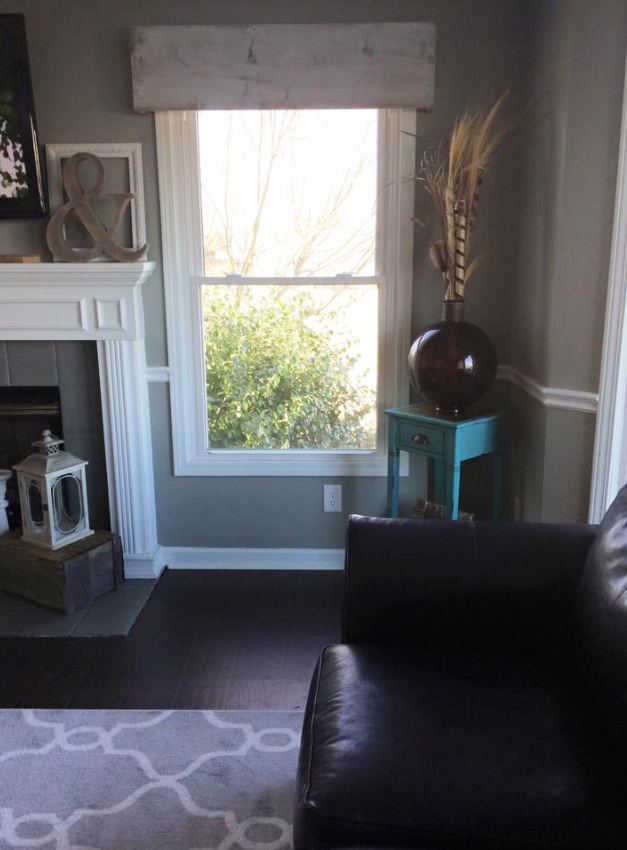
I know, right?! They look so good in her living room! To see the rest of them, be sure to click on over to Brooke’s page! Her living room is ADORABLE…but you wont believe what it looked like before! While you’re checking out her living room, be sure to see all her before and afters on their house. It will inspire you for sure! Her vision is amazing!
So what do you think? Are you new to cornice boards, too? Are you now a fan of them? I’ve totally been won over 🙂
Don’t forget there is less than a week left to vote for me, Shara M, for the first ever Mrs. Meyer’s Home Maker!!! Please Please Please go cast your vote! It only takes a second and it would be a massive opportunity for me!!
Until the next project, happy building! 🙂
Shirley says
I must say these came out just gorgeous! They look like birch in the pictures, just the way you painted them makes them look that way. I had to laugh when I read you didn’t know what a cornice board was. Yes they were very popular back in the day covered in fabric but also carved into different designs as well amid the wood was very think like a 2 x 4. The sad part about the older wood ones is that they were all done is such hideous stains that today they would look like early American antiques! I love today’s decorating style for sure AND as I have gone through a lot of your blog, I am totally in love with your style! Keep up the fantastic work!
Shara, Chasing A Dream says
That’s good to know. I had no idea the history of cornice boards. I guess I had seen them before but never paid attention to them. Haha! Thank you so much!
Rainey says
I love the way you mounted the cornice boards on a 1 x 2 instead of those ugly L-brackets. I’m making 7 of these, covered in fabric. Great tutorial, thank you!
Shara, Chasing A Dream says
Thank you! I’m glad you enjoyed the post!
Cecilia says
Cornice boards used to be very popular only they were covered in fabric. I like this version much better!
Shara, Chasing A Dream says
Thank you! I really liked the wood as well! I think the color turned out great in her living room.
Re-Fabbed says
Thanks so much, Shara! I LOVE THEM! You are the very best!