In this post, you’ll learn how to decide which screws to use for your DIY furniture and cabinet projects.
When you’re first getting started in DIY, you may be overwhelmed with the hundreds of different screws–different sizes, head types, materials, threads.
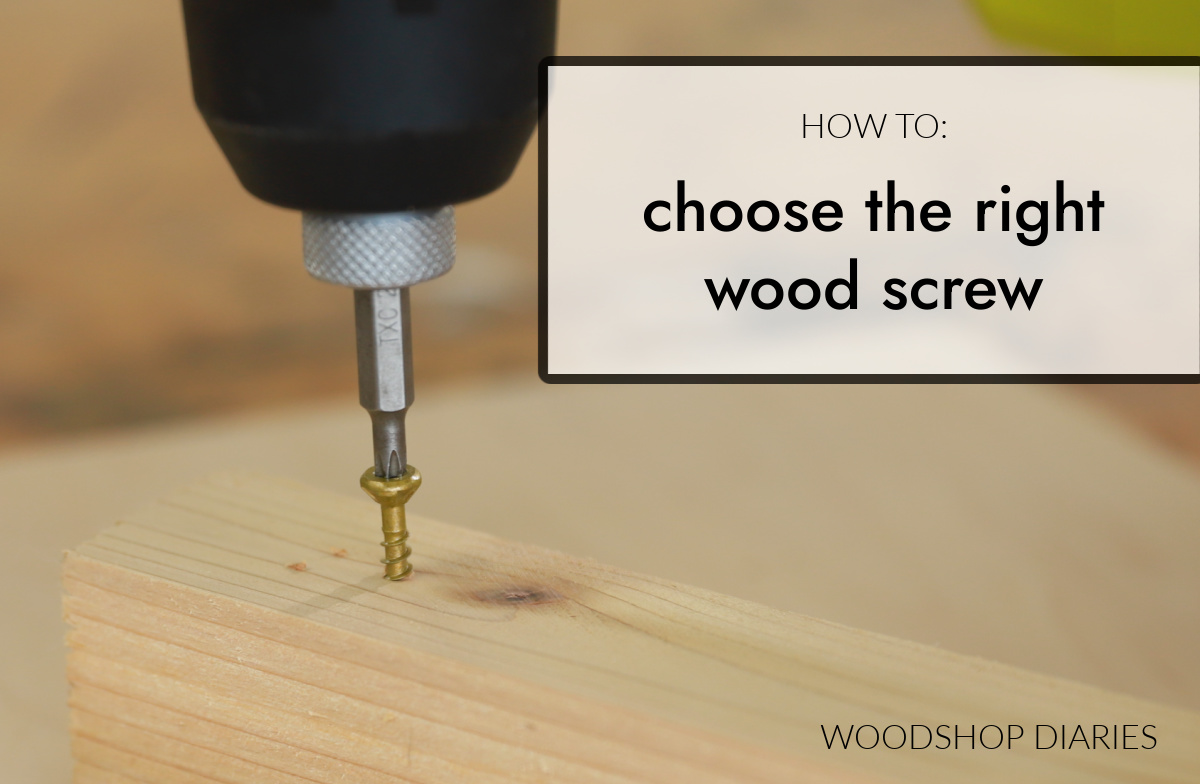
What does it all mean? How do you know which one to use? What happens if you use the wrong one?
Luckily, it’s not as complex as you might think and I actually only use a few basic types and sizes of screws when I’m building all my own cabinets and furniture.
I’m sharing all the details below on what I use to help you simplify the subject of “screws.”
*This post contains affiliate links. See website policies.
NOTE: I’m sharing what I use for my projects based on my own experience. Of course, this isn’t the one and only option.
It’s worked well for me over the years, but someone else may do things differently, and that’s okay.
Parts of a Screw
Here’s a little screw terminology before we get started:
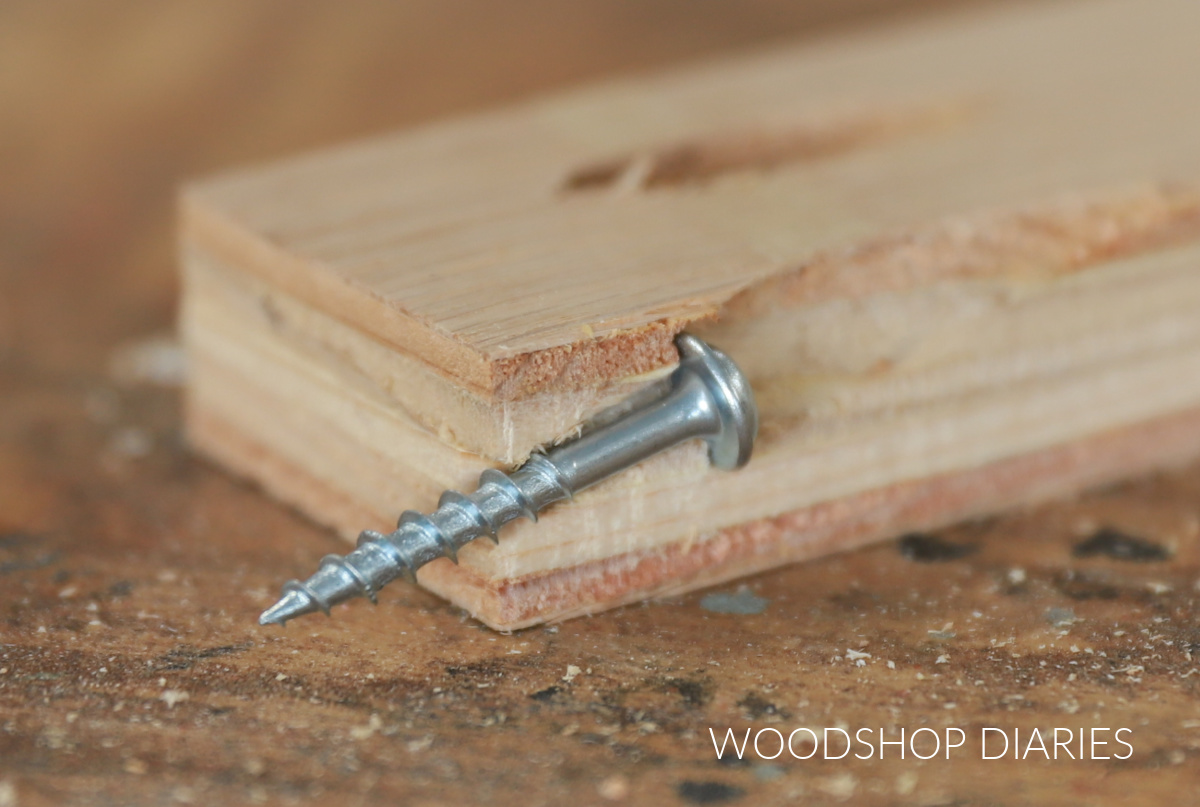
- Head: the top of the screw. These come in different shapes, sizes, and styles and can have different drives.
- Drive: the indention in the head of the screw that allows you to drive it with a screwdriver bit. These come in various shapes like flathead, Phillips, star head, square, etc.
- Shank: the solid, round part that extends out from the head. It resembles a nail, except it’s covered in threads.
- Threads: the spirals that wrap around the shank.
- Tip: the end of the screw. These come in different shapes. For example, machine screws are often flat, wood screws are often pointed.

Enjoy DIY projects and woodworking plans? Sign up for priority access for the latest posts on Woodshop Diaries!
Screw Specifications
When you go to the store to buy screws, you’ll notice the boxes are labeled with several specifications to identify what’s inside.
These key identifiers are:
- Gauge: thickness of the screw
- Threads: coarse or fine (more on that below)
- Length
- Head Type
- Drive Type
- Material
Screw Size
The first three items on that list have to do with screw size. For small DIY projects like furniture and cabinets, the main concern is the length. The other two aren’t quite as critical and aren’t always specified on the box.
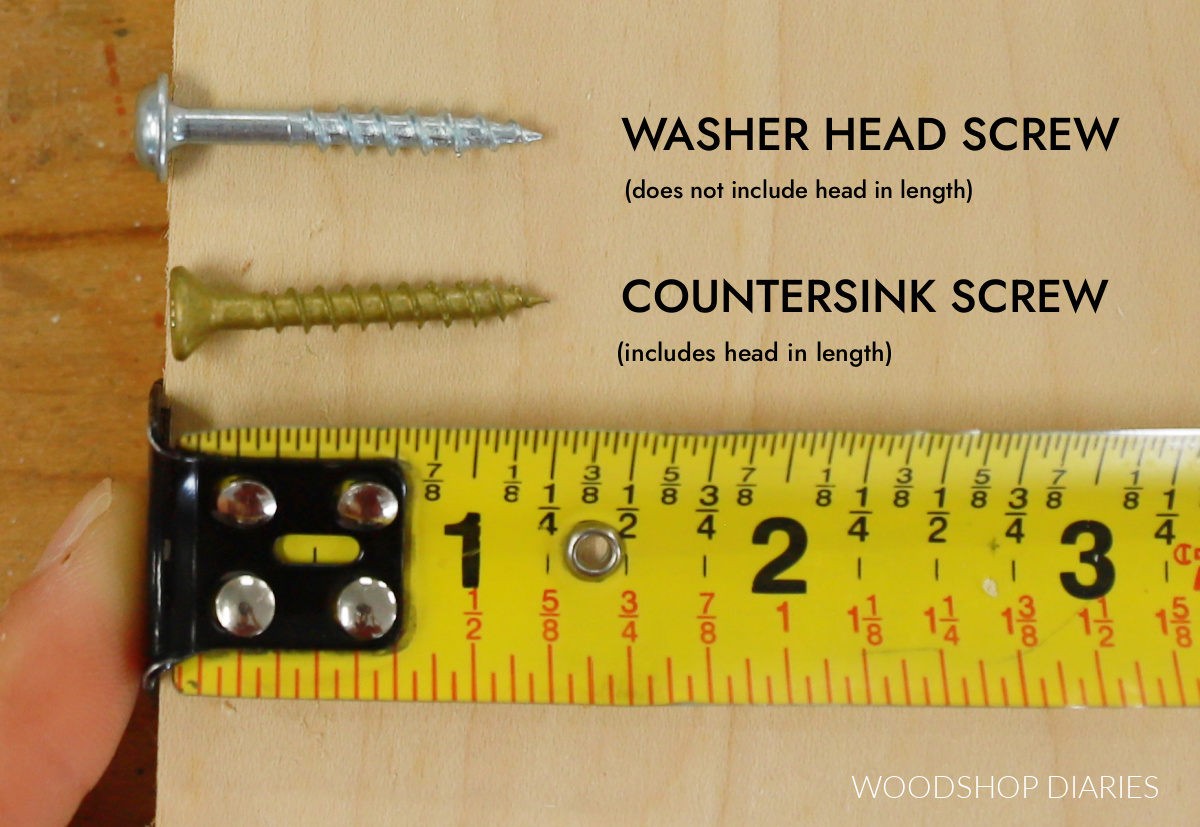
Length: This one is pretty self explanatory. BUT, you may be asking whether the length includes the head or not. And–it depends.
Usually, if it’s a countersinking screw (more on that below), the length is from top of the head to end of the tip. But if it’s a washer head screw, the length is measured from the bottom of the head to the end of the tip.
Gauge: Screw gauge is the diameter of the screw (including the threads). For screws under ¼″ in diameter, they’re labeled as numbers (example #7, #8, #9). The larger the number, the “thicker” the screw. For screws over ¼″, they’re labeled as their diameter in fractions.
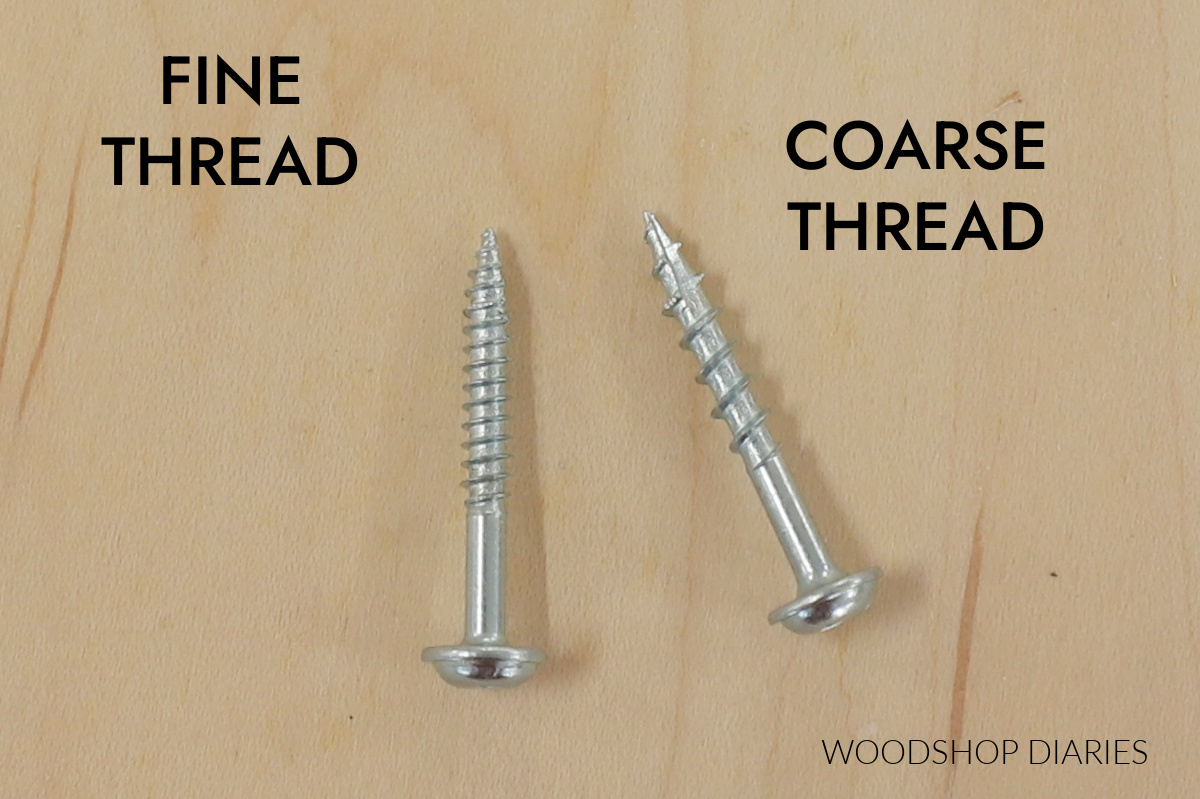
Threads: Sometimes, the threads will be listed as a number–in the U.S., this is what’s called threads per inch (or TPI). The more threads per inch, the “finer” the threads.
With the screws I use for DIY furniture and cabinets, this number isn’t normally specified. Instead, wood screws are often labeled as “fine” or “coarse” thread. Fine thread is best for use in hardwoods and coarse thread is best for plywood and softwoods.
Screw Head Shape
Screw heads come in several shapes, but the most common types found DIY woodworking projects are conical (or countersinking), washer head, and pan head.
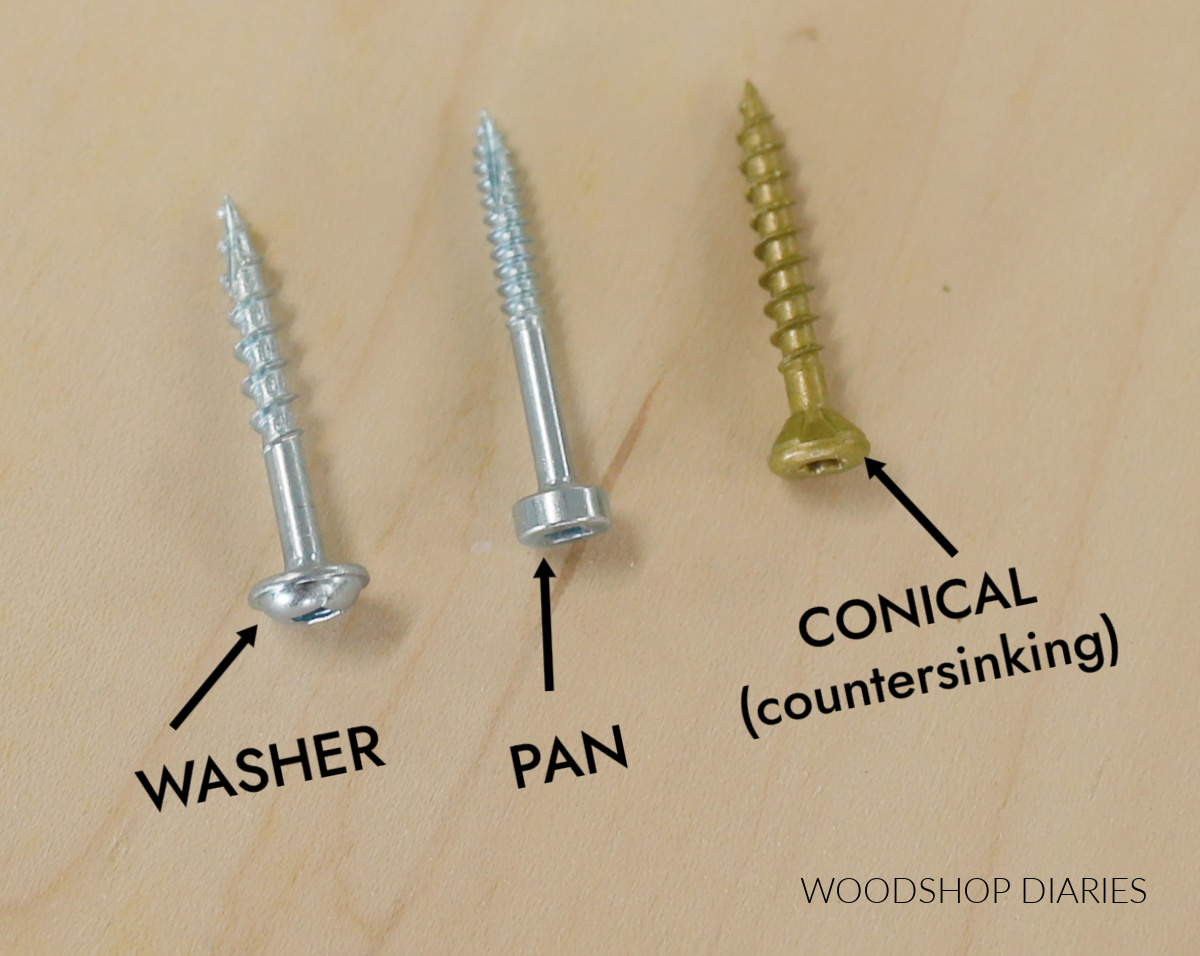
Pan and washer head screws have a flat bottom on the head so they won’t sink into the wood. This is most commonly used in pocket holes so they will pull the joint tight without driving too far.
Cone shaped screw heads are designed to sink into the wood so they sit flat across the surface.

Screw Drive Types
Some common drive types for screws are flathead, Phillips, square, star head (or Torx). The pocket hole screws I use have square drives and the wood screws I use have star head drives.
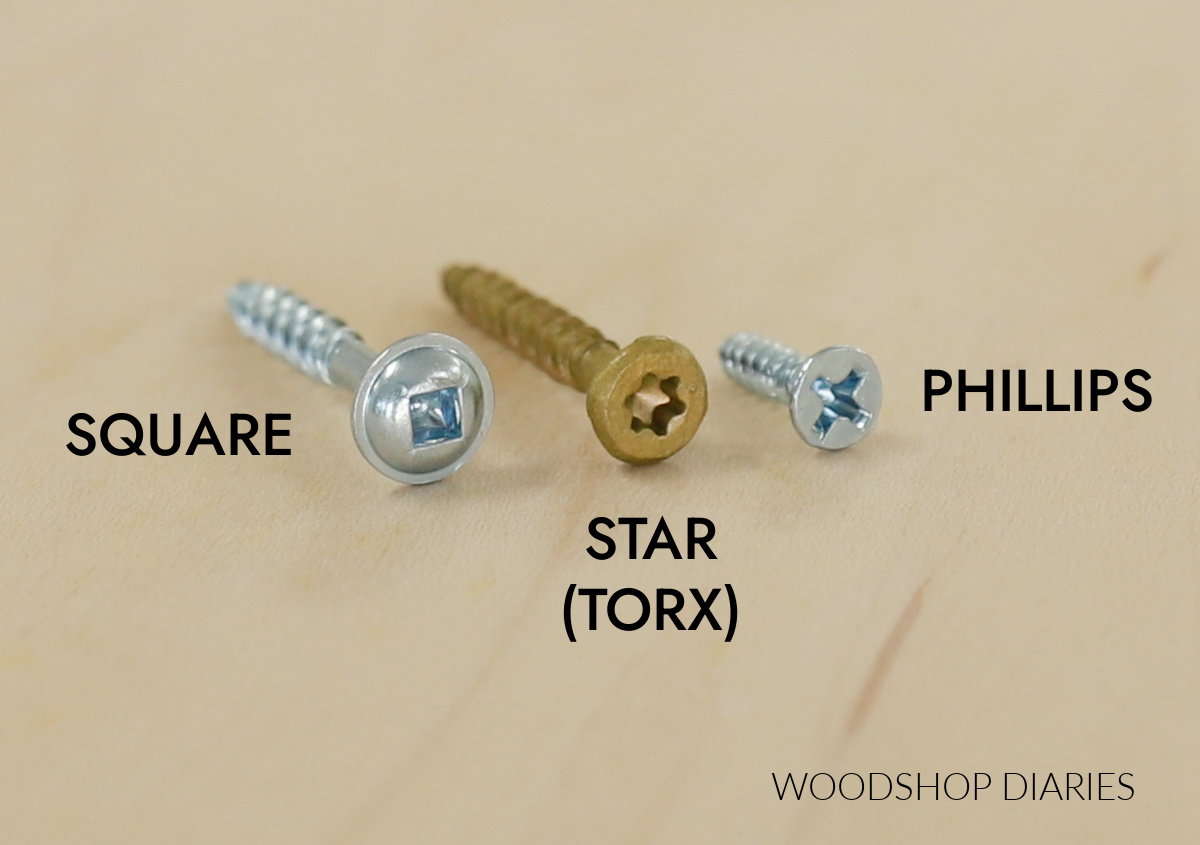
Phillips head is also common in wood screws, but these strip easy, so I avoid them when possible. Square and star drives are less prone to stripping out and/or slipping.
Screw material
The material of the screw is mostly important if you’re planning to use your project outdoors. The screw box will specify what kind of material they’re made from, what kind of coating they have, and/or whether they’re intended for indoor or outdoor use.
The key thing here is to check whether the screws are rated for outdoor use if you’re using them outdoors.
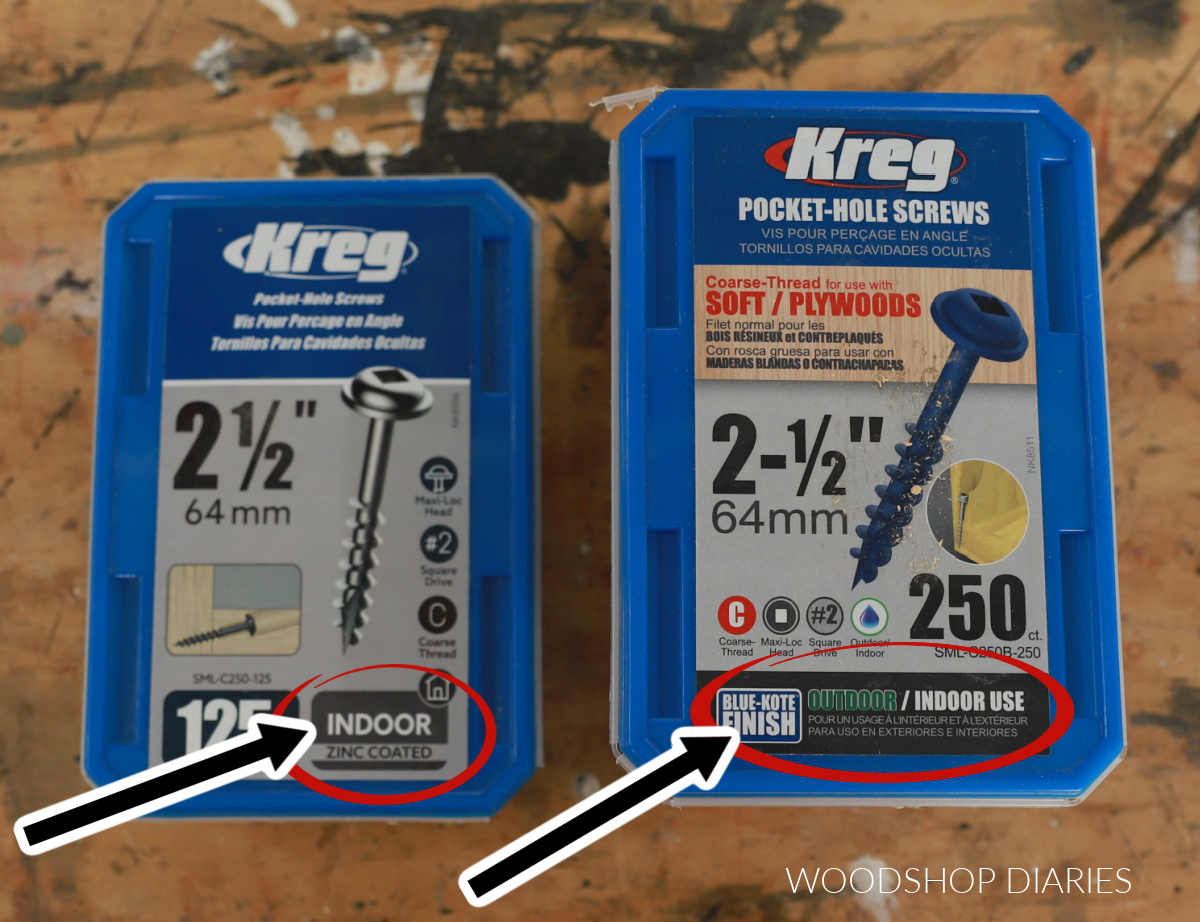
NOTE: Outdoor screws can be used indoors, too. But indoor screws shouldn’t be used outdoors.
Stainless steel and galvanized screws are often used for exterior applications. While zinc coated and brass are generally for indoor use.
Common Woodworking Screws
There are hundreds of screws out there, so it would be impossible to go into detail about every single one. Instead, here’s a short list of the screws I use in my own woodworking projects.
Wood Screws
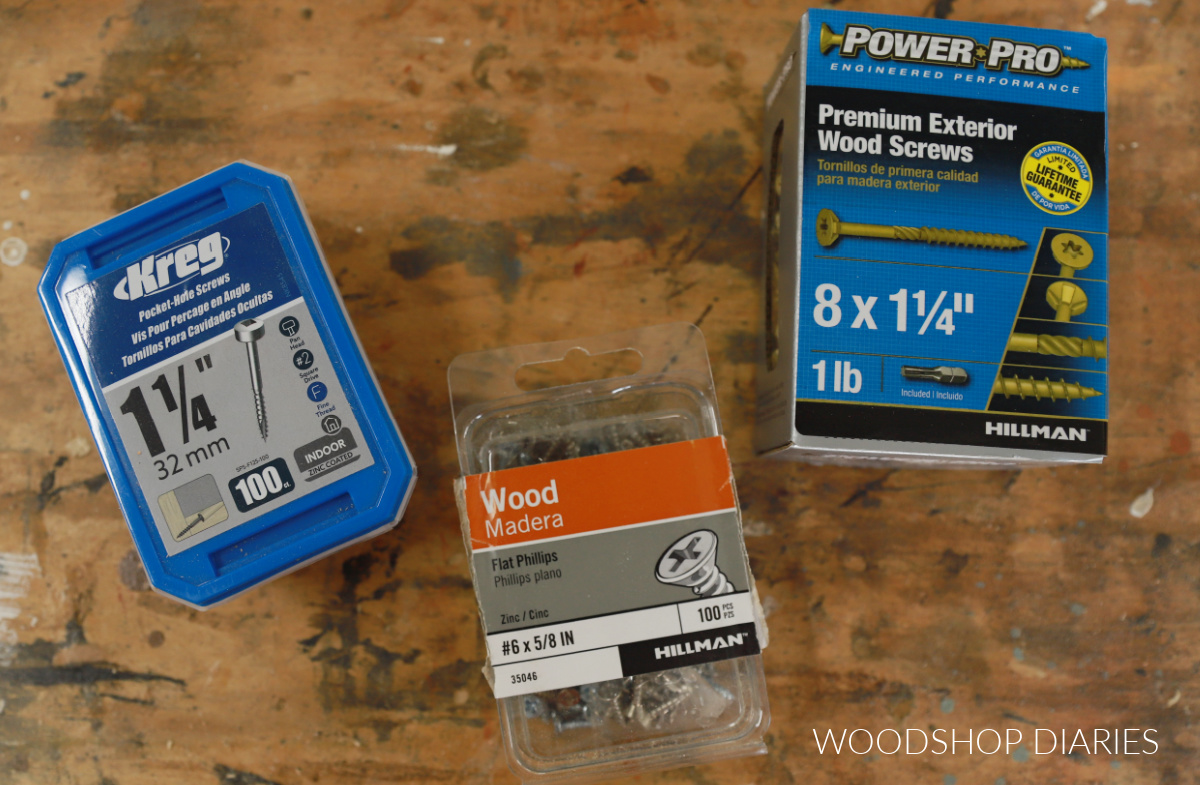
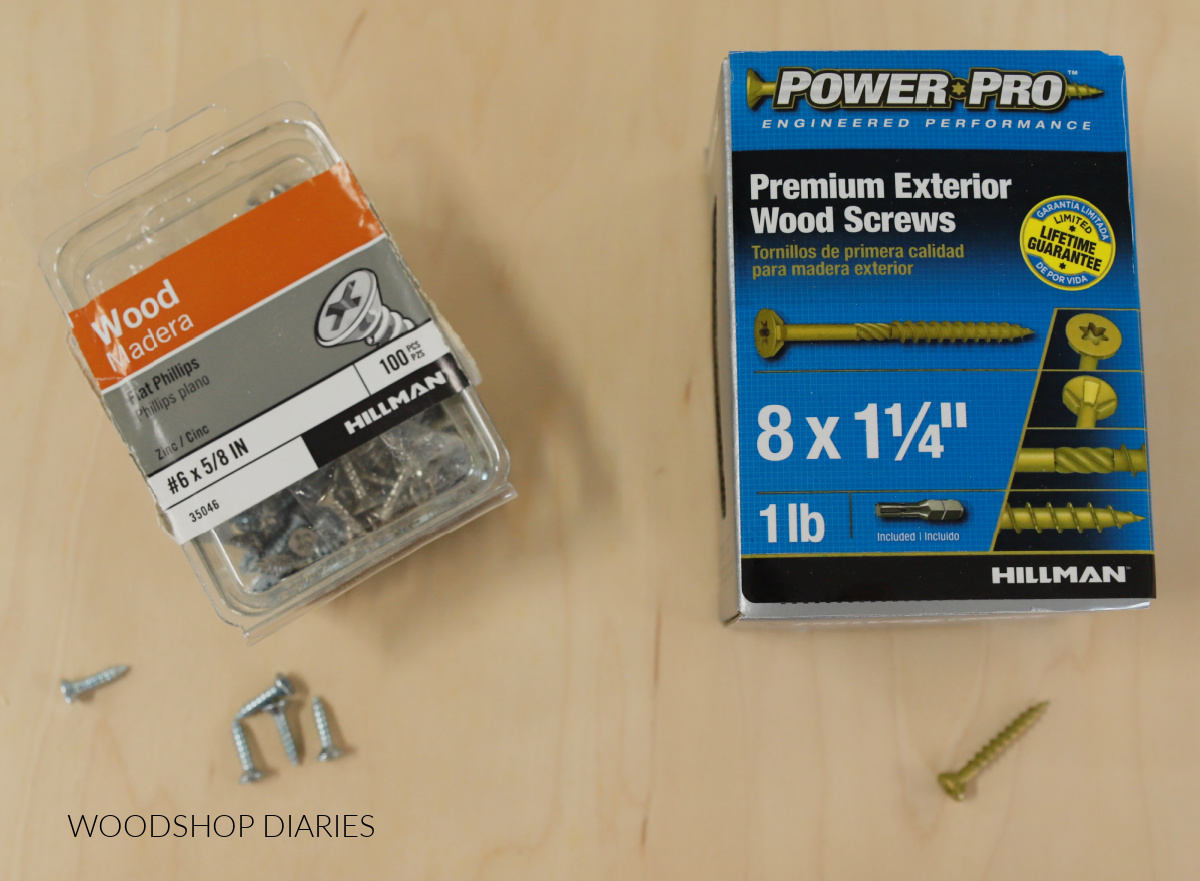
I only use two types of basic wood screws in my own projects. For installing drawer slides and hinges, I use indoor rated ⅝″ long wood screws.
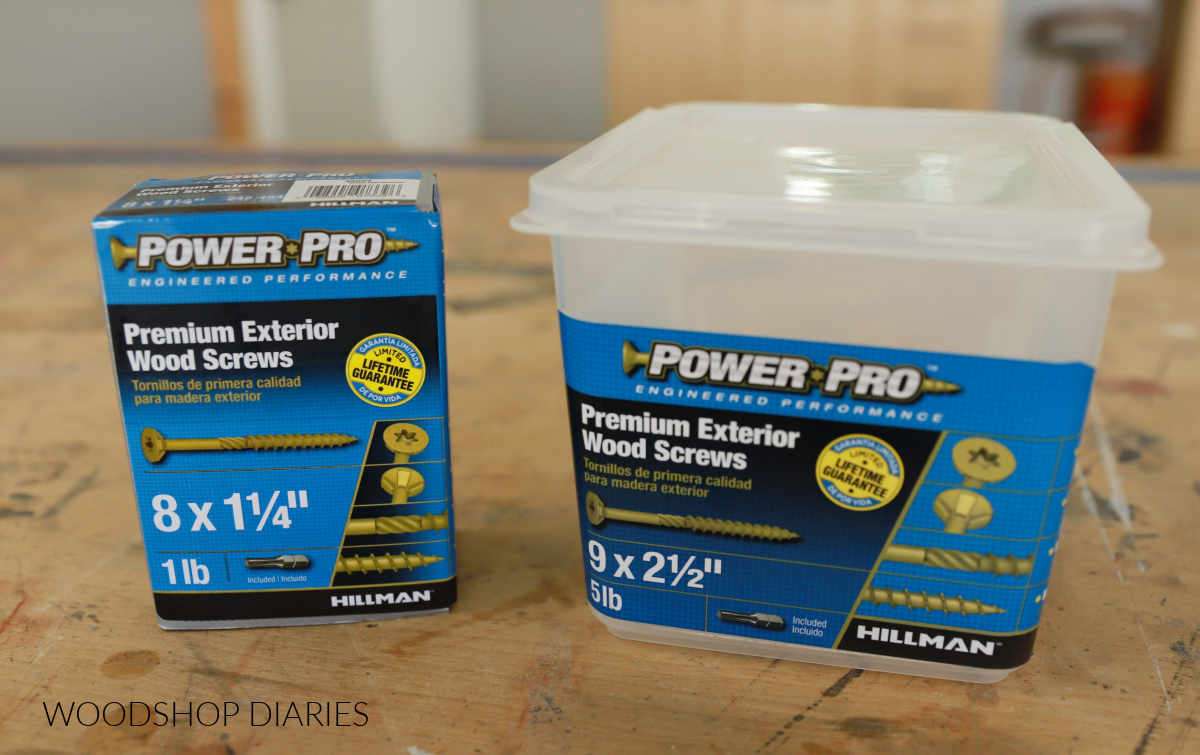
And for assembling wood pieces together, I use PowerPro Exterior Premium Wood Screws. They have a star head drive (each box includes a driver bit!), countersinking head, and can be used both indoor and out.
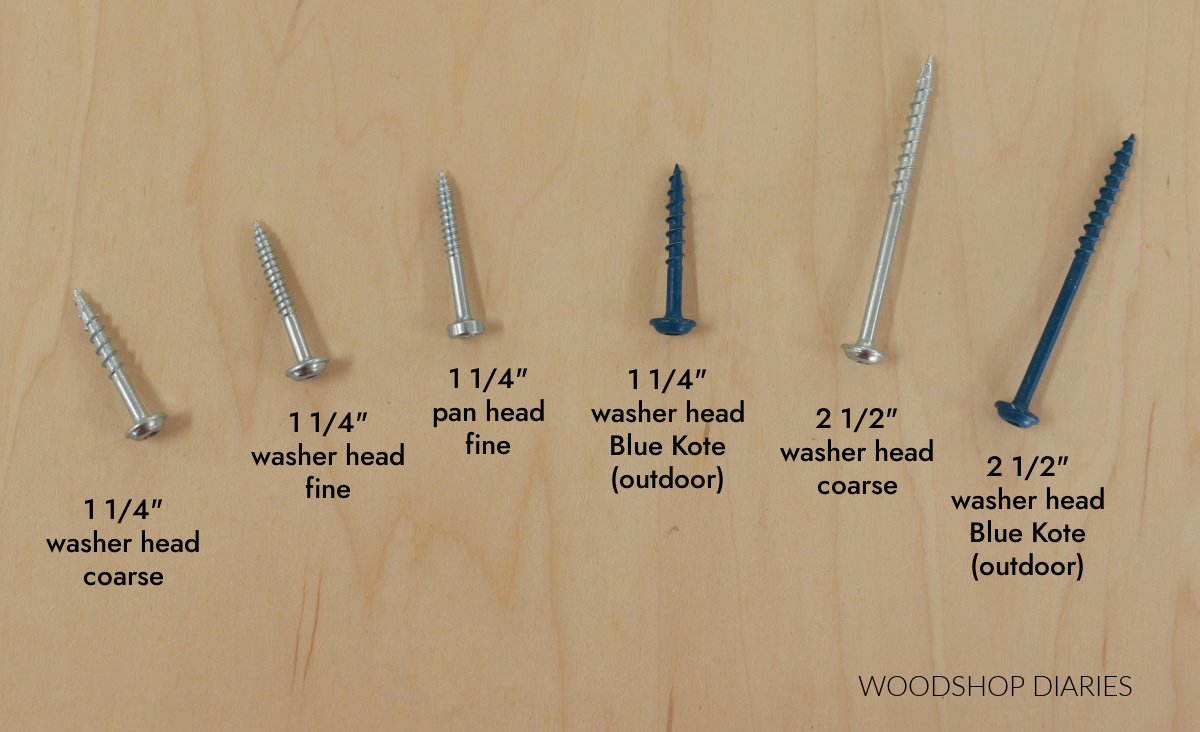
I keep the following wood screw sizes stocked in my shop as these are the ones I use most often*:
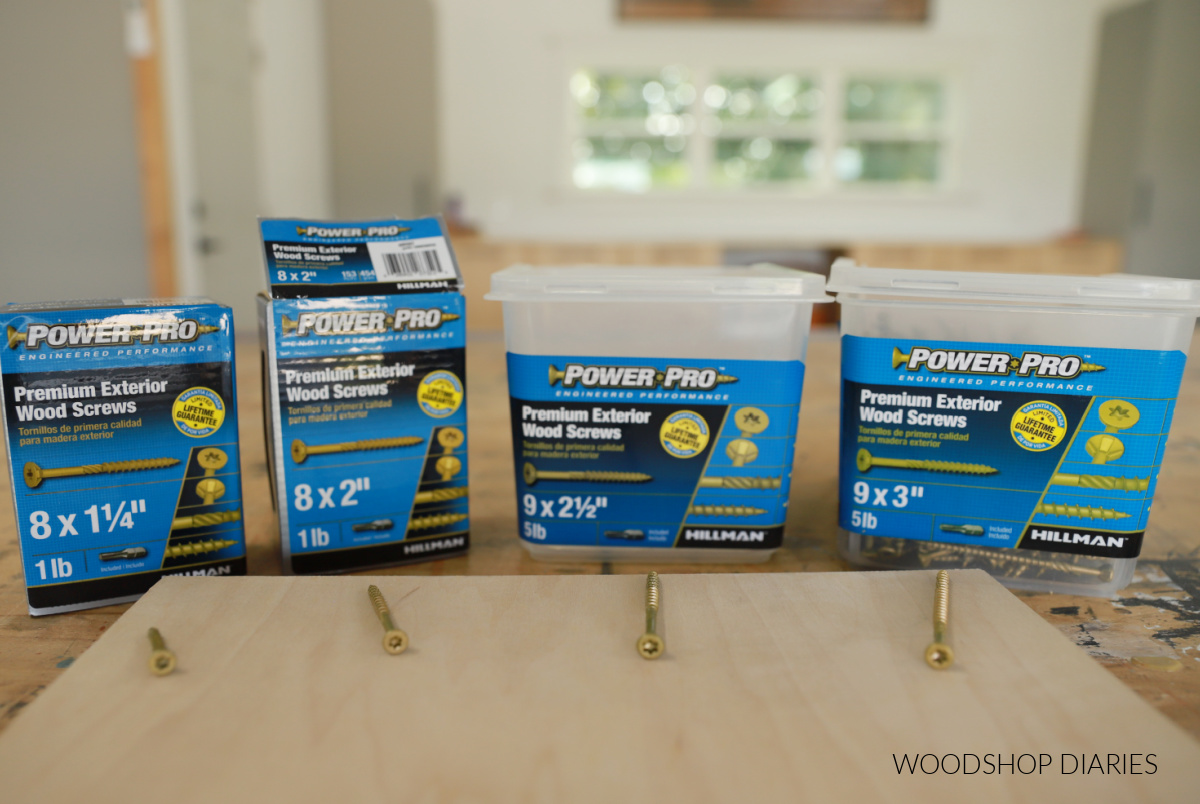
*These screws are all coarse thread screws. Coarse thread screws aren’t the best option for use in hardwoods, but will work fine if you’re careful. Be sure to predrill pilot holes before driving to help prevent the large threads from splitting the hardwood.
Pocket Hole Screws
The way that pocket holes are drilled, there’s a flat part at the bottom of the pocket that the screw should seat against to pull the adjacent board tight.
For this reason, pocket hole screws have either a pan or washer head so that they stop at this point instead of countersinking deeper into the hole.
Pocket hole screws aren’t just for pocket holes–you can use them for other applications, too. But it’s important when using pocket holes, that you only use pocket hole screws.
I keep the following pocket hole screws stocked in my shop as these are the ones I use most often:
1 ¼″ Lengths:
- 1 ¼″ Washer Head
- Coarse Thread (indoor use)
- Fine Thread (indoor use)
- 1 ¼″ Pan Head Fine Thread (indoor–use with Kreg Micro Jig)
- 1 ¼″ Washer Head Blue Kote (coarse thread, outdoor use)
2 ½″ Lengths:
- 2 ½″ Washer Head Zinc Coated (coarse thread)
- 2 ½″ Washer Head Blue Kote (coarse thread, outdoor use)
A Note About Drywall Screws
Drywall screws are designed to be used for hanging (you guessed it) drywall. They’re inexpensive, readily available, and come in many sizes.
You often see them in cabinet and furniture projects, but it’s not great practice. I recommend using them ONLY for drywall.
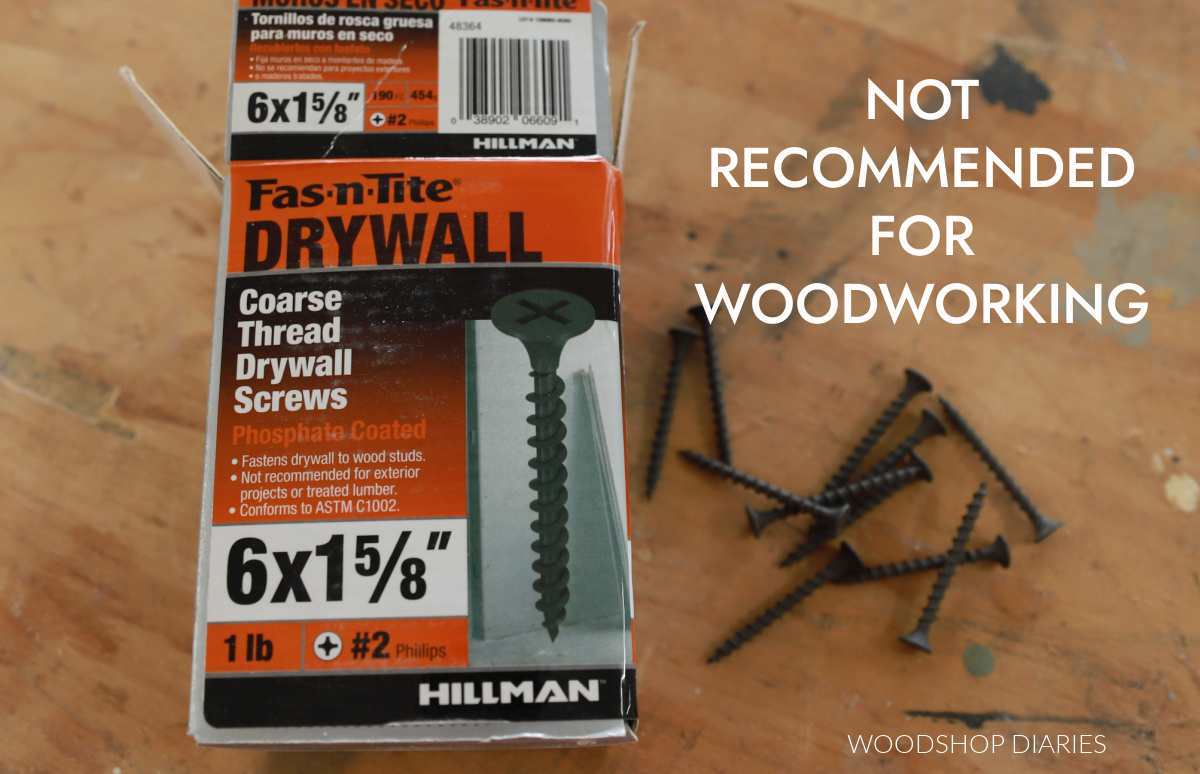
These screws are brittle, break and corrode easily and are threaded all the way up–which can force wood pieces apart instead of pulling them tight.
How to decide which screw you need
Here’s a quick example of how I decide which screw to use in my projects. Of course, keep in mind each project will vary and this may not apply to every single unique situation.
It’s a general guide to get you started.
Consider joinery method
First, you need to consider how you’re using the screw. Will it be inside a pocket hole? If so, you need to use a pocket hole screw.
Are you joining boards without a pocket hole? If the screw head needs to be flush to the wood surface, opt for countersinking wood screws.
If it doesn’t matter if the screw head is flush, either option would work–take your pick.

Consider wood thickness
Next, consider the wood thickness to determine the length screw you need. You want to make sure your screws are long enough to securely join the boards, but not too long so that it pokes through the other side!
Measure your board thicknesses to help you determine what length screw to use.
There are exceptions, but the general rule of thumb is that the screw should go through the first board and at least half the thickness of the second.
For pocket holes with 1x or ¾″ material, 1 ¼″ long pocket hole screws work well and with 2x or 1 ½″ thick material, 2 ½″ long pocket hole screws work well.
RELATED: Understanding lumber sizing
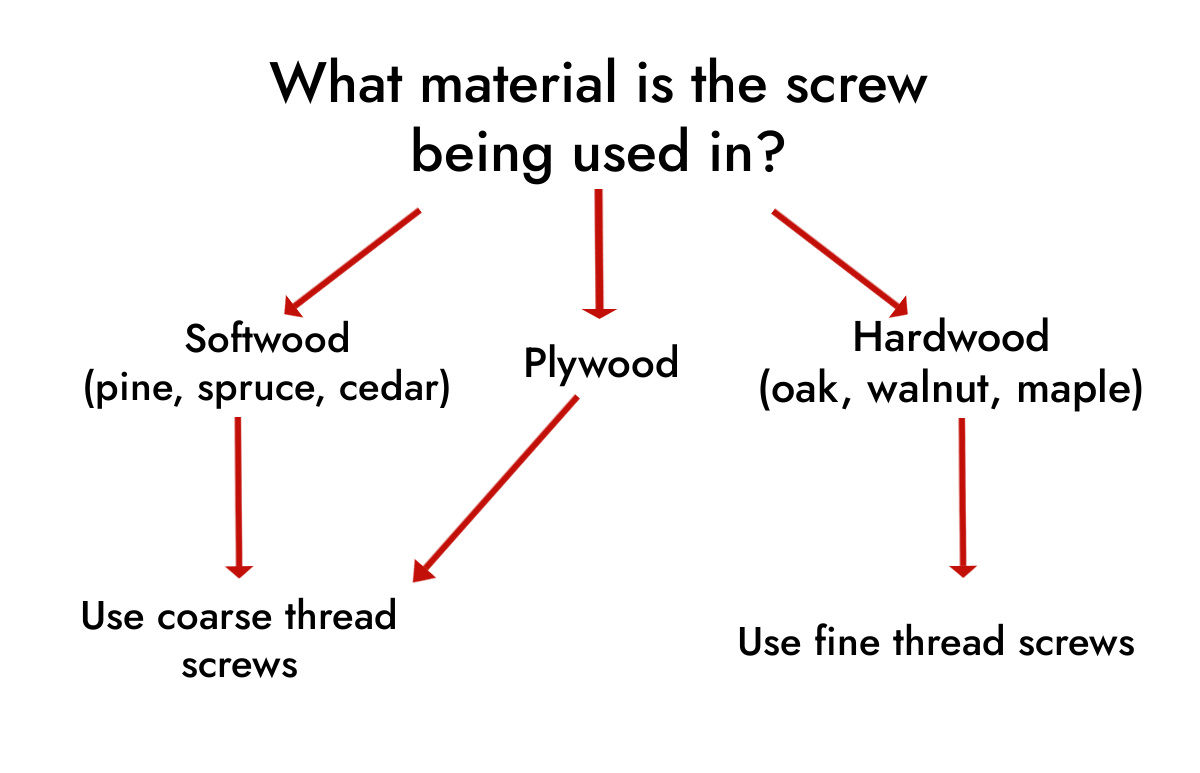
Consider Wood type
If you’re drilling/driving into softwoods (like pine and cedar) or plywood, coarse thread screws are best.
If you’re drilling/driving into hardwoods, fine thread screws are best if they’re available. If they’re not available in the style/size you need, coarse thread screws can work, but be careful to predrill to prevent splits.
Consider location
If this project will be used outdoors, make sure to choose a screw that’s rated for outdoor use. If using indoors, either indoor or outdoor screws should work fine.
Additional tips when using screws in woodworking
Here are a few additional tips to consider when choosing and using screws in your project.
Avoid Phillips and Flat Head Screws
While these screws may work fine, Phillips and flat head drives are very prone to stripping, making them difficult to drive, especially if they’re made of soft metals.
When possible I personally recommend using square or star head (Torx) head screws. These are less likely to slip and strip which makes them easier to drive into wood.
Pre drill pilot holes
While pilot holes aren’t necessary with every single screw, a pilot hole can help prevent the wood from splitting as the screw goes in. It can also make it easier to drive.
This is especially recommended when driving large screws, driving screws into hardwood, or driving screws close to the edge of a board where splits are more likely.
To drill a pilot hole, you want to find a drill bit that is about the same size as the screw SHANK, but not bigger than the threads. A good way to do this is hold the screw up and hold the drill bit directly in front of it.
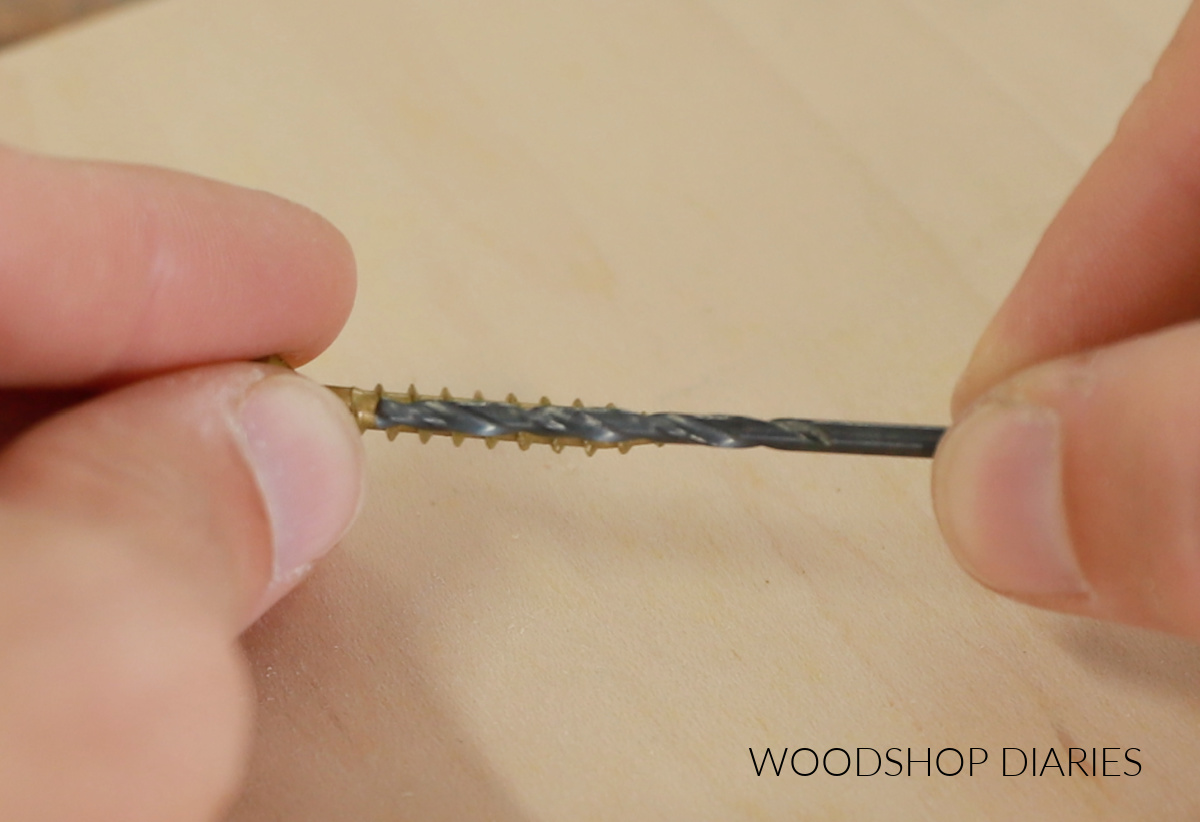
If the bit covers the shank (or at least most of it), but you can still see the threads behind it, that bit will work for a pilot hole. Drill a hole with that bit where you want your screw, then drive the screw into the hole.
NOTE: Pilot holes aren’t usually recommended with pocket holes.
Buying Screws
Wood screws come in various size packages and/or quantities. I normally buy mine from my local lumber yard because they’re the cheapest place I’ve found. They carry the PowerPro wood screws in 1 lb or 5 lb boxes.
Obviously, since these are measured by weight, 1 lb of 1 ¼″ screws will contain more screws than 1 lb of 3″ screws. Check the box label to see what the estimated quantity is inside.
The 5 lb boxes can be pricey, but will save you money in the long run if you plan to use them for several projects.
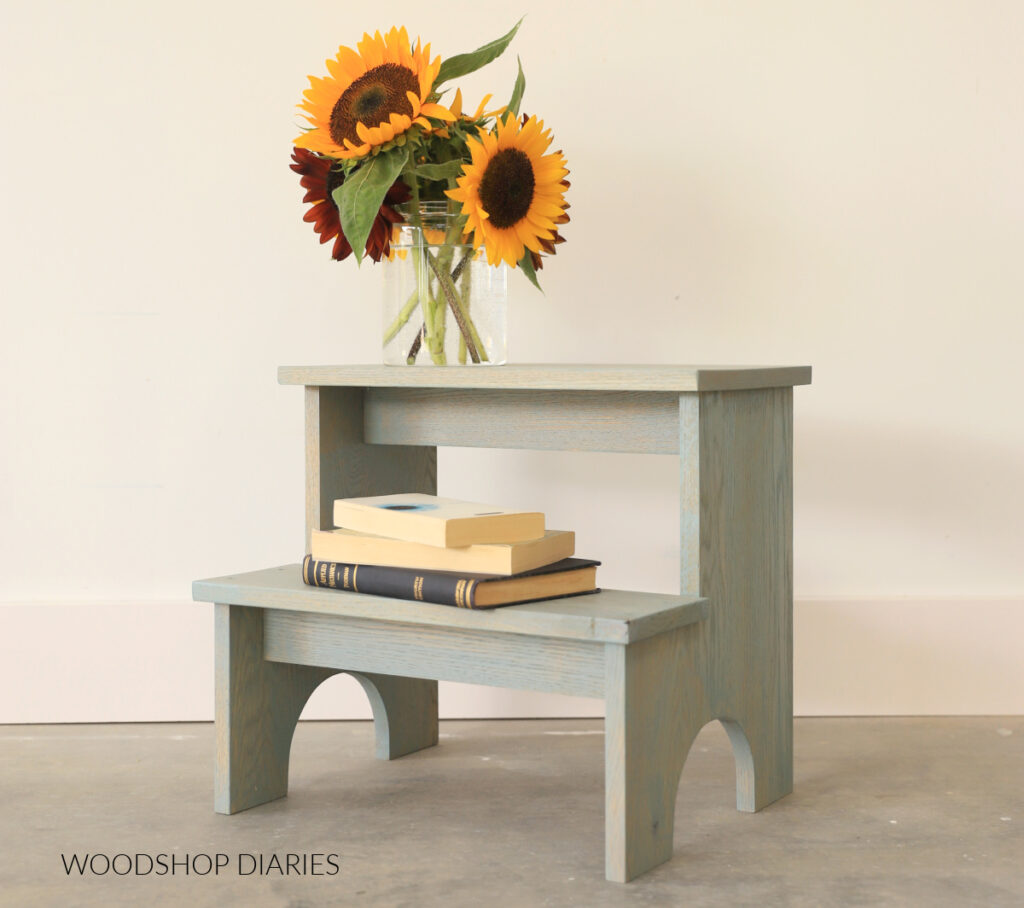
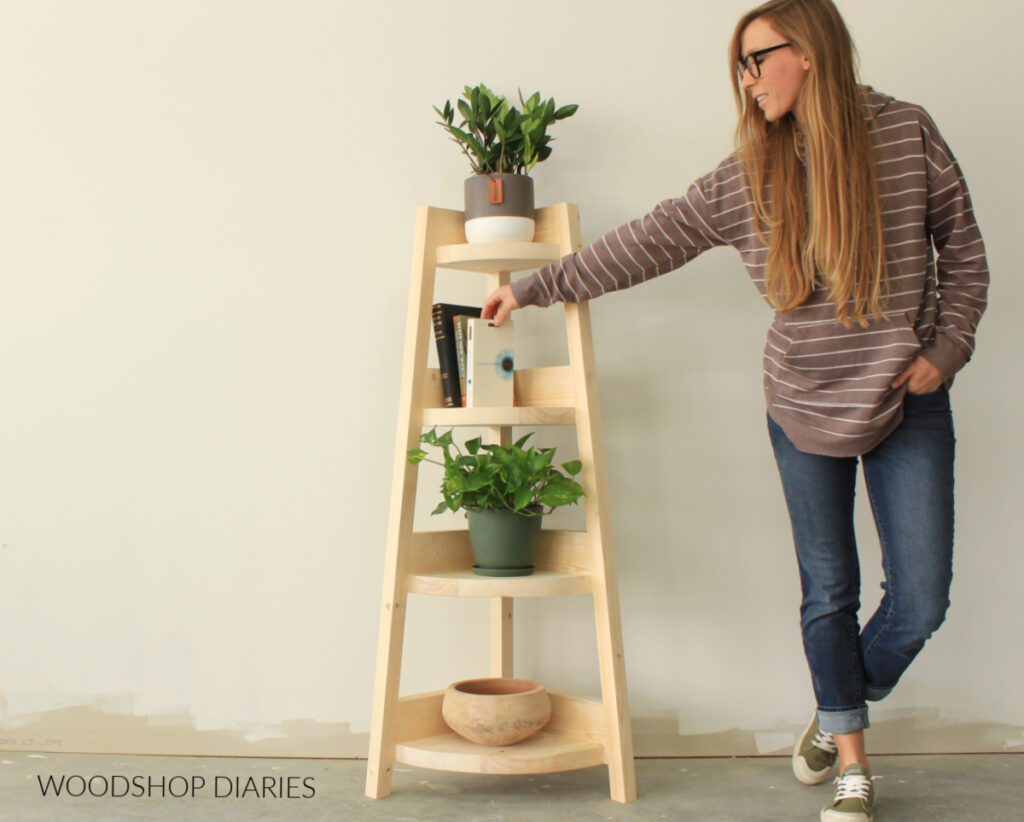
Looking for Projects to Practice on?
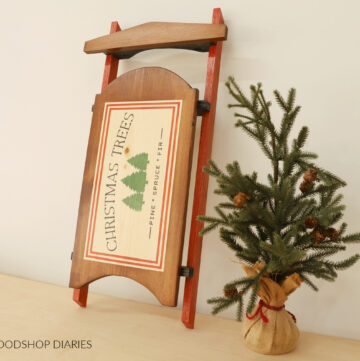
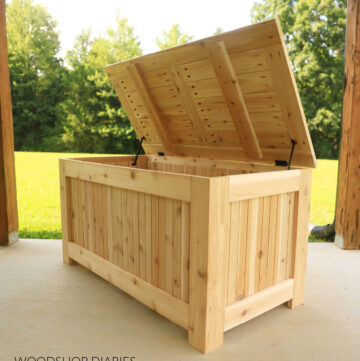
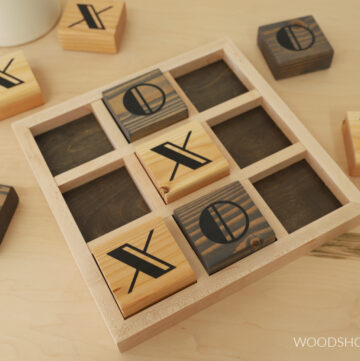
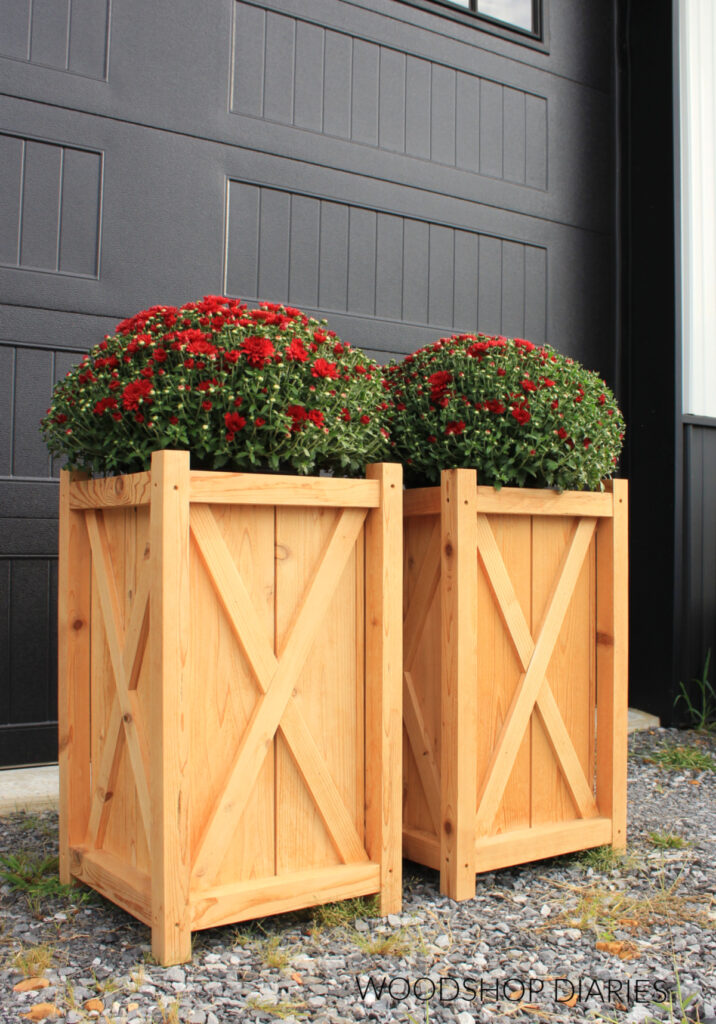
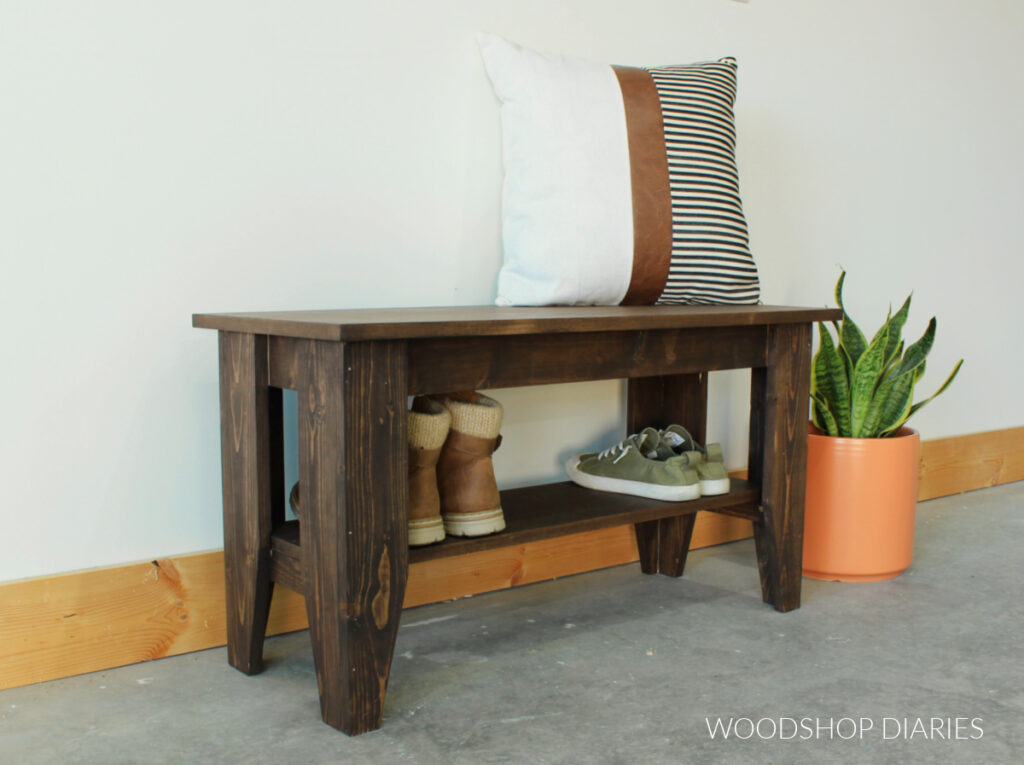
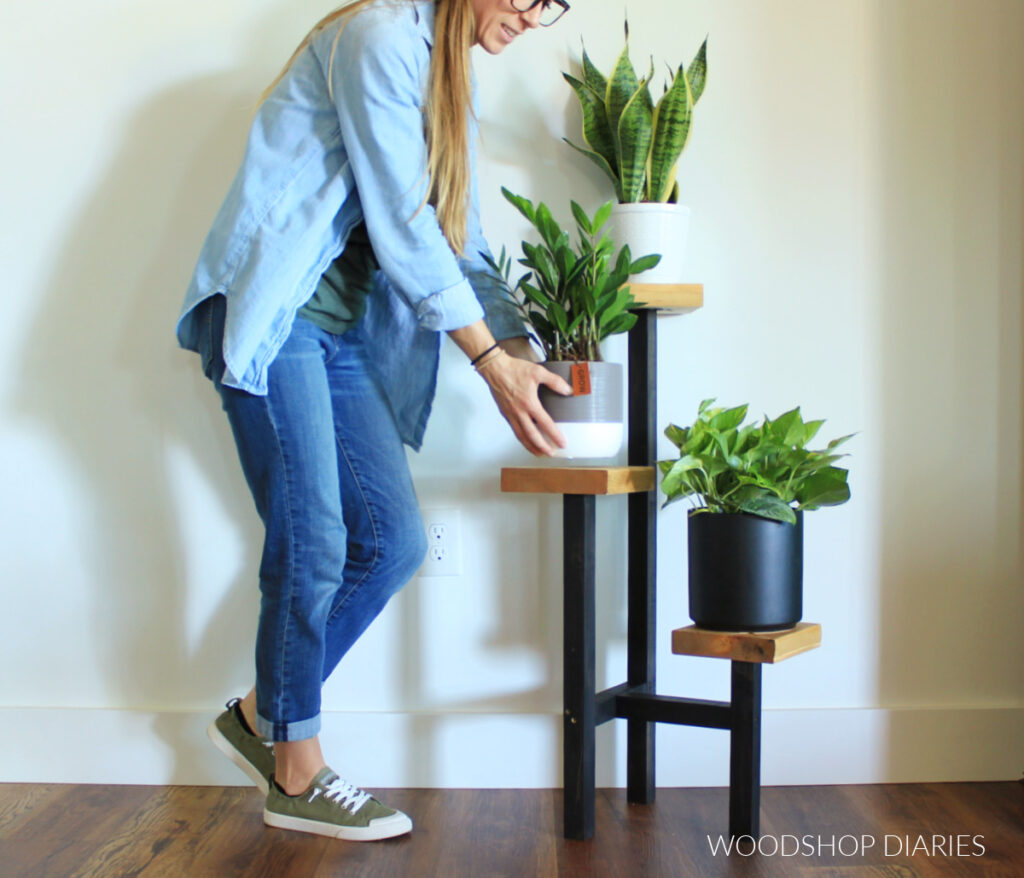
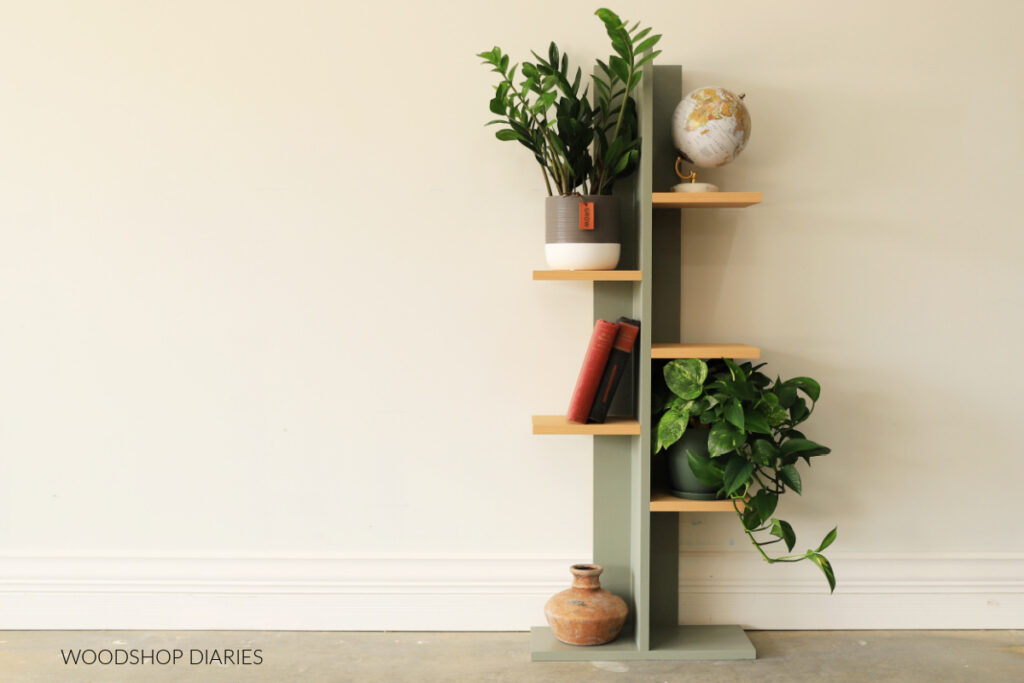
Now that you better understand which screws to use for your project, here are a few ideas to practice your new skills on:
And if you’re new to DIY, check out our Getting Started page for more tips, guides, and helpful resources.
If you’d like to save this for later, don’t forget to pin it or share it to your favorite social channel!
Until next time, happy building!