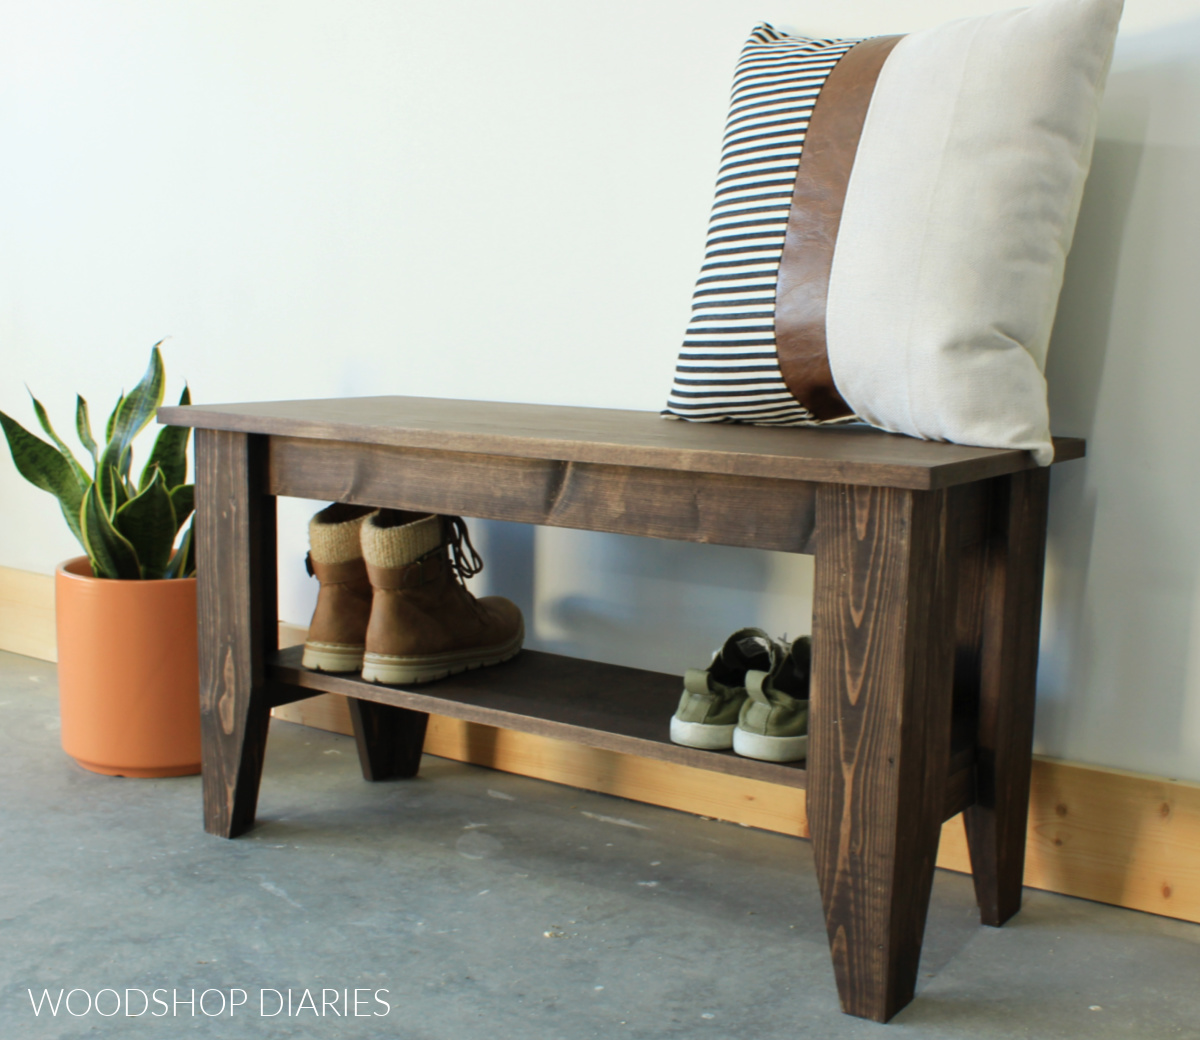
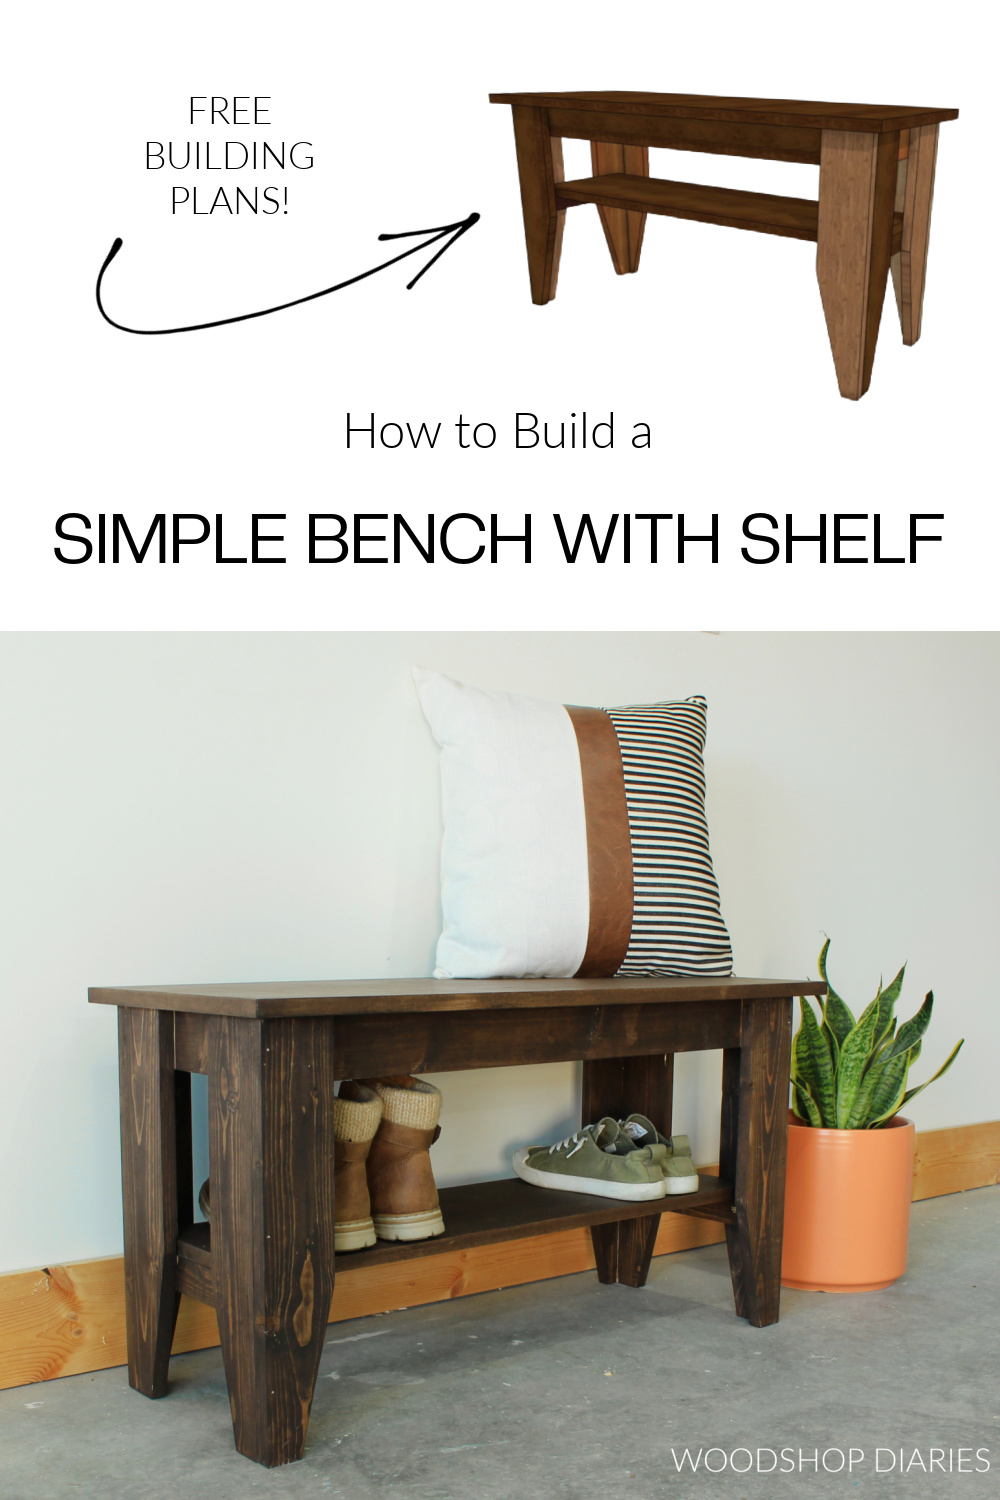
In this post, I’ll show you how to build a simple bench with a shelf underneath!
*This post was sponsored by MakeByMe and also contains affiliate links. See website policies.
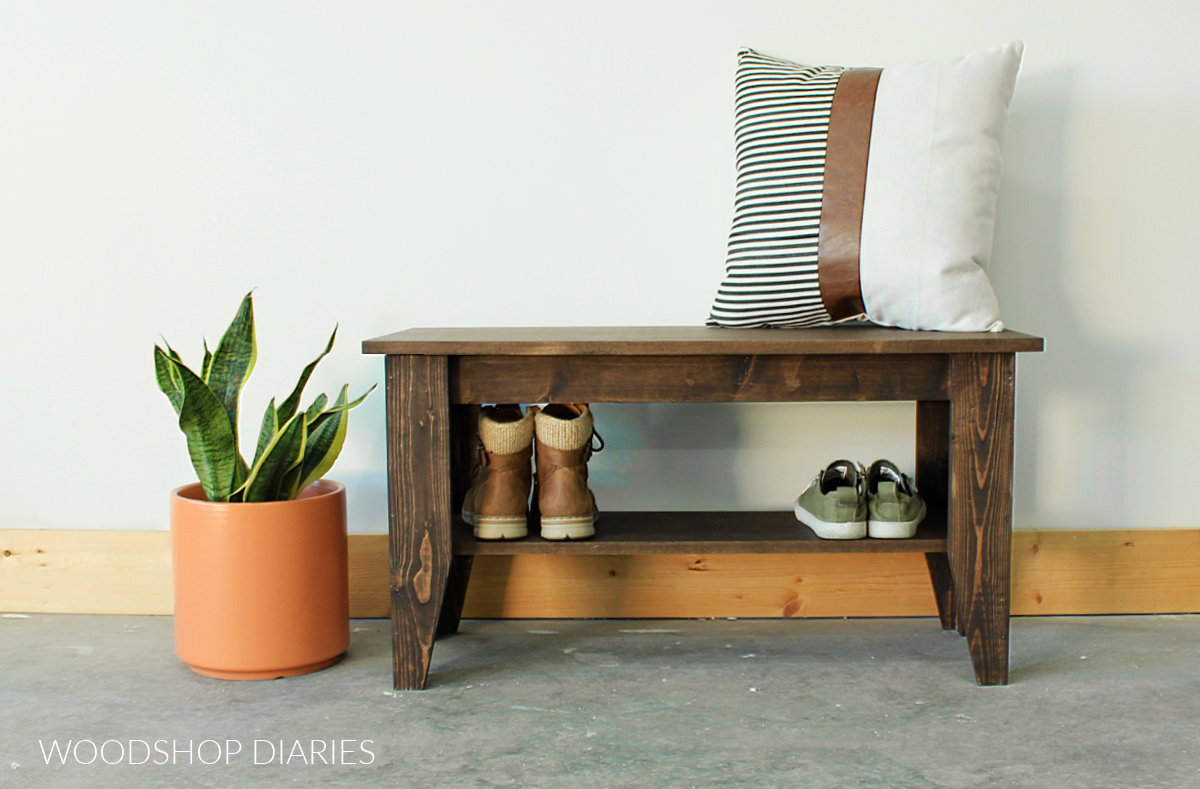
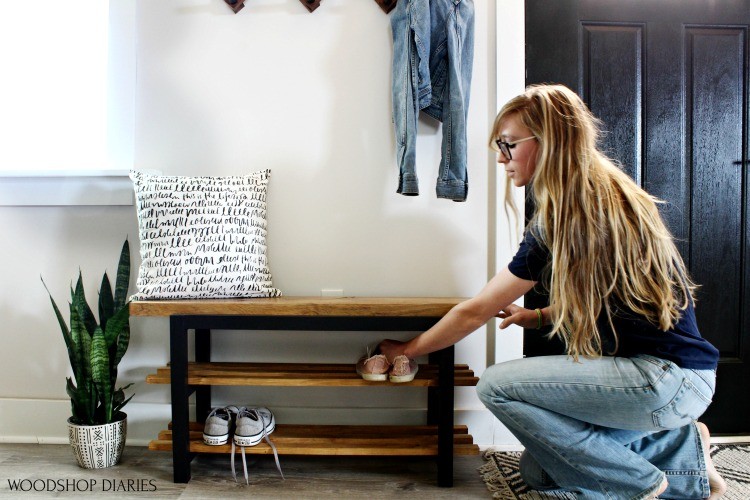
This simple DIY bench design would work perfect for an entryway and you can use the shelf and space underneath to store shoes.
It would also make a great piano bench and you can store books and music notes on the shelf.
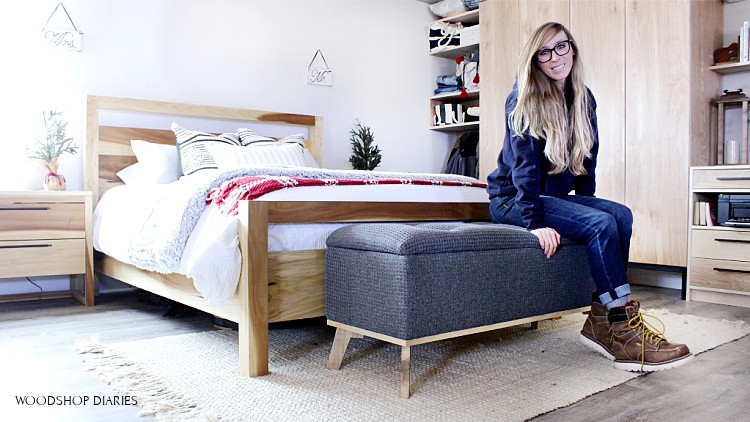
You could even add it to the end of the bed for some extra seating.
I kept this design very simple, so I didn’t add storage under the seat.
However, if you wanted to create some shallow storage under the seat top, you can attach the seat with a piano hinge and add a solid bottom to the seat frame.
This is an incredibly fun weekend woodworking project so if you’re ready to build a simple bench, let’s go!
Tools & Materials:
Tools:
- Miter saw
- Circular saw
- Cutting Guides (optional, but helpful)
- Finish Nailer (optional, can use screws instead of nails if you’d rather)
- Drill/Driver
Materials:
- (1) 1x2x8
- (1) 1x3x8
- (2) 1x4x8
- (1) ¾” plywood 24” x 48” (you only need ¼ sheet)
- 1 ¼” wood screws
- 1 ¼” finish nails
- Iron On Edge Banding
- Wood Glue
A Few Notes Before Building the Bench
This is a great beginner project build that should only take a couple hours (at the most) to build.
You may even be able to find many of the pieces you need in the scrap pile, so be sure to check there first before buying any new lumber!
For a full cut list, see the plans linked below.
DRAWING THE BUILDING PLANS
I partnered with MakeByMe to share the building plans for this simple bench with you.
MakeByMe is a 3D modeling app that allows you to draw out your projects in a realistic looking digital environment before ever building anything.
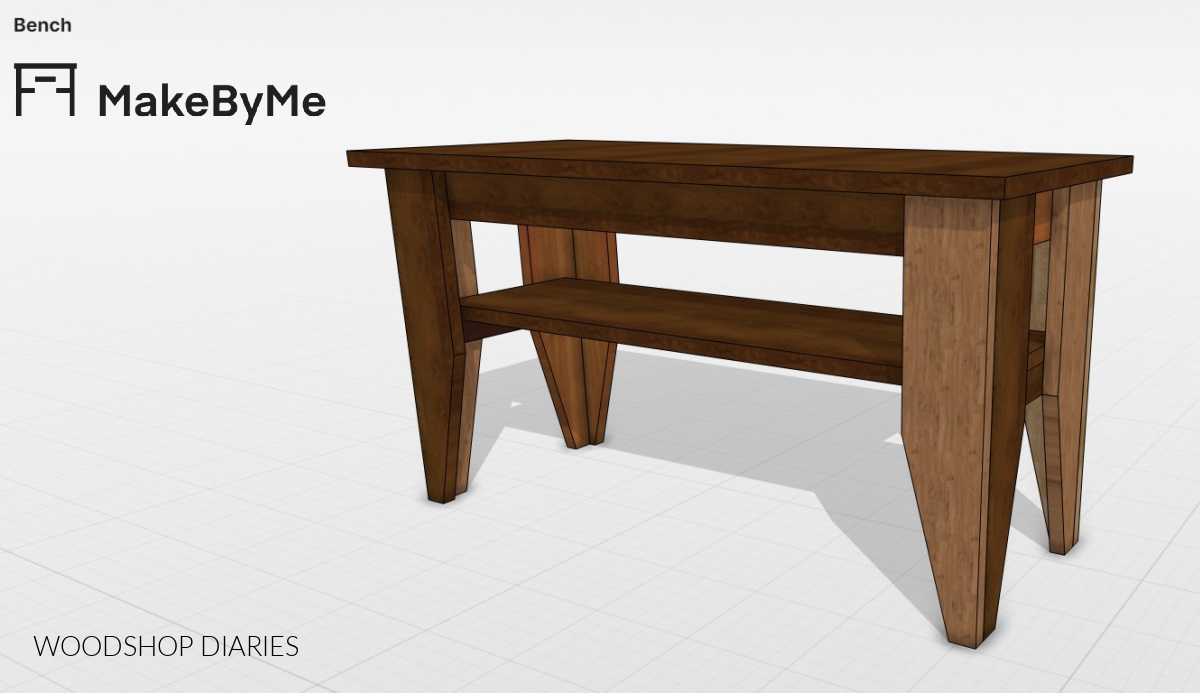
One of my favorite features of the app is that once you’ve “built” your project digitally, the software automatically puts together a materials, tool, and cut list, along with a list of steps for assembling each joint.
Learn more about MakeByMe here.
Overall Dimensions
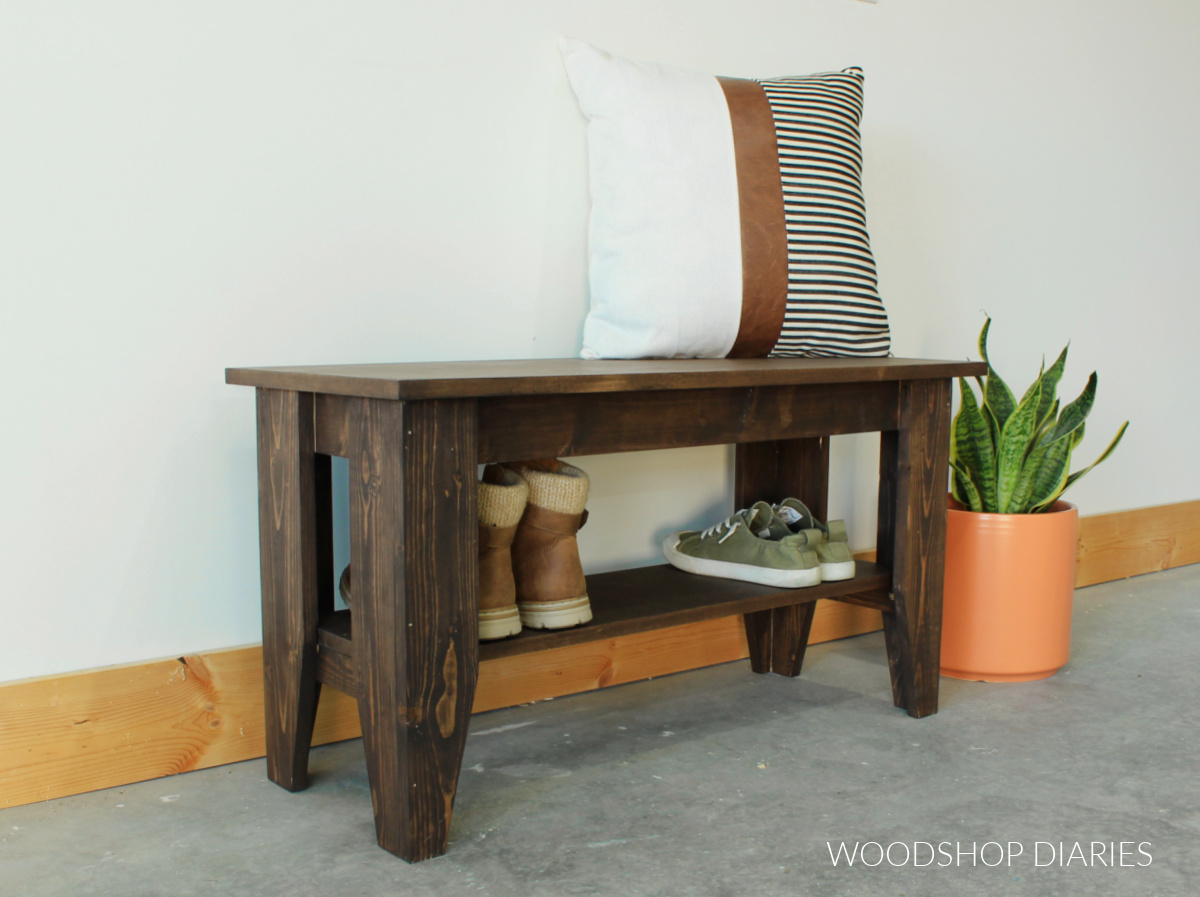
The overall dimensions of this bench are 18 ¾″ tall, 35″ wide, and 15″ deep.
Helpful Resources for This Project:
- How to cut plywood sheets
- How to use a pocket hole jig
- How to apply iron on edge banding
- 5 secrets to professional looking DIY furniture
How to Build a Simple Bench with Shelf
If you’re ready to get building, let’s dive into the details.
This project should only take a couple of hours (at the most!) and just a few basic tools.
Step 1: Assemble Bench Leg
The bench legs here consist of two 1×4 boards assembled together on the edge to make a “corner post.”
However, to add some extra detail, I tapered these pieces before putting them together. This is completely optional, but is easy to do.
I cut two pieces of 1×4 to 18″ long and measured and marked 11″ down from the top of each board.
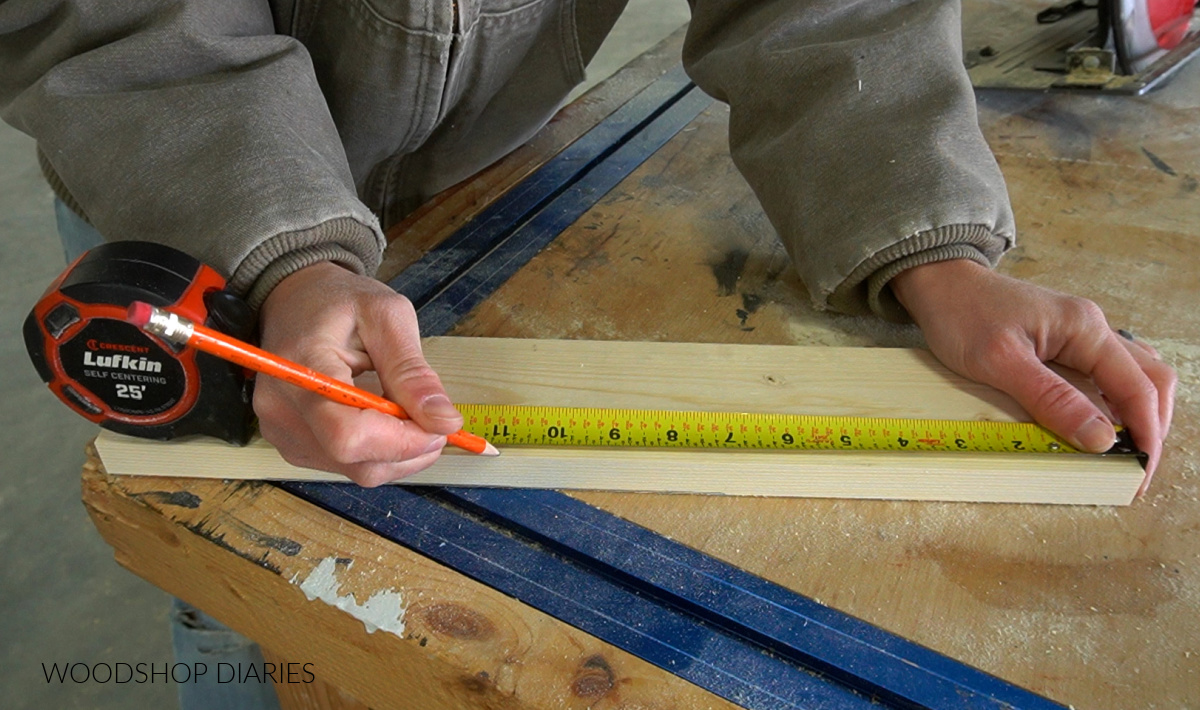
Then, I marked the center of each piece at the bottom and drew a line between the two marks.
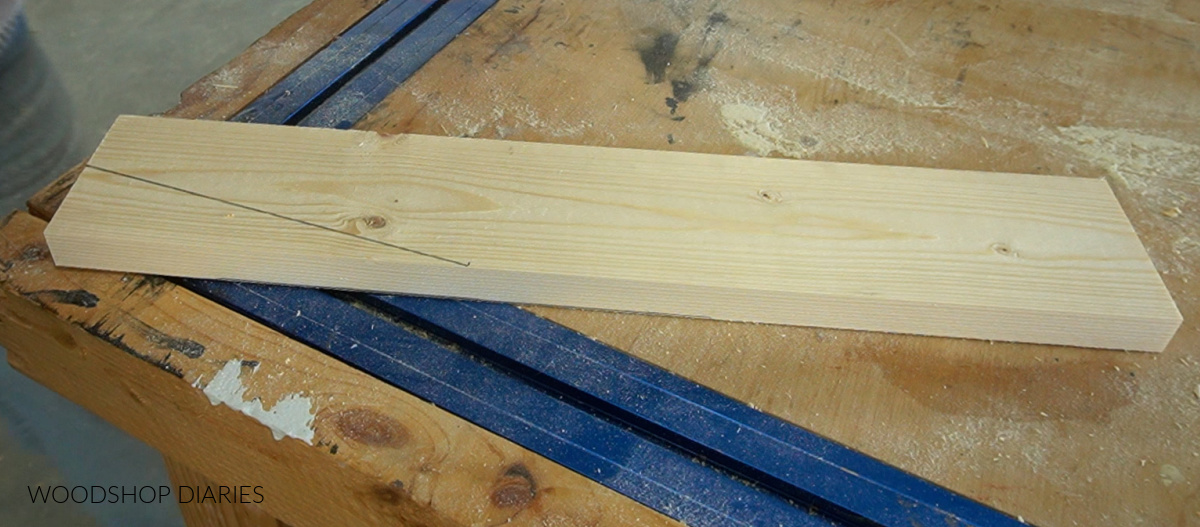
Then, I used a circular saw to cut along this line on both pieces.
If you didn’t want to use a circular saw, a jig saw, band saw, or even a taper jig on the table saw would work as well.
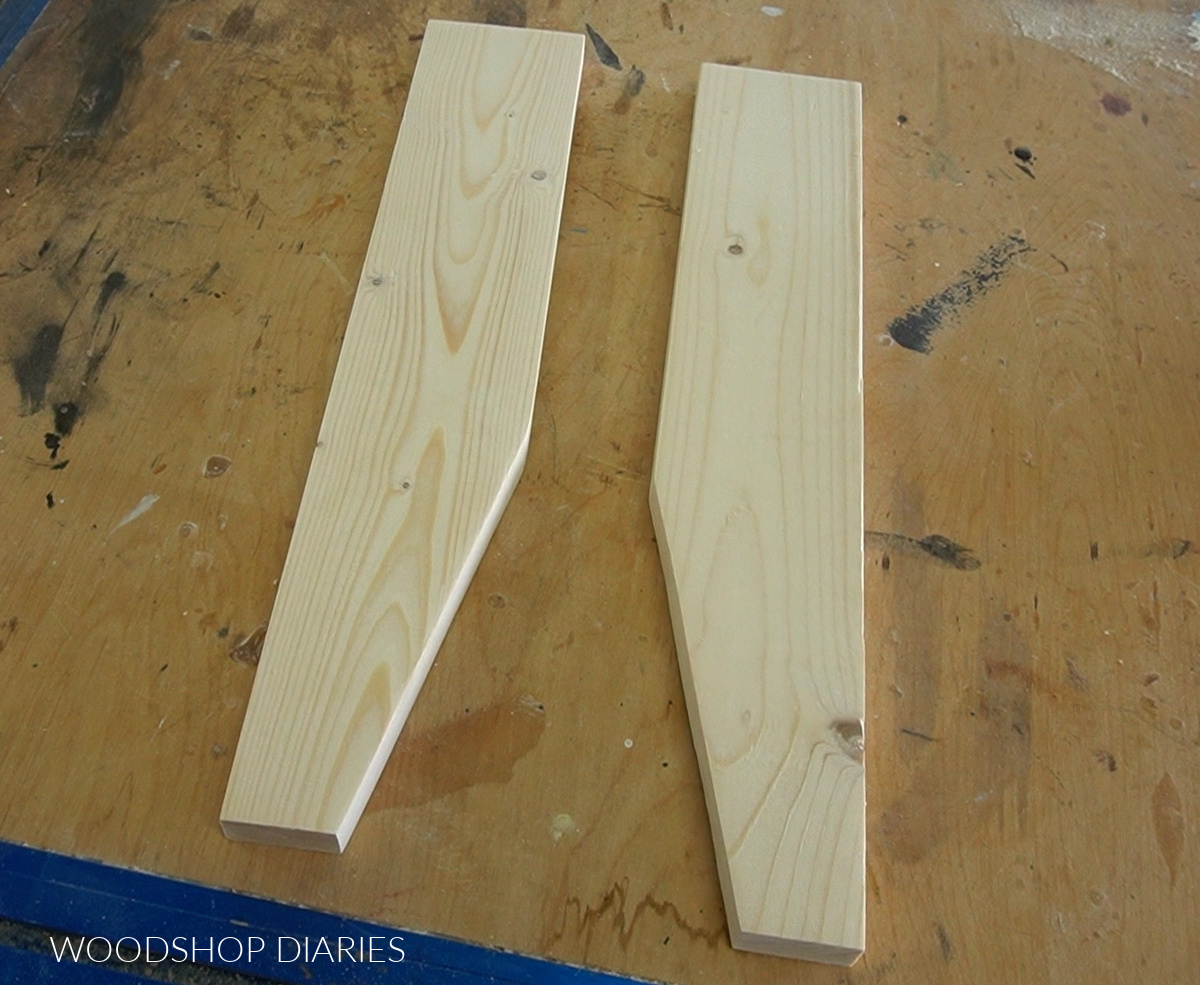
After sanding smooth, I used wood glue and finish nails to assemble them together.
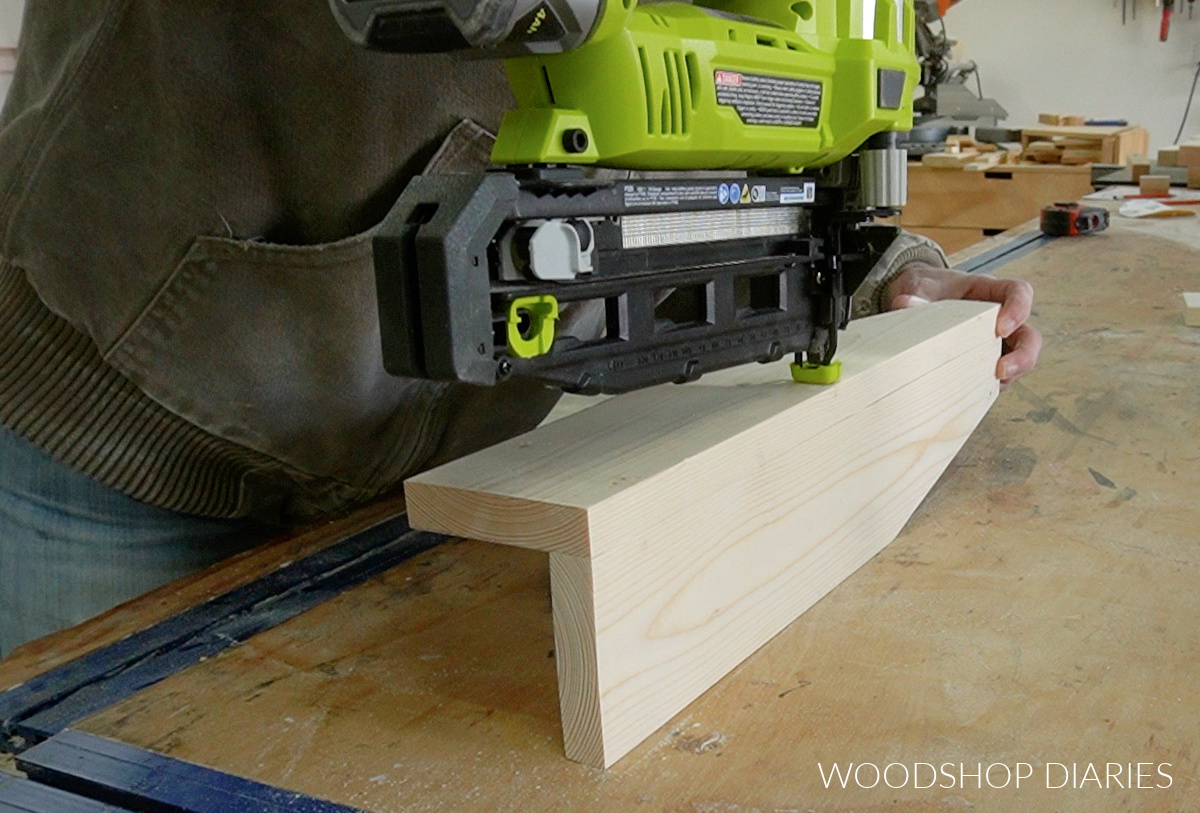
If you didn’t want to use nails, you can certainly use wood screws OR dowels if you prefer.
Step 2: Assemble Second Bench Leg
I repeated the process of step 1 to make a second leg, BUT…
This time, I paid close attention to the orientation of the legs at the corners and made sure this one “mirrored” the first one.
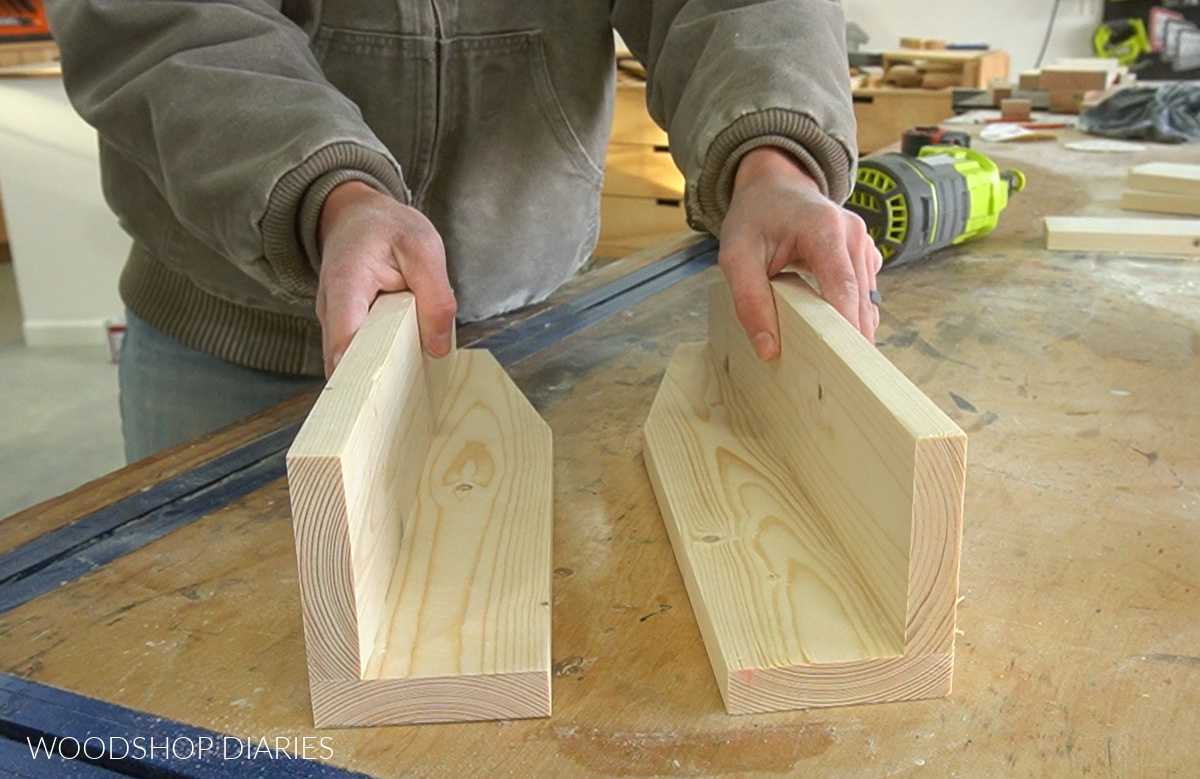
Notice that the full piece sides should be opposite–these will face the front and back of the bench.
The sides that show the joint will go on the sides of the bench.
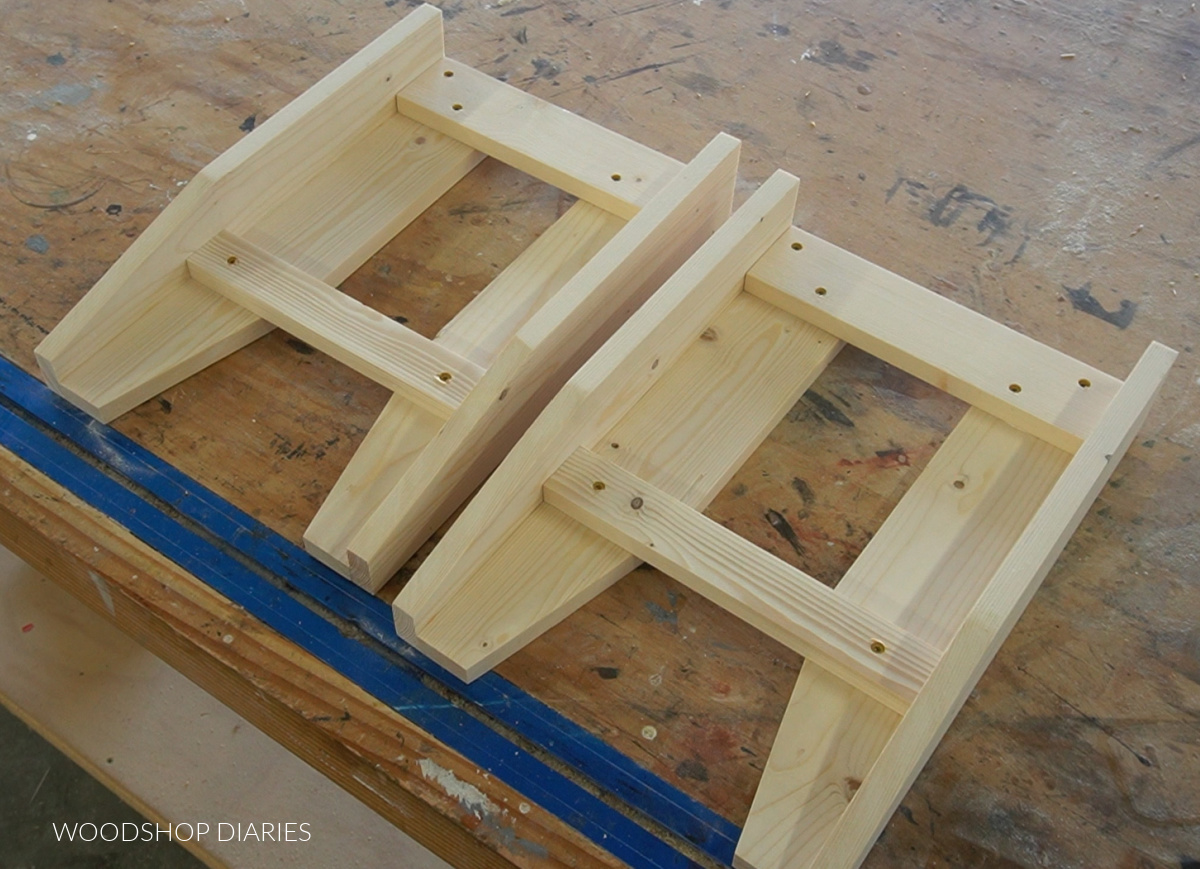
Step 3: Add Bench Side Bracing
Next, I cut a piece of 1×3 and a piece of 1×2 to 11″ long.
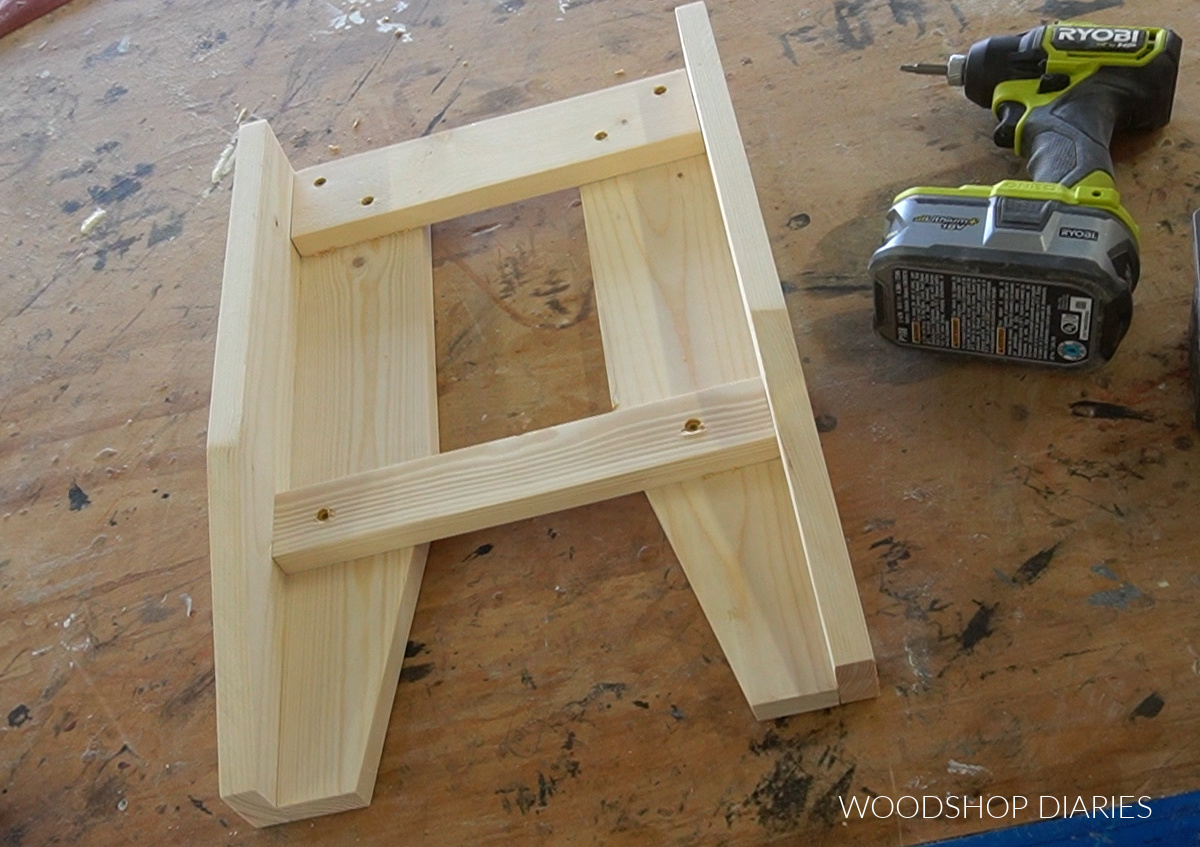
I used wood glue and 1 ¼″ wood screws to secure the 1×3 between the bench legs on the inside so that it was flush to the top.
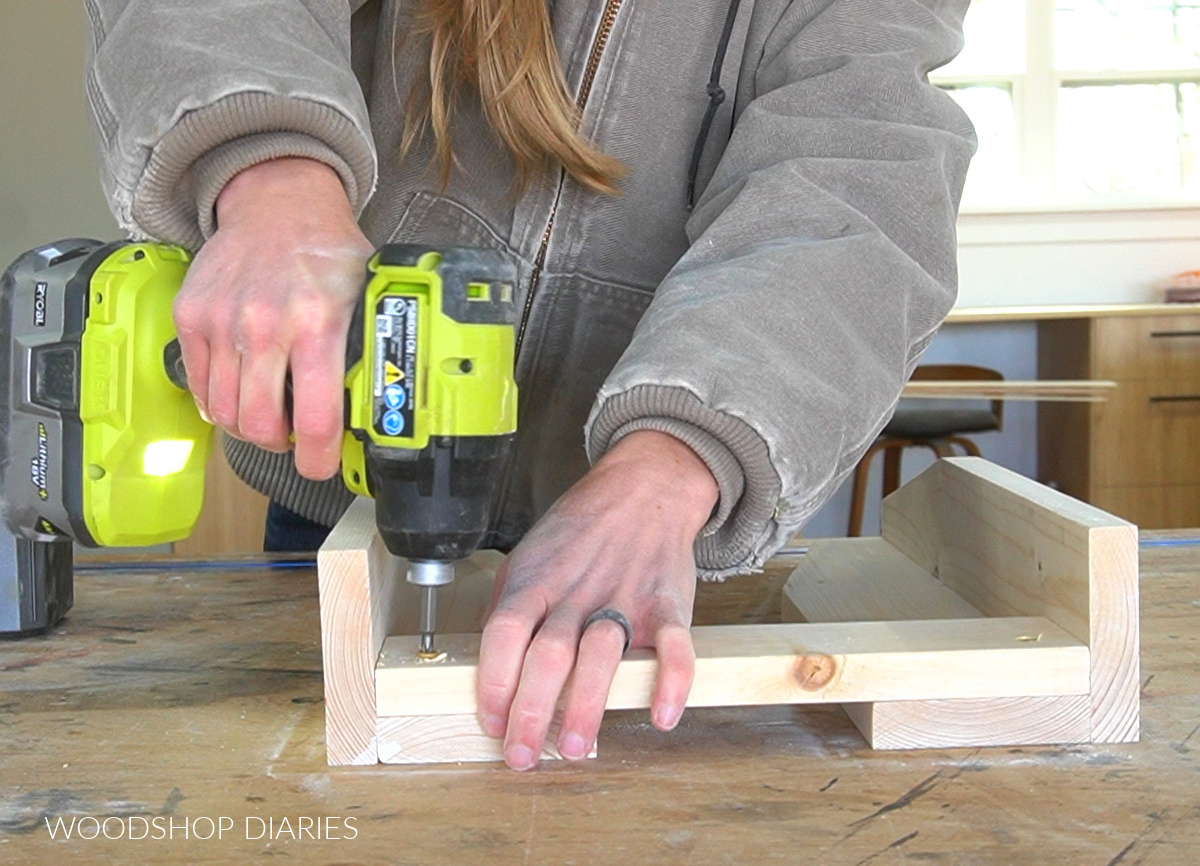
Note that the legs are positioned so that the full 1×4 faces the front and back.
Then, I used wood glue and 1 ¼″ wood screws to secure the 1×2 between these legs so that the top edge was about 11″ down from the top of the legs.
Step 4: Build Second Bench Side
Then, I repeated steps 1-3 to create another bench side frame identical to the first one.
Step 5: Add Bench Seat Supports
I cut two pieces of 1×3 to 30″ long and used wood glue and 1 ¼″ wood screws to secure these to the inside of the front and back legs flush to the top.
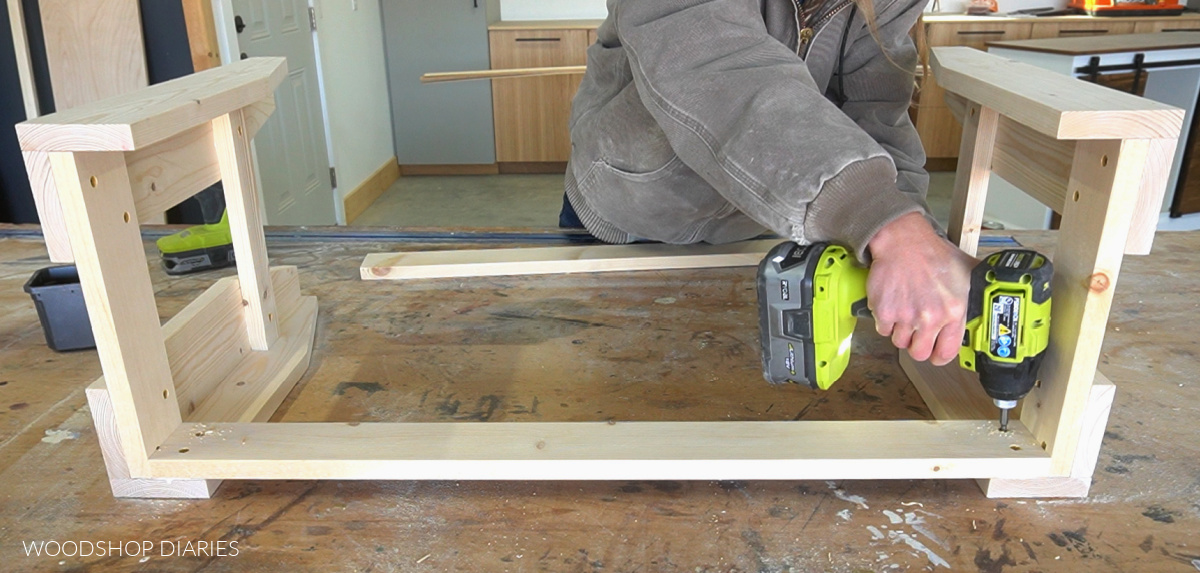
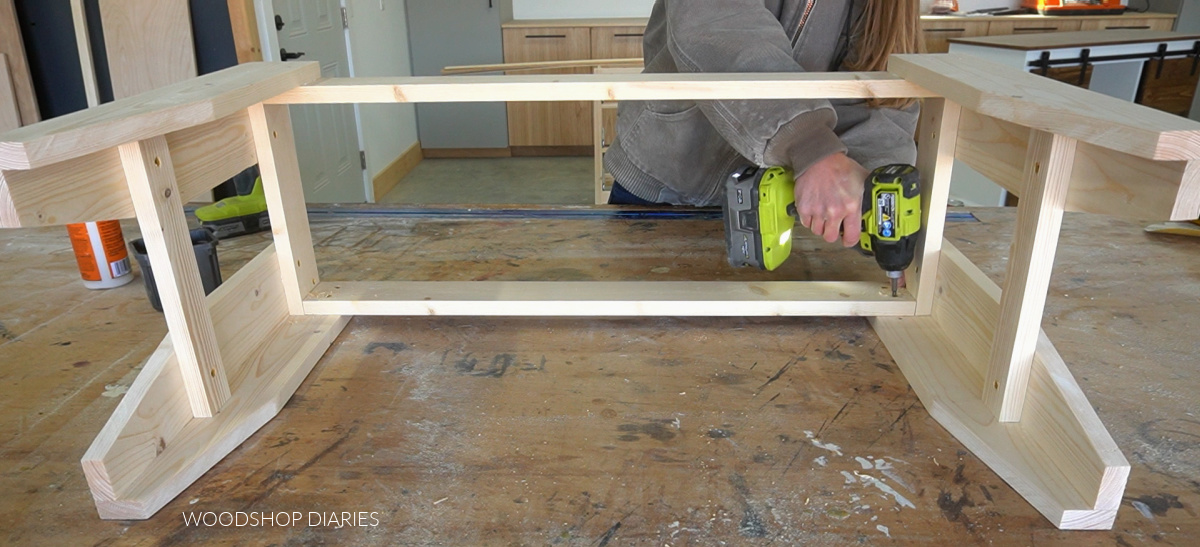
This created the bench frame.
Step 6: Prepare Bench Shelf
For the bench shelf and top, I used ¾″ plywood.
You only need ¼ of a sheet to get these two pieces from, but if you’d rather, you can certainly use solid 1x material instead of plywood.
I cut a piece of ¾″ plywood about 9″ wide x 31 ½″ long and test fit it into the bench across the supports on each side.
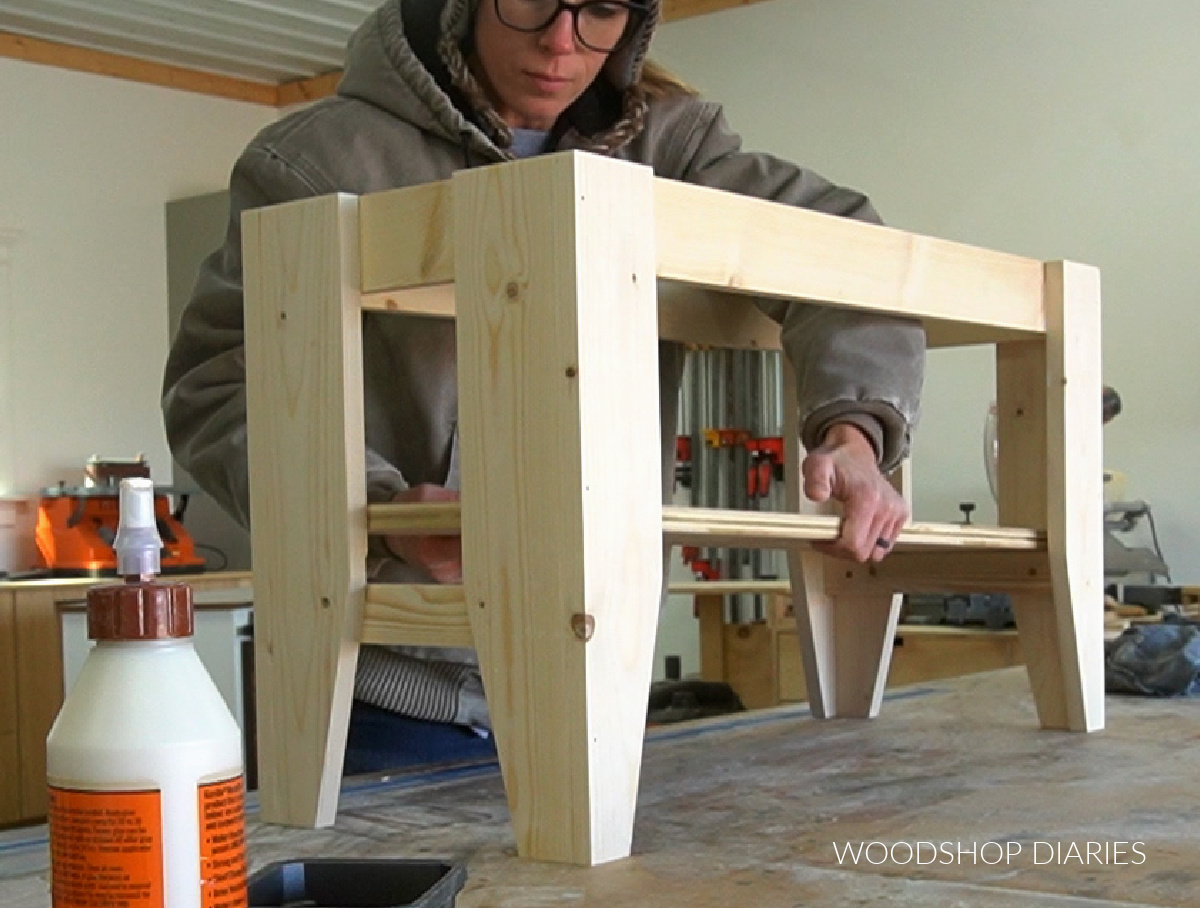
Once I made sure it would fit, removed it and applied iron on edge banding to the edges for a cleaner look.
Edge banding is totally optional, but it does make the plywood edges look a little cleaner.
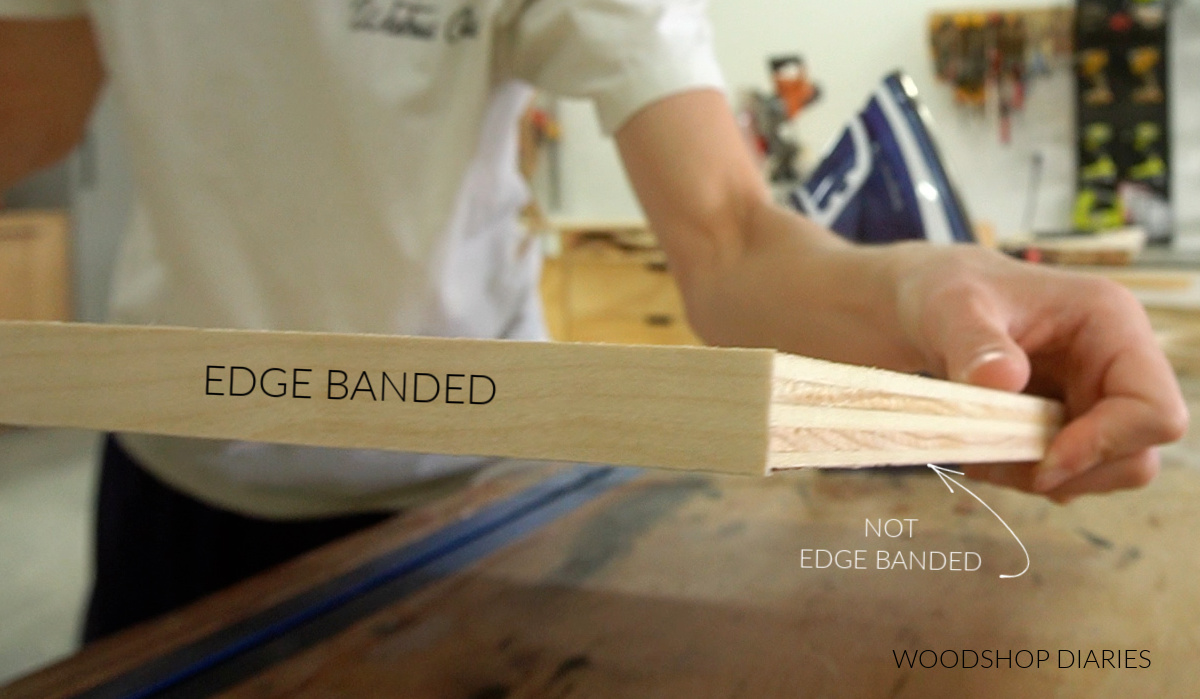
You can check out how to apply edge banding in this post.
It will be easier to paint/stain the bench before installing the shelf, so I didn’t secure it in place just yet.
Step 7: Prepare Bench Seat Top
I made the top just like the shelf. I cut a ¾″ plywood panel to about 15″ deep x 35″ and applied edge banding on the sides.
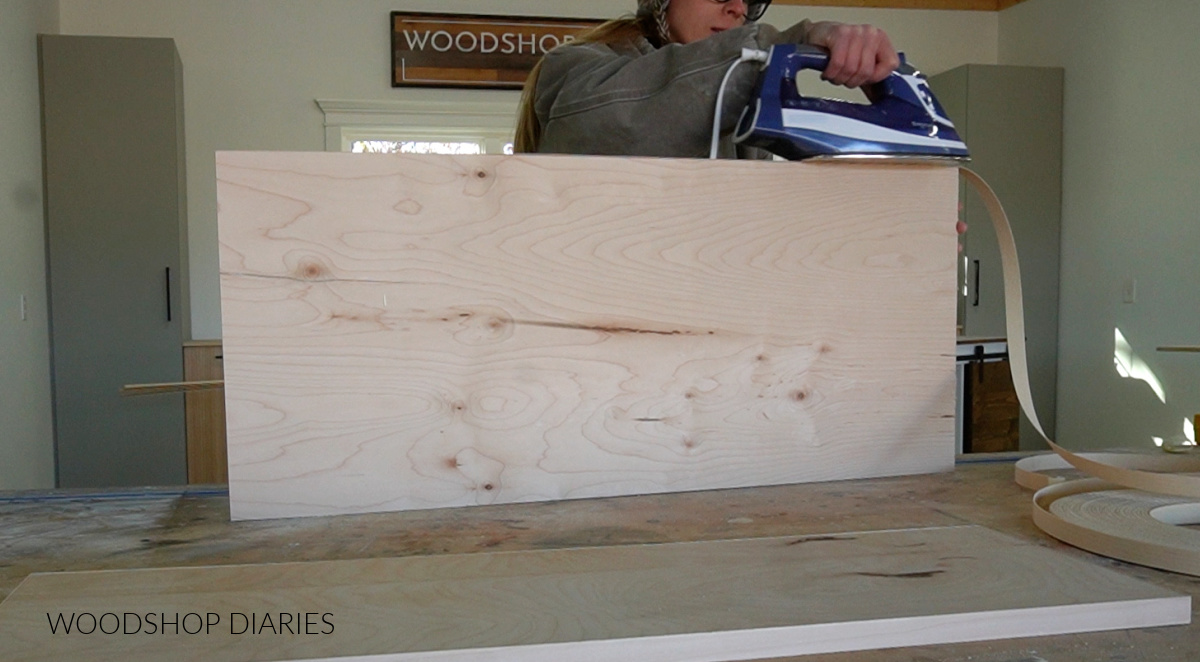
I made sure this piece fit on the bench and allowed for 1″ overhang on both sides and about 1 ¼″ overhang on the front/back.
But I didn’t attach it just yet.
Step 8: Finish Bench and Attach Shelf
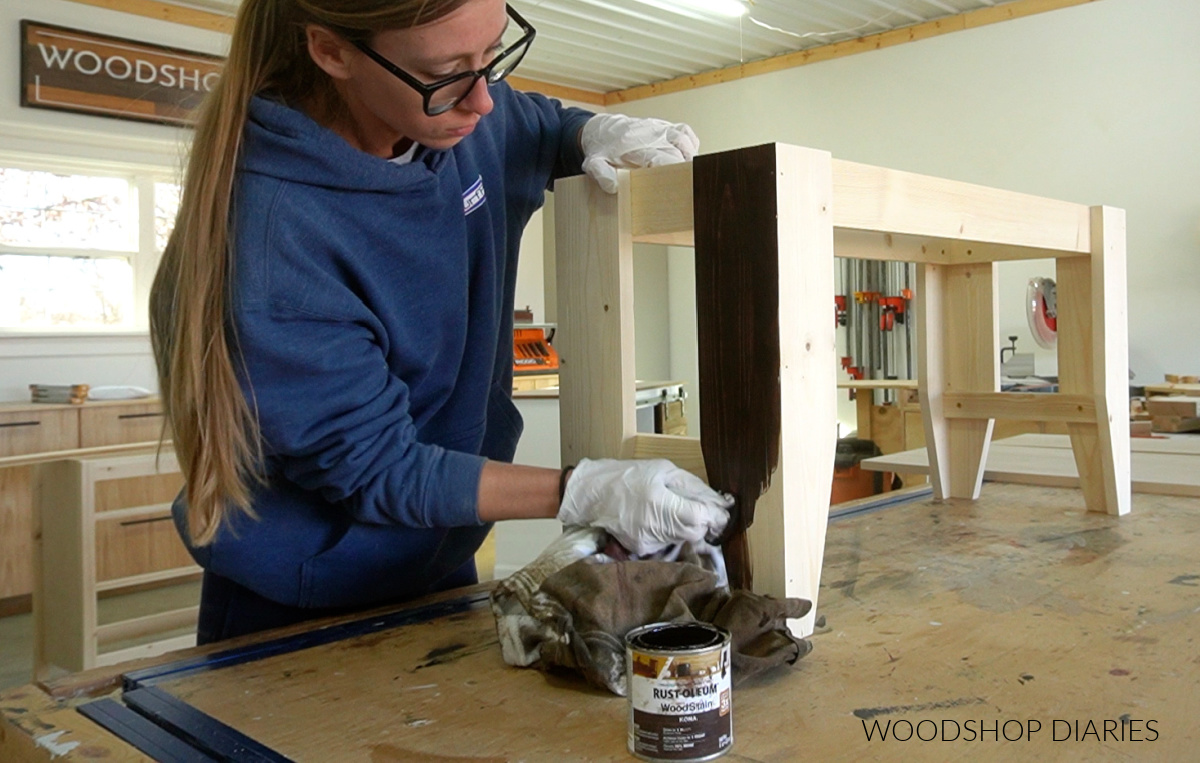
Now that the bench frame, top and shelf are prepared and ready to go, I went ahead and stained the pieces separately.
Feel free to stain and/or paint as desired. I stained this project in Rustoleum Kona.
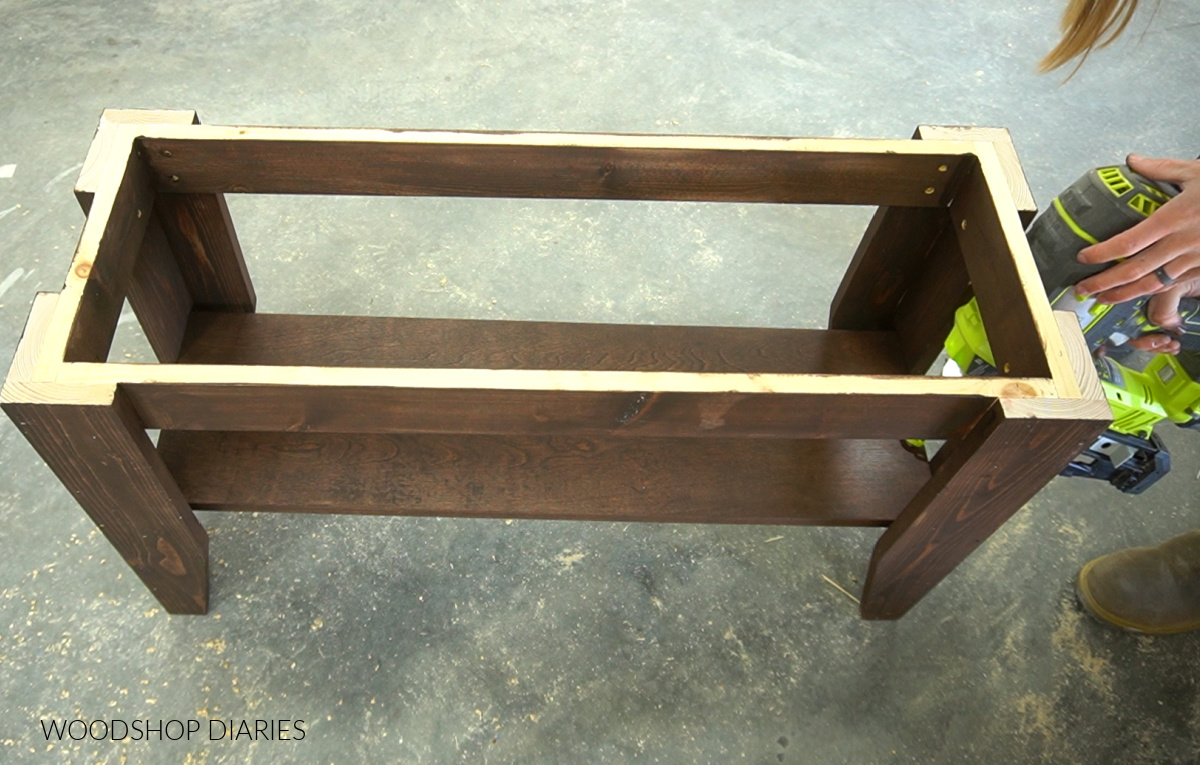
Then, I applied a little wood glue along the bench shelf supports and placed the shelf on top.
I used finish nails to secure, but you could also use screws if you’d rather.
Step 9: Attach Bench Seat Top
To attach the top, you could use a few different methods. You could drill pocket holes through the top supports to secure the seat panel.
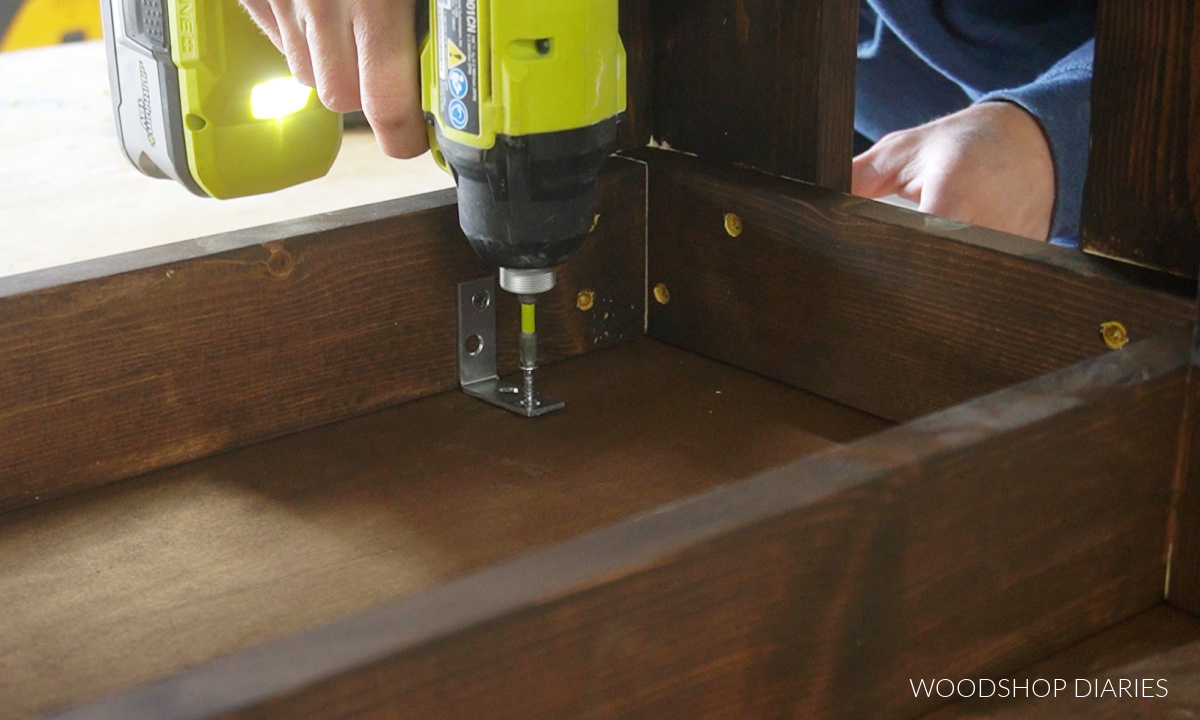
You could also use 90 degree L brackets to secure the bench top to the 1×3 supports on the bench like shown below.
You could also use figure 8 brackets or Z clips.
Because I already had some L brackets in my shop, that’s what I used here.
I flipped the top panel upside down on the workbench, made sure the base was upside down and centered on it, then installed four L brackets between the top and the frame.
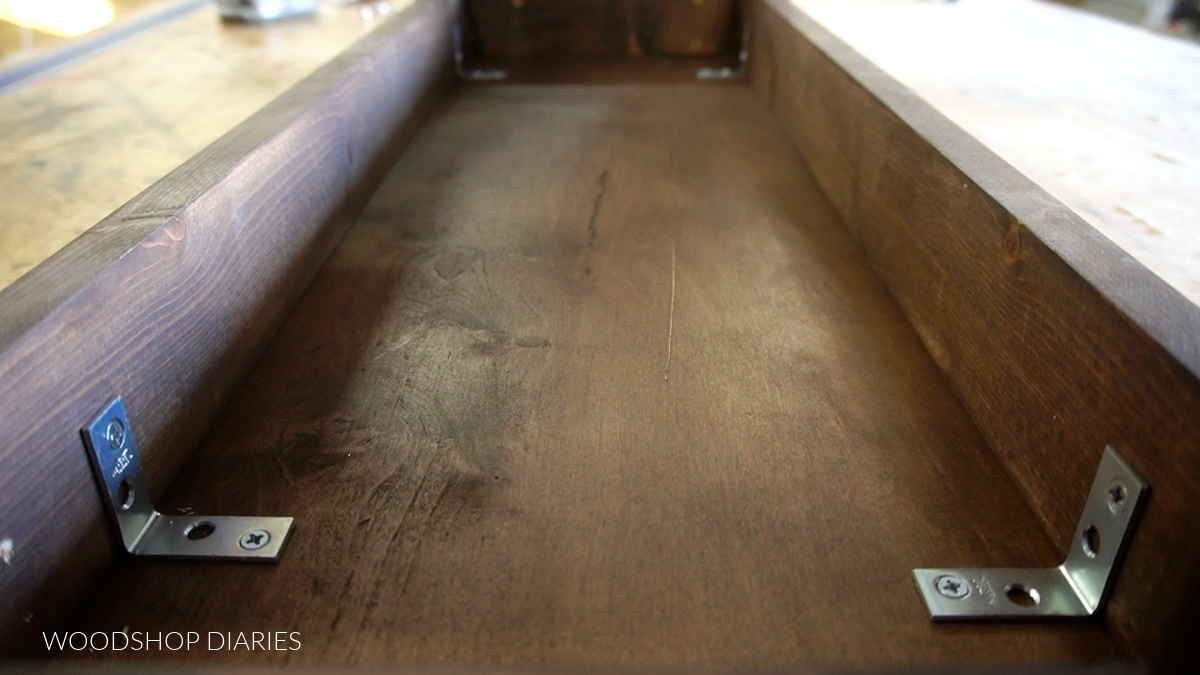
Since the top is plywood, wood movement really isn’t a concern here, so pocket holes and screws or even wood glue and screws or nails from the top side would also work fine.
And once the top was attached, I added a little poly to seal it and it was ready for use!
Looking for More DIY Bench Plans?
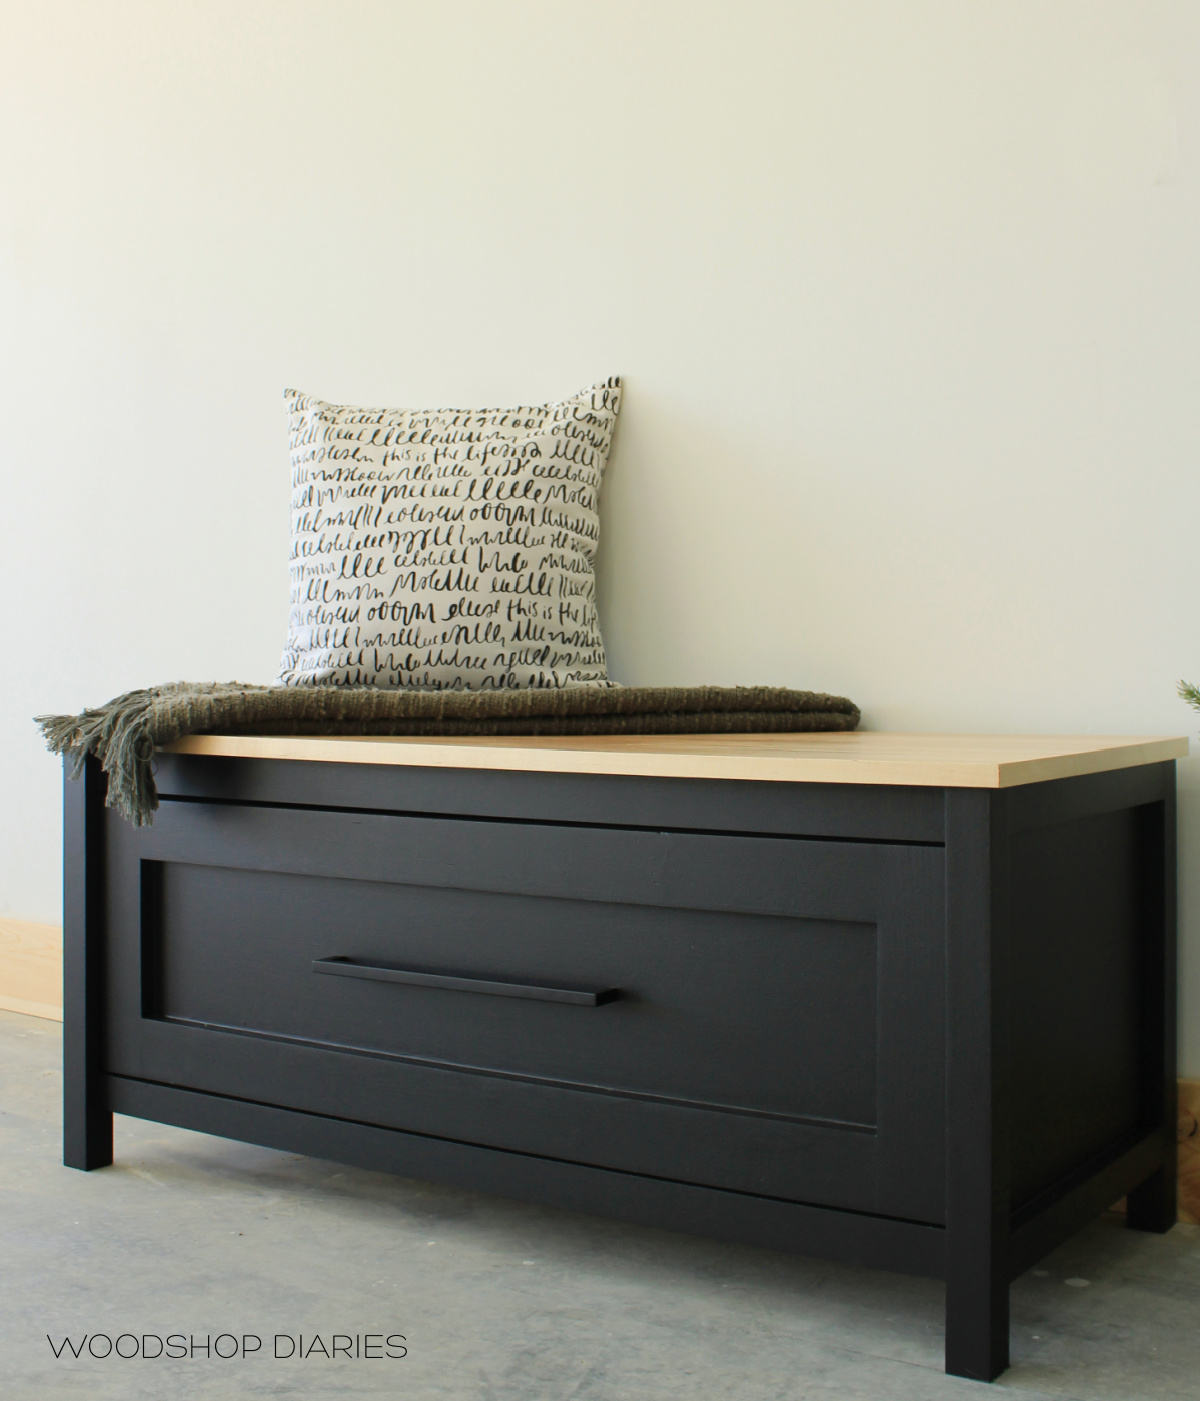
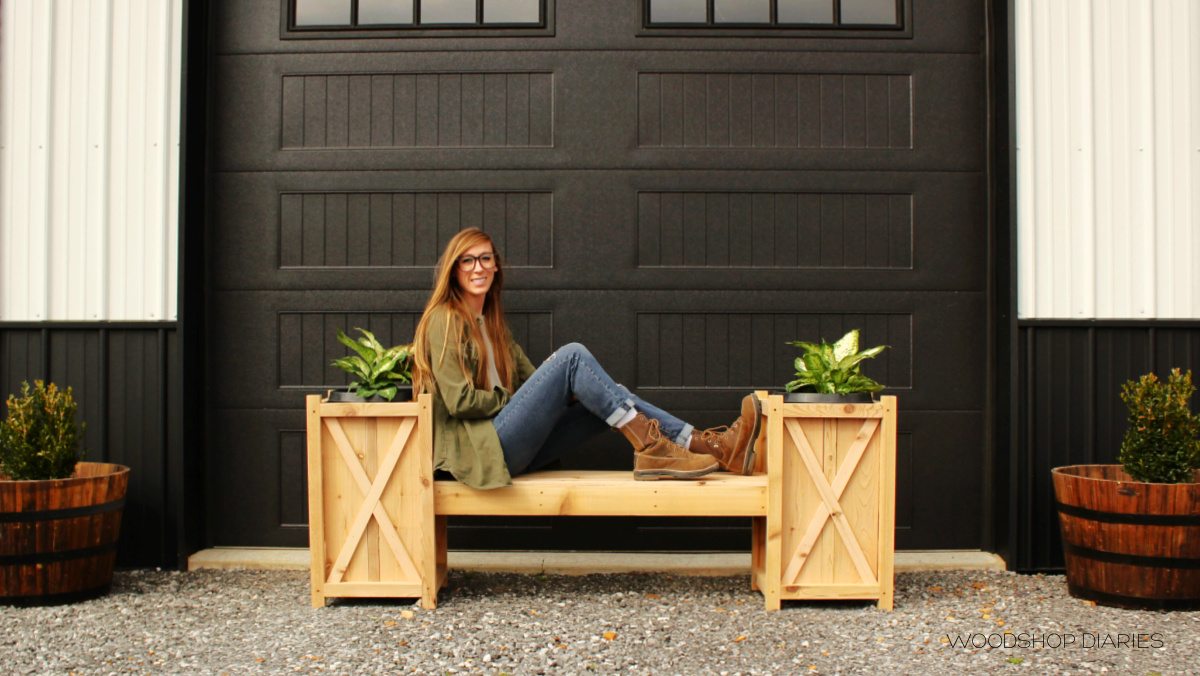
Here are a few favorite DIY bench projects to check out:
I hope you enjoyed seeing how to build a simple bench as much as I enjoyed sharing it with you! Grab the building plans for it here!
This bench with shoe shelf is a great beginner project that you can find many great uses for.
If you’d like to stay up to date with all the latest projects and plans, be sure to subscribe to the FREE newsletter for priority access to new content!
And if you enjoyed the build and want to save it for later, be sure to pin it or share it to your favorite social channel!
Until next time, friends, happy building!
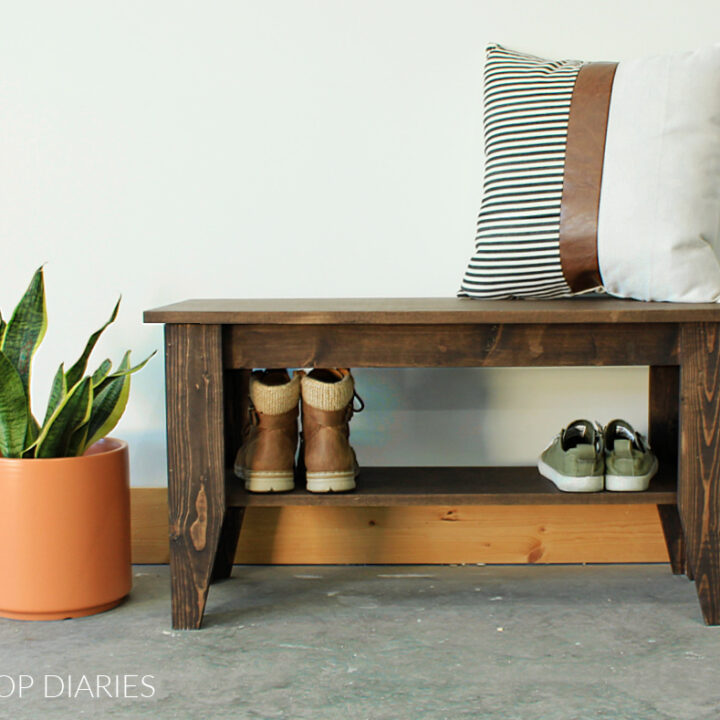
Simple Bench with Shelf
How to build a simple bench with a shelf underneath!
Materials
- (1) 1x2x8
- (1) 1x3x8
- (2) 1x4x8
- (1) ¾” plywood 24” x 48” (you only need ¼ sheet)
- 1 ¼” wood screws
- 1 ¼” finish nails
- Iron On Edge Banding
- Wood Glue
Tools
- Miter saw
- Circular saw
- Cutting Guides
- Finish Nailer
- Drill/Driver
Instructions
- Cut and assemble the bench legs using wood glue and finish nails.
- Add bench side bracing using wood glue and 1 ¼" wood screws.
- Repeat steps 1 and 2 to build the second bench side.
- Add bench seat supports using wood glue and wood screws.
- Cut plywood for the shelf, dry fit, apply edge banding to exposed edges (optional).
- Cut plywood for bench top and apply edge banding.
- Stain and attach shelf.
- Attach bench seat and it's done!


