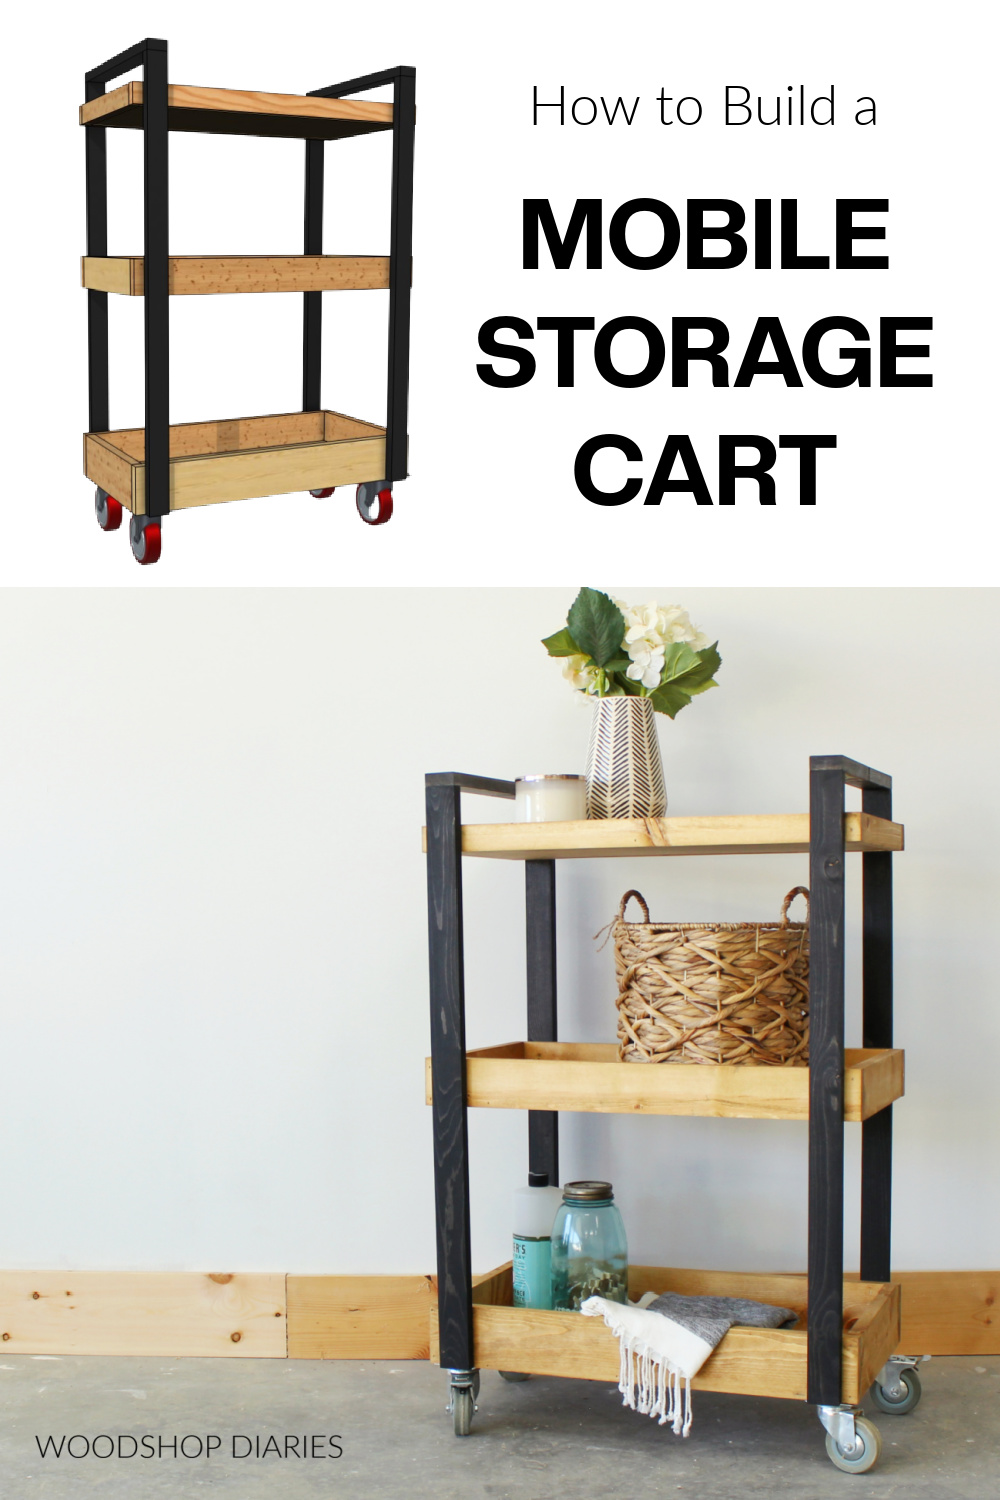
In this post, I’m sharing how to build a DIY rolling storage cart perfect for laundry rooms, pantries, bathrooms, kitchens, or the garage!
*This post was sponsored by MakeByMe and also contains affiliate links. See website policies.
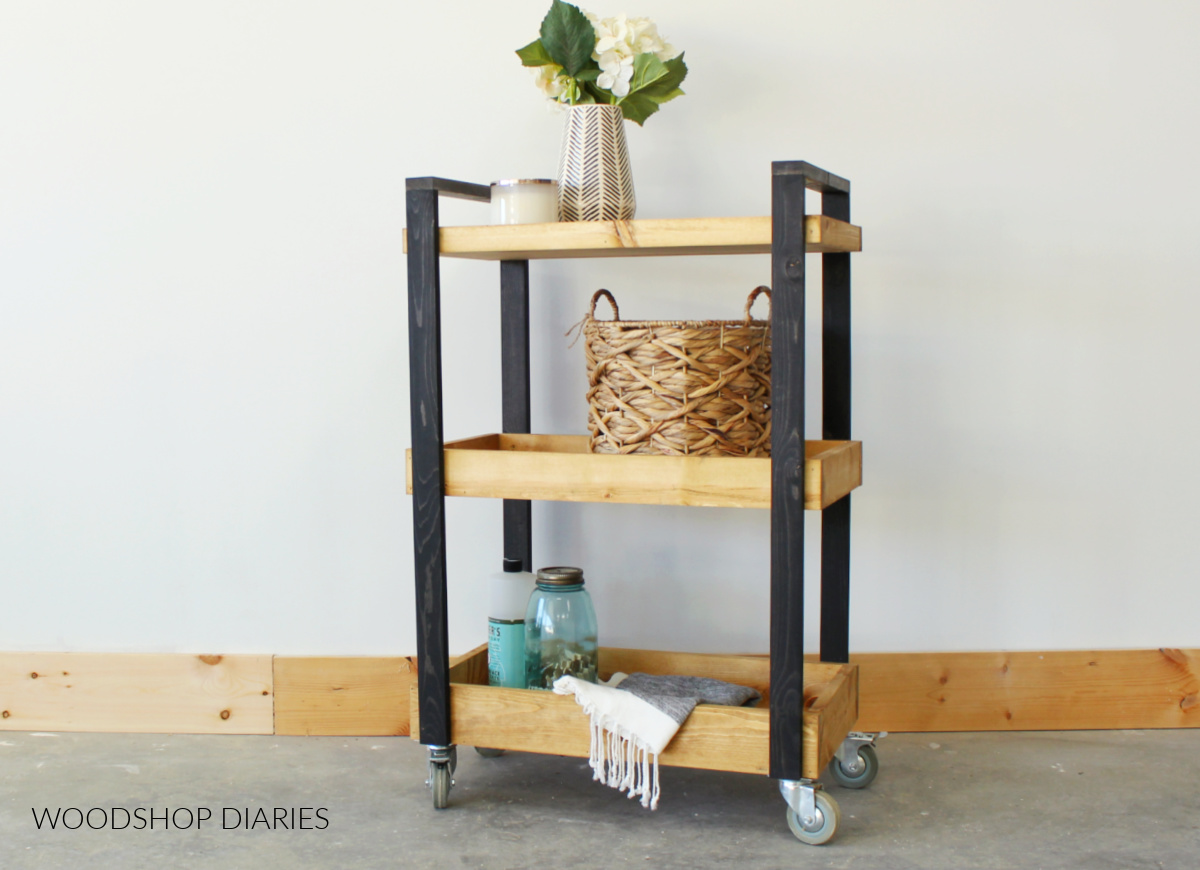
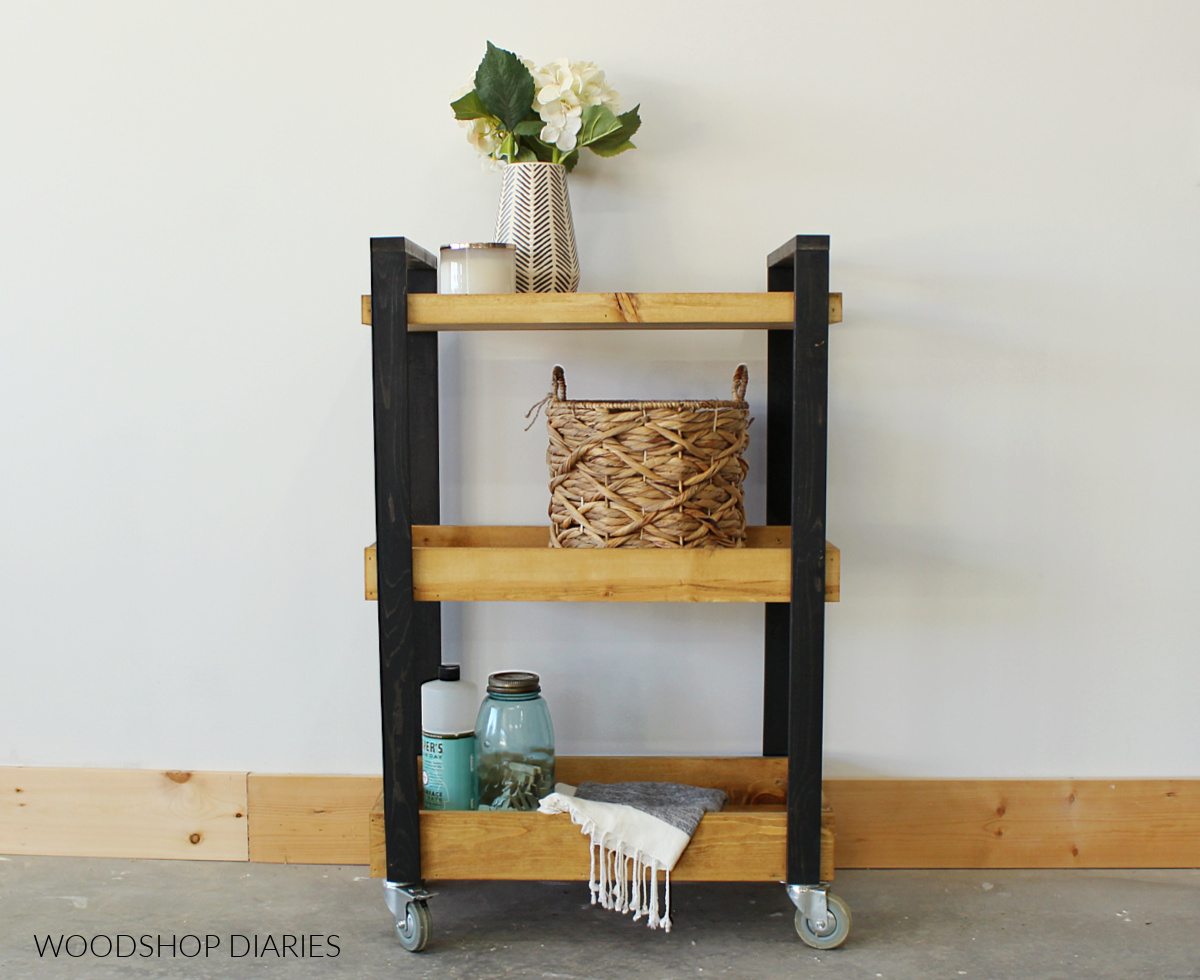
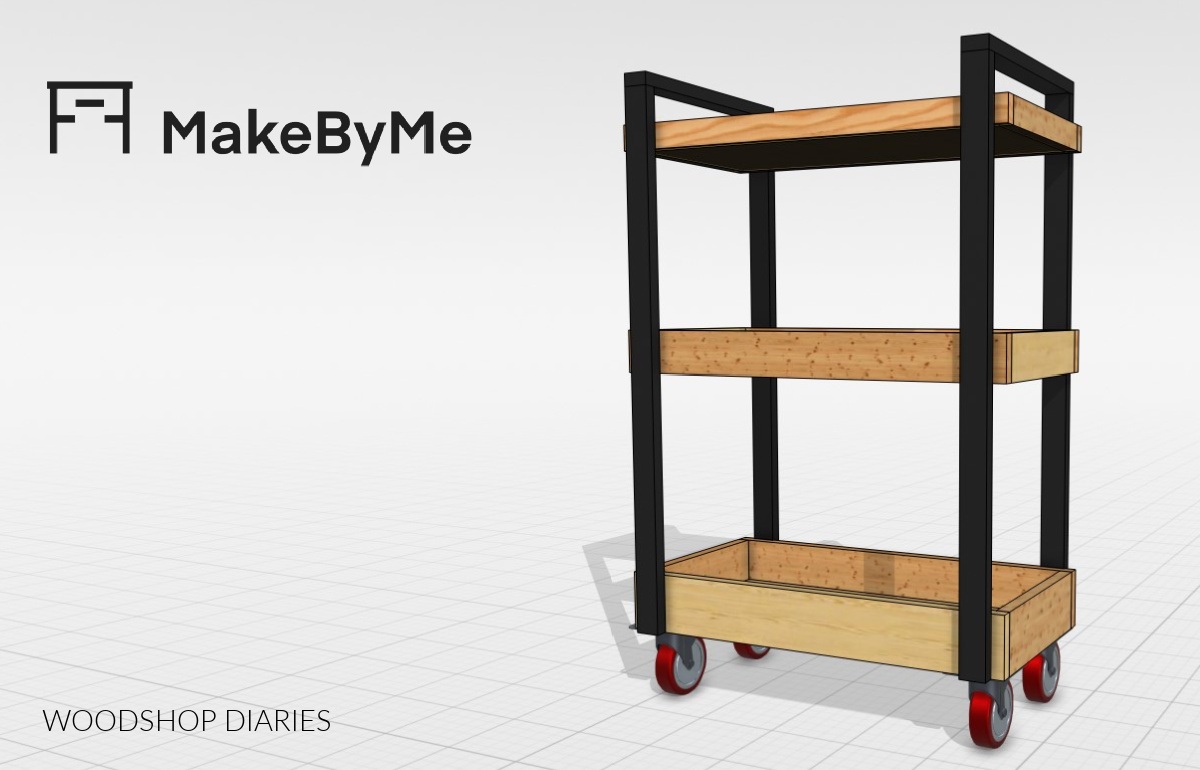
This easy to build mobile wooden storage cart features three shelves to store away just about anything you can think of.
Each shelf has a different height “lip” around the side for storing various objects and keeping them in place.
It would be perfect for the laundry room to keep your laundry detergents, and cleaning supplies on it.
Or you could use it to transport your clean laundry from the dryer to the closet.
You can use it in the bathroom for extra towel and toiletry storage.
It would even be handy in the craft room to keep the sewing machine and craft supplies stored and organized in.
You can literally use this DIY wooden cart for practical mobile storage in any room of the house (even the garage!).
So if you’re ready to see how to build one, let’s go!
Tools & Materials
Tools:
- Miter Saw
- Circular Saw & Straight Edge Guides (for cutting plywood)
- Drill/Driver
- Finish or Brad Nailer
- Clamps
Materials:
- (3) 1x2x8
- (1) 1x3x8
- (1) 1x4x8
- (1) ¾” plywood 24” x 48”
- (4) caster wheels
- 1 ¼” wood screws
- 1 ¼” brad or finish nails
- Wood Glue
A few notes before building
This is a simple project that you can easily complete in just a couple hours at the most.
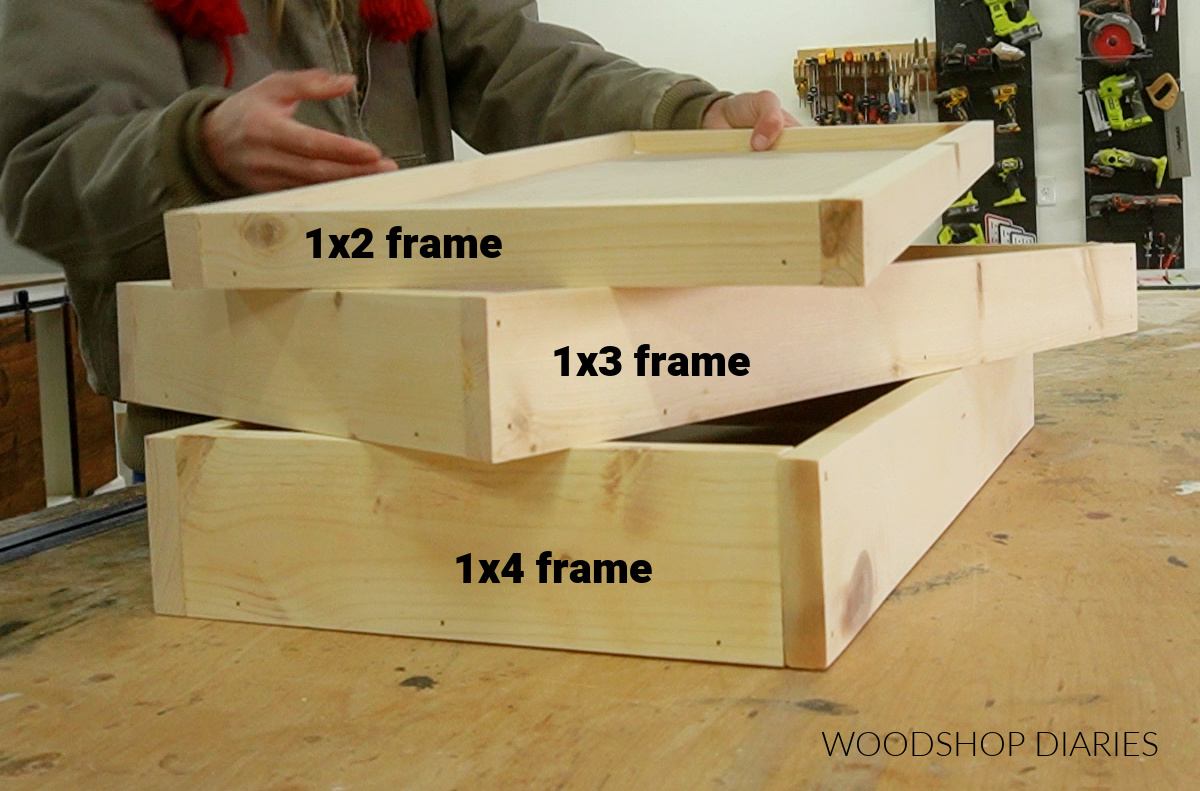
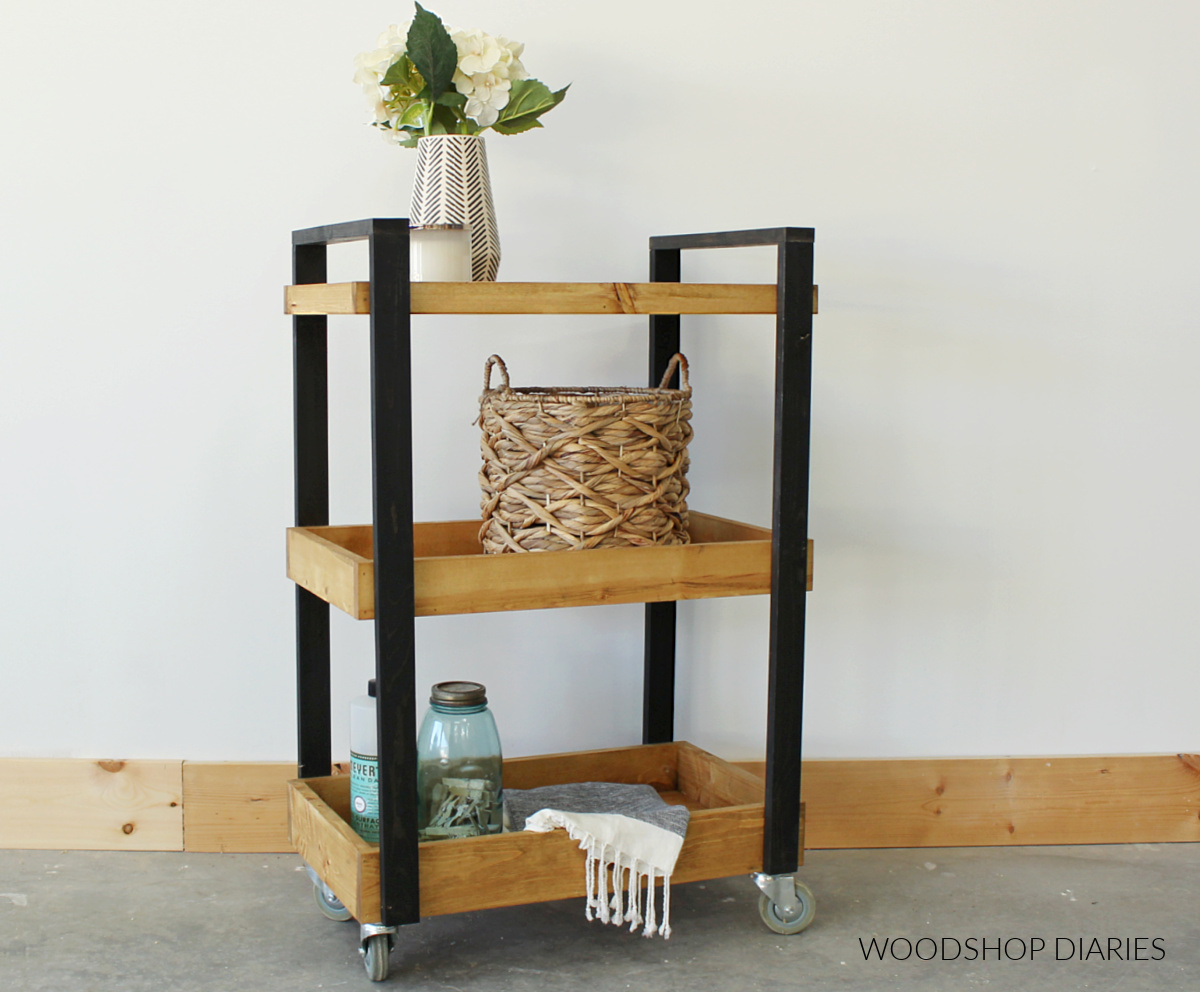
I designed this so that each “level” or shelf of the DIY rolling storage cart has a different height “lip.”
You’ll notice the top shelf has a 1×2 around the edges, the middle has a 1×3 around the edges and the bottom has a 1×4 around the edges.
If you wanted to do them all the same, feel free! I just liked the look and the fact that it gives a little more versatility to hold items in place as needed.
The overall dimensions of this project are 13″ deep x 24″ wide x 32 ¾″.
Note that this overall size is WITHOUT CASTERS. Casters will add additional height to the cart, however the exact amount will depend on the style and size you use.
DRAWING THE BUILDING PLANS
I partnered with MakeByMe to share the building plans for this mobile storage cart with you at the end of this post.
MakeByMe is a 3D modeling app that allows you to draw out your projects in a realistic looking digital environment before ever building anything.
One of my favorite features of the app is that once you’ve “built” your project digitally, the software automatically puts together a materials, tool, and cut list, along with a list of steps for assembling each joint.
Learn more about MakeByMe here.
How to Build a Rolling Storage Cart
Here’s the step by step process for how to build this handy DIY rolling storage cart.
This is a pretty straightforward and simple project to modify, so feel free to adjust your sizing as needed to fit your space and your needs.
The main thing is to make sure all the trays/shelves stay the same width.
Step 1: Assemble Top Cart Shelf
You can find the complete cut list in the plans linked at the bottom of this post.
But, I cut a piece of ¾″ plywood to 10 ½″ x 22 ½″ for the bottom panel.
Then, I cut 1x2s to “wrap” around the sides to sort of “frame” it out. This would be (2) pieces of 1×2 cut to 10 ½″ long and (2) pieces cut to 24″ long.
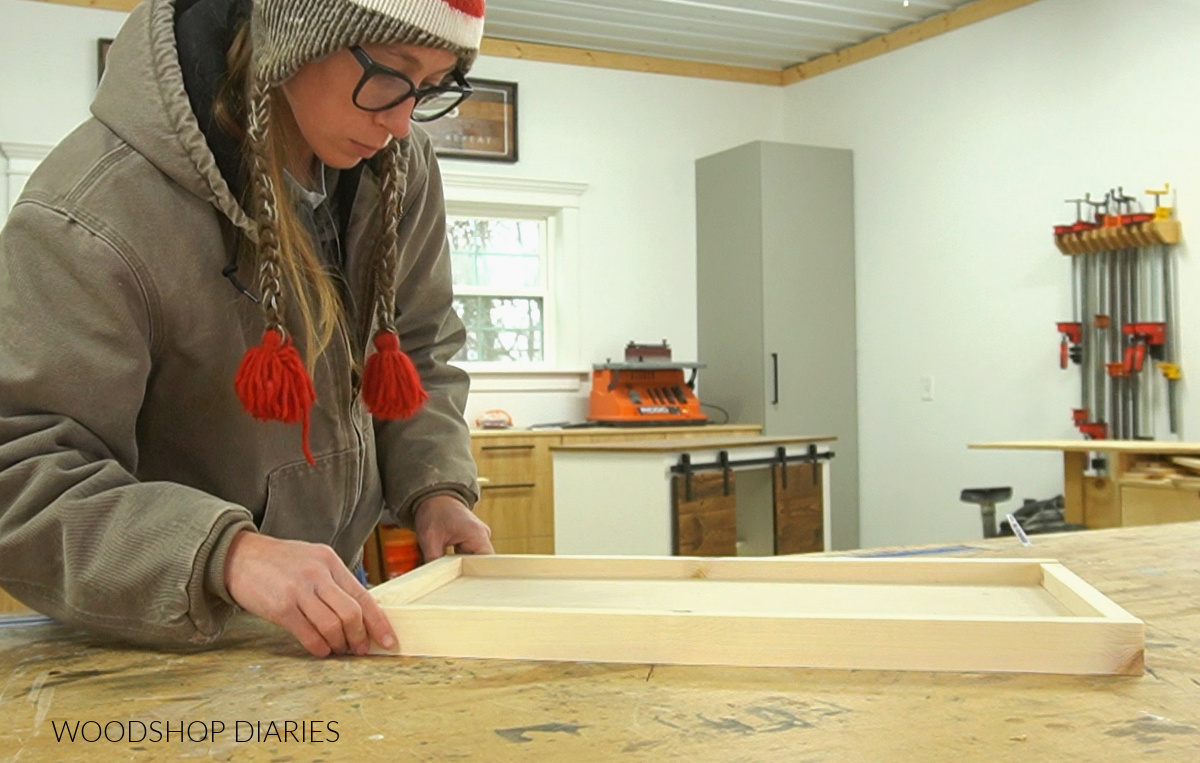
I used wood glue and 1 ¼″ nails to attach these 1x2s around the edges. You could use brad or finish nails–or even screws if you’d rather.
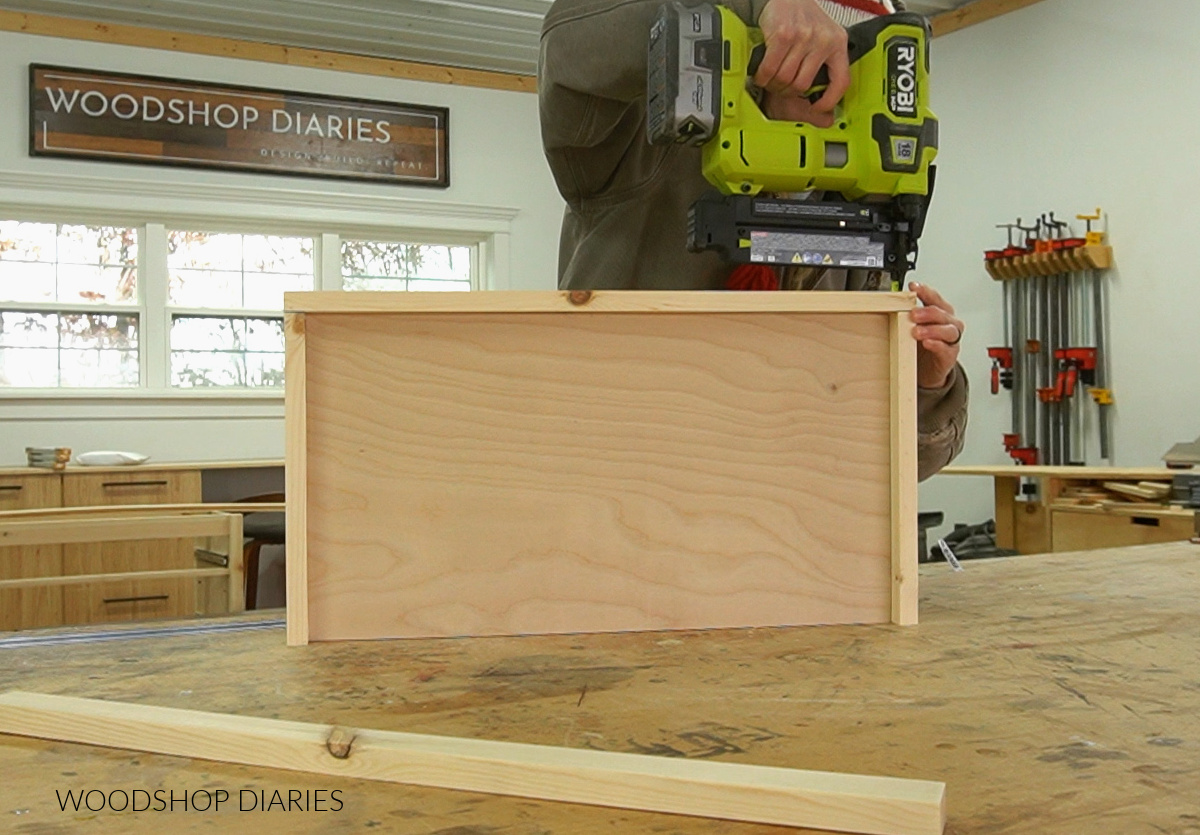
Step 2: Assemble Middle Cart Shelf
For the middle shelf, I repeated this process to create an identical size tray, only this time, instead of using 1x2s, I used 1x3s.
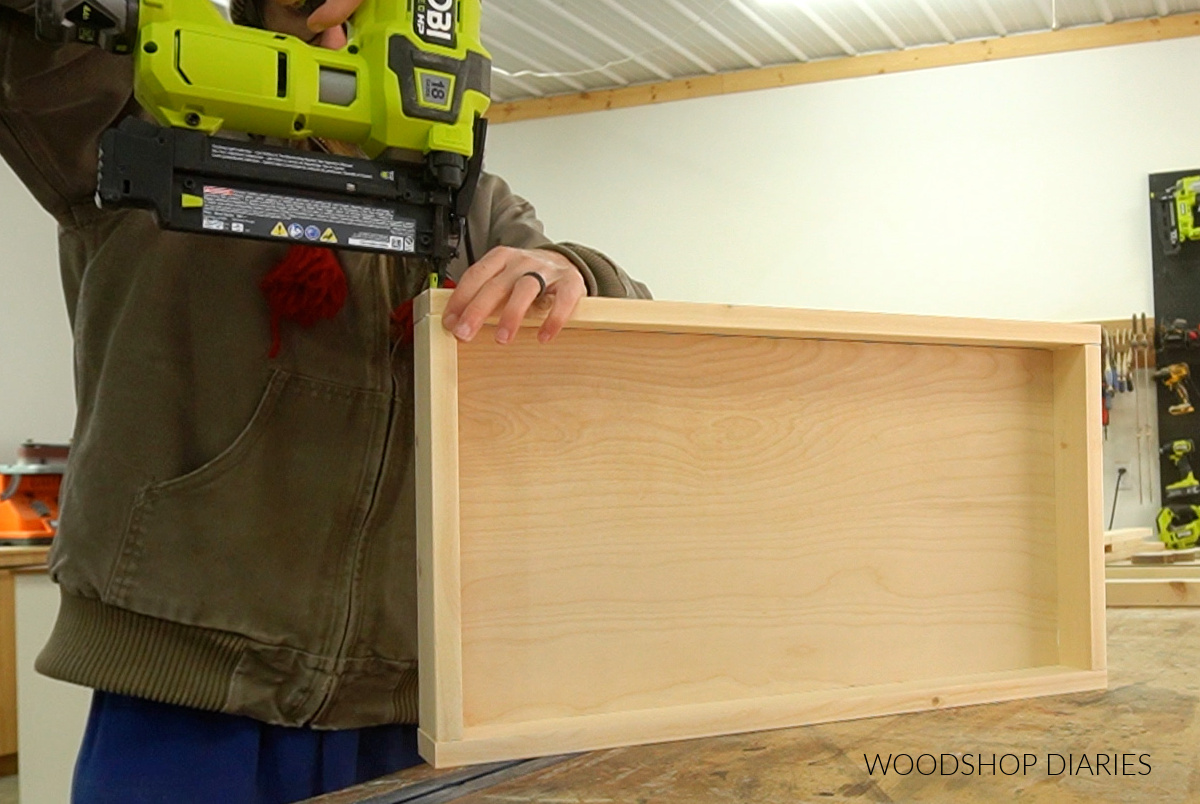
All the lengths of the pieces stay the same. This only changes the height.
Step 3: Assemble Bottom Cart Shelf
And again, I repeated this process one more time to create another identical size tray, only this time, I used 1x4s around the edges.
All the lengths of the pieces stay the same. This only changes the height.
Step 4: Install Rolling Cart Frame Legs
Once the three cart shelves were assembled, I started adding the “legs” that would kind of keep them all together.
For these, I used 1x2s. But, you could certainly use 1x3s or 1x4s if you’d rather have something a little wider.
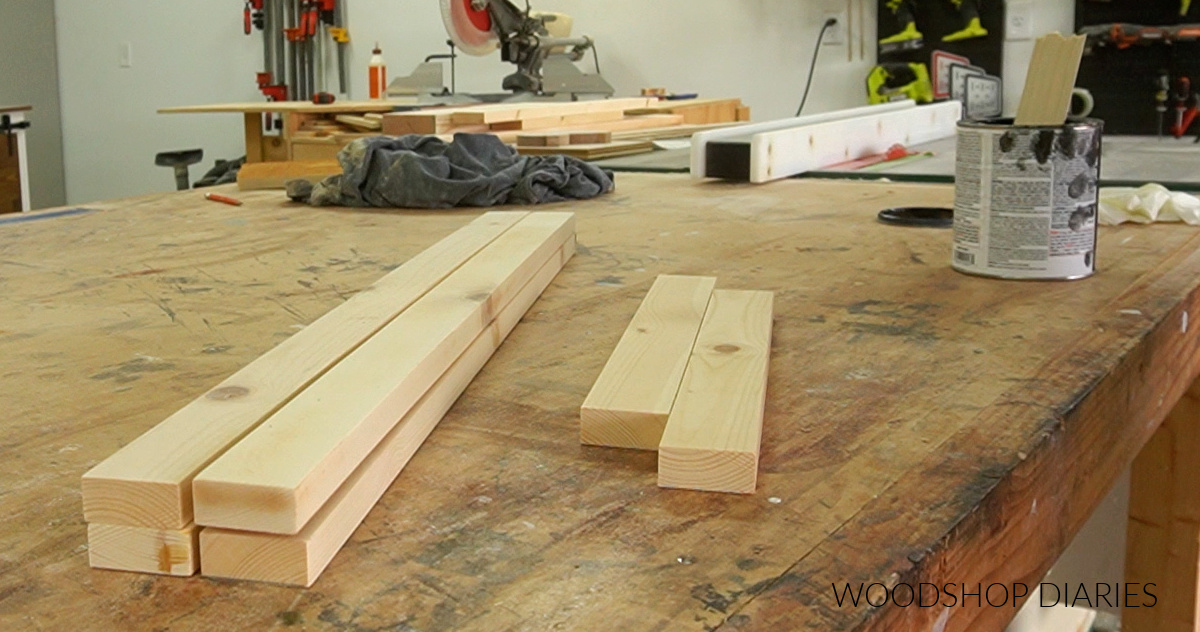
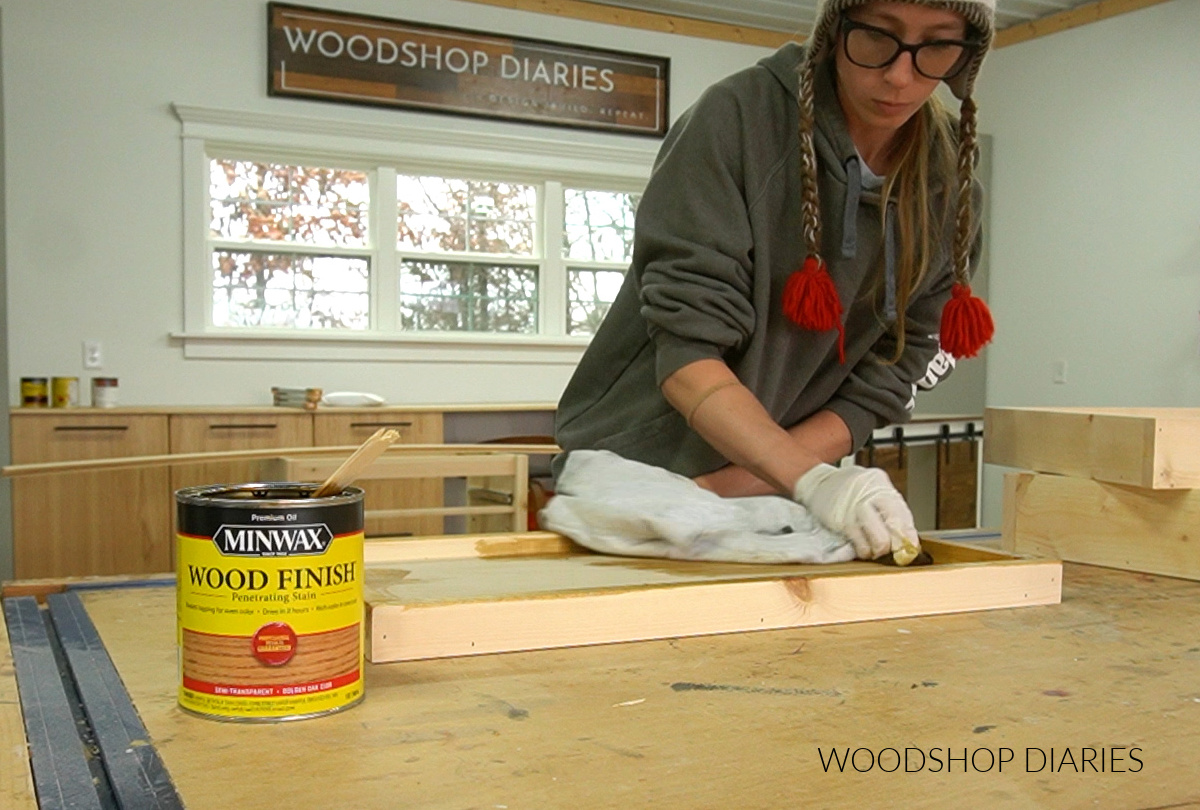
I cut four 1x2s to 32″ long and two 13 ½″ long and stained them black.
I also stained the shelves before adding these pieces as it was a little easier to finish them separately. I used Minwax Golden Oak on the shelves.
Then, I used wood glue and 1 ¼″ wood screws through the inside of each tray to attach the first two “legs.”
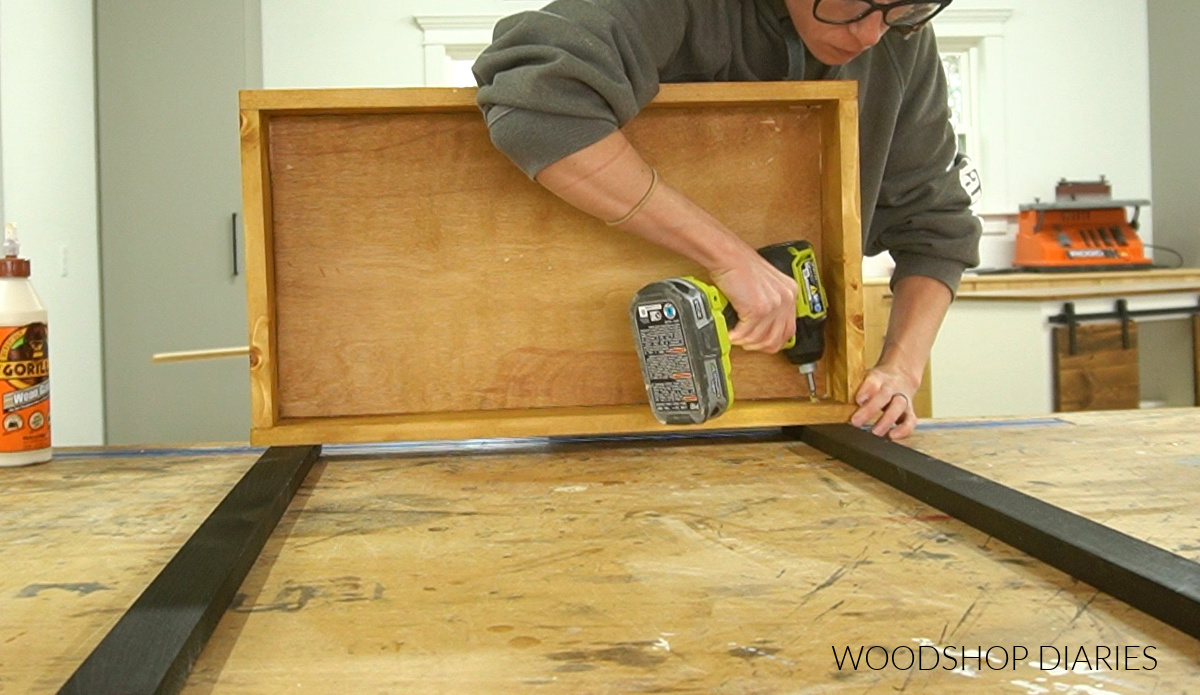
I placed the bottom tray flush to the bottom of two of the the 1x2s and with about 1″ overhang off the sides.
I placed the top tray 2″ down from the top of the 1×2 with about 1″ overhang off the side.
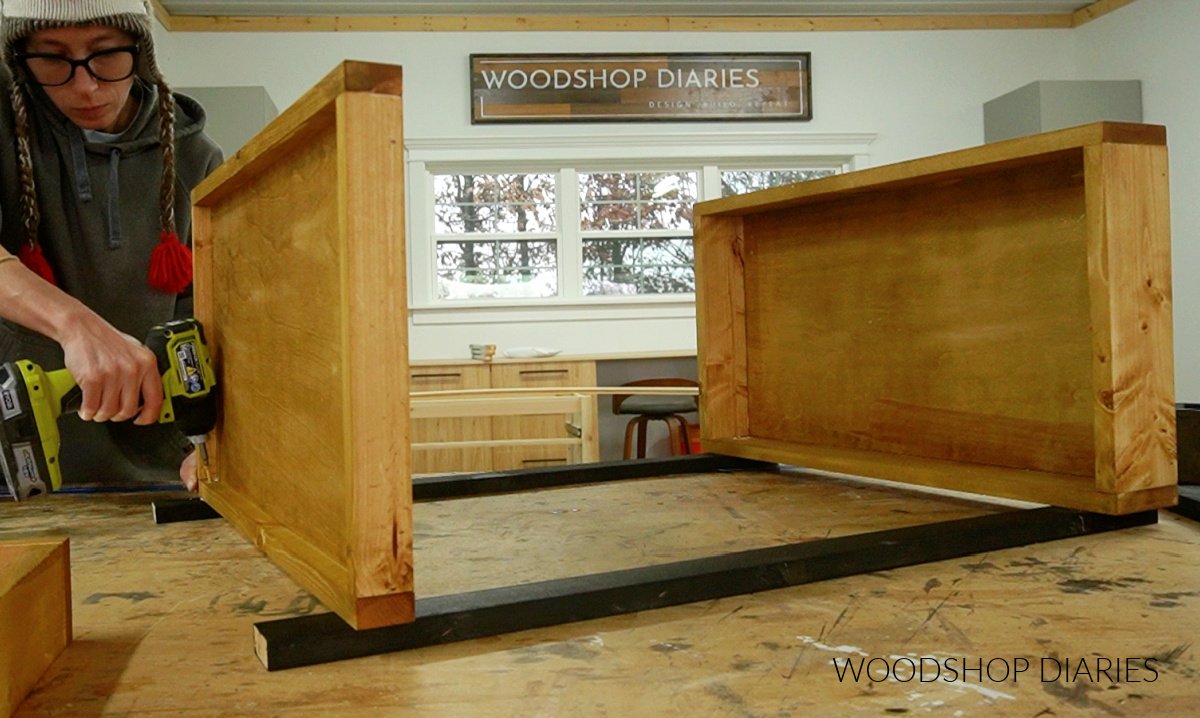
Then, I centered the middle tray between them. You can space these out however you’d like…just make sure to keep it consistent as you attach the remaining legs.
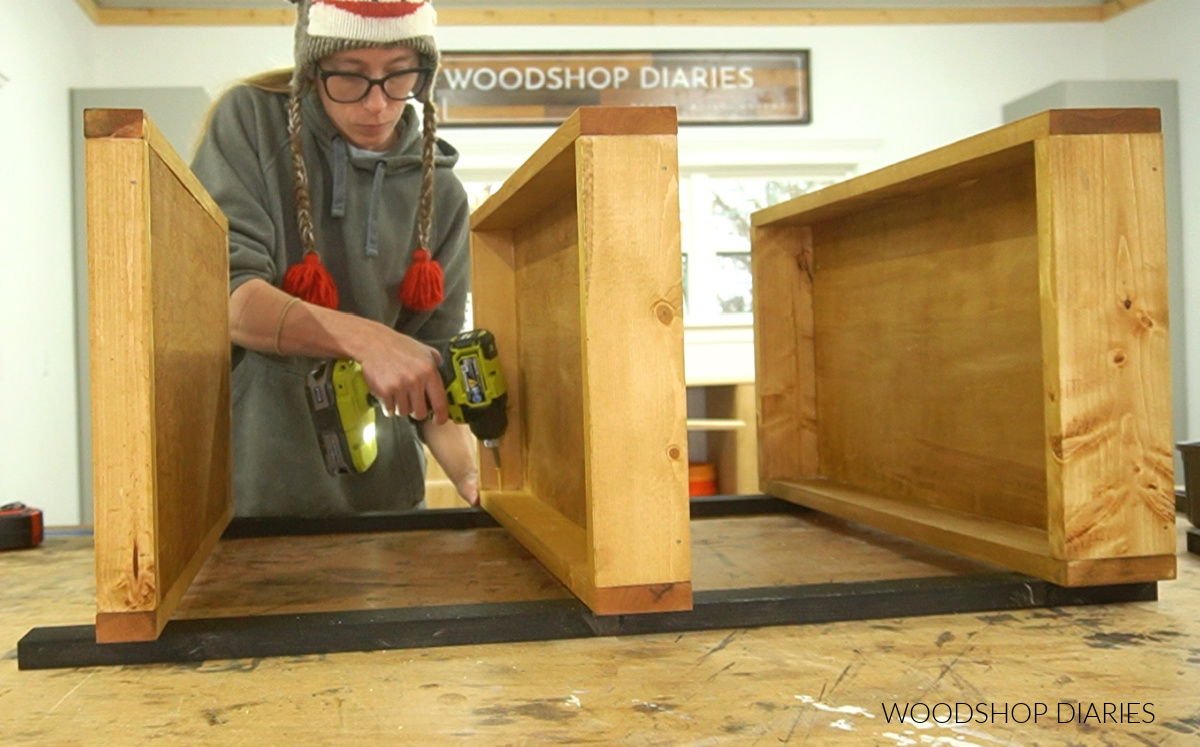
I screwed each tray to both 1x2s.
Step 5: Install Remaining Rolling Cart Legs
I repeated steps 4 & 5 to install the other two legs exact the same way, but on the opposite side.
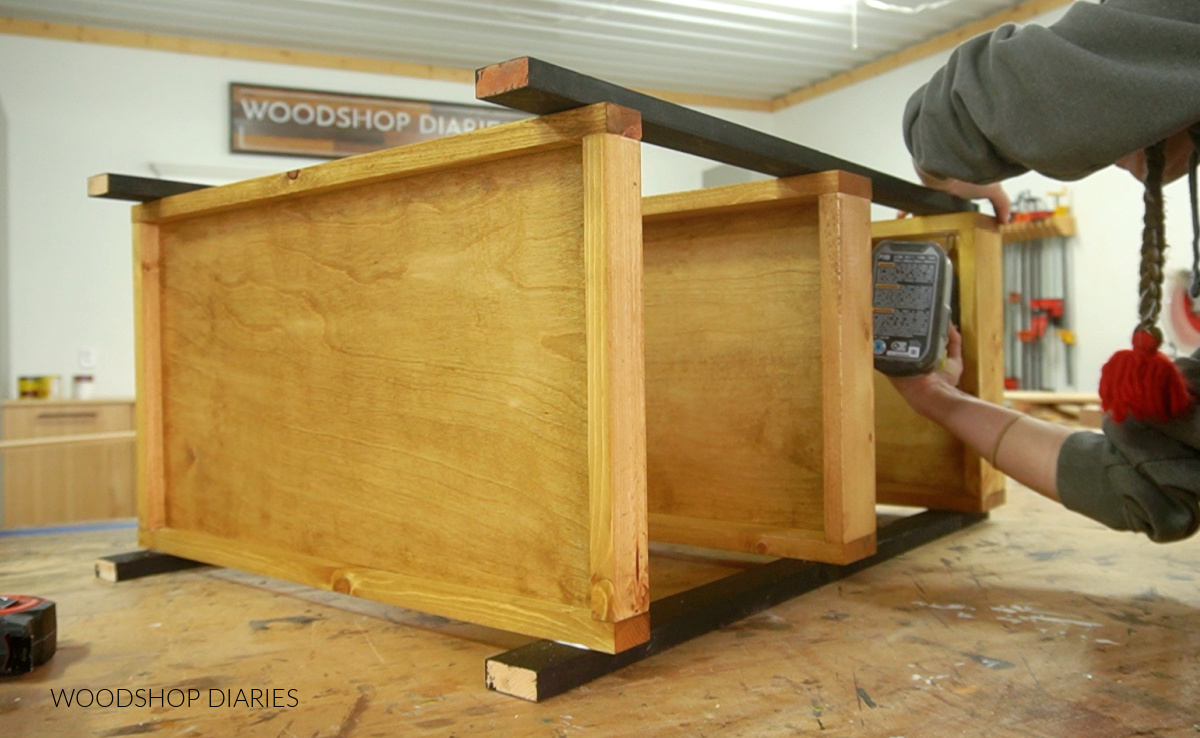
This gave me the basic cart frame with all the shelves installed.
Step 6: Add Handles
You may be wondering why I installed the top tray 2″ down from the top of the legs.
This is so that I could add some “handles” across the top. If you wanted to skip this part, feel free to attach the top tray flush to the top.
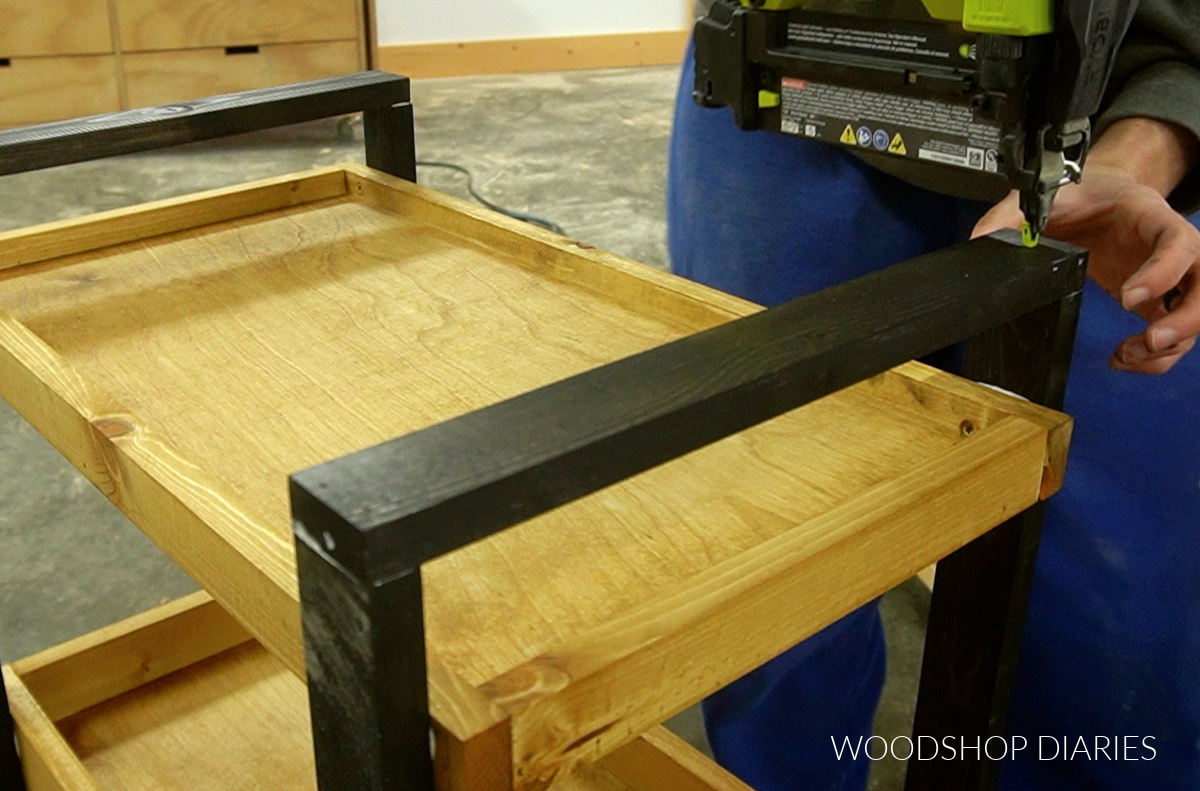
However, I cut two pieces of 1×2 to glue and nail across the front and back legs to use as handles.
I stained these before attaching because it made things a little easier to get to.
Step 7: Add Casters
Now I needed to make this little shelf mobile. So I flipped it upside down and added some caster wheels at each corner.
The size, style and type of caster wheel is completely up to you and what you plan to use it for.
However, to make assembly easy, I do recommend using some that have mounting plates.
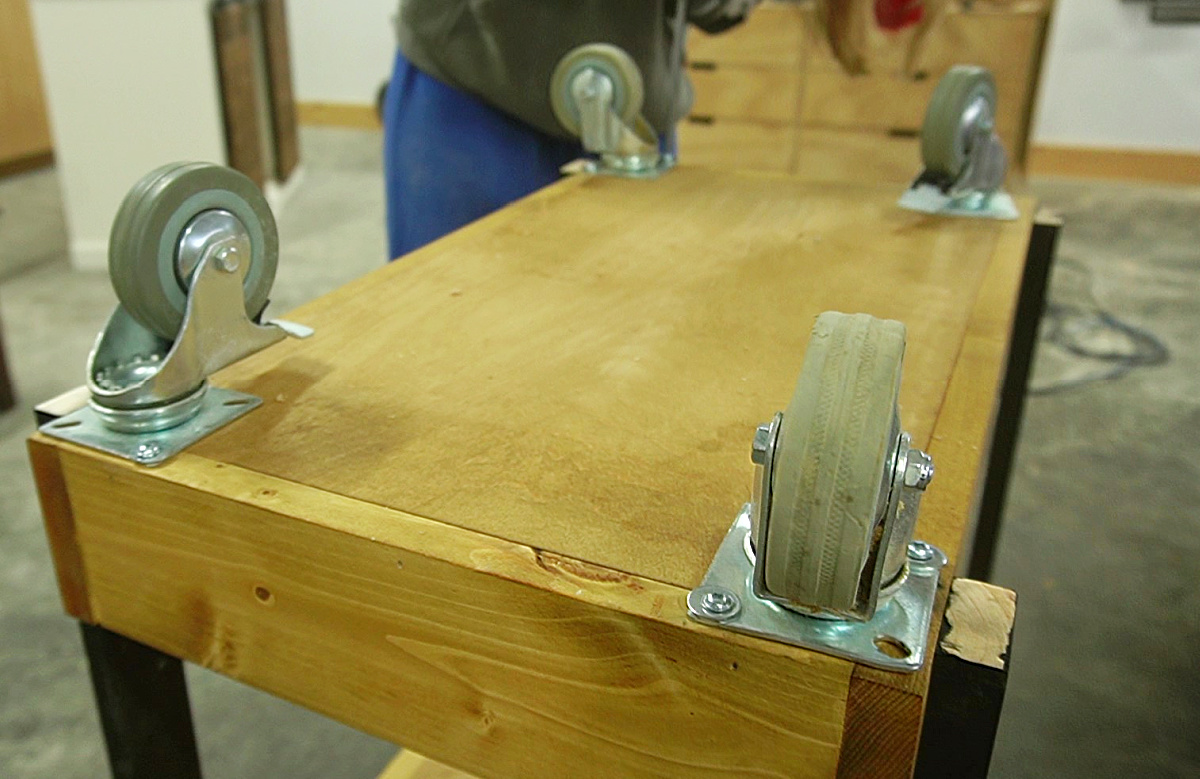
These are what I used here, but again, feel free to use another size or style as you’d like.
I used 1 ¼″ wood screws through washers to secure the mounting places to the bottom of the shelf.
NOTE: Using 1 ¼″ screws through ¾″ plywood means that the screws will stick out the other side.
So, I only added screws in the holes that went into the 1×4 around the outside of the tray. This should be sufficient unless you plan to load this down with REALLY, REALLY heavy stuff.
Step 8: Finish DIY Rolling Storage Cart
Now, I had already stained these pieces during the assembly process.
But just in case you didn’t, the last step would be to paint and/or stain as desired.
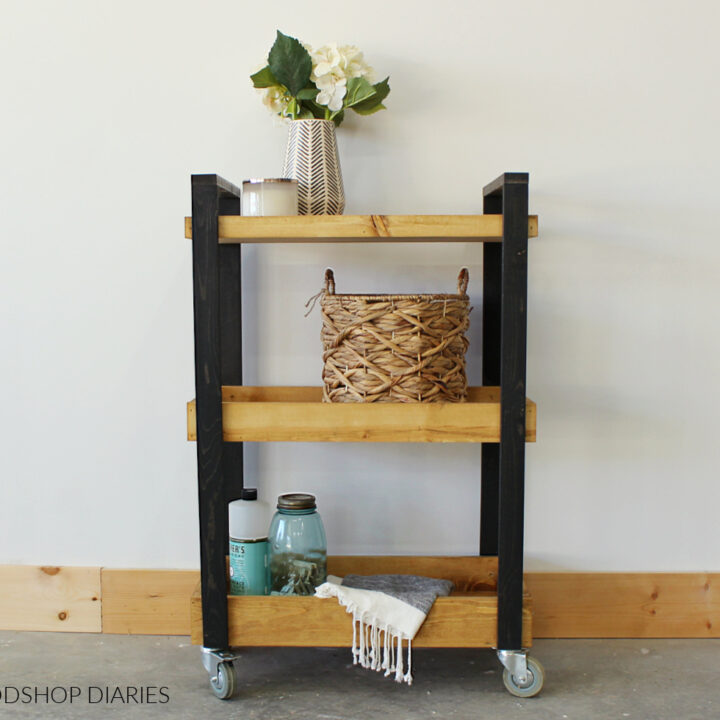
And now this simple rolling storage cart is ready to be put to good use!
Load it down with crafting, cleaning, or toiletry supplies. Or water bottles, canned goods, and boxed cereal for the pantry.
Whatever you use it for, it’s a simple, but handy cart to have around!
Be sure to grab the building plans on MakeByMe here.
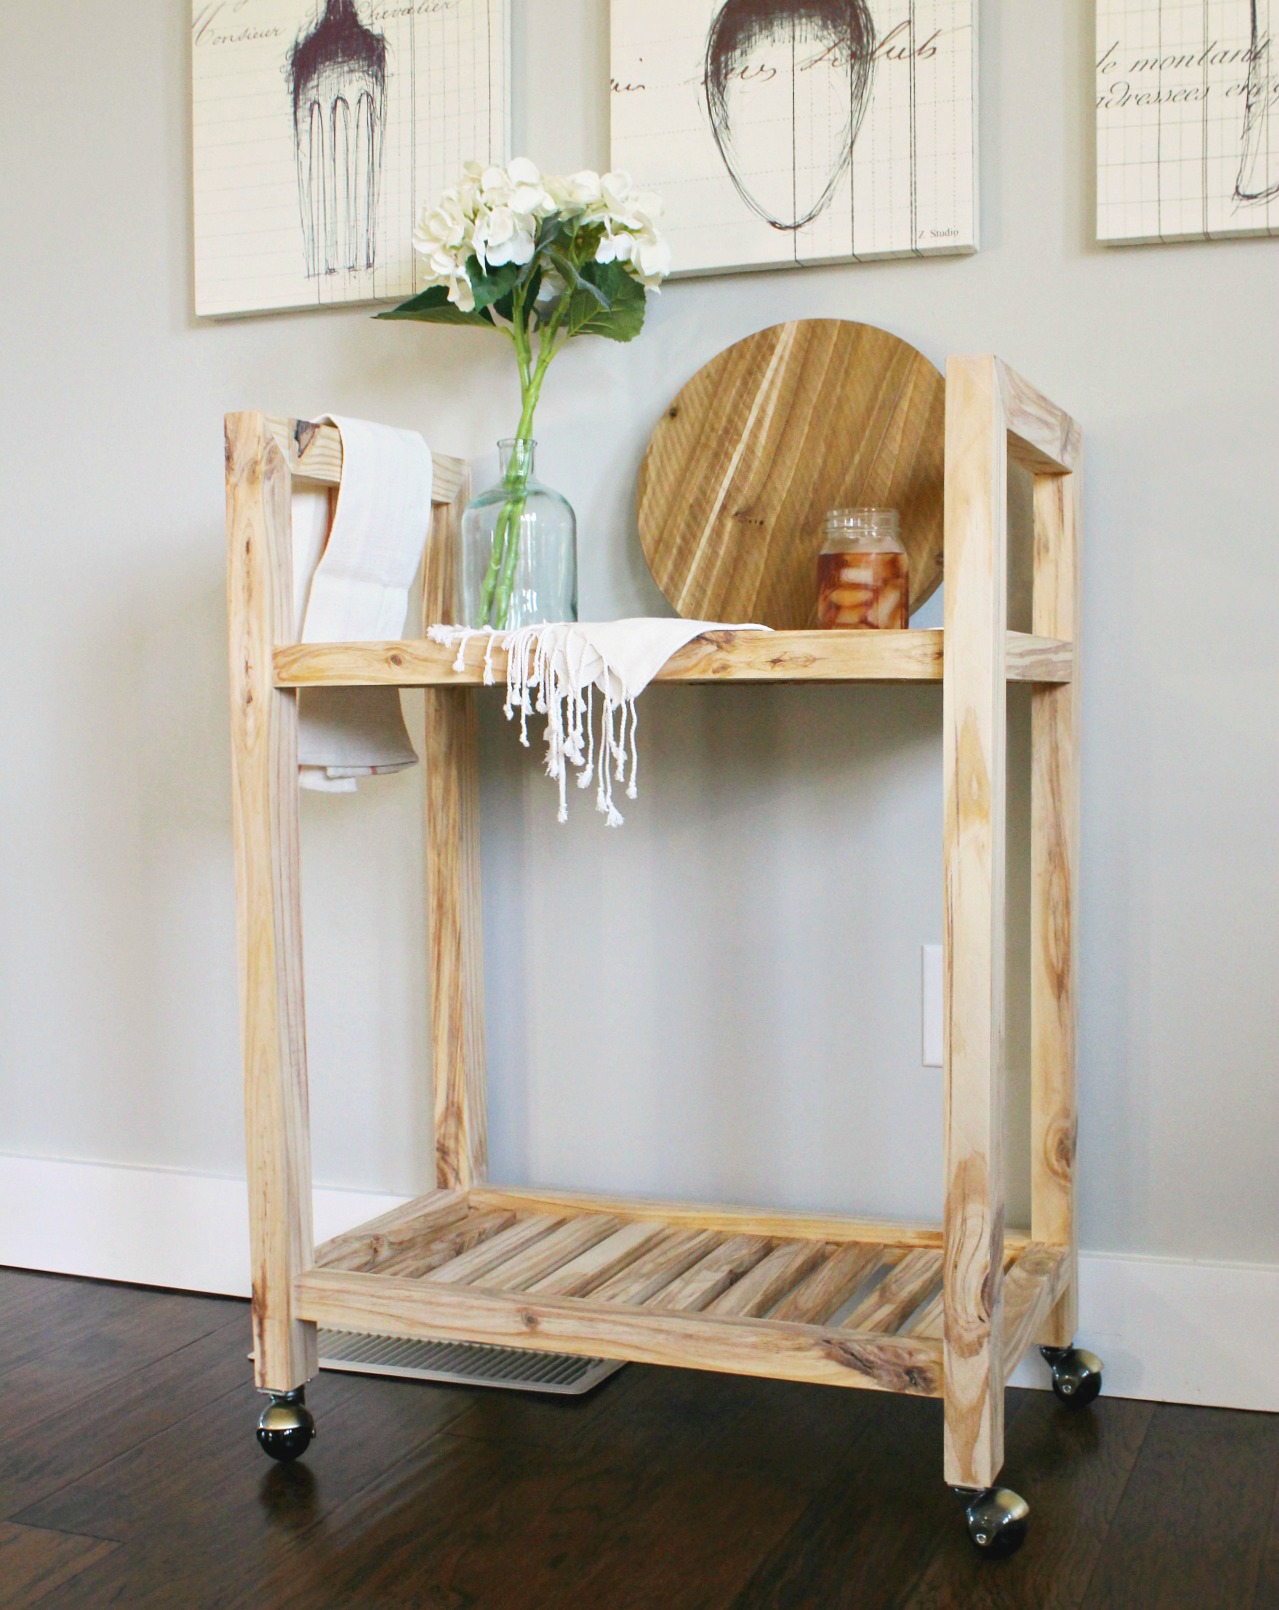
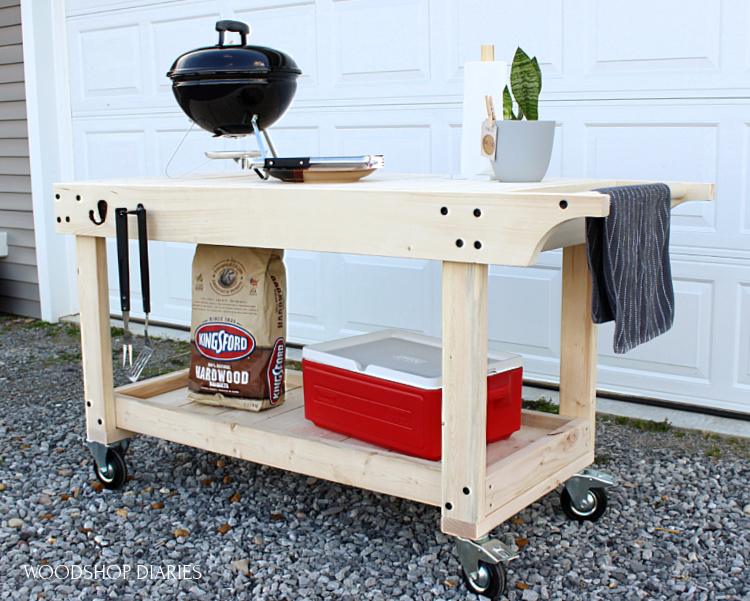
Looking for more Mobile Storage Cart Ideas?
Here are a few simple, yet versatile mobile cart builds you might enjoy!

If you can’t wait to see what’s next, be sure to subscribe to the FREE newsletter below for priority access to all the latest projects and plans!
And if you enjoyed this project and want to save it for later, don’t forget to pin it and share it to your favorite social channel!
Until next time, happy building!
DIY Rolling Storage Cart
Build a DIY rolling storage cart perfect for laundry rooms, pantries, bathrooms, kitchens, or the garage!
Materials
- (3) 1x2x8
- (1) 1x3x8
- (1) 1x4x8
- (1) ¾” plywood 24” x 48”
- (4) caster wheels
- 1 ¼” wood screws
- 1 ¼” brad or finish nails
- Wood Glue
Tools
Instructions
- Make cuts according to the cut list and assemble the top cart shelf using wood glue and ¼" finish or brad nails.
- Assemble the middle cart shelf the same way as the top shelf.
- Repeat again for the bottom cart shelf.
- Stain the shelves and legs for the cart.
- Using 1 ¼" wood screws, attach shelves to first to legs
- Repeat with the other 2 legs of the rolling storage cart
- Attach handles to the top of the legs
- Add casters and you're done!