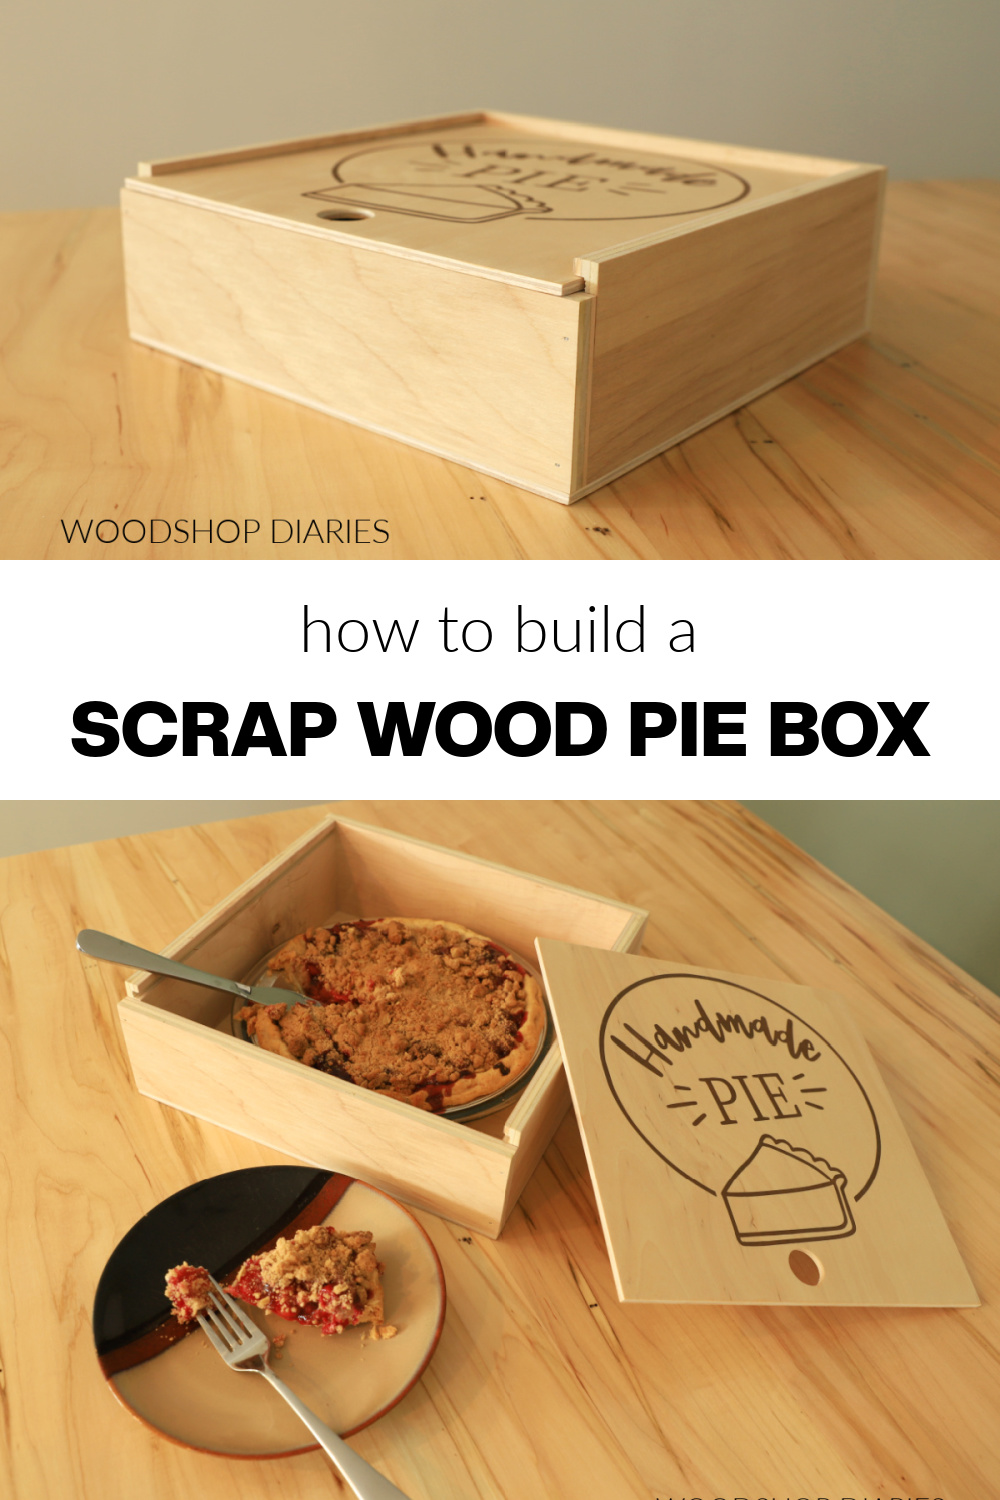
In this post, I’m sharing how to make a simple wooden DIY pie box using scrap plywood!
Picture this: You’ve been invited to a last minute dinner party and aren’t sure what to bring. What’s your go to “potluck” dish?

Mine is dessert…ALWAYS dessert. It’s just hard to go wrong with something full of sugar, flour, and butter, you know? And my favorite dessert to bring is PIE!
But throwing tin foil over the pie dish as I head out the door isn’t exactly “classy.”
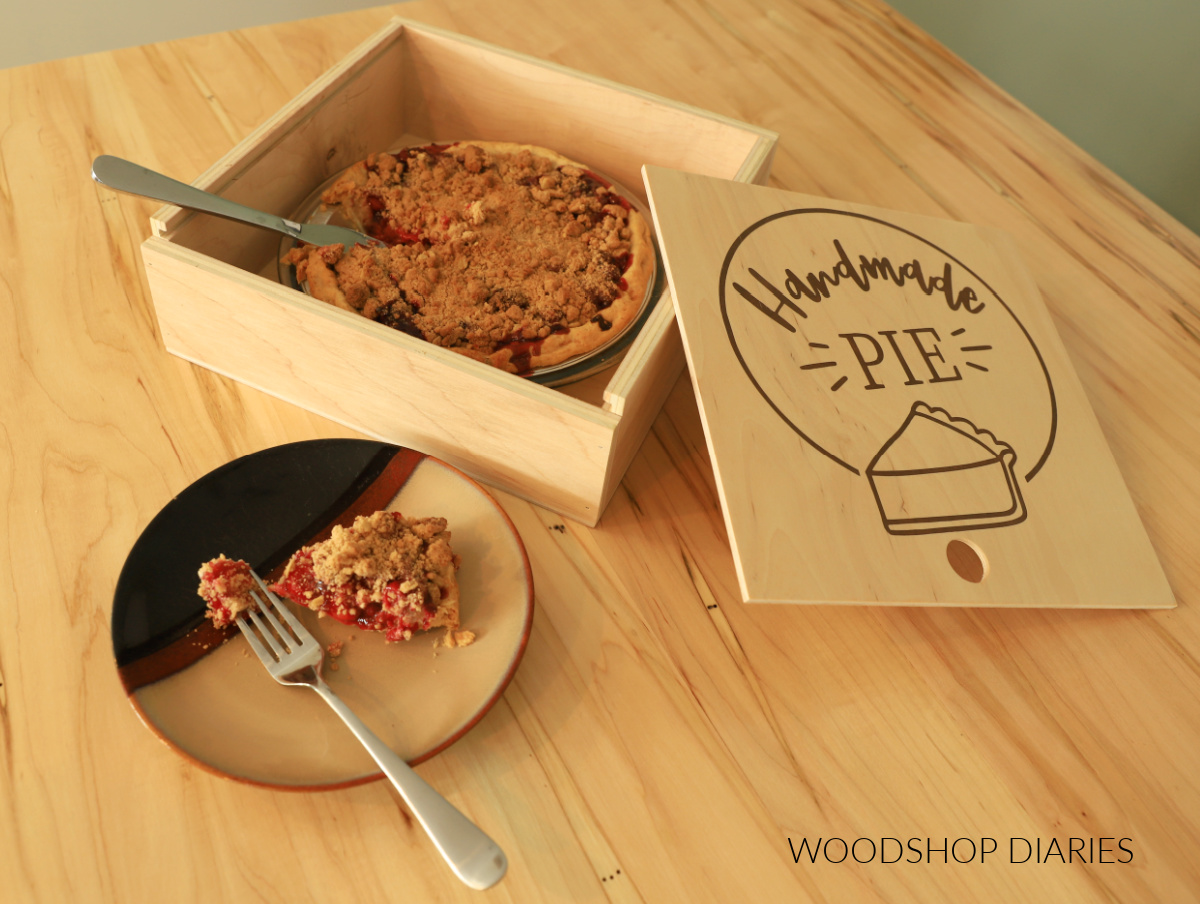
So I decided to turn some scrap plywood into an adorable wooden pie carrier that’s not only cute, but also practical (as in no more pie sliding around in the floorboard on the drive over!).
If you’re ready to wow the guests at your next get together, I’m sharing how to make your own below.
*This post contains affiliate links. See website policies.
What to consider before building
I made this project from birch plywood scraps, but you could use solid wood instead if you’d like. A solid hardwood like walnut or cherry would make a beautiful pie box!
I used ½″ plywood for the sides and ¼″ plywood for the bottom panel and the lid. But if you didn’t have ½″ thick material, ¾″ would work well, too.

And, if you wanted, you could swap the plywood lid for a piece of acrylic or plexiglass for a “window” to see inside.
What size should a pie box be?
Most common pie dishes and pans are 9-10″ diameter. This doesn’t include any handles they may have (some, but not all, of my glass pie pans have handles on each side for carrying).

And typically, a pie will end up being roughly 2-3″ tall…unless it’s got a ton of whipped cream or meringue topping.
So I made my pie box so that the inside dimensions were 10 ½″ x 10 ½″ and about 3″ deep.
Full transparency…I originally made this pie box WAY too big, so the images below may look a little…off. After I finished it, I decided to take it apart and trim it down smaller. So in the tutorial below, I’m sharing how I should have made it from the start.
The overall outside dimensions of the box are about 3 ¾″ x 11 ½″ x 11 ½″.
How to Build a Scrap Wood Pie Box
If you prefer to watch, here’s a quick video tutorial, but I’ve also got the step by step instructions below.
Love watching how-to videos? Subscribe to my YouTube channel for plenty more where that came from!
Enjoy DIY projects and woodworking plans? Sign up for priority access for the latest posts on Woodshop Diaries!
Tools & Materials
Tools:
- Miter Saw (optional)
- Table Saw
- Brad Nailer
- Drill & 1″ Forstner Bit
- Cricut Explore (optional for stencil)
Materials:
- Scrap ½″ Plywood
- Scrap ¼″ Plywood
- Wood Glue
- Brad Nails
- Cricut Vinyl & Transfer Tape (optional for stencil)
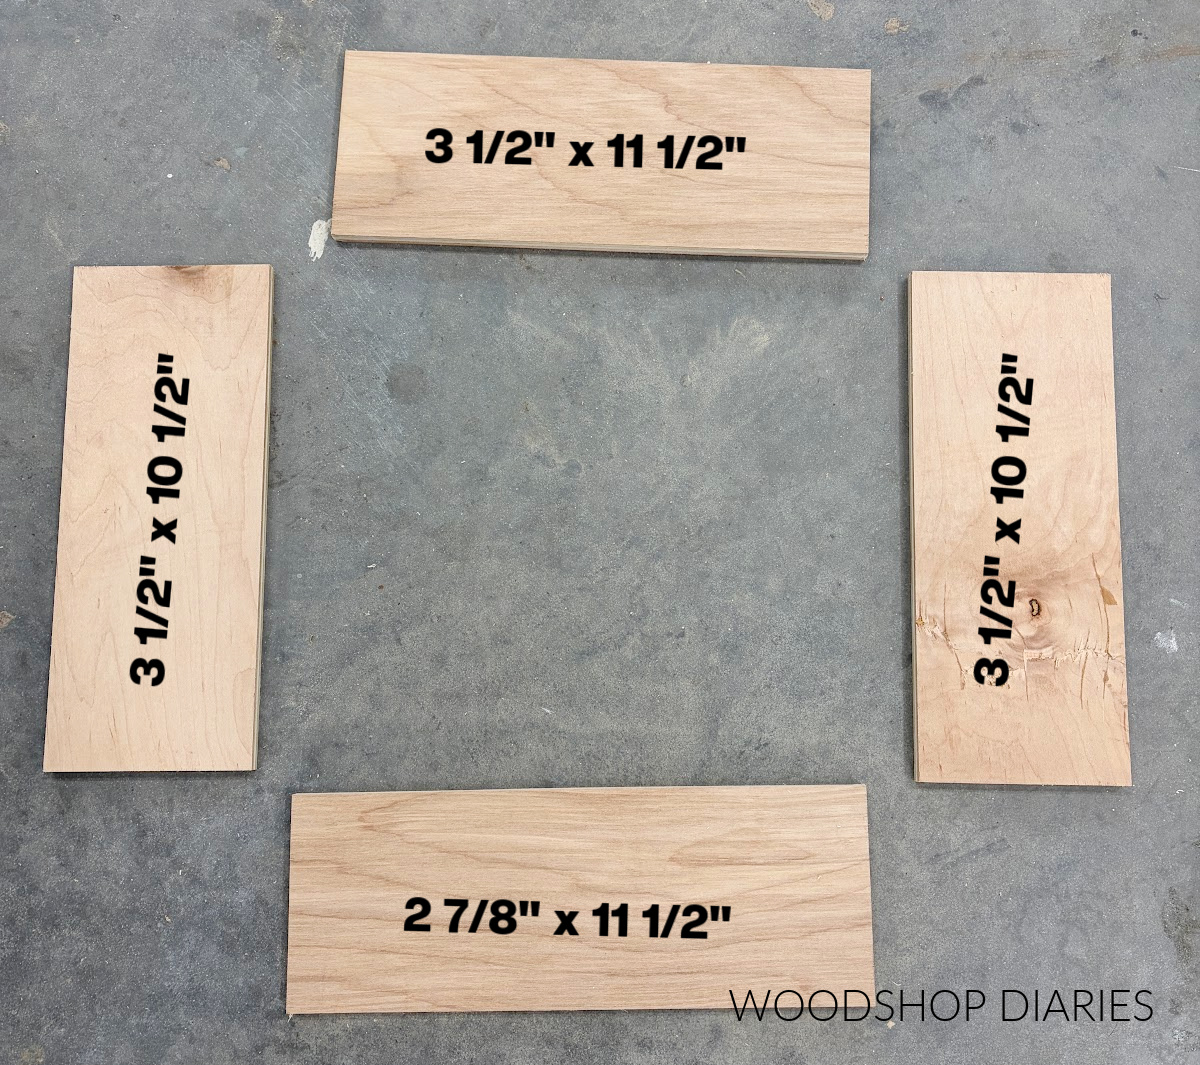
Step 1: Cut Pie Box Sides
First, I cut my ½″ plywood down to give me four sides to make my box like you see in the image below.
I cut my back and side pieces the same width (so they’ll end up being the same height once assembled), but I cut the front piece (shown at the bottom) a little smaller to allow for a sliding lid later.
Next, I used my table saw to cut a ¼″ dado ¼″ deep ¼″ from the top edge of my two sides (the two 10 ½″ long pieces of plywood).
This dado will be where the sliding lid goes into later.
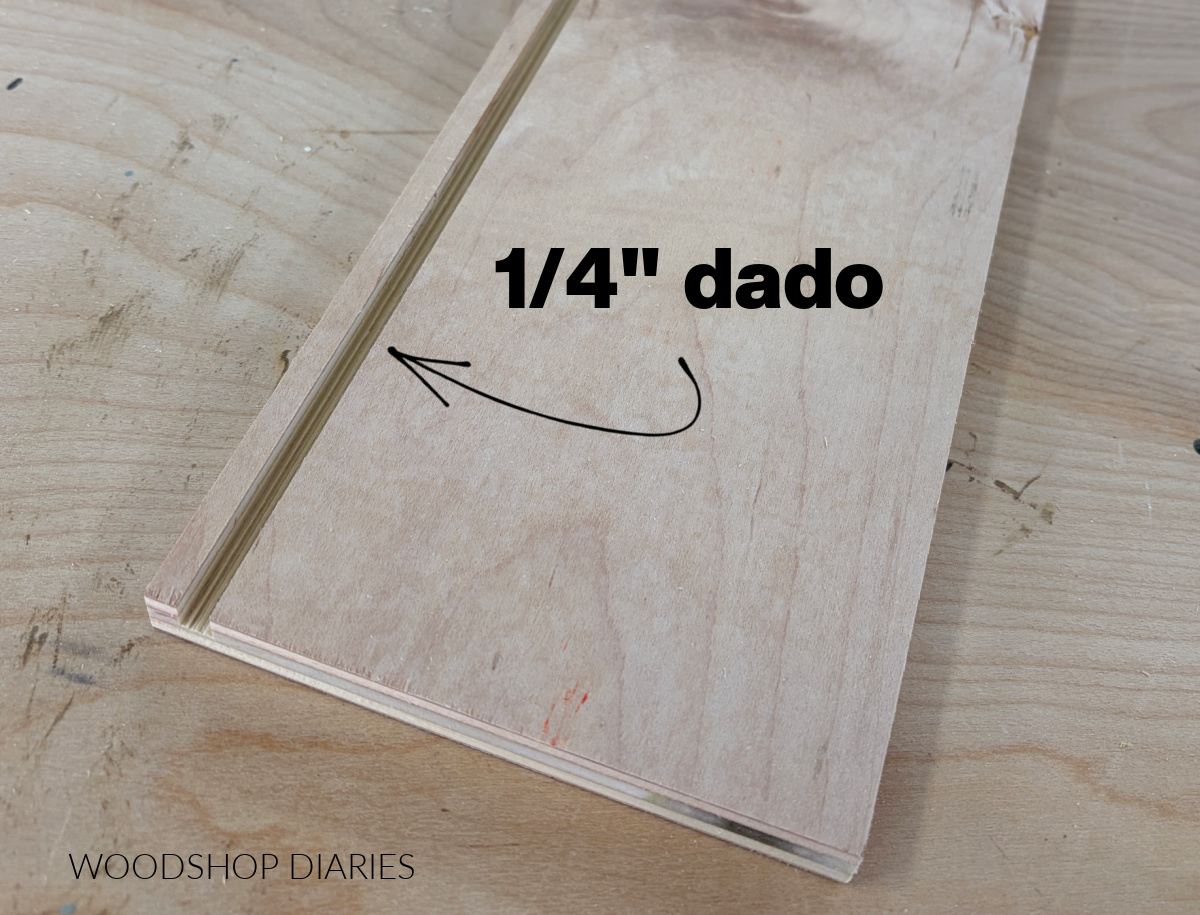
TIP: You don’t need a dado blade to cut a dado on a table saw. You can just set the blade height to ¼″ and make multiple passes, adjusting the rip fence a little each time, until the slot is ¼″ wide.
OR, you could also use a router and a ¼″ straight bit to cut the dado as well.
Step 2: Assemble Pie Box
Once the pieces for the box were cut, I glued and brad nailed them together at the corners to make the box.
Like you see below, the dadoes on the side pieces should be toward the top, and the shorter front piece should sit right below them.
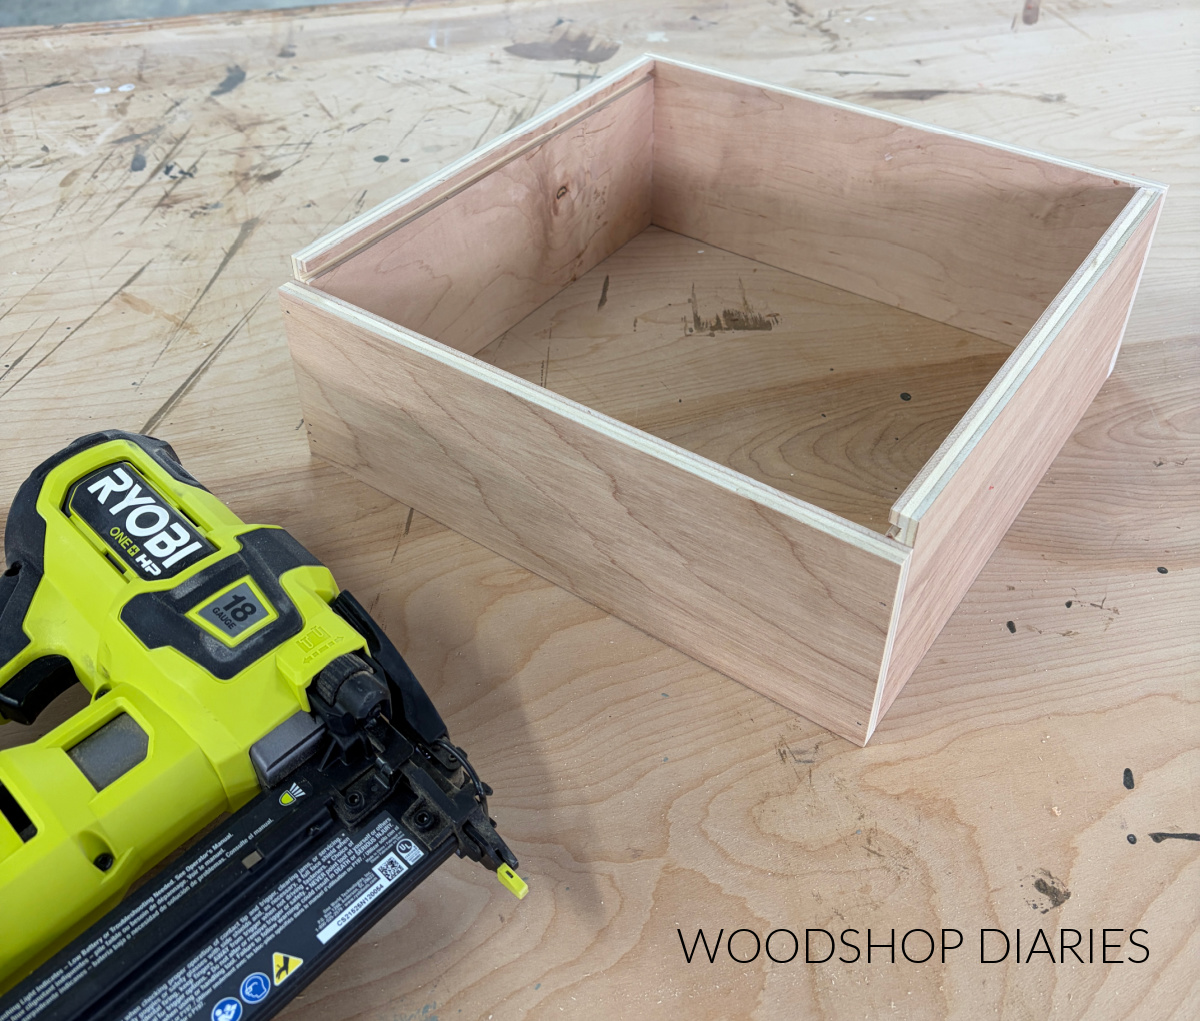
I didn’t edge band the plywood here, but you absolutely can if you’d like.
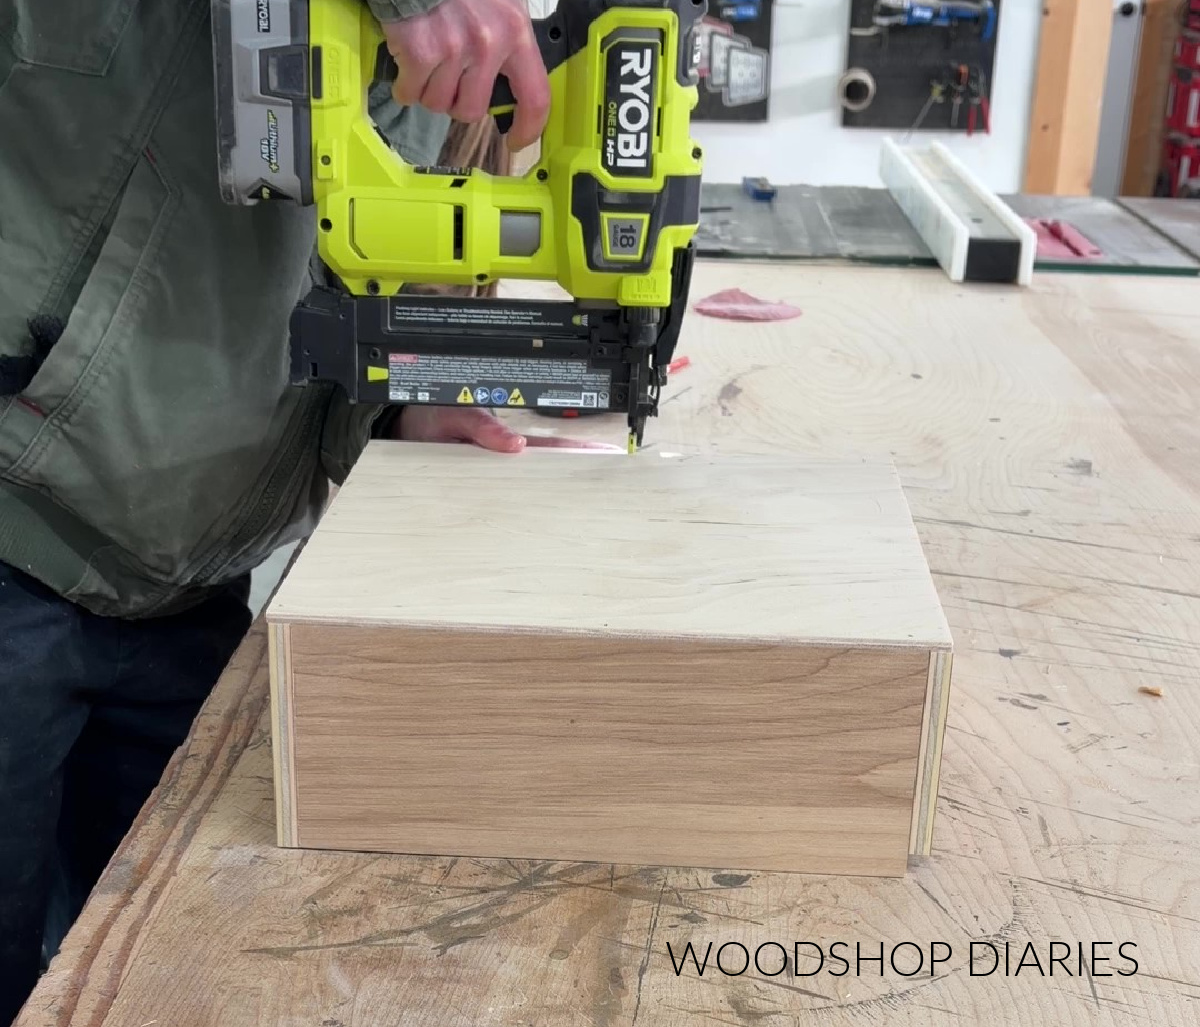
Next, I cut a piece of ¼″ plywood to fit over the bottom of the box. I glued and brad nailed this piece around the edges.
Step 3: Cut Sliding Top
The last piece was the sliding lid, so I cut a piece of ¼″ plywood to slide into the dadoes on the sides of the box.
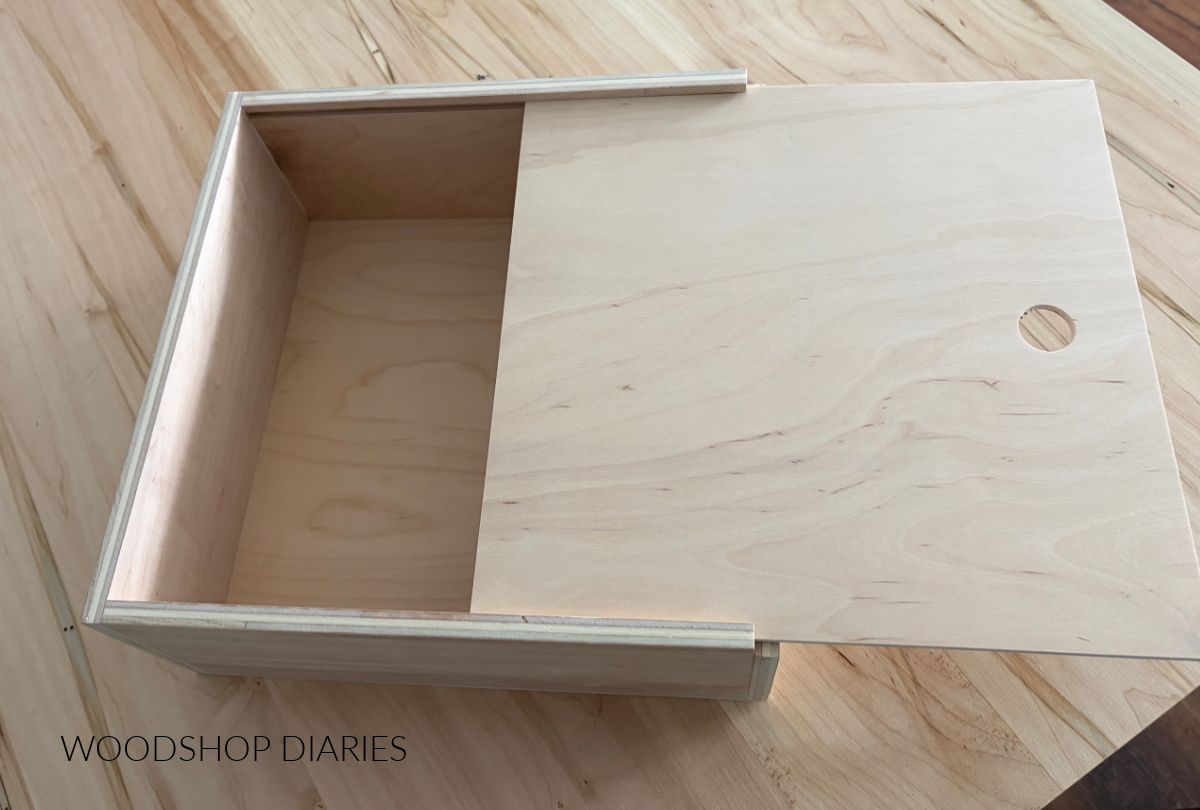
To be able to open the lid when it’s closed, I drilled a 1″ diameter hole toward the front in the center. If you didn’t want to drill a hole, you could also glue on a knob, instead.
And at this point, the box is complete, so you can stop here if you’d like. But I decided to add a little extra design to the lid as you’ll see in the next step.
Step 4: Add Optional Pie Box Label
You can add a design to the lid of the pie box several ways–you can hand paint one, use premade stencils, vinyl decal, laser engraving, stickers, etc.
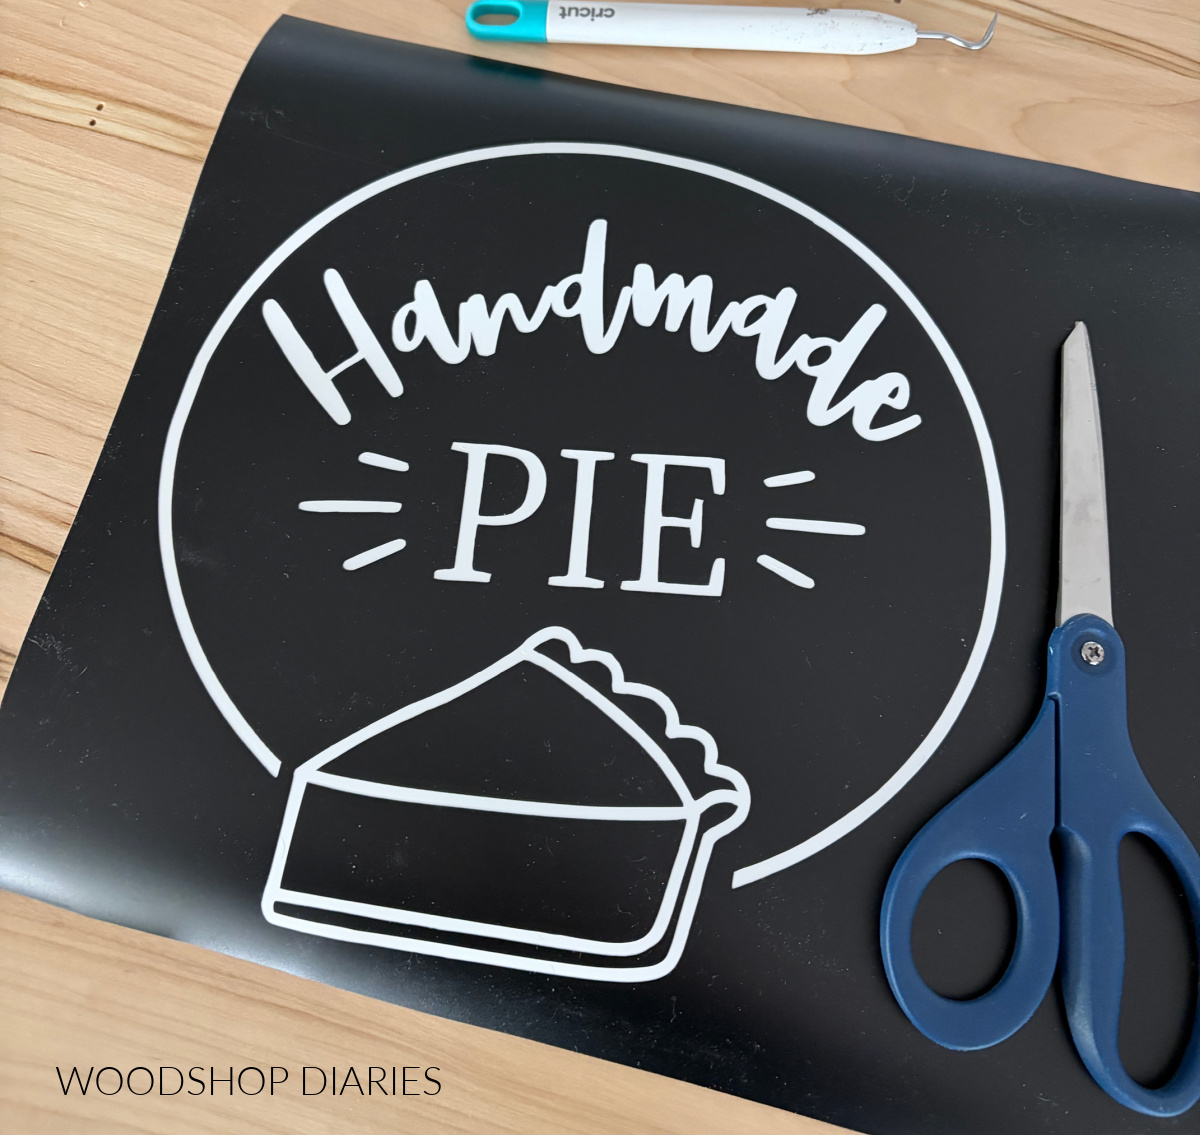
For mine, I designed a stencil in Cricut Design Space to fit on my lid (I created this with a circle shape, some text, and a pie shape–super simple) and cut it out using my Cricut Explore on permanent vinyl.
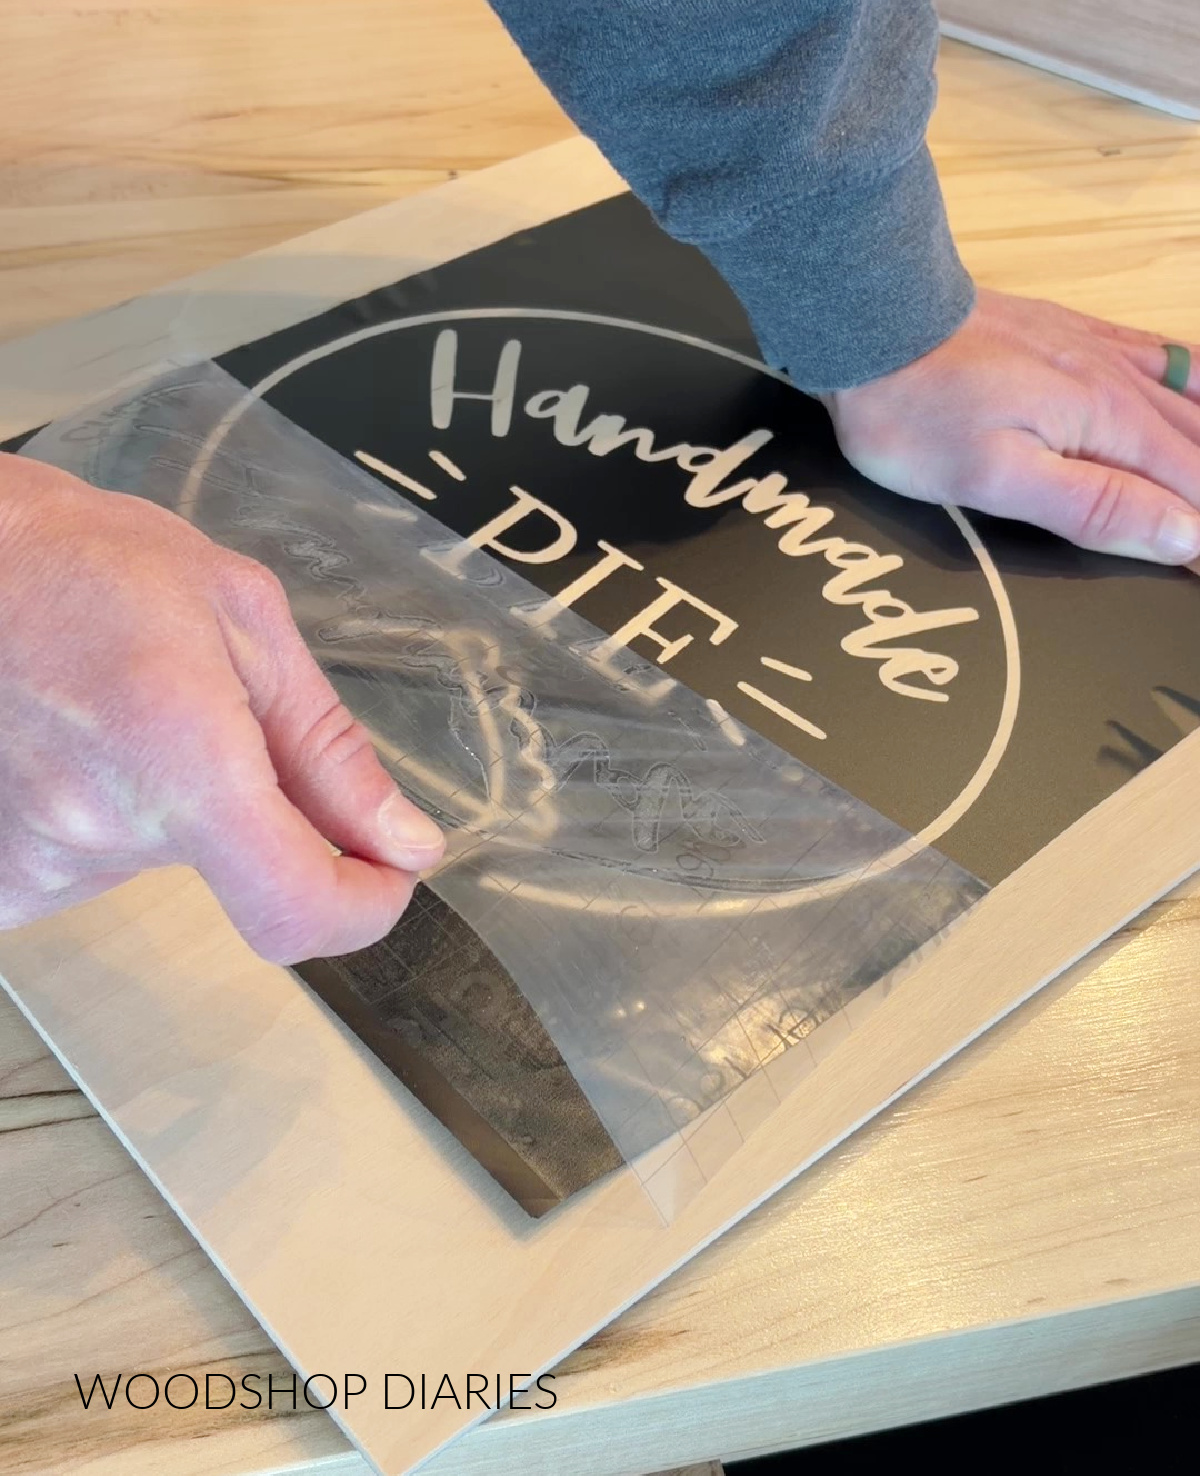
Then, I used transfer tape to apply this stencil onto my pie box lid.
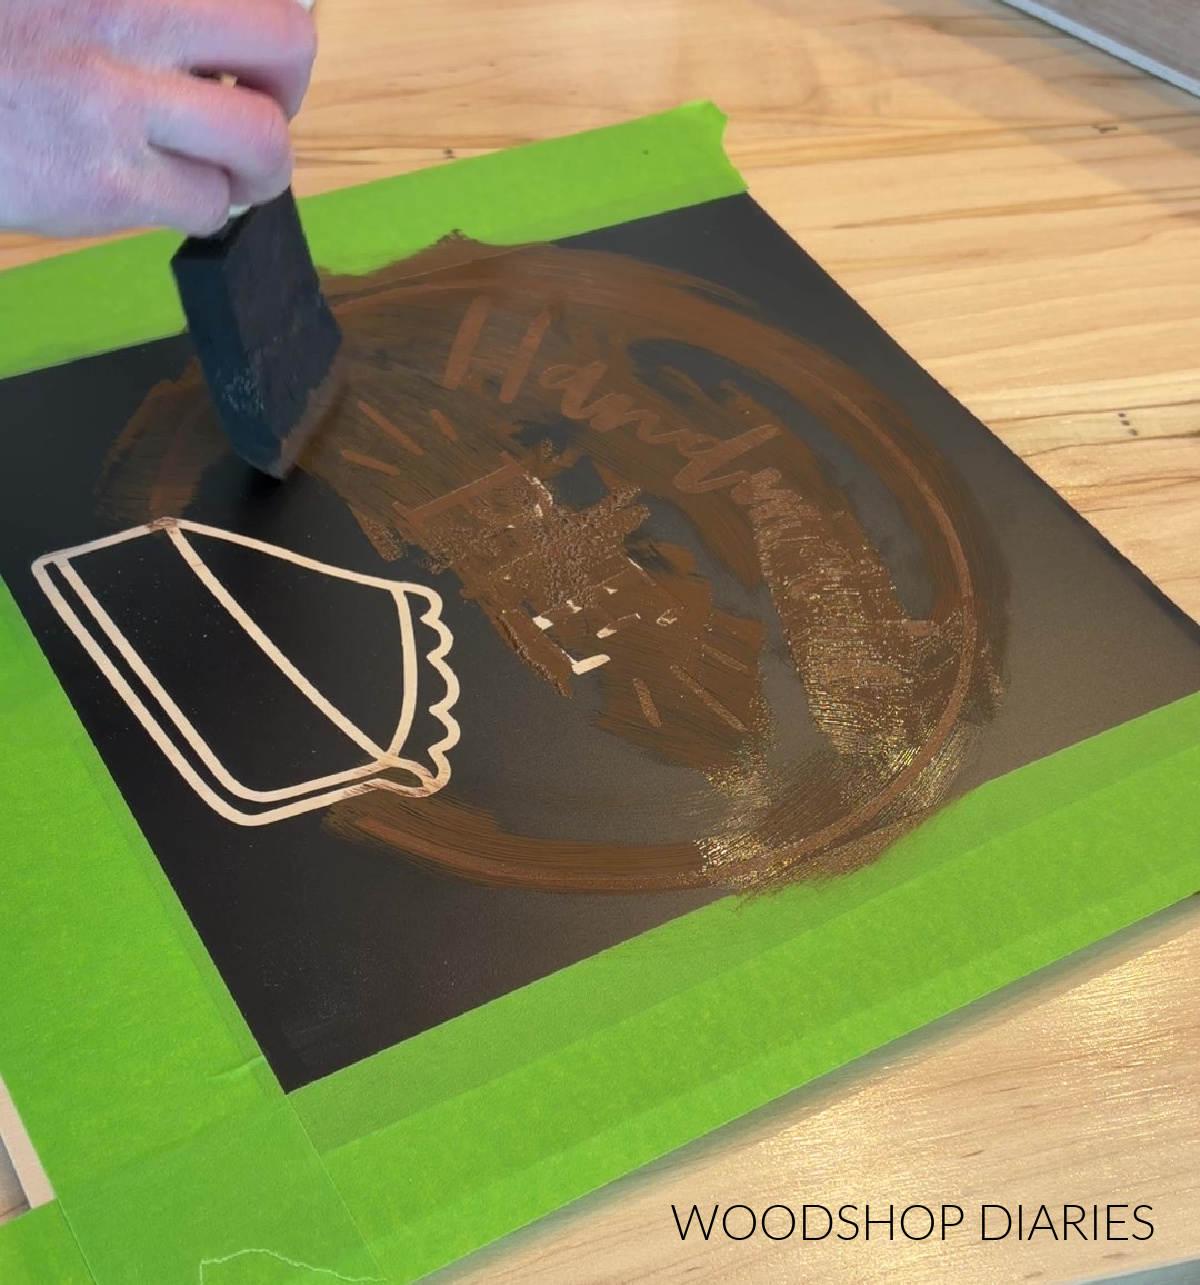
And I used a water based wood stain (Minwax Pecan) to stain over the stencil. I’ve used this Cricut vinyl as a staining stencil on SEVERAL past projects, and it works great!
Check out more stenciled projects:
But the trick to clean stain lines is using WATER BASED WOOD STAIN. Oil based stain can work, but is much more likely to bleed under the stencil edges.
RELATED: How to stain wood
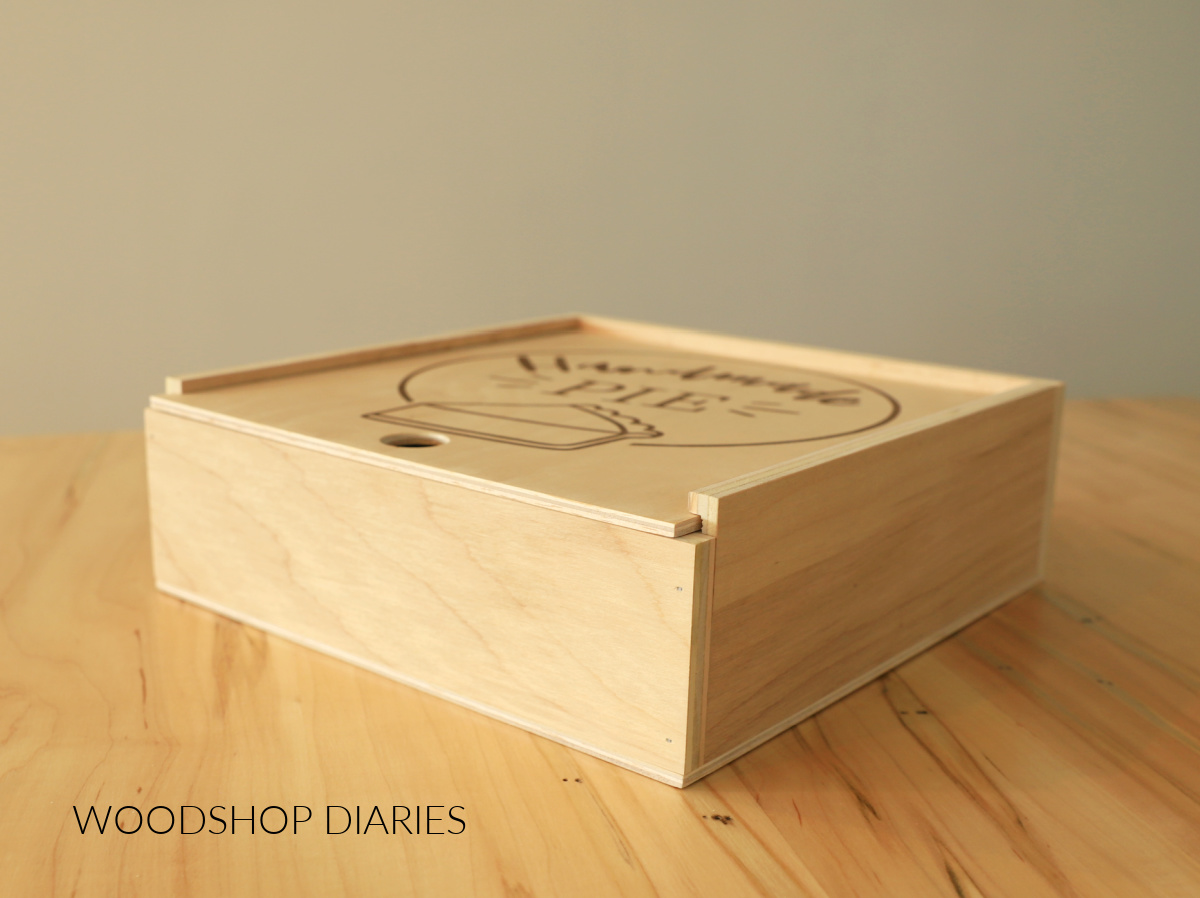
I allowed the stain to dry a few minutes, then removed the vinyl to finish my pie box.
This turned out so cut for such a simple scrap wood project. If you didn’t want to use this for pie, it also makes a great carrier for cookies, cake, even casseroles.
How cute would this look on the dessert table at your next get together, though? You could even make multiple lids with different labels depending on what you put inside!
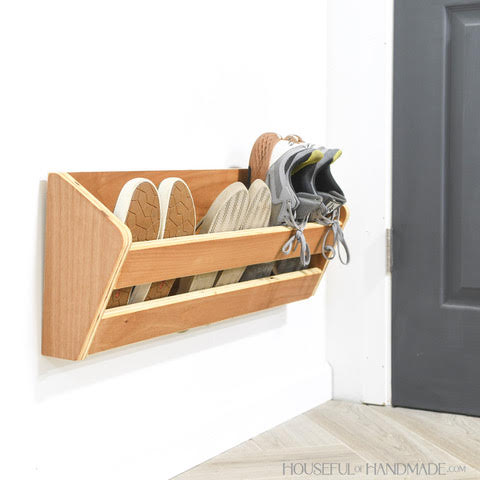
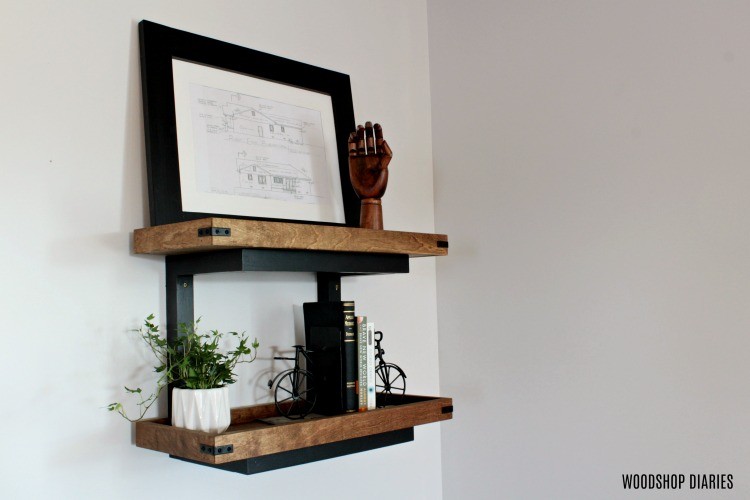
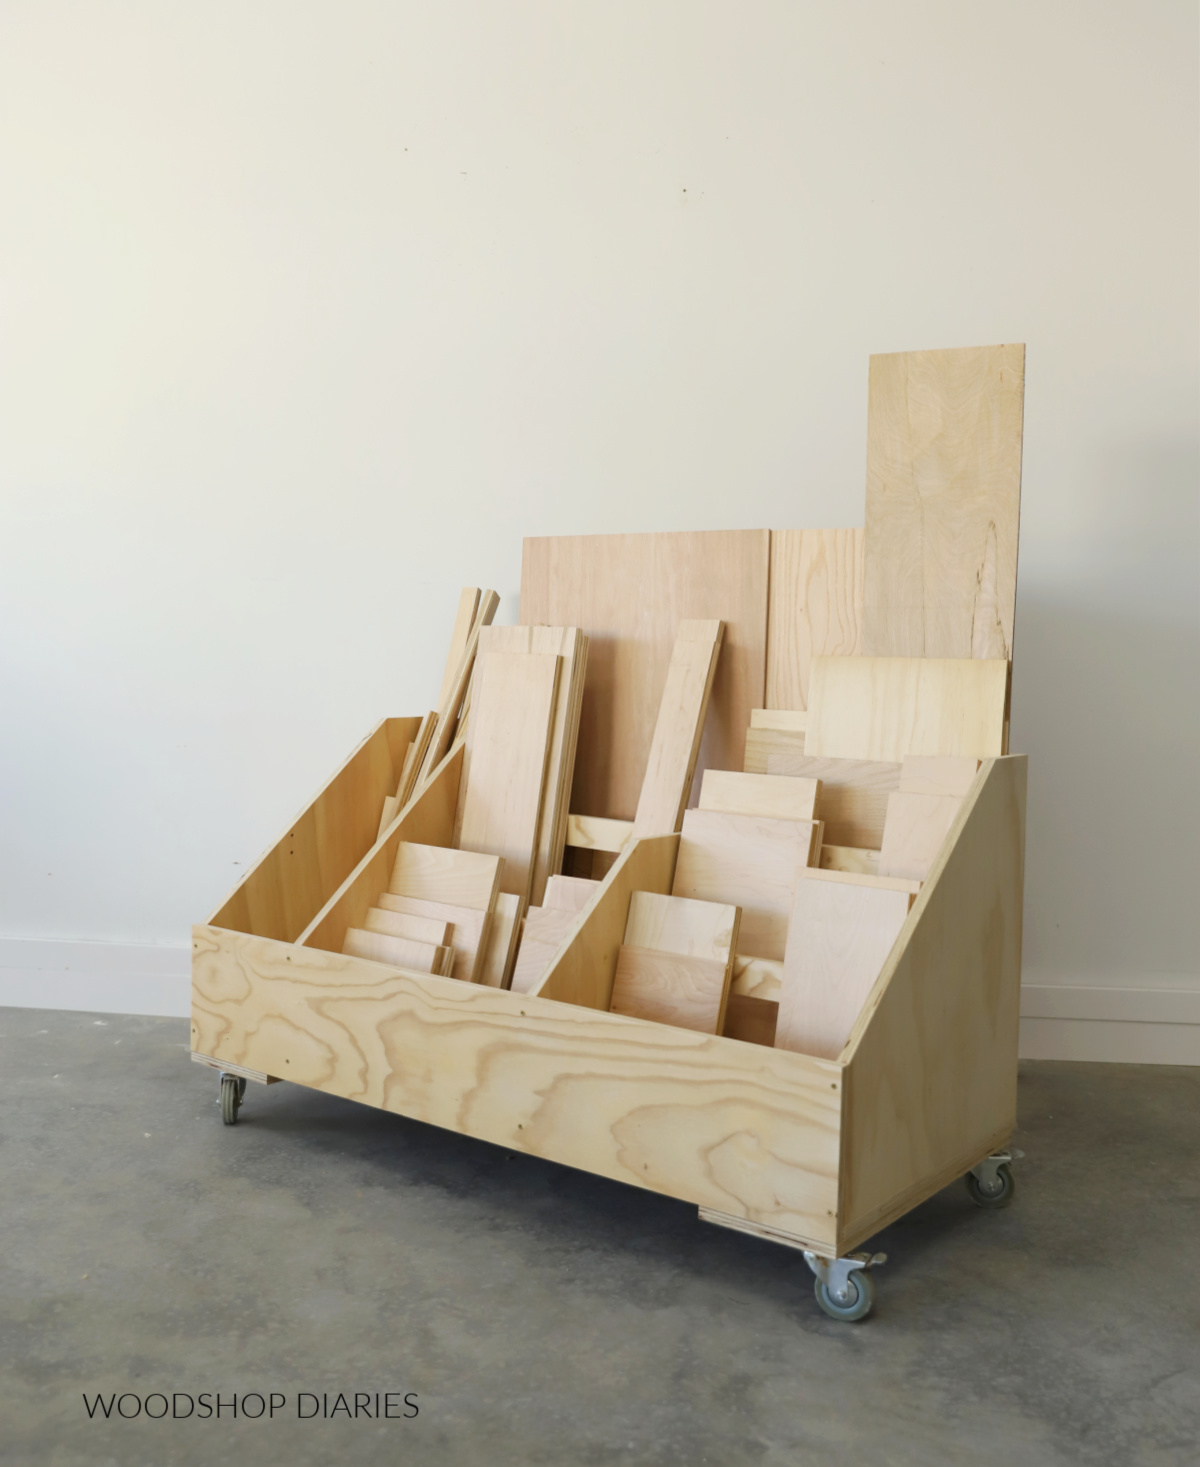
Looking for more scrap plywood projects?
Enjoyed this scrap plywood project, but looking for more ideas? I got you! Click on the images below to check out these popular scrap wood projects:
If you’d like to save this project for later, don’t forget to pin it or share to your favorite social channel!
Until next time, happy building!