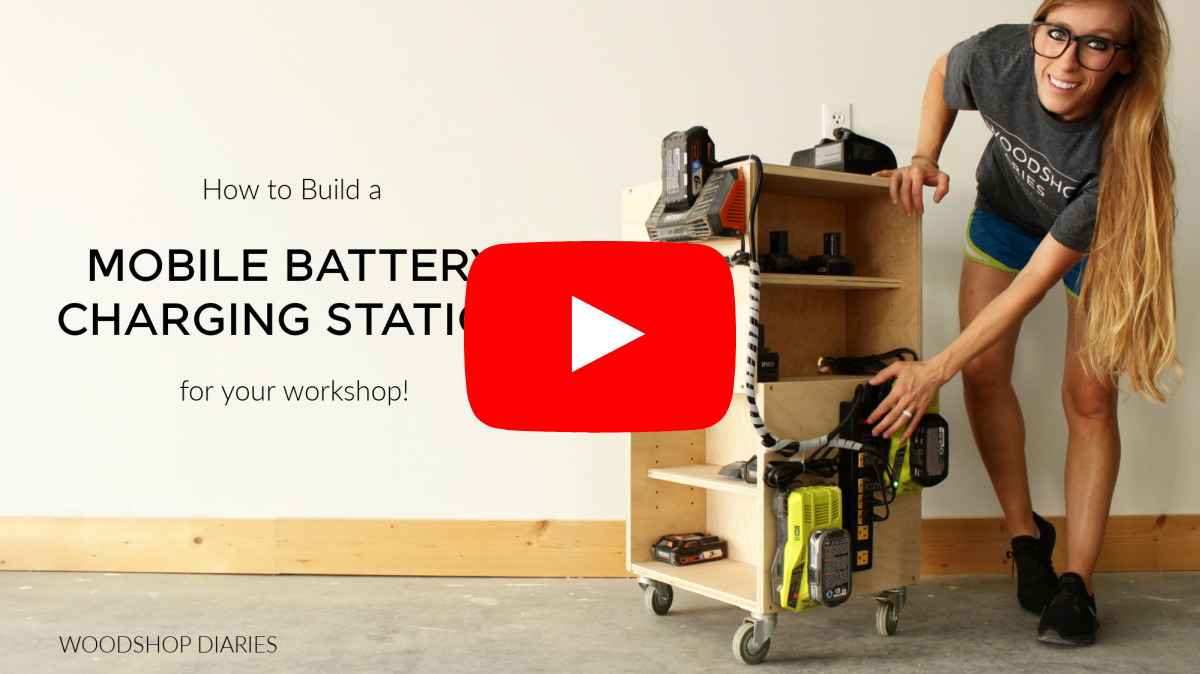
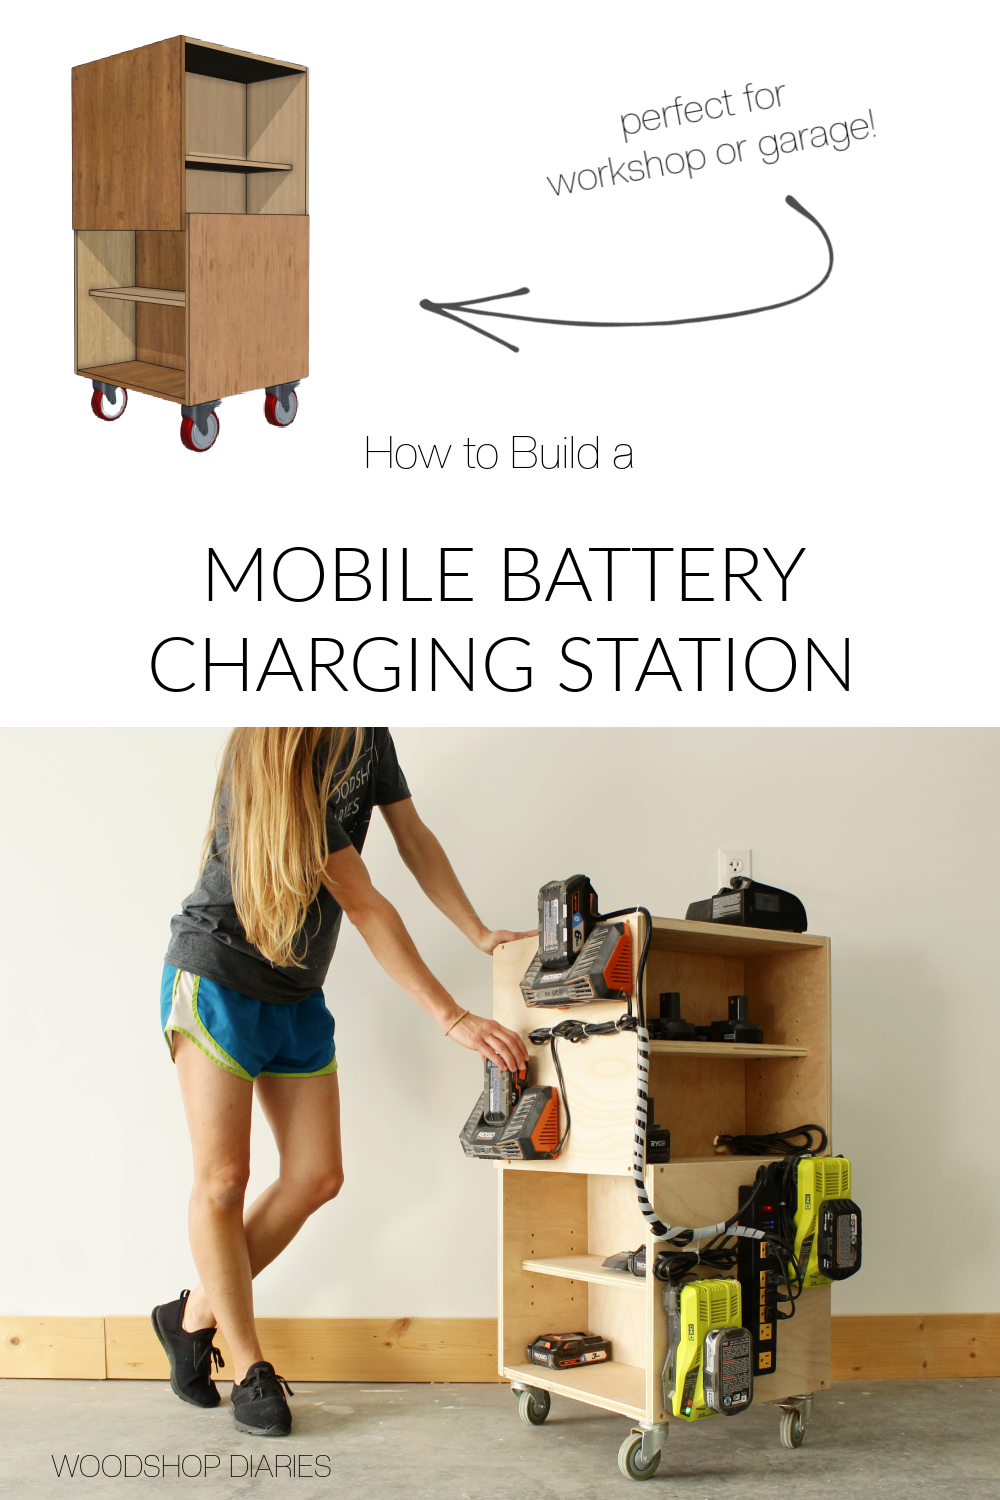
In this post, I’m sharing how to build a DIY mobile battery charging station for your workshop or garage!
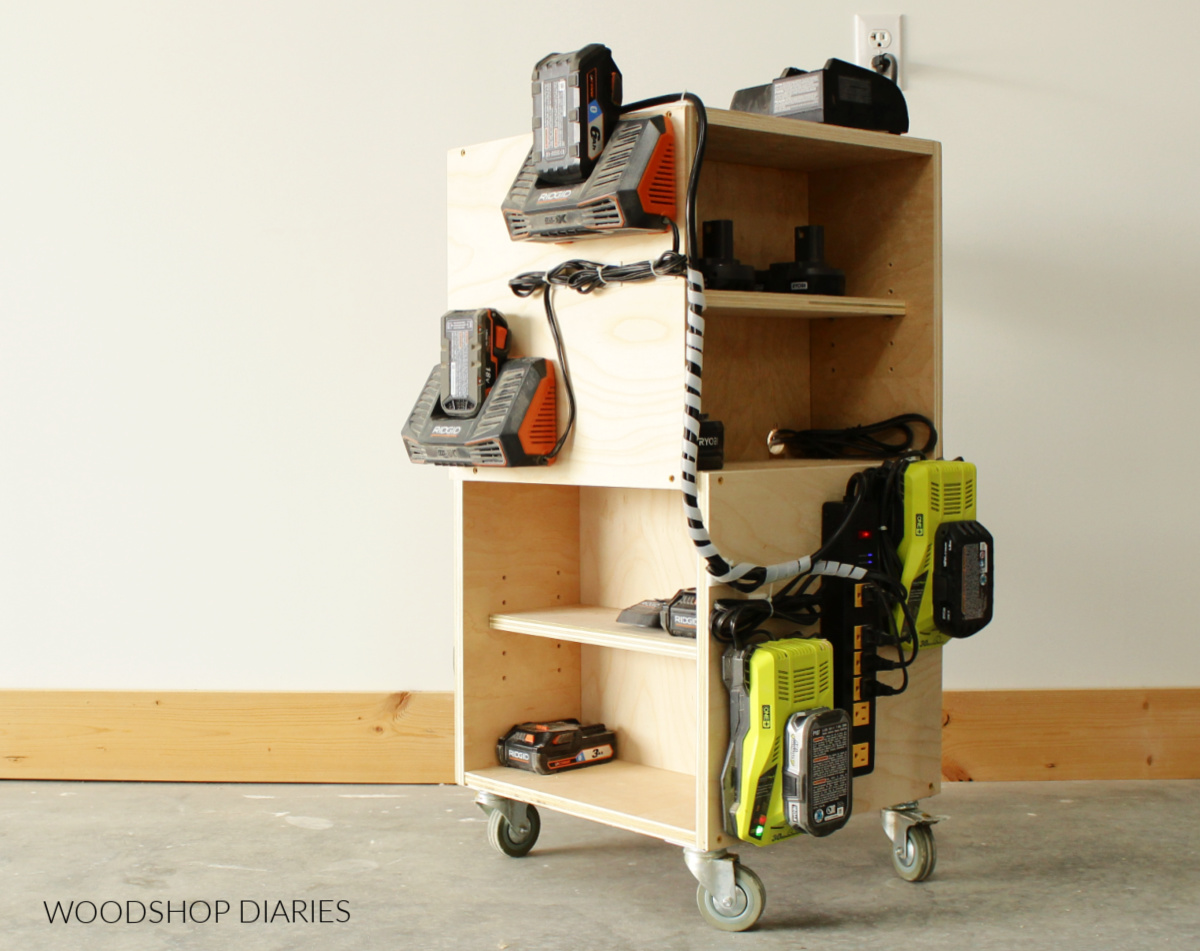
Cordless tools are a game changer. But…those batteries can accumulate quick.
.
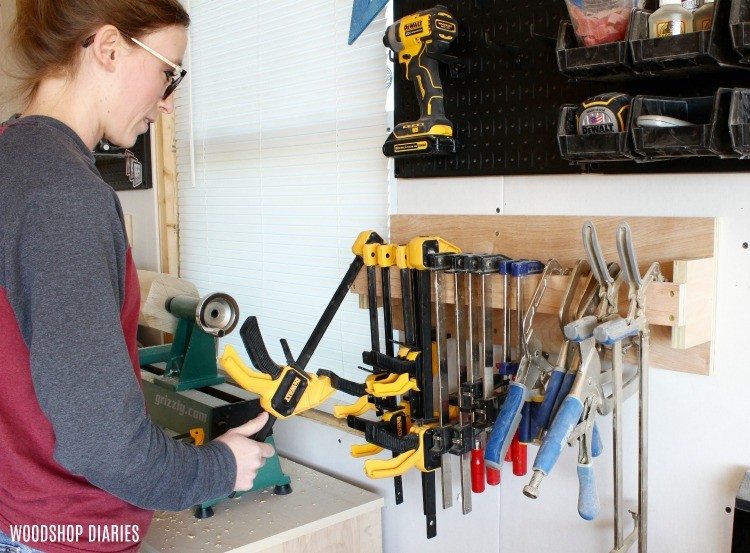
All my battery chargers and spare batteries had taken over my workbench space and the cords had become a little chaotic.
.
So I decided to put together a DIY mobile battery charging station with plenty of room to mount all the chargers, plus shelving for my batteries.
.
I separated the chargers on two separate power strips–one for the outdoor equipment batteries and one for the smaller power tool batteries. That way, I can charge only what I need to depending on what I’m using at the moment.
.
Oh, and it’s on wheels so I can just roll it in and out and around as needed—wheels just make everything more fun!
.
If you’re looking to get your chargers and batteries organized in your own shop or garage, I’m sharing how to build this mobile charging station below!
Tips Before Building a DIY Mobile Battery Charging Station
I made this 4 sided shelf project as a mobile charging station, but you could DEFINITELY use this for any type of extra storage in the shop, as a tool cart, craft supplies, etc.
.
Feel free to get creative with how you use it.
Overall Dimensions
Overall dimensions BEFORE ADDING WHEELS are 17 ½″ wide x 17 ½″ deep x 31 ¼″ tall.
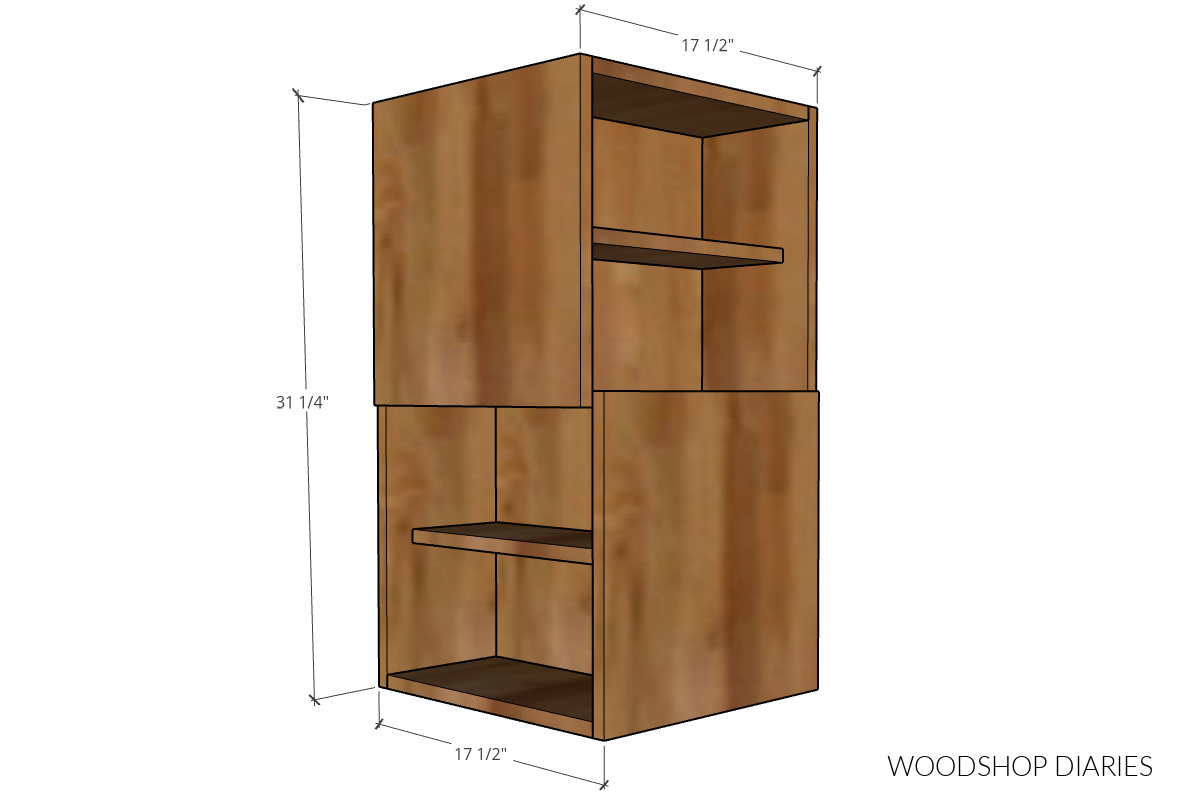
You can add any size casters you want on this depending on how you want to use it and that will obviously change your overall height accordingly.
Power Strips
To help contain all the cords, I plugged the chargers into power strips, so that I can just run one cord from the strip to an outlet when I get ready to charge.
.
Battery chargers pull quite a bit of energy while charging. I recommend checking your specific charger(s) for ratings and choose a power strip capable of handling the number/size/type of chargers you plan to plug into it.
I separated my chargers out on two different power strips. I put my outdoor equipment battery chargers on one and my power tool battery chargers on another.
.
Of course, you can add more or less, or change that up however you’d like.
Wood Type
I used ¾″ birch plywood for this project because that’s what I already had available in my workshop.
.
However, since this is just a workshop or garage project, you can definitely opt for a lower grade plywood to save a few bucks if you’d prefer.
.
Despite the grade of plywood you choose, I still recommend sticking with ¾″ plywood as that’s what is used in the plans below.
NOTE: Many ¾″ plywoods are ACTUALLY 23/32″ thick–which is 1/32″ shy of a full ¾″. In most cases, this 1/32″ is negligible, so ¾″ is used to keep the math a little easier to manage.
Materials:
- (1) 4×8 sheet ¾″ plywood
- (4) Caster Wheels (you can use any size you’d like)
- Wood Glue
- 1 ¼″ wood screws
- ⅝″ wood screws + washers
- Shelf Pins
- Power strips (optional)
- Zip Tie Mounts with Cable Ties (to contain the cords)
- Painters tape
How to Build a DIY Mobile Battery Charging Station
Are you ready to get building?
.
Grab your plywood sheet, your battery chargers, and just a few tools and let’s dive in.
.
If you prefer to watch, I’ve put together a short video tutorial overview here. The step by step plans and full length video follow below.
You can find the printable version of the plans below here.
Charging Station Cut List:
To get started, I used my Kreg Rip Cut and circular saw to rip two 16″ wide strips of plywood from my sheet.
RELATED: Check out this guide for how to cut plywood sheets using a circular saw.
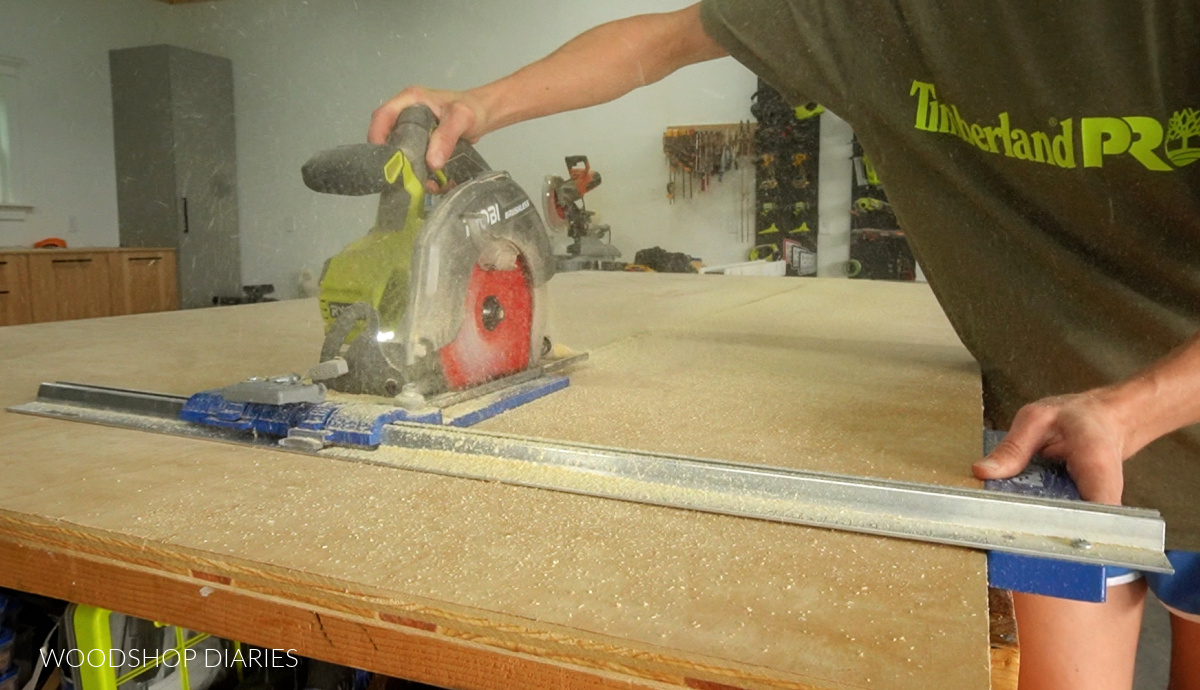
Two 16″ x 96″ plywood strips are all you need for this project, so I set aside my leftover plywood piece to use on another project later.
.
Below is a plywood cut diagram showing all the cuts for the build.
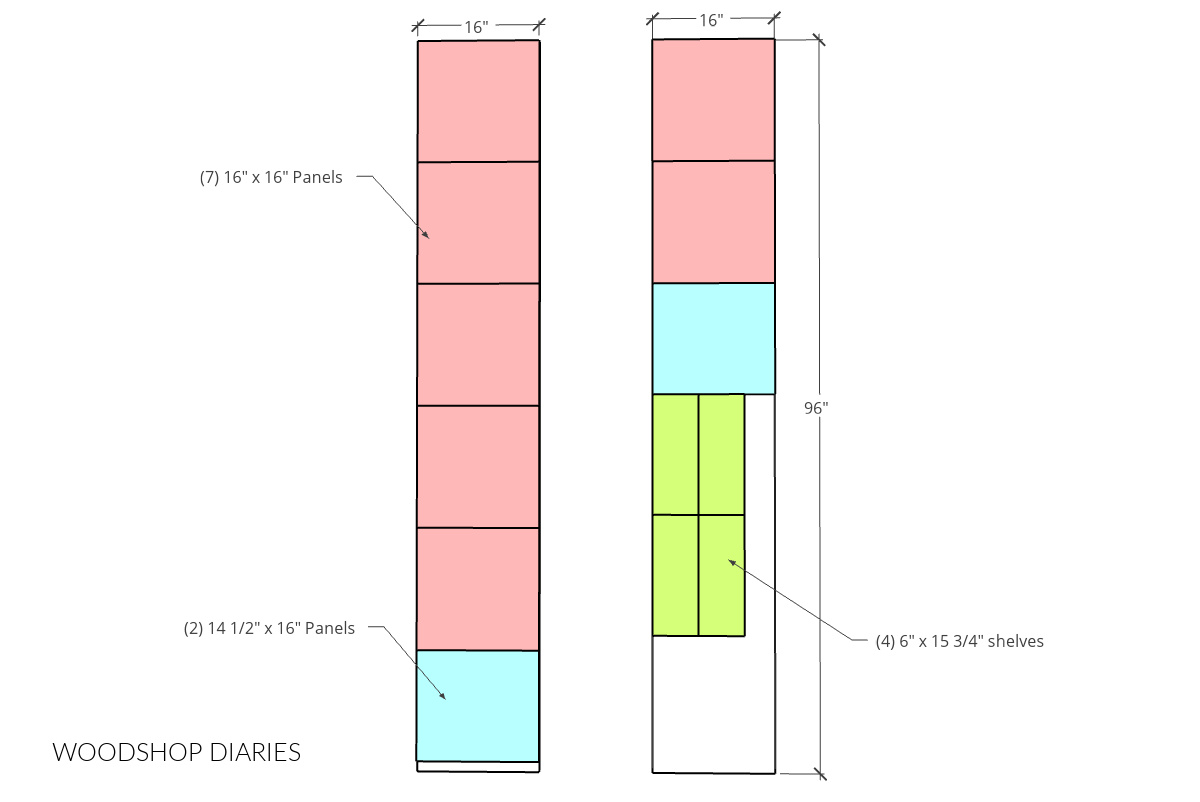
Once these strips were cut from the main sheet, I used a miter saw to cut down all the individual pieces, but you could use a circular saw if you prefer.
Prefer to print your plans? Grab the printable version of the plans from this post here:
Step 1: Assemble Bottom Half of Battery Charging Station
I attached one 14 ½″ x 16″ panel to one of the 16″ square panels using wood glue and 1 ¼″ wood screws so that it forms an “upside down T” shape.
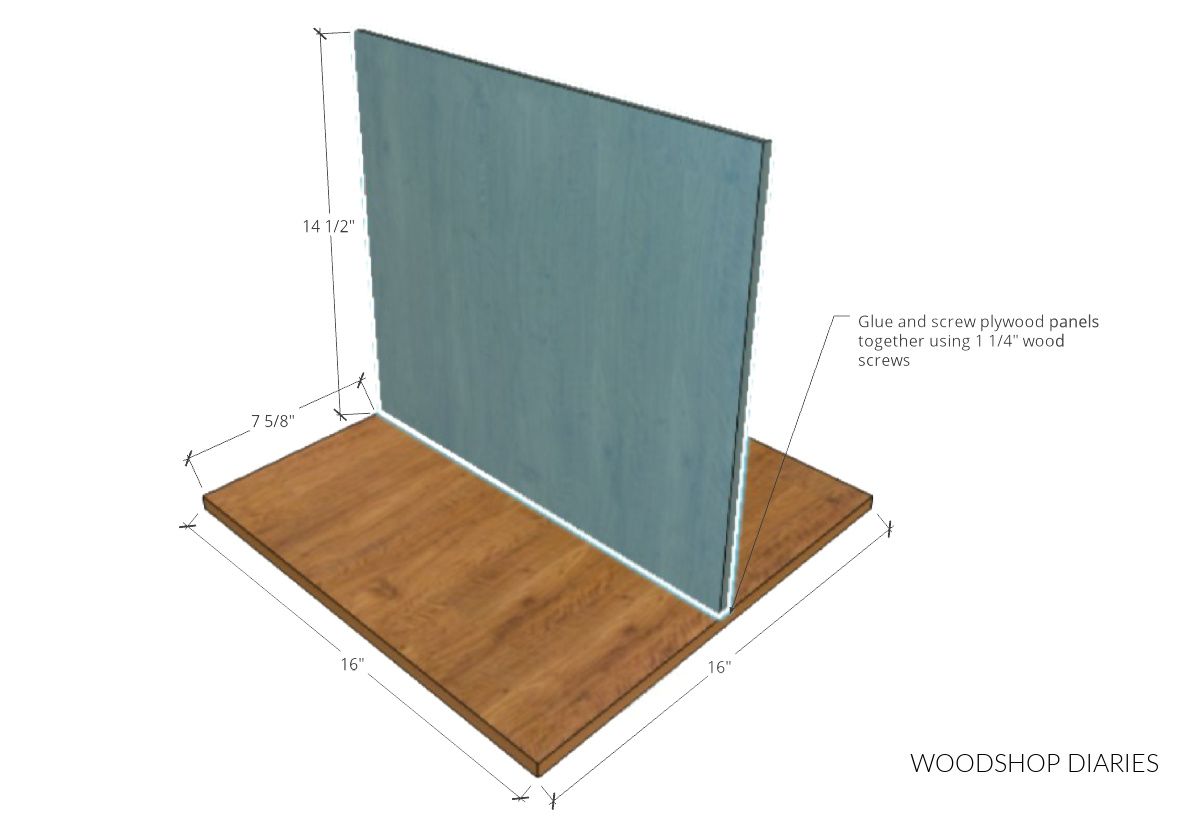
Make sure the vertical piece is the smaller panel and that it’s centered side to side.
.
I actually found it easiest to assemble this by laying it on it’s side to drive the screws.

PRO TIP: Predrill all your holes before driving the screws to prevent splitting the wood!
.
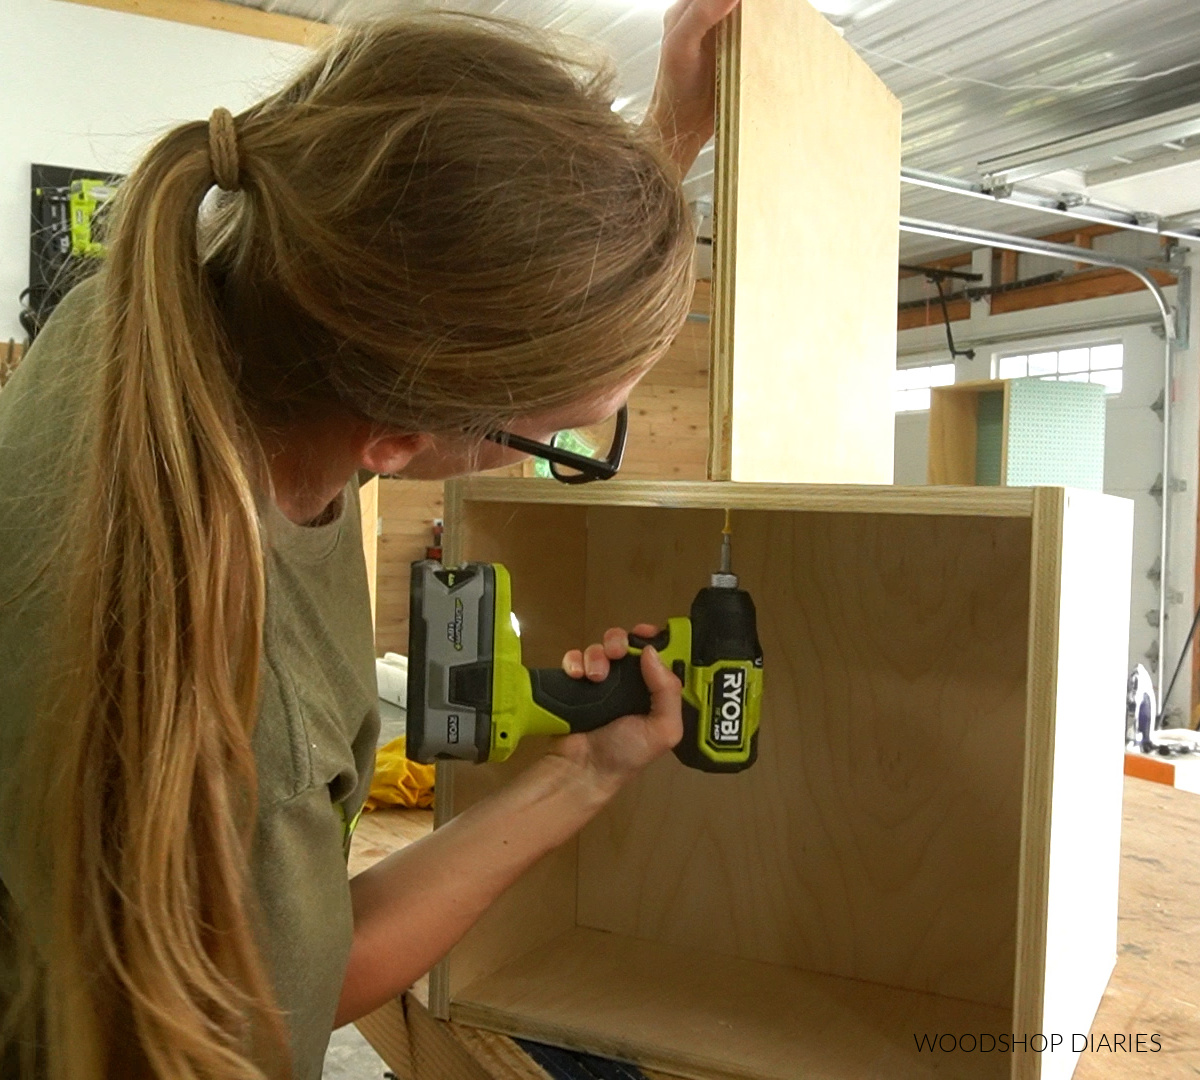
Then, I attached another 16″ square panel on top using wood glue and 1 ¼″ wood screws again.
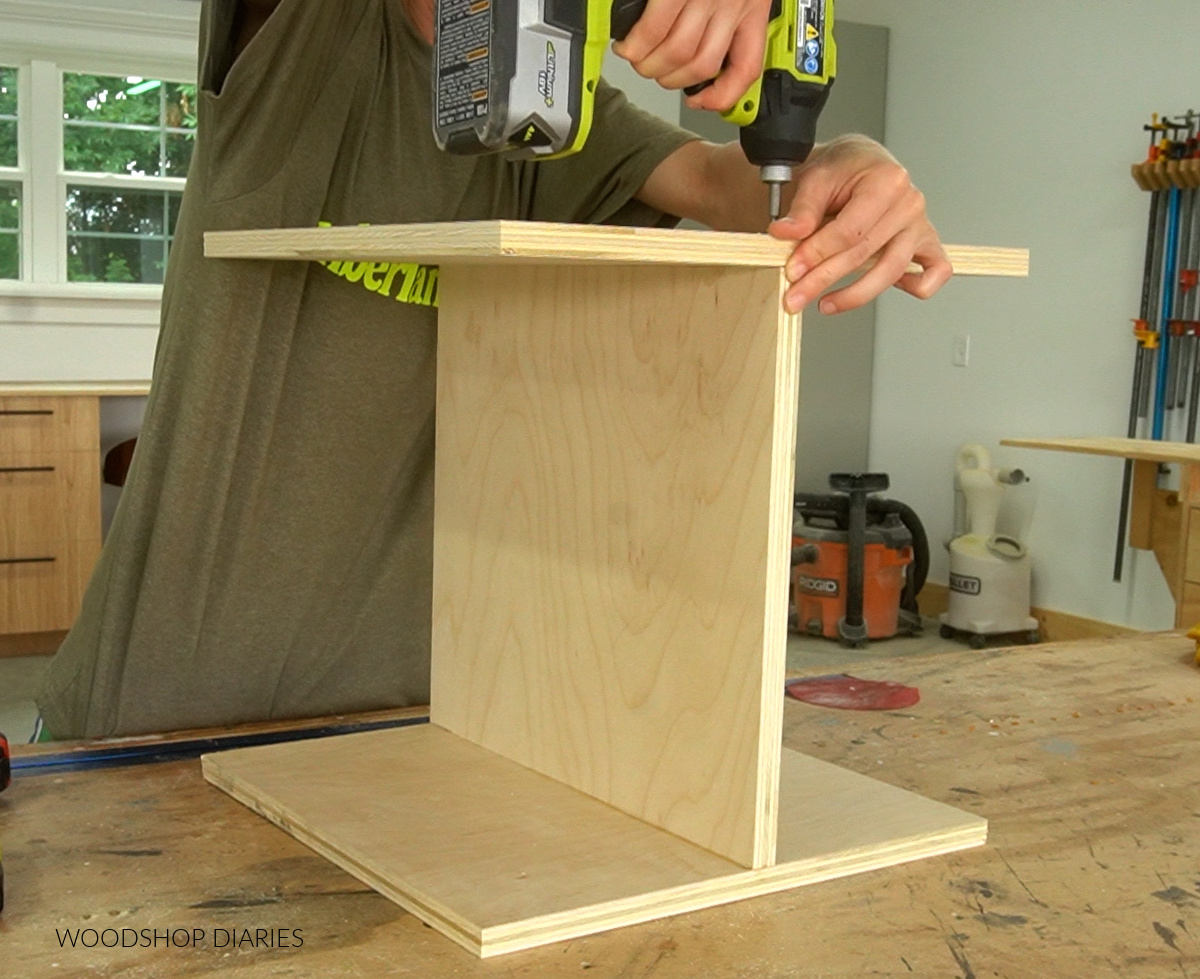
I made sure this piece was centered on the vertical piece below it.
.
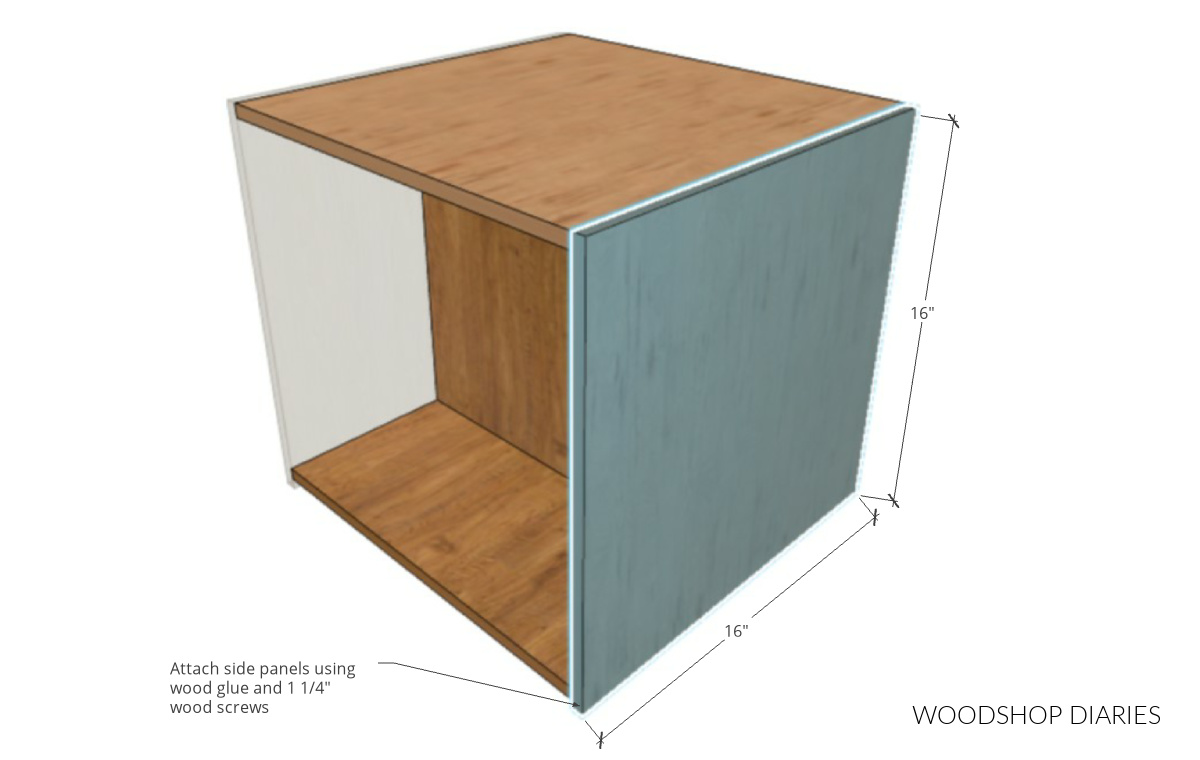
Then, I completed this bottom section by attaching two 16″ square plywood panels on each side to make kind of a “box.”
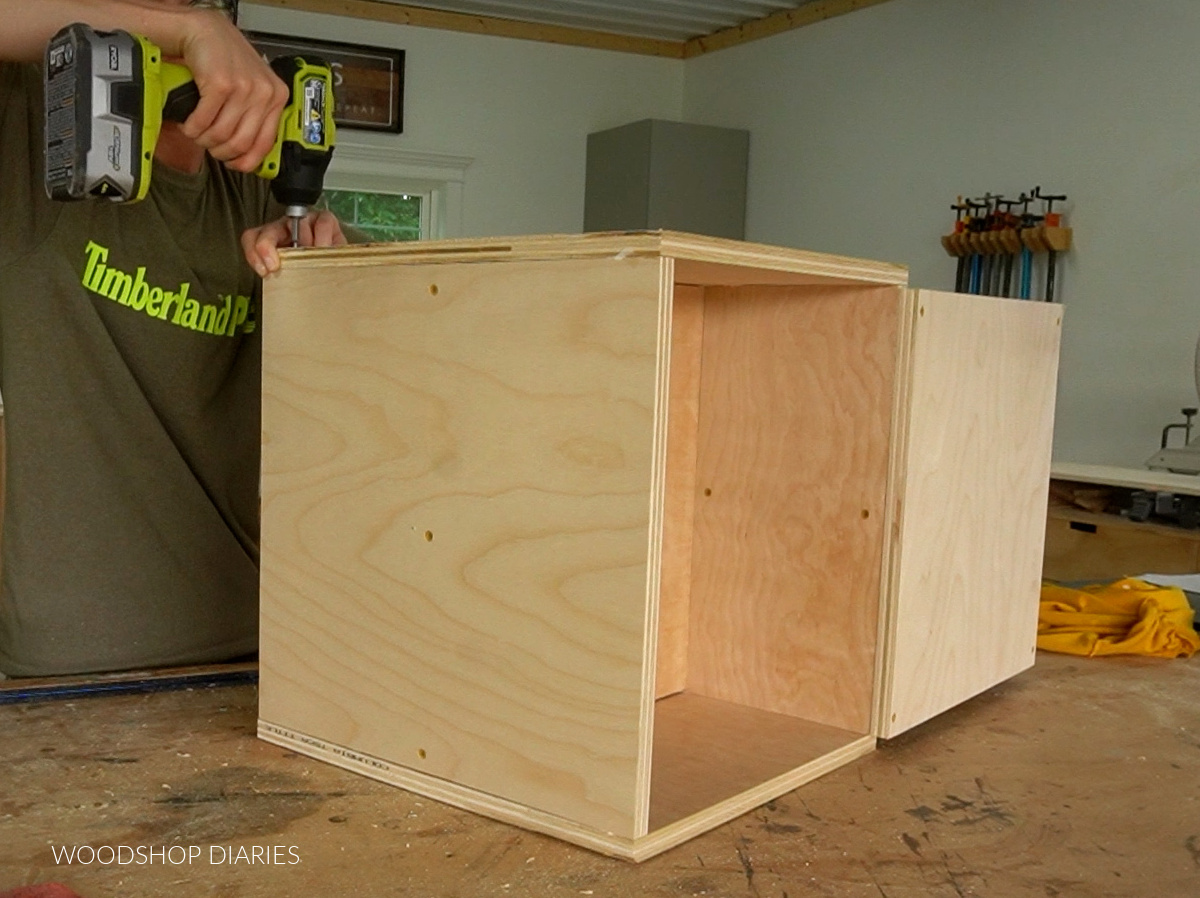
Step 2: Assemble Top Half of Battery Charging Station
The top half of the DIY mobile battery charging station is exactly like the bottom except it’s rotated 90 degrees.
.
So, I attached the second 14 ½″ x 16″ piece vertically using wood glue and 1 ¼″ wood screws through the top panel of the bottom section.
Again, I made sure the panel was centered side to side before securing.
.
Then, I added a 16″ x 16″ top panel and two 16″ x 16″ side panels using wood glue and screws again to complete the main body.
Step 3: Add Shelves to Charging Station Box
I chose to add adjustable shelves to this project vs stationary. I like to have options with my shelf placement ha!
.
So, I used my Kreg Shelf Pin Jig to drill shelf pin holes into each open “cubby” of the box.
RELATED: Learn more about shelf pin jig uses and other cabinet building tools.
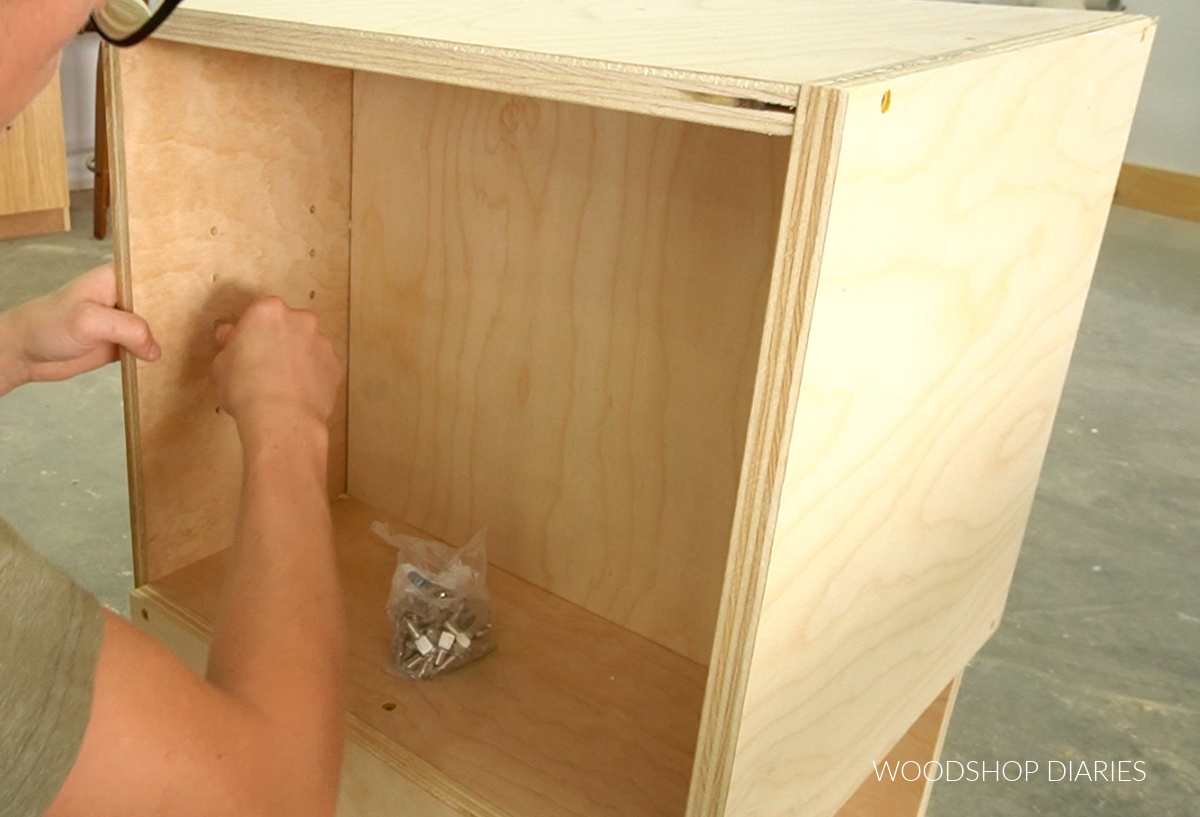
Then, I placed shelf pins into the holes where I wanted the shelves to go.
.
I just cut one shelf for each cubby, but you could cut more if you’d like from your leftover plywood.
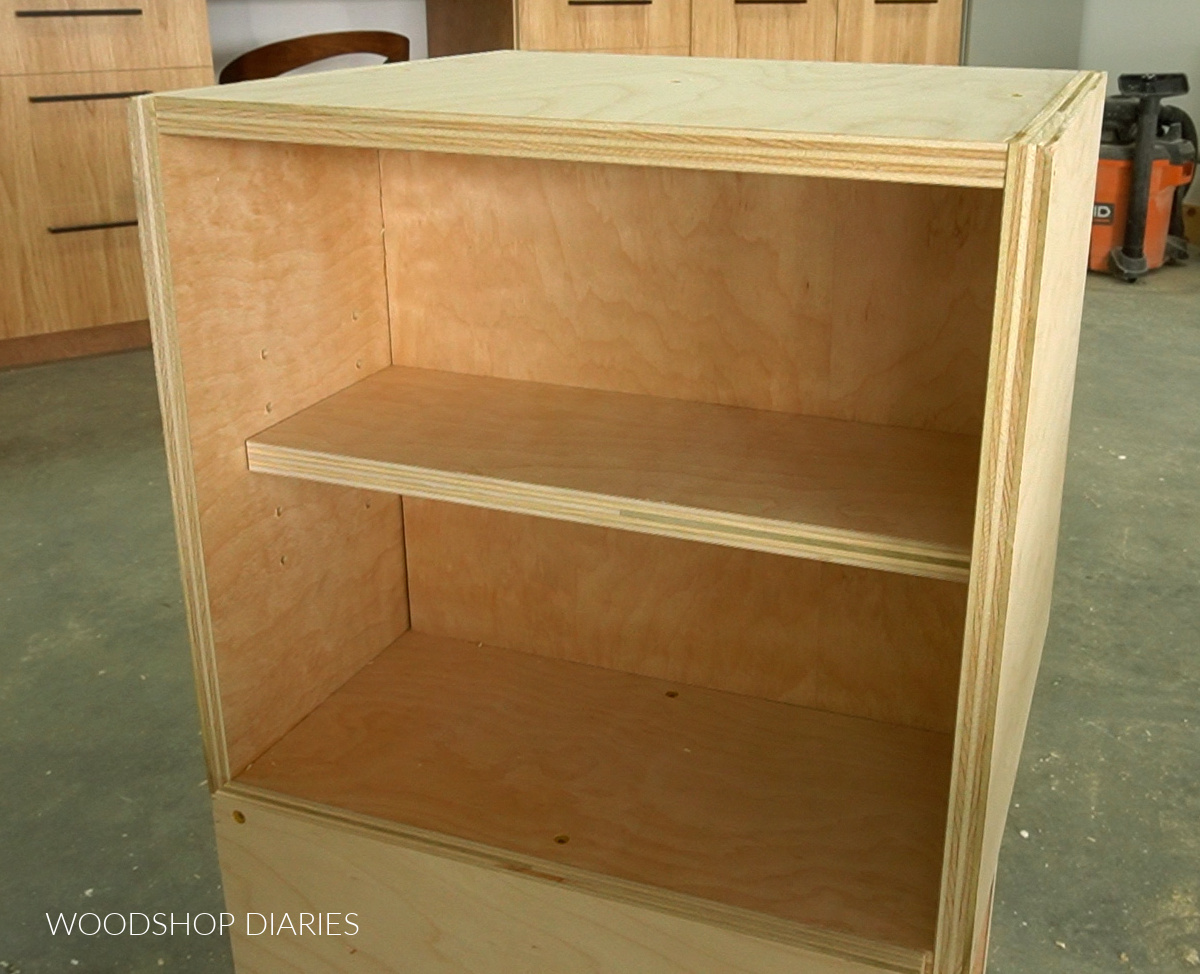
I placed these shelves into the cubbies on the pins.
Step 4: Install Caster Wheels
To make this cart mobile, I added some caster wheels on the bottom. There are HUNDREDS of styles, colors, sizes of casters.
.
It’s not really critical what kind you use here as long as they’ll support the weight of the cart (which isn’t a whole lot). So feel free to shop around if you like different styles.
.
I flipped the station upside down (remove the shelves first or they’ll just fall out in the process haha), and placed a caster wheel on each corner.
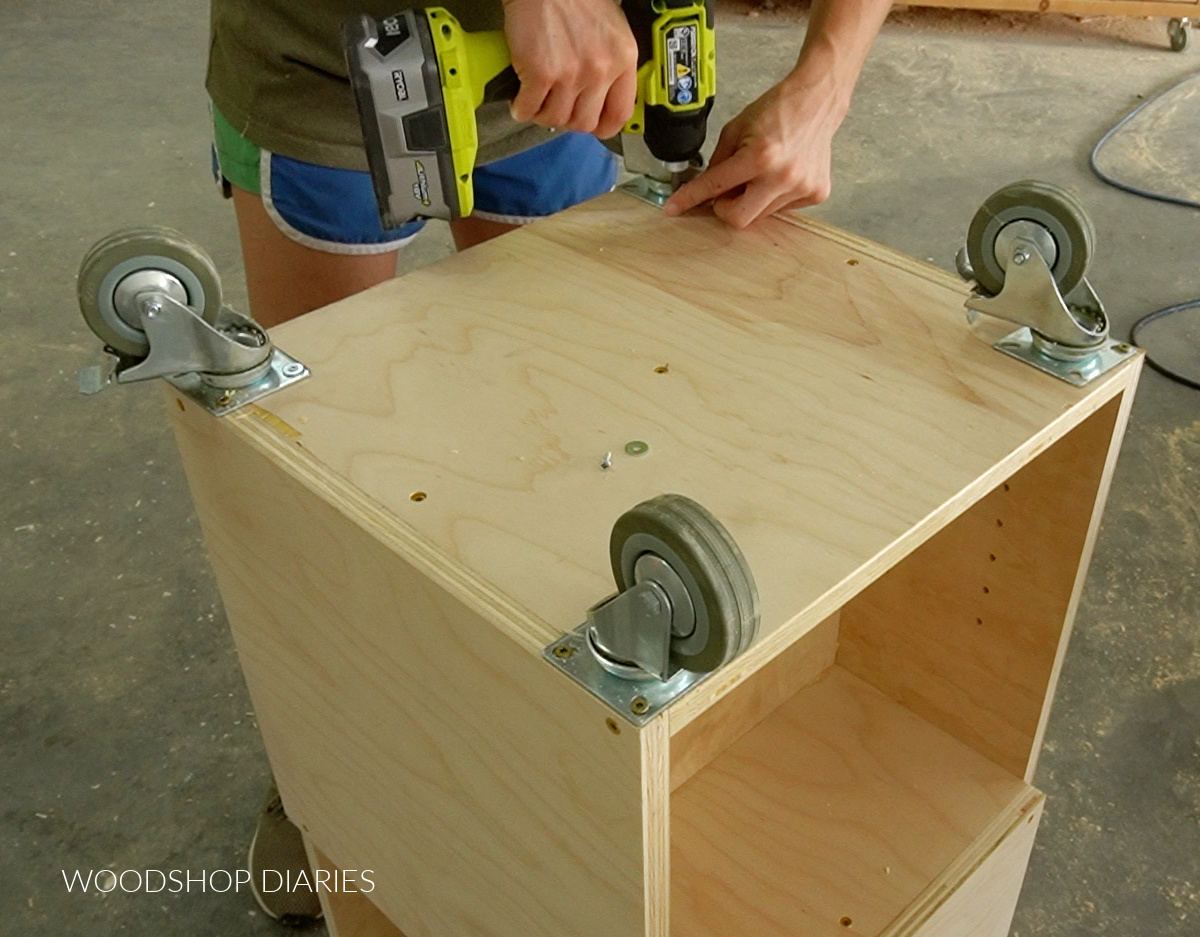
On the outside holes on the caster plates where the screws will go into the side panel edges, I used 1 ¼″ wood screws.
.
However, on the holes toward the inside, I used ⅝″ wood screws and some washers so that the screws didn’t go through the plywood and pop out on the other side.
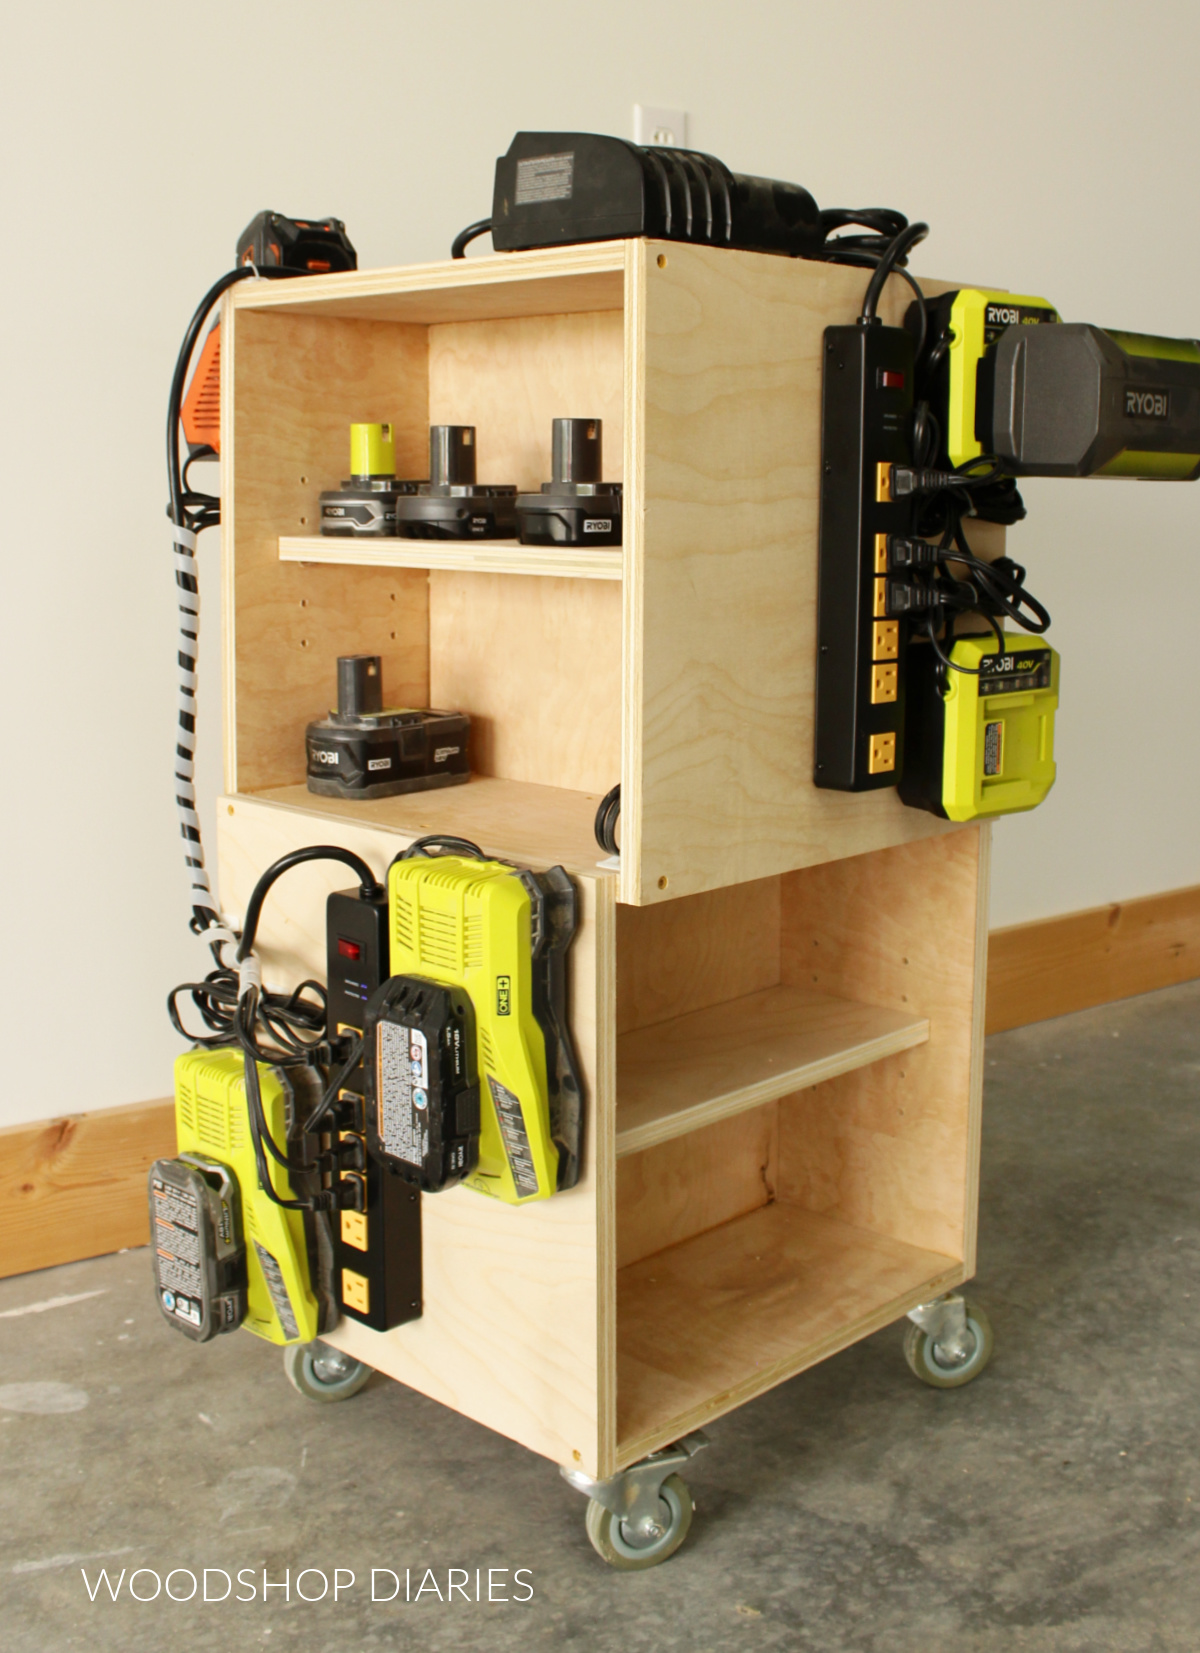
Step 5: Mount Battery Chargers
Once the wheels were on, it was time to actually put this charging station to use and mount the chargers.
.
You may or may not have seen this “trick” before, so I’ll share it with you anyway.
.
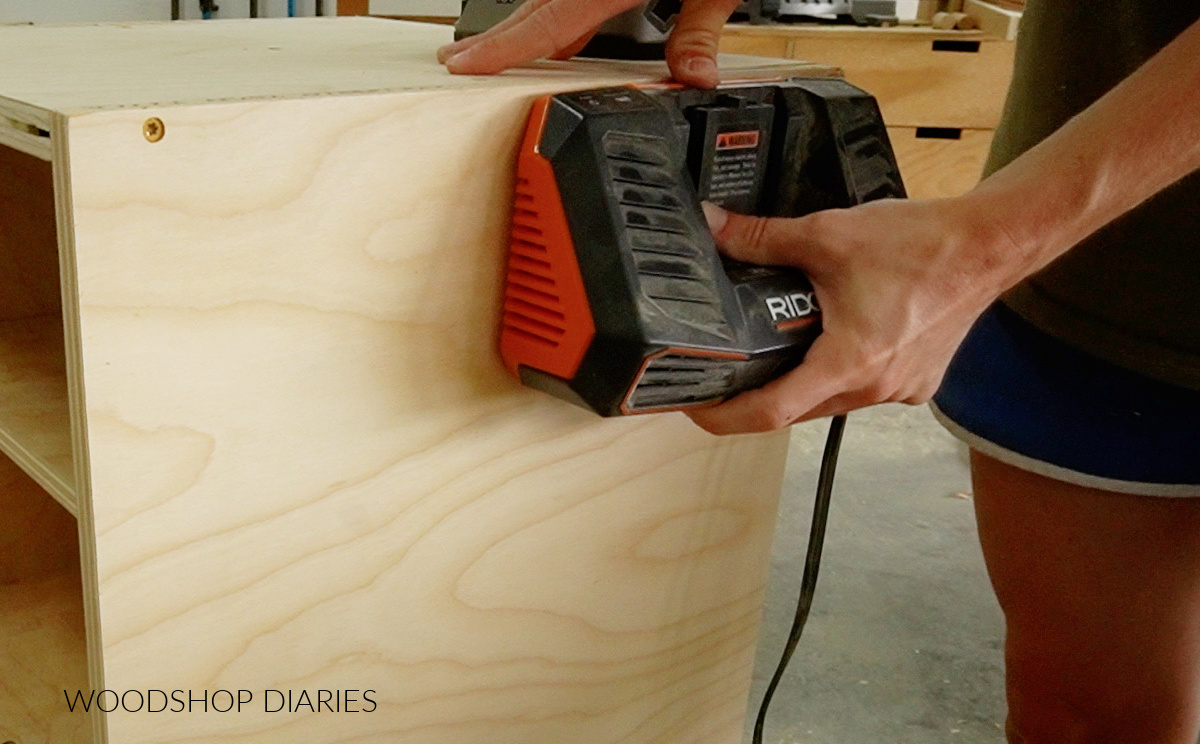
All but one of my chargers had these mounting holes on the under/back side.
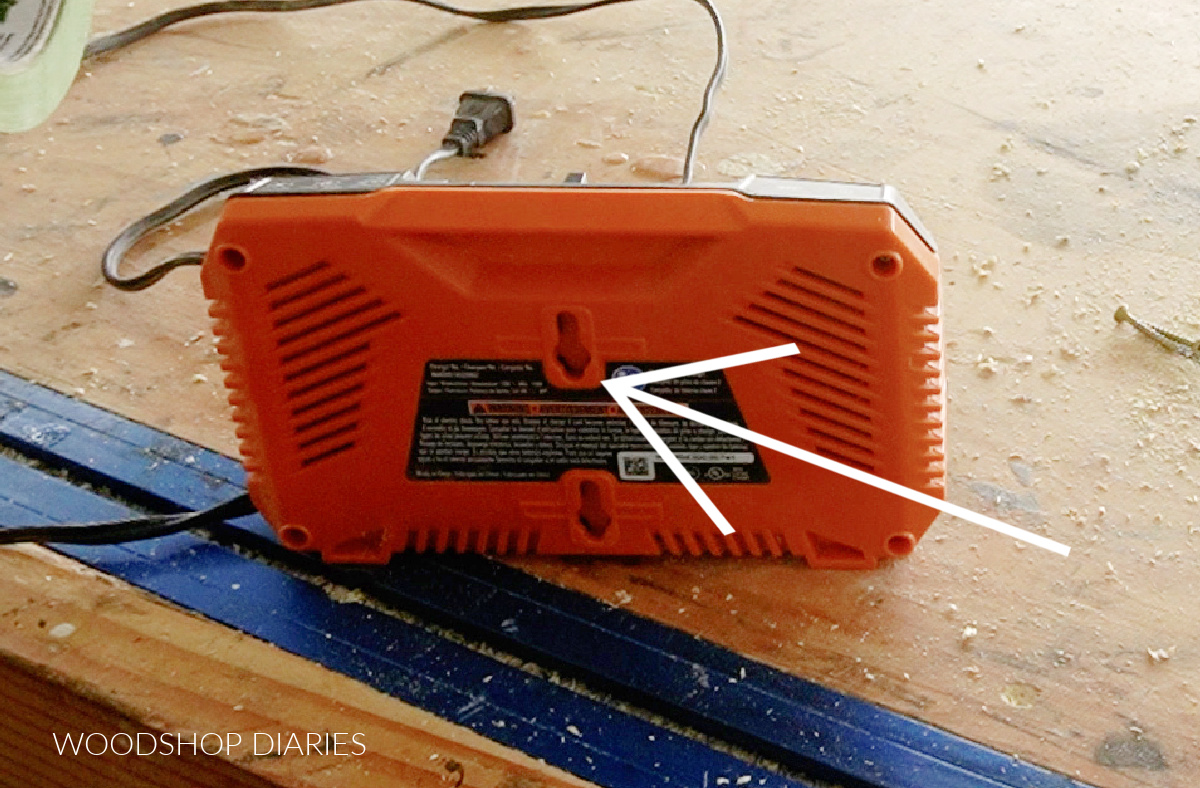
I didn’t want to have to measure these holes out, transfer them to the charging station side panels, and hope it worked.
.
So, instead, I used some painters tape over these holes and used a screw to just poke a hole in the tape at the center of the mounting holes.
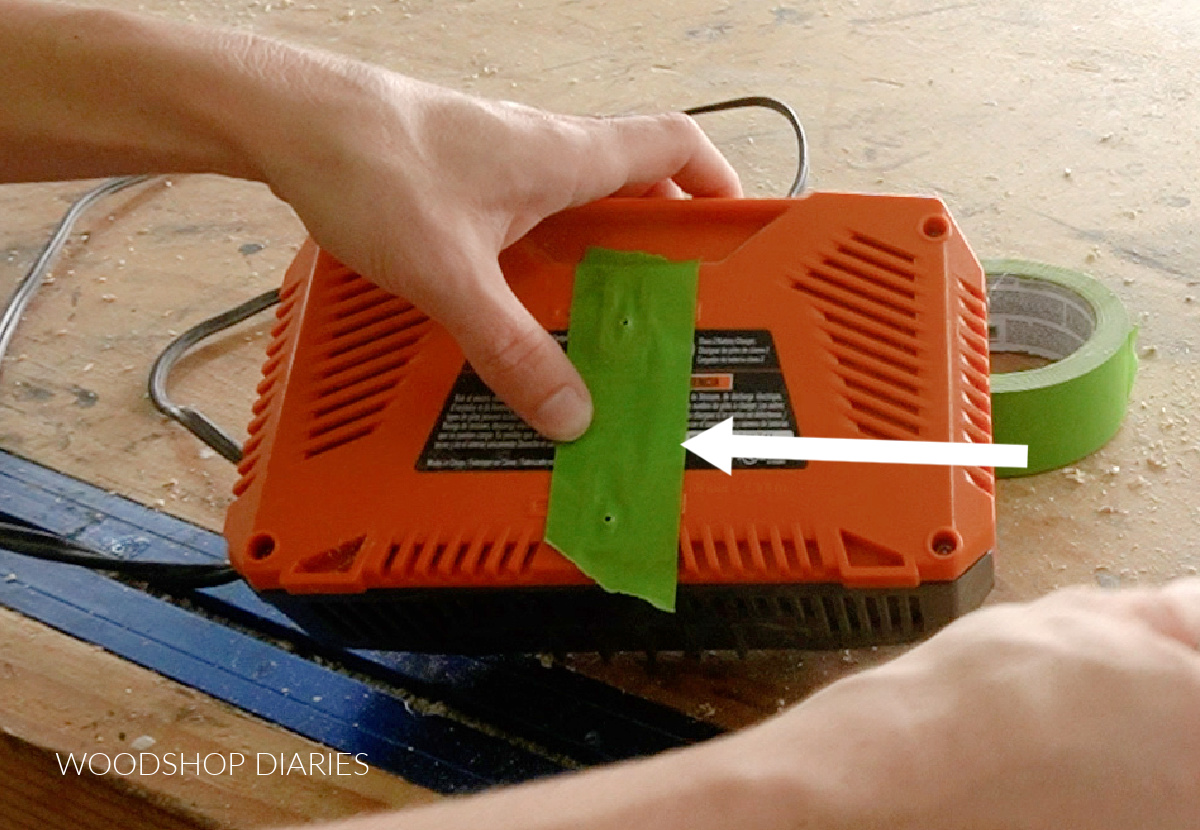
Then, I could transfer this tape to the charging station and drive ⅝″ wood screws in the holes. You want to drive them so they’re still sticking out a little.
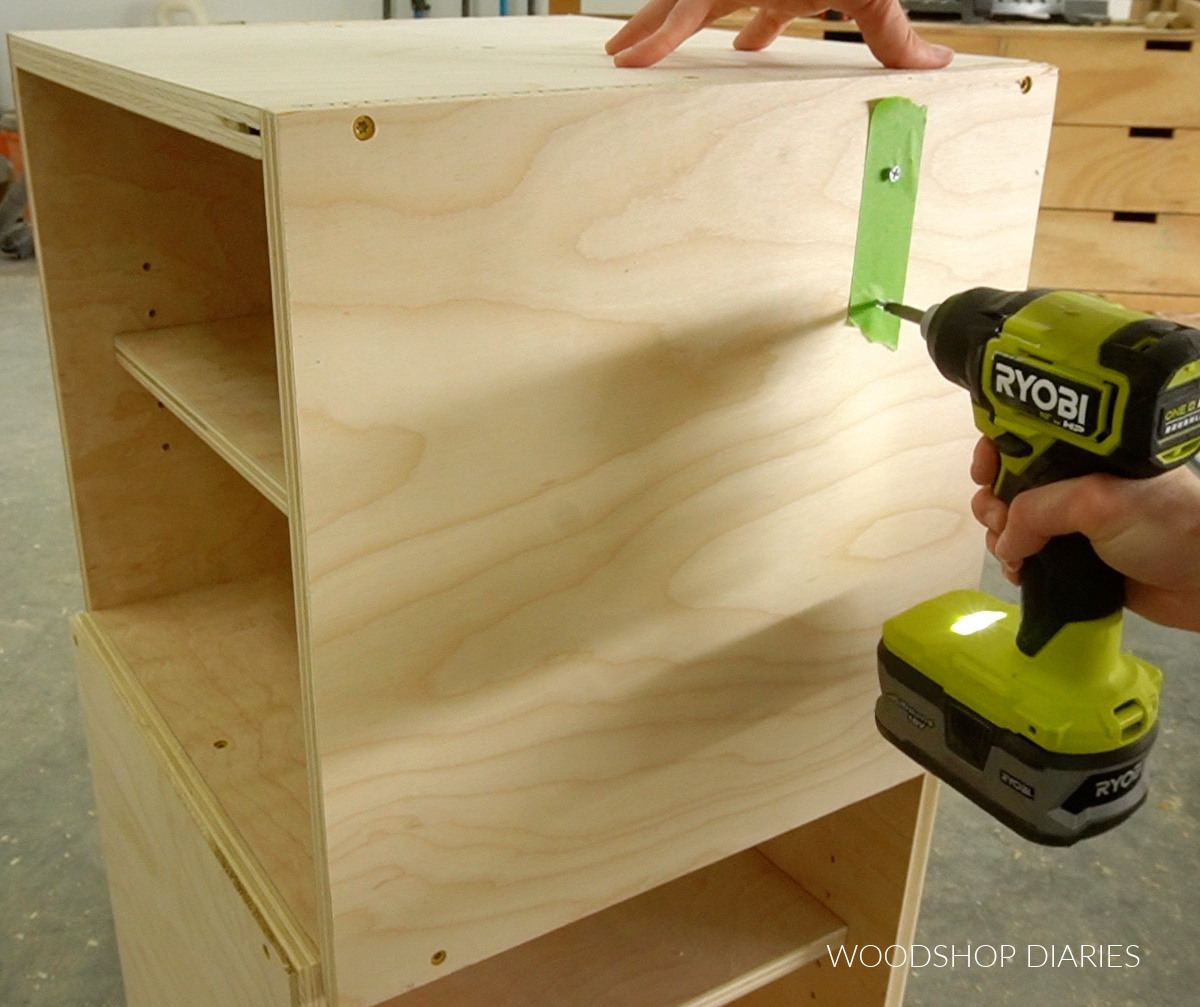
Then, you can slide the chargers right onto them.
.
I did this for all my chargers on all four sides of the station. For the one charger without mounting holes, I just set it on top.
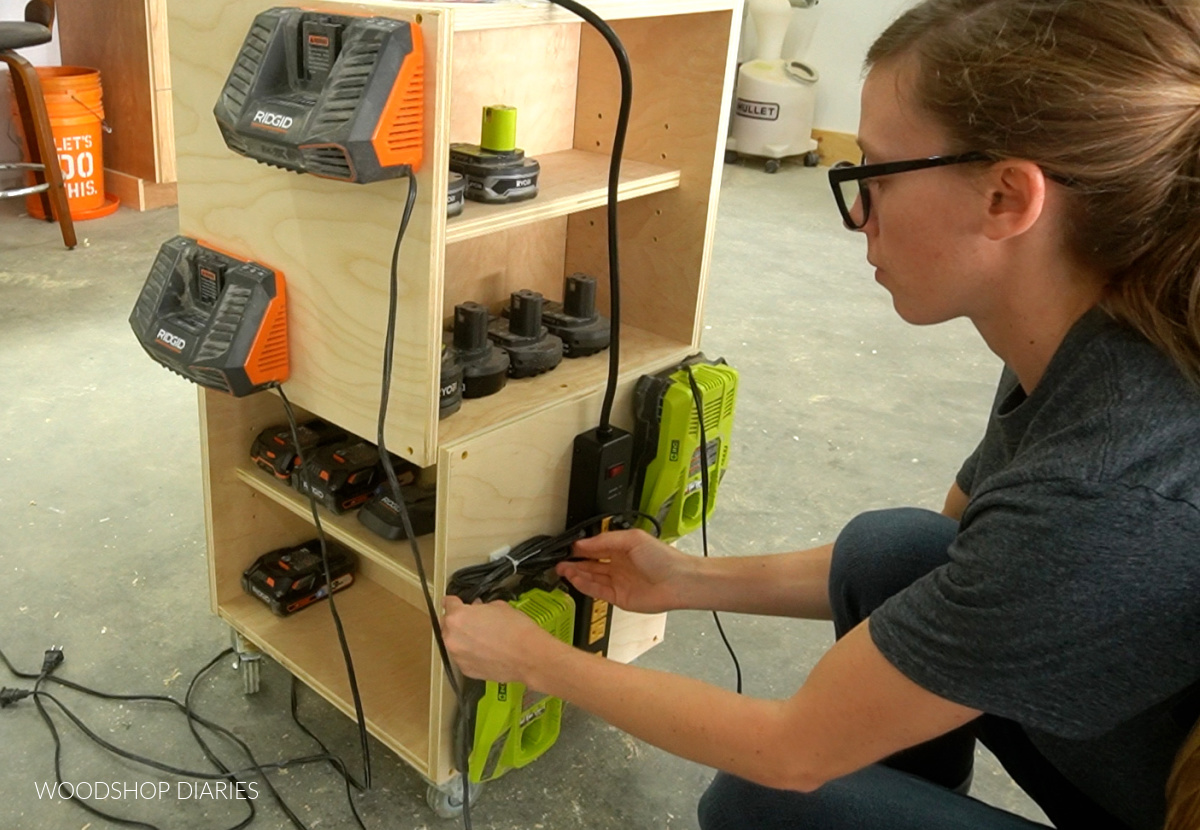
Step 6: Add Power Strip(s) and Manage Cords
I mentioned earlier that I used power strips to make things easier when it was time to plug in.
.
So, I mounted two power strips (using the same painters tape method shown above) on the station and plugged my chargers into them.
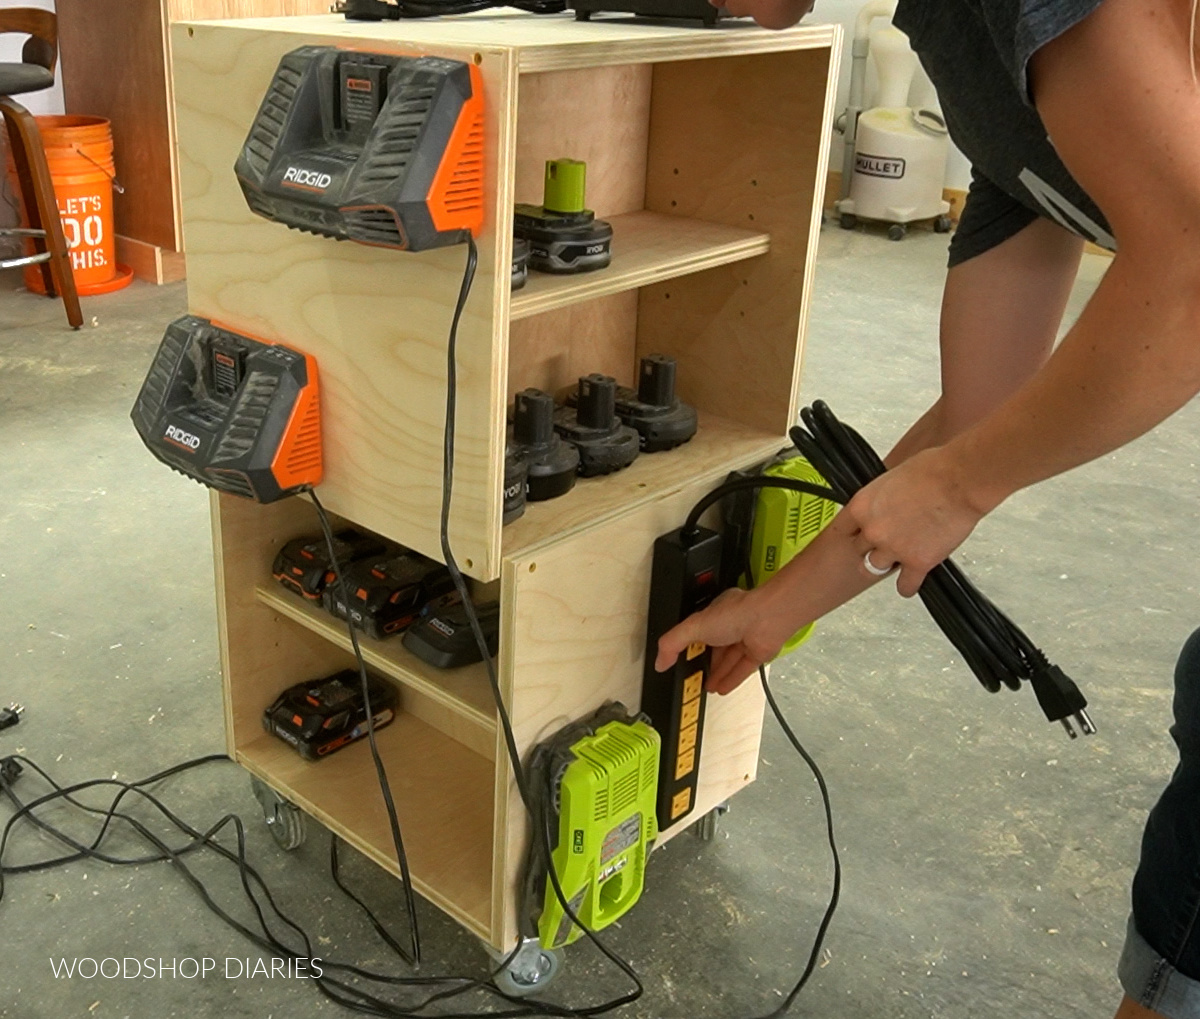
Then, I went back and cleaned up all my cord chaos using some sticky tabs and zip ties.
.
This part is kind of where you have to do what’s best for you. You can drill out holes to run your cords through the inside if you’d prefer.
But I ran mine on the outside so that I didn’t have to worry with cords or holes interfering with the shelves. I did drill one hole to run some cords through on the inside, but I just didn’t want to drill holes all over my new build haha.
.
Just contain the cords however you feel is best.
.
I ran my power strip cords to the top and just laid them there. That way, I can roll this around where I want and just plug in as needed.
Looking for more Workshop Organization Ideas?
And with that, the DIY mobile battery charging station build was complete and ready to get charging!
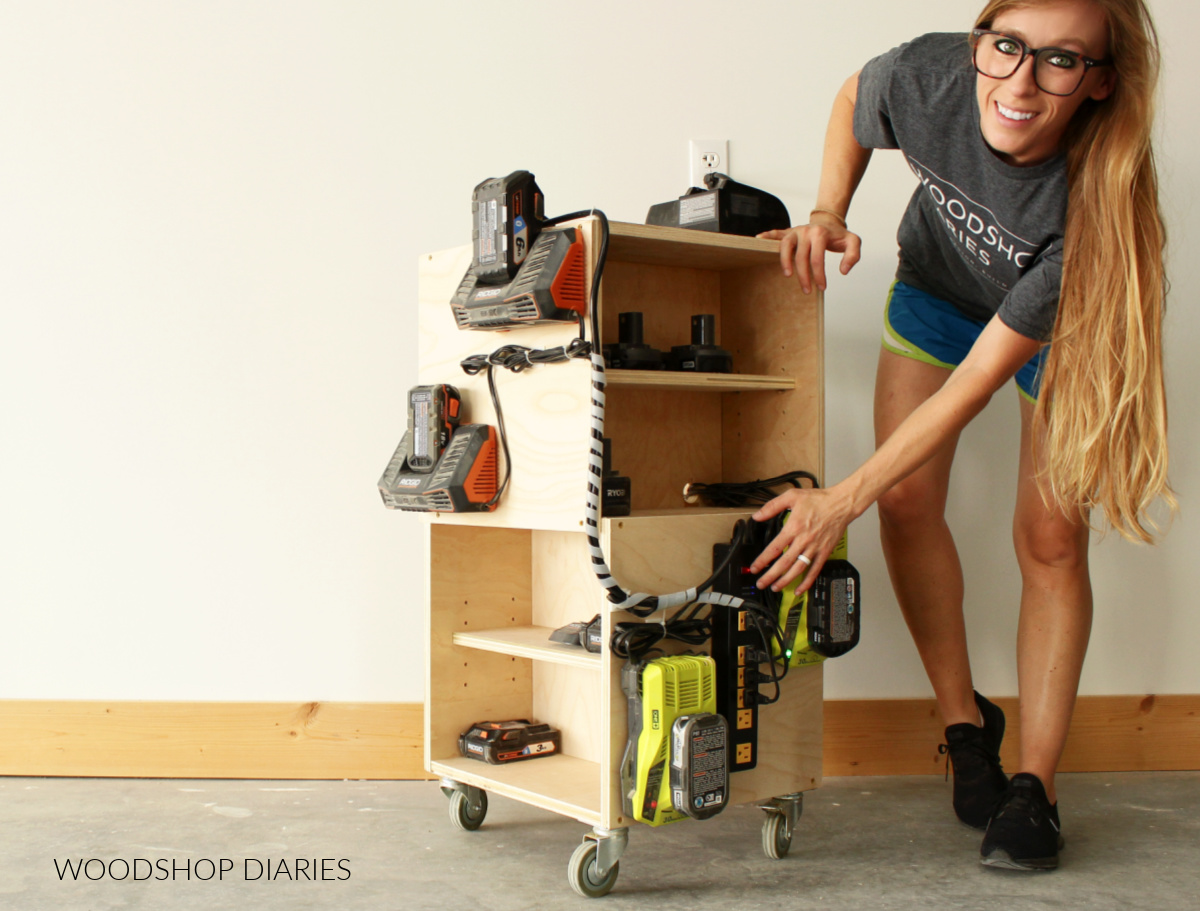
I really love this set up and it is nice that it’s organized AND mobile so I can move it around as I need (and as I frequently change my mind haha).
Grab the printable plans for this project here.
.
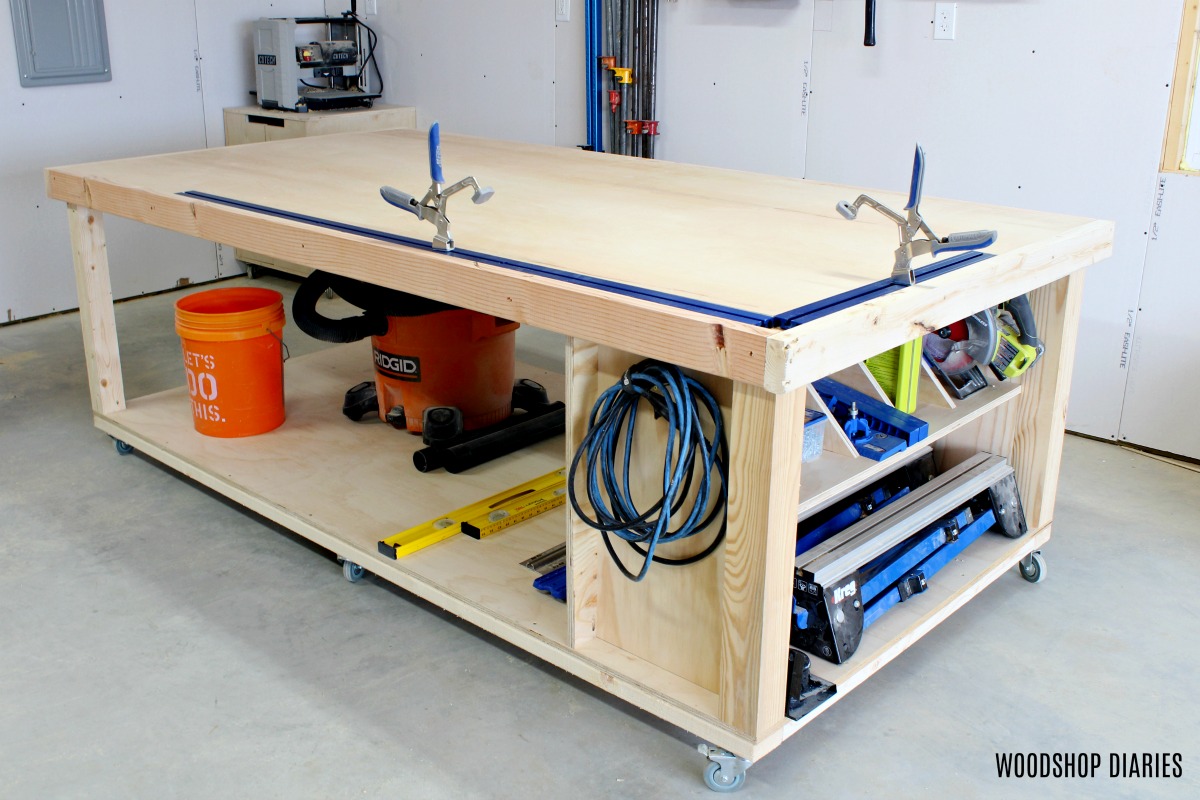
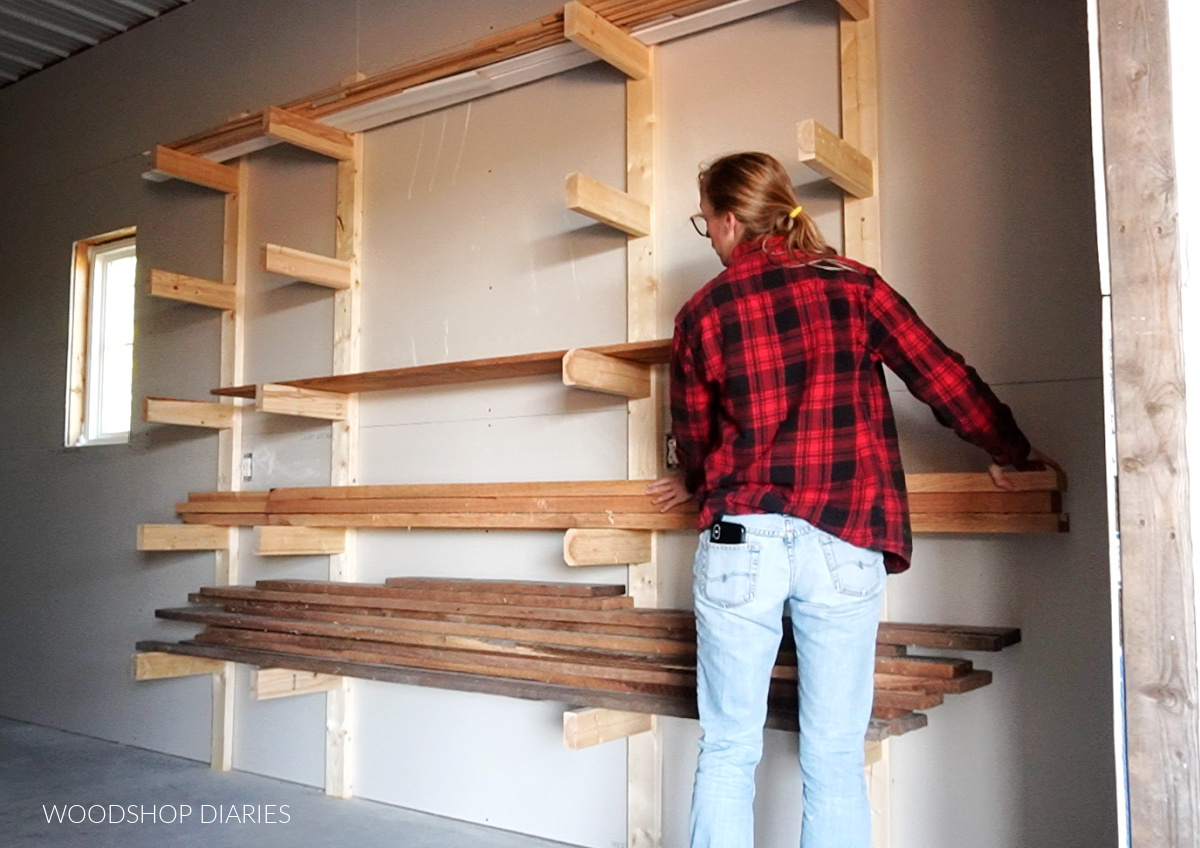
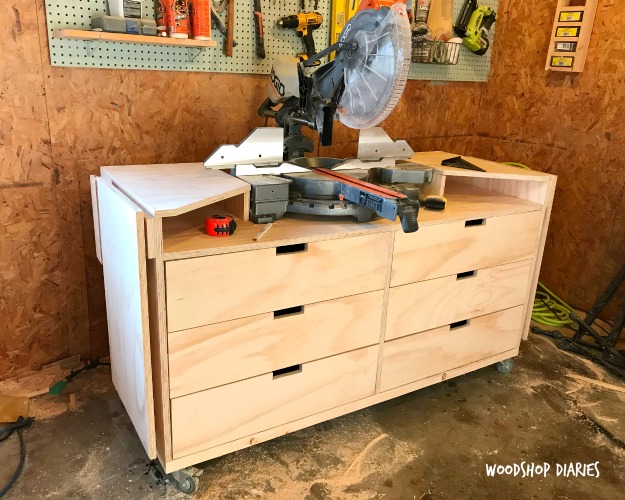
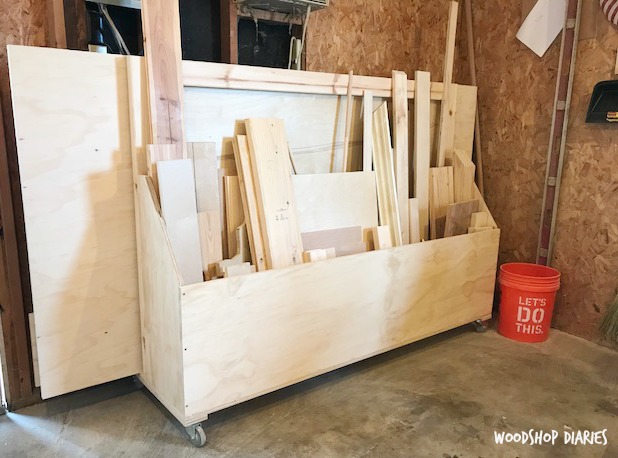
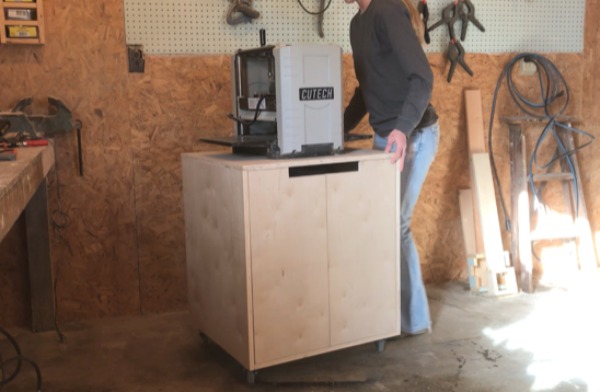
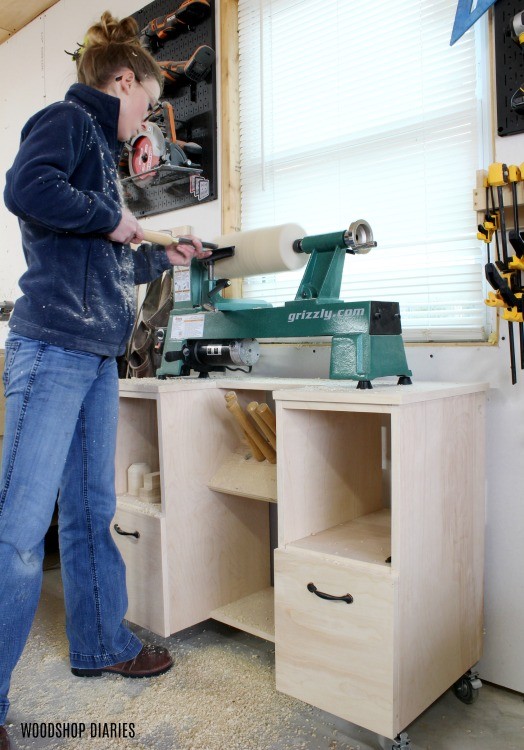
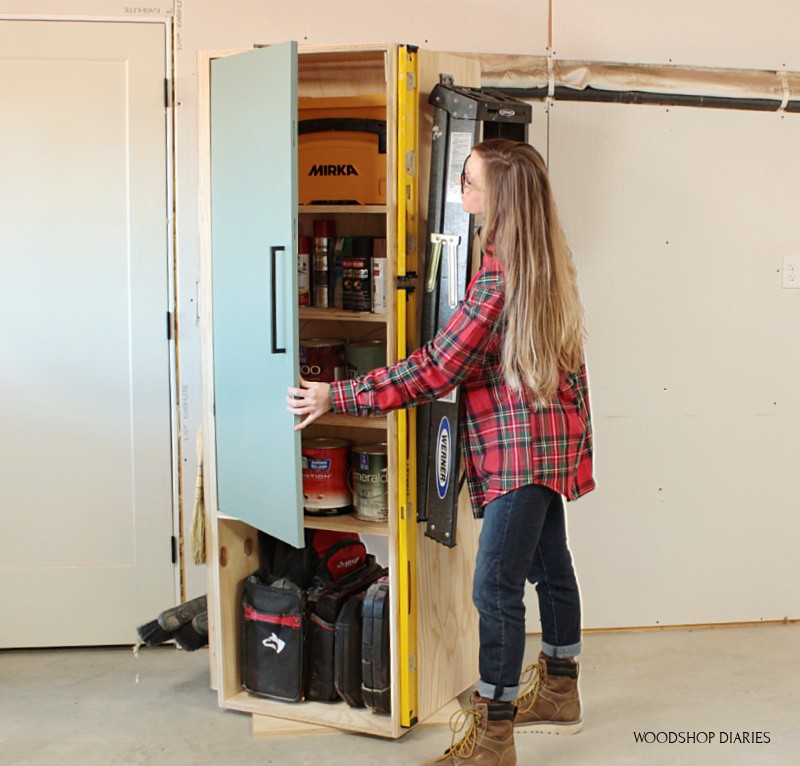
If you’re looking for more workshop organization ideas, here’s a few workshop project favorites to check out!
I hope you enjoyed this simple, but very practical workshop project idea!
.
I’ve got the full length video tutorial over on my YouTube Channel so you can watch the entire build start to finish!
And if you want to stay up to date with all the latest projects and plans, be sure to subscribe to the newsletter for priority access!
Be sure to pin this to save it for later or share it to your favorite social channel!
Until next time, friends, happy building!