So, here we are. The end of January 2018. And….I’m just now setting any “goals” for the year. I’m really setting the bar high this year, huh? Don’t worry, this DIY mobile tool cart build ties into this somehow. I’ll get to it.
So, goals. I have two main goals (with a few others I don’t want to say out loud for fear I won’t make them and all of you will know that I failed…HA). One goal is to make at least one YouTube video a month. So far, with this post, I’m on track…although I did wait until last minute…
.
And my second goal is to “redo” my shop. We are currently trying to sell our house. I had hoped it would have sold by now and I’d have a new shop. But, things don’t always go as planned, and we are still in our house. I’m tired of waiting, so I’m going ahead and making my shop as efficient as it can be since it appears we will be here a little longer.
.
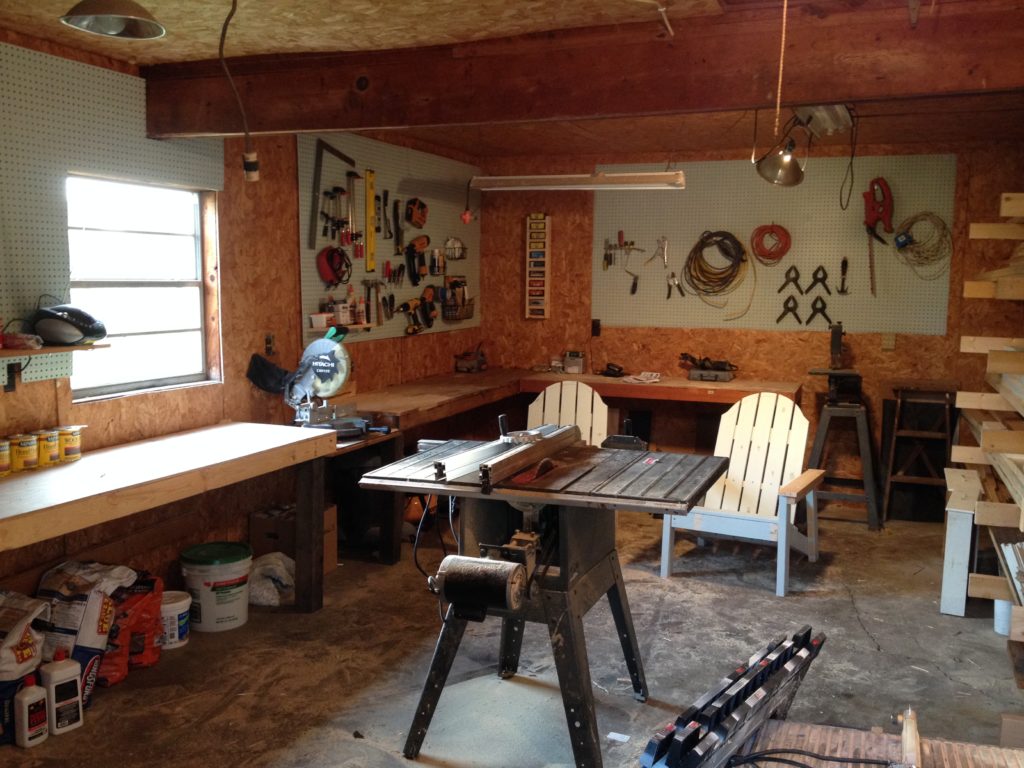
I redid my shop once a couple years ago…added some workbenches and pegboard and a lumber rack.
It’s worked okay, but I’ve gotten a few new tools since then that I didn’t accommodate for in my original design. And, with the (hopefully soon) eventual move, I’m wanting my workbenches to be mobile so I can just transplant them to wherever we go next and I won’t have to take time off to rebuild. (If you want some AWESOME and cheap casters for your tool carts, I used these (affiliate link for mobile tool cart casters) and they worked GREAT and were the cheapest around that I’ve seen.)
.
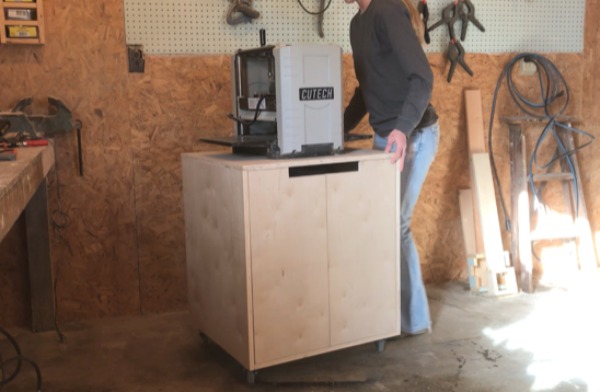
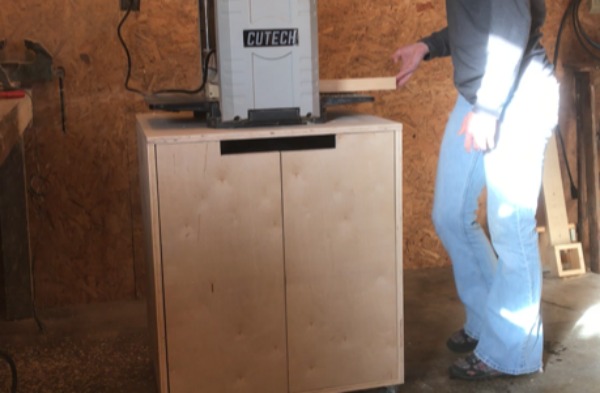
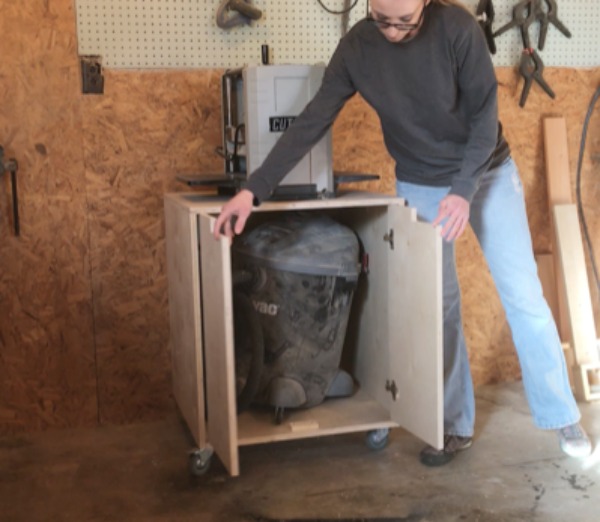
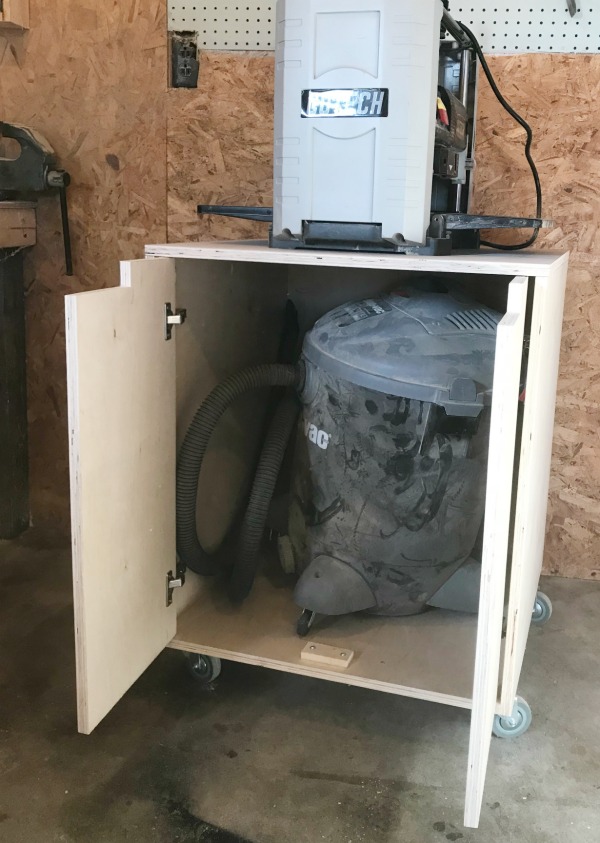
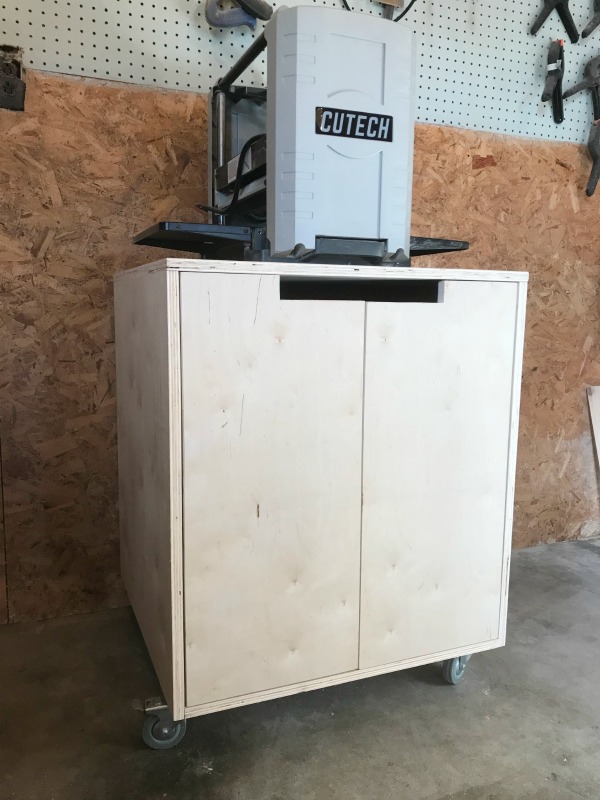
That brings me to this post. One of those new tools I’ve gotten since the first shop redo is my planer. Side note: that was an anniversary gift from the hubs…isn’t that romantic?? HA. Its home is under my workbench and it’s a pain to drag it out when I need it then put it back. So I FINALLY got around to building it a mobile stand with a place to house my shop vac underneath because planing makes a LOT of sawdust.
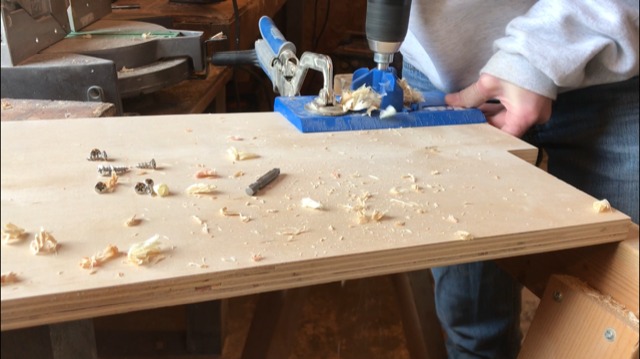
But, even if you don’t have a planer, this simple mobile tool cart is perfect for other tools too…scroll saw, band saw, miter saw, you can even mount your Kreg Pocket Hole Jig to it if you wanted. And the cabinet space can be used for air compressor, shop vac, or even add adjustable shelves.
It’s pretty versatile and a super quick, easy build. It only takes one sheet of plywood and a few tools. (Speaking of one piece of wood…this storage bench was only made from one sheet of plywood and this bar cart was made from only one board!)
And as always, I’ve got the how to for you 🙂 Oh, and PS I know you are supposed to hook the shop vac to the planer when you use it…but 1. I’m not quite sure I’ve got enough power to run both at once. And 2. I need a bigger dust port to go from vacuum to planer. Just in case you were wondering why.
.
This post was sponsored by Build Something, Kreg Tools website with hundreds of free building plans for every room in your home, or shop. This post also contains affiliate links. See disclosure policy for details.
.
You can head over to Build Something to grab the free building plans for this super simple DIY mobile tool cart. And, be sure to check out my tutorial video below…the first video of the year 🙂 I’ve also mentioned a few tips and tricks for this build down below.
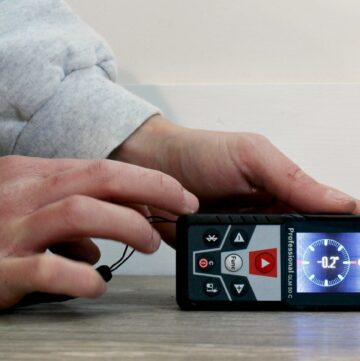
For this DIY mobile tool cart build, you only need a few tools:
Kreg Rip Cut (optional, but SUPER helpful)
Kreg AccuCut (optional, but SUPER helpful as well)
Kreg Concealed Hinge Jig (also…say it together now…optional, but SUPER helpful)
.
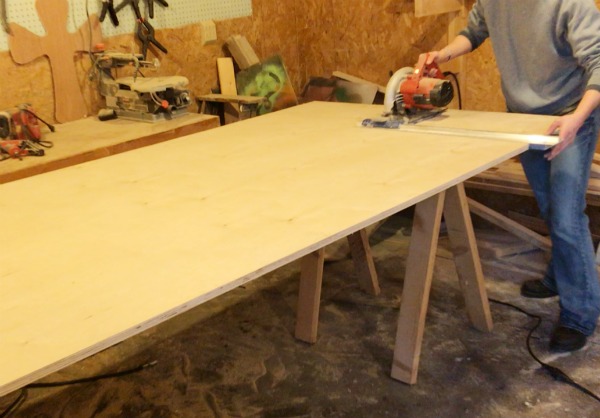
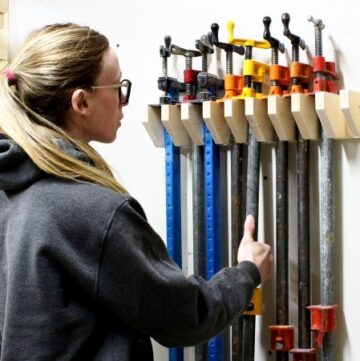
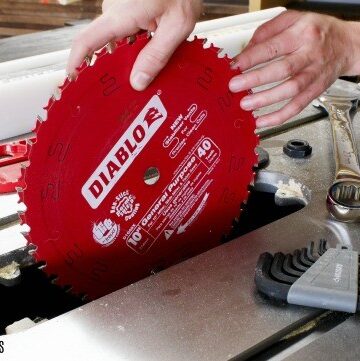
The Kreg Rip Cut and the AccuCut aren’t REQUIRED, but I’m being 100% honest with you, it saved me about an hour on this simple project. It’s absolutely worth the small investment to save you so much time. I cut down all my plywood pieces (which is my least favorite part) in less than 15 minutes and using straight edges and clamps would have easily taken me well over an hour. Highly recommended, ESPECIALLY if you use a lot of plywood.
Also, the concealed hinge jig…I sung it’s praises in my faux drawer dresser post a couple months ago and I’m still singing them. LOVE this thing. Also, once you try concealed hinges, you will never go back. They have so many adjustments to help you get your doors perfectly lined up…and that’s helpful for people like me who never seem to get the door to be perfectly square to the opening.
These tools just make your job easier and save you time. Although they aren’t required, they are really helpful for beginners and experts alike.
.
Now, head over to Build Something, grab your saw, and your plywood and get out there and get building 🙂 Stay tuned for some more shop builds–tools carts, storage and organization–coming soon. And eventually, a shop tour 🙂
.
Oh, and if you aren’t already subscribed to my YouTube channel, be sure to subscribe. I’ll have more videos coming soon…I promise, I will get better at them…I mean at this point, the only thing I can do is improve, right? It can’t get much worse haha.
.
Thanks so much for your support. Until next time, happy building 🙂


Quick question:
Why didn’t you recess the top, similar to the compound miter table, then you could mount extender wings on both sides of the stand to handle longer boards and keep them level with the planer table? (Use the same math as you did for your miter to calculate the recess for the top.) One of the problems I always have with my planer is when I want to plane a board more than 3 feet long and it’s not being supported properly. A 30″ extension on either side would be a big help! That’s what I’m going to do……. And, as always, you come up with some EXCELLENT ideas!
Thank you! I really wasn’t thinking about making this stand “fancy” and just didn’t go that far with the design. Plus, I was also trying to keep it down to only using 1 full sheet of plywood. However, adding extension wings on this for use with a planer would be a GREAT idea!